
Multi-Tool Calibration Probe with 4mm Dowels
We calculate the final price from your selected file. You review and accept it before payment.
Saved on this device.
Model information
- Source
- Printables
- Category
- Voron Parts & Upgrades
- License
- Creative Commons — Attribution — Share Alike
I designed this calibration probe to use the leftover 4mm dowels and bushings from a StealthChanger build. It's also built around the hartk1213 sexbolt Z endstop PCB. It works similarly to the sexball probe that is commonly used for multi-toolhead setups.
It works but the small radius of the dowels causes the nozzle to occasionally “bite” into it instead of sliding over it smoothly. I was able to get good calibration results but I would still recommend using the sexball or nudge over this if you can.
I decided to upload this anyway as I'm sure there are others that have these parts laying around, as I did, and might even have better results.
Note: This design has some tight tolerances and was designed around my printer specifically.
It was designed to work with the Whoppingpochard kinematic bed mounts on my Voron 2.4 so may be too tall for standard height beds. My bed sits about 25mm above the mounting rails and the probe is about 2mm taller. I also used 4x6x8mm bushings instead of the standard 4x6x6 bushings from the StealthChanger BOM. The shorter ones will work fine, even if you press them all the way to the bottom.
Check out this remix if you want to use this with a standard height Voron bed.
https://www.printables.com/model/1073728-shorter-multi-tool-calibration-probe-with-4mm-dowe
BOM
- hartk sexbolt PCB with microswitch
- [2] M3 threaded inserts.
- [2] 4x6x8 (or 4x6x6) bushings (sometimes called linear bearings)
- [2] 4mm x 12mm dowel pins, threaded for M3
- [1] 25mm M3 threaded rod. You can cut the head off a M3x25mm screw
- [1] M3 hex nut - or - M3 washer
- [2] M3x12mm BHCS
- [4] 2x10 self tapping screws (should be supplied with the hartk PCB kit)
- [2ea.] M3x20mm SHCS and T-nuts to mount to the bed rails (not shown)
Assembly
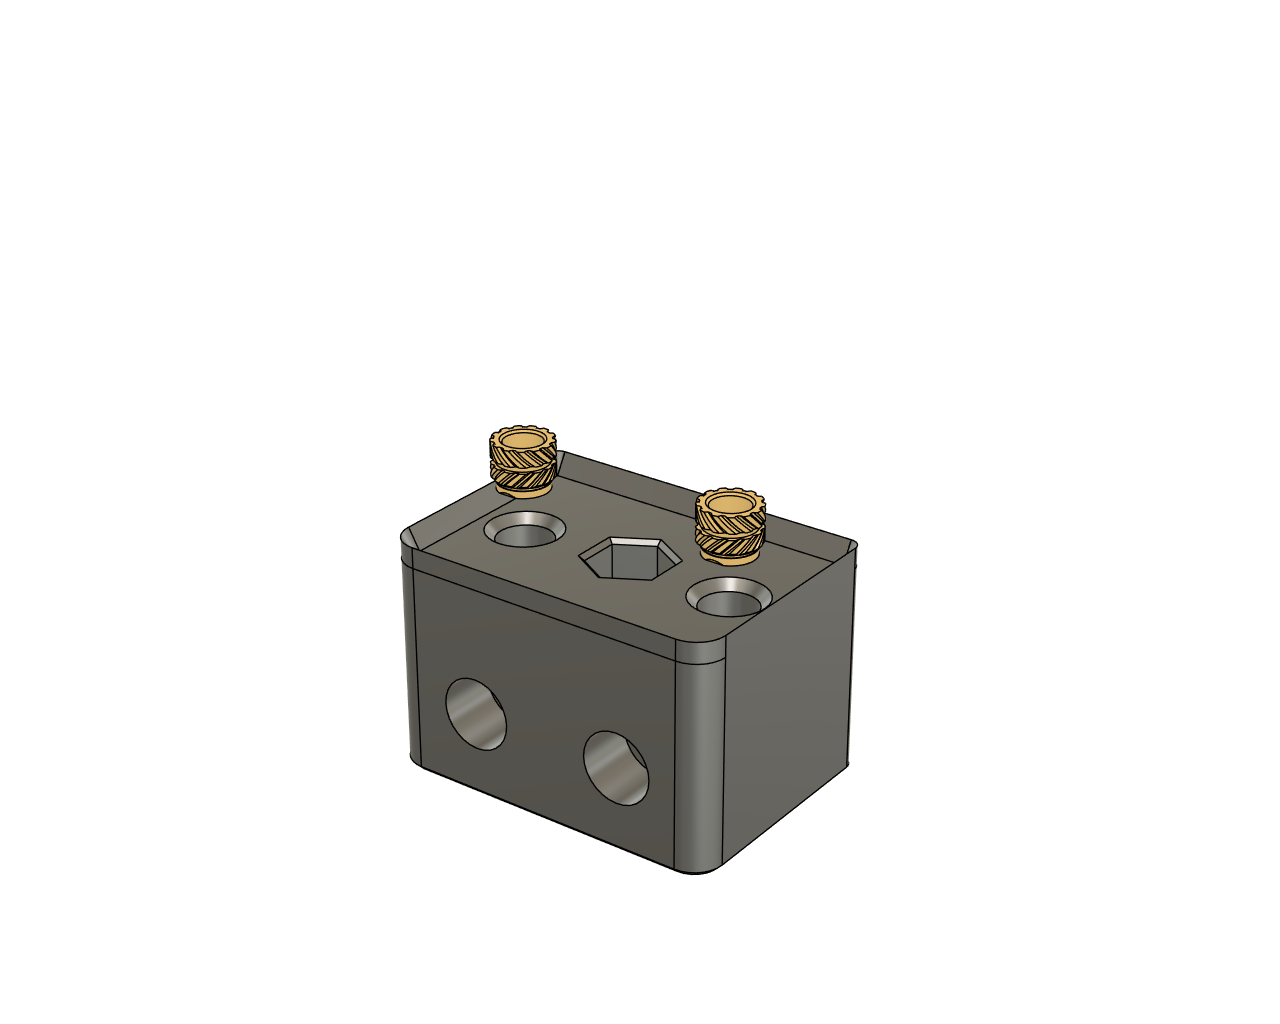
Press the threaded insets into the lower body.
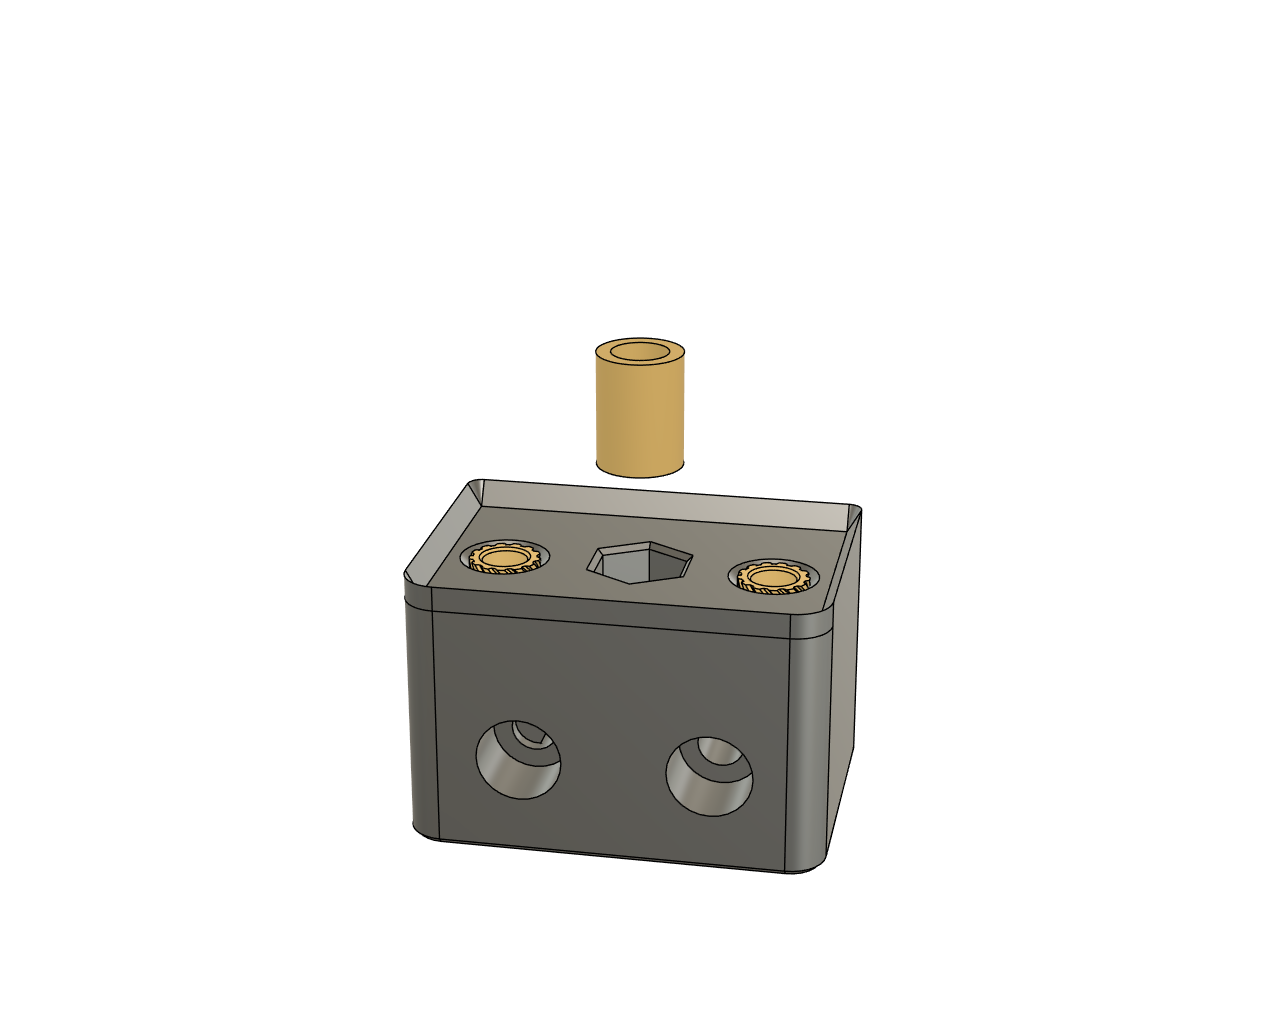
Press in the lower bushing. If you are using the 8mm tall bushing, it must be pressed all the way down. It will not sit flush.
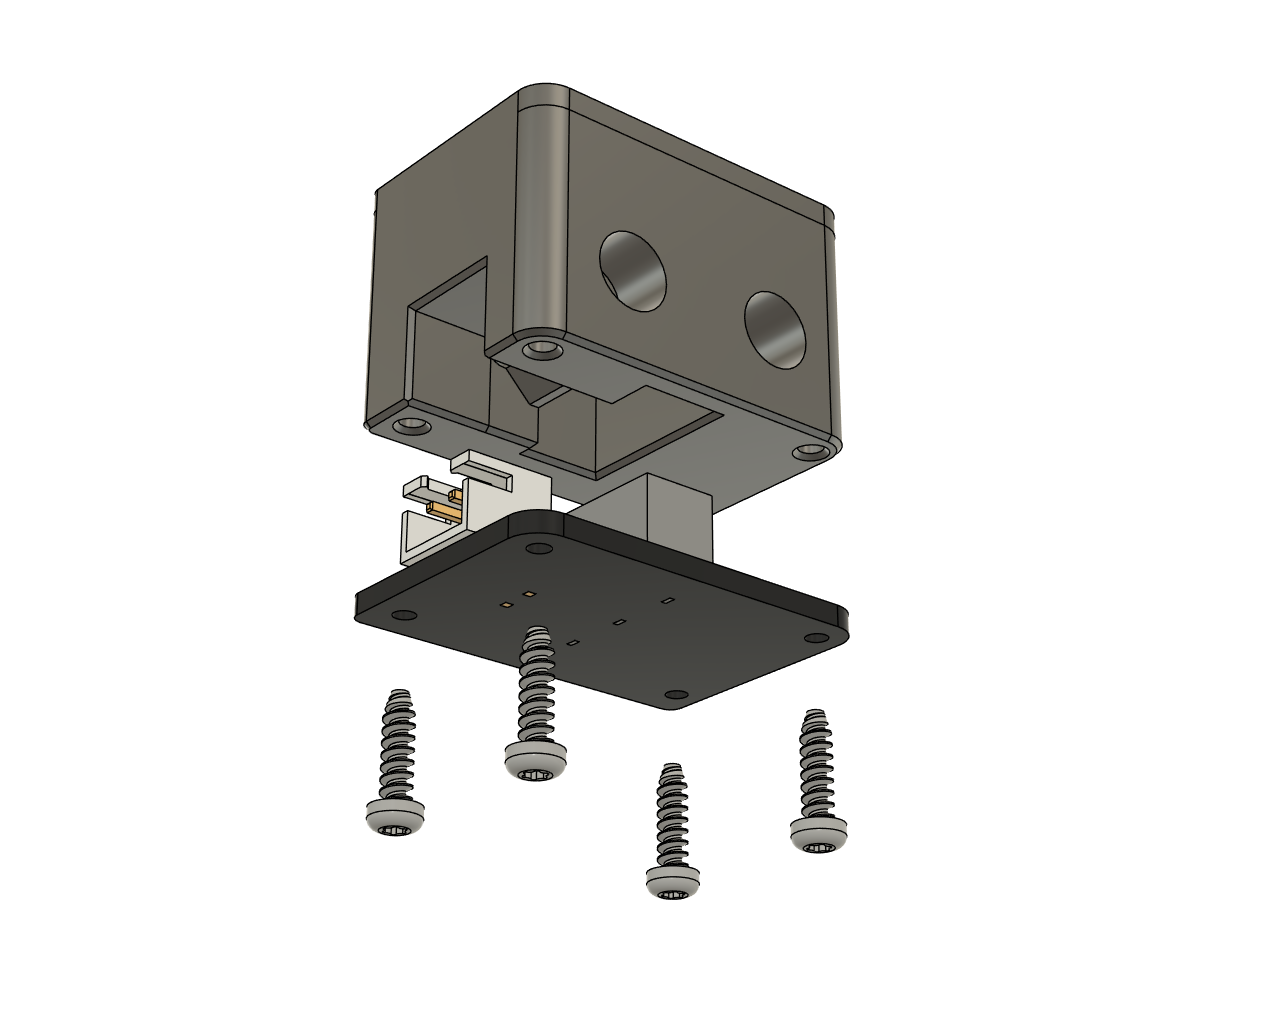
Attach the hartk sexbolt PCB and set the assembly aside.
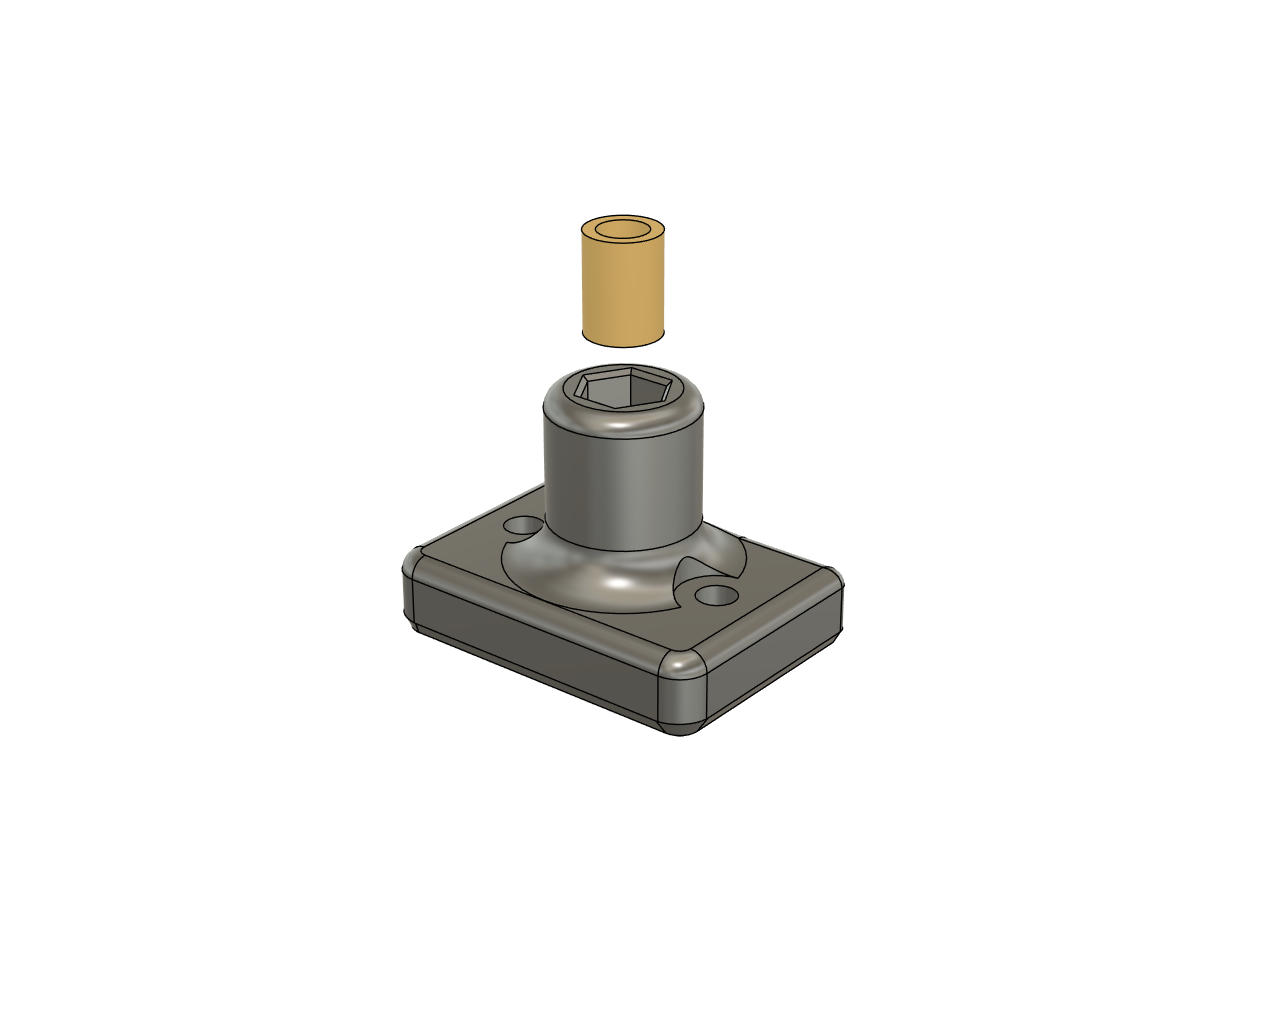
Push the upper bushing into the upper body and set the assembly aside.
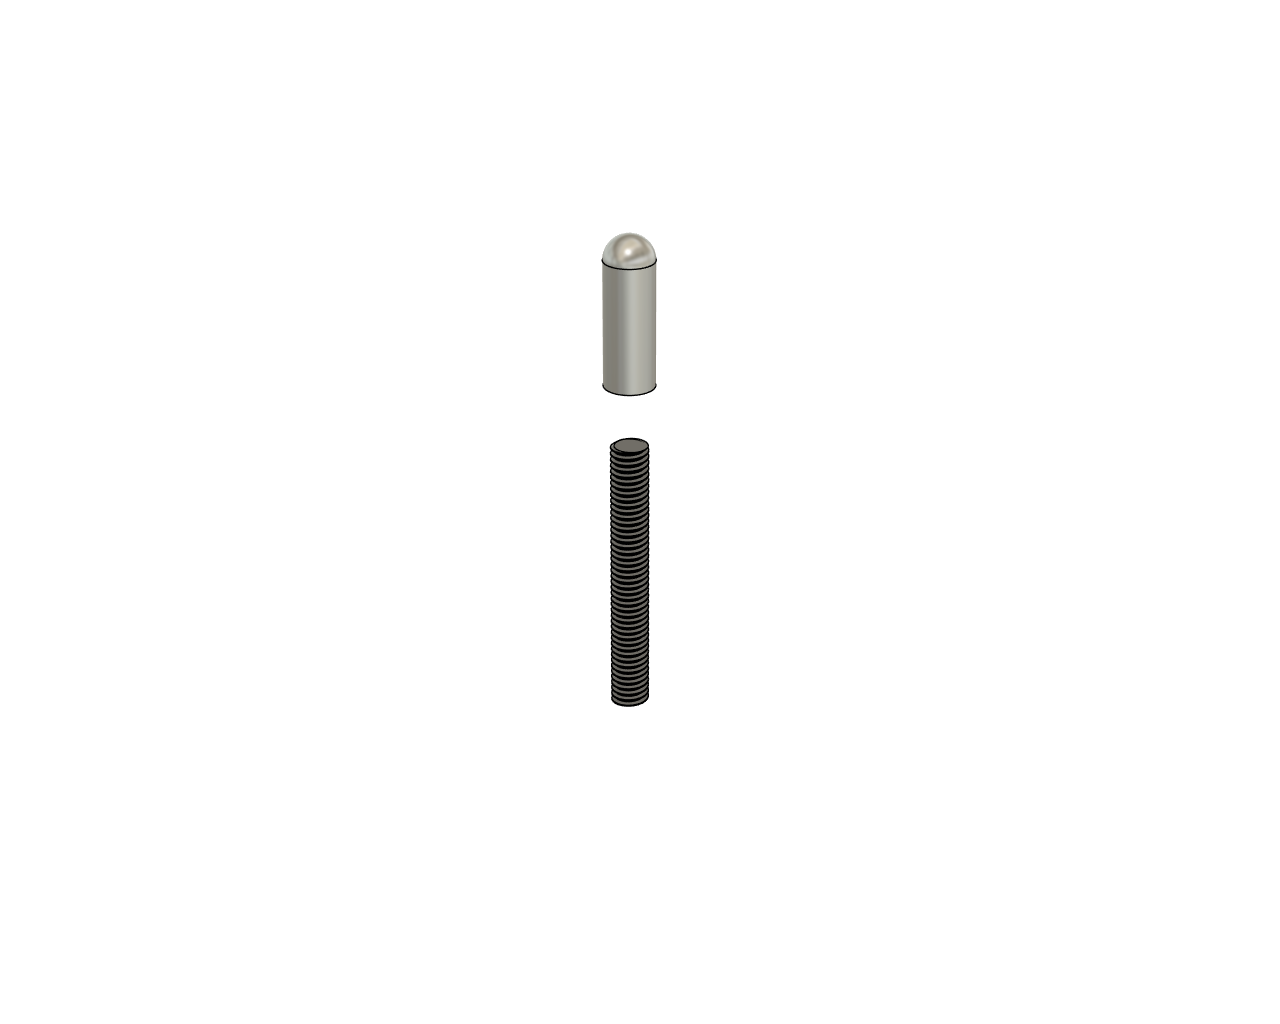
Thread the upper dowel all the way onto the threaded rod (or screw with it's head cut off). Finger tight should be enough to keep it from backing off.
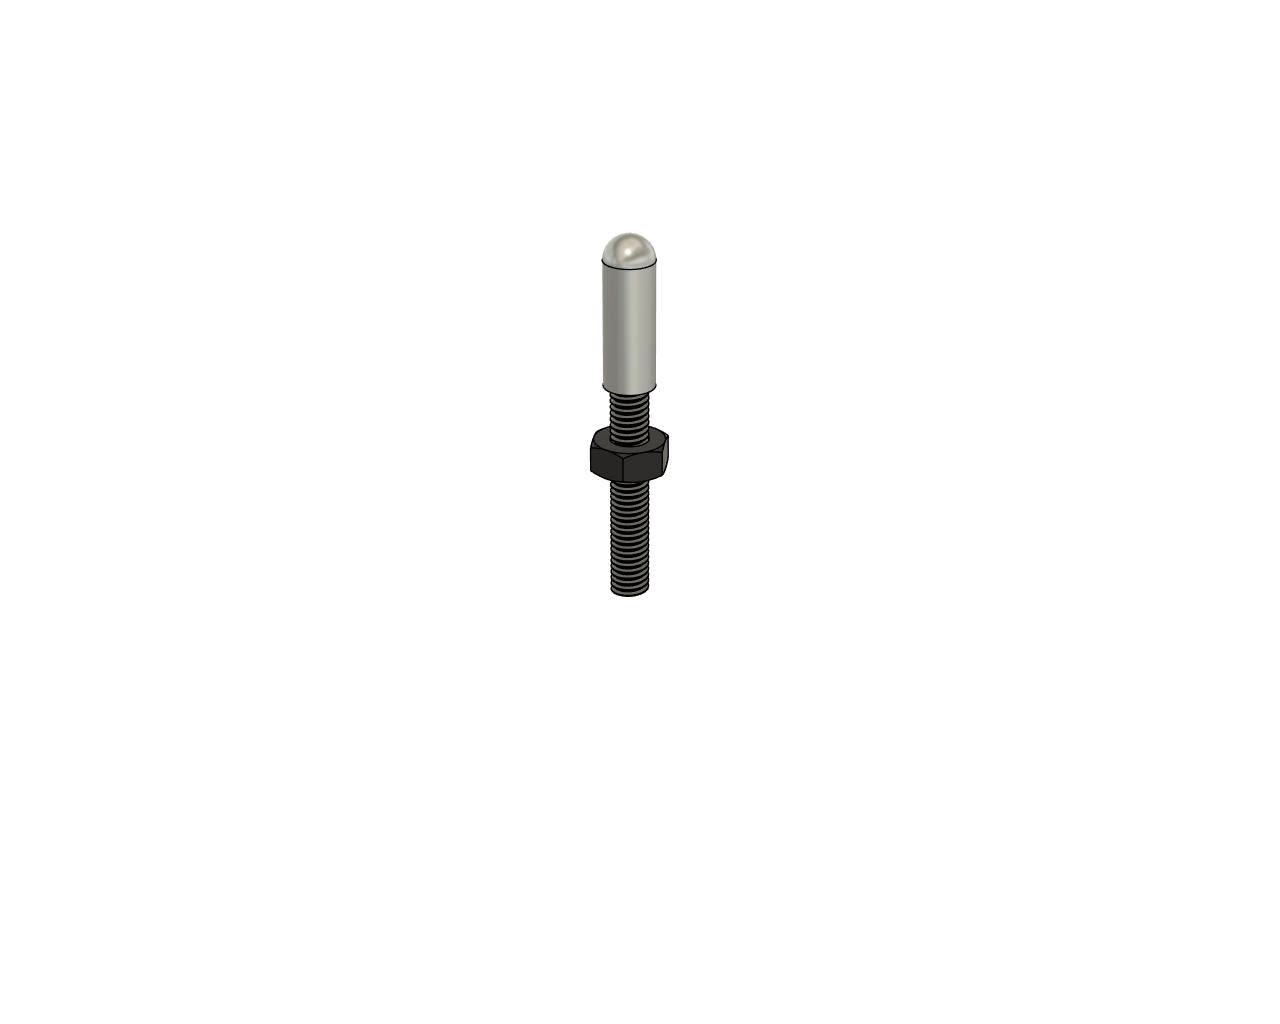
Thread on the M3 nut.
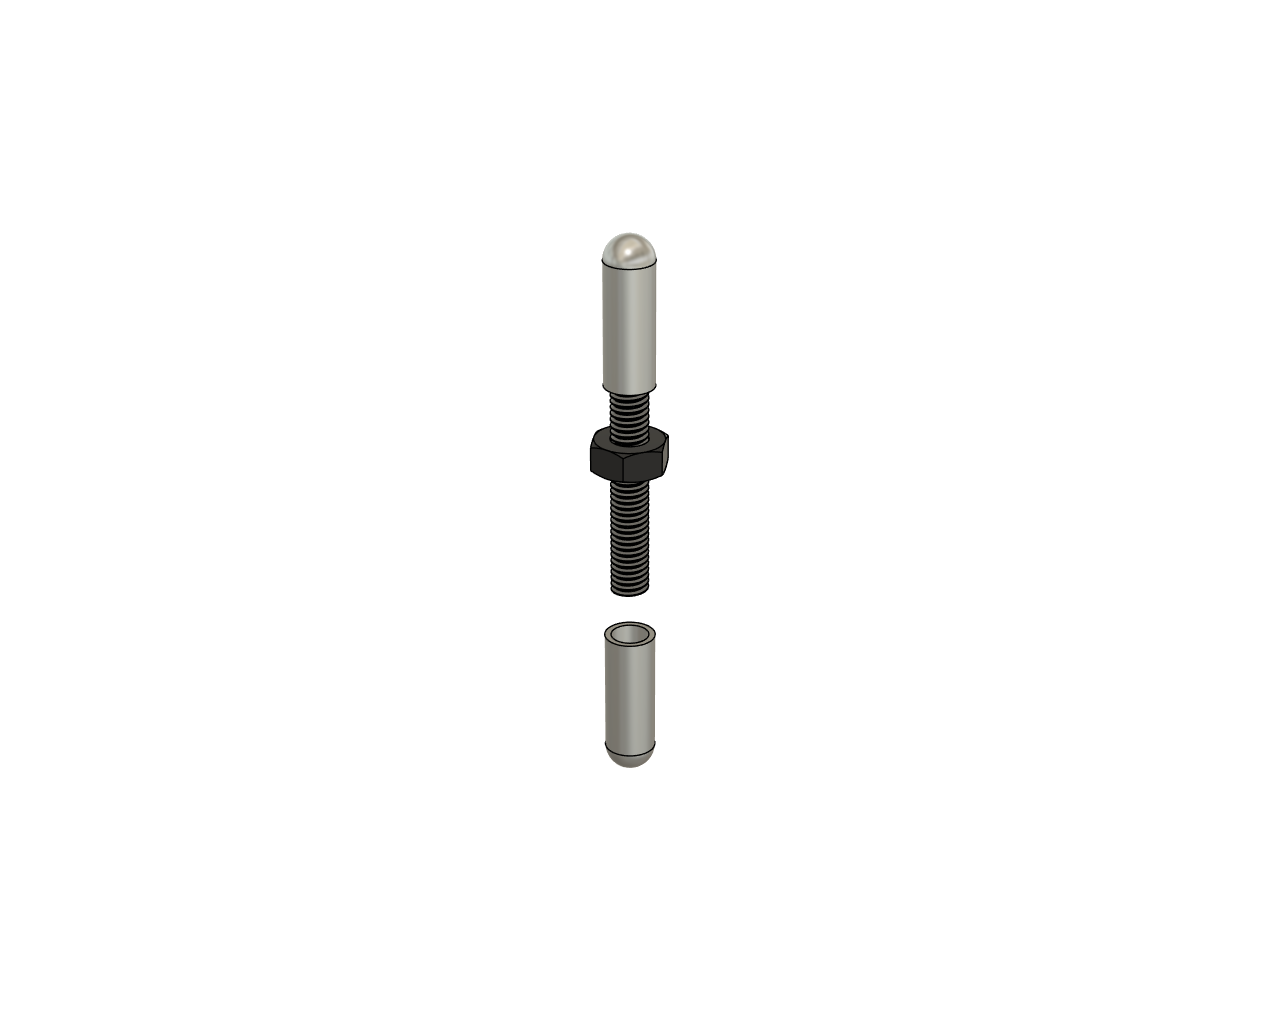
Thread on the lower dowel. The height of the probe can be adjusted slightly depending on how far this is threaded in.

Once the height is where you want it, tighten the nut against the lower dowel to lock it in place. Finger tight should suffice. If everything is correct, this nut should bottom out on the lower bushing shortly after triggering the microswitch, taking the weight of the toolhead instead of the switch itself.
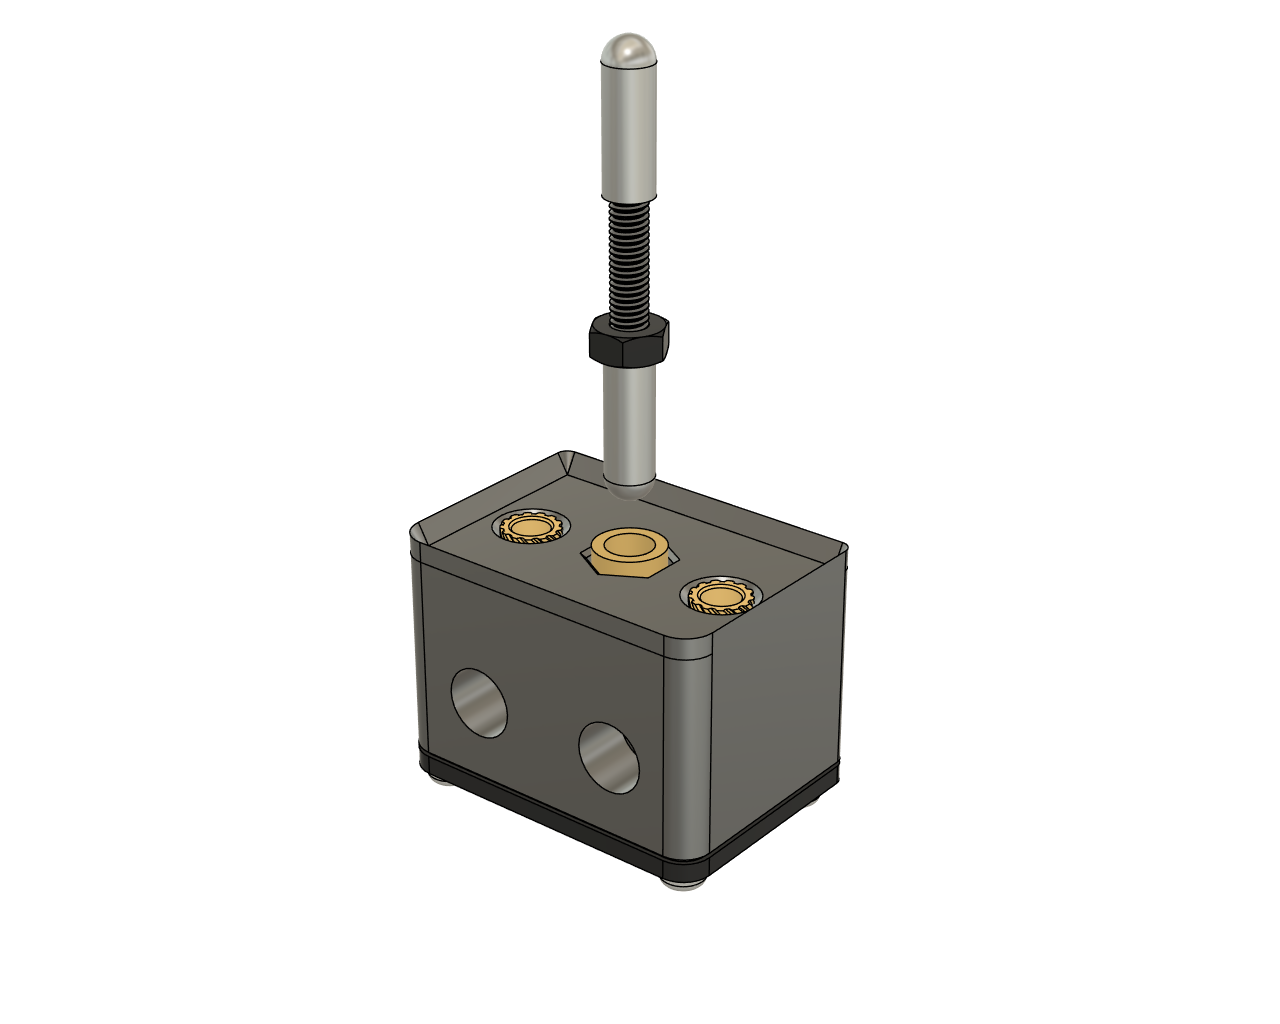
Drop the dowel assembly into the lower assembly. If should move freely vertically.
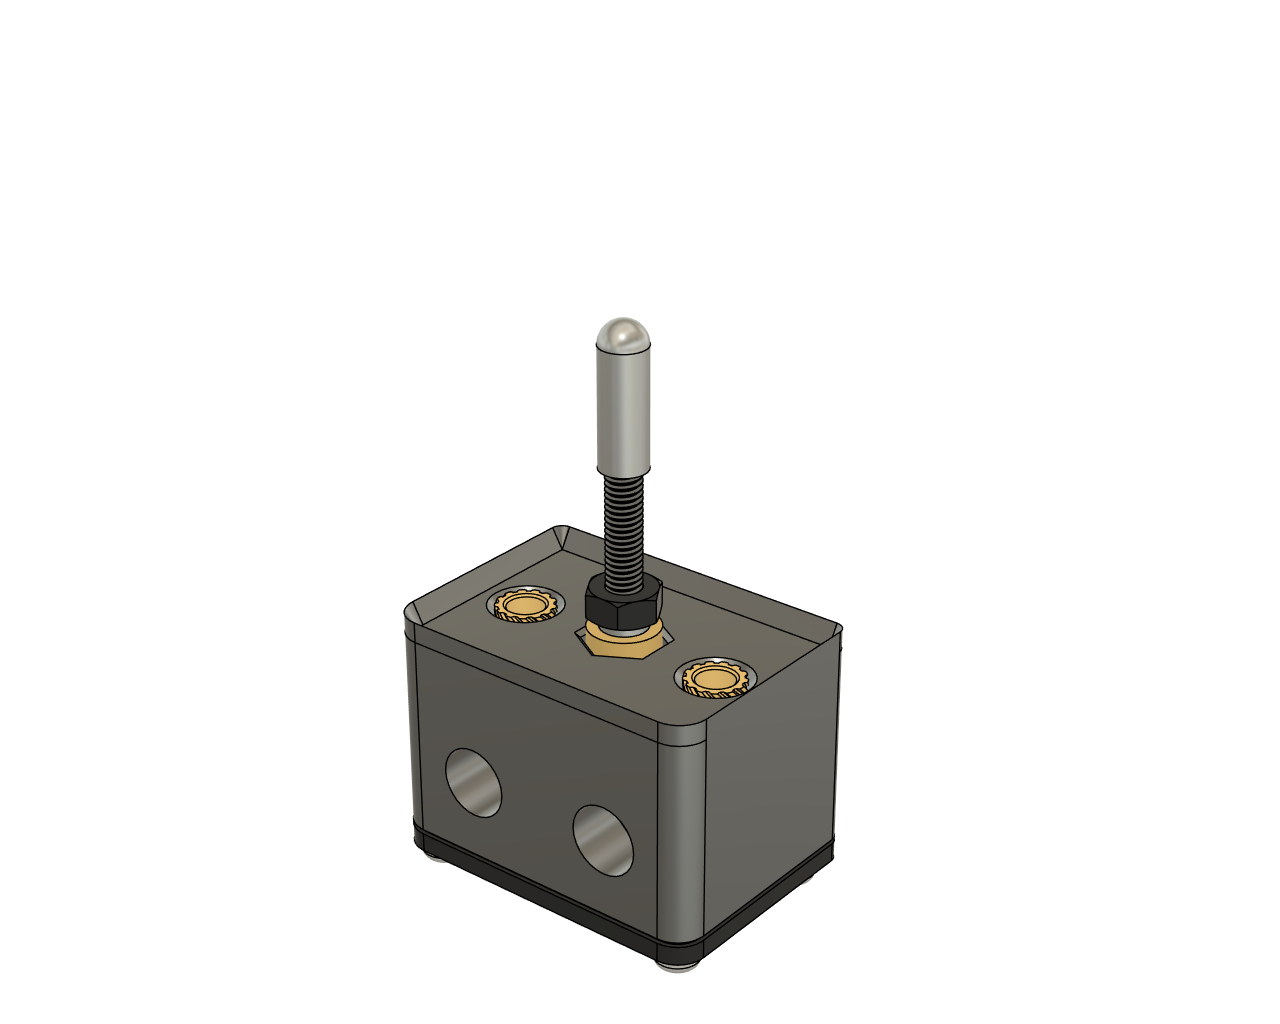
Depress the dowel and make sure you can hear the microswitch clicking. If not, ensure the lower bushing is fully seated. If it still doesn't trigger the switch, you can remove the nut and replace it with an M3 washer. The washer is required to keep the dowel assembly from falling out. Thread lock compound should be used to keep the assembly at the height you set it to. Don't get it on the bushings!
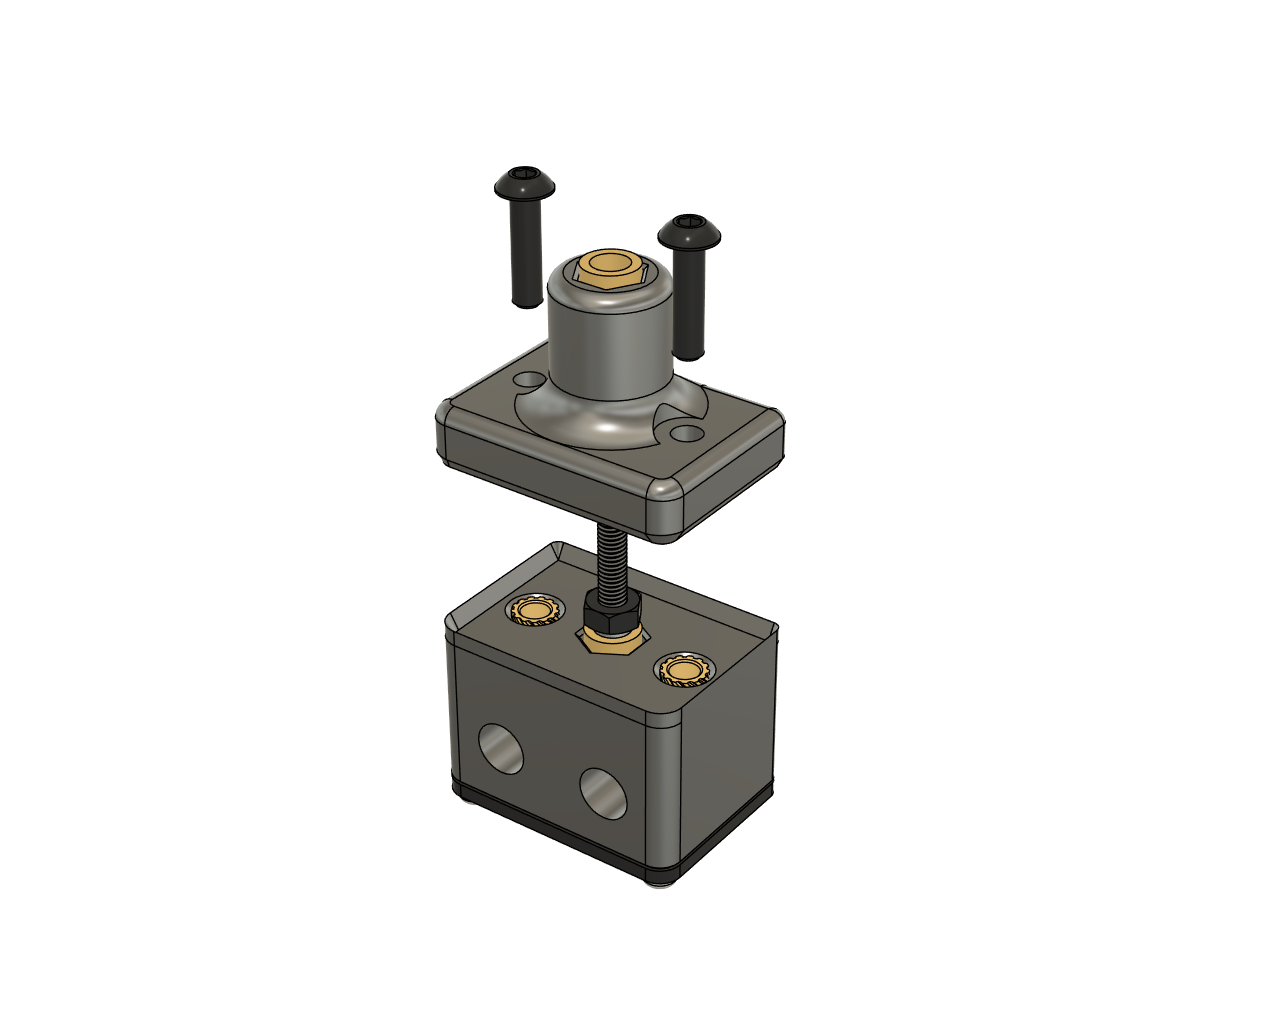
Screw the upper body down to the lower body. The probe is slightly off-center so it should only fit on one way. The tapered section is mean to ensure the 2 bushings are properly aligned. if you have a lot of elephants foot, you may have to trim the bottom of the upper body.
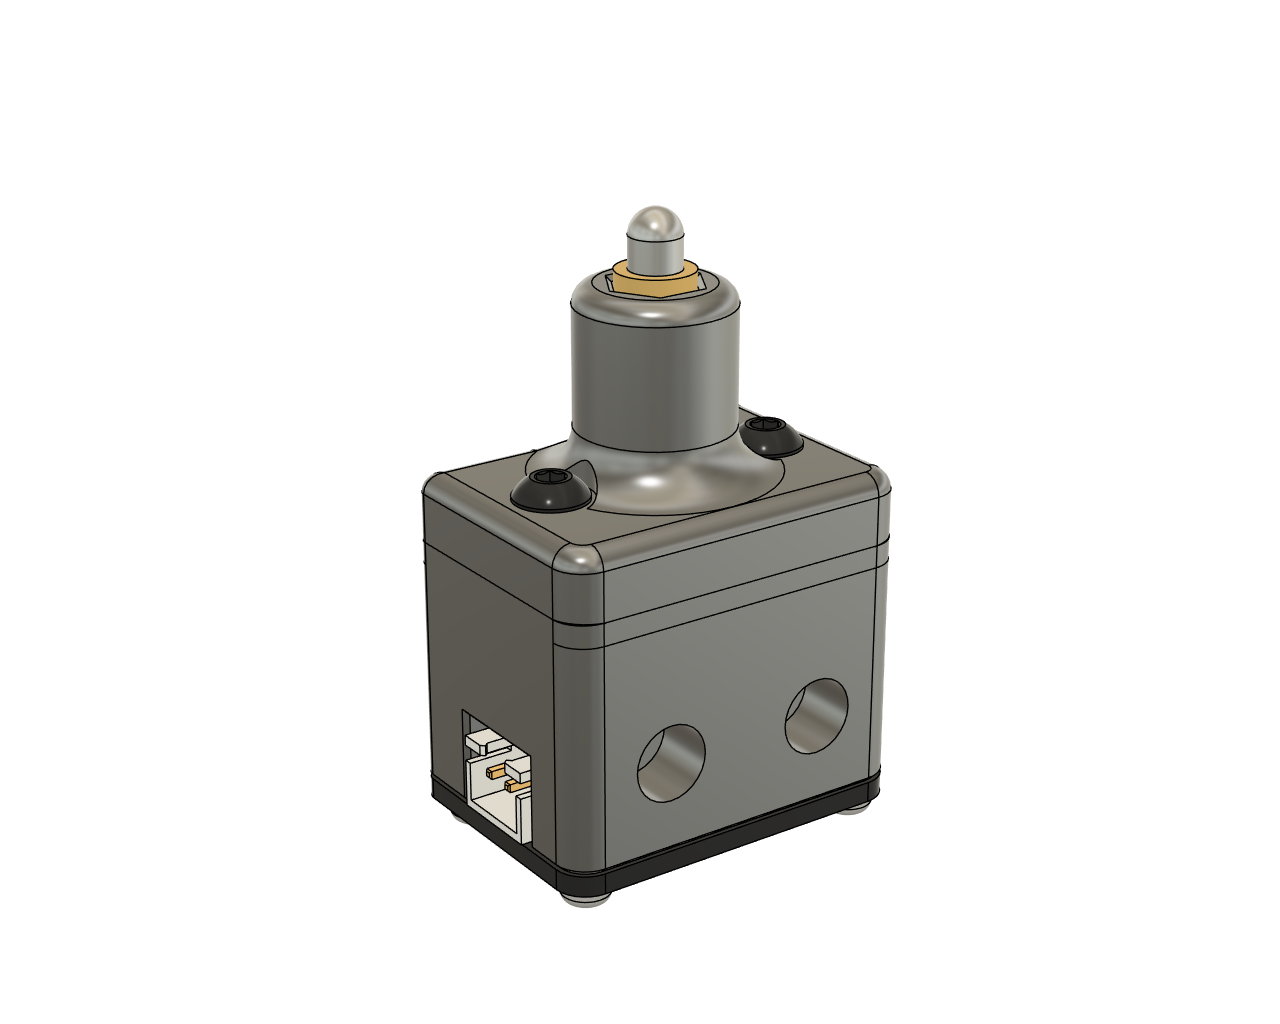
Finshed! Attach it to the bed rail and give it a go. The actual calibration side is beyond the scope of these instructions.