
Shimano SPD-SL angled cleat shim
We calculate the final price from your selected file. You review and accept it before payment.
Saved on this device.
wedge shaped shim to correct ankle inversion/eversion that installs between your SPD-SL cleat & your shoe
- Rating
- 0 / 5
- Likes
- 16
- Downloads
- 95
- Makes
- 1
- Views
- 1,014
- Reviews
- 0
Updated at source:
Model information
- Source
- Printables
- Category
- Outdoor Sports
- License
- Creative Commons — Attribution — Noncommercial
Disclaimer
I am not a doctor or medical professional or even an athletic trainer
all claims below are based on my own research & experience
Problem
cycling athletes may have naturally inverted or everted ankle joints when under no load, or even when standing on your own weight
AKA varus versus valgus
looks like this

this would be rotation about the X axis as shown in this diagram
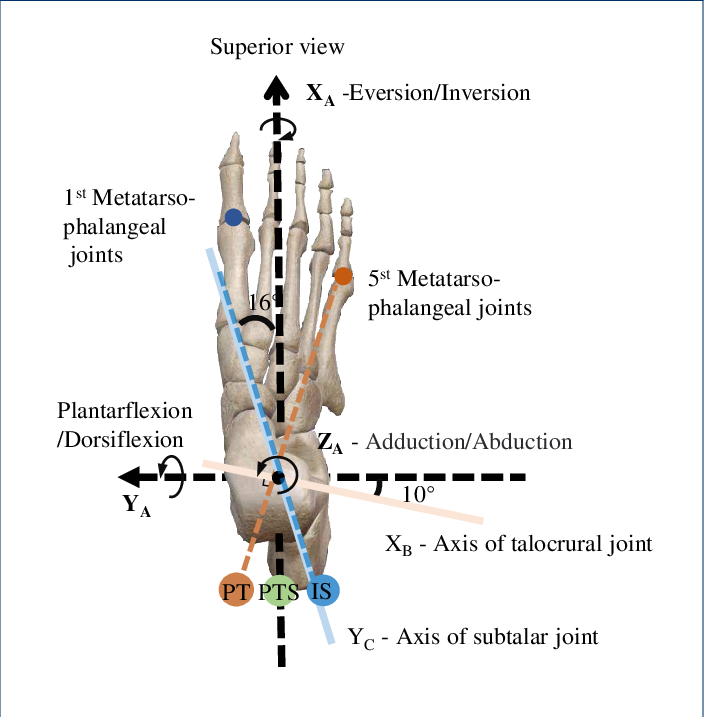
once under pedaling load, this natural angle is forced flat, which can cause all sorts of various pains & aches
Identifying if this is for you
Read this document from BikeFit.
Solution
angled insoles can be installed in shoes (another example here)
I haven't tried these, but I suspect they could drift over time (especially if stacked to get desired angle) unless adhered in place
a shim can be installed between the cleat & the bottom of the shoe to create the same effect
I've already made a 3DP one a long time ago for Shimano 2 bolt style mountain SPD cleats
because they are bolted in place, there is no risk of them drifting over time
all solutions necessarily add stack height

this affects your saddle height & is ideally compensated for, especially for large angles which generate large stack heights
regardless of whether inside or outside the shoe, the wedges should be oriented such that the ankle joint is allowed to rest as it does naturally under no load
citation here
it is possible to install the wedges mirrored about the sagittal plane which exacerbates the problem

Commercial solutions
There exist plenty of solutions out there:
note these appear to be spacers & not wedges
Limitations
Stacking wedges to achieve greater angles
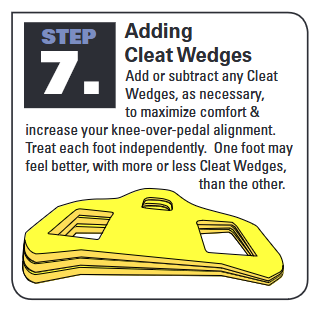
Commercial solutions generally only exist in 1 or 3 deg increments, & you must stack wedges to achieve greater angles, like so:
Design
Matching the curvature of road shoes
Road shoes (generally shoes compatible with 3-bolt cleats) are not flat on the bottom where the cleat sits
this is in contrast to SPD-only shoes (not the ones that can mount both road & mountain cleats), where the cleat mounting area is flat
this is apparent when you hold a straight edge across any road shoe

you can also see this subtle curvature in Shimano cleat spacers

the logical consequence of this is what the shoe-side of the shim must be curved the same to ensure a good fit with the shoe
a simply flat-on-curved interface would require a lot of bolt torque to conform the flat surface to the curve, & at worst result in slippage of the cleat position
this very reason may be why commercial solutions appear to only supply very thin 1 deg & 3 deg shims so that the bolt torque forces the naturally flat shims into the curved shape
Reverse engineering the curvature
thankfully the curve is purely cylindrical by all rough indications – the curvature is not the surface of a sphere or some other ellipsoid, which would greatly complicate its measurement without a CMM
I tried to find this number published somewhere, as it should theoretically be standardized such that road shoes made by everyone are equally suited to take Time, Look, Shimano, Speedplay cleats, but the measurement seems to be unknown
as such, I used this gauge to measure the curvature

the resulting radius of curvature based on geometry is 330.85/2 = 165.425 mm

it should be obvious that the cleat-side (as opposed to the shoe-side) of the shim must also be curved in a similar way, but I forgot about this for R1 & R1.1

here is a picture showing the curvature of the SPD-SL cleat against a straight reference

validated the fit on R1.1

Minimum edge height
being a wedge-shaped shim, it is necessary that opposite edges of the angle are of different thicknesses
for durability, the thinnest edge should be ~0.5 mm

Miscellany
a shell of 3 mm was added to reduce material usage & allow the wedge to flex to better wrap around bottom of the shoe in case my earlier measurements of the radius of curvature were wrong

SLA printing is best given that there are no flat sides to easily place on an FDM bed
a key was added to locate inside the hollow cored-out section in the original SPD-SL cleat

in practice, it doesn't actually seem to contribute anything the way I implemented it
this idea came from this product
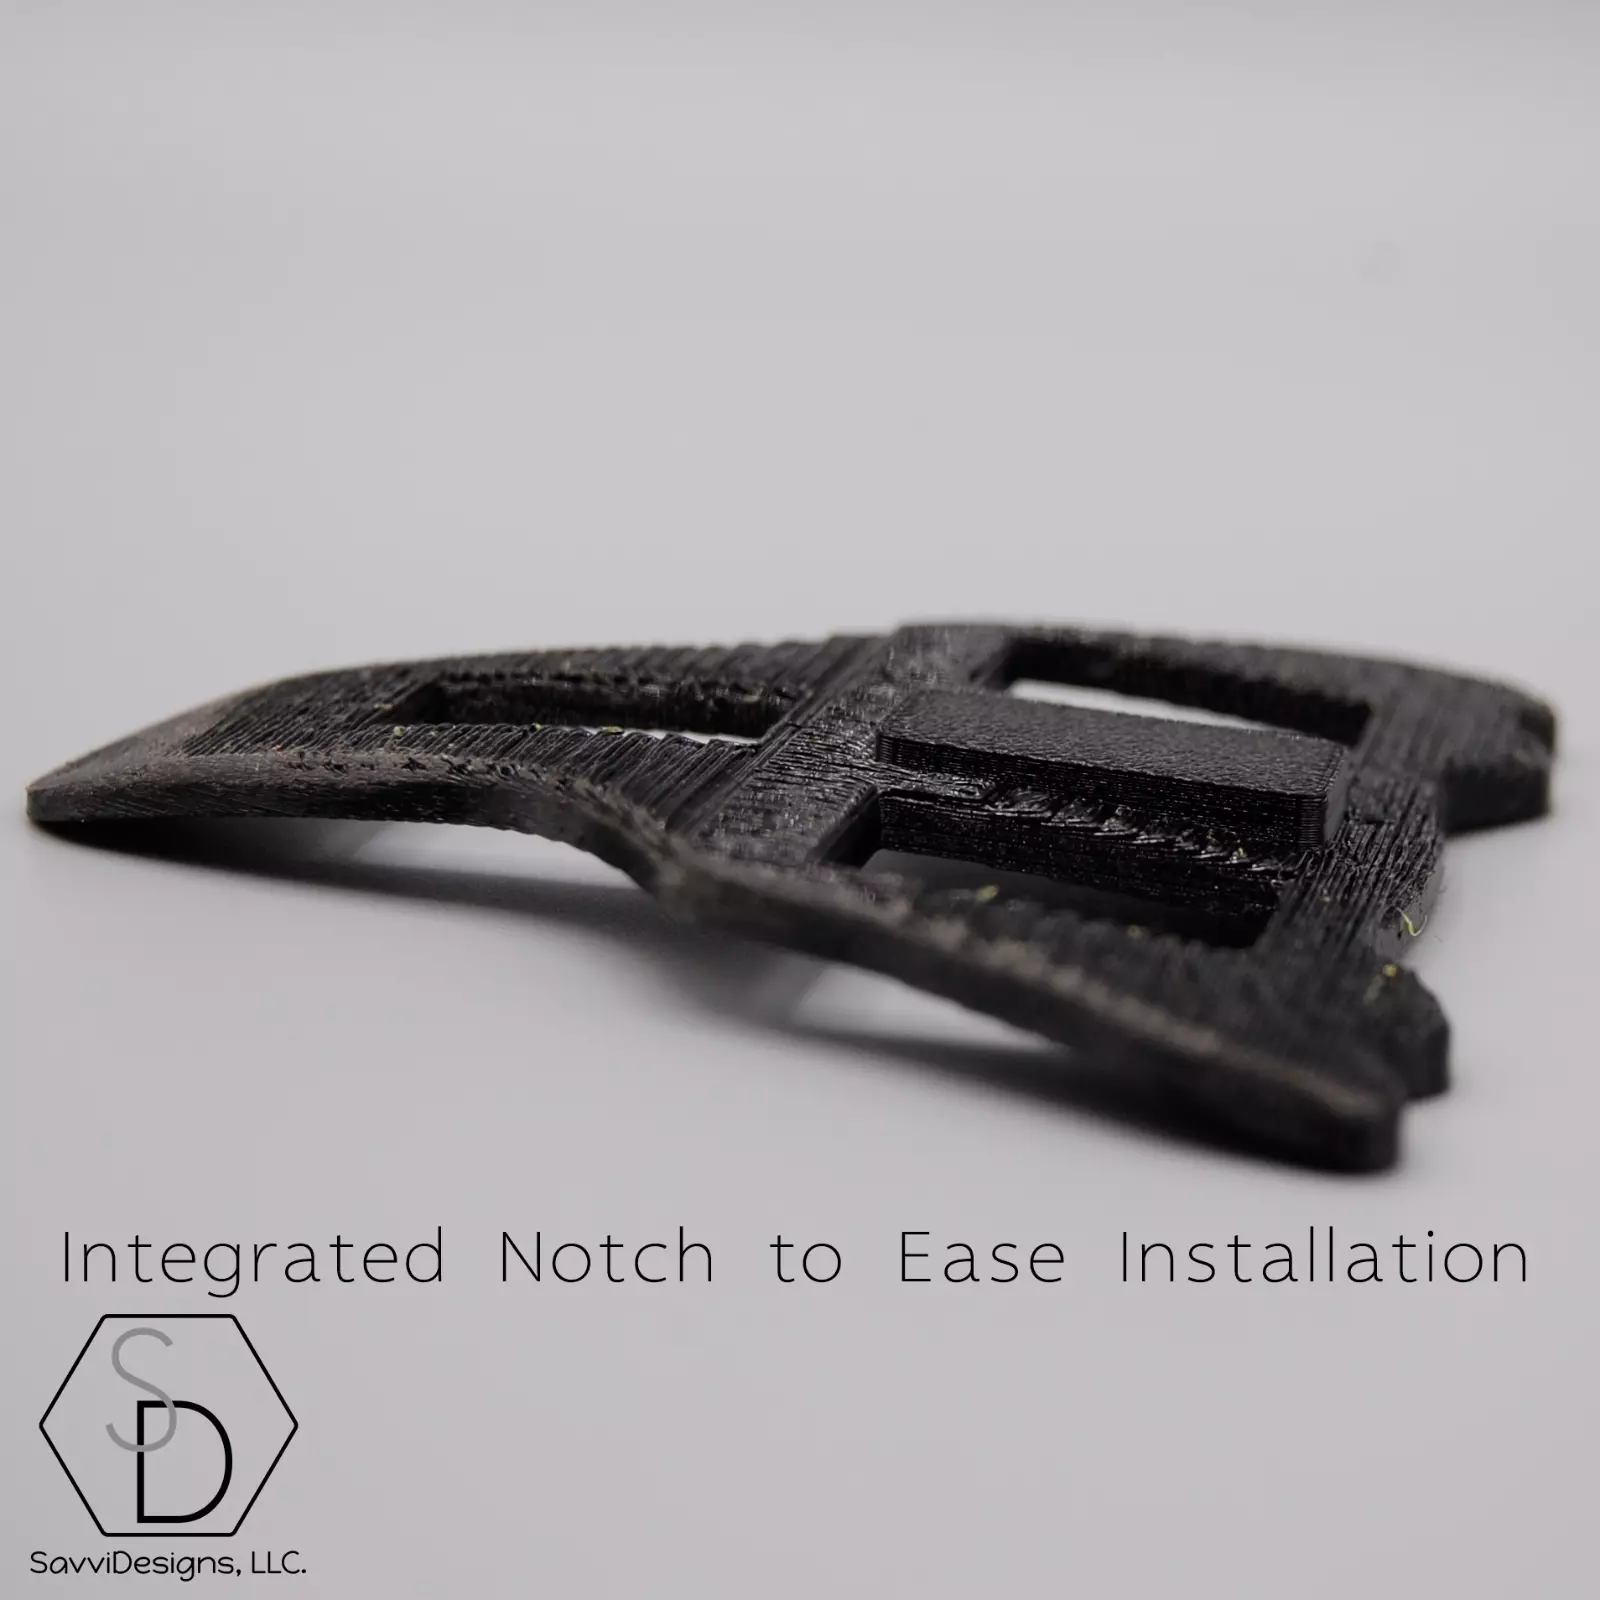
here is a view of the cored out hollow section I'm referring to

general 2D profile of the cleat came from this model so I didn't have to re-invent the wheel
other useful reference models I found
Notes on 3DP files provided
please note for left & right shoes, you'll need to mirror the provided STL to generate a wedge for the opposite side
R2 has been in use for ~200+ miles without issue
printed on a Form 3 in Tough 2k resin
Hardware required
Bolt head style
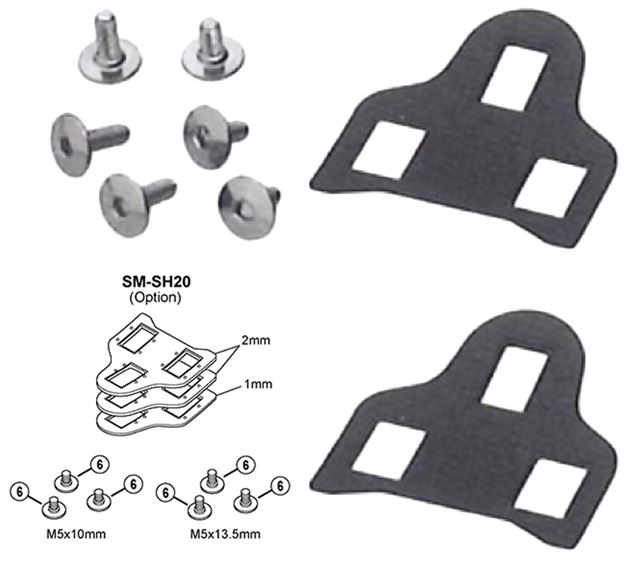
adding stack height necessarily means the stock screws (see pictures for dimensions of stock screws) are not long enough
stock screws appear to be custom by Shimano & therefore hard to find & expensive
they probably only offer 10 & 13.5 mm lengths
it turns out that the “washers” that come with SPD-SL cleats are already countersunk slots

therefore, they seem to work with common 90 deg CSK bolts
as an aside, it's kind of odd that there is a CSK slot in the first place; it hurts the clamping area for the stock bolts, but does greatly stiffen the “washers” – if that is even necessary
it's not ideal to have only 2 lines of contact with a CSK inside a CSK slot, but after ~200 miles as of 2024-12-01, it seems to be fine at ~6 Nm of torque

comparison of CSK against stock bolts (qty 2)

the largest flange offered by McMaster is 12.8 mm – I decided against these in favor of CSK bolts I already had
stock Shimano one measures 14.2 mm
Screw lengths required
because the shim is not of a single thickness (see height map found experimentally below), you could get away with using a different screw length for each location

Hardware you should collect
for the installation of a single cleat:
qty 3 M5 x 16 mm CSK

these worked well for the provided R2 model at 5 deg angle – different lengths required for different angles
Existing 3DP solutions
LINK | COMMENTS |
| |
|

Additional possibilities with cleat wedges
Compensating for leg length differences

If it were me though, I would simply make a model that did not have the angled tilt & was a purely parallel spacer.
Further work
If it were me though, I would simply make a model that did not have the angled tilt & was a purely parallel spacer.
Comparison with 2-bolt mountain SPD cleats
provided that your riding is equally done with either SPD or SPD-SL cleats, SPD-SL cleats generally offer significantly larger range of adjustment because most shoes uniquely able to mount SPD cleats, do such inside a recessed channel
this necessarily limits the mounting distance relative to the sagittal plane, would could be relevant for your body