
Touch Sensor Case
We calculate the final price from your selected file. You review and accept it before payment.
Preliminary estimate for PETG
€0.96 – €1.17 net (excluding VAT)
For file: touch-sensor-case.gcode
This is an estimate for one file. You’ll confirm the exact price before ordering.
File and estimate settings
File used for this estimate
Average indicative estimate: €1.07 excluding VAT (range midpoint).
- Weight reported by the author
- 8 g
- Print time reported by the author
- 1.35 hr
- Source material
- PET
- Estimate material
- PETG
- Estimate printer
- Bambu Lab P1S - 0.4 nozzle
- Estimate process
- 0.20mm Standard
Indicative estimate for the selected file only, based on the author’s weight and print time. File variants are not added together. The final price is calculated after file analysis.
Saved on this device.

Snap together, no hardware, minimal supports, easy print and assembly
- Rating
- 5 / 5
- Likes
- 9
- Downloads
- 122
- Makes
- 2
- Views
- 598
- Reviews
- 2
Updated at source:
Model information
- Source
- Printables
- Category
- Electronics
- License
- Creative Commons — Attribution — Noncommercial
I needed a simple touch sensor case. I probably over-engineered it a bit, but I really wanted most of the “touchable” surfaces to be printed on the bed so they had a nice finish to them. I also knew that I would be using Dupont connectors on the terminals so I wanted something to “lock” them in place so they could not be pulled out. It had to go together without tools or hardware and be easy to print several at a time.
This is what I came up with. Try as I might to avoid using support material, I did end up with a design that requires a tiny amount of support on one part.
Printing Instructions
- Some of the snap-fit geometry is quite small, so make sure your printer is tuned, your filament is dry, and you are printing with a small layer of height I recommend
0.10mm. - I would also recommend using PETG rather than PLA since there will be some flexing to get the parts to snap together.
- I printed 9 of these in Purasment PETG at
0.10mm, and they all came out nearly perfect. - The case top and cable cover should be printed upside down.
- The top will have two small bridges that will need support. PLEASE DON'T SKIP THIS. There are small “bumps” on these bridges that are used to “snap” the parts together.


Assembly Instructions
- Remove the support material
- It may be helpful to snip off the bottom of the soldered pins on the bottom of the sensor. There is an indention in the case to account for the solder bumps, but some of them were just too long, and the sensor did not sit flush.
- Attach your jumper wires to the sensor's terminals and feed the other end through the opening at the top of the case.
- Slide the cable cover into place from the back. There are angled rails for it to ride in. There will be a satisfying “snap” as the part locks into place.
- Place the sensor into the bottom portion of the case. The holes should line up with the small posts.
- Seat the Dupont connectors into the recess in the rear block.
- carefully move the top of the case over the bottom portion. Make sure the wires do not get pinched and that the sensor stays seated on the posts.
- “Snap” the bottom and top portion of the case together on all four edges.


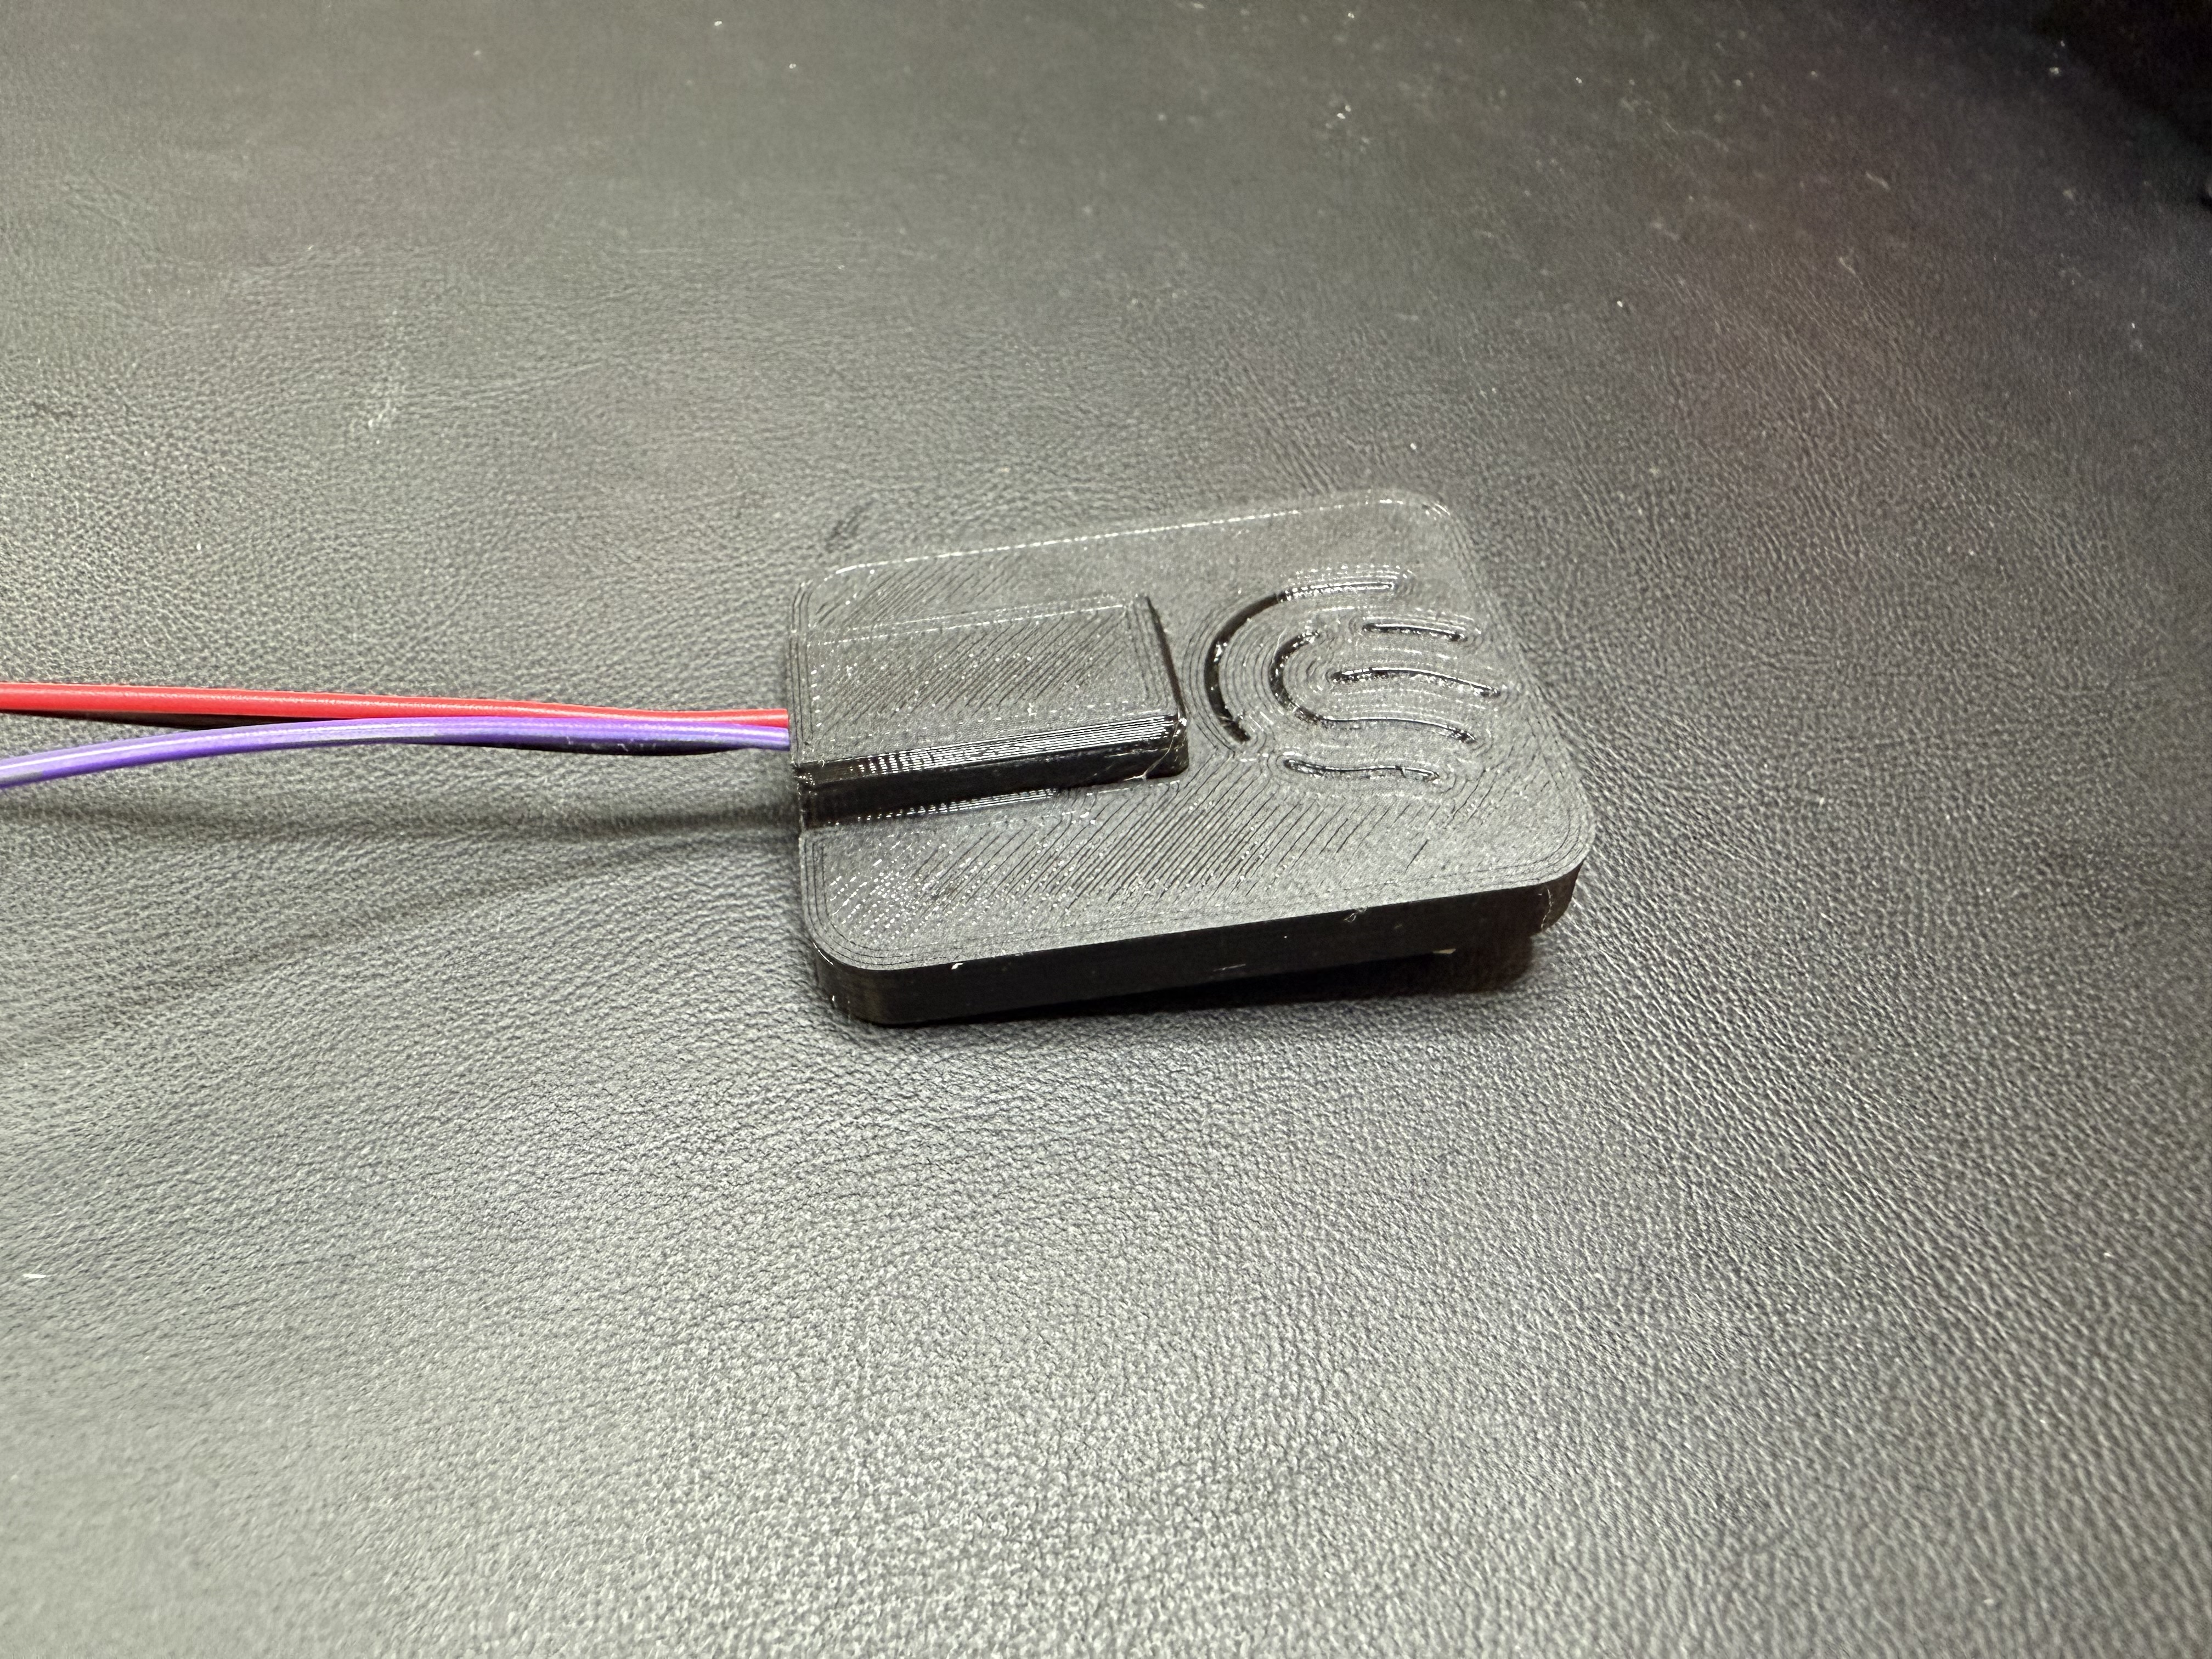


Now, go make some cool stuff with it!
