
Next Level Racing (NLR) GT Lite Pro Mods
We calculate the final price from your selected file. You review and accept it before payment.
Saved on this device.

Mods and improvements to the NLR GT Lite Pro
- Rating
- 0 / 5
- Likes
- 6
- Downloads
- 43
- Makes
- 0
- Views
- 1,331
- Reviews
- 0
Updated at source:
Model information
- Source
- Printables
- Category
- Video Games
- License
- Creative Commons — Attribution
Pedal End Delete
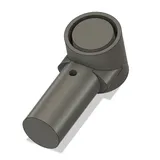
X 2 + Length of Omar
I don't have my pedals raised, and it bothered me that an extra useless length was attached at the end of the pedals. A plasterboard screw (black) was used to fix the NLR frame to the end cap on both sides.
Wiring Harness
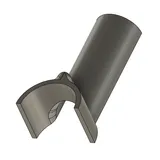
X 2 (or more) + Corrugated Pipe + Patience
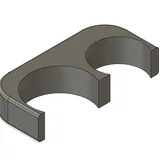
X 6 (or more)
I used the Pipe Guide to help get the wires through the corrugated pipe, and for any diverted wires (i.e. exit for pipe cables, or USB for laptop) surround in a pair of these guides. It will ensure as the rig moves around, the pipe won't cut into your precious sim gear leads!
Horizontal Stiffening Brace
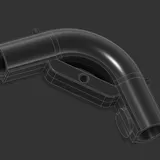
X 2 (Corner Reinforcement)
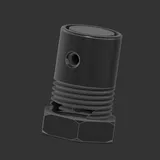
X 2 (Pipe Connector) + Length of Omar
This improved version of the stiffening brace no longer needs a vertical brace between the frame and the omar pipe, due to reinforcement.
A pipe connector can slot directly onto the reinforcement bar, and tightened by the supplied nut.
The corner reinforcement can be secured by a bold in the middle, and some additional 3d printable nuts in the 2 positions on the back.
Note: The dovetail mechanism does need a painted support, but you can get away without supports for the arch.
Horizontal Stiffening Brace (Old Version)
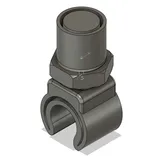
X 2 + Length of Omar
Updated 13/02/2025 - Fixed dovetail connector
These are printed in three parts (to make sure you get a good finish). I used red PETG HF.
This is used as a strengthening beam (between the two pipes perpendicular to the wheel mount pipe). It doesn't do much by itself, but coupled with a connector to the wheel base, and a reinforcement clamp - it improves the stability of the base. The fanatec dd+ weighs a ton, so the vibration reduction here was really noticeable.
Mentions - Clamp design & positioning on rig influenced by @DanErbert_1147465
PSU Mount

x 2
The holder connects to the pedals from underneath, using the NLR base as an anchor (allowing it to move with the pedals)
This results in a sturdy holder for the PSU, ensuring that it stays in place when the rig is folded.
Updated 22/04/2025 - Added Stand Extensions
Due to working on the motorised pedal reach adjuster, I needed a bit more space underneath the stand and pedals.
This increases the height by about 20 mm, but basically follows the original NLR design, and can be used as a replacement.

To Come:
- Electrical Reach adjustment for pedals
- Electrical lock/unlock
- Electrical Recline?
- Headless Simhub computer mount
This Project:
NLR GT Lite Pro, is the best rig I've played with (and also the only one). However, after trying out a bunch of mods (most are amazing!), I decided to make my own collection of improvements.
Project goals:
- Keep it foldable
- Keep it portable
- Over-engineer everything
- Over-engineer everything again!
This project will be updated as I go along, and where possible I'll include the materials I'm using (other than 3d prints) will be listed.
My rig is based around the following gear:
- Fanatec DD Extreme
- Fanatec Clubsport v3 Pedals
- Next Level Racing HF8 (Haptic Feedback)
- SimHub
I aim to make my projects compatible with a variety of other setups where possible, but will primarily focus on what I have.
Materials

The metal frame parts used in this build came from an old IKEA Omar shelf.
I just had this lying around, but it should be easy enough to pick up just the legs from IKEA.
The NLR pipe diameter (sans bends) is 25 - 25.5mm (wildly inconsistent) whereas the Omar is a fixed 25.5mm. This achieves consistency between most clip-on parts.
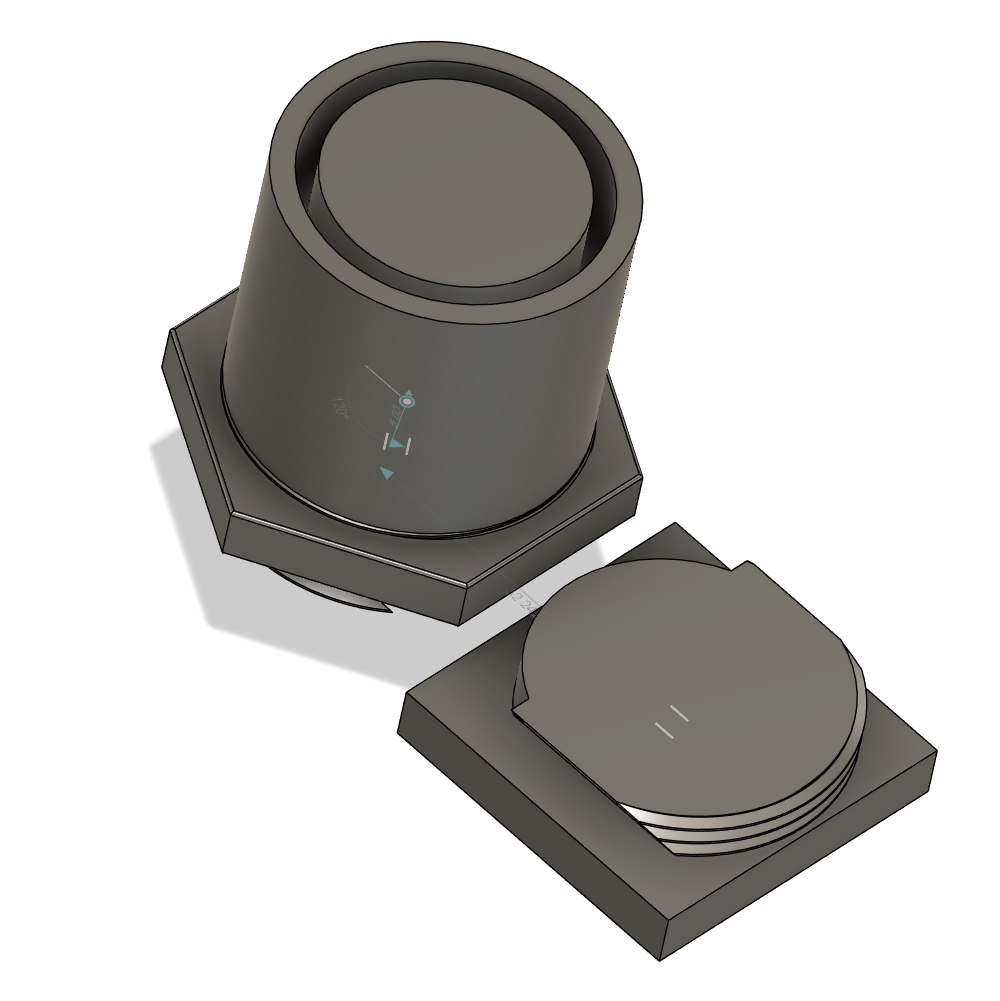
Because we have consistency in the size, this pipe connector is a nice reusable part.
In cases where it needs to be reinforced, a bolt through the side, or some superglue in the ridges worked well for me. The pipe connector is always 30mm tall, with 25mm inserted pipe.
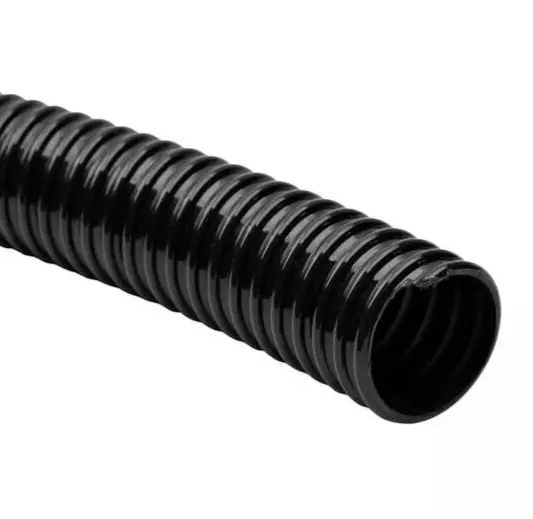
20mm O/D 17mm I/D corrugated hose was used as a wiring harness.
It's a pita to get the wires in, but the whole thing was way neater once it's done. Makes the rig much more portable and less of a trip hazard!
Printer Settings
Everything is printed on the Bambulab P1S, using the following settings:
- Infil 15%
Any part-specific settings are annotated in the file.