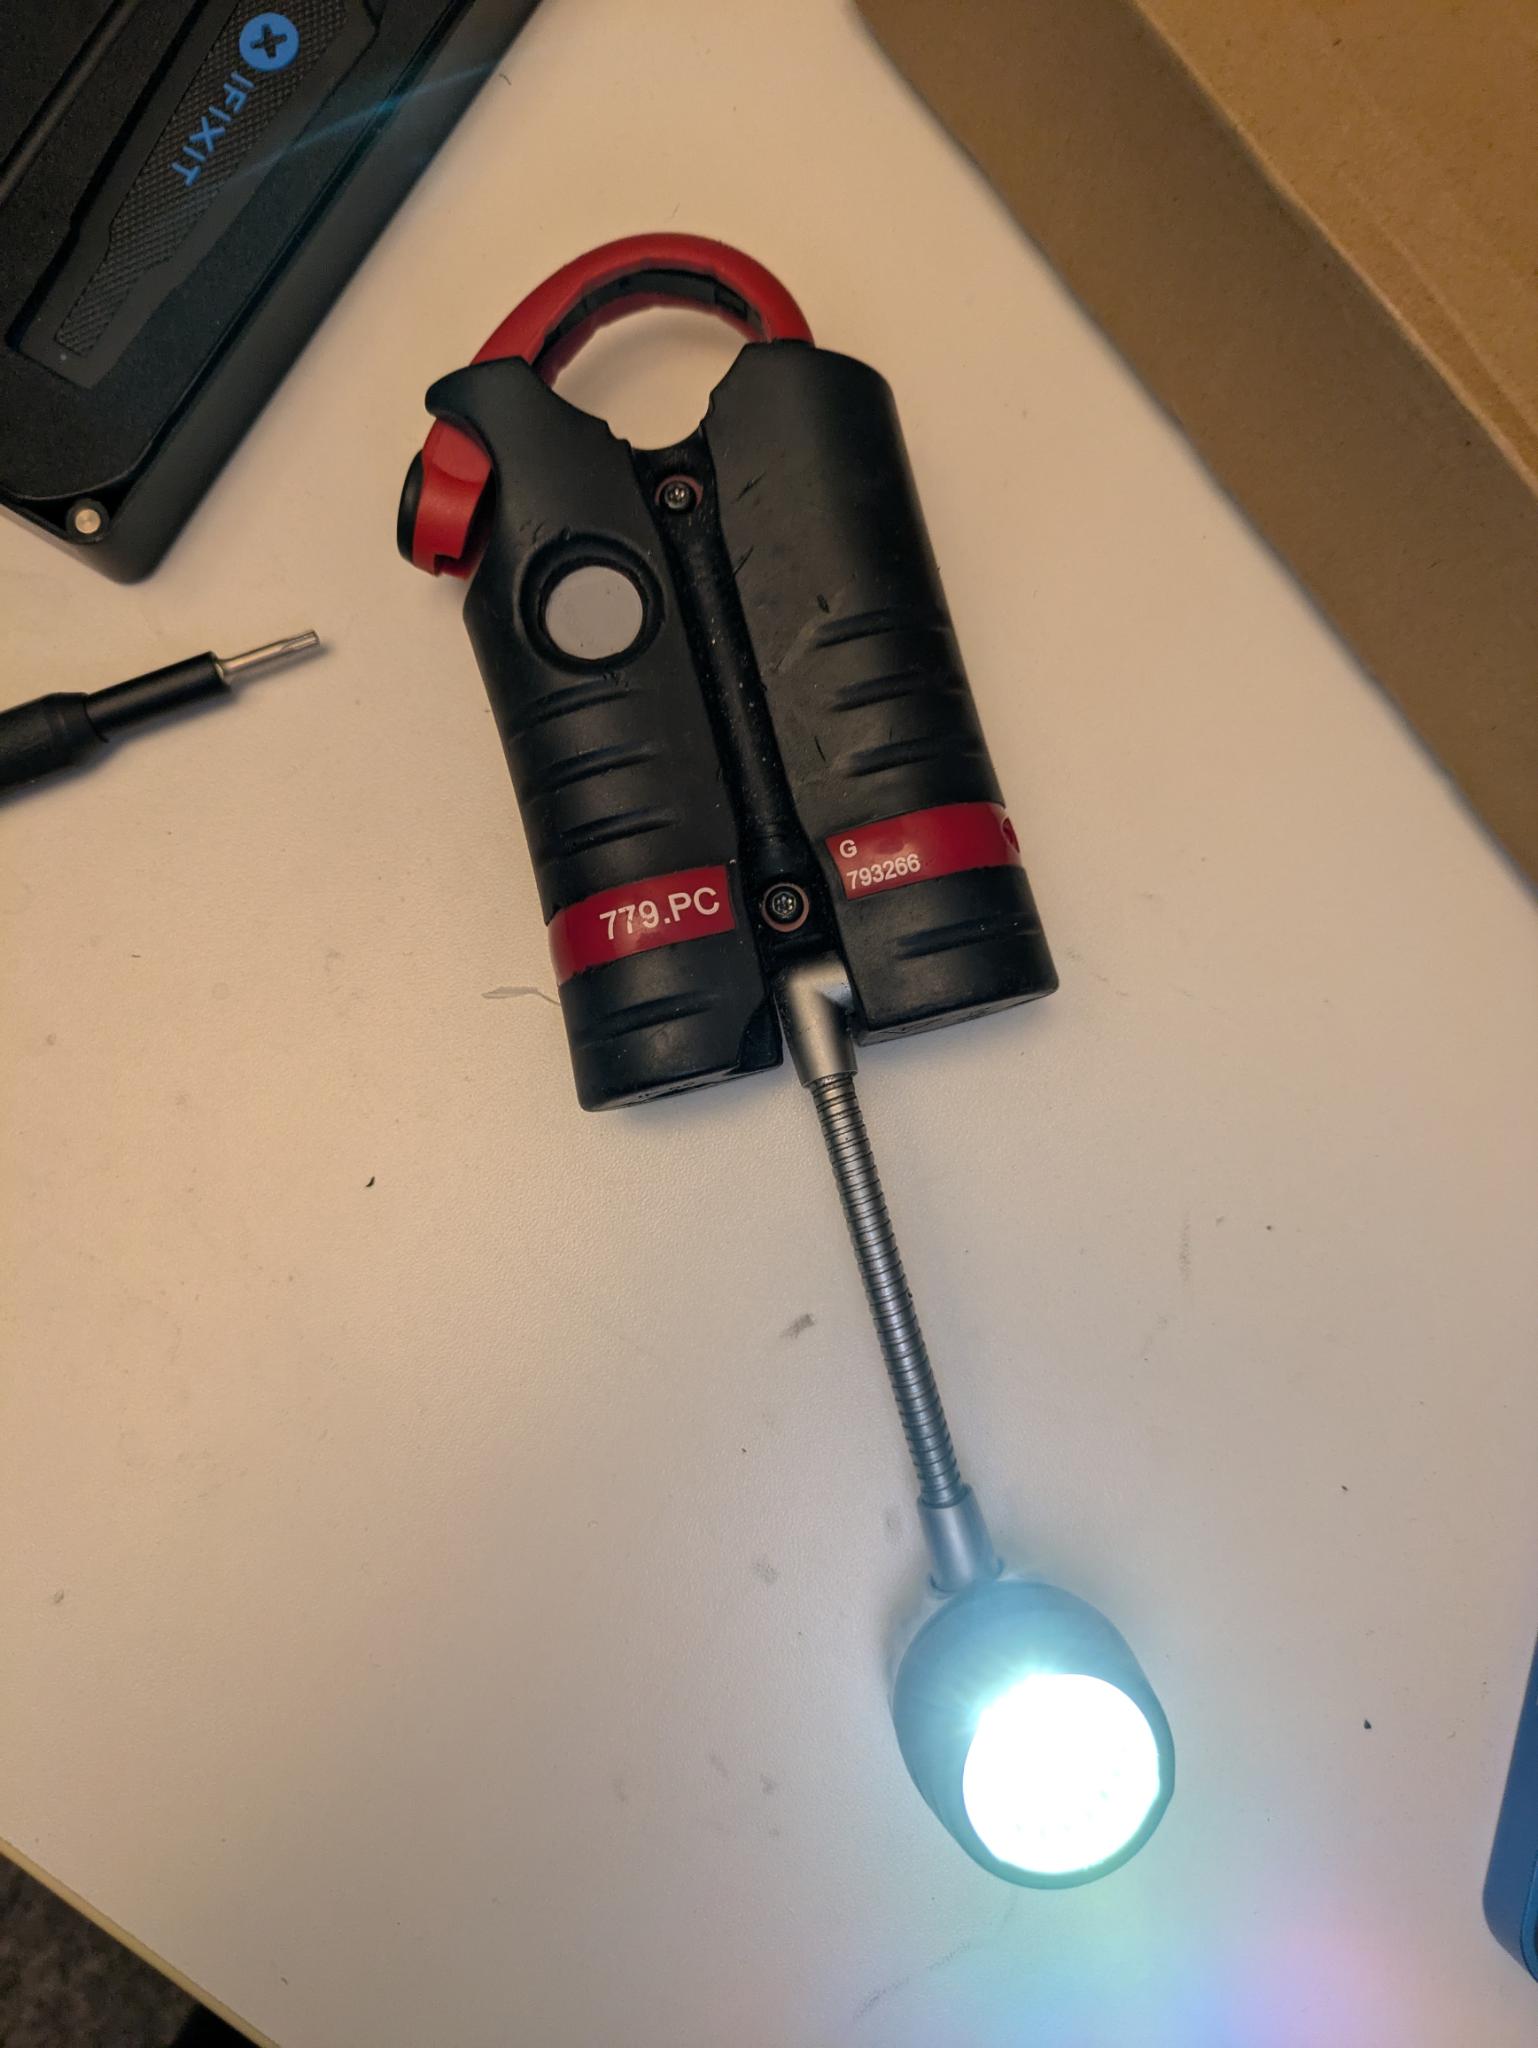
Facom 779.PC lamp button replacement
We calculate the final price from your selected file. You review and accept it before payment.
Saved on this device.
The button tore apart on my Facom 779.PC lamp. This design is inserted in the lamp to restore the lamp function.
- Rating
- 0 / 5
- Likes
- 0
- Downloads
- 12
- Makes
- 0
- Views
- 55
- Reviews
- 0
Updated at source:
Model information
- Source
- Printables
- Category
- Garage
- License
- Creative Commons — Attribution — Noncommercial — Share Alike
Printing instructions
Printed without support, biggest side down with ironing for the best finish on the visible side.
I had great result with 0.4mm nozzle.
Assembly
To install the button replacement, first remove the two TORX TR10 screws on the back of the lamp under the metal tube
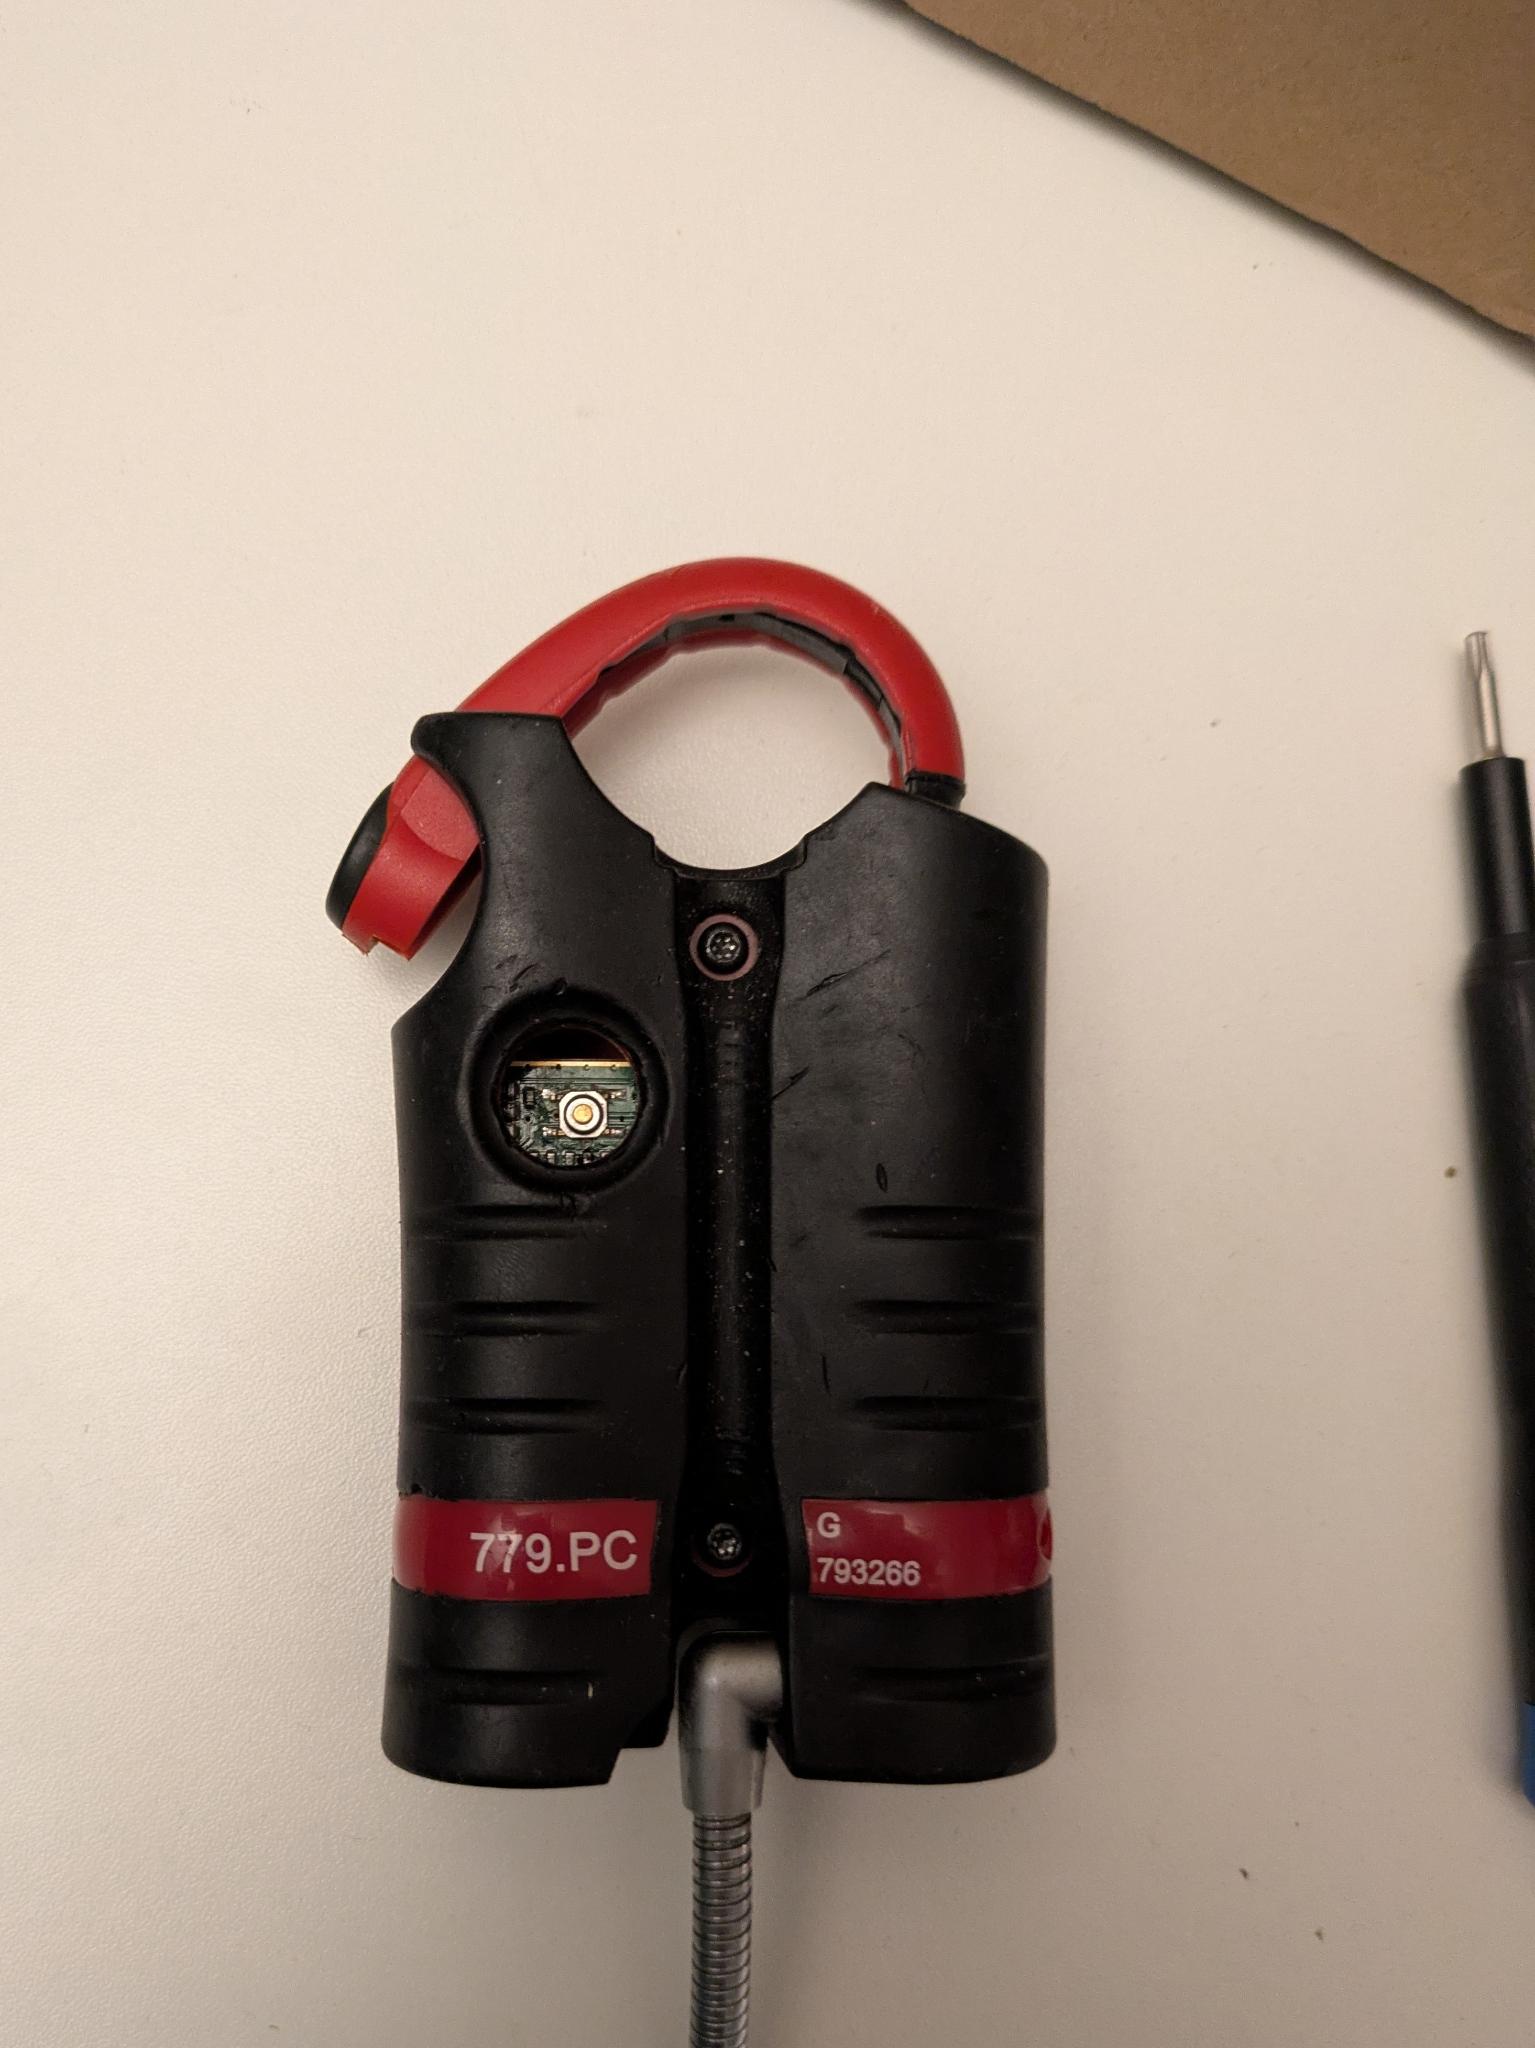
Then turn the lamp over
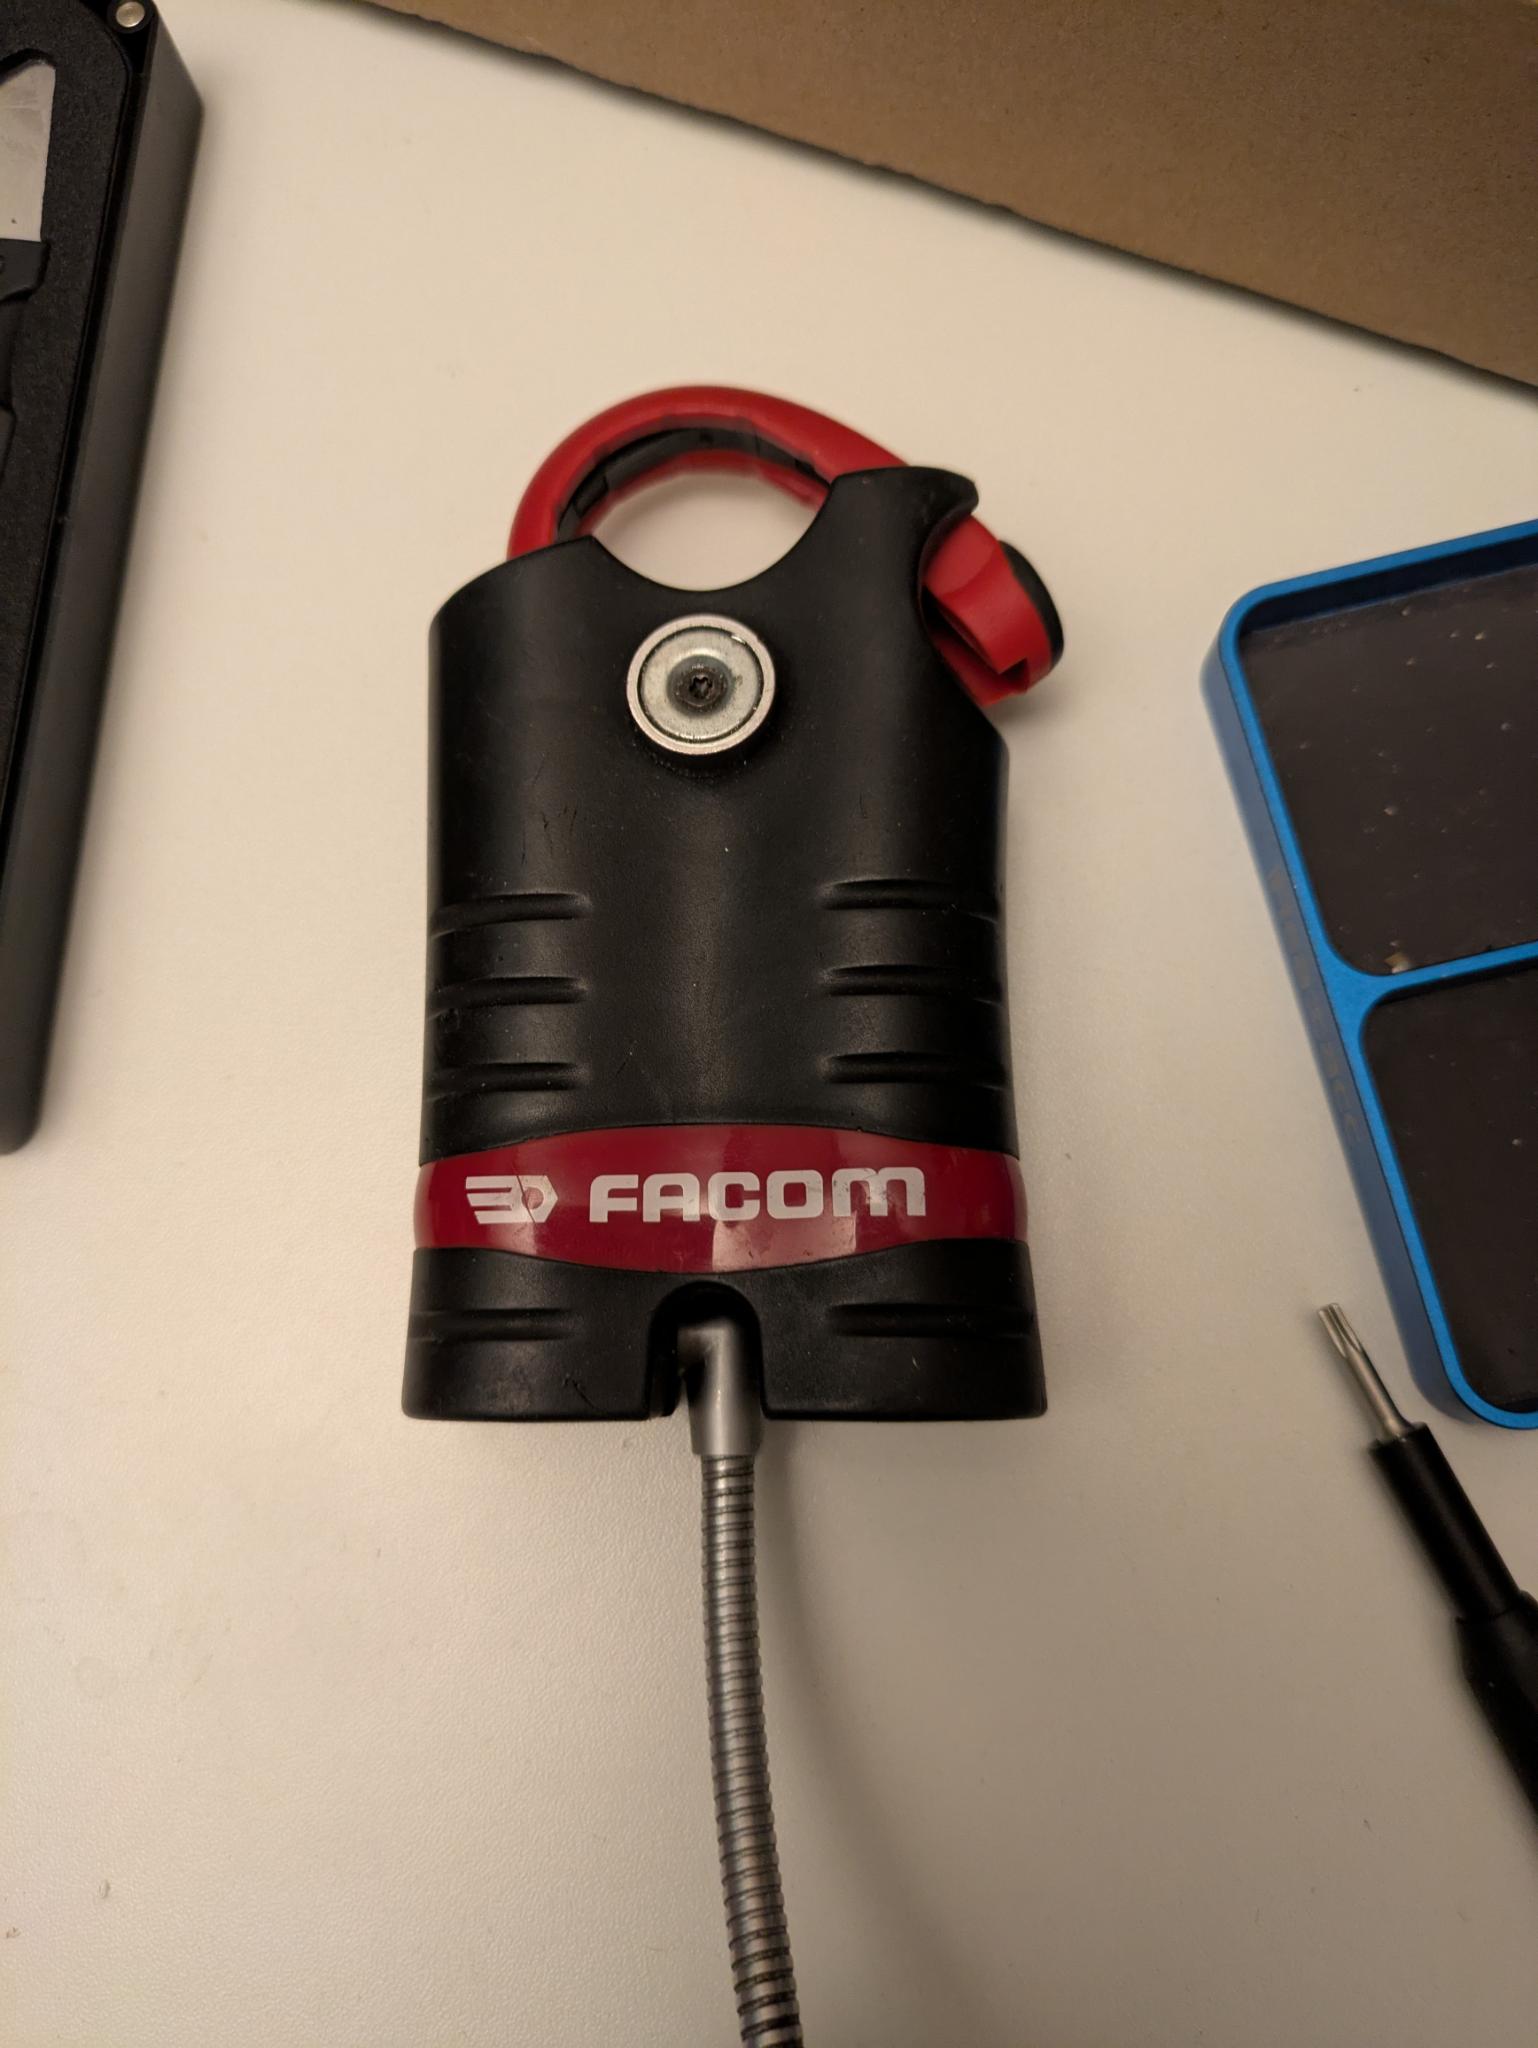
Separate the two halves
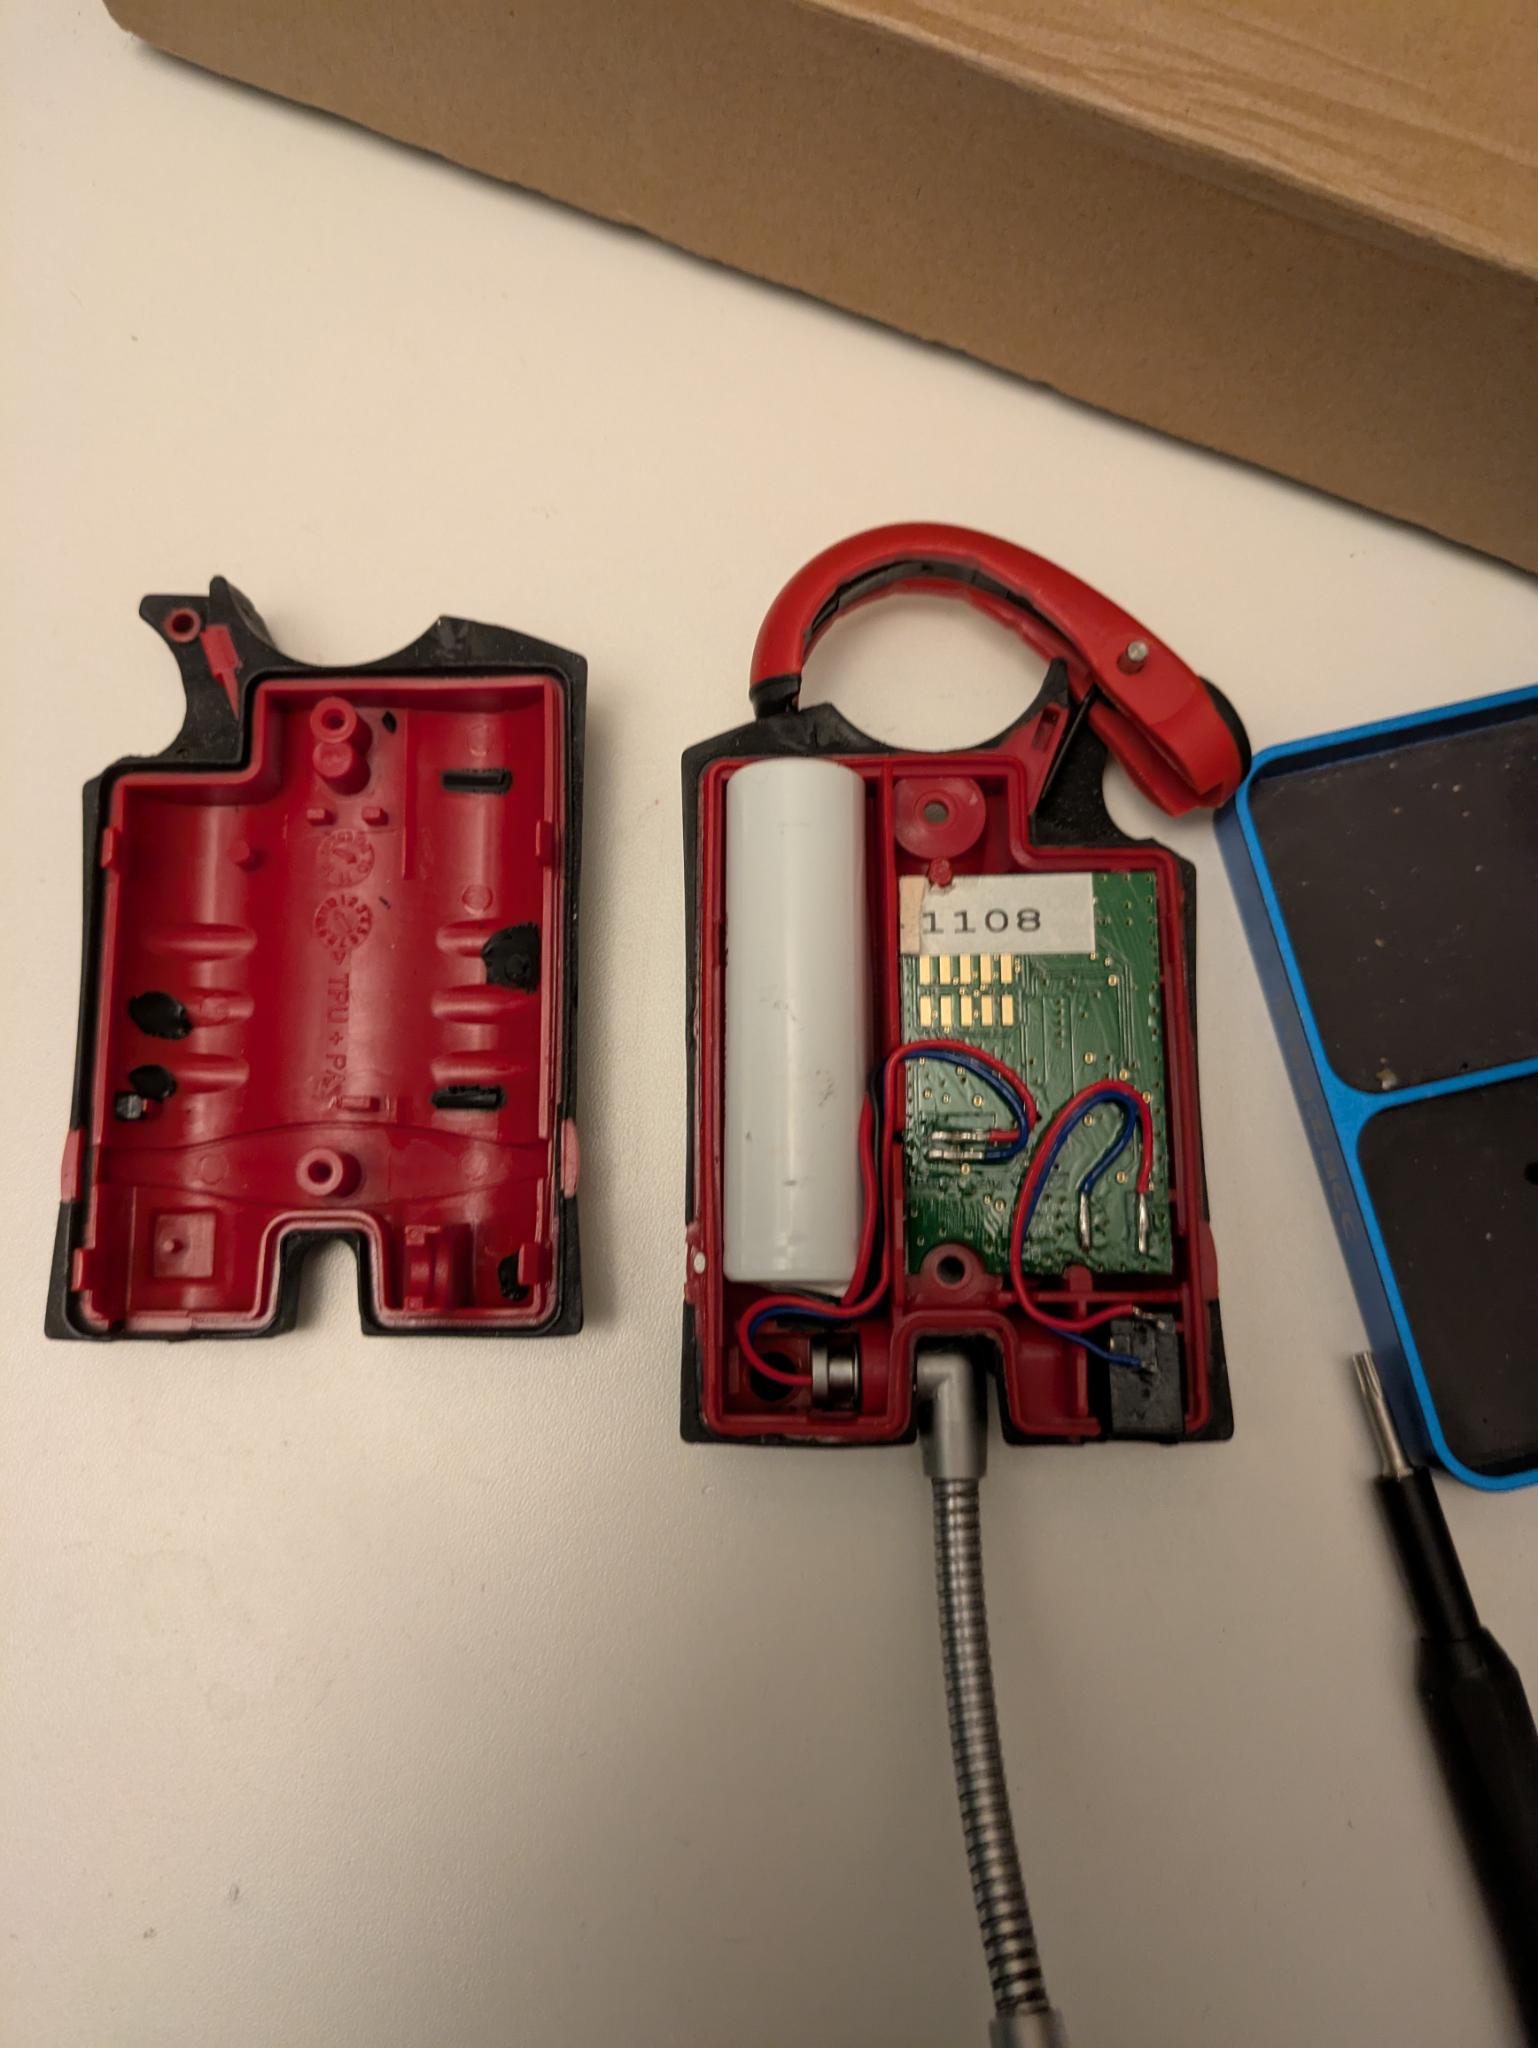
Carefully lift the PCB and the charging port to make room :
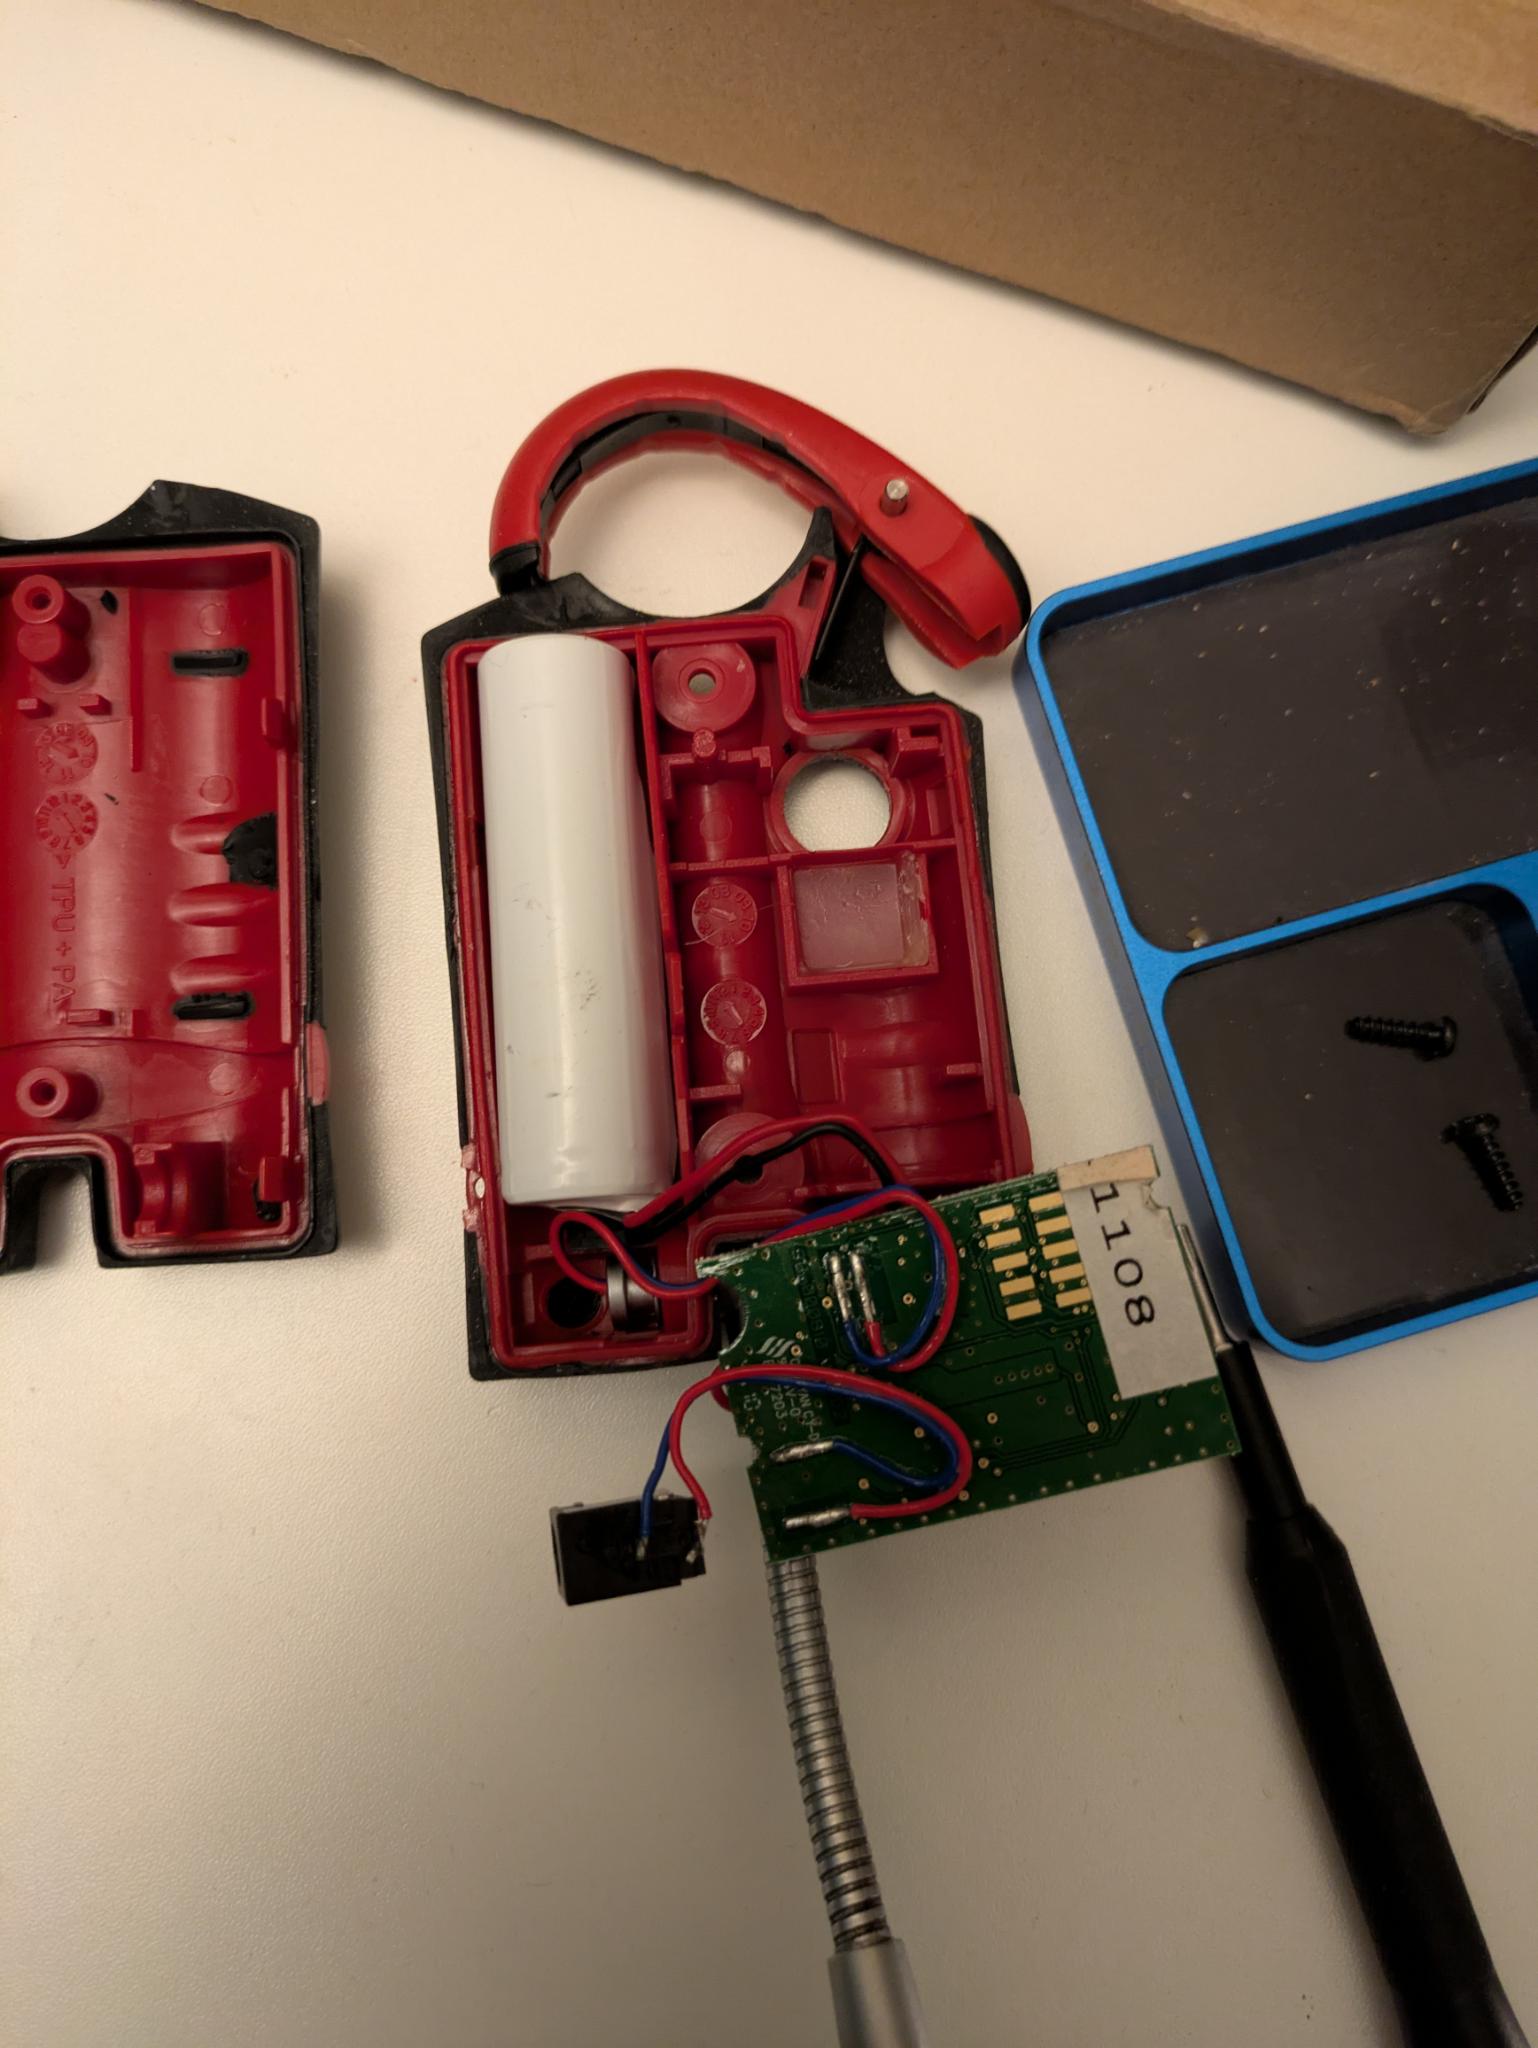
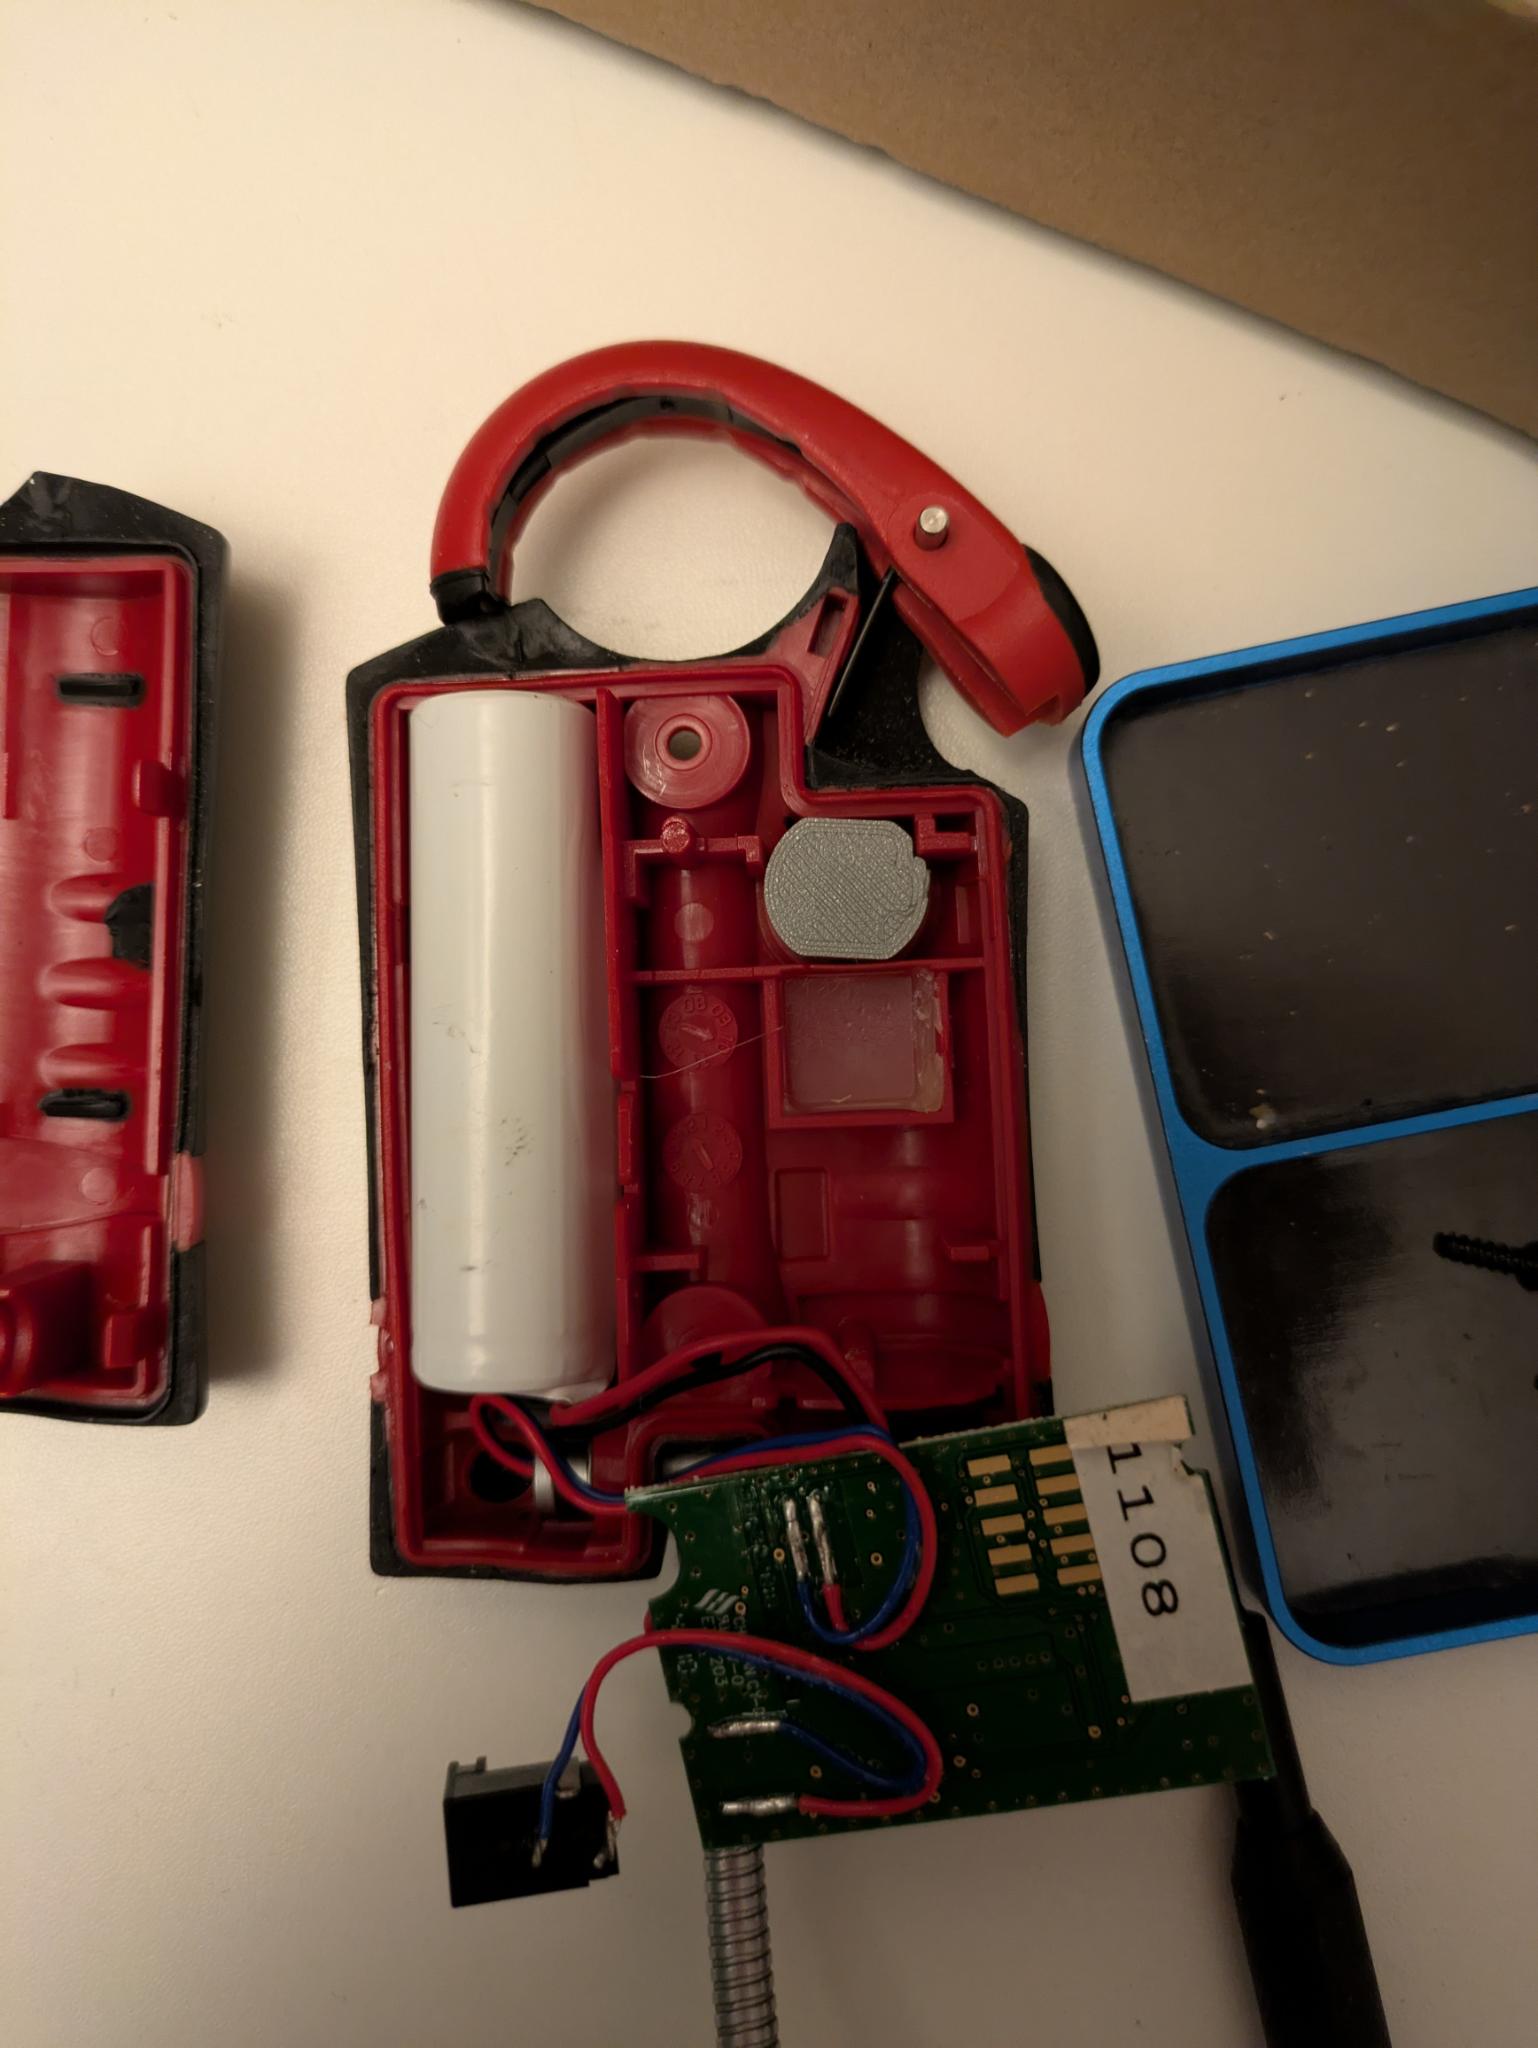
Insert the printed part in the hole, the missing corner nmatching the L shape on the top right of the lamp
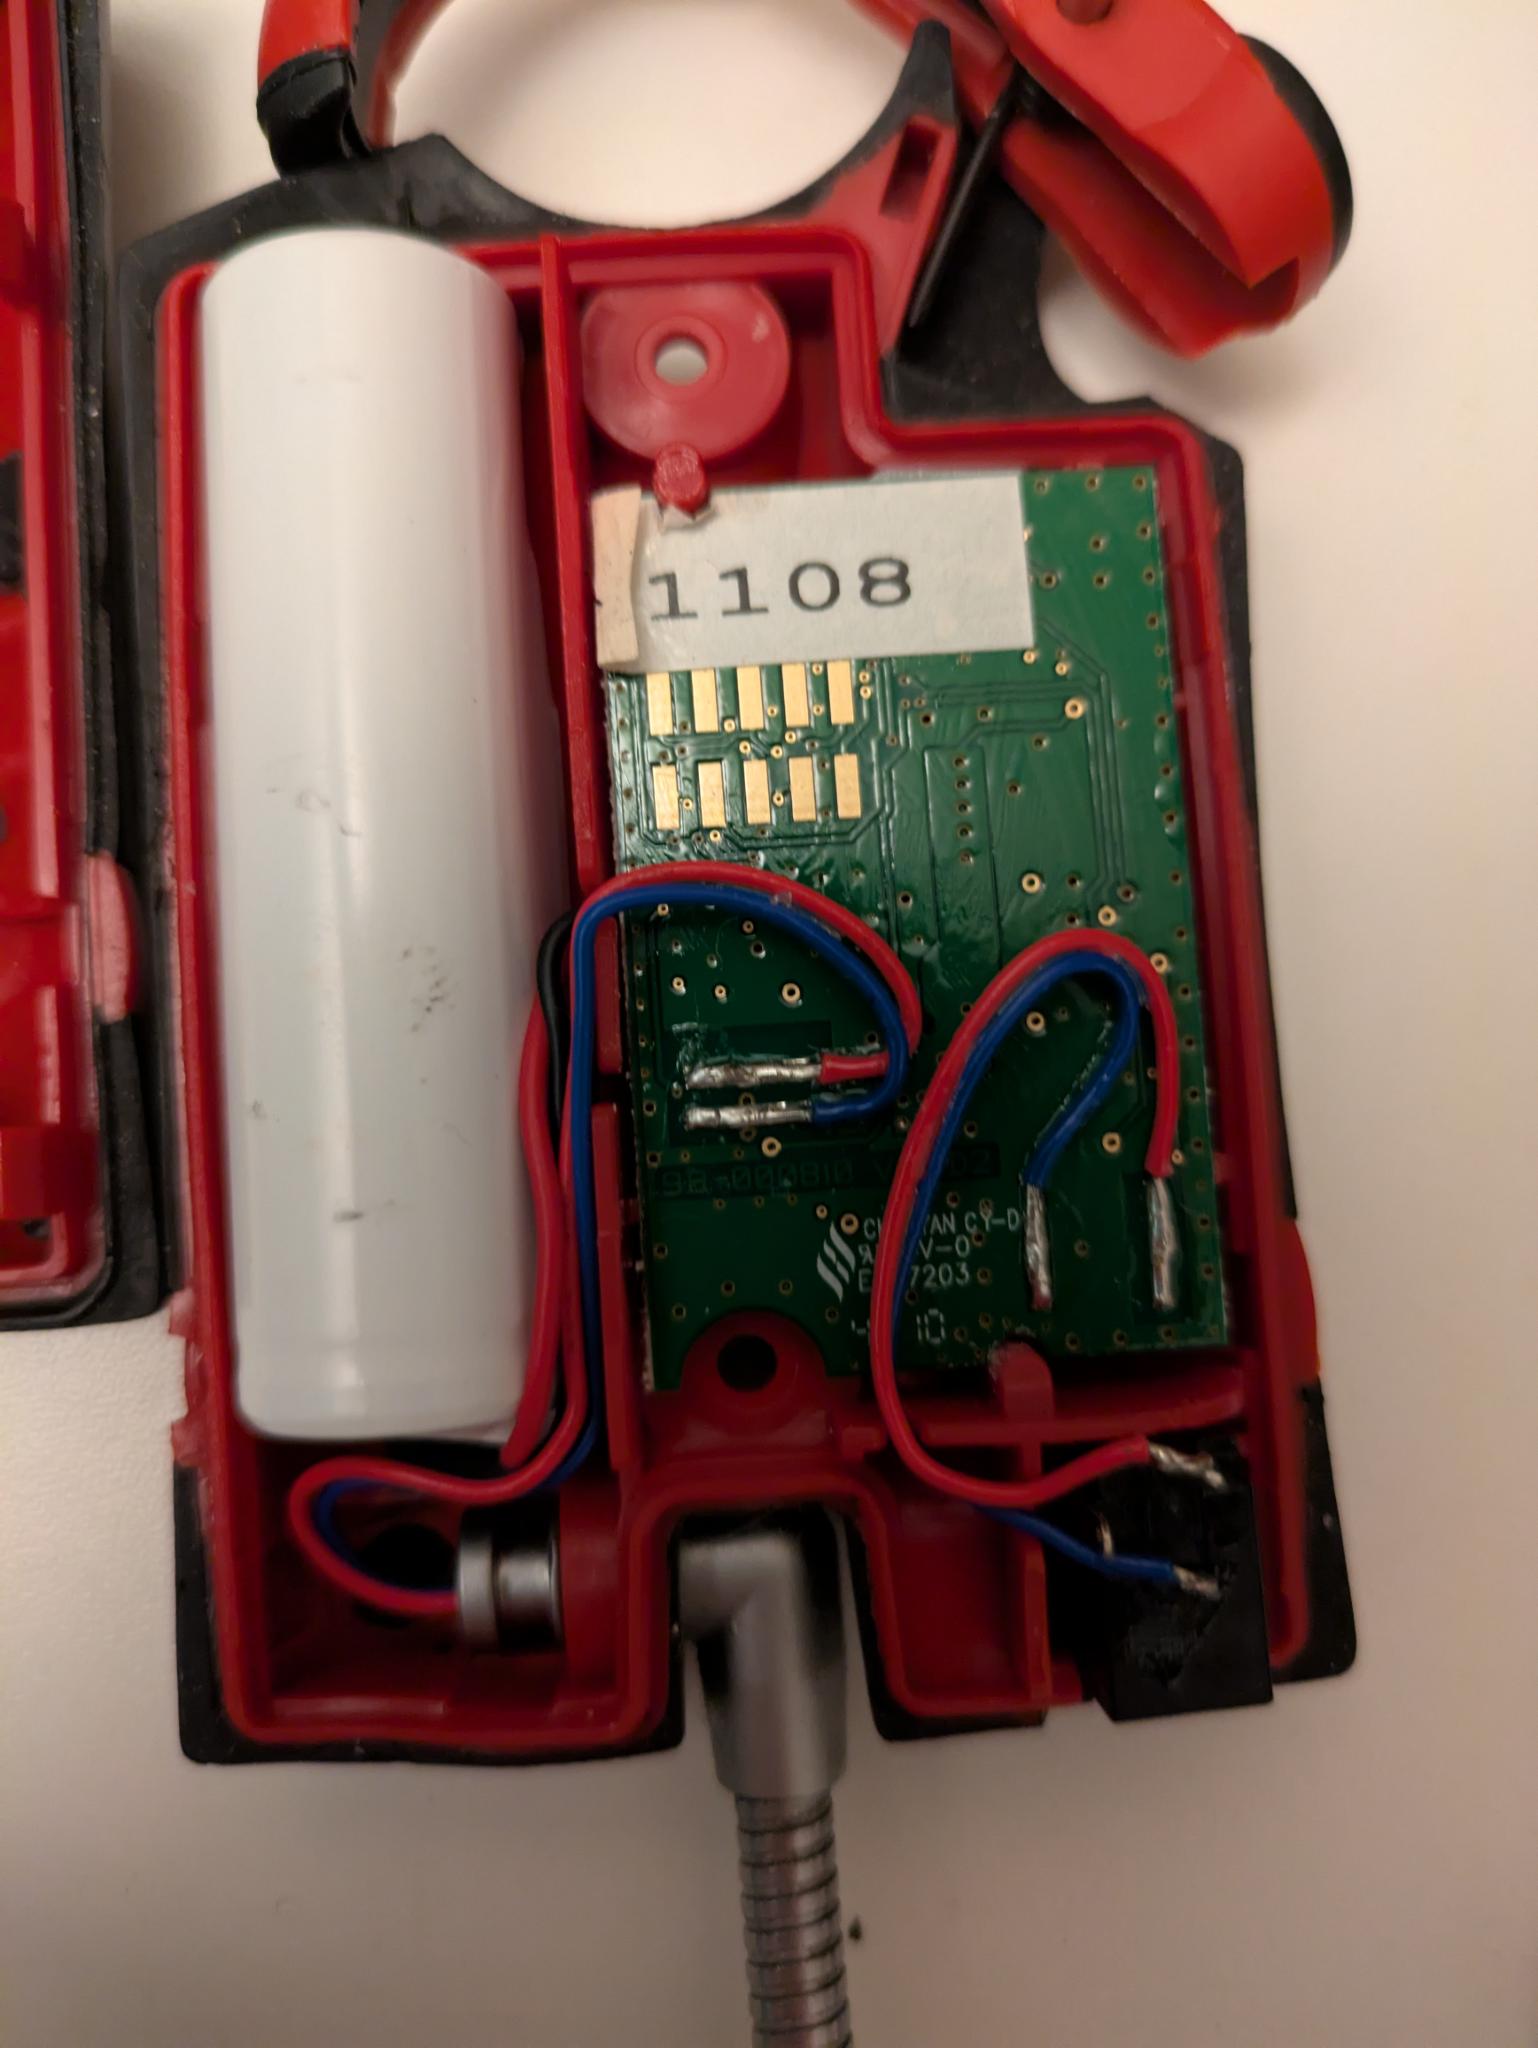
Replace the PCB and charging port, making sure the cables fit in the grooves as shown
Then assemble back the two halves, screw it back and enjoy !