
Surface Mount Case for Inkbird ITC-1000 AND Noctua NA-FC1 Controller
We calculate the final price from your selected file. You review and accept it before payment.
Saved on this device.

This case is for the Inkbird ITC-1000 Temperature Controller AND Noctua NA-FC1 Speed Controller.
- Rating
- 0 / 5
- Likes
- 6
- Makes
- 0
- Views
- 267
- Reviews
- 0
Updated at source:
Model information
- Source
- Printables
- Category
- Electronics
- License
- Standard Digital File License
I needed a temperature-controlled fan to vent the fridge's cabinet in the van I am converting. I also wanted to be able to control the RPM to mitigate the noise. So I came up with this:
The Idea:

The Components:
(affiliate links)
- Inkbird ITC-1000F 12V Temperature Controller.
- Noctua NA-FC1 Speed Controller. (optional, could be omitted)
- Noctua 92 mm x 14 mm PWM Cooling Fan.
- Wago 221 Lever Nuts Connectors.
Same as above, but SEXY!
Front:

Back:
Because I'll use this in a mobile application, I went the extra mile and incorporated cable retainers (x2) in the design. The cable retainers prevent the connectors from getting loose.

Back Wiring:

The connector (going to the fan) can't get loose thanks to the retention feature inside:

The 3D-Printed Parts:

Print Settings I Used:
- ABS-GF Filament for high-temp resistance and because I love the finish!
- Print orientation and supports:
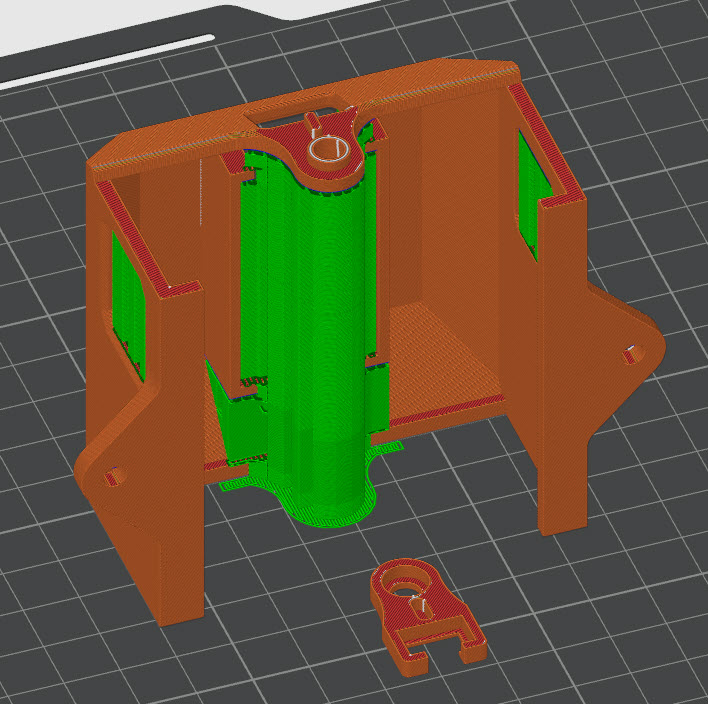
Assembly:
- Connect the fan to the Noctua controller, then slide into the case (as shown above).
- Wire the Inkbird ITC-1000F (except the wires +/- wires going into the Noctua controller).
- Slide the Inkbird into the case (from the front).
- Connect the +/- connector into the Noctua controller, then attach the cable retainer (use the screw provided with the Inkbird).
- Mount to a wall or any surface.
This will be incorporated in the fridge's cabinet in my van. The goal is to force the cool air to go over the fridge's coil and compressor, and exhaust on top with the fan. There are a few inches gap behind and on top of the fridge (hard to see below):


You can follow the build here: faroutride.com
Cheers,
Antoine