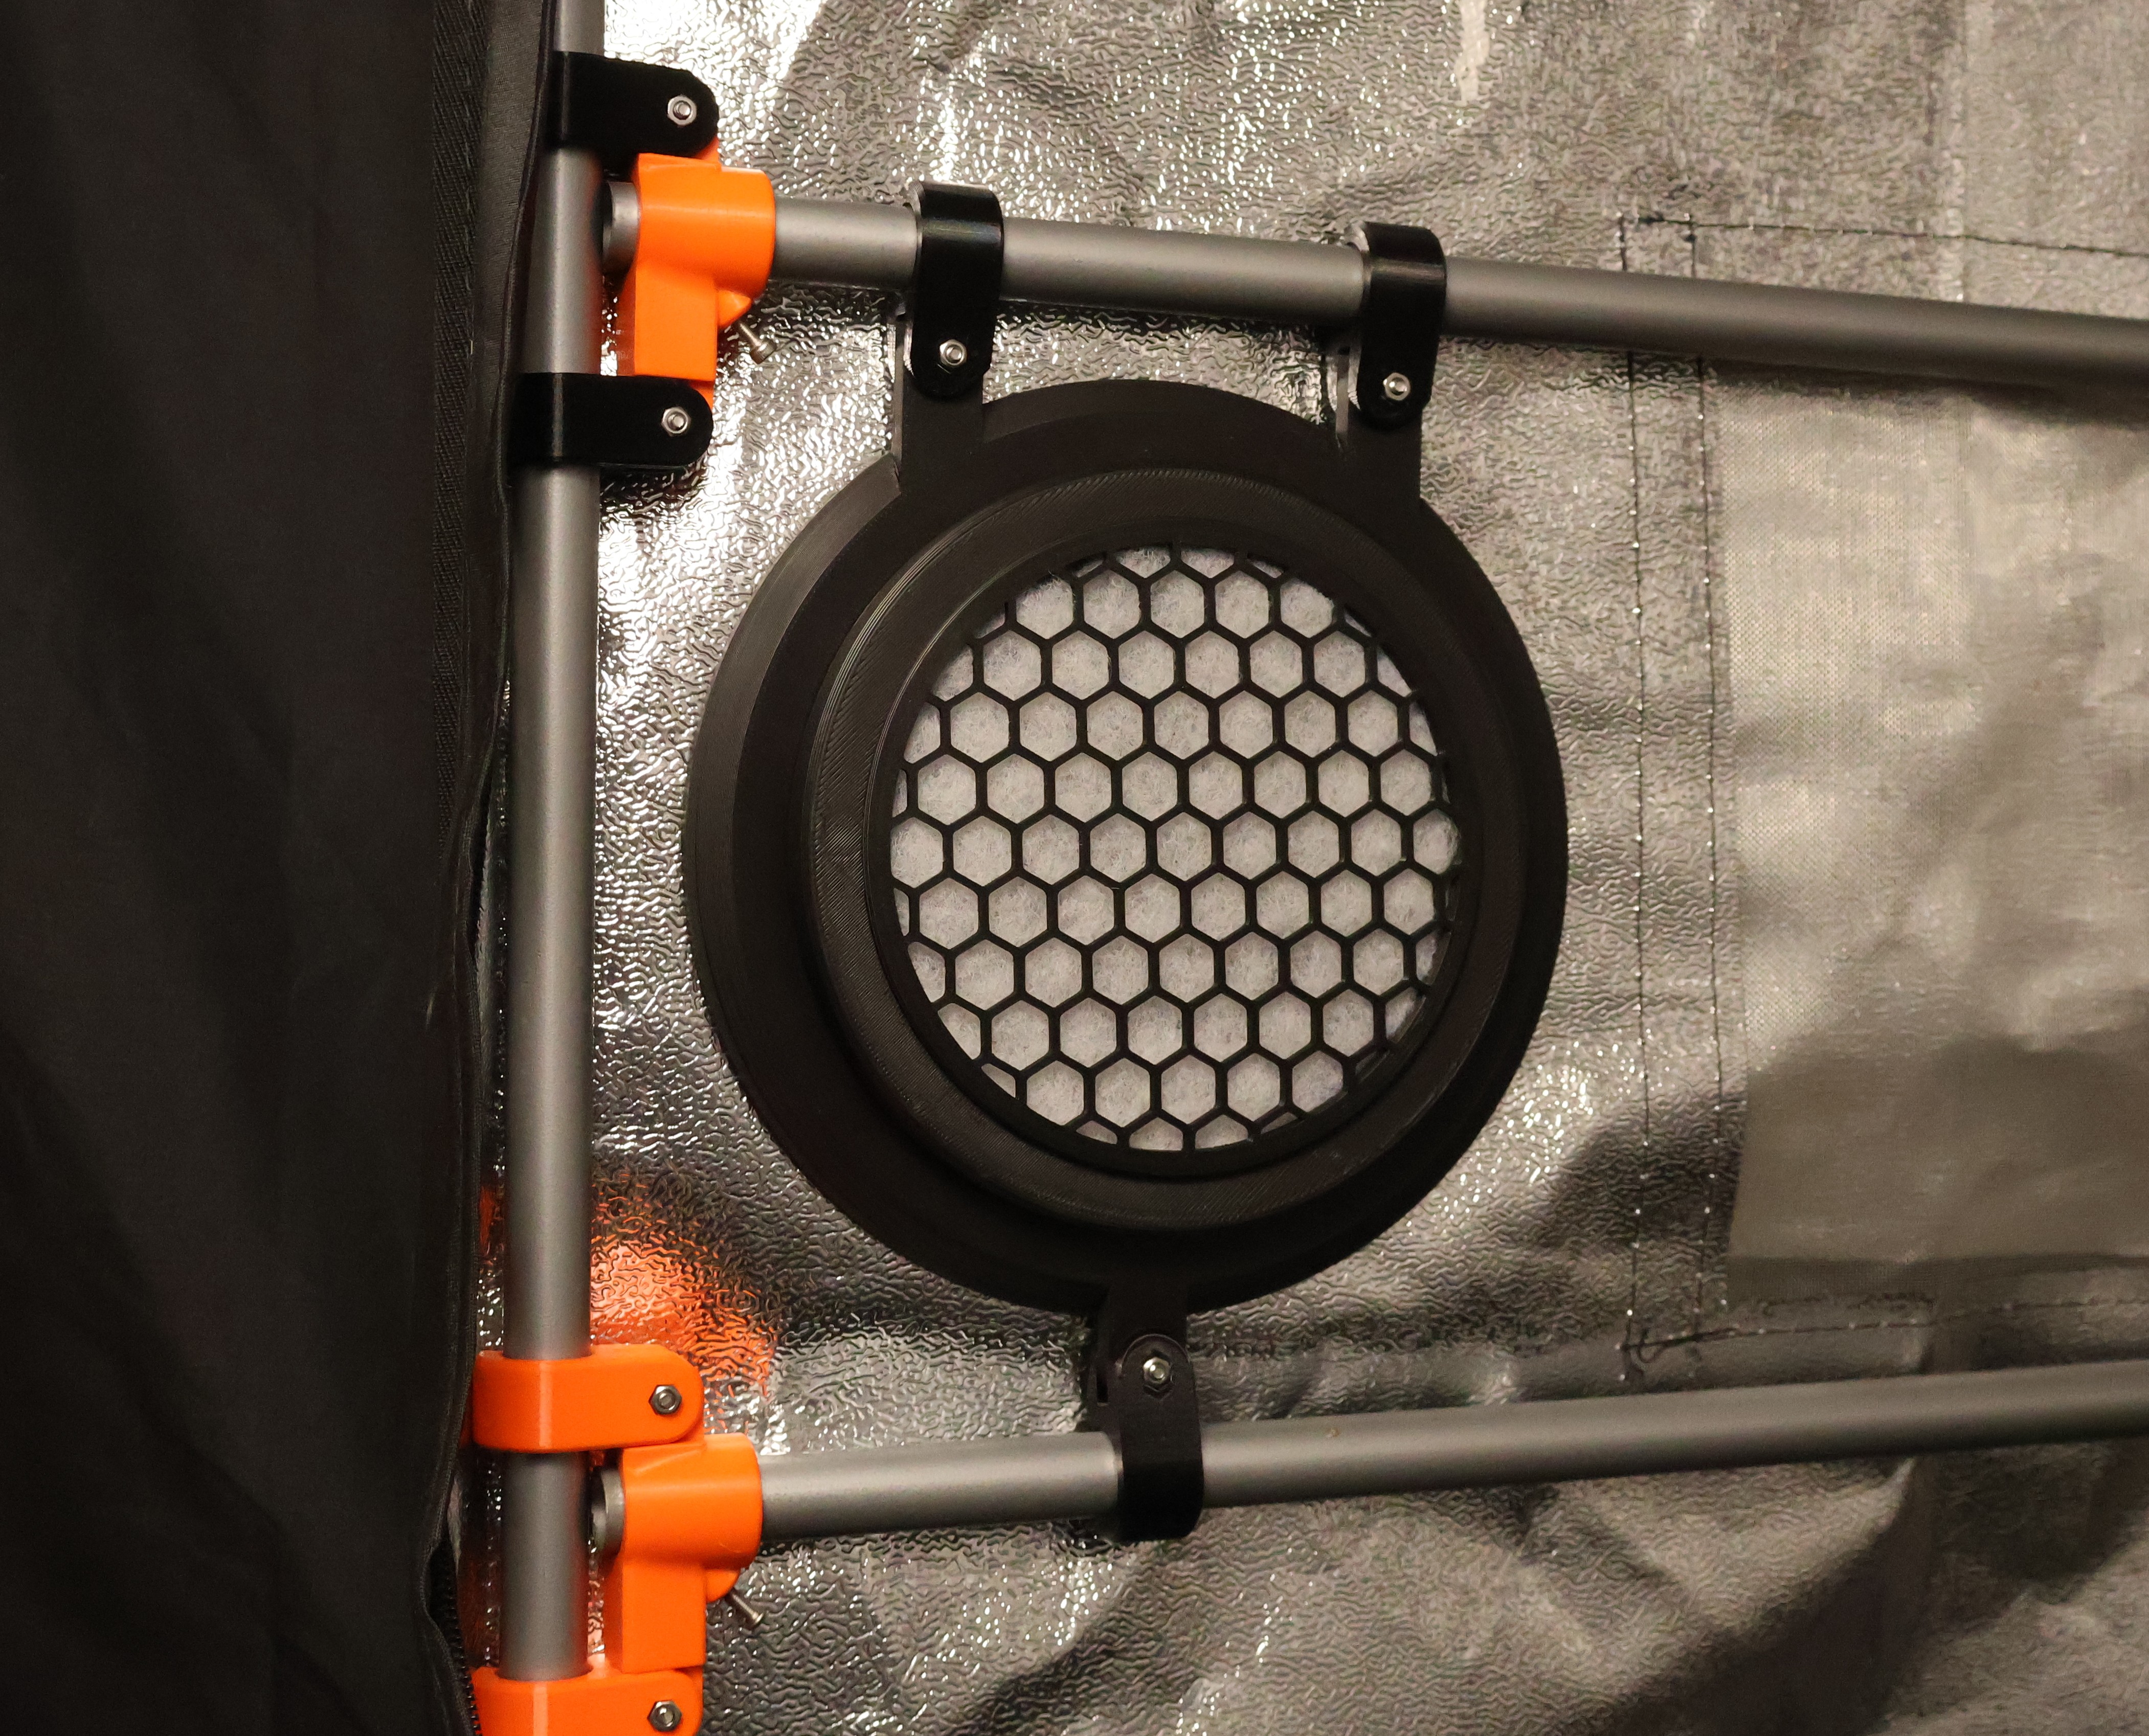
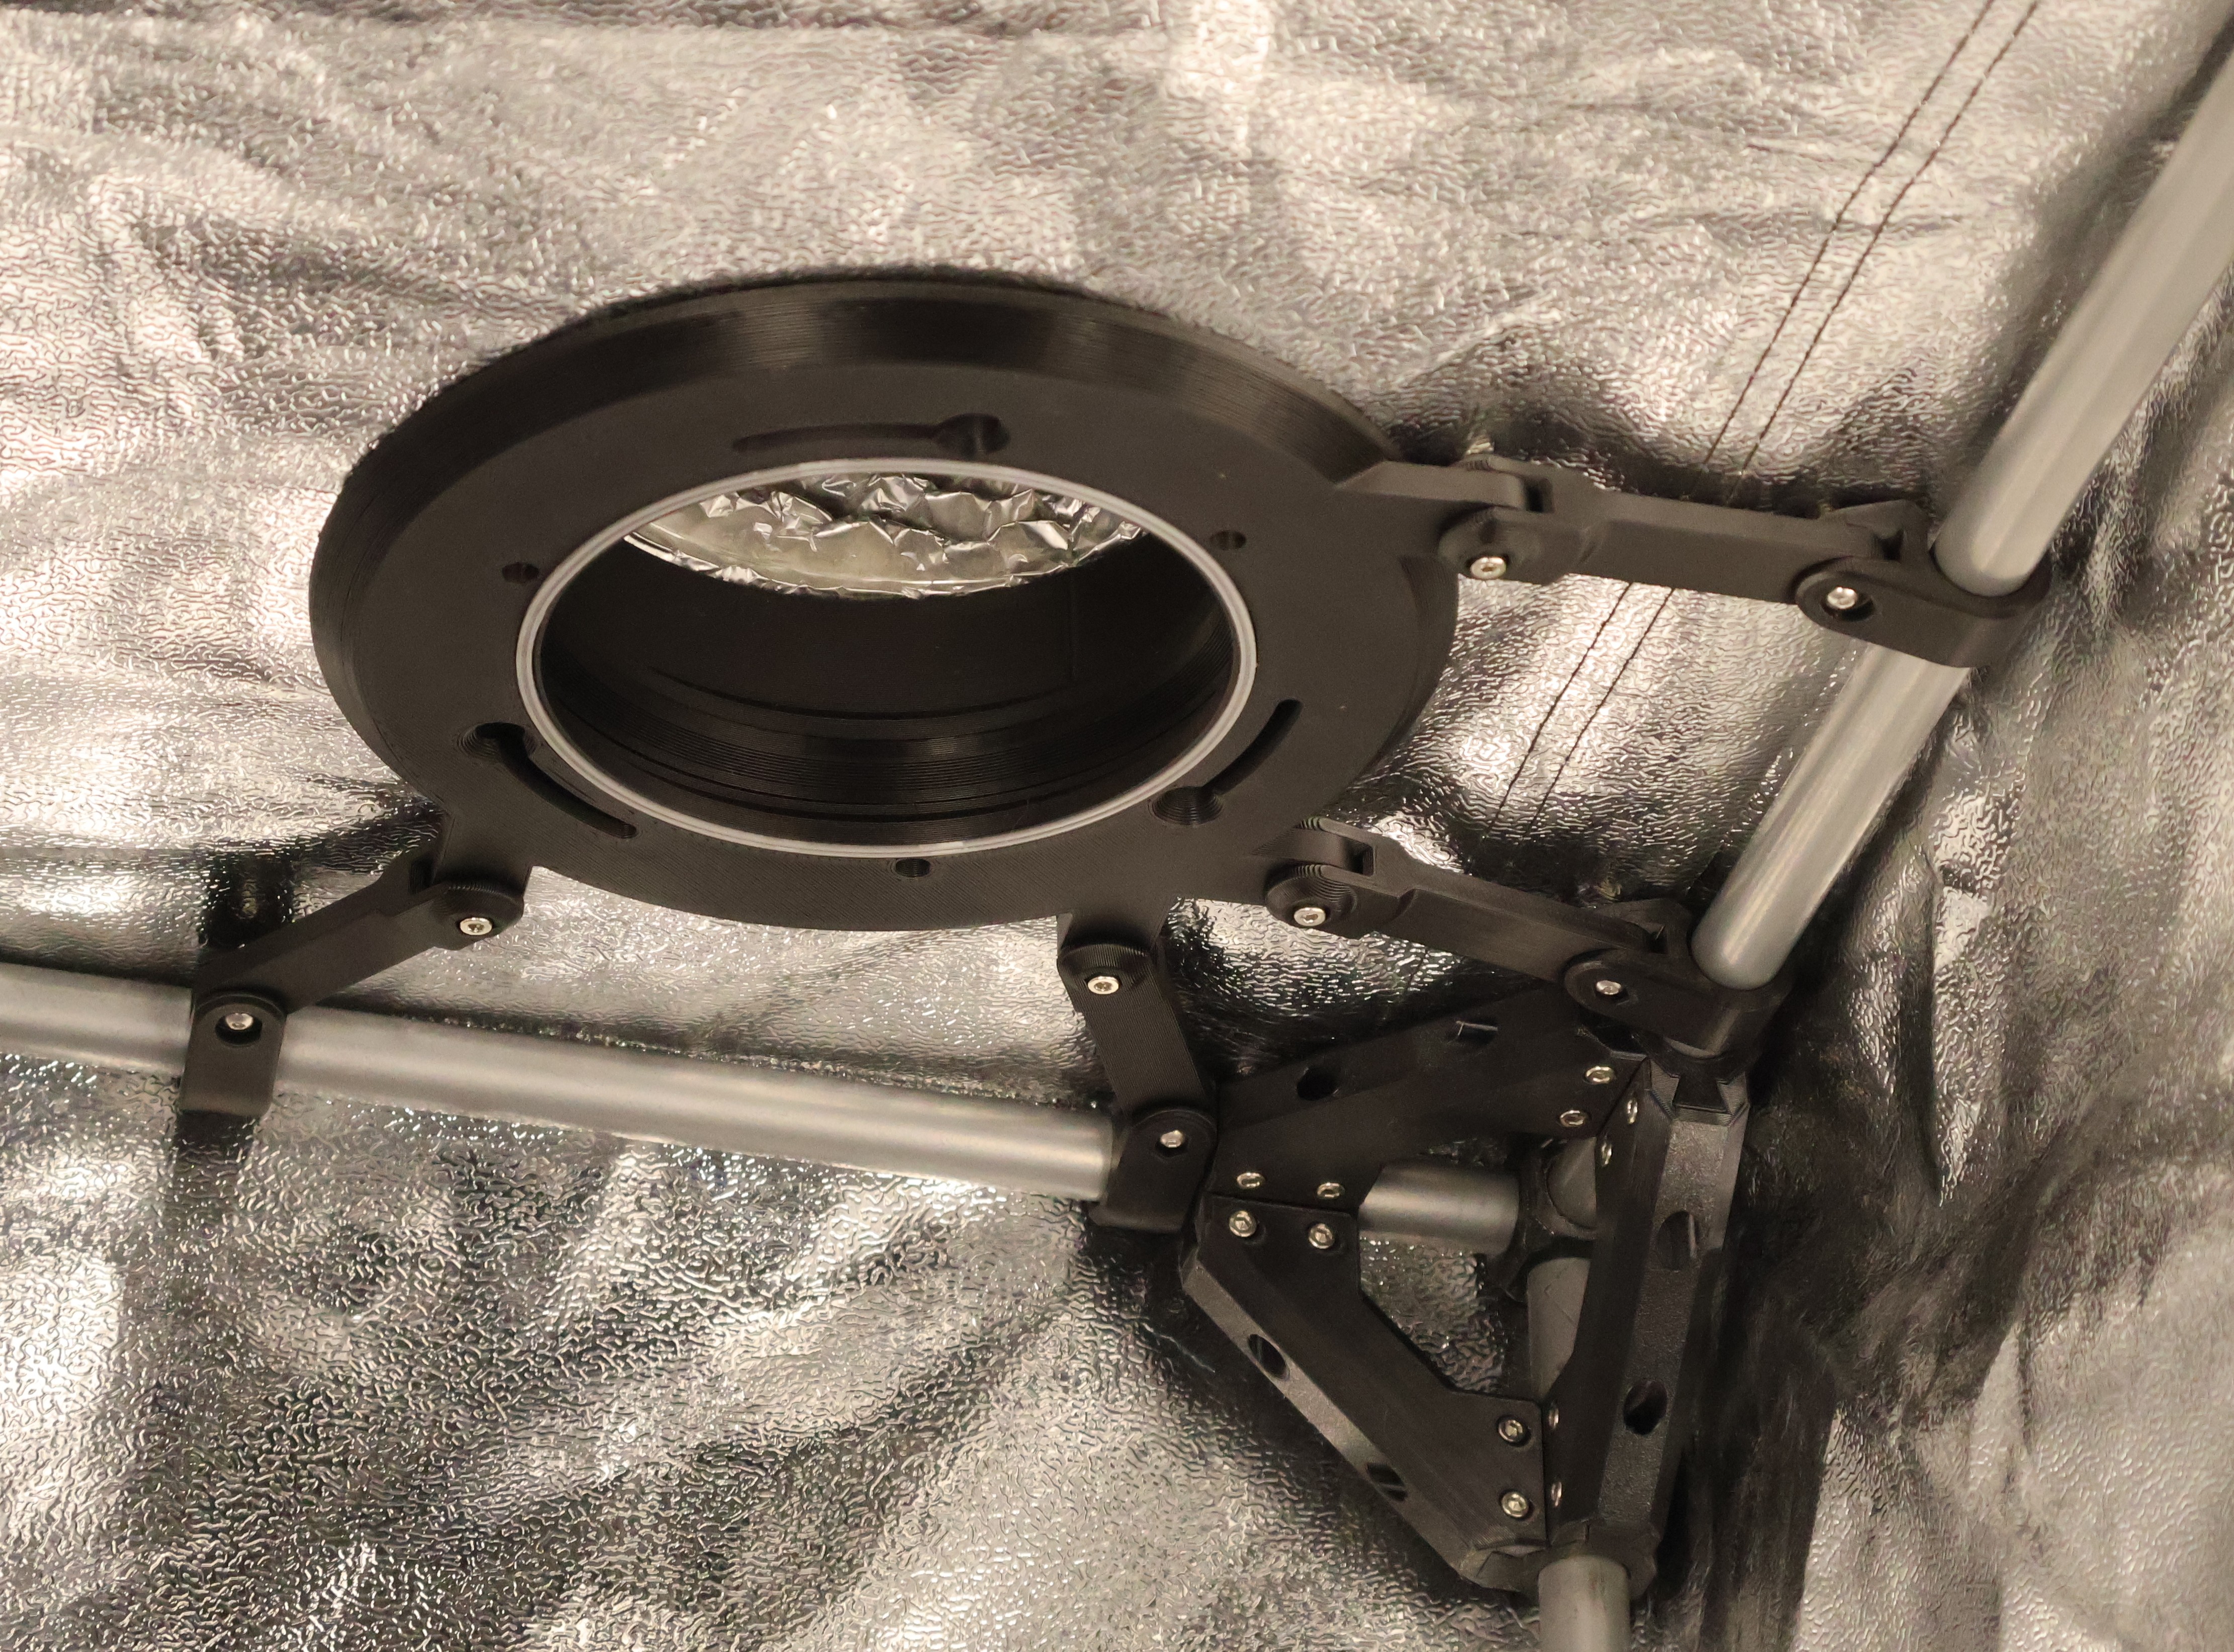
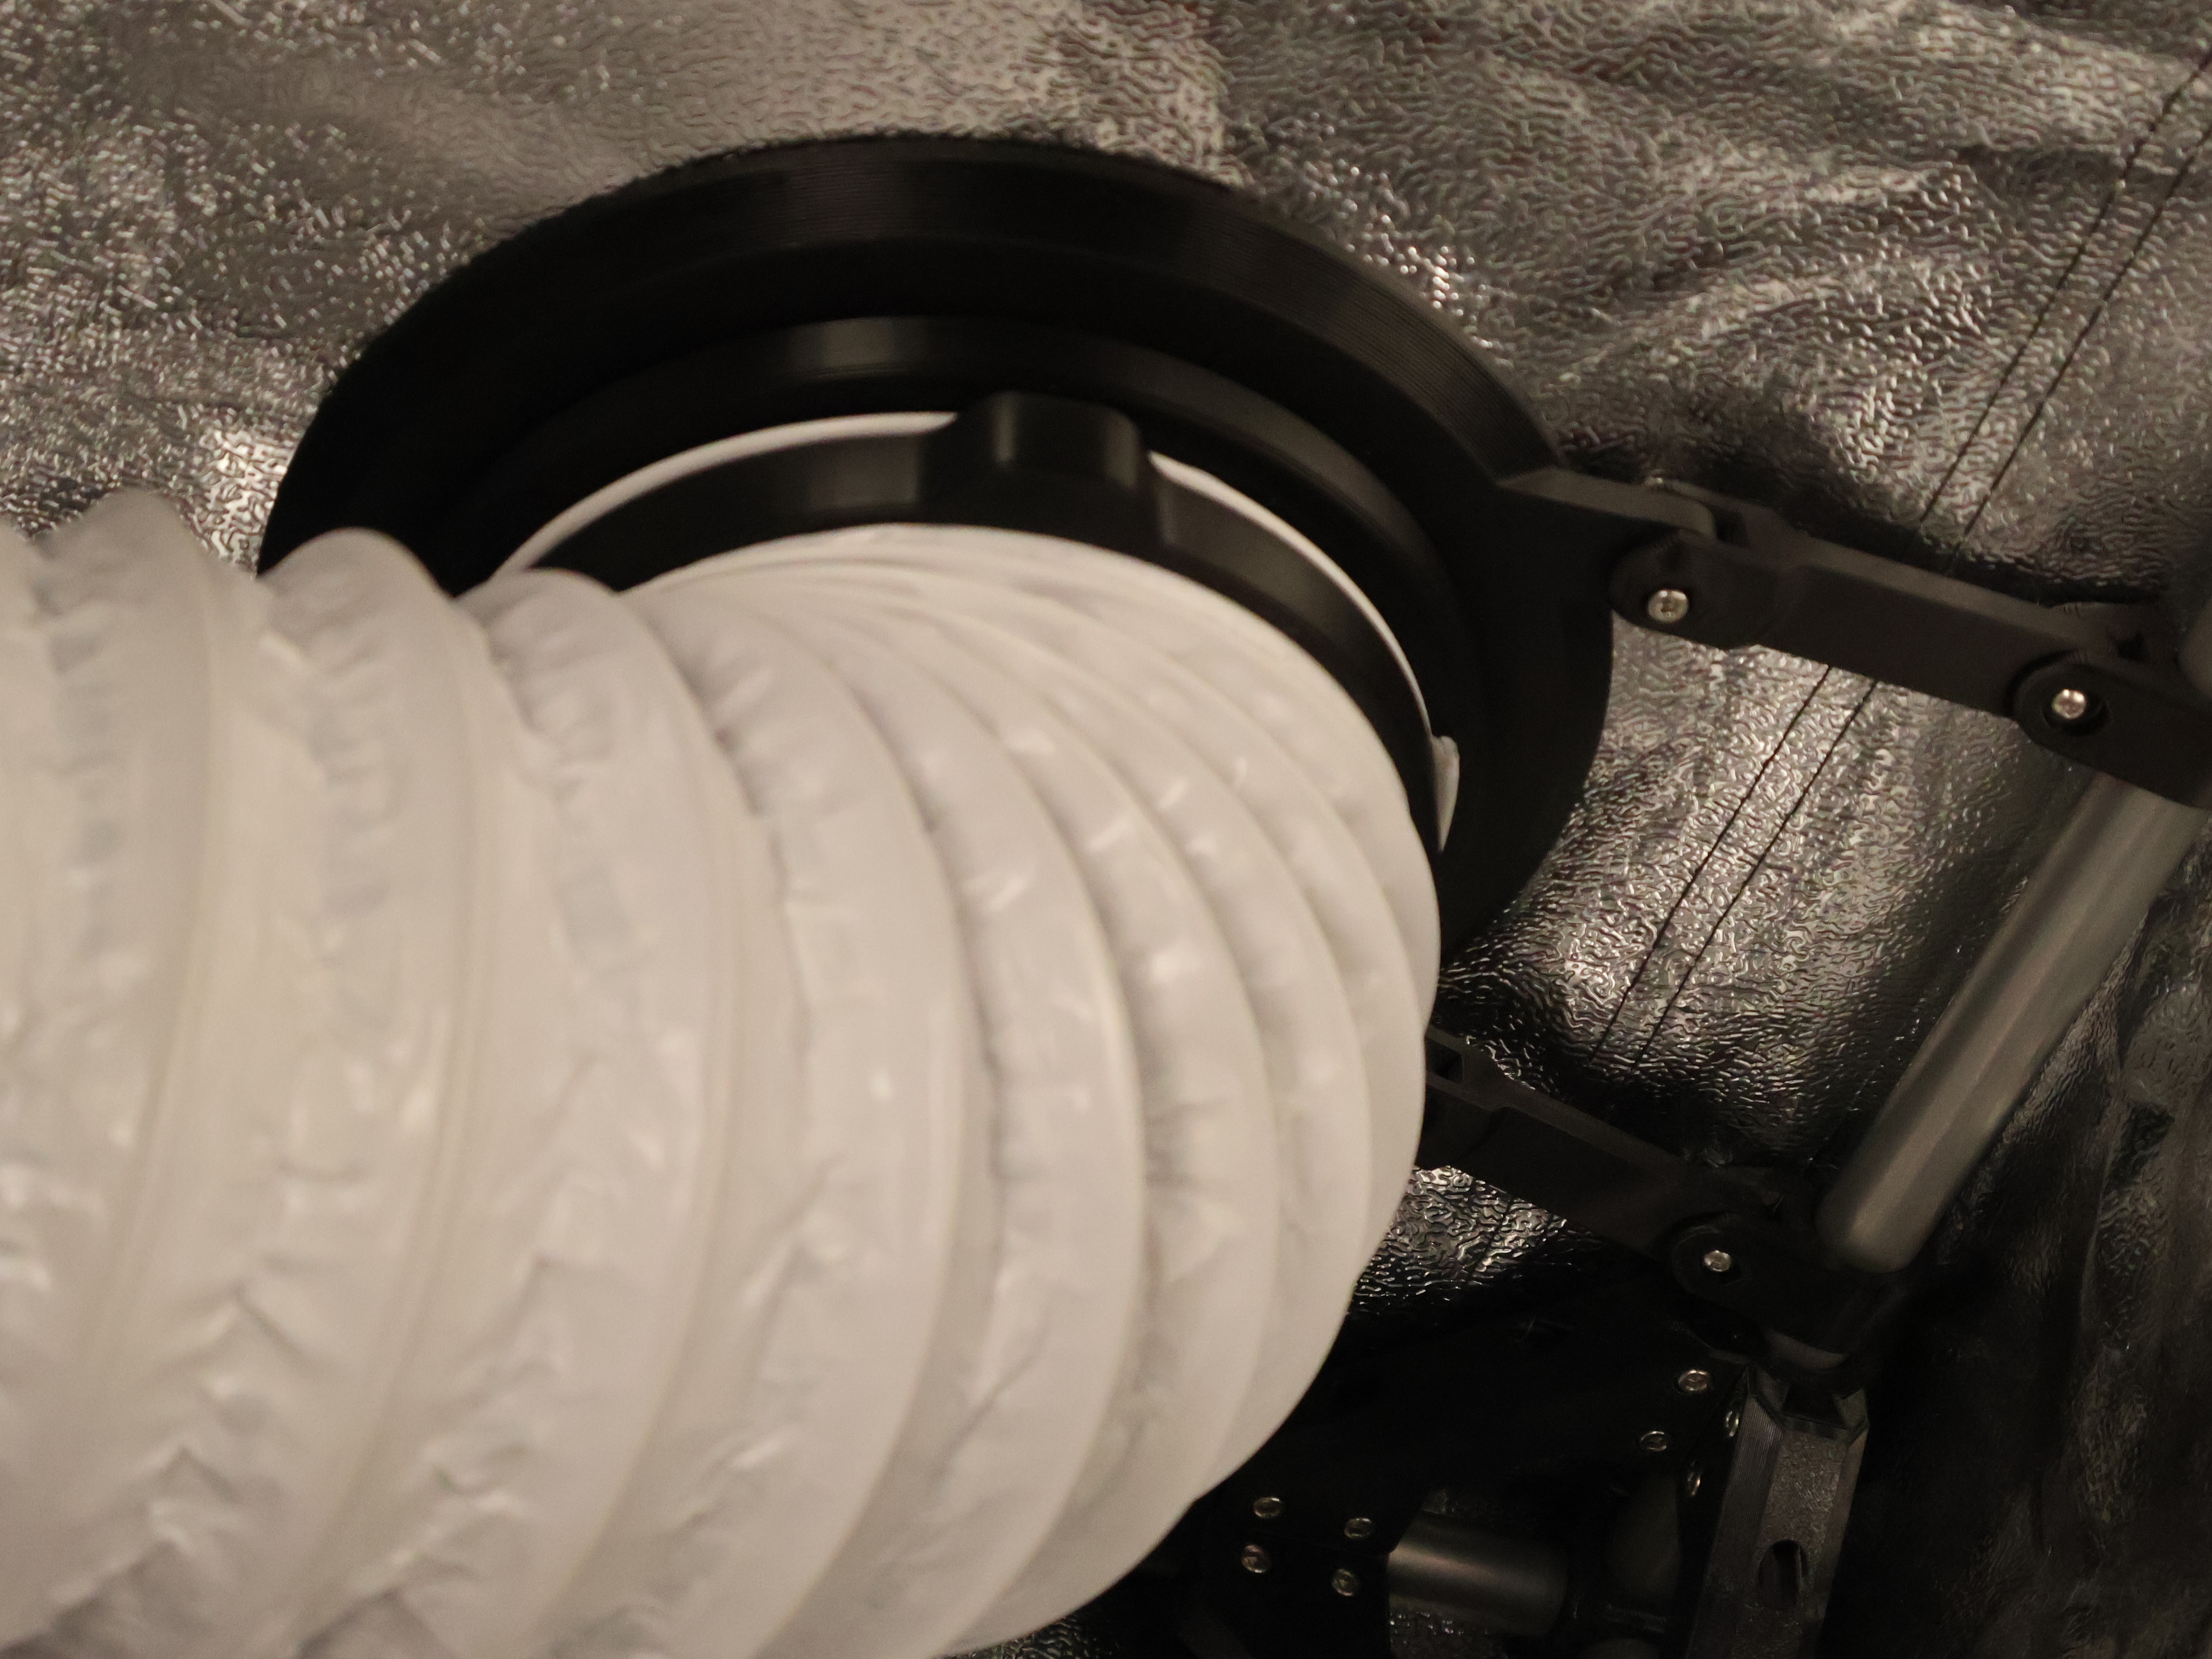
v1.0 & 1.3 "THE FLANGE" ventilation system - MXG_3 air hose duct coupling - luftschlauch kupplung durchführung enclosure
We calculate the final price from your selected file. You review and accept it before payment.
Saved on this device.
Model information
- Source
- Printables
- Category
- Outdoor & Garden
- License
- Standard Digital File License
If you like what I do here, come visit my (German) Discord or my Facebook group.
Discord: MX-creations
Facebook: 3D printed Grow Tools & Accesories - free .stl
- v1.0 is used for coupling 100/125/150mm
- v1.3 is used for coupling 38/50/63/75/80/90/100/125/150/160/180/200 mm air hoses
changelog:
13.05.2026
- release v1.3
The Flange – Tent and Wall Pass-Through for The Connector V1.3 System
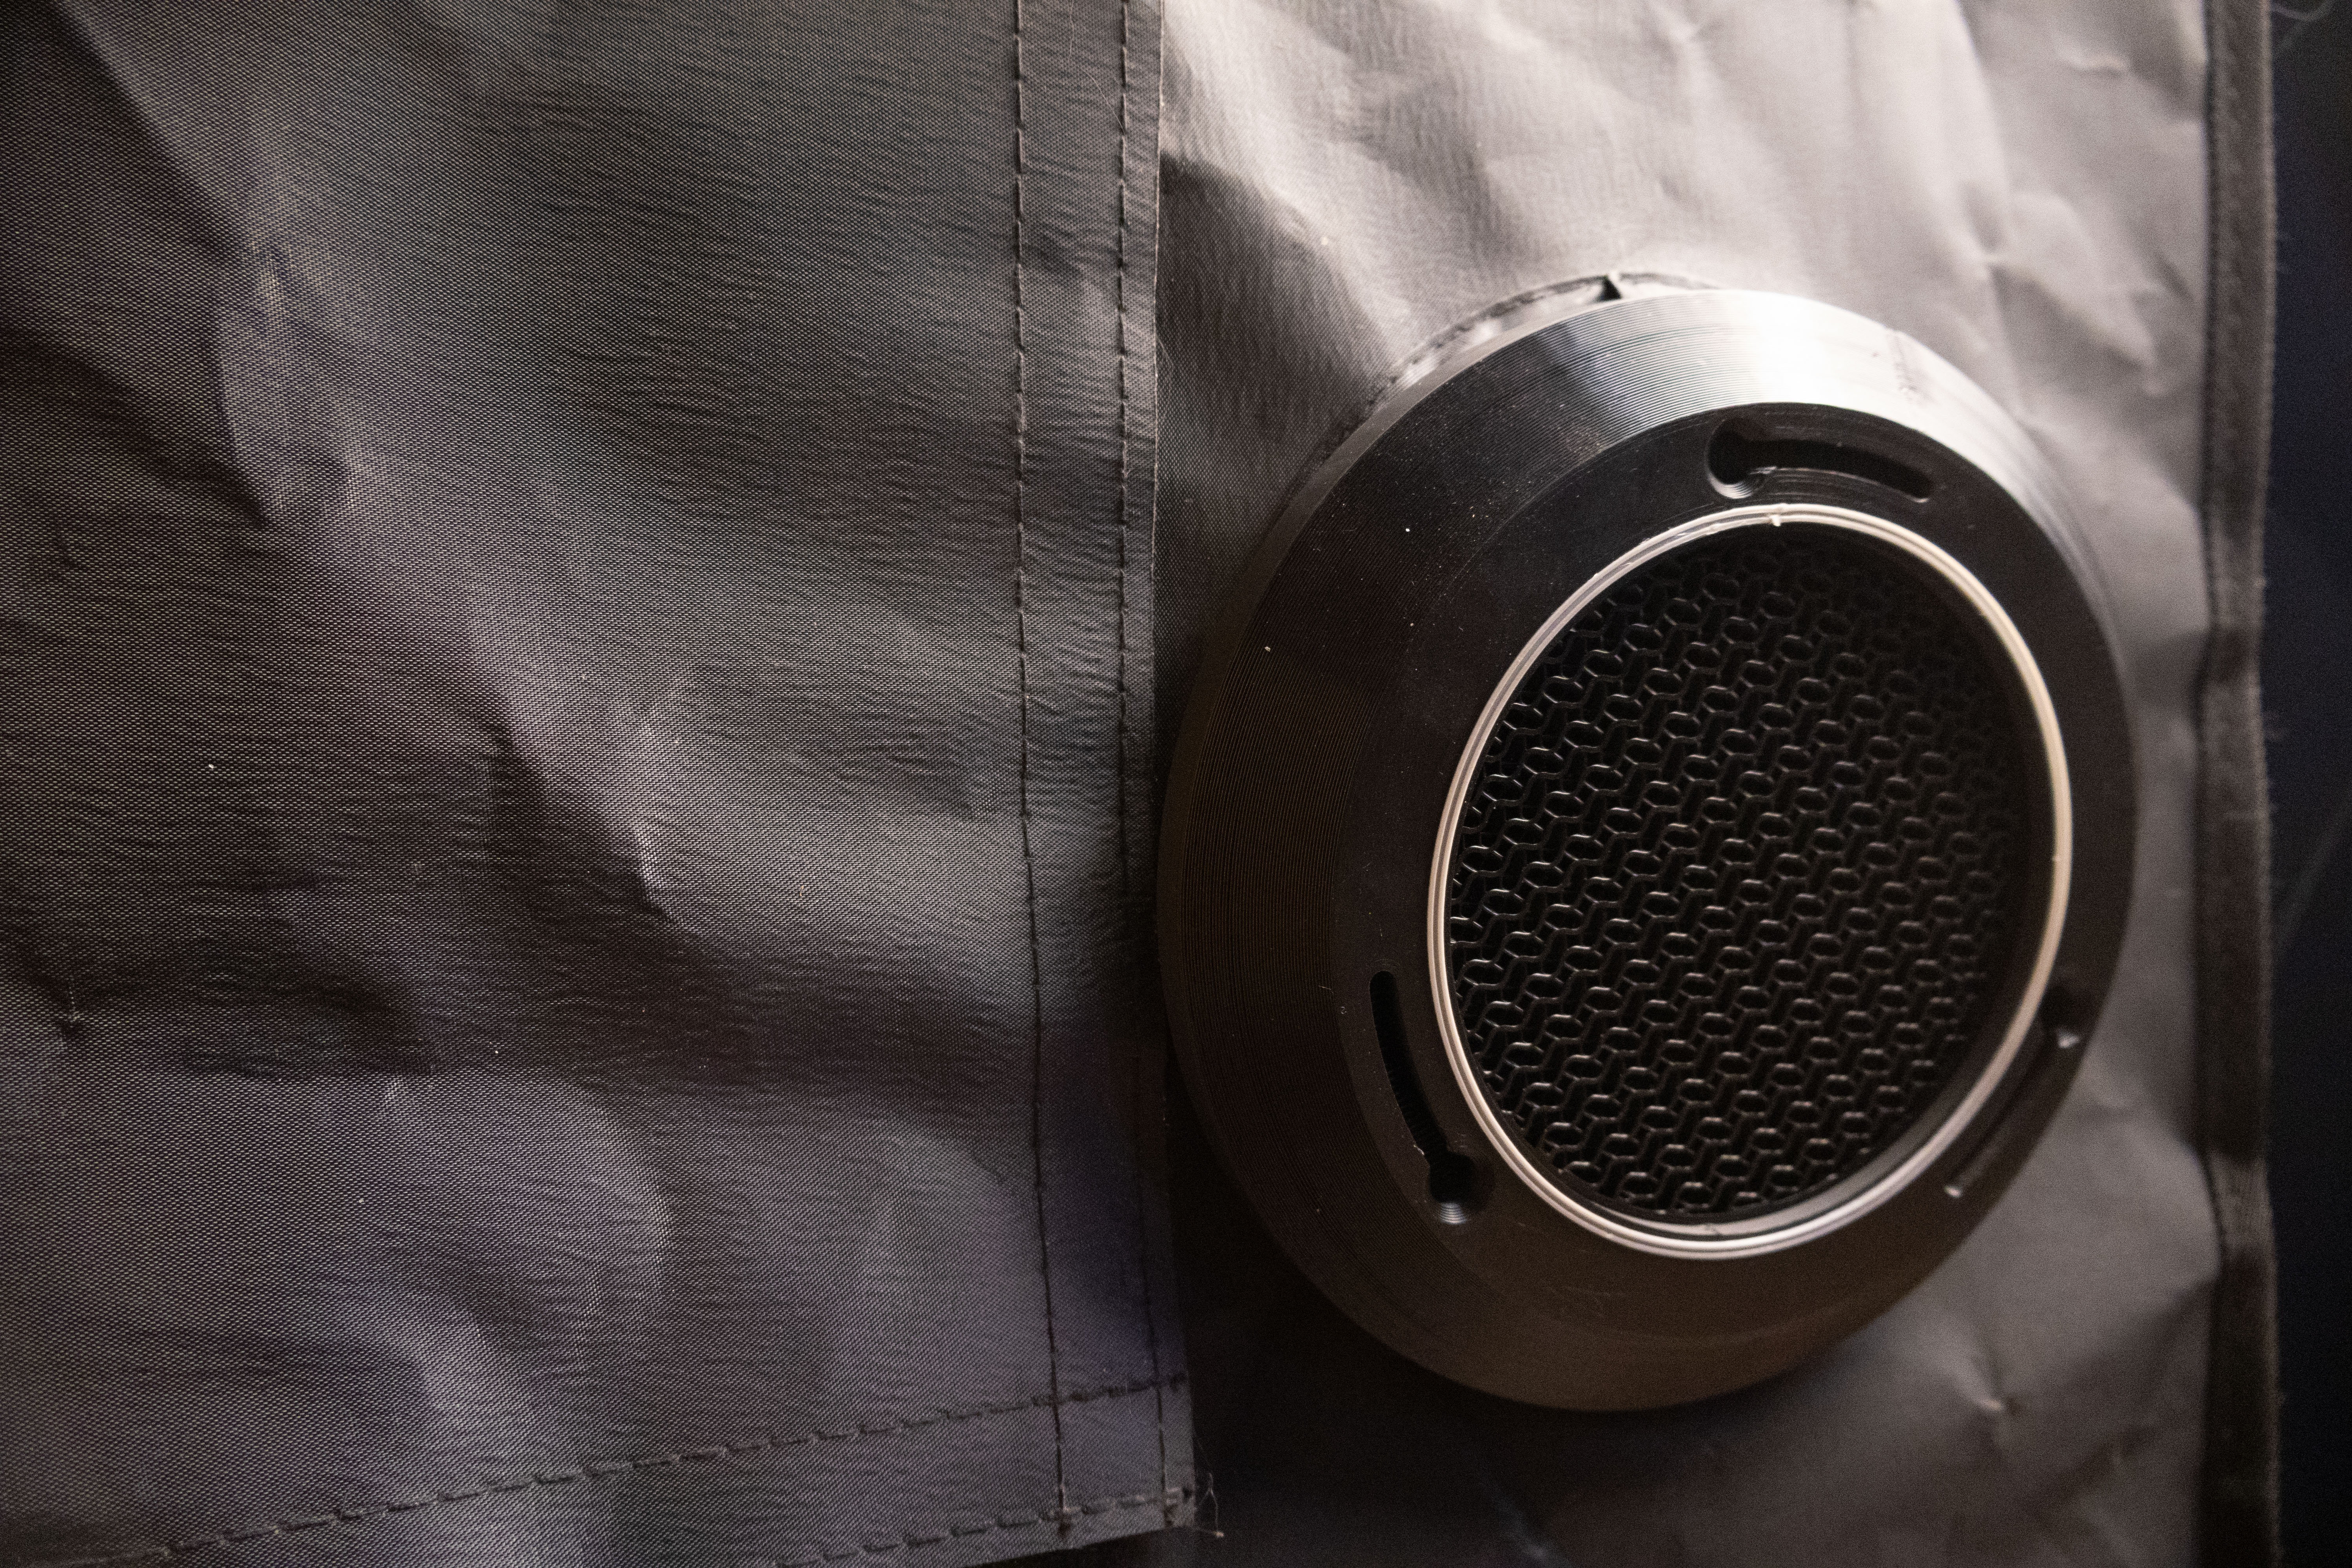
It is used to guide an air hose connection through thin walls, panels, tents, grow tents, boxes or similar surfaces. Unlike the older pass-through version, this model does not include the bayonet connector ring directly in the printed part.
The matching The Ring V1.3 part is downloaded separately and inserted into the flange during assembly.
This makes the system more modular.
What It Is Used For
The Flange can be used as a pass-through for:
grow tents
fabric tents
thin walls
panels
boxes
DIY enclosures
ventilation setups
filter or hose systems
It is especially useful when an air hose needs to pass through a surface cleanly and securely.
Compatibility
The Flange is designed for the The Connector V1.3 geometry.
Please make sure to use the matching connector size for your setup.
Version 1.3 is not compatible with the old V1.0 connector geometry.
Assembly Principle
The assembly depends on how you want to use The Flange.
For mounting to a solid surface, such as a wooden wall, panel or enclosure, the flange can be screwed on from one side. If needed, it can also be used as a two-sided pass-through with a flange on both sides of the wall or panel.
For use as a grow tent pass-through, both parts are required:
Flange Type A
Flange Type B
The matching The Ring v1.3 part must be downloaded and printed separately. It can then be inserted into the flange during assembly.
Basic assembly:
Print the required The Flange parts.
Download and print the matching The Ring v1.3 part separately.
Insert the ring into the flange.
Mount the flange to the tent, wall, panel or enclosure.
Connect your hose or adapter using the bayonet system.
In addition to the visible mounting holes, which are also used to fix the connector ring, there are extra hidden mounting holes on the back side of the flange. These additional holes are not visible from the outside and can be used for extra fixation if needed.
The connector is not permanently built into the flange. This keeps the system flexible and makes it easier to replace or adapt individual parts.
Advantages of the New Design
Compared to the older tent pass-through concept, this version is more modular.
Main advantages:
flange and connector are separate parts
easier replacement of the ring
better compatibility with more connector sizes
cleaner modular structure
usable as both tent and wall pass-through
future flange updates can be used without redesigning the whole pass-through
Printing Notes
The parts are designed for FDM printing.
Recommended settings:
Material: PLA, PETG or similar
Nozzle size: 0.4 mm
Layer height: 0.25 mm
Perimeters: 3 or more
Infill: 15–25 %
Supports: not needed
For functional or warmer environments, PETG may be the better choice.
see also:
“THE CONNECTOR”
"THE_BOOSTBOX"“THE FILTER”“THE TRAP”
v1.0 (OLD) the different versions can cover tent holes up to:
100mm --> 153mm
125mm --> 178mm
150mm--> 203mm
print settings:
- no specific settings
- i used a 0,6 nozzle
- TPU for SEAL
changelog:
- release v1.0
materials u need: (for one set M+W)
- 12pcs 10x5mm neodymium magnets
- 3pcs M3x16mm screw (up to 4 more if u use a clipped version)
assembling notes:
- orientation of magnets is important ! stack them an mark the top of every single magnet

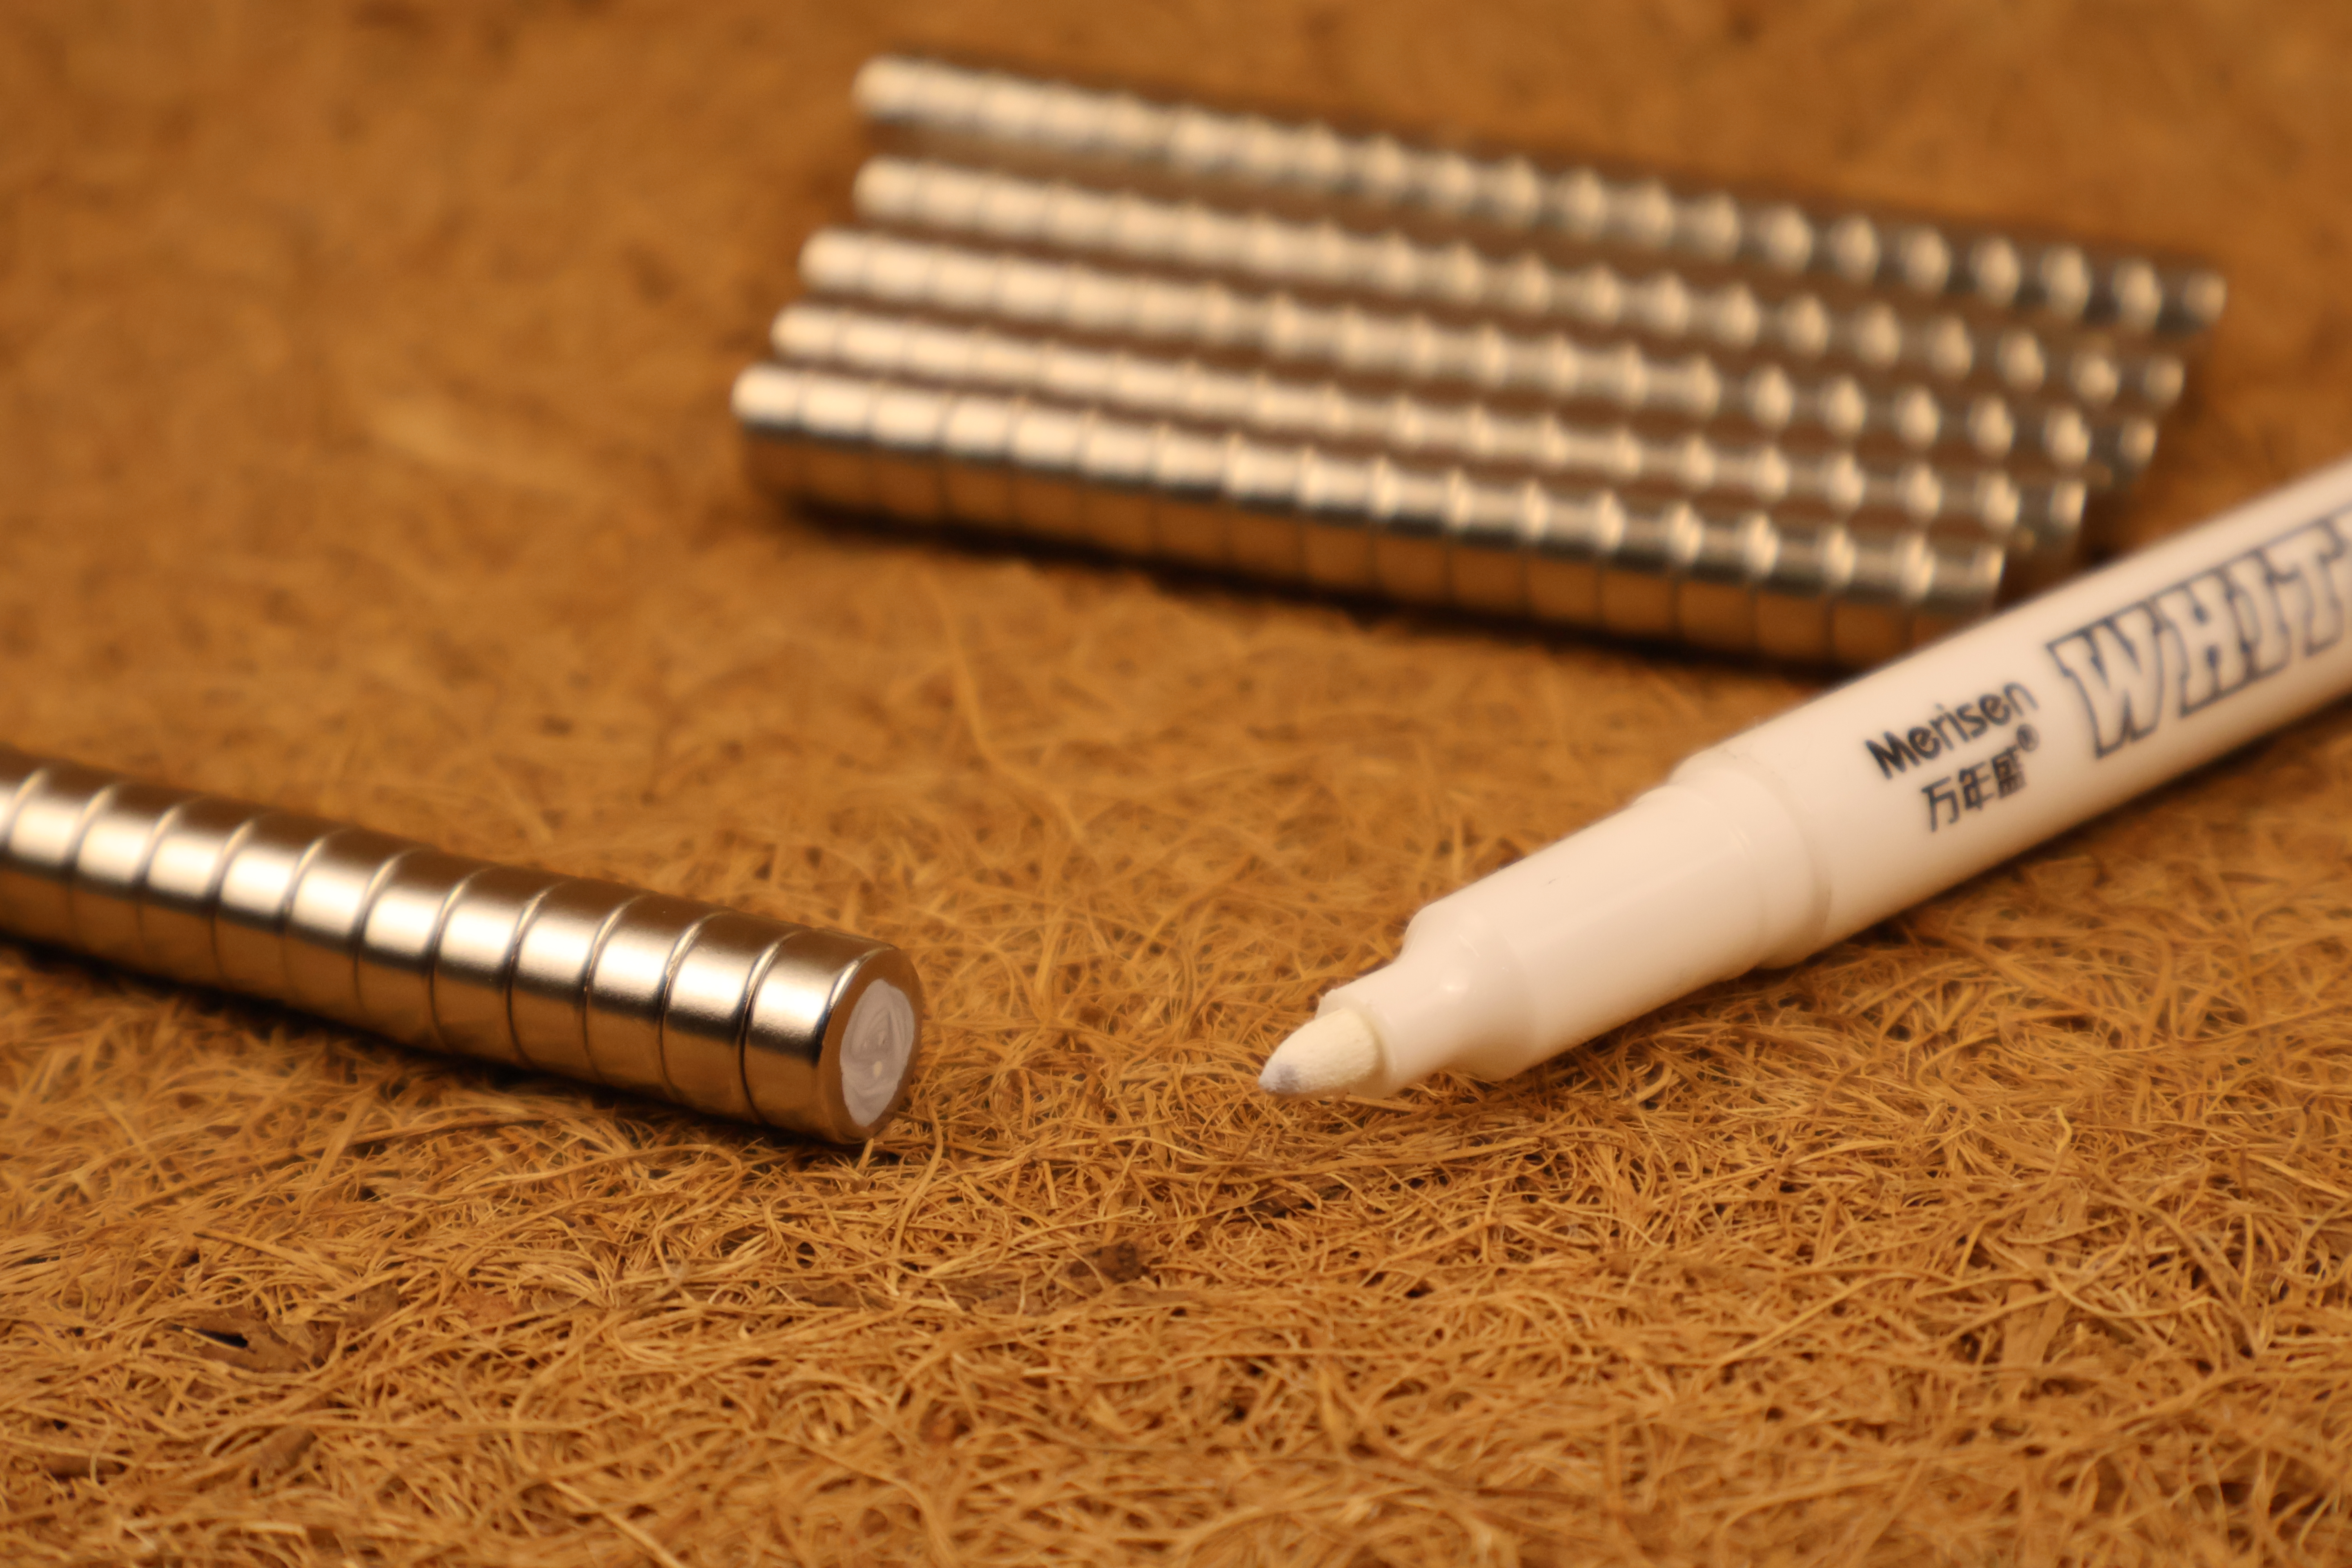
- pause your print and insert magnets
- 5,8mm @ 0,4 layer height
- 5,6mm @ 0,2 layer height
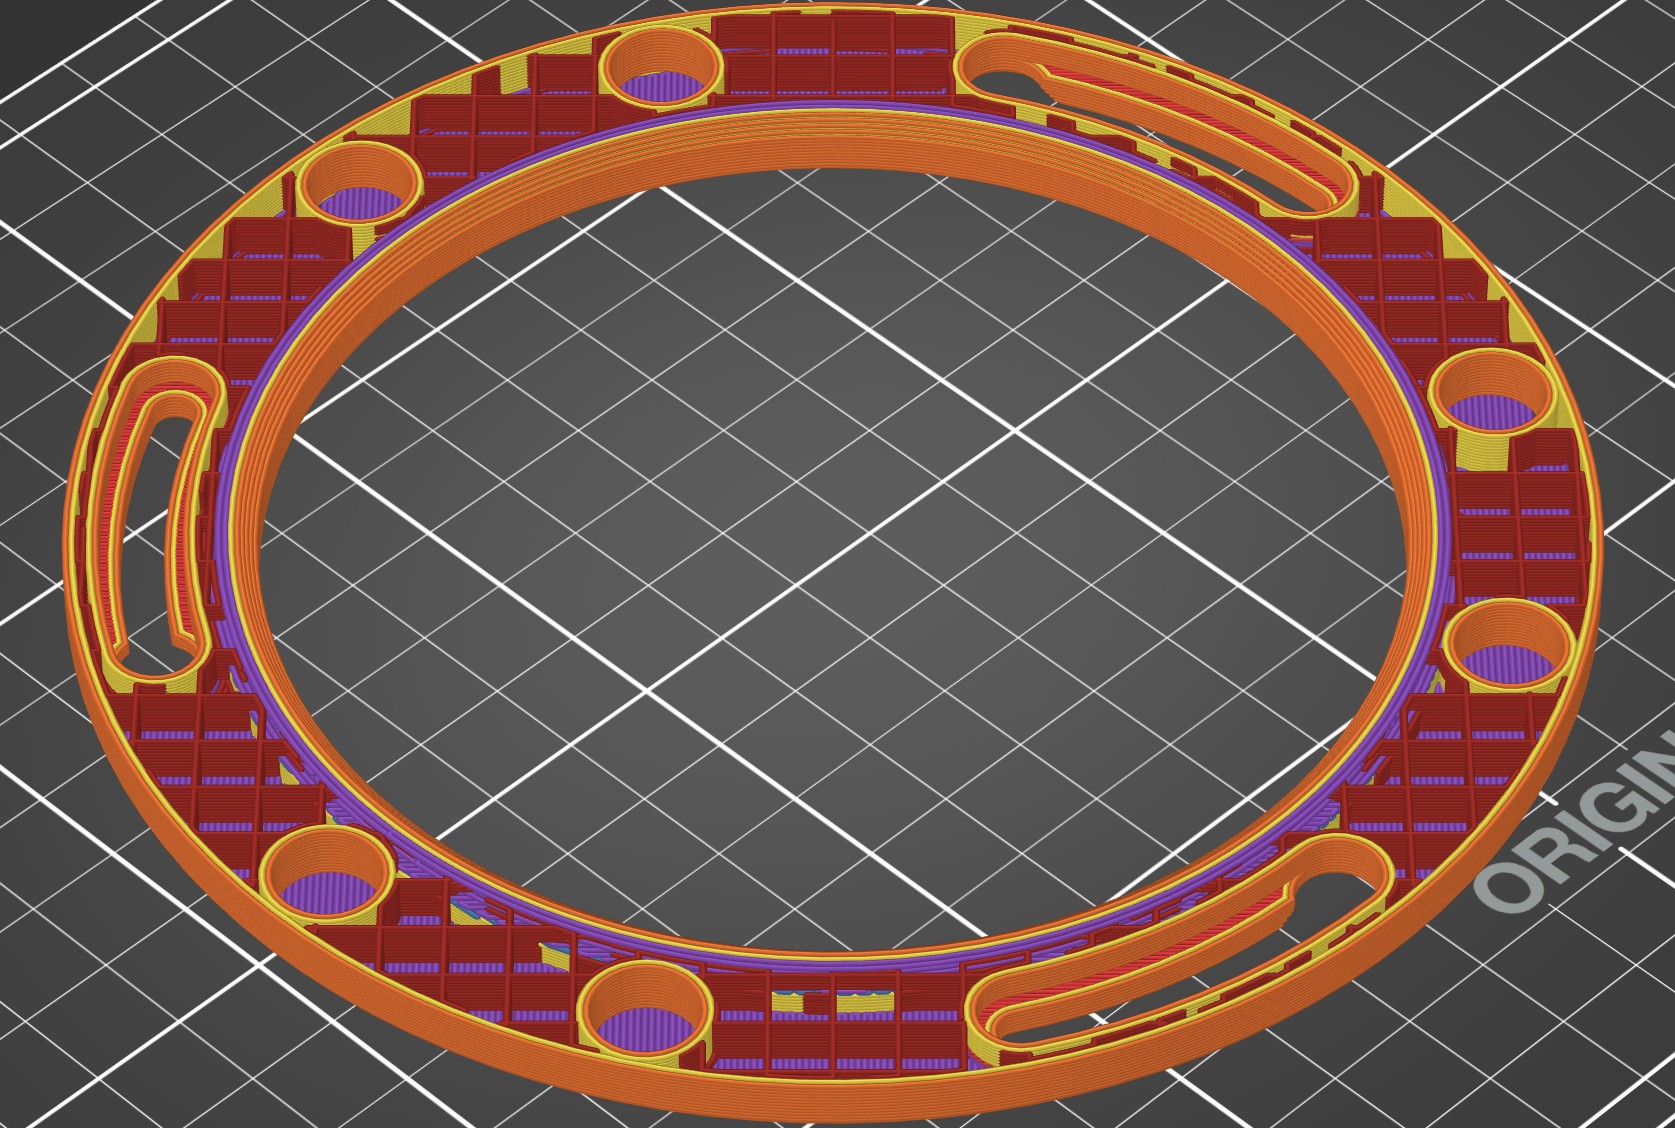
- this model has only female (W) parts
- while printig insert magnets with mark to the top
- keep at least one marked magnet if u want mark some more
- seals are available in M+W u need W here
INSTALLATION:
The installation in the tent is a bit fiddly, please excuse that. I will simplify it in a future version.
- start by doing this:
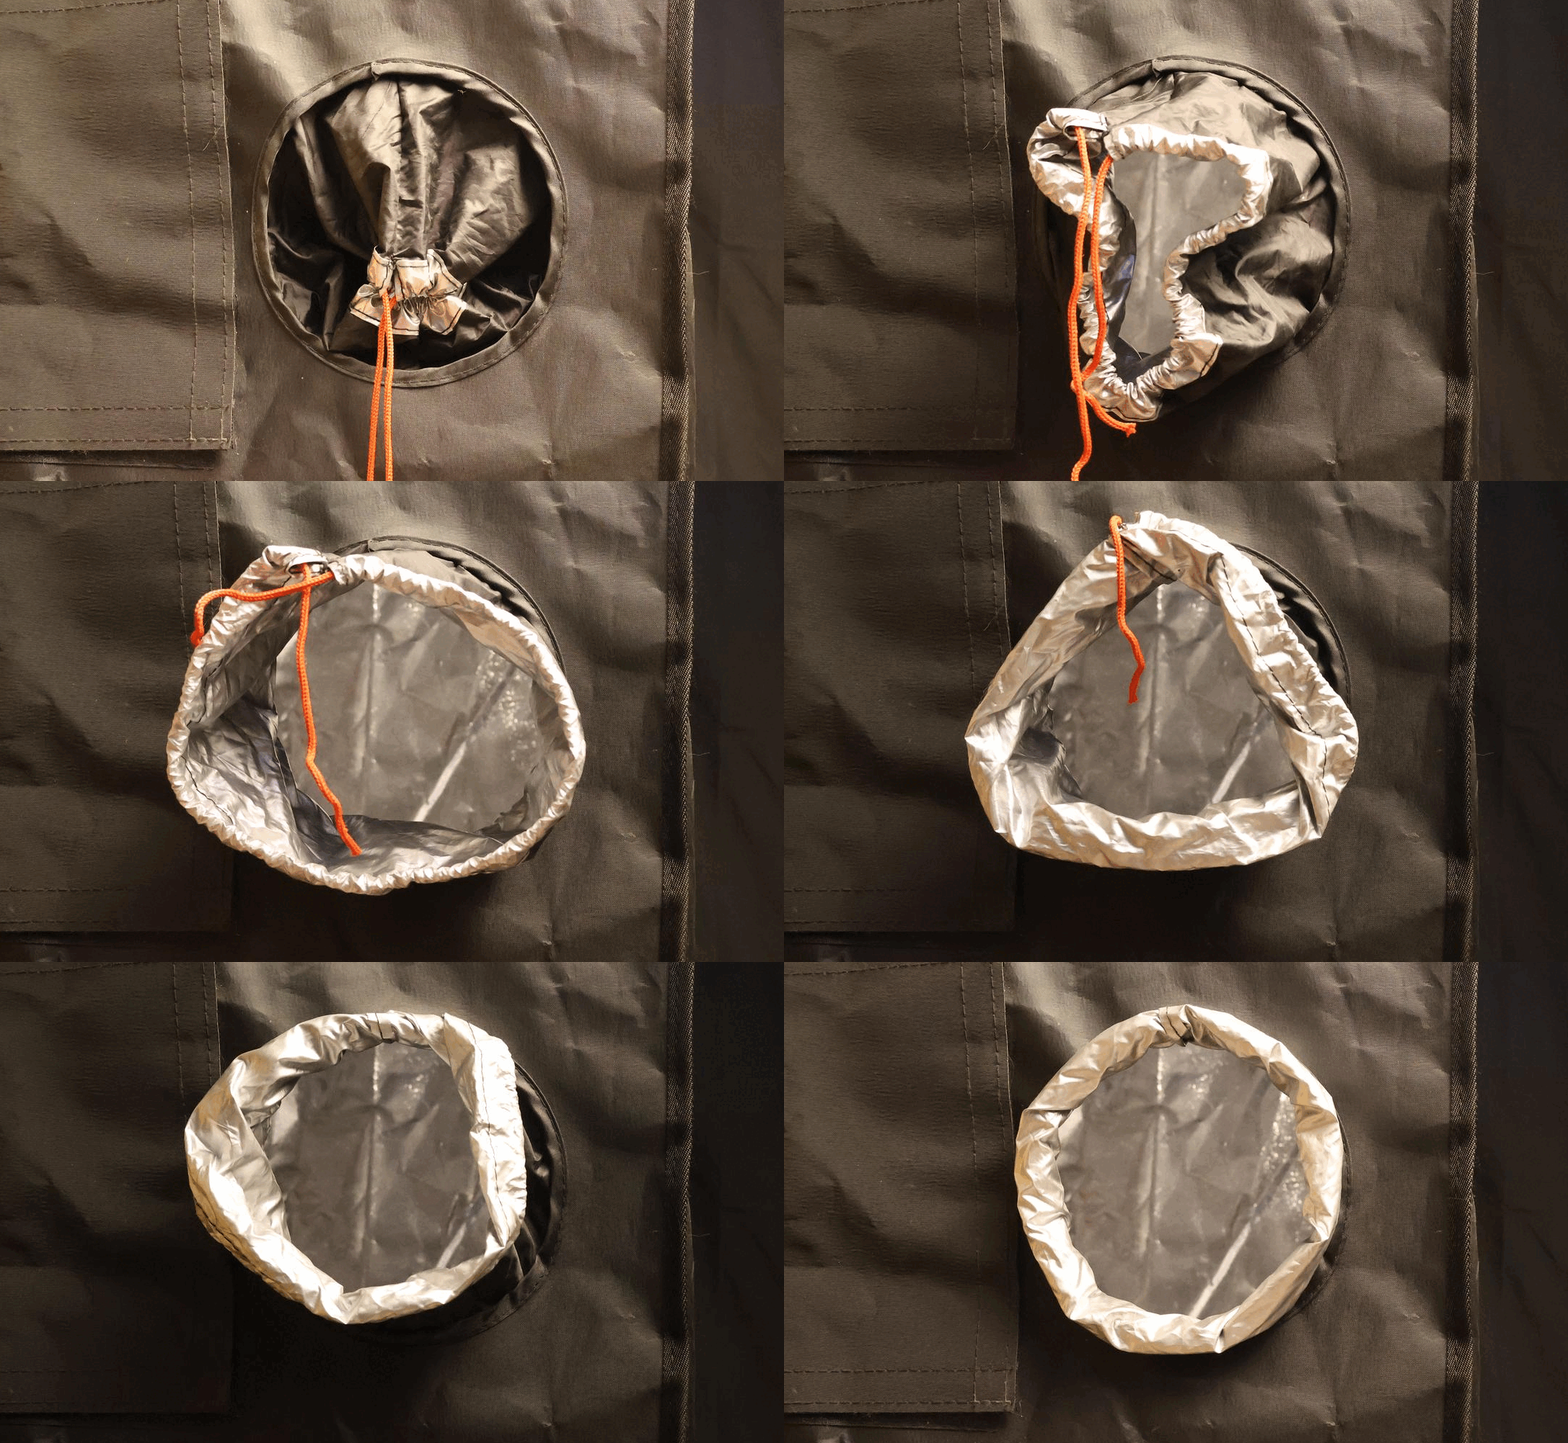
- if u want to use is place three “THE BAFFLE” parts inside
- place “THE RING” (A) on the outer side of your tent
- ensure the “donut” is kompletely hidden
- i already said the insallation is a bit tricky…here it is !
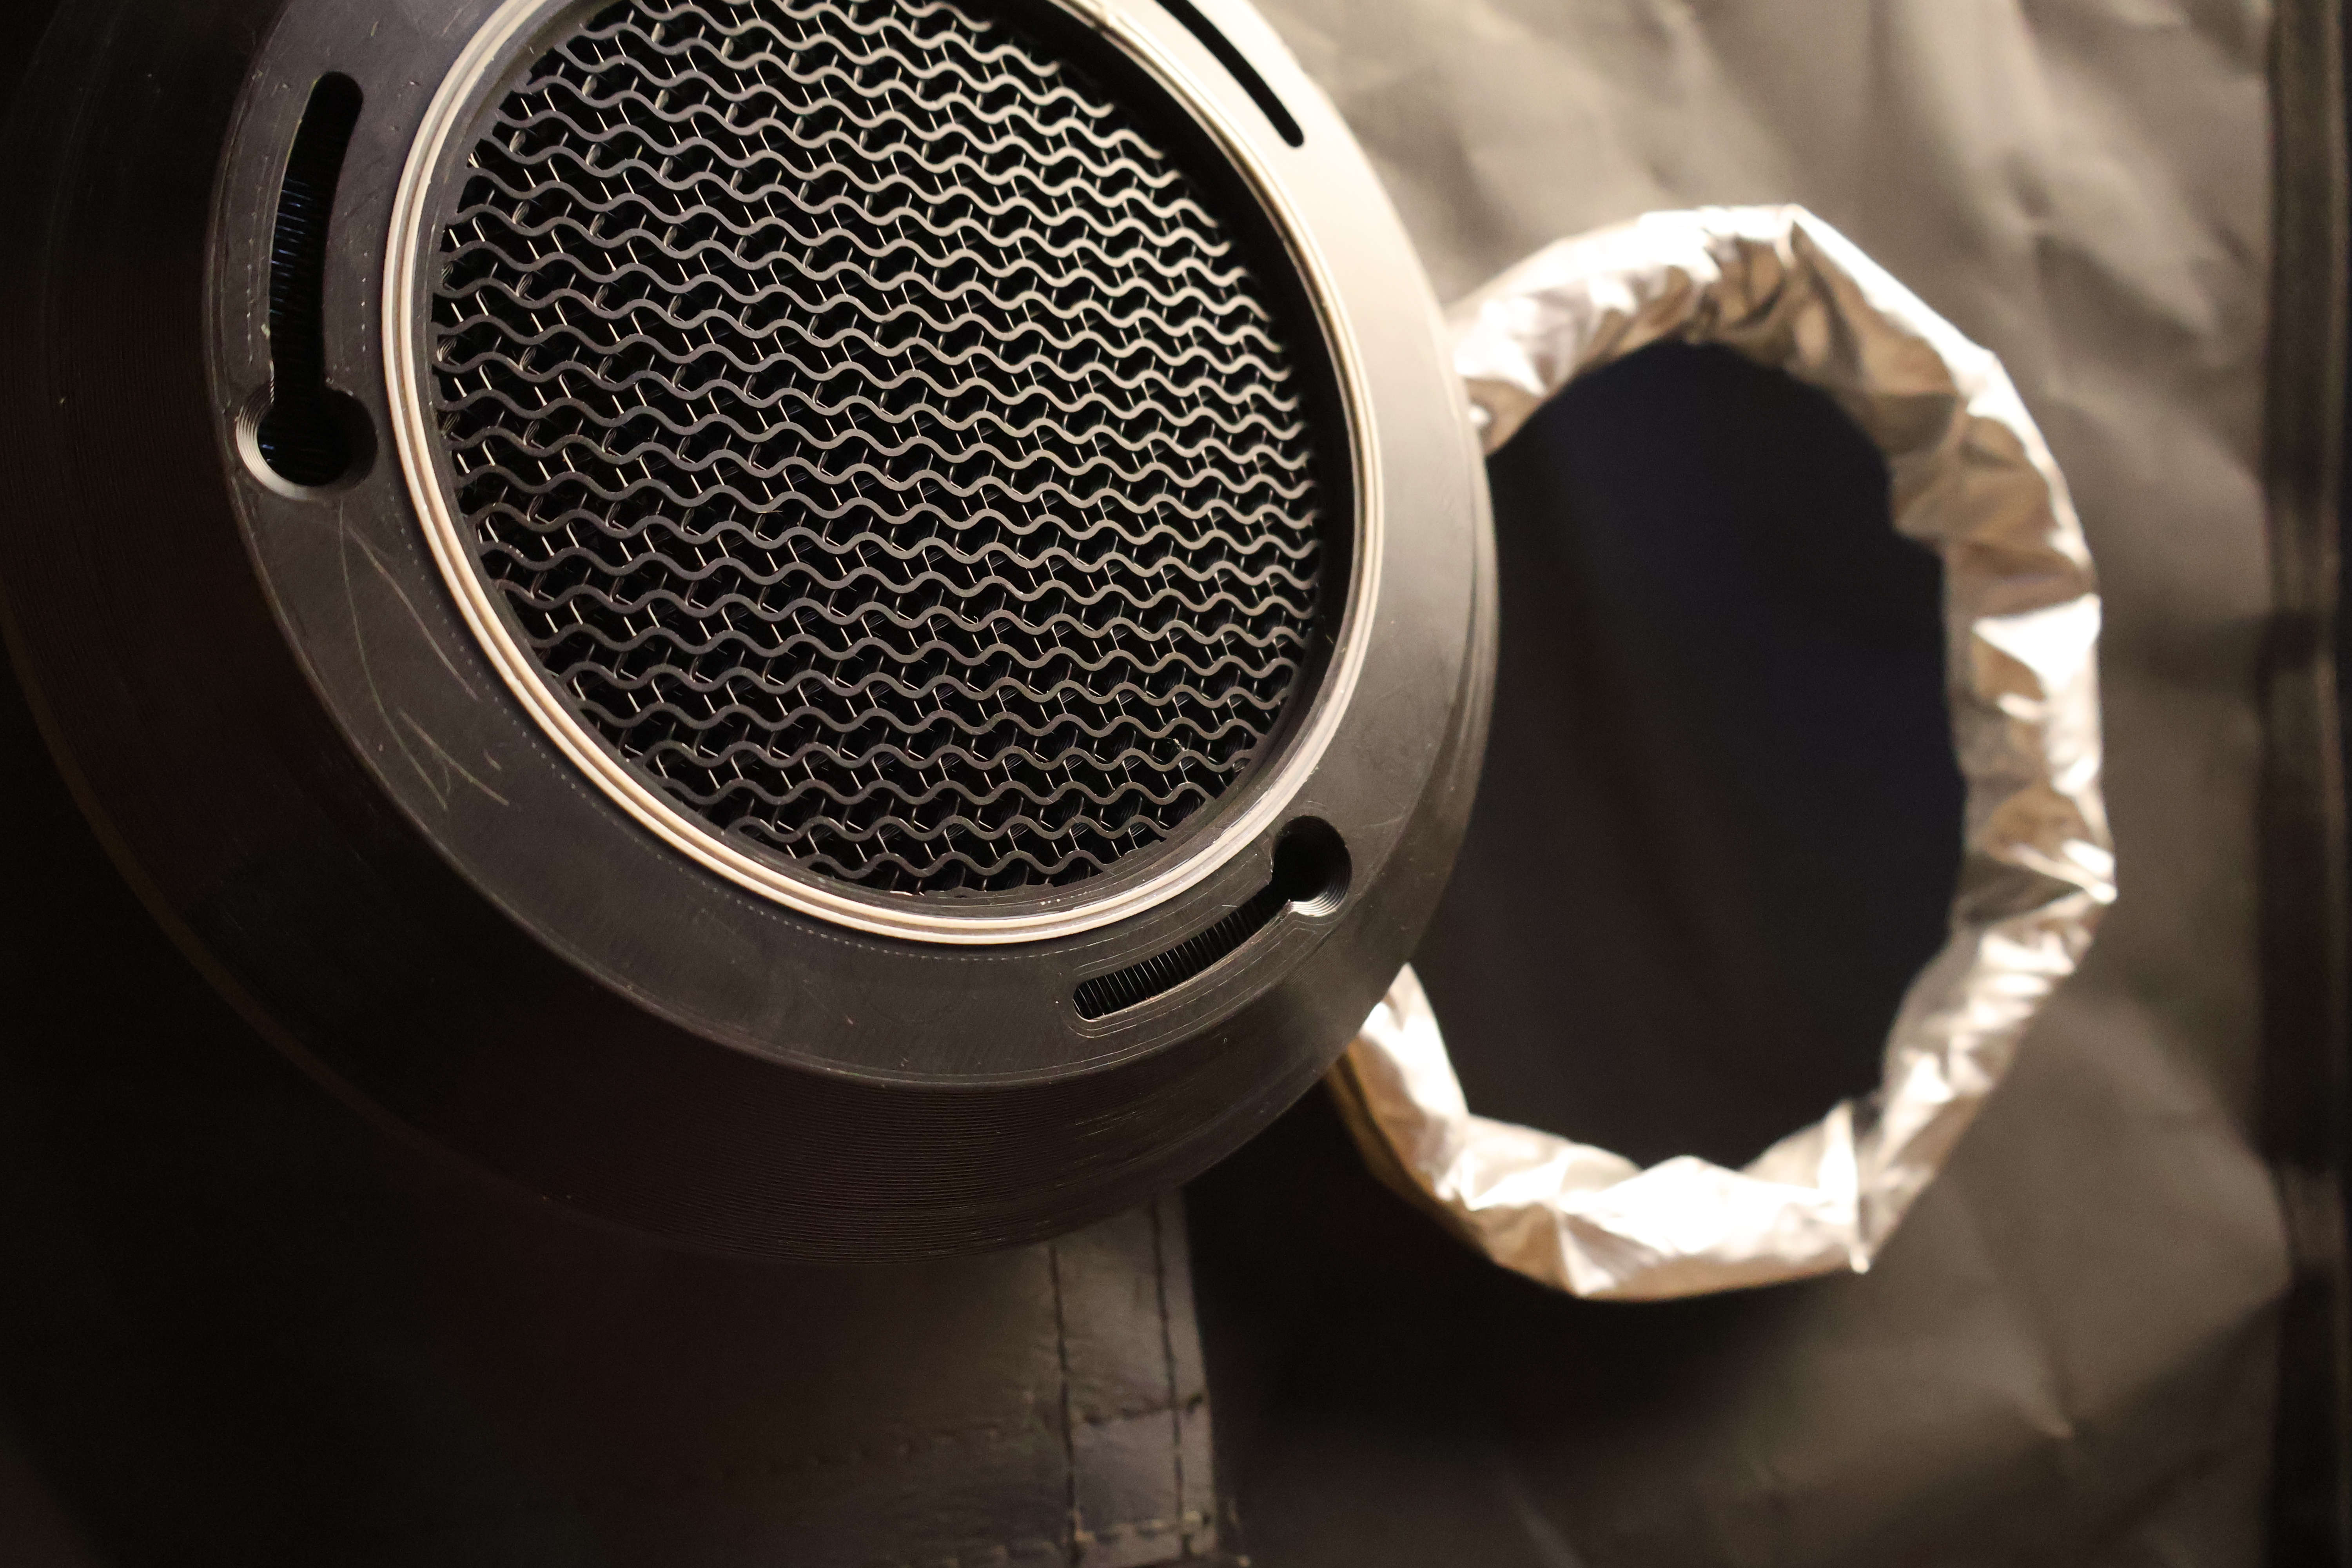
- if u want to use it place the last “THE BAFFLE” part inside
- attach 3pcs M3 screw to part B, one completely the others just a bit
- time to hit the first hole :D

- turn it to enter next hole

- after u hit hole 3 spin the hole thing around to ensure it fits well, after this tighten all three screws
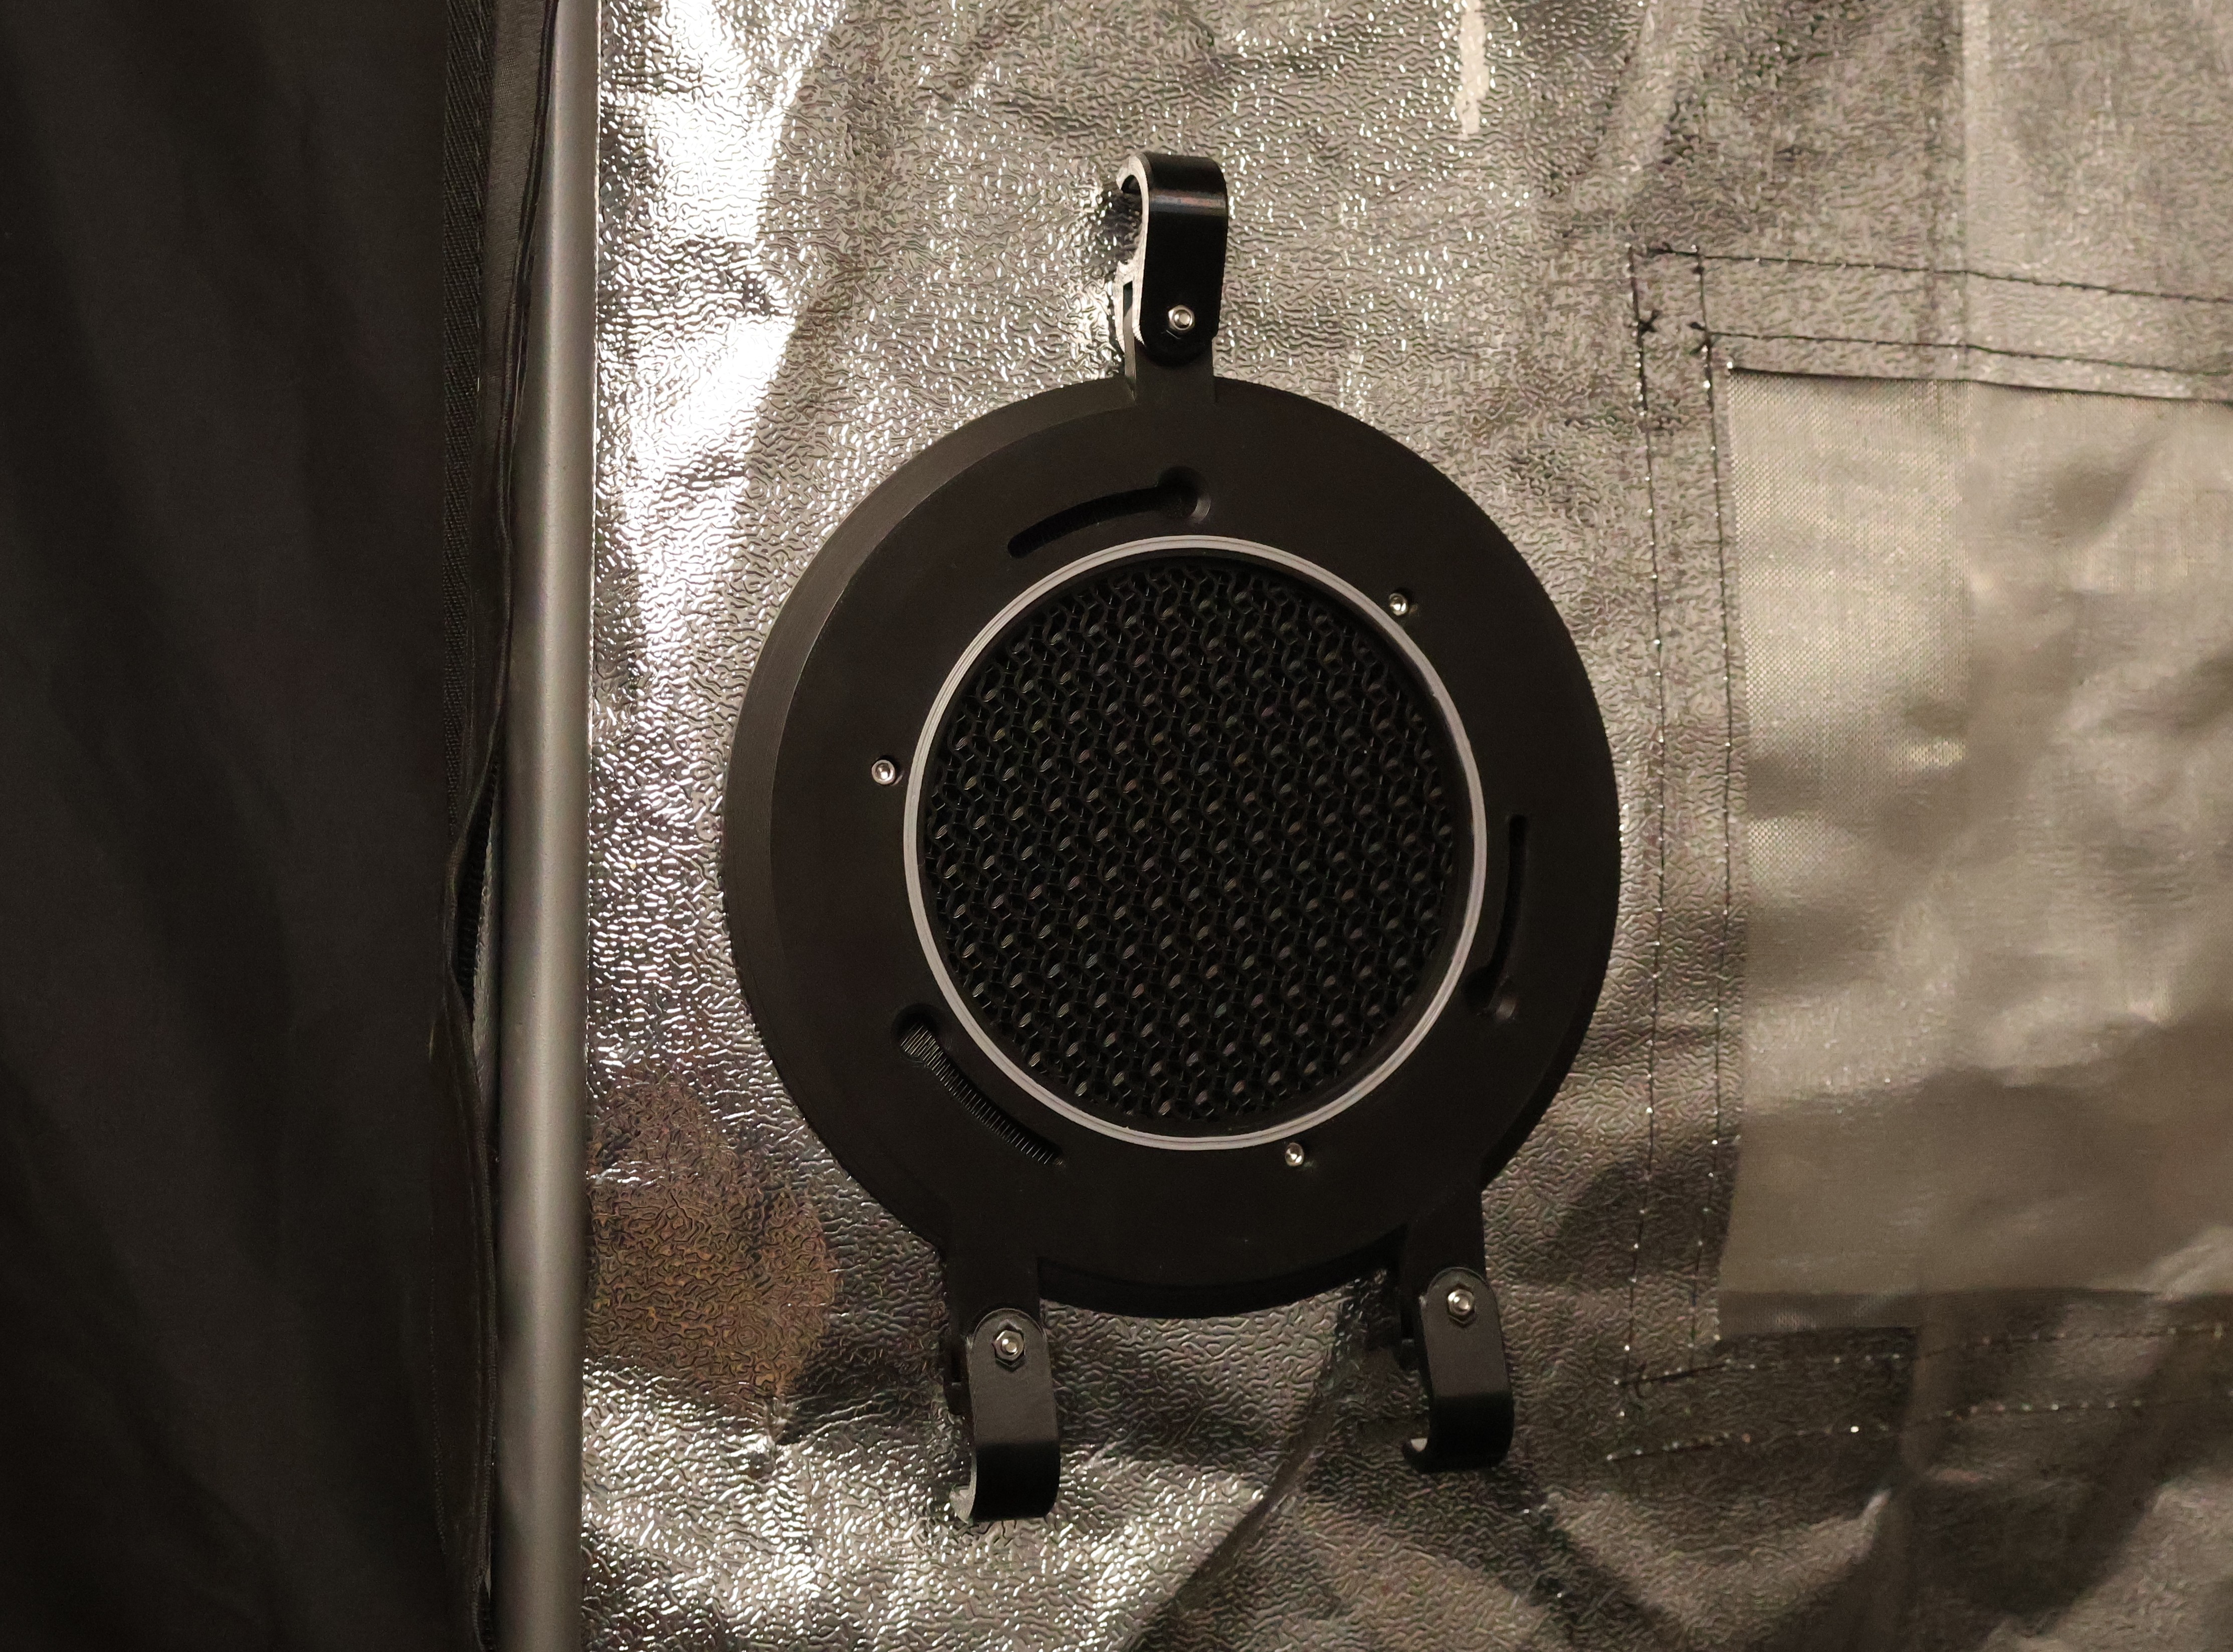
- i used a prototype for these photos, v1 parts are slightly different
“THE RING” comes in different versions, two of them are using my Clip for 15/16&22mm poles "THE FIXER could also be useful as shown: