Motion lamp housing
We calculate the final price from your selected file. You review and accept it before payment.
Saved on this device.
Model information
- Source
- Printables
- Category
- Electronics
- License
- Creative Commons — Attribution — Noncommercial — Share Alike
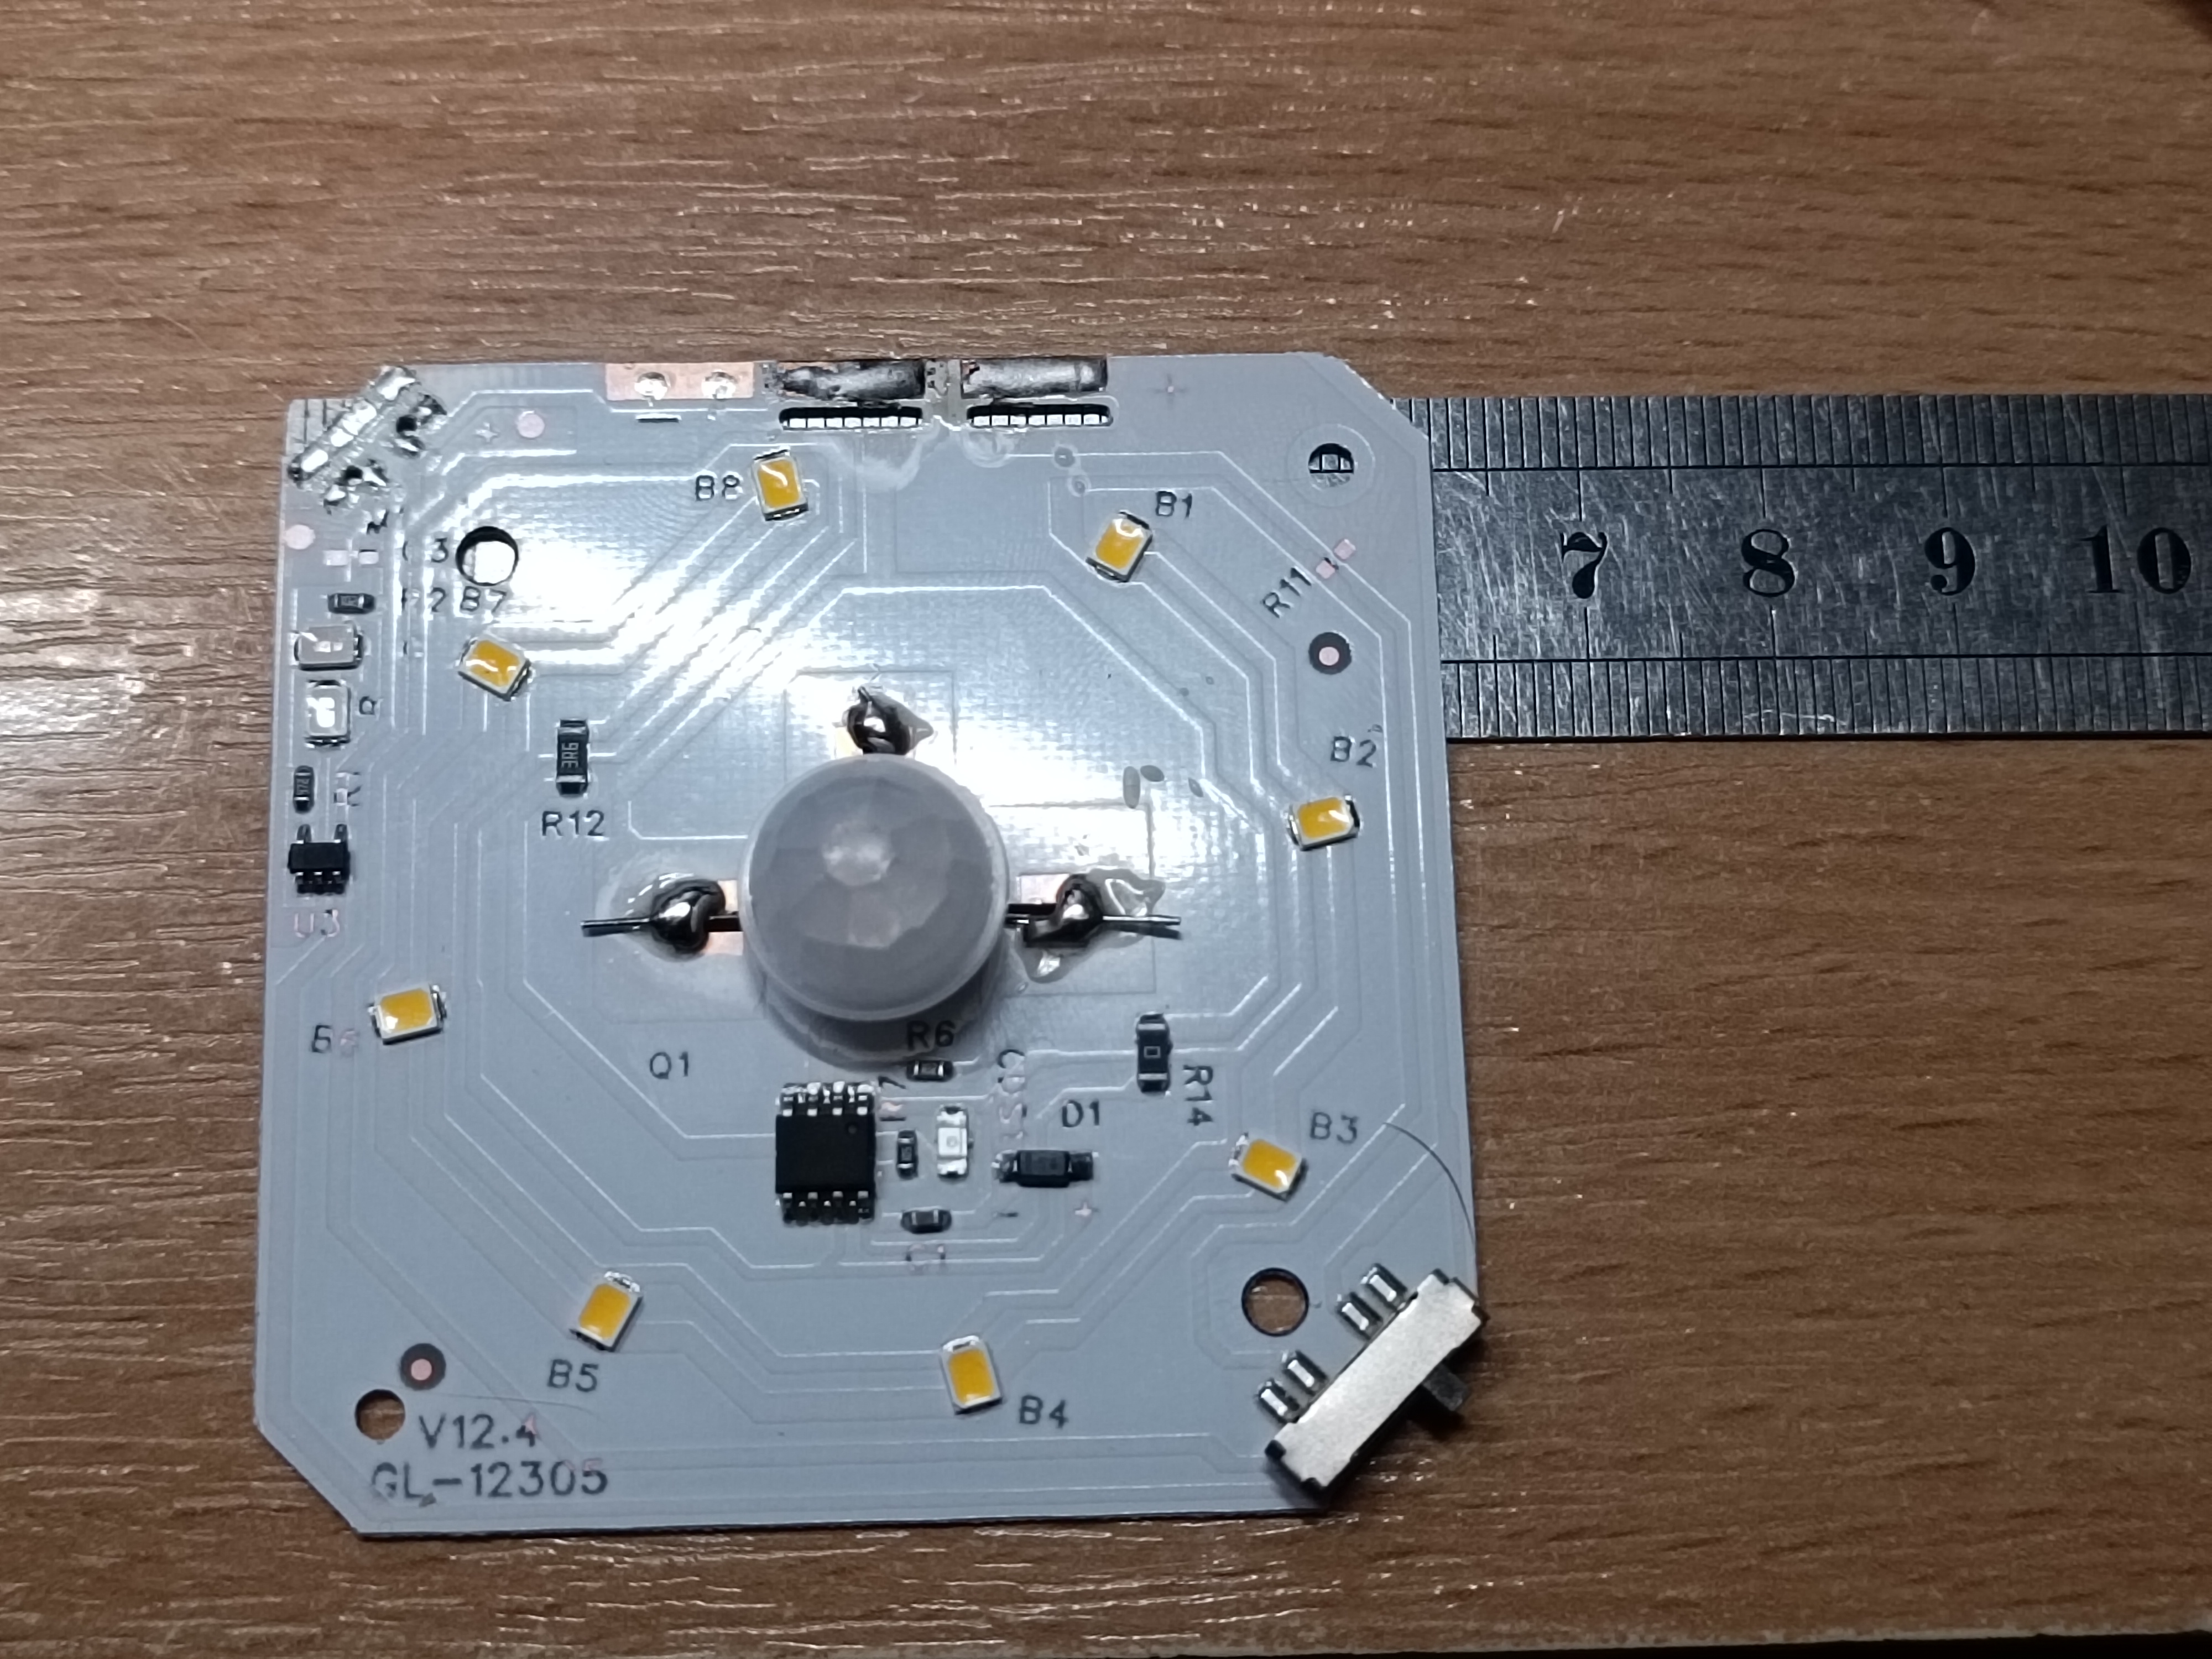
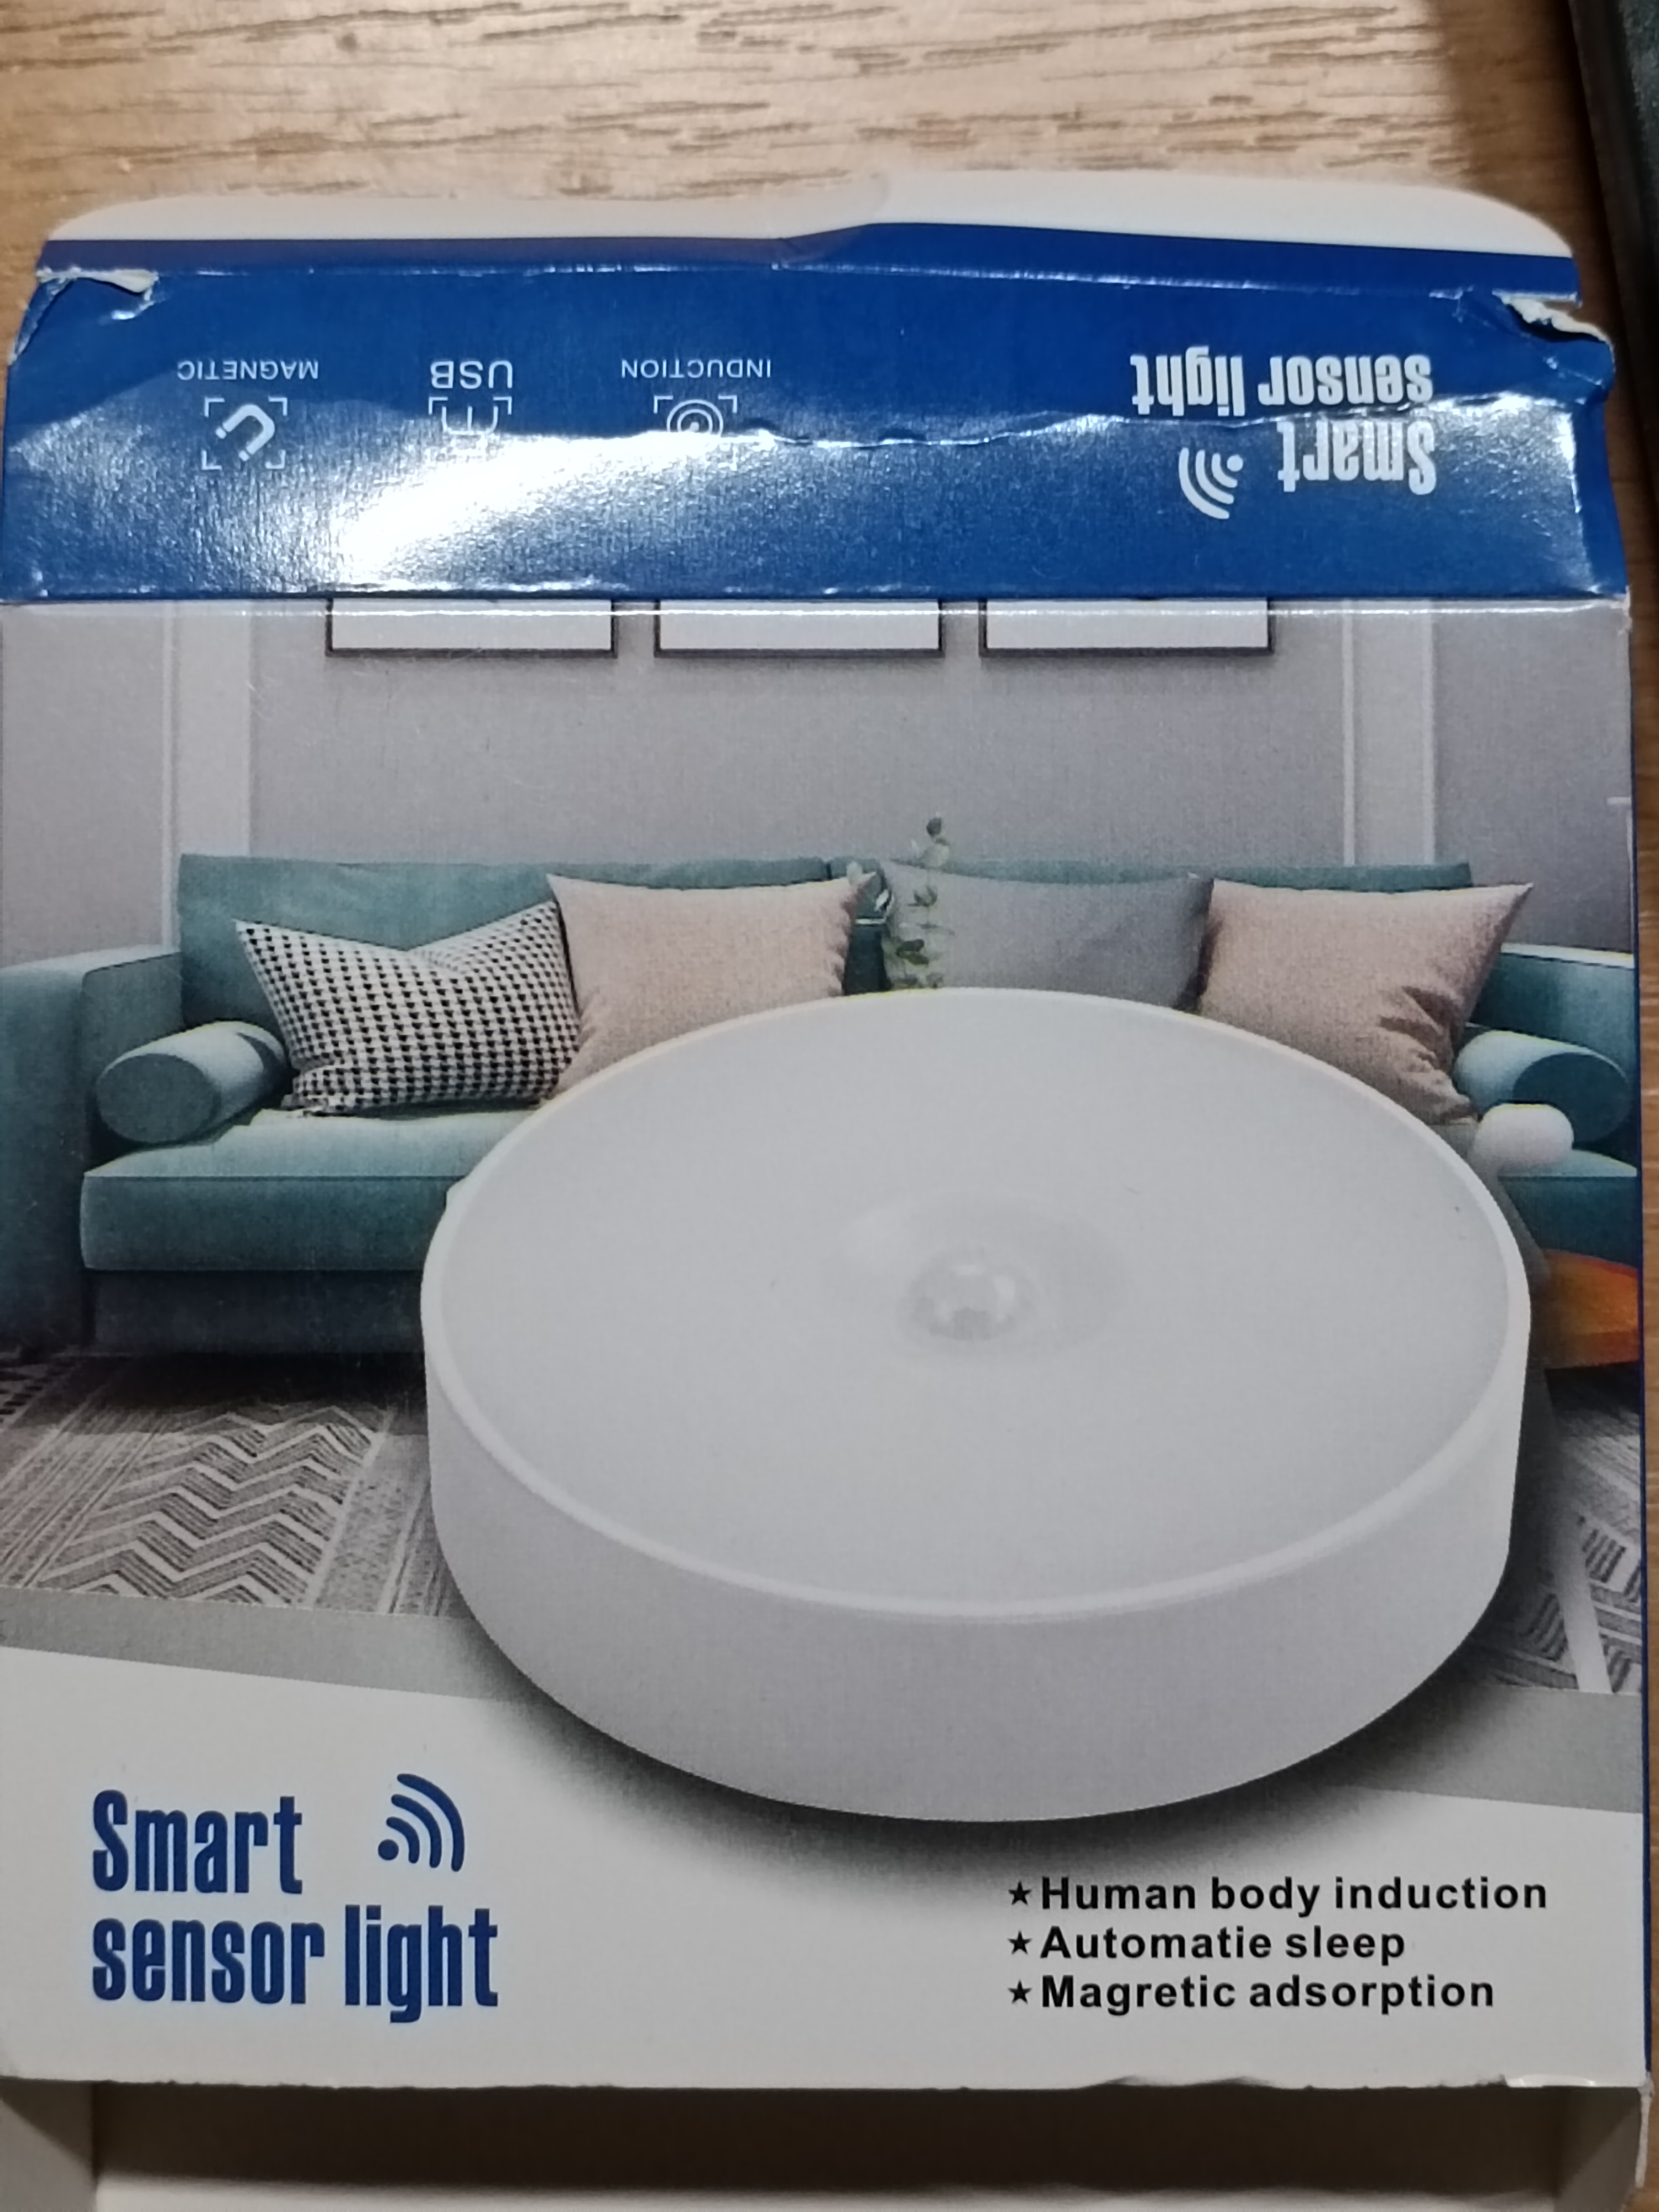
Корпус створено для плат 62x62мм (на фото) з дешевих ламп з алі діаметром 82мм (на алі може бути вказано розмір 85 мм). Також з цих ламп використовується розсіювач, кнопка перемикача, магніт та гвинти. Модель створена під акумулятор 18650 та плату зарядки IP2312.
This design is compatible with 62x62mm PCBs (shown in the photo) taken from cheap 82mm diameter AliExpress lamps (in the description on the site size may be specified as 85 mm). It is designed to reuse the diffuser, button, magnet, and screws from the original lamp. Other components are IP2312 Charging Board and 18650 battery.
Друкувати точно можна з PETG, ABS, та PA. А от PLA може бути занадто твердим та крихким. Раджу товщину шару 0.15мм при соплі 0.4мм.
The model is confirmed to work with PETG, ABS, and PA (Nylon). PLA might be too stiff and brittle for this assembly. I recommend a layer height of 0.15mm with a 0.4mm nozzle.
Поради по збірці - Assembly Tips
Встановлення акумулятора: Бажано першим при збірці ставити акумулятор. Кінцеві затискачі на холдері мають отвори, в які можна вставити зачищений дріт, позбавивши себе необхідності приварювати до акумулятора стрічку. Для цього потрібно зачистити сантиметр-півтора дротів, скрутити лише їх кінці, які вставити в отвори та загнути, а не скручені жили по можливості розподілити по затискачу для якомога кращого контакту.
Battery Installation: It is recommended to install the battery first during assembly. The end terminals of the holder feature holes that allow you to insert a stripped wire, eliminating the need to spot-weld nickel strips to the battery. To do this, strip about 1.0–1.5 cm of wire, twist only the very ends to feed them through the holes and bend them over, then spread the untwisted strands across the terminal as evenly as possible for better contact.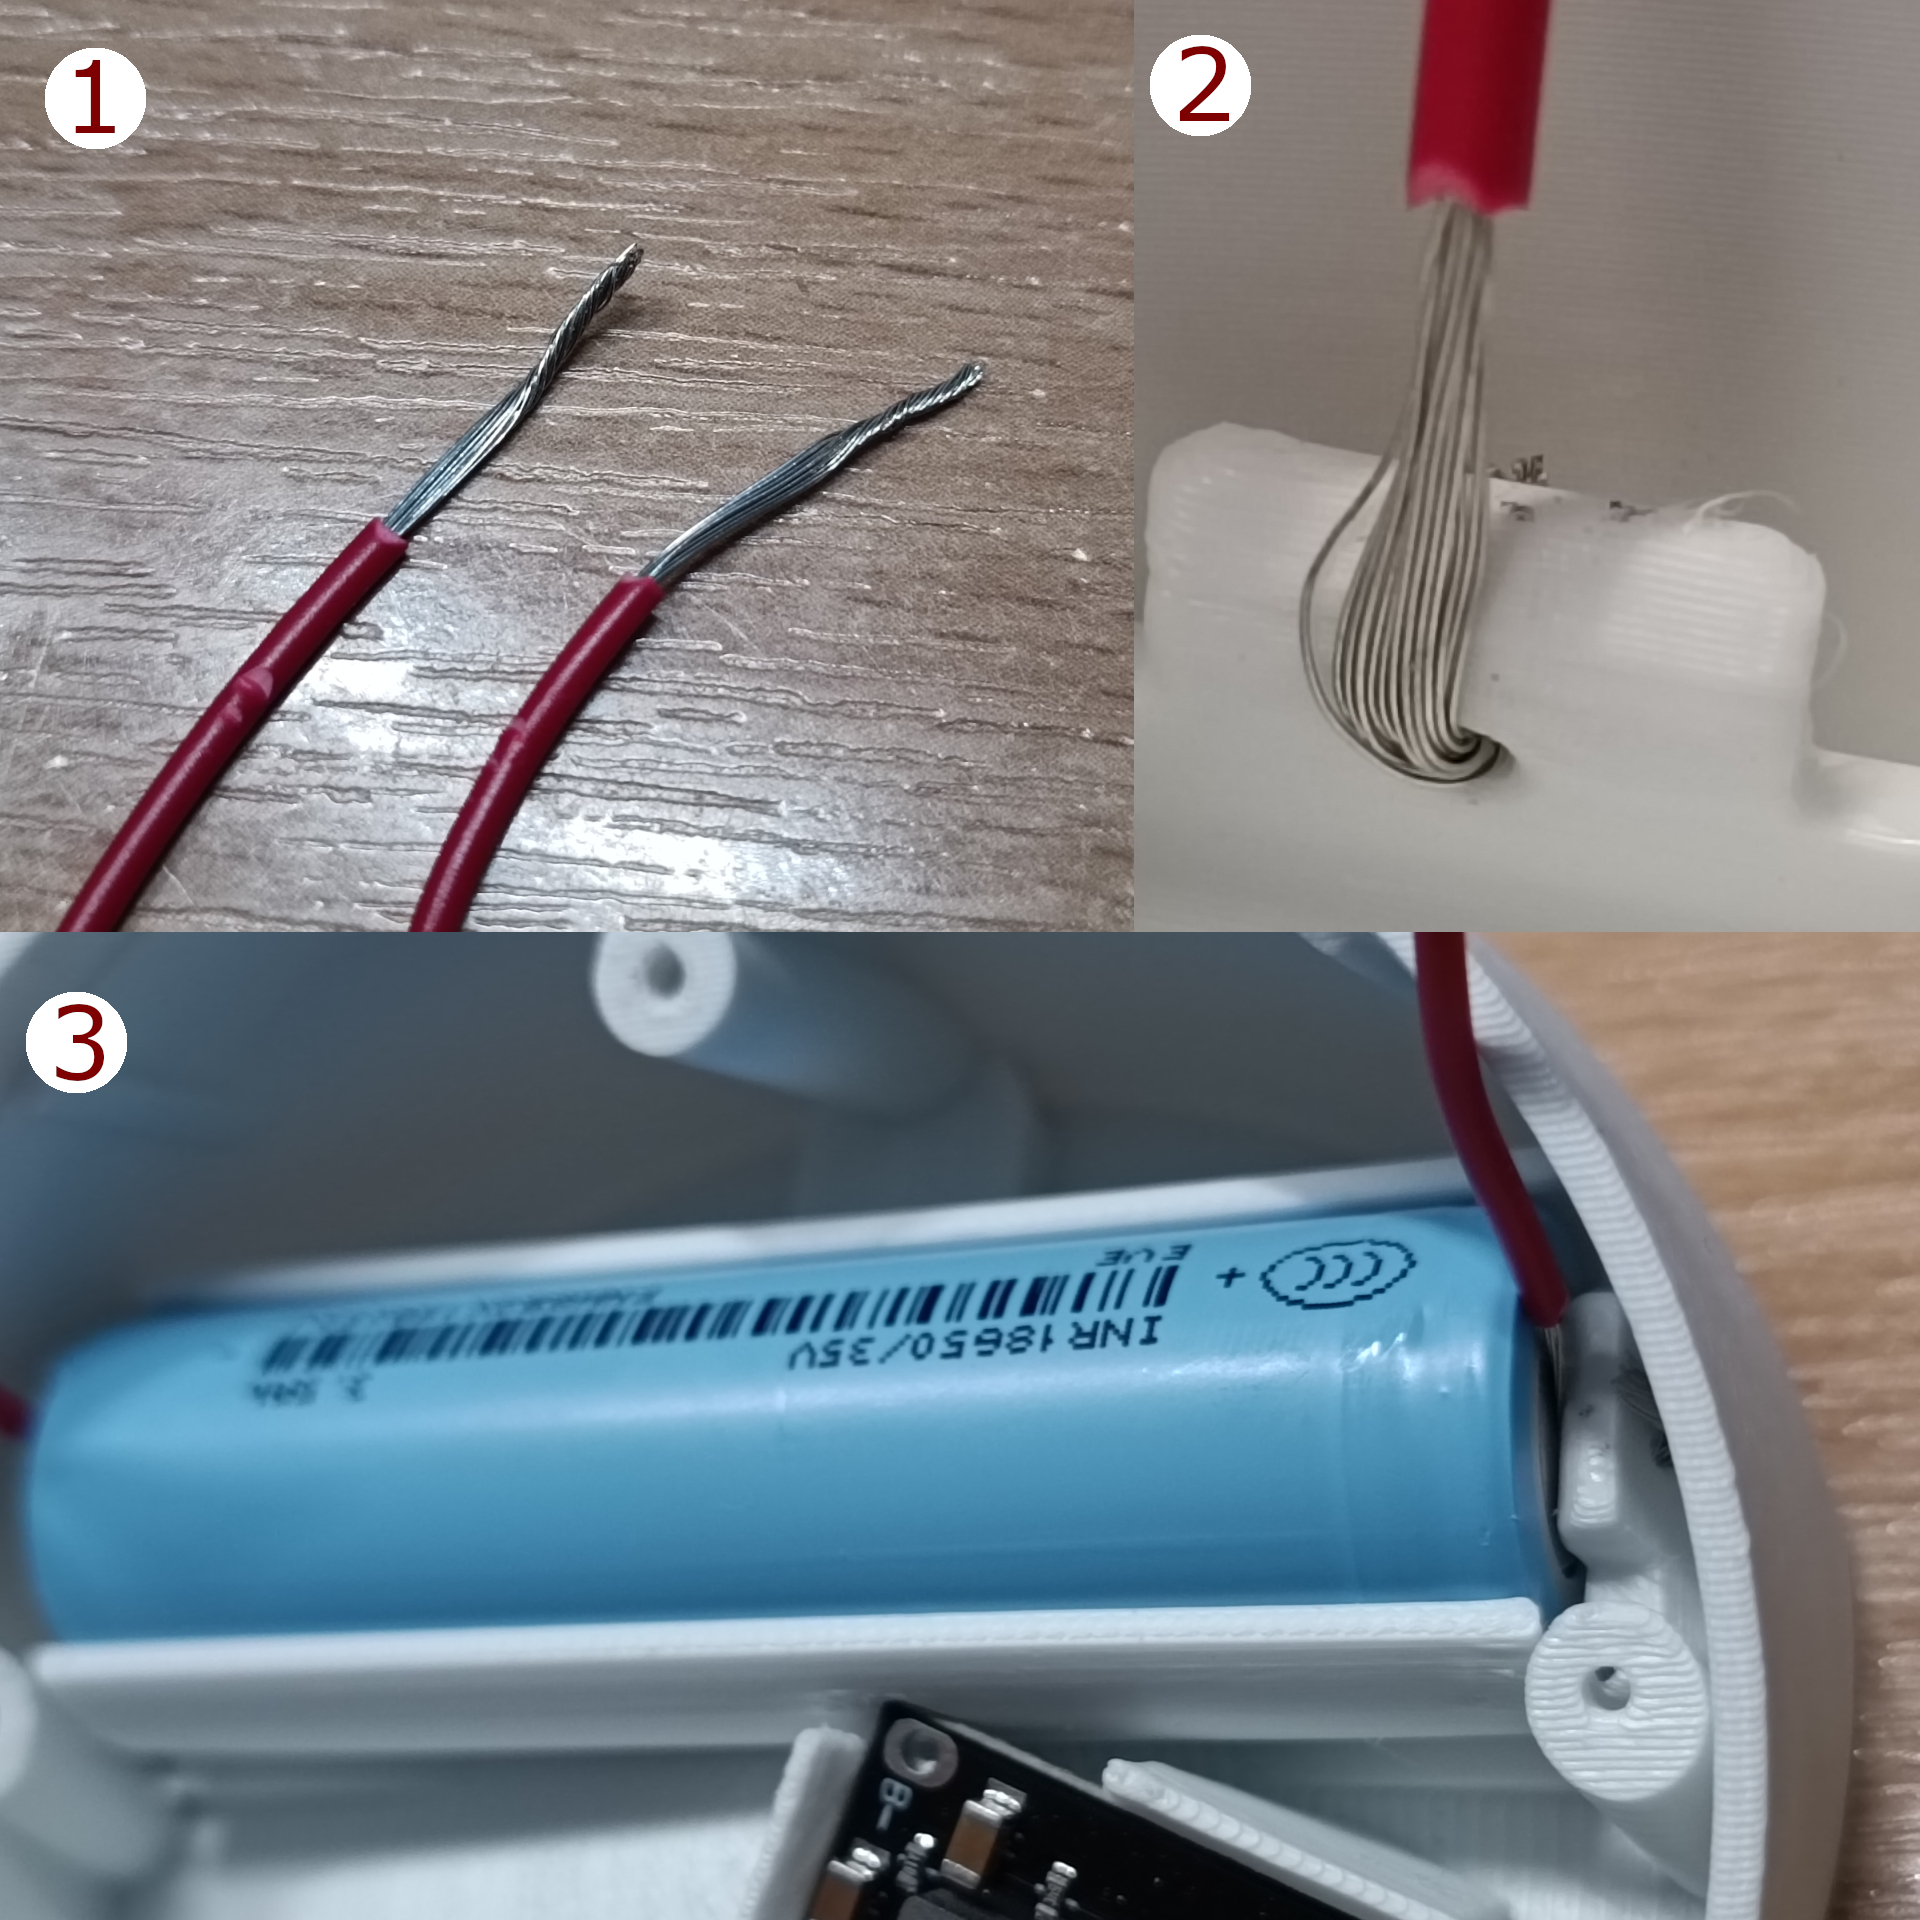
IP2312: Отвір під роз'єм USB-C доволі тісний, з нього потрібно видалити всі дефекти друку щоб плата зарядки влізла. Для встановлення плати потрібно спочатку встромили роз'єм в отвір якнайдалі, а потім з силою притискати вниз та вперед. Якщо раптом задній прижим відломиться, плата все одно повинна триматись доволі добре.
IP2312: The USB-C port cutout has tight tolerances. Ensure any printing artifacts are removed so the IP2312 fits. It requires significant force to install: first, insert the connector into the hole as far as possible, then press down and forward. Even if the rear retention clip snaps off, the board should still stay securely in place.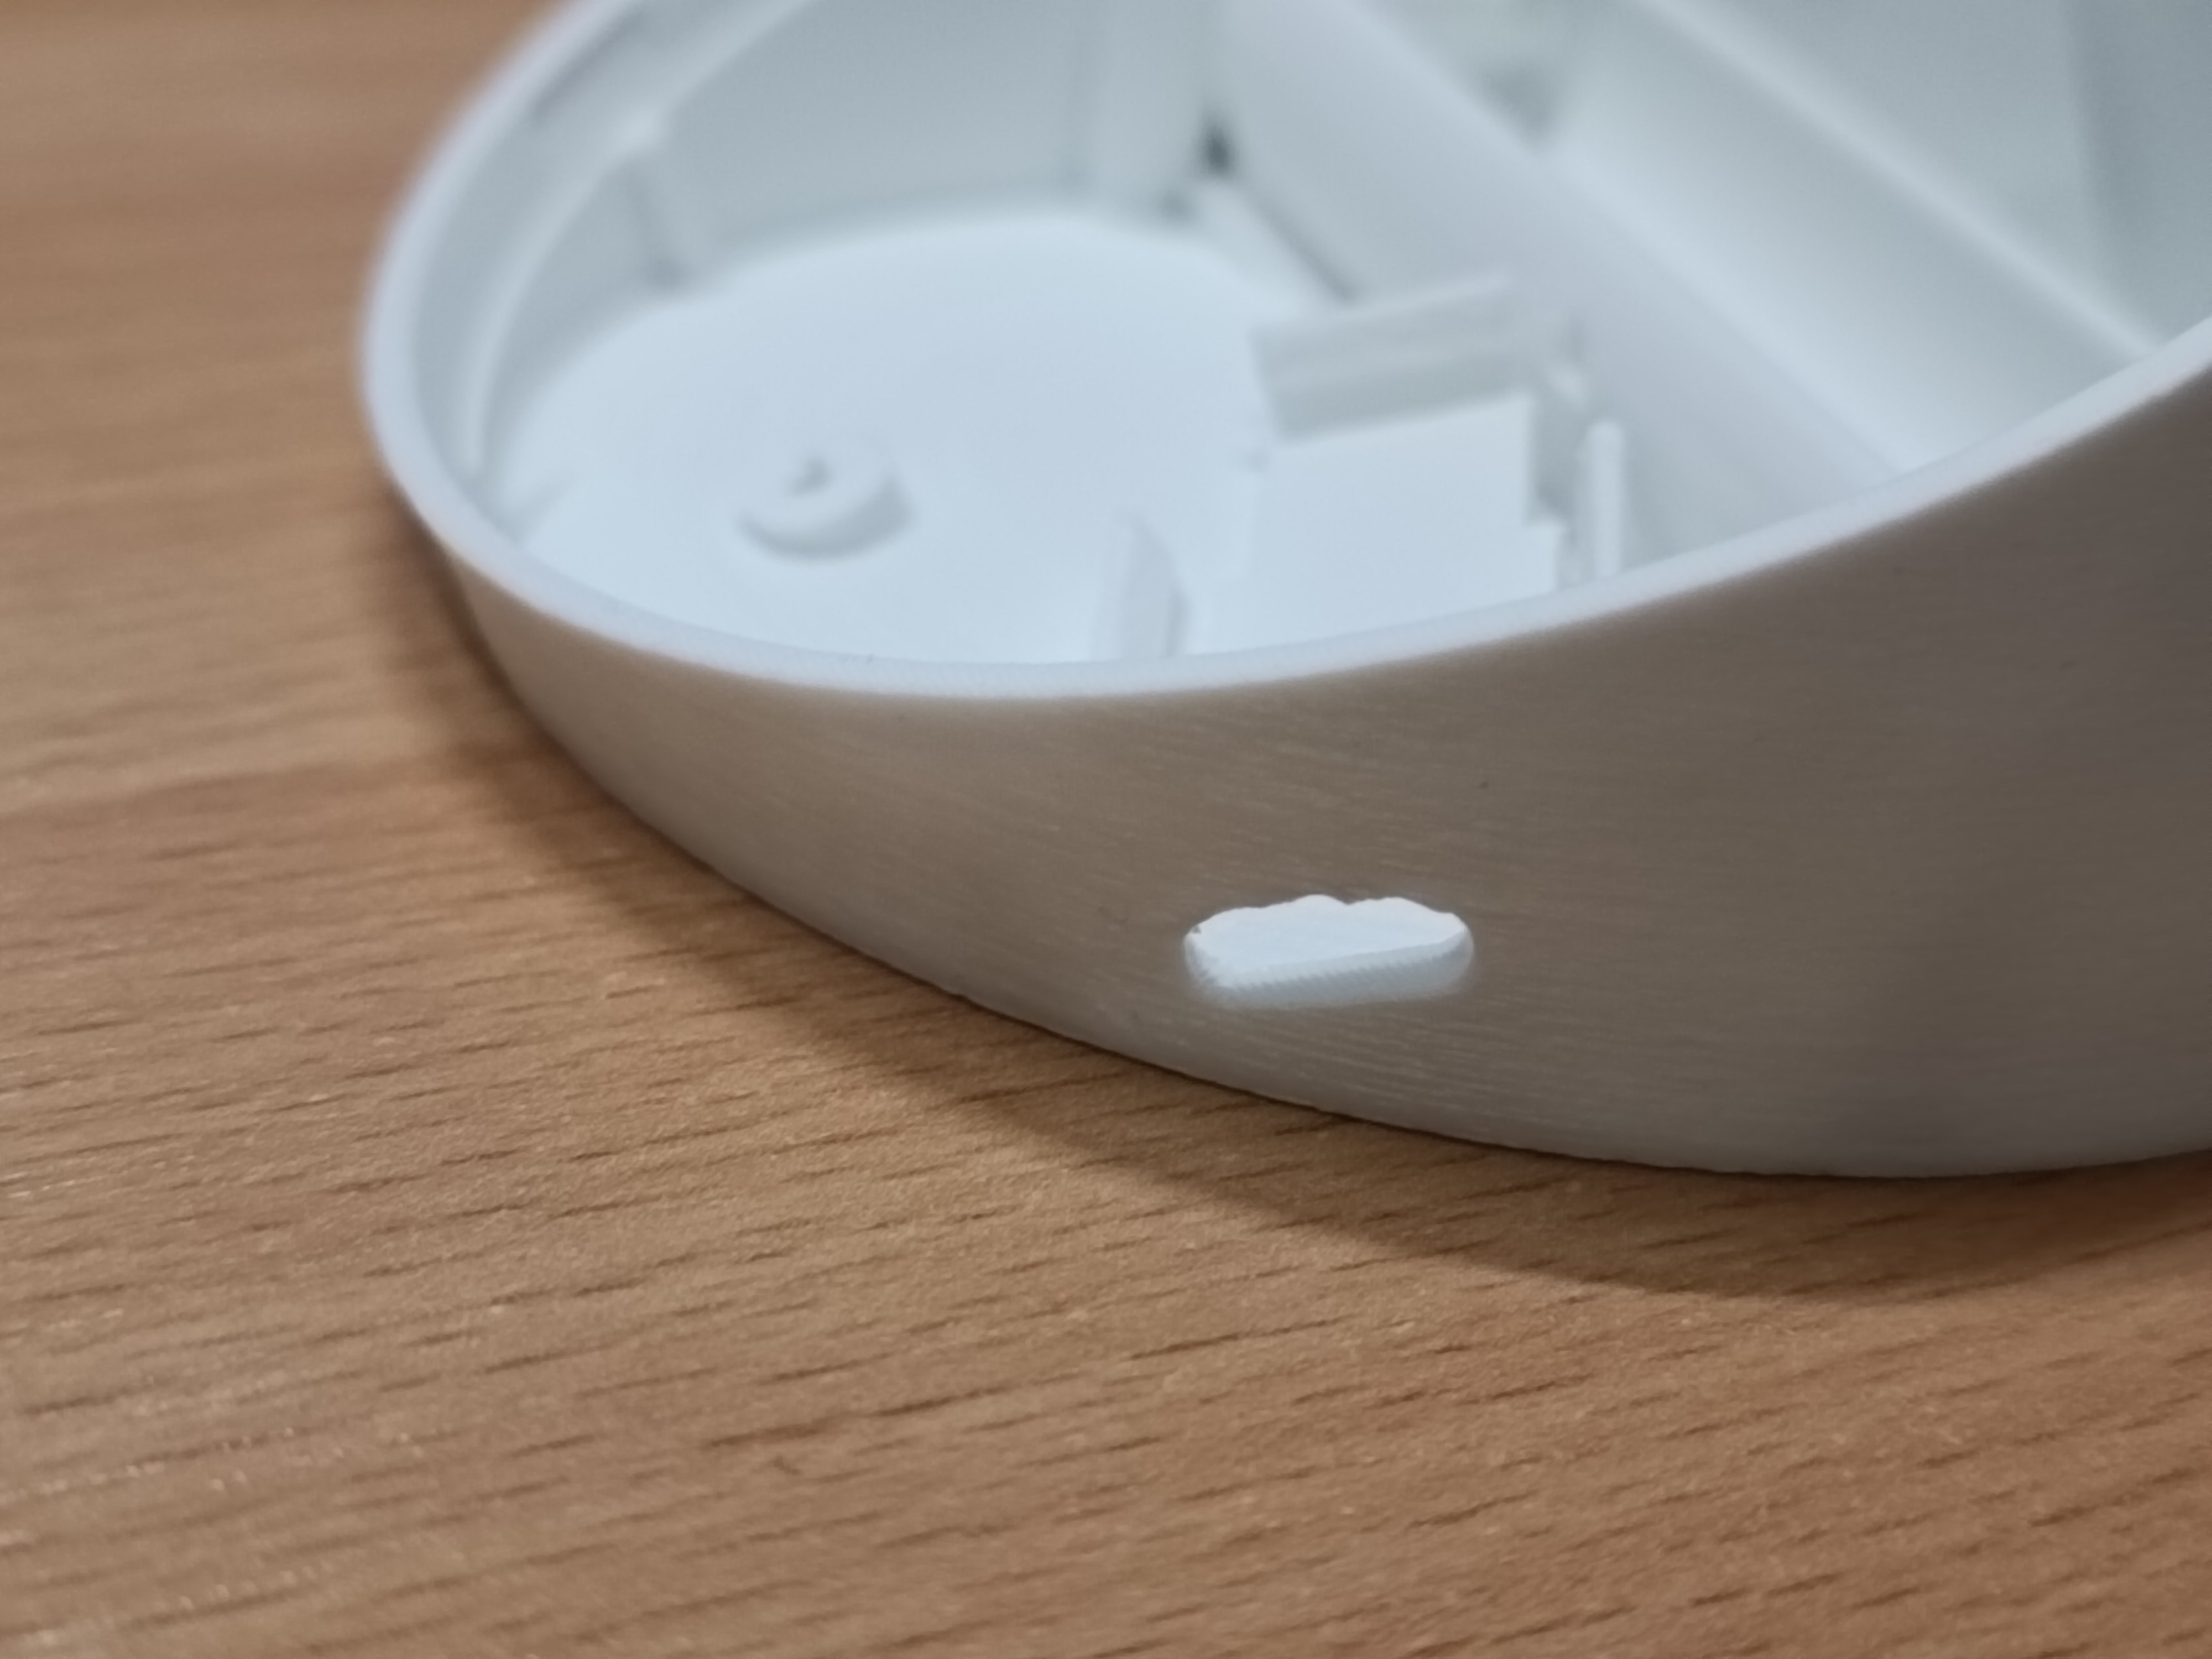
Перемикач режимів: Хід буде тугим якщо зверху на його посадковому місці є дефекти.
Mode Button: The switch may feel stiff if there are any print defects in its mounting slot.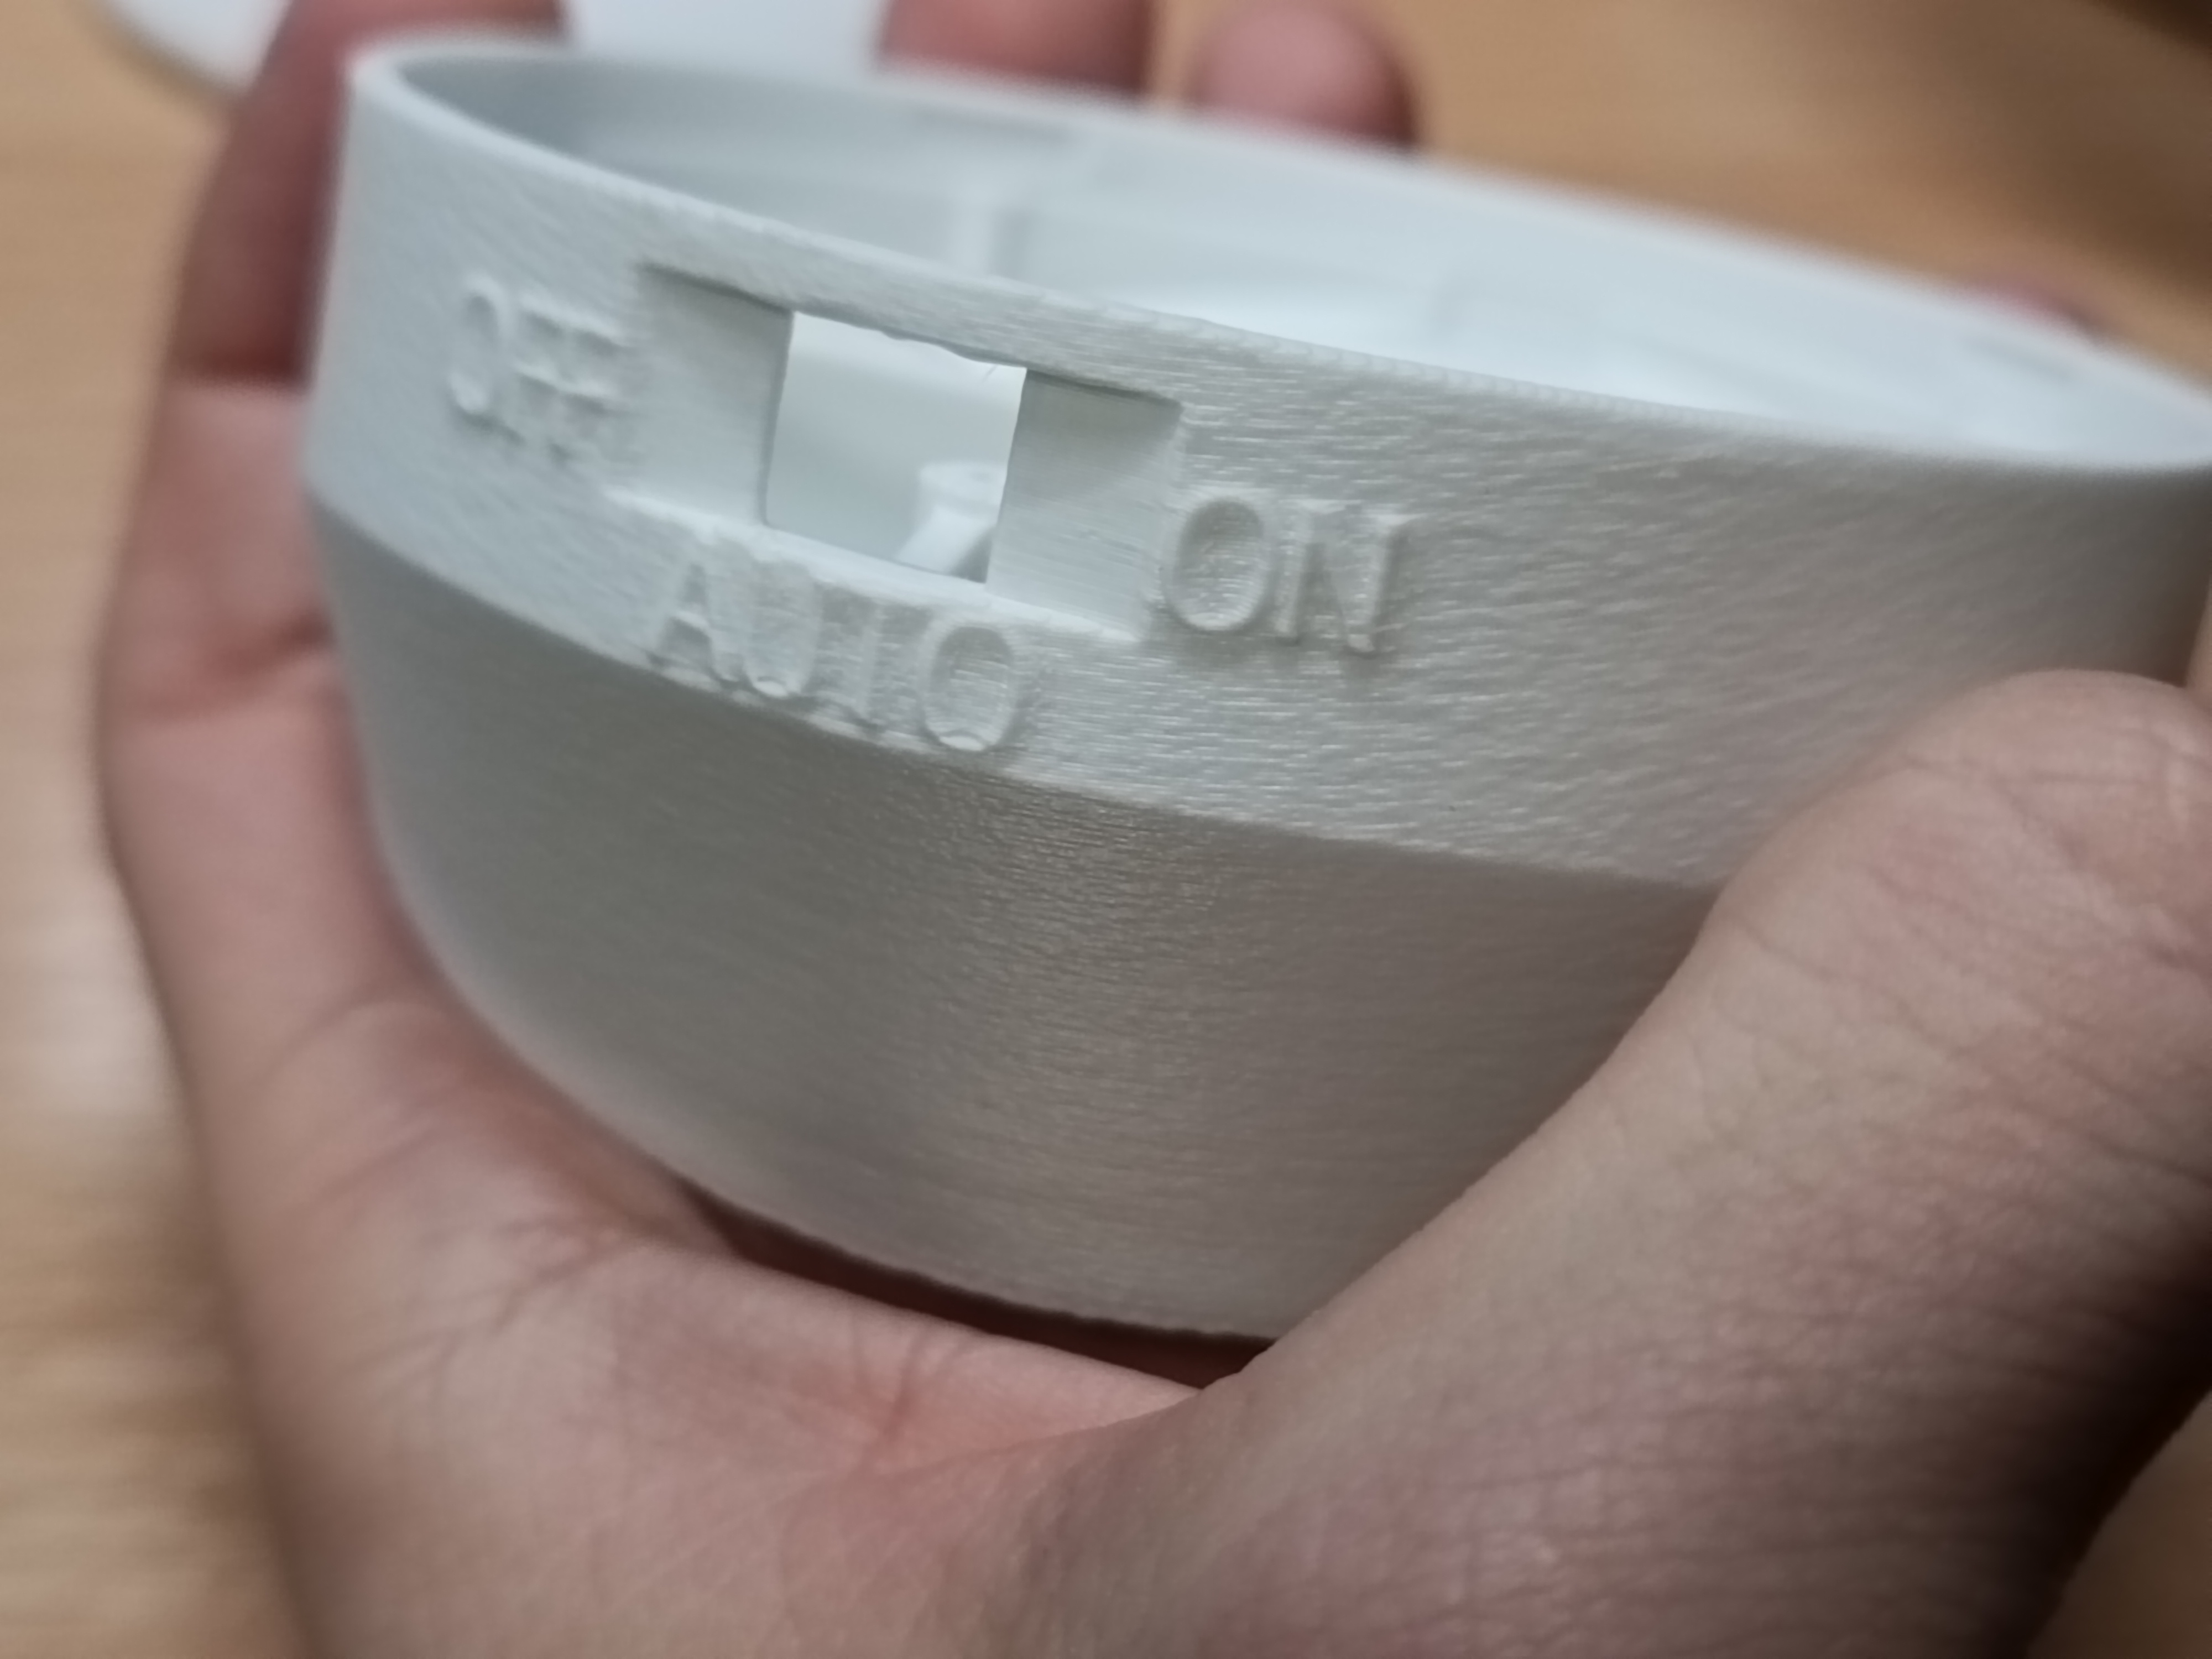
Плата ліхтаря: Добре заходить всередину якщо стискати корпус між її кутами.
Main PCB: The lamp PCB fits best if you alternately squeeze the housing between its corners during insertion.Розсіювач: При встановленні звертайте увагу на те, що найширша виїмка повинна бути над перемикачем!
Diffuser: When installing the diffuser, ensure the widest notch is aligned directly over the switch!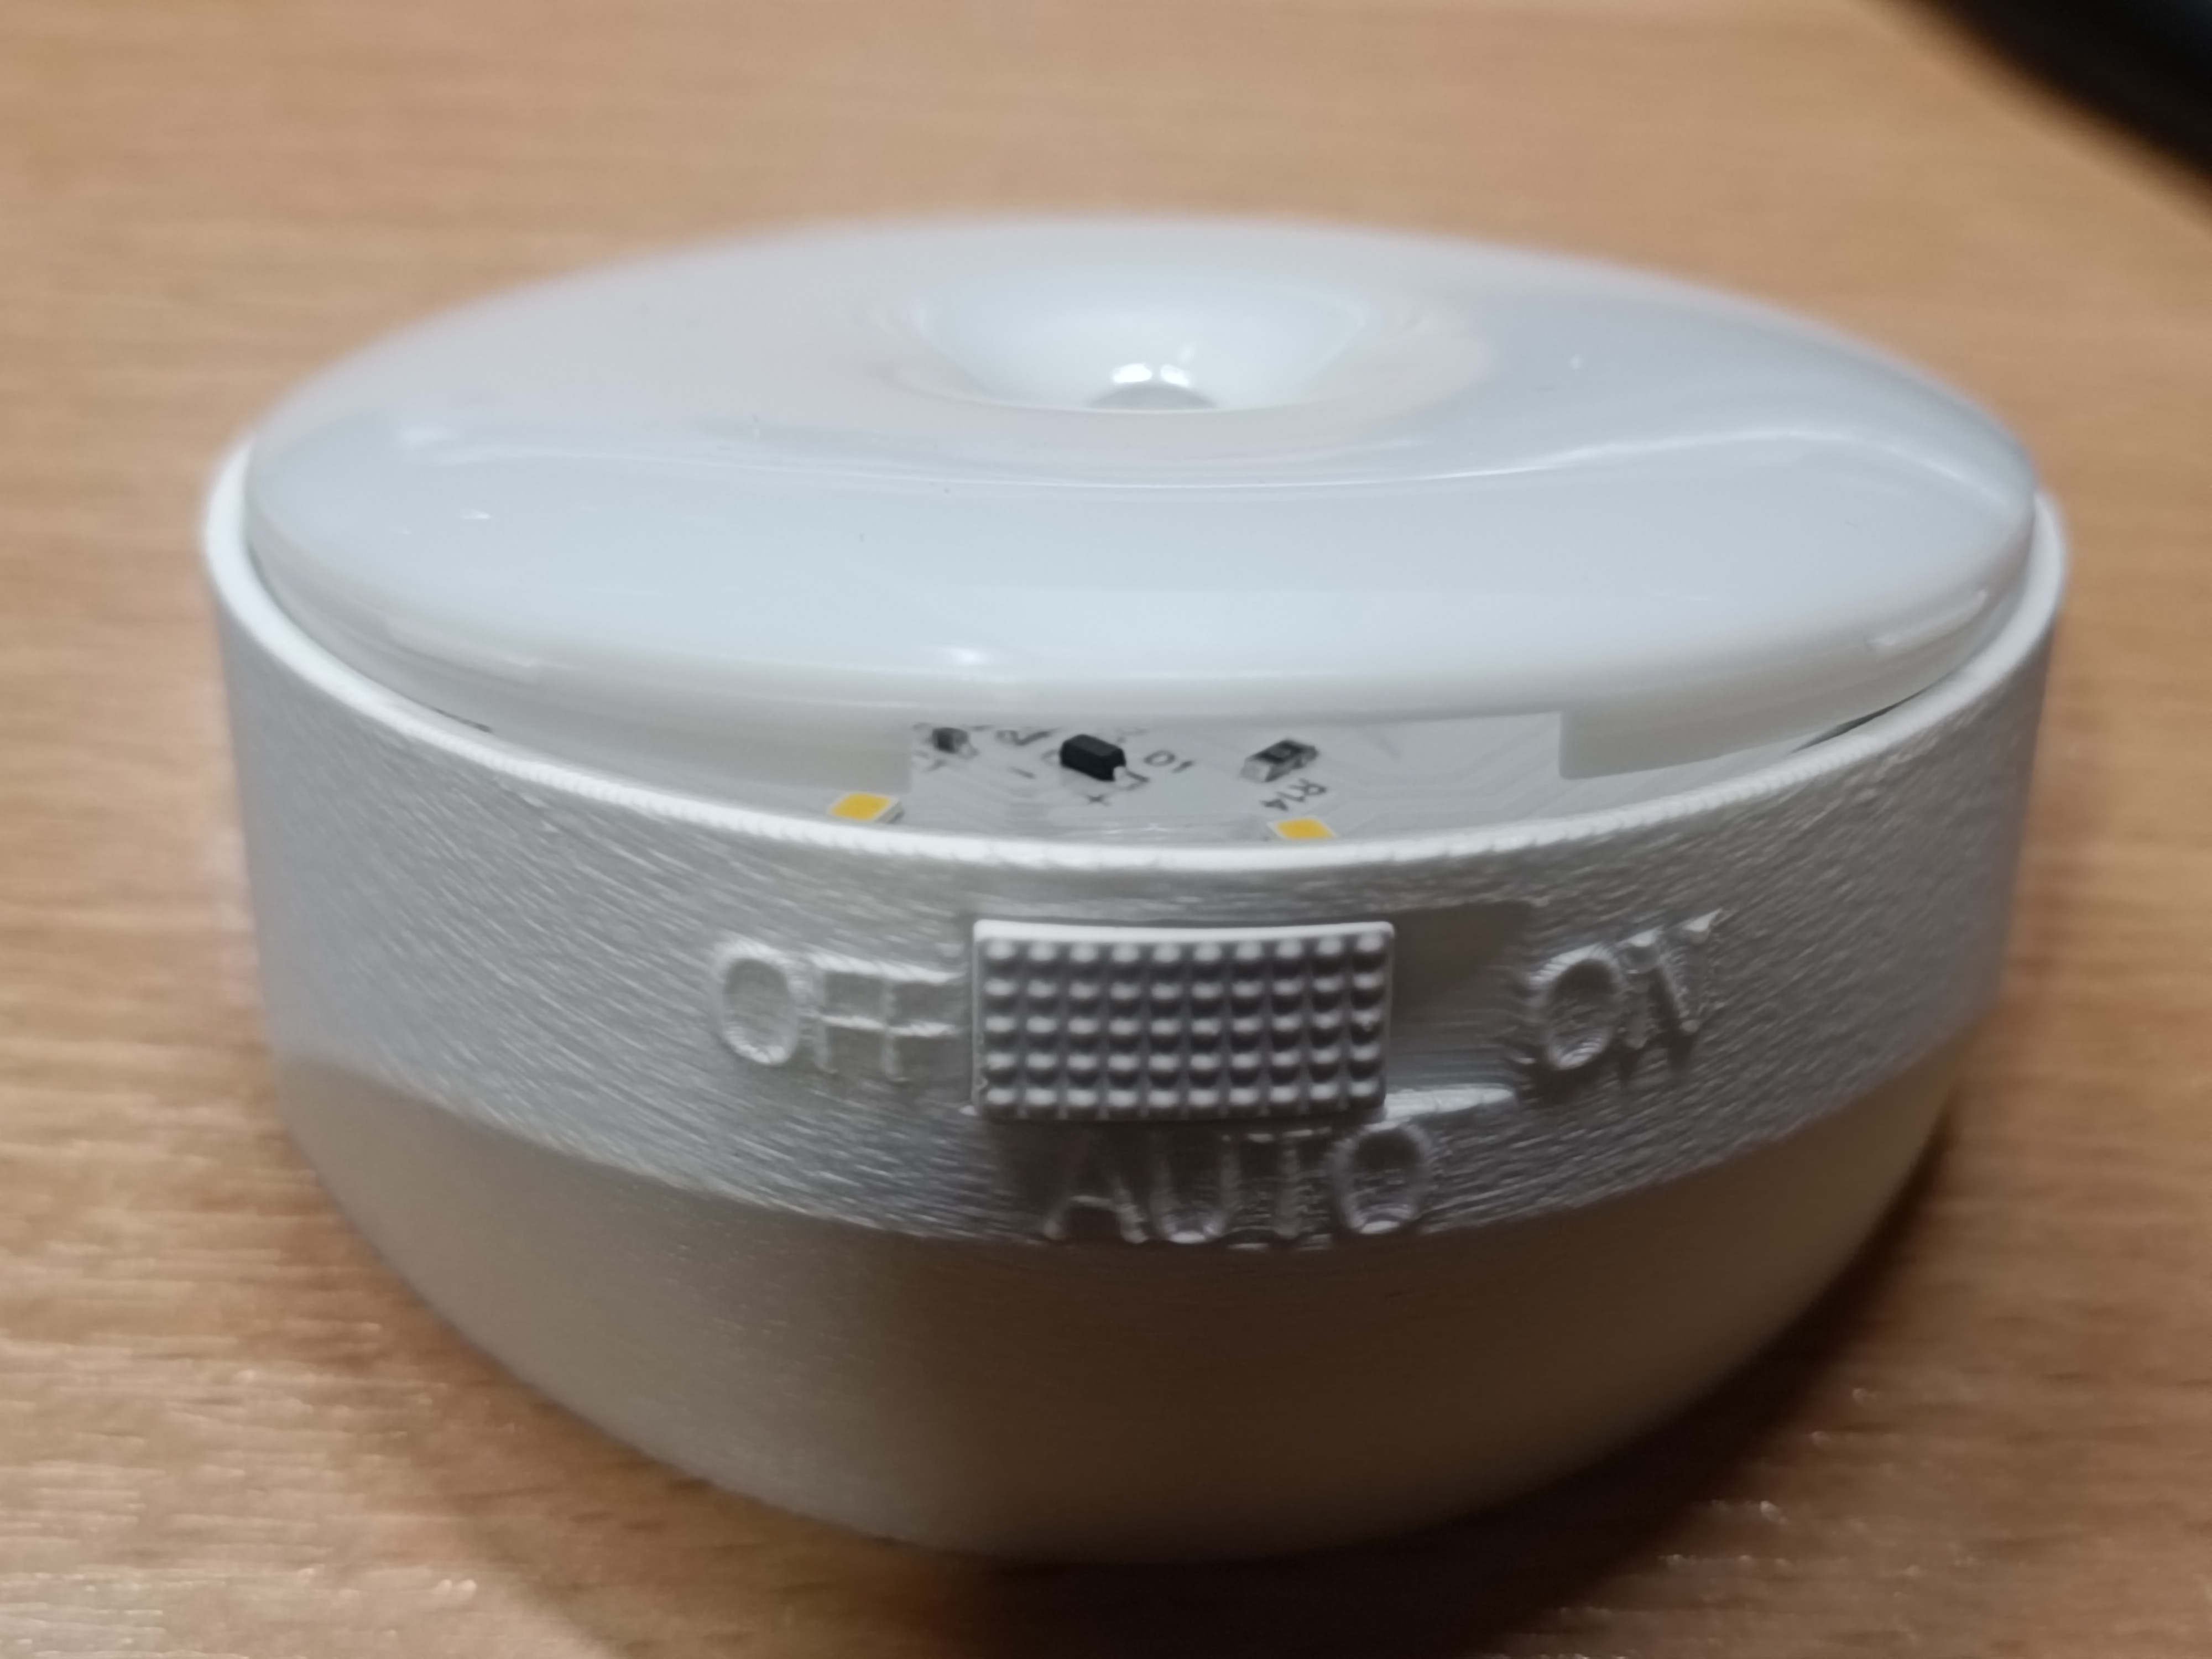
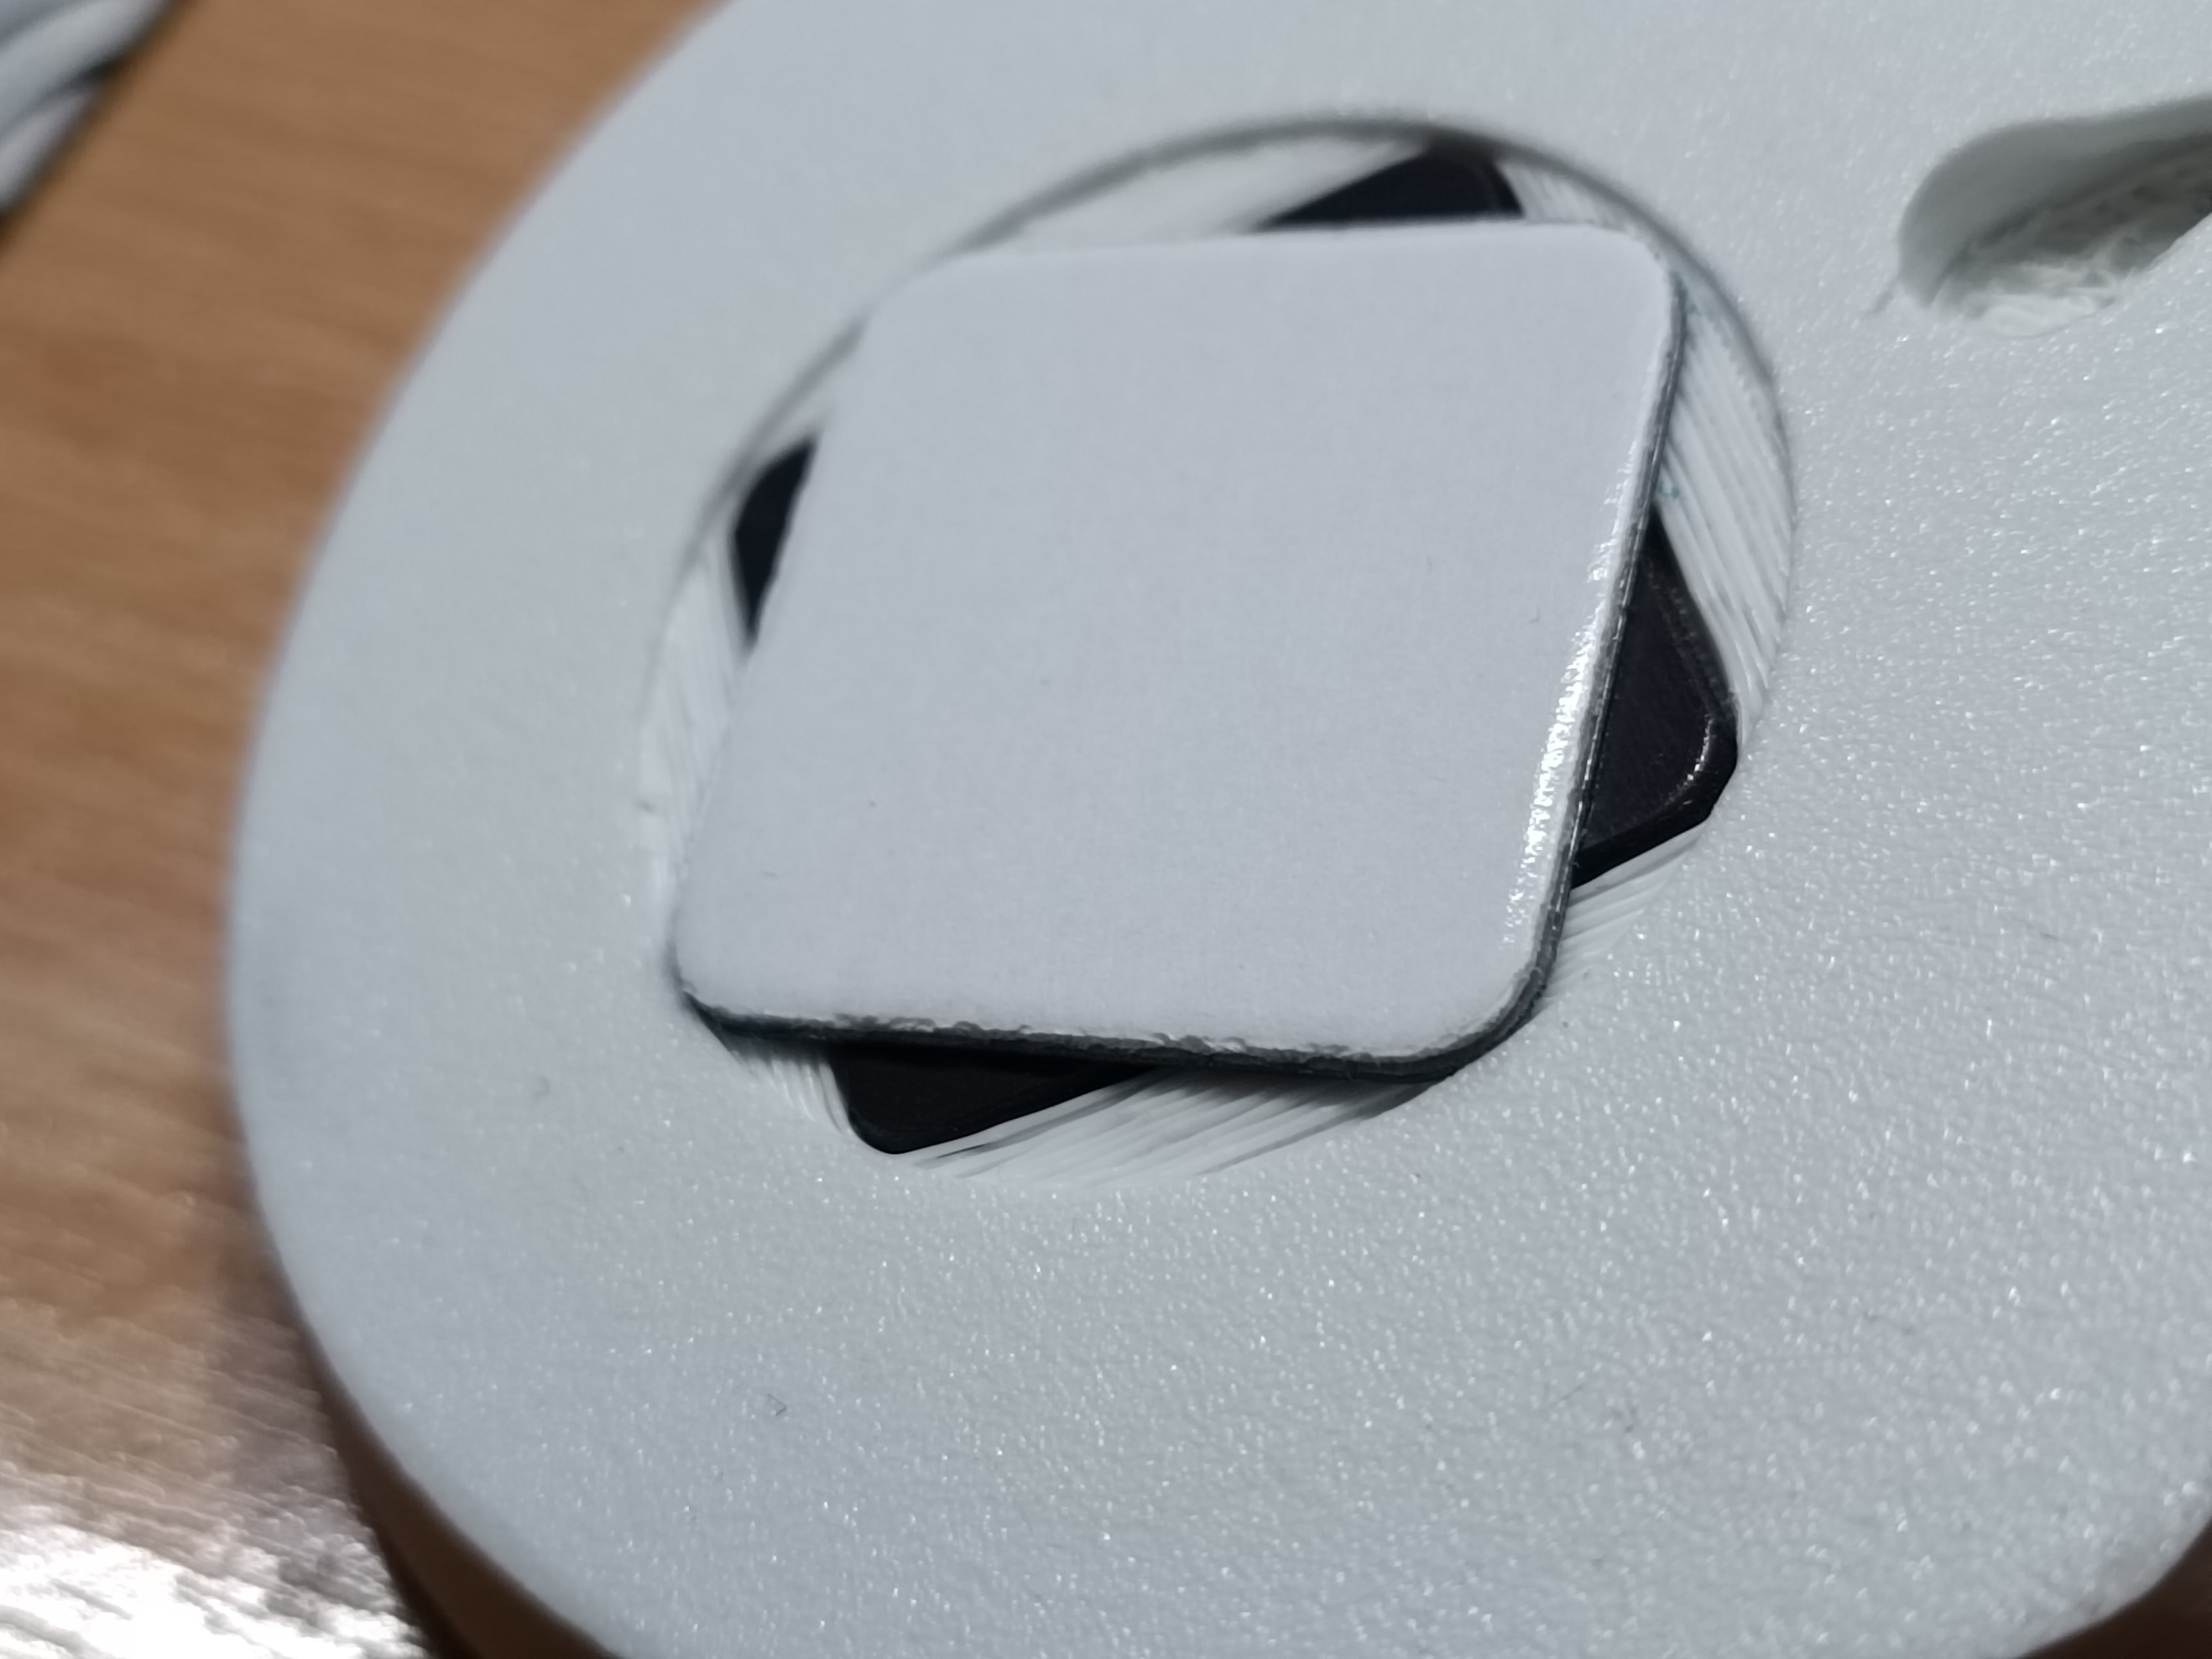
Магніт: В квадратну виїмку знизу клеїться магніт. Він стає приблизно на глибину круглого отвору, дозволяючи повертати лампу на комплектній металевій наклейці.
Magnet: Glue the magnet into the square recess at the bottom. It should sit roughly flush with the bottom of the circular recess, allowing the lamp to pivot on the original metal plate.