
EVA 3.0 chonky shrouds with LED lighting
We calculate the final price from your selected file. You review and accept it before payment.
Saved on this device.

EVA 3.0 chonky shrouds using 3x LEDs. LEDs points slightly below tip of the hotend for nice illumination.
- Rating
- 5 / 5
- Likes
- 95
- Downloads
- 761
- Makes
- 8
- Views
- 3,485
- Reviews
- 8
Updated at source:
Model information
- Source
- Printables
- Category
- Accessories
- License
- Creative Commons — Attribution — Noncommercial — Share Alike
EVA 3.0 chonky shrouds using 3x NeoPixel RGBW Mini Button PCB or WS2812B LED.
LEDs are seated to point slightly below the tip of the hotend. Choose appropriate variant long or short according to your hotend. Long variants should be good for most non volcano hotends like Rapido HF (which served as design reference). Short version will shine above the nozzle for most hotends.
Some soldering required - chain the three LEDs (see attached image).
Good example how to operate LEDs in klipper firmware can be found in Voron SB repository macro - https://github.com/VoronDesign/Voron-Stealthburner/blob/main/Firmware/stealthburner_leds.cfg
BOM:
3x NeoPixel RGBW Mini Button PCB or WS2812B LED
3wire ∅0.5mm (AWG24) cable
solder
Print settings:
All models:
.stl are already print oriented.
Recommended printing setting from EVA 3.0 - https://main.eva-3d.page/getting_started/#printing
Diffussor:
Print with transparent filament (PETG) using 100% infill (monotonic connected) with 1 perimeter and no top bottom perimeters. Don't try to print it as transparent as you can instead aim for slightly milky print. This way you will achieve equal light distribution across the whole logo.
ZeroG Diffussor:
Since ZeroG logo is more detailed, the whole logo assembly is inverted. The transparent diffussor parts are split into two so they can be printed without supports. However since the face (of base part) that is connected to supports is flat and is covered behind sheath it really doesn't matter and both parts (base + ZeroG logo) can be combined and printed together.
ZeroG Logo assembly:
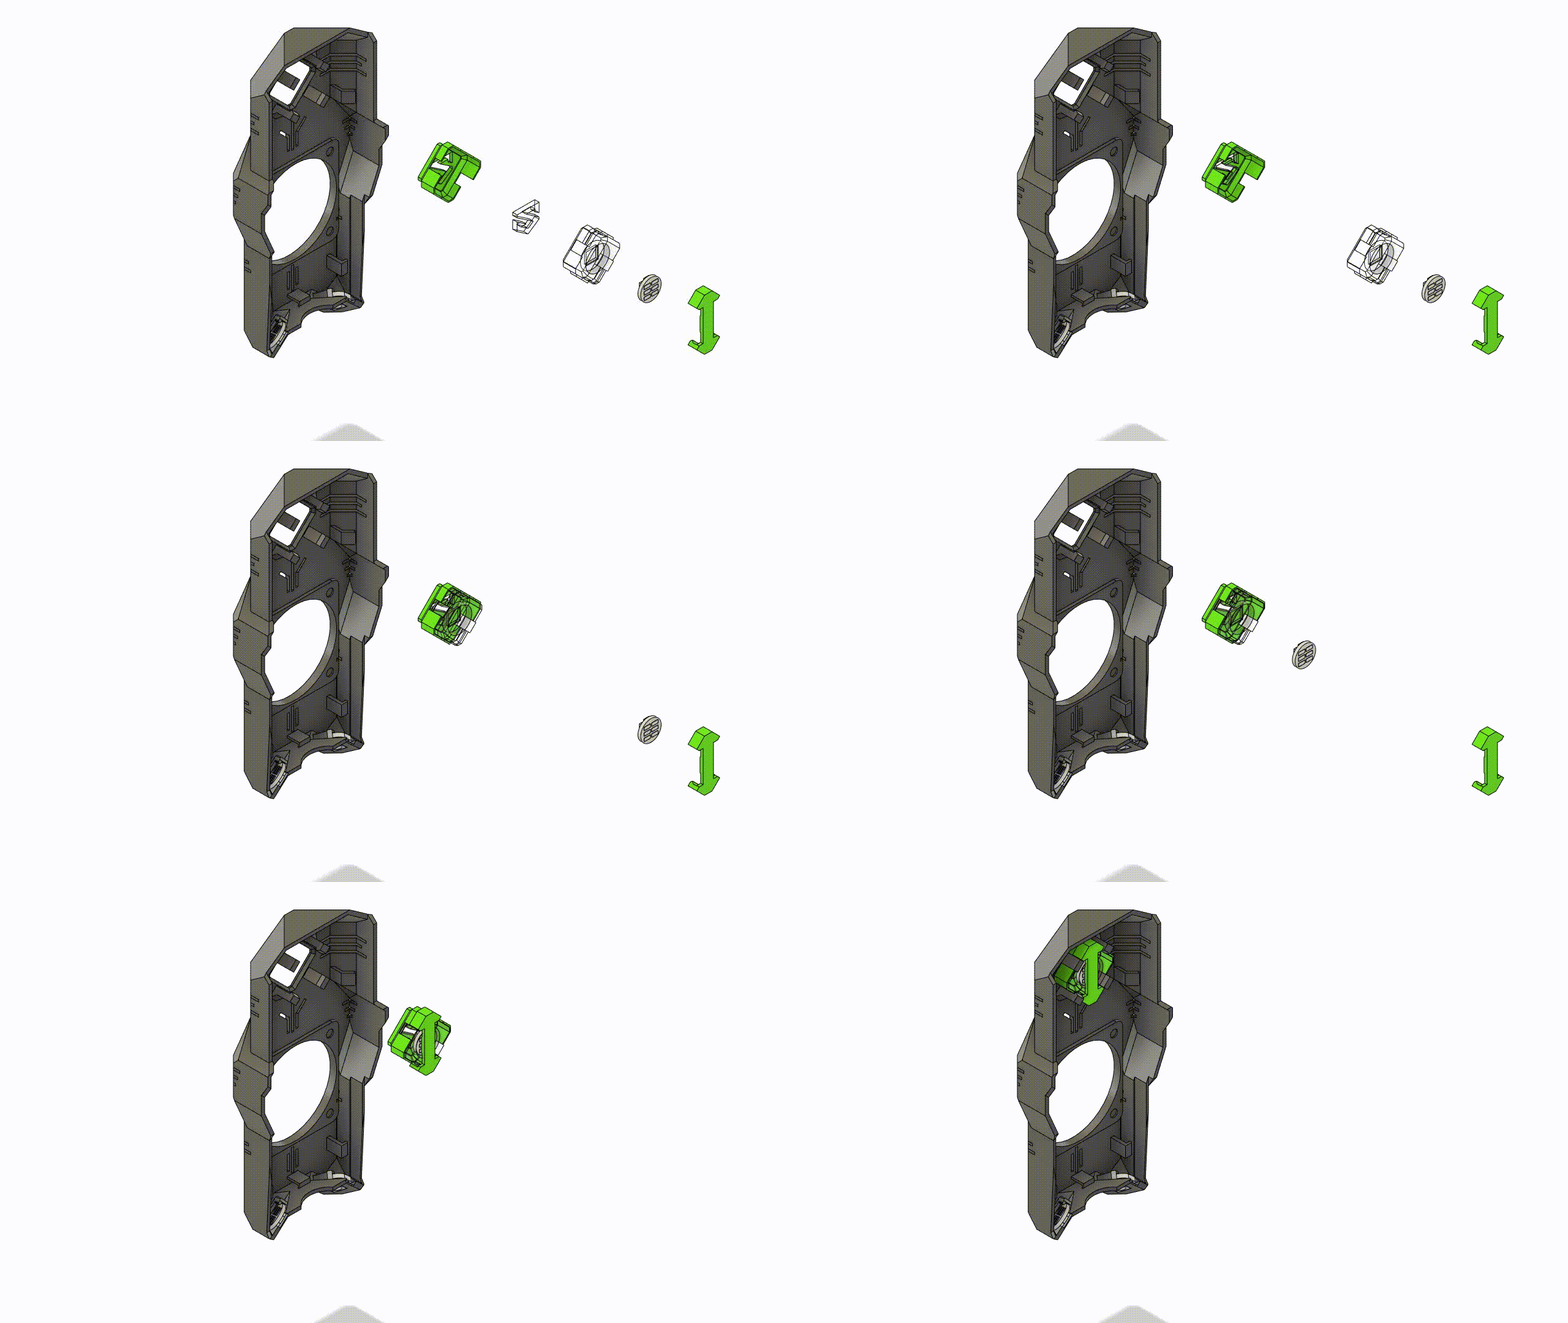
First insert logo into sheath then press in the diffusser base so that logo gets pushed slightly out on the other side. The logo is snug fit: if unsure you can even glue it together.
Assembly:
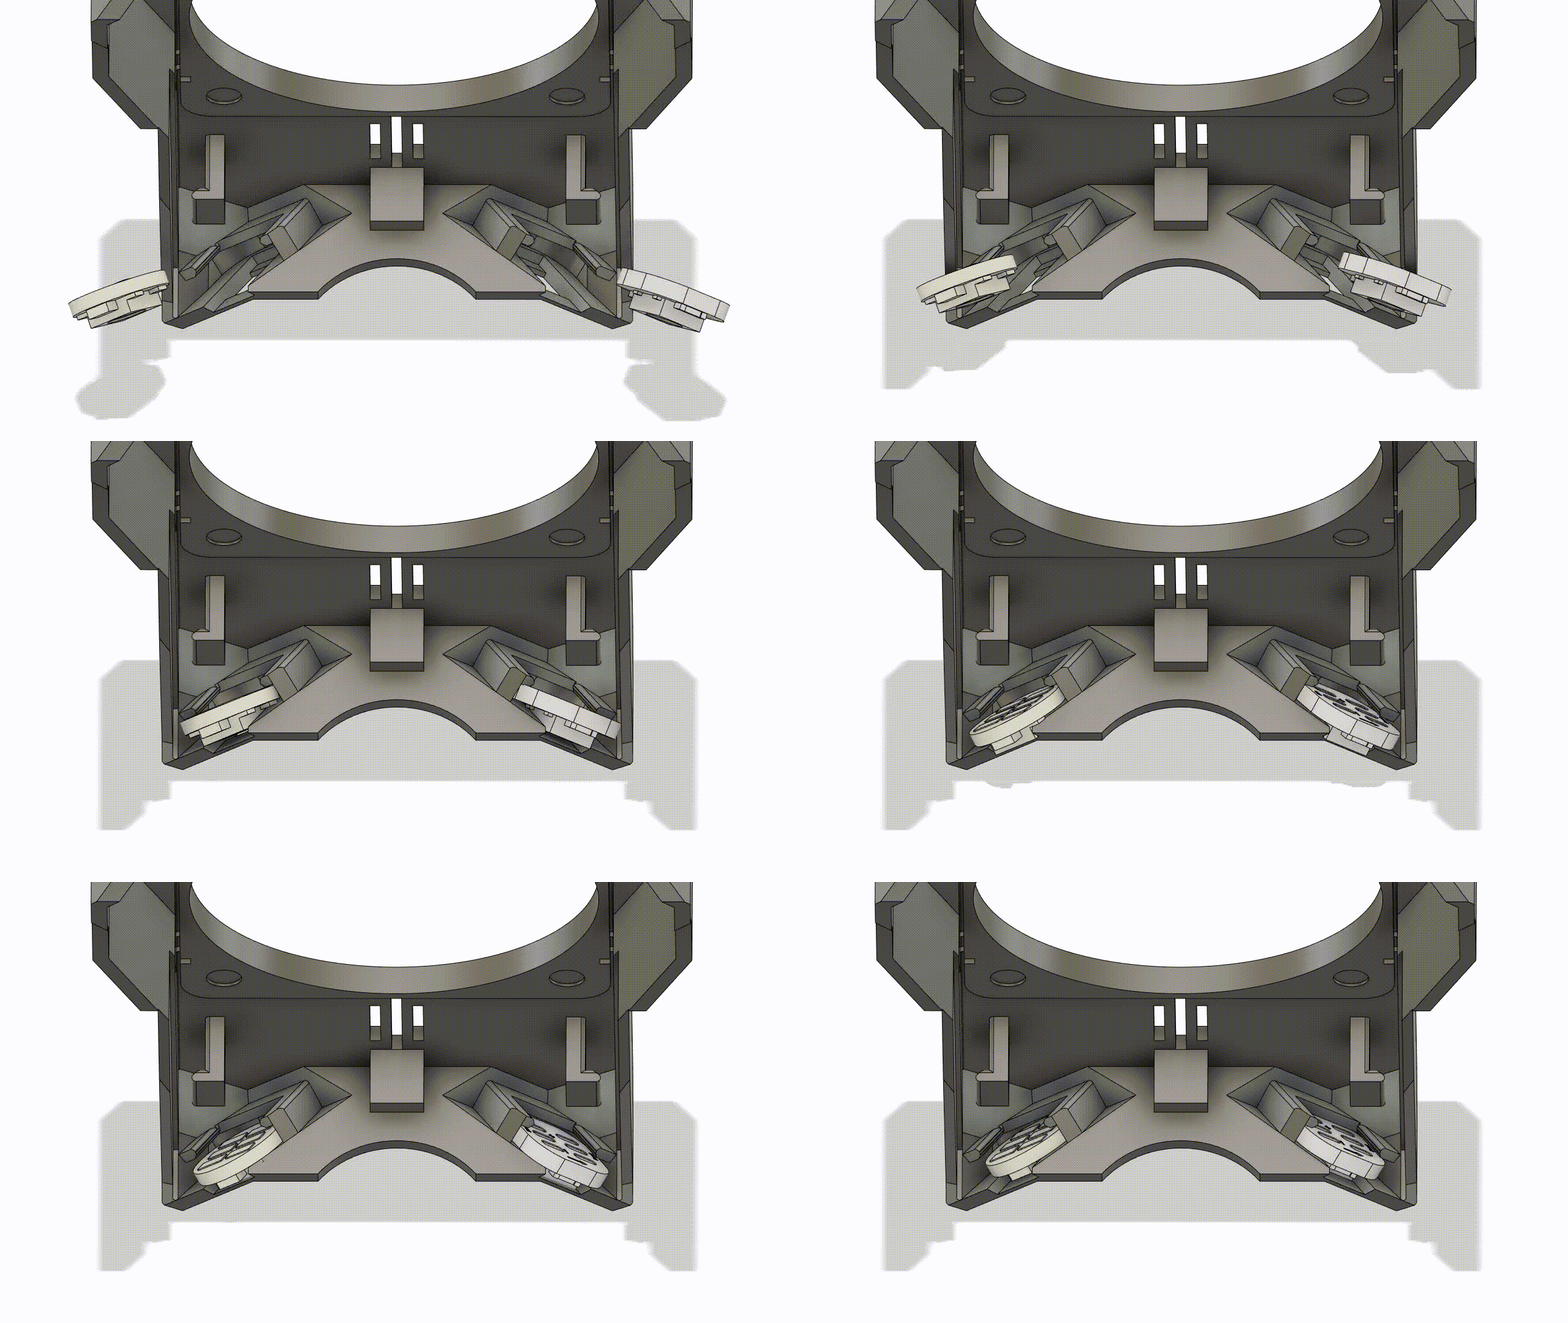
Bottom LEDs installation
LED logo

Mercury One ZeroG logo
Changelog:
1.0 - initial release
1.1 - fixed shroud's sides colliding with front
1.2 - thicker screw holes, Short variants have more space for wiring under the fan, Mercury One ZeroG logo
1.3 - Added Middle variants, usable for not so long hotends like (cough) Dragon SF/HF (cough)
Credits:
Stephen Lebed for his King's shroud - major inspiration how to design LED Logo assembly.
mmuellerphoto for his original design of chonky long shroud - used as reference for long variant dimensions.