
[Printer Box] Modular Control Panel SD Card Access
We calculate the final price from your selected file. You review and accept it before payment.
Saved on this device.
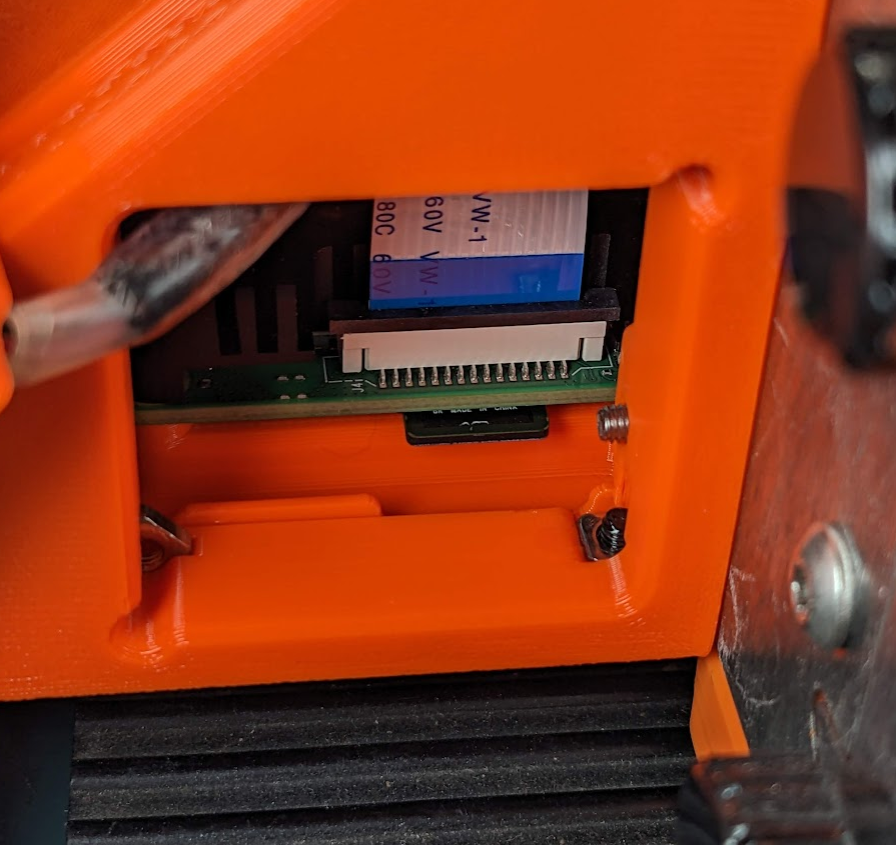
Allows you to remove the fan mount to access the Raspberry Pi's SD Card.
- Rating
- 5 / 5
- Likes
- 6
- Downloads
- 35
- Makes
- 1
- Views
- 433
- Reviews
- 1
Updated at source:
Model information
- Source
- Printables
- Category
- Other Printer Parts & Upgrades
- License
- Creative Commons — Attribution — Noncommercial — Share Alike
I recently needed to make some changes to the image driving the Raspberry Pi on my Prusa Box. Because of the way the default model is designed it's necessary to do a fair bit of disassembly to reach the SD Card. So I designed a way to access the card by way of making the right end-cap fan housing removable.
This change required modification to the end cap itself (obviously), but also the bottom plate for additional clearance for fasteners and the like. That's in addition to the new, removable fan housing.
Assembly Tips
- Print the three parts included here.
- Assembly is roughly the same as original utilizing square nuts in pockets.
- The fan shroud uses two fastener types.
- 4 - M2 (or M2.5) x 16mm counter sunk screws, washers and nuts to attach the fan to the housing.
- 2 - M3 x 16mm cap head screws to attach the housing to the end cap.
- 5 - M3 square nuts.
- Attach the Pi to the base plate.
- Attach the end cap to the base plate.
- Feed the fan and enough wire out through the hole in the end cap.
- Final assembly on the top cover along with attaching the control panel to the case or stand.
- Attach the fan to the housing using the M2 fasteners.
- Attach the fan housing to the end cap using the M3 fasteners.
Now you can remove the fan housing any time you need access to the SD Card on the Raspberry Pi.
Tips
- Sliced file for example only. Slice your own for the best results.
- A bit of silicon grease can help if you have one of the square fasteners wanting to escape from its pocket.
- The model for the housing is slightly different than pictured. I ended up adding a continuous lip around it because that felt better to me.