
UPDATED: Don’t Kick the Bucket, FIX the Bucket!
We calculate the final price from your selected file. You review and accept it before payment.
Saved on this device.
This model has eight parts, and assembly is required to fix a broken handle on a plastic 5 gallon bucket.
- Rating
- 5 / 5
- Likes
- 55
- Downloads
- 141
- Makes
- 2
- Views
- 1,210
- Reviews
- 2
Updated at source:
Model information
- Source
- Printables
- Category
- Outdoor & Garden
- License
- Creative Commons — Attribution — Share Alike
EDIT 5Oct2026: Changed License. And my repair with PETG from 2022 is still holding!
Edit Feb 2025: I added another handle piece that is 4mm shorter and .2mm larger diameter hole for the wire. This is intended for better fit on buckets with different size handle or a little bend in the wire handle. Thanks, John @JohnMaguire_530980 for your feedback!
John also used a different method to insert the pins. He used a pliers instead of a mallet to get the pins into the handle parts. This is a better method!
——————————————————————————————
Homer Bucket Handle Repair
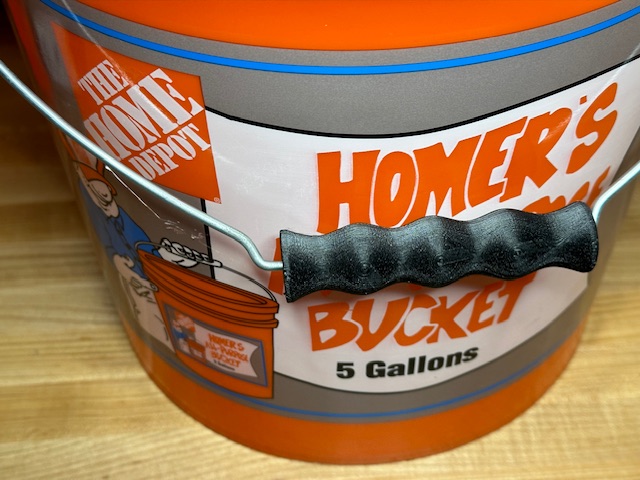
The popular orange 5 gallon Homer bucket from the home improvement retail giant Home Depot is great. Until the plastic grip on the handle breaks. Then, it's not so great. When a bucket with a broken or missing plastic grip is full and heavy, it can literally be a pain to carry :-(.
This easy print fixes that problem and you can keep using the bucket. So, DON'T KICK THE BUCKET, FIX THE BUCKET! :-)
This handle grip is a little bit thicker than the stock Homer grip, so it should hold up and last longer. It is comfortable to hold so your bucket chores bring more inner peace. Give it a try and let me know how it works for you!
There is assembly required and the instructions below take you through all steps.
Print instructions
You need to print two (2) pieces of the ”Fix The Bucket Handle" and six (6) pieces of the "Fix The Bucket Handle Pin" parts. The "Fix The Bucket Handle-All Parts.3mf" file has all of these laid out, but you can bring them in individually if you like from the "Fix The Bucket Handle" and "Fix The Bucket Handle Pin” 3mf files. All parts should be placed with the largest flat surface on the build plate.
Recommended slicer settings:
0.4 nozzle
0.2mm layers
3 perimeters
20% infill.
No supports.
Most types of filament should work, I have tried PETG and PLA. My preference is PETG.
Tools
Needle nose pliers (to remove a remaining broken plastic from the handle). If your wire is already bare, you won't need these.
Small hammer or mallet.
CA (super glue) or your preferred glue for 3D prints.
Assembly preparation
If there is any of the old broken grip handle remaining on your Homer bucket, remove it. Just the plastic, don't cut the metal wire! Needle nose pliers works well for this. If the wire is bent where the handle will go, try to straighten it. At this point, you are ready to assemble and fix your bucket. You have earned one Haribo gummy! :-)
Assembly instructions
Start with one of the half pieces and three of the pins. The pins are, by design, a pretty snug fit and cannot easily be pressed in by hand; you will be tapping them in one at a time into the grip half of the handle.
Line up the first pin with the one of the slots in the gripper part.
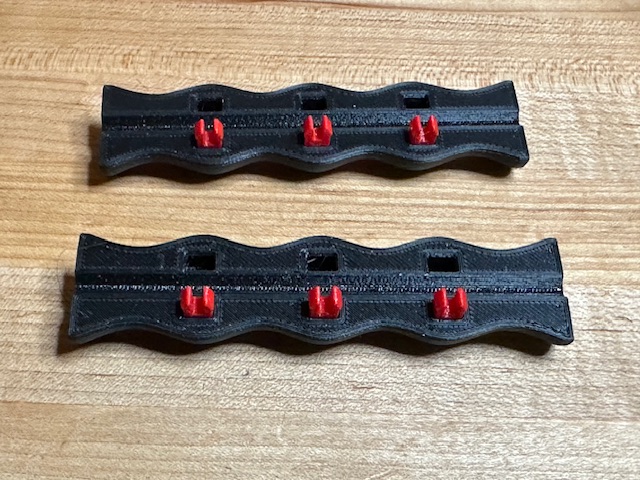
Carefully tap to anchor the pin into the slot. You don't want to crush it, just tap it a few times. When it is correctly seated in the slot the pin will stand straight up. Note, the photos have red pins and black grip half's, but that is only to see it better. There is no need to have multiple colors!

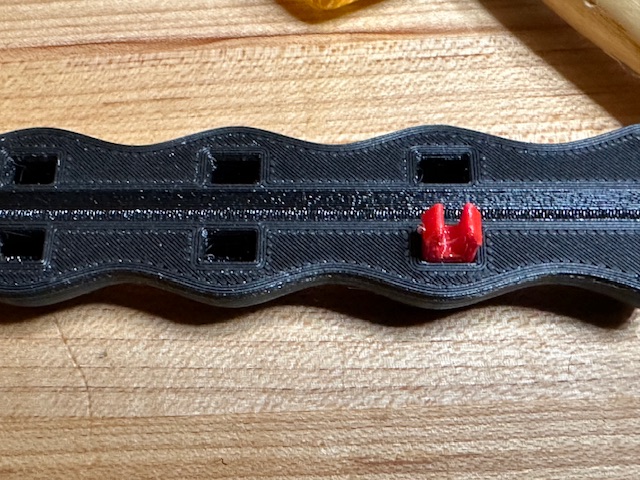
Line up the second pin on the same side as the first pin, and tap it into place.
Line up the third pin along the same side and tap it in.

Repeat steps 2 - 5 with the remaining pins and half piece. At this point you'll have two sub-assemblies that look alike.
Get the bucket and position it so you will be able to tap on the handle where the new plastic grip will go.
Put some CA (super-glue) or your favorite 3D print glue, on one of the grip halves. Just use a little glue. Do NOT glue in the channel where the wire goes, as you want the new gripper handle to be able to rotate on the wire.
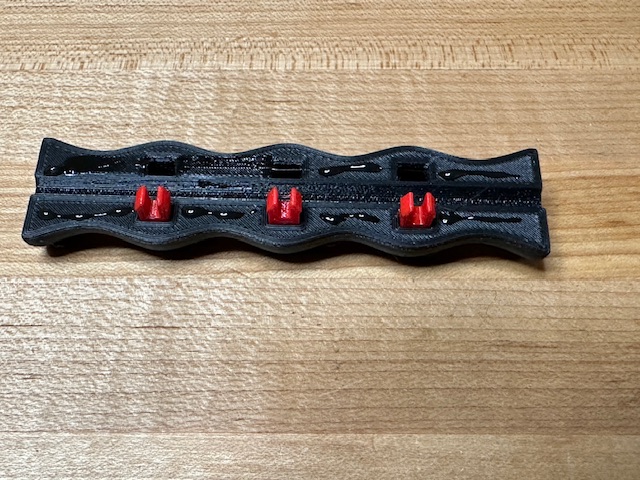
Align one of the grip halves with wire bucket handle. The wire will nest into the channel on the grip half. Then align the second grip half so all the pins are going into slots.
Tap the two pieces together. They will fit snugly. If needed, wipe any excess glue with a paper towel.

Admire your work! You're done!! It's Haribo time! 3 gummies!!!
Like this design? Then “like” this design! ❤, and if you print it, post your make! ❤