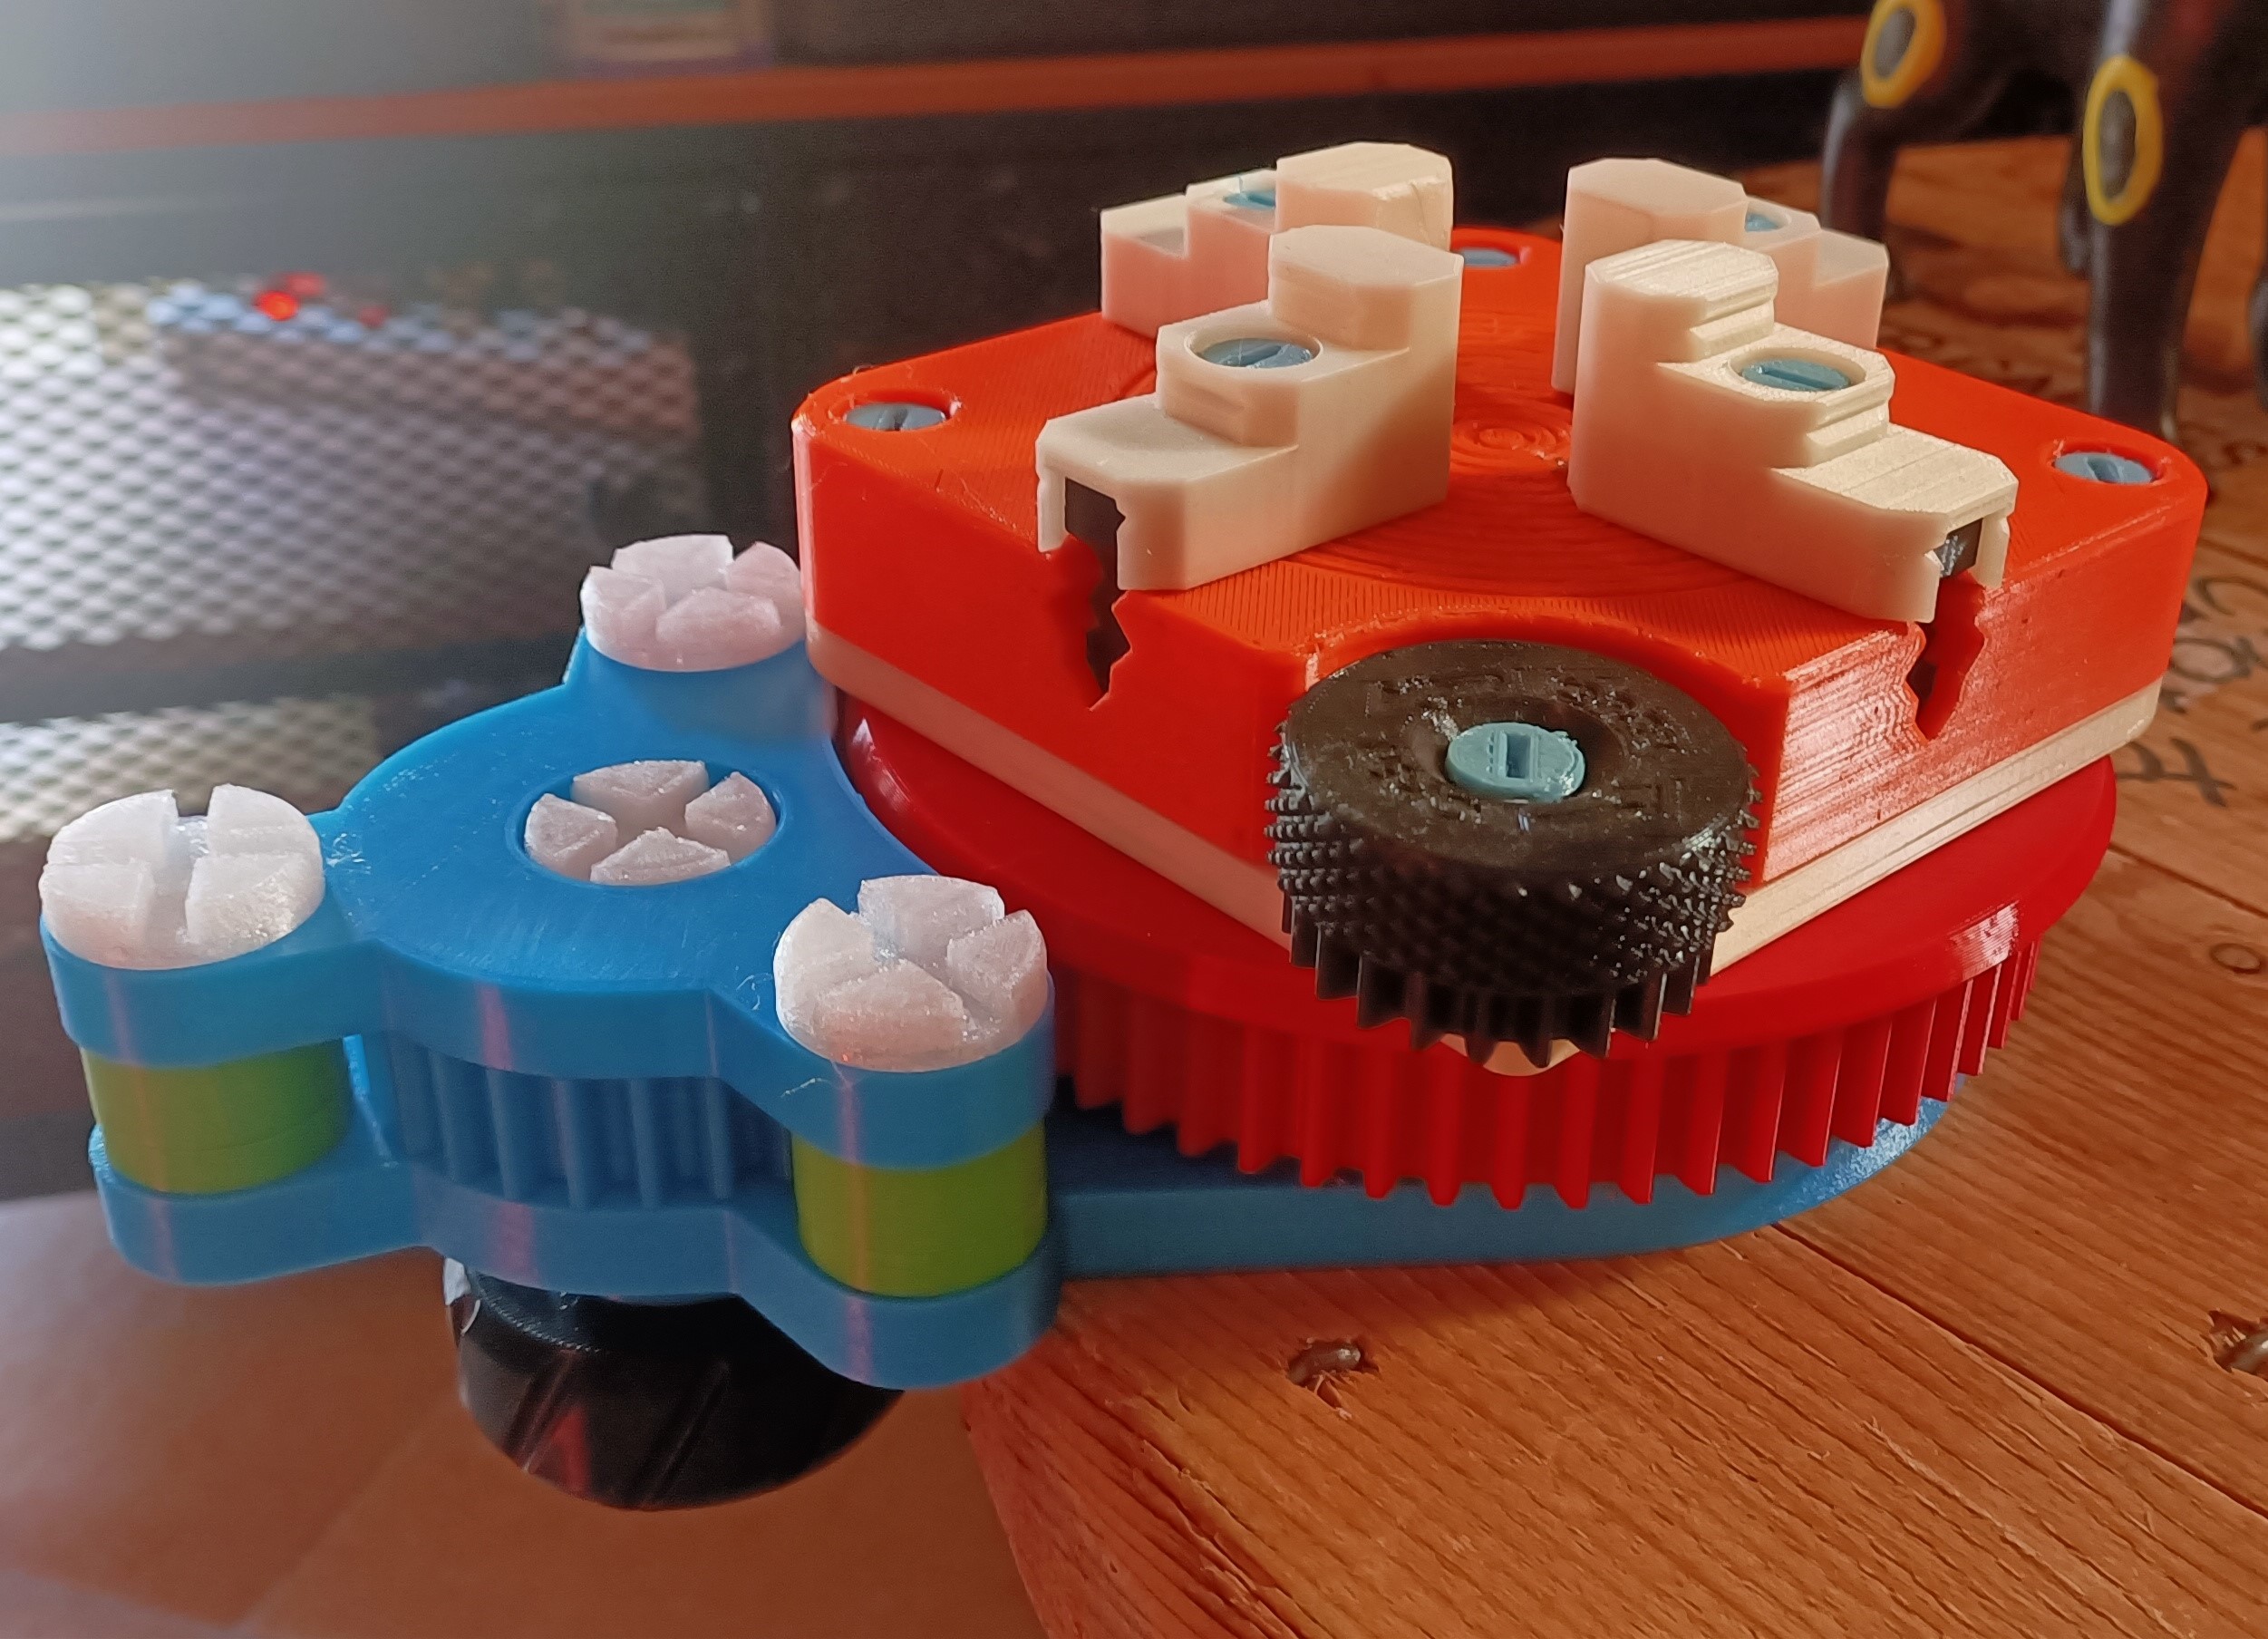
Rotating table for 3D scanning
We calculate the final price from your selected file. You review and accept it before payment.
Saved on this device.

Rotating table for 3D scanning. All the pieces are printable.
- Rating
- 4 / 5
- Likes
- 41
- Downloads
- 177
- Makes
- 1
- Views
- 2,705
- Reviews
- 1
Updated at source:
Model information
- Source
- Printables
- Category
- Tools
- License
- Creative Commons — Attribution — Share Alike
All the pieces are printable. I print all part in PLA except for the screw that are printed in PETG. No support are needed except for the cross in the head of the screw.
You will need to print 4 “04_Screw”. But i suggest to print only one and test if it will work with the other pieces. If it doesn't work, i uploaded a model with less interference. You can use the screwdriver for screw the screw.
Screwdriver for the 3D screw
https://www.printables.com/it/model/609400-screwdriver-with-bit-for-3d-screw
The “02_IngCond” must be free to rotate, but must be hold in is position.
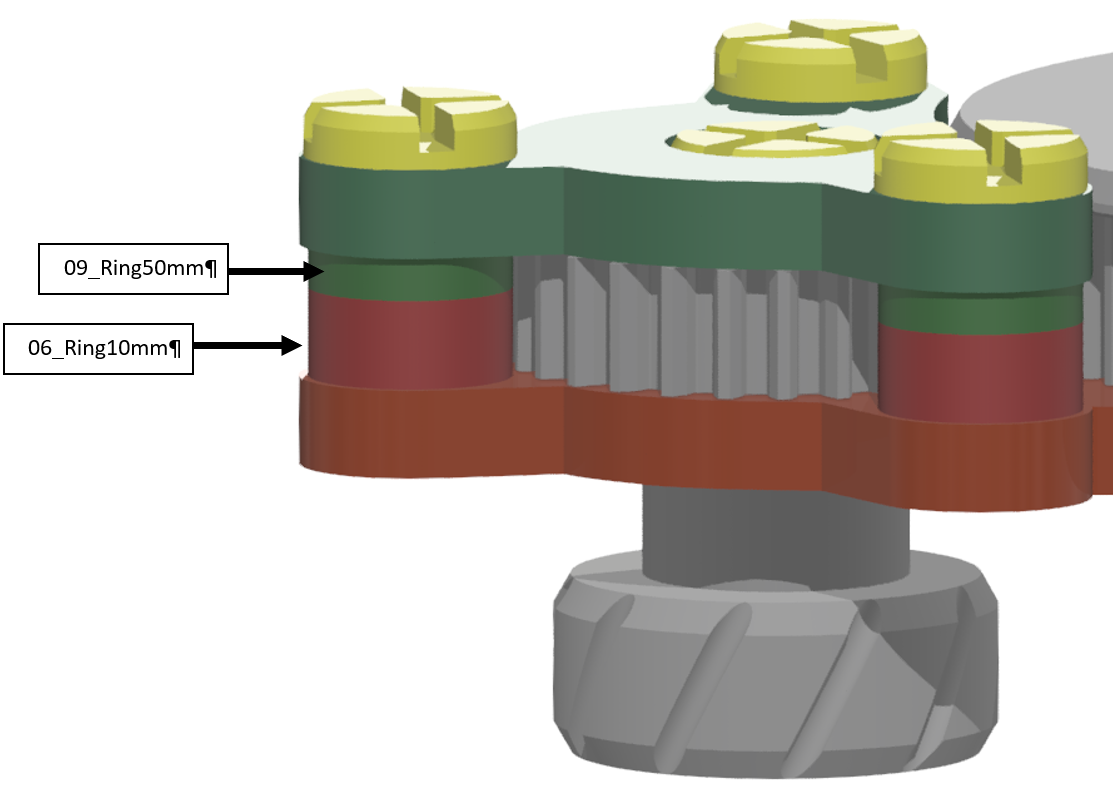
Between the “03_Base” and the “05_Blocker” you shall insert rings to act as a thickness.
The “06_Ring10mm” (10mm) and the “09_Ring50mm” (5mm). If The “02_IngCond” can't rotate, you shall replace the “09_Ring50mm” with the “11_Ring51mm” (5.1mm). If it's to loose try the “08_Ring49mm” (4.9mm) or “10_Ring48mm” (4.8mm).
Under the “01_IngBase”, on the base, there are two hole for countersunk screw M6, you can use this to fix the the device on the table.

To hold the pieces properly, can be mounted on the plate a spindle/vice:
https://www.printables.com/it/model/281912-bench-mountable-4-jaw-3-jaw-2-jaw-vise-with-swappa
to screw this vice on the plate, you should place 4 Hex nut M4 under the “01_IngBase”.