
Table Fan Enclosure
We calculate the final price from your selected file. You review and accept it before payment.
Saved on this device.

If you have a spare CPU fan and want to transform it into a tabletop fan, here is a custom enclosure for you
- Rating
- 0 / 5
- Likes
- 3
- Downloads
- 25
- Makes
- 0
- Views
- 270
- Reviews
- 0
Updated at source:
Model information
- Source
- Printables
- Category
- Portable Devices
- License
- Creative Commons — Attribution — Noncommercial — Share Alike
A fully custom desktop fan which is a good way to remove fumes when you do your soldering.
Electronics:
1. Take a CPU fan like this intel one
I had a spare one, which started this travel
2. Since such fans are 12V you'll need a boost converter like this with USB-C I personally used this with mini-USB
connect it to power and using multimeter adjust potentiometer to 12V
Additionally you can add PWM into your board and add a rotary encoder as a knob somewhere in the main bottom part and regulate speed of the fan, but in my case I always needed maximum speed, so remixes are welcome.
3. You'll need a 2 pin 10x15 switch button, the rectangular hole in the main bottom is for the button (you can use other 2 pin buttons with state and adjust it the hole for it in blender to your needed size, should be relatively easy)
this button will be intercepting output of a booster positive and fan positive cable. you can use it on negative as well, in this particular case it won't change much.
4. JST connectors possibly you already have one on your fan. you don't really need to use pwm anc clk pins of the fan if you want max output, just connect them to ground. otherwise here are the official specs and a video how to build a circuit
5. Ideally make all of it on some protoboard, so it doesn't fall apart later like this
case around the board on photo below was a very first prototype of this project

Print models:
- Main case x1
- print vertically add tree support
- Main bottom x1
- add stop to insert nuts
- alternatively ignore this step and just glue bottom cover with hot glue.
- Side top x1
- Nut x2
- Grid x1
- print it vertically, no support needed
- Bottom cover x1
Assembly:
Main case:
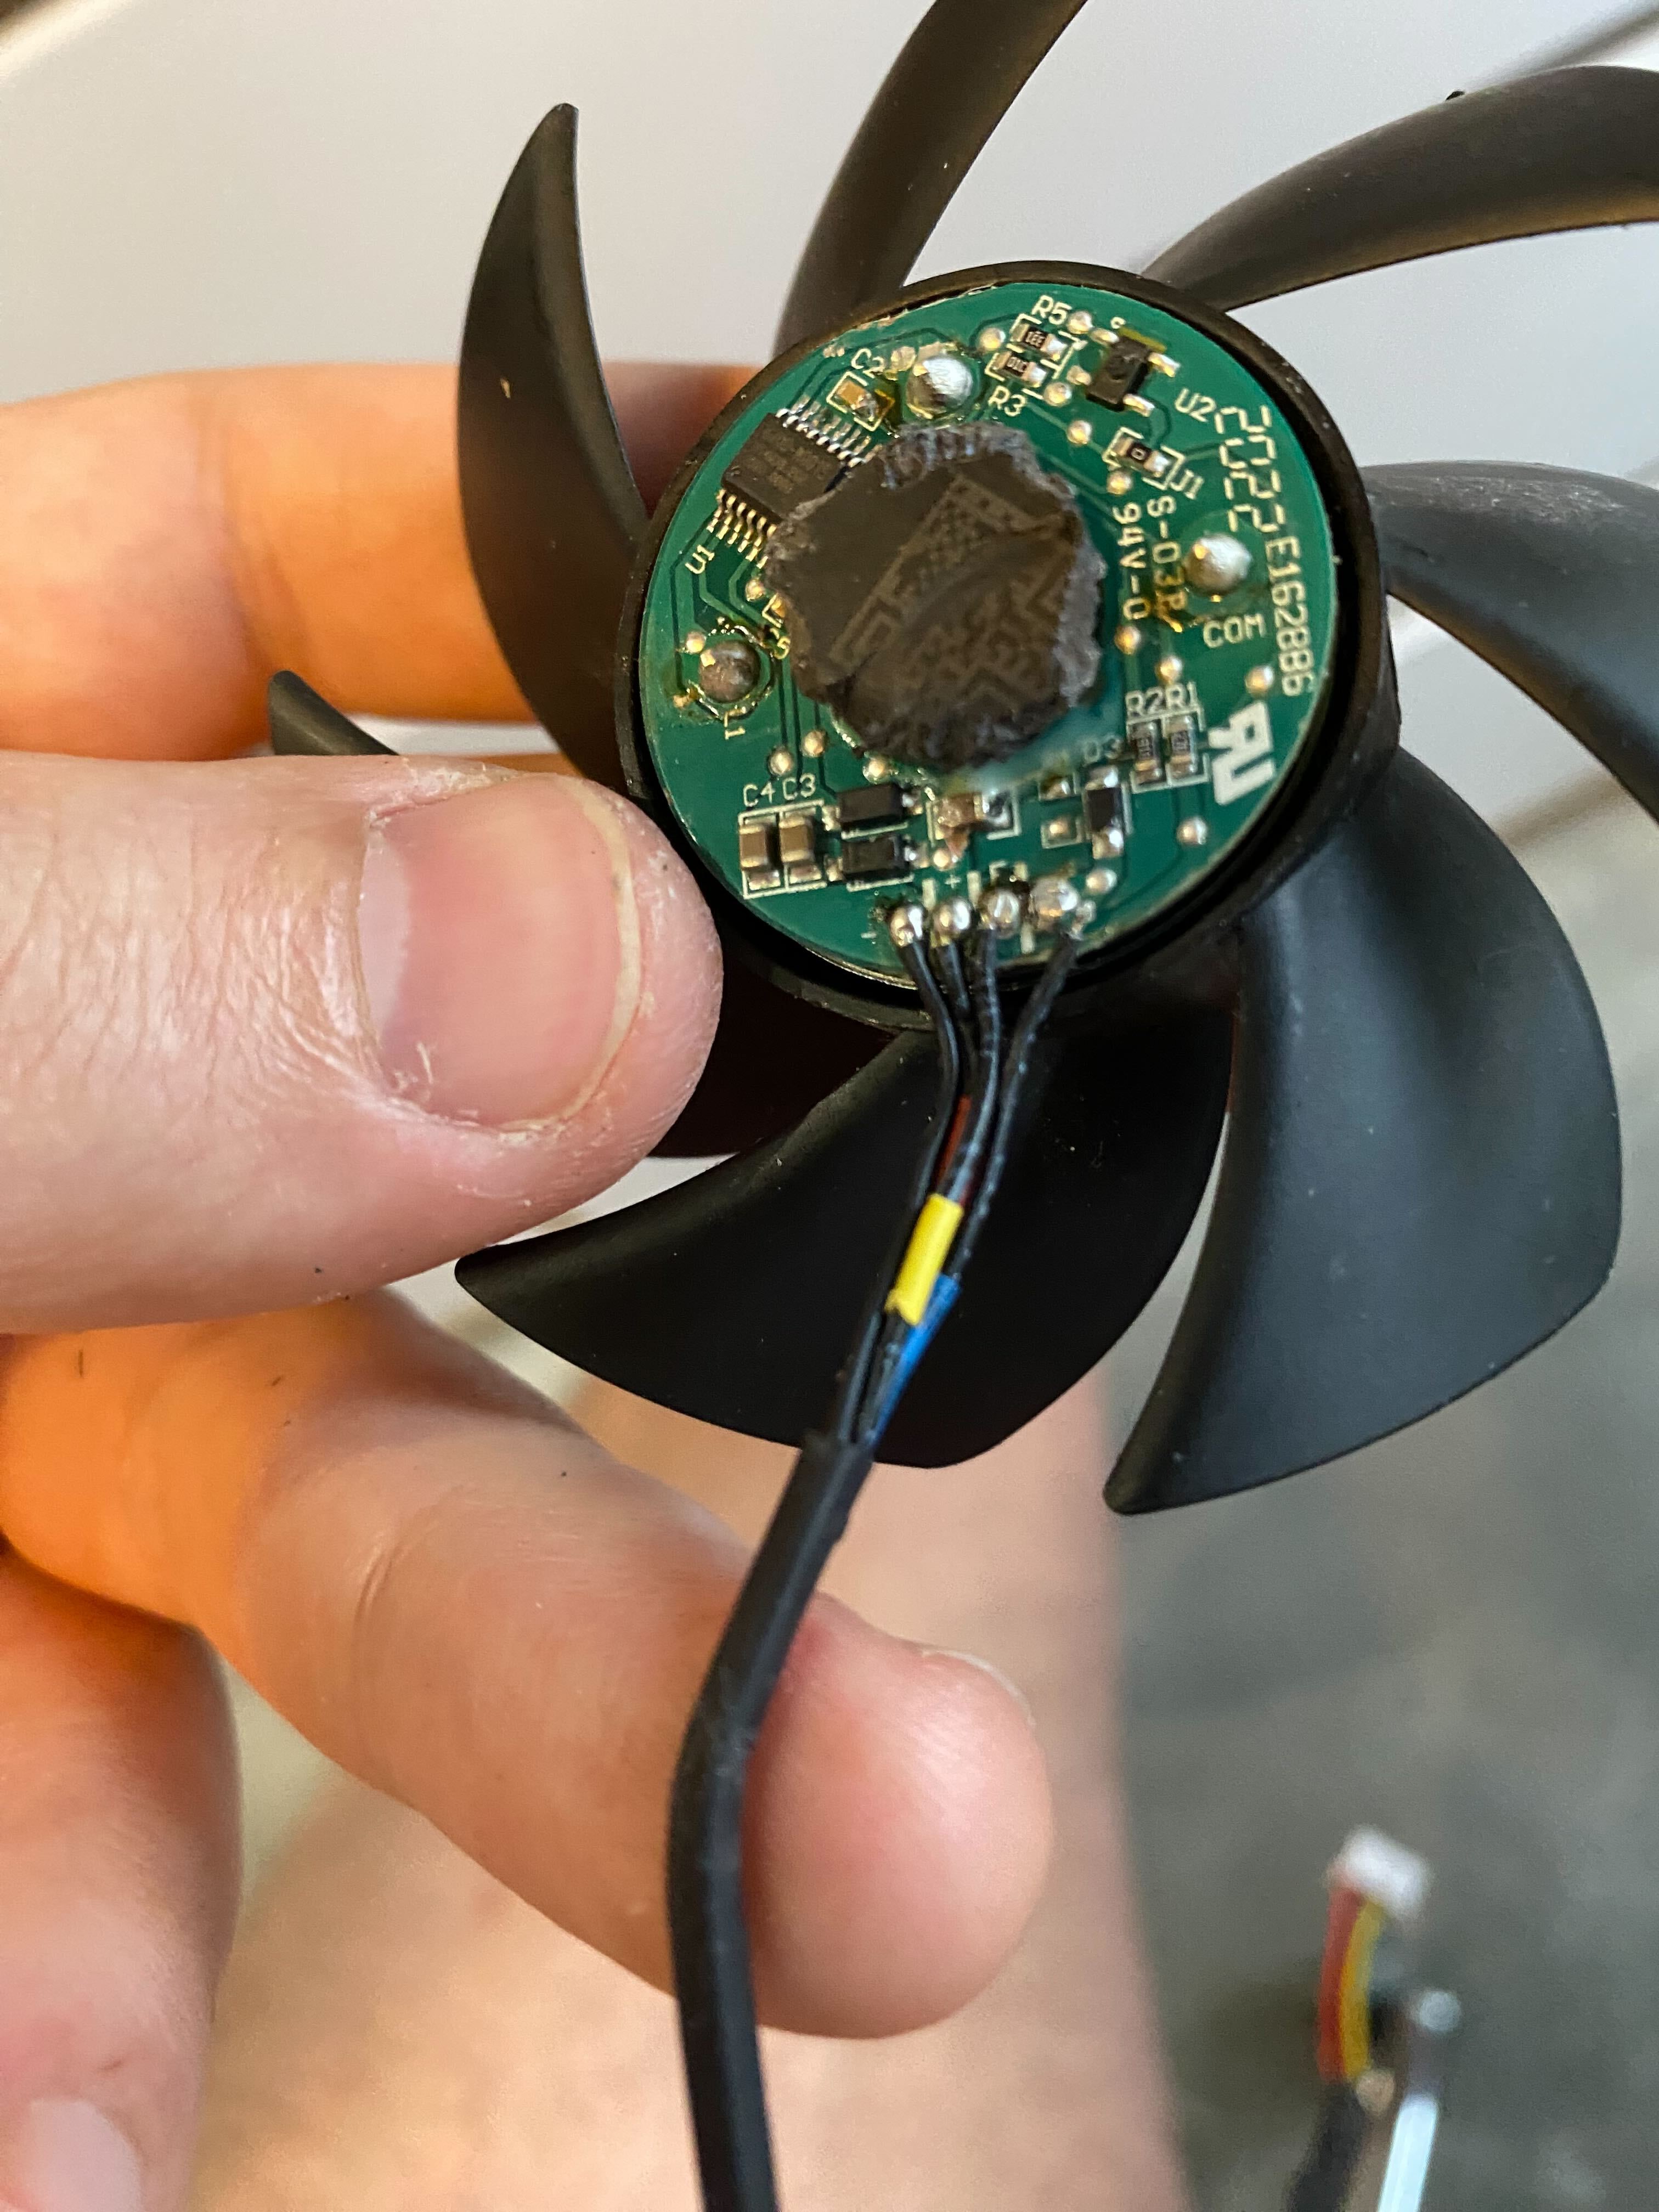
- Cut out all case of the fan that you have, leaving only center piece
apply super glue to the plastic pin and to the center of the main case
add some catalisator like baking soda to main center, position your fan and it will be glued in 3 seconds.
Tip: make sure you position it right as it will be hard to take it out without breaking your model - Pass your cable in center hole of the main case
- Use hot glue to fill the hole around the cable, so your cable won't get into propeller during adjusting position
- Close main case with a grid (I hot glued it as well)
- Attach side holders top parts and fix them with nuts
- Pass cable from your fan to the center
- Glue side holders which you attached to main case to bottom parts of side holders (I used hot glue)
- At the end you should have completely assembled top with cable from the fan put into the center hole in the bottom.
Bottom:
- Connect fan cable to your booster board with JST.
- Solder a button to cables
- Insert a button into the main bottom rectangular side hole (if it's too loose you can fix that with hot glue)
- Solder button cables to your board
- Insert your usb power cable in a side hole with rounded corners
- (optionally) add hot glue to fill the hole to fix your cable
- Add a 2 side duct tape to your protoboard bottom and attach protoboard to the bottom cover.
- close the bottom
- use m3x8 screws with hidden counter-sink head to fix bottom cover
Now tilt your fan and enjoy your fumeless soldering