
Multiboard for Original Prusa Enclosure
We calculate the final price from your selected file. You review and accept it before payment.
Saved on this device.

Mount your multiboard to your Original Prusa Enclosure.
- Rating
- 5 / 5
- Likes
- 95
- Downloads
- 272
- Makes
- 7
- Views
- 2,264
- Reviews
- 4
Updated at source:
Model information
- Source
- Printables
- Category
- Prusa Parts & Upgrades
- License
- Creative Commons — Attribution — Noncommercial — Share Alike
About: This is my attempt to get the multiboard attached to my Original Prusa Enclosure. This allows for huge flexibility on what to attach to the board next. Hope someone finds it useful.
Options: You may use tiles on the edges where some bits are missing, like when using a chamfer.
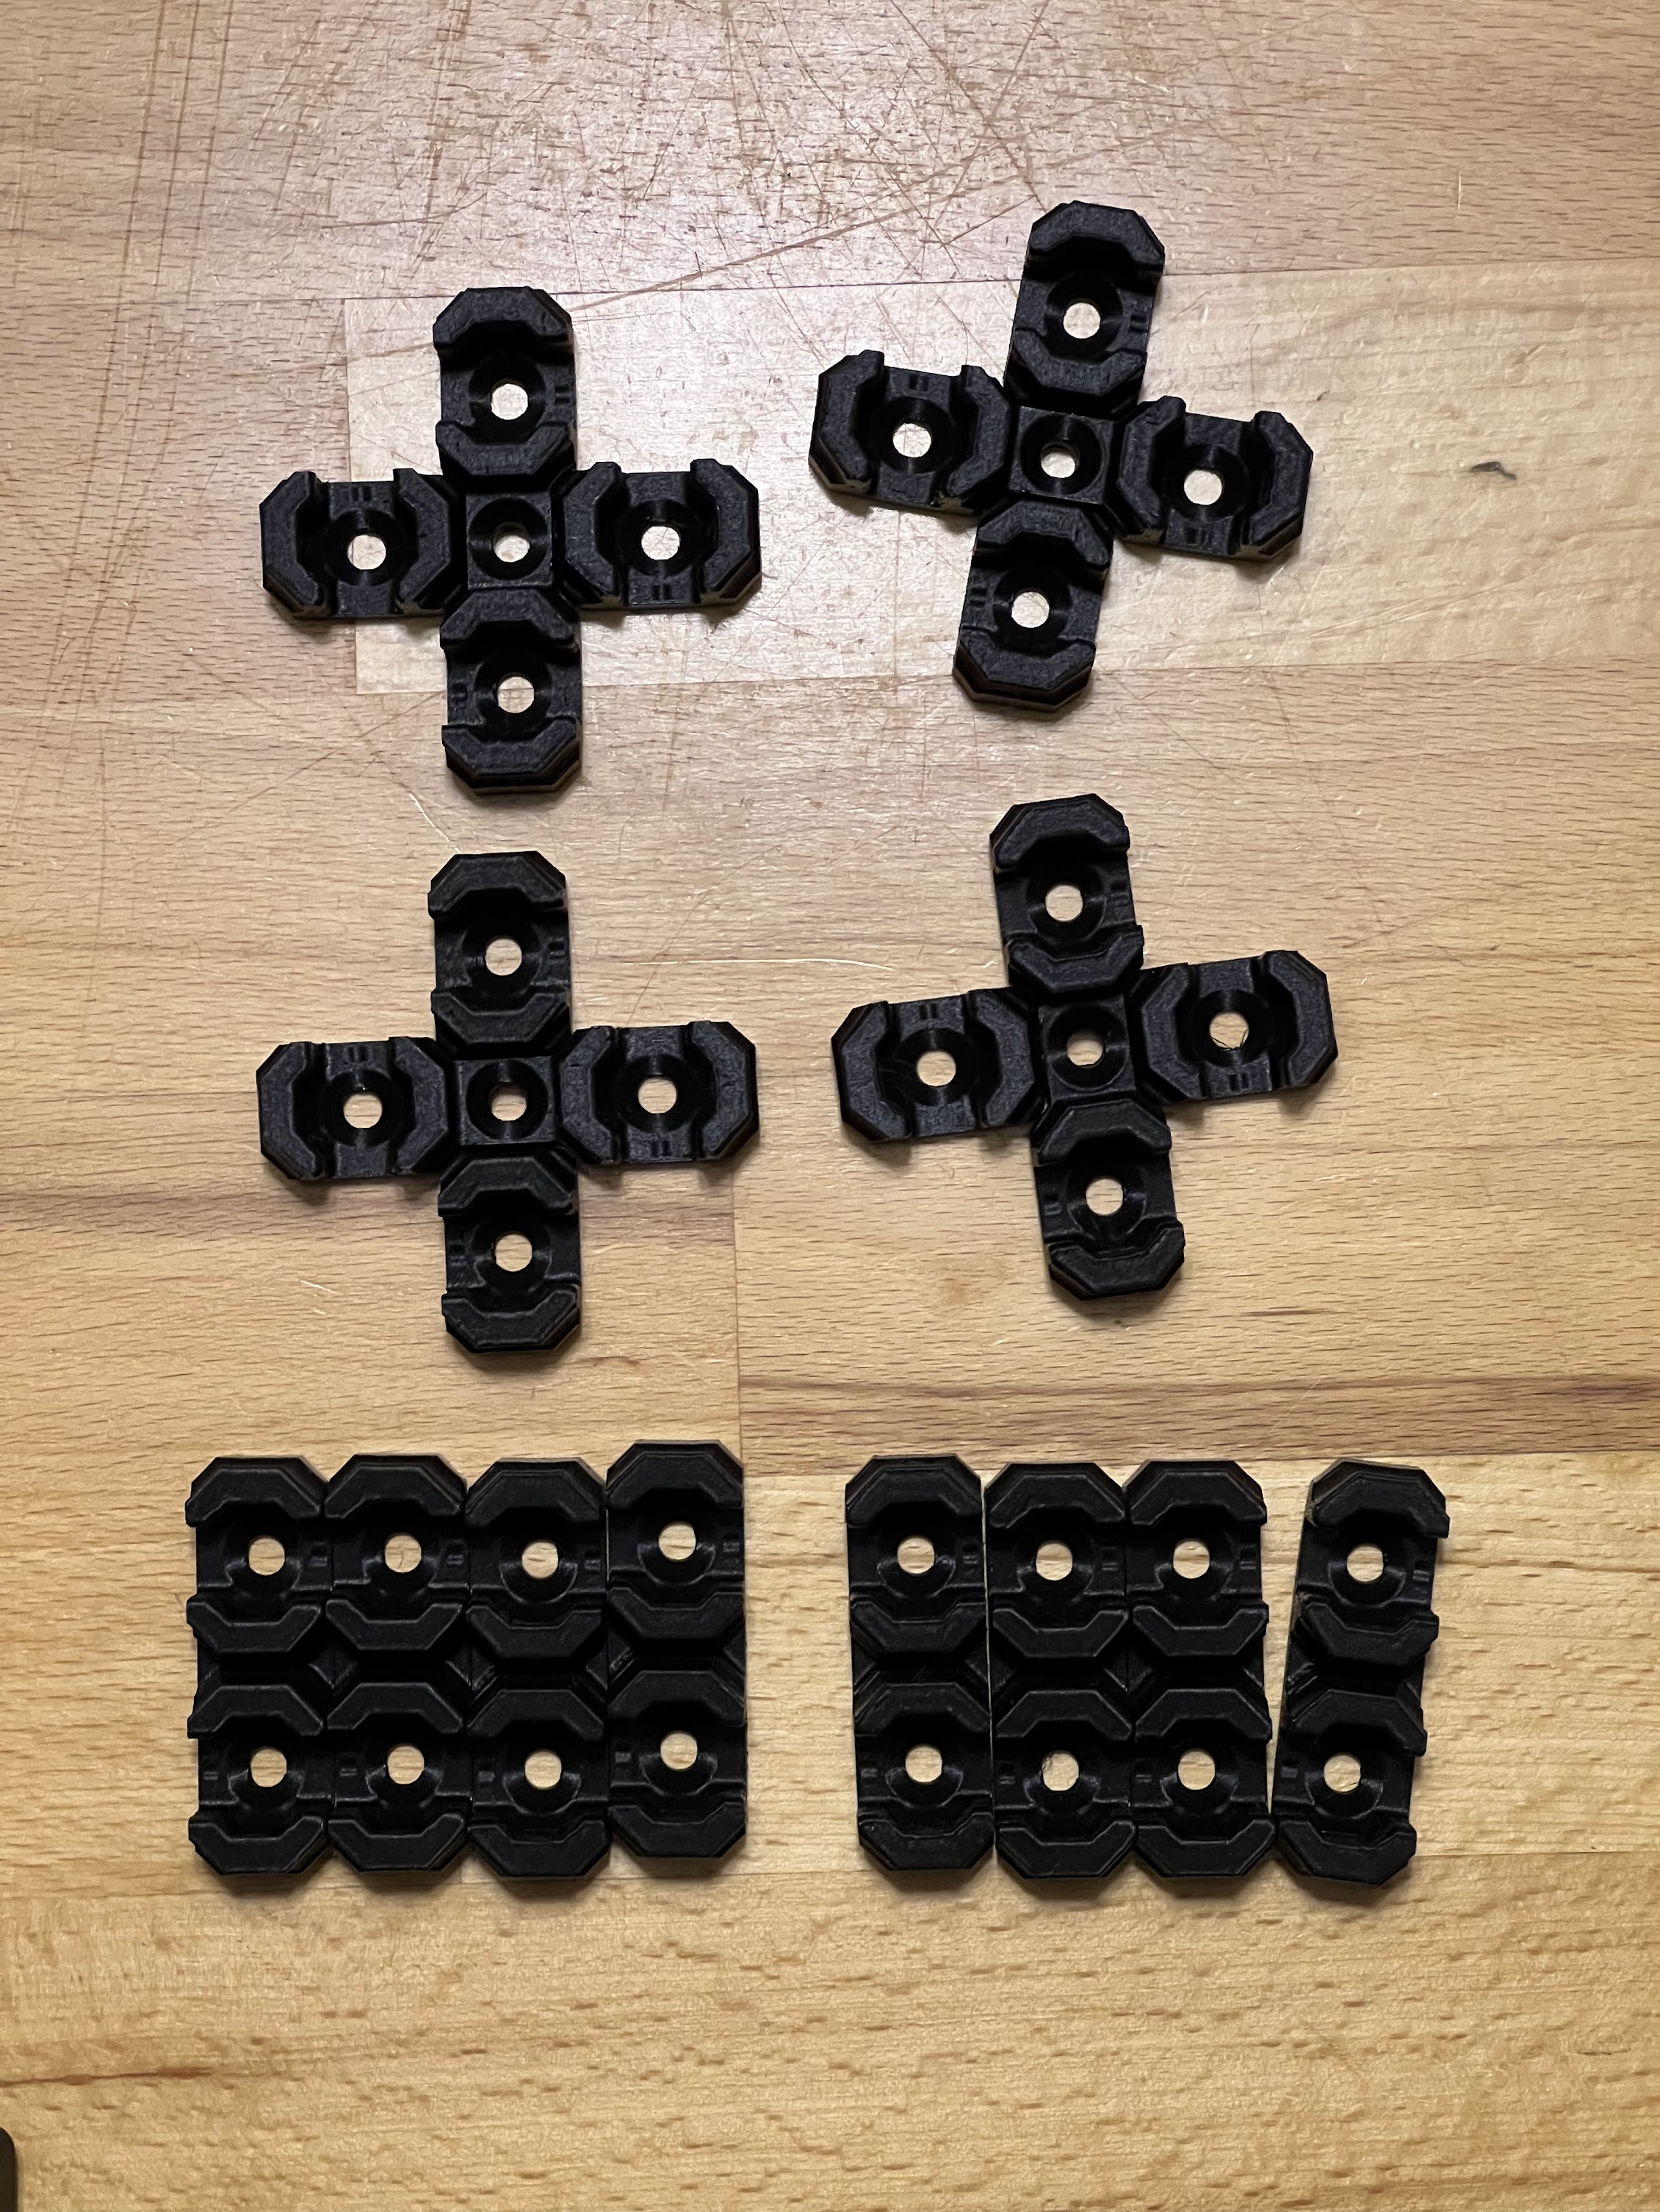
Printing instructions: You will need everything printed in the amount notes in the file name. But please ensure to only print one version of the parts with multiple options:
- The top/bottom mounts come in a strong and normal version
- Either print “Enclosure STRONGER Double Sided Snap Part A” or “Enclosure Double Sided Snap Part A”
- Stronger version is printed using optimized printing orientation
- You can “chamfer” the board edges, only use the tiles meaning your expectations
- Either print “Tile Top left chamfer edge” or “Tile Top left”
- Either print “Tile Top right chamfer edge” or “Tile Top right”
- Either print “Tile Bottom left chamfer edge” or “Tile Bottom left”
- Either print “Tile Bottom right chamfer edge” or “Tile Bottom right”
- You may also mix those of course


Additional things you need:
- M3 screws and nuts (M3x10 should work - have not tested this yet)
- 4x quad offset snap + 4x part B
- 8x dual offset snap + 10x part B (2x for top/bottom middle mount)
- Important note: If you have the transport handles installed please replace two of the dual offset snaps with plain 4x double sided snaps. Otherwise the screw heads you used for the transport handles will keep the multiboard away from the enclosure. Please ensure both pairs of the two snaps are aligned properly.
- 10x the normal snap part B
Assembly: Connect all tiles according to their file name.

Use normal 8mm mount options provided by multiboard to get the base board layout.

I recommend adding felt furniture pads to the normal mount, so they won't harm the acrylic glass.

Then attach the Official Prusa Enclosure mounts as shown in the picture.

Please ensure the top/bottom middle as well as the middle right/left mounts already have a nut inserted - otherwise you will not be able to get this in.

IMPORTANT: The mounts should give a slight wiggle in the Z direction. You will see the screw holes now being round, but a very small slot. This is due to the fact that the enclosure dimensions do not match the multiboard grid. Please ensure this slot is aligned vertically for the side mounts (see animated GIF in the images). Otherwise it will not fit correctly. This is most important with the “Double Sided Snap Part A for Side” where you have 2 different files that can easily be misplaced.
When all mounts are attached start screwing the whole board to the enclosure. Use M3 screws and nuts for this.
I recommend the following:
- Remove the door on the side the multiboard will be put on
- Maybe remove the printer - I did not do this
- Then insert a nut into one mount (maybe the one you can reach the best)
- Screw this nut in, then repeat
- Keep all screws loose until you are finished - the enclosure has some strange dimensions and some mounts will be a little bit hard to get into
Then attach whatever you want. 👍
Credits to Jonathan (KeepMaking) for creating multiboard.