
BeamCase - Accessory X-Brace
We calculate the final price from your selected file. You review and accept it before payment.
Saved on this device.
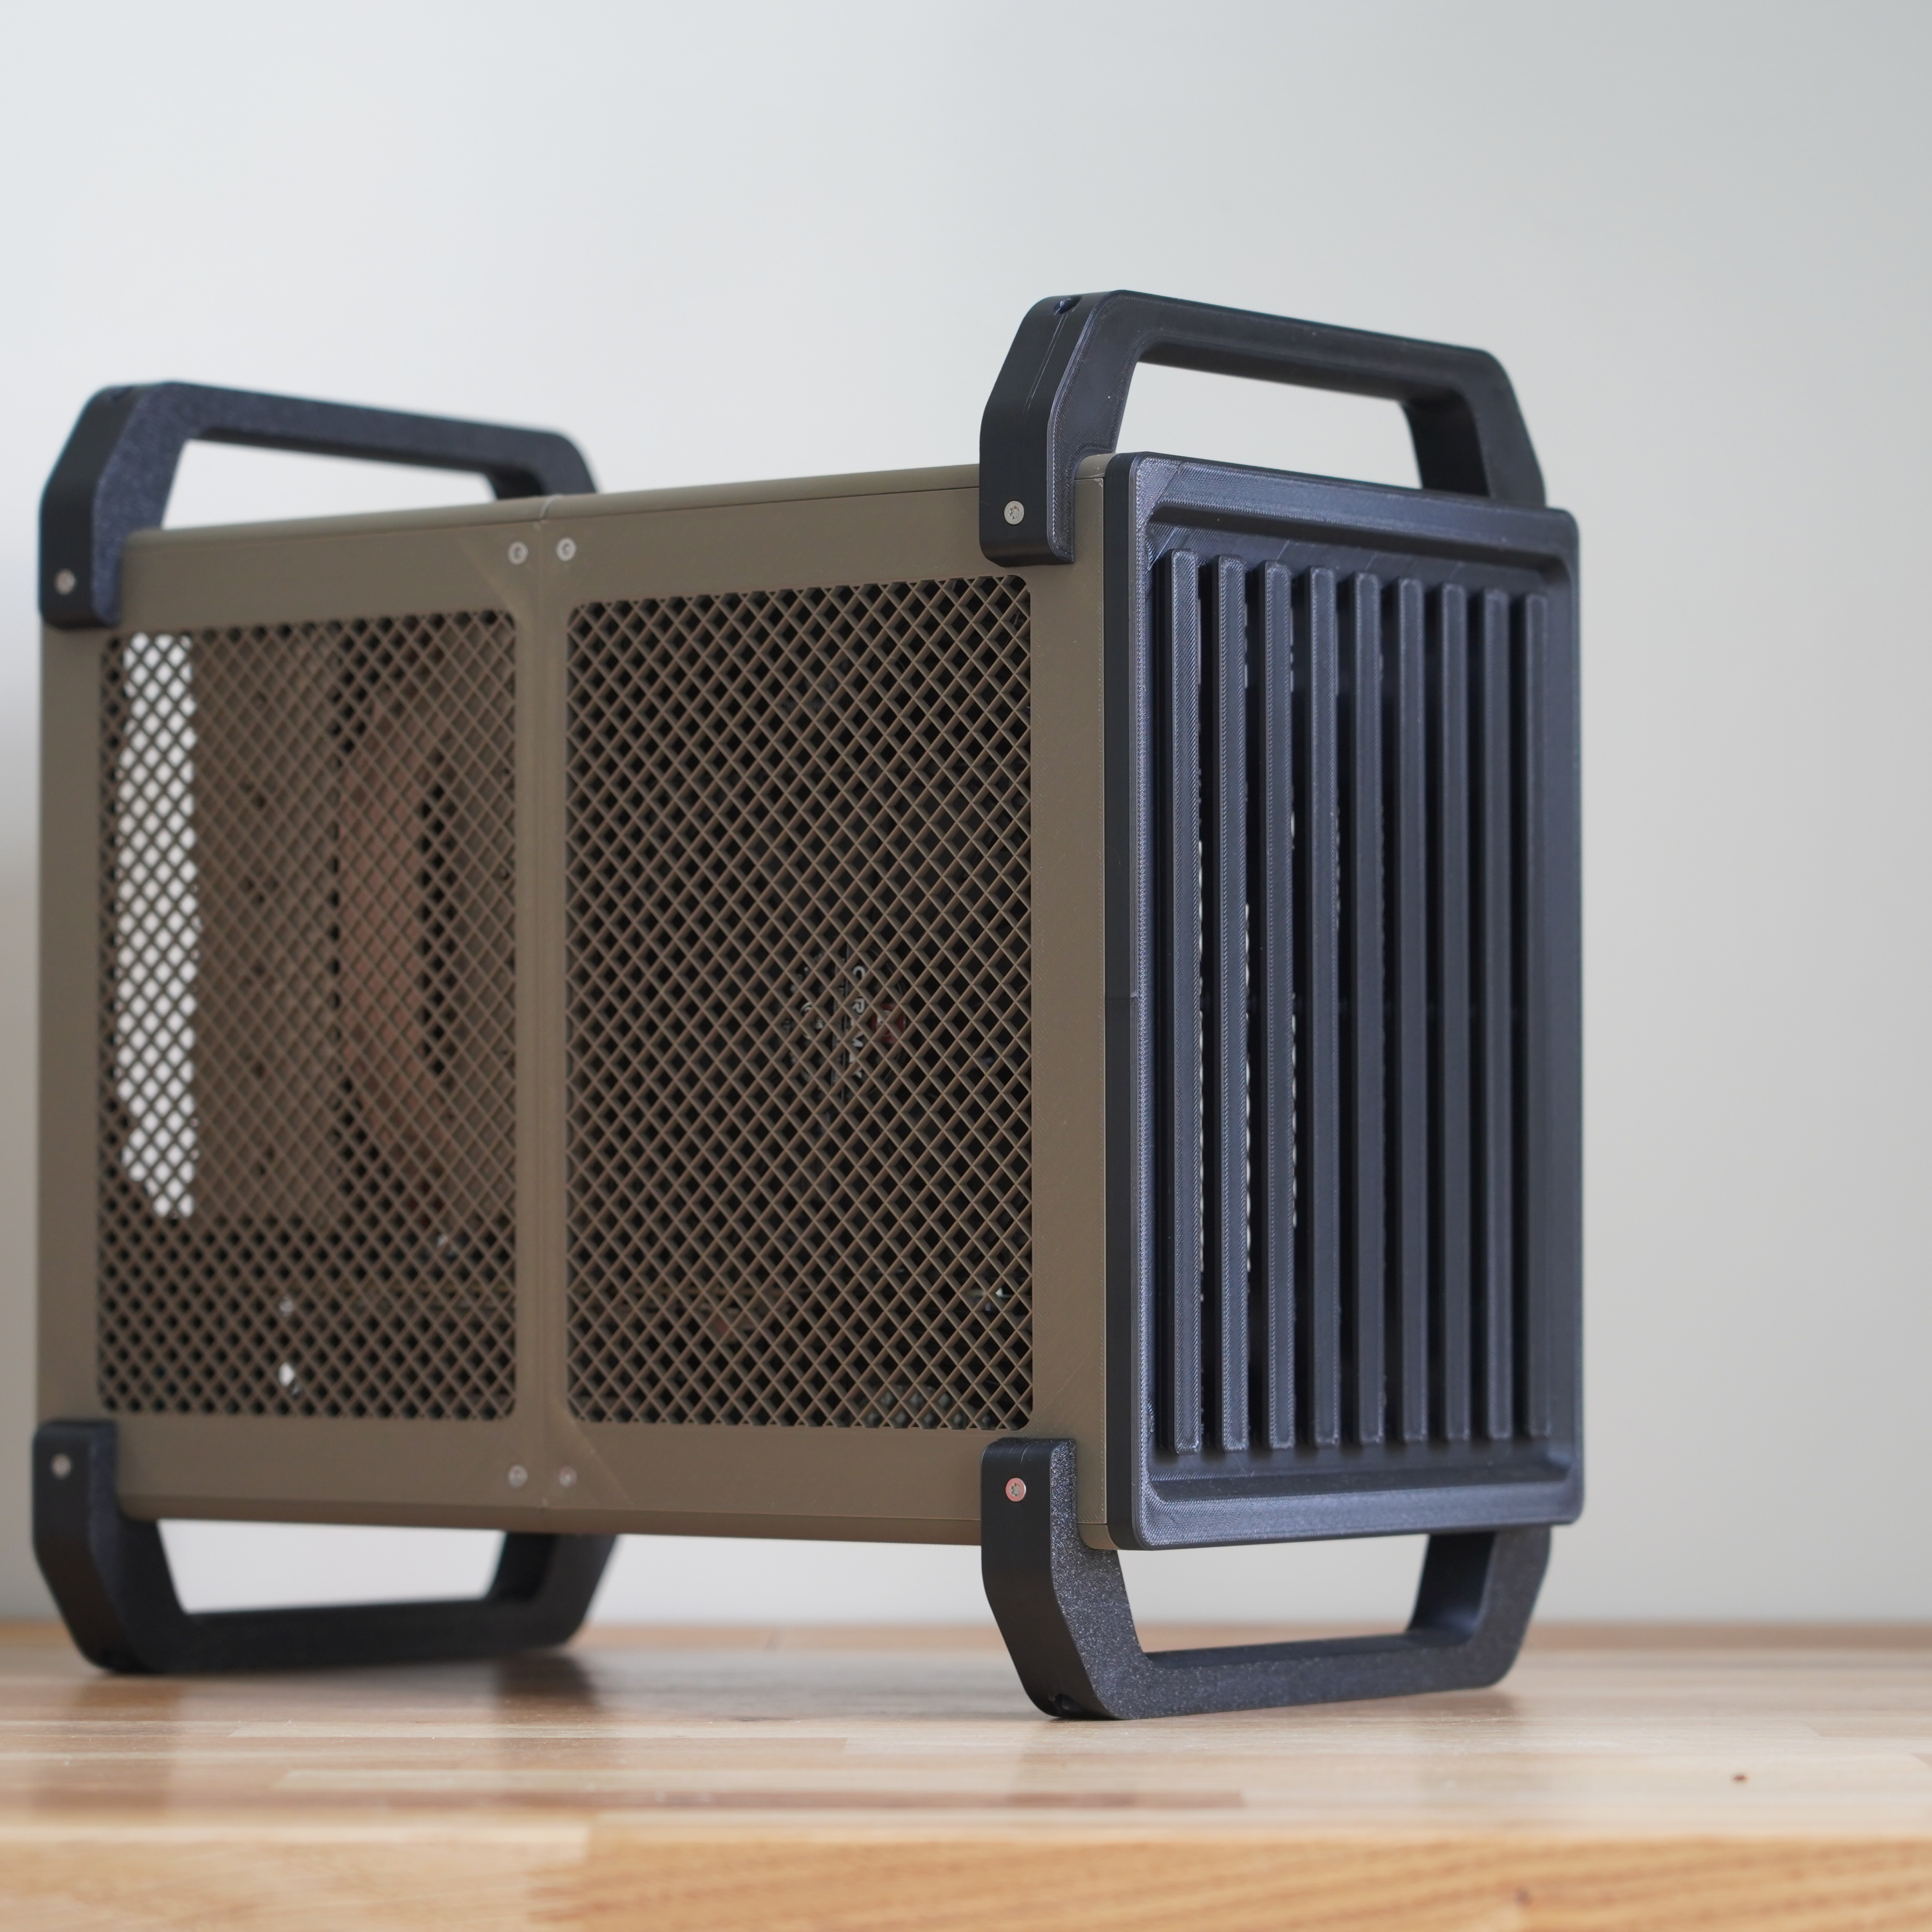
This external X-Brace enables you to add all sort of things to your BeamCase, like camera accessories using 1/4 threads.
- Rating
- 5 / 5
- Likes
- 30
- Downloads
- 102
- Makes
- 1
- Views
- 1,836
- Reviews
- 1
Updated at source:
Model information
- Source
- Printables
- Category
- Mechanical Parts
- License
- Creative Commons — Attribution — Noncommercial
This external X-Brace enables you to add all sort of accessories to your BeamCase, like camera accessories using 1/4 threads. (in the example image I am using a magic arm to secure my portable screen)
This bracket is made to mount accessories, but it is not really strong enough to hold the case and computer itself.
Each bracket has a hole in the center to thread in accessories that use ¼ inch threads (like most camera accessories), additionally there are four holes for m3 screws in a 20x20mm pattern, which can be used to add your own brackets and accessories. (an arca-swiss bracket is included in the files)
The holes are set up so the screws can just be threaded into the plastic without any prep (might require a bit more force then usual), so you do not need to cut any thready into the plastic.
These brackets are designed to work together with the modular BeamCase Sandwich and BeamCase SFF
Components structure and naming:
There are different versions of the Accessory X-Brace depending on chosen case size.
Each bracket comes with an IFW number that indicates the compatibility (150IFW is used with BeamCase SFF and the others with BeamCase Sandwich versions).
IFW stands for Inner Frame Width and describes the distance between the Makerbeam XL profiles at the top, front and bottom. The IFW number is an indicator of the width of the case and is important when selecting accessories and case panels.
Required Hardware
Screws and nuts:
- M3x8mm or M3x12 countersunk screws (depending if you use it in combination with case panels or not)
- standard M3 nuts (and optionally thin M3 square nuts according to DIN 562 together with these nut-positioners)
I am located in Germany and buy my screws here.
Print Instructions:
Before you print you have to orient the parts correctly, just use the auto orient feature in your slicer for that. Ideally print this model in a stronger and more temperature resistant filament like PETg or ABS. In order for the bracket to work perfectly it has to be printed accurately, so compensate for shrinkage. This print like all BeamCase parts does not require any supports.
I adjust for ABS shrinkage by scaling the model to 100.5% (Bambu Lab P1S and Sunlu ABS) , but it depends on the filament and printer and print speed.