
1 / 3
Ender3V3 Nebulacam bracket
Order a print of this model
We calculate the final price from your selected file. You review and accept it before payment.
Saved on this device.

Bracket for attaching Nebula Cam to Ender 3V3.
- Rating
- 0 / 5
- Likes
- 8
- Downloads
- 59
- Makes
- 0
- Views
- 304
- Reviews
- 0
Updated at source:
Model information
- Source
- Printables
- Category
- Creality Parts & Upgrades
- License
- Creative Commons — Attribution
- I purchased a Nebula camera to increase the usability of my Ender3v3 printer.
- I looked for a printer bracket on cloud, but couldn't find a suitable model. So I did a new model.
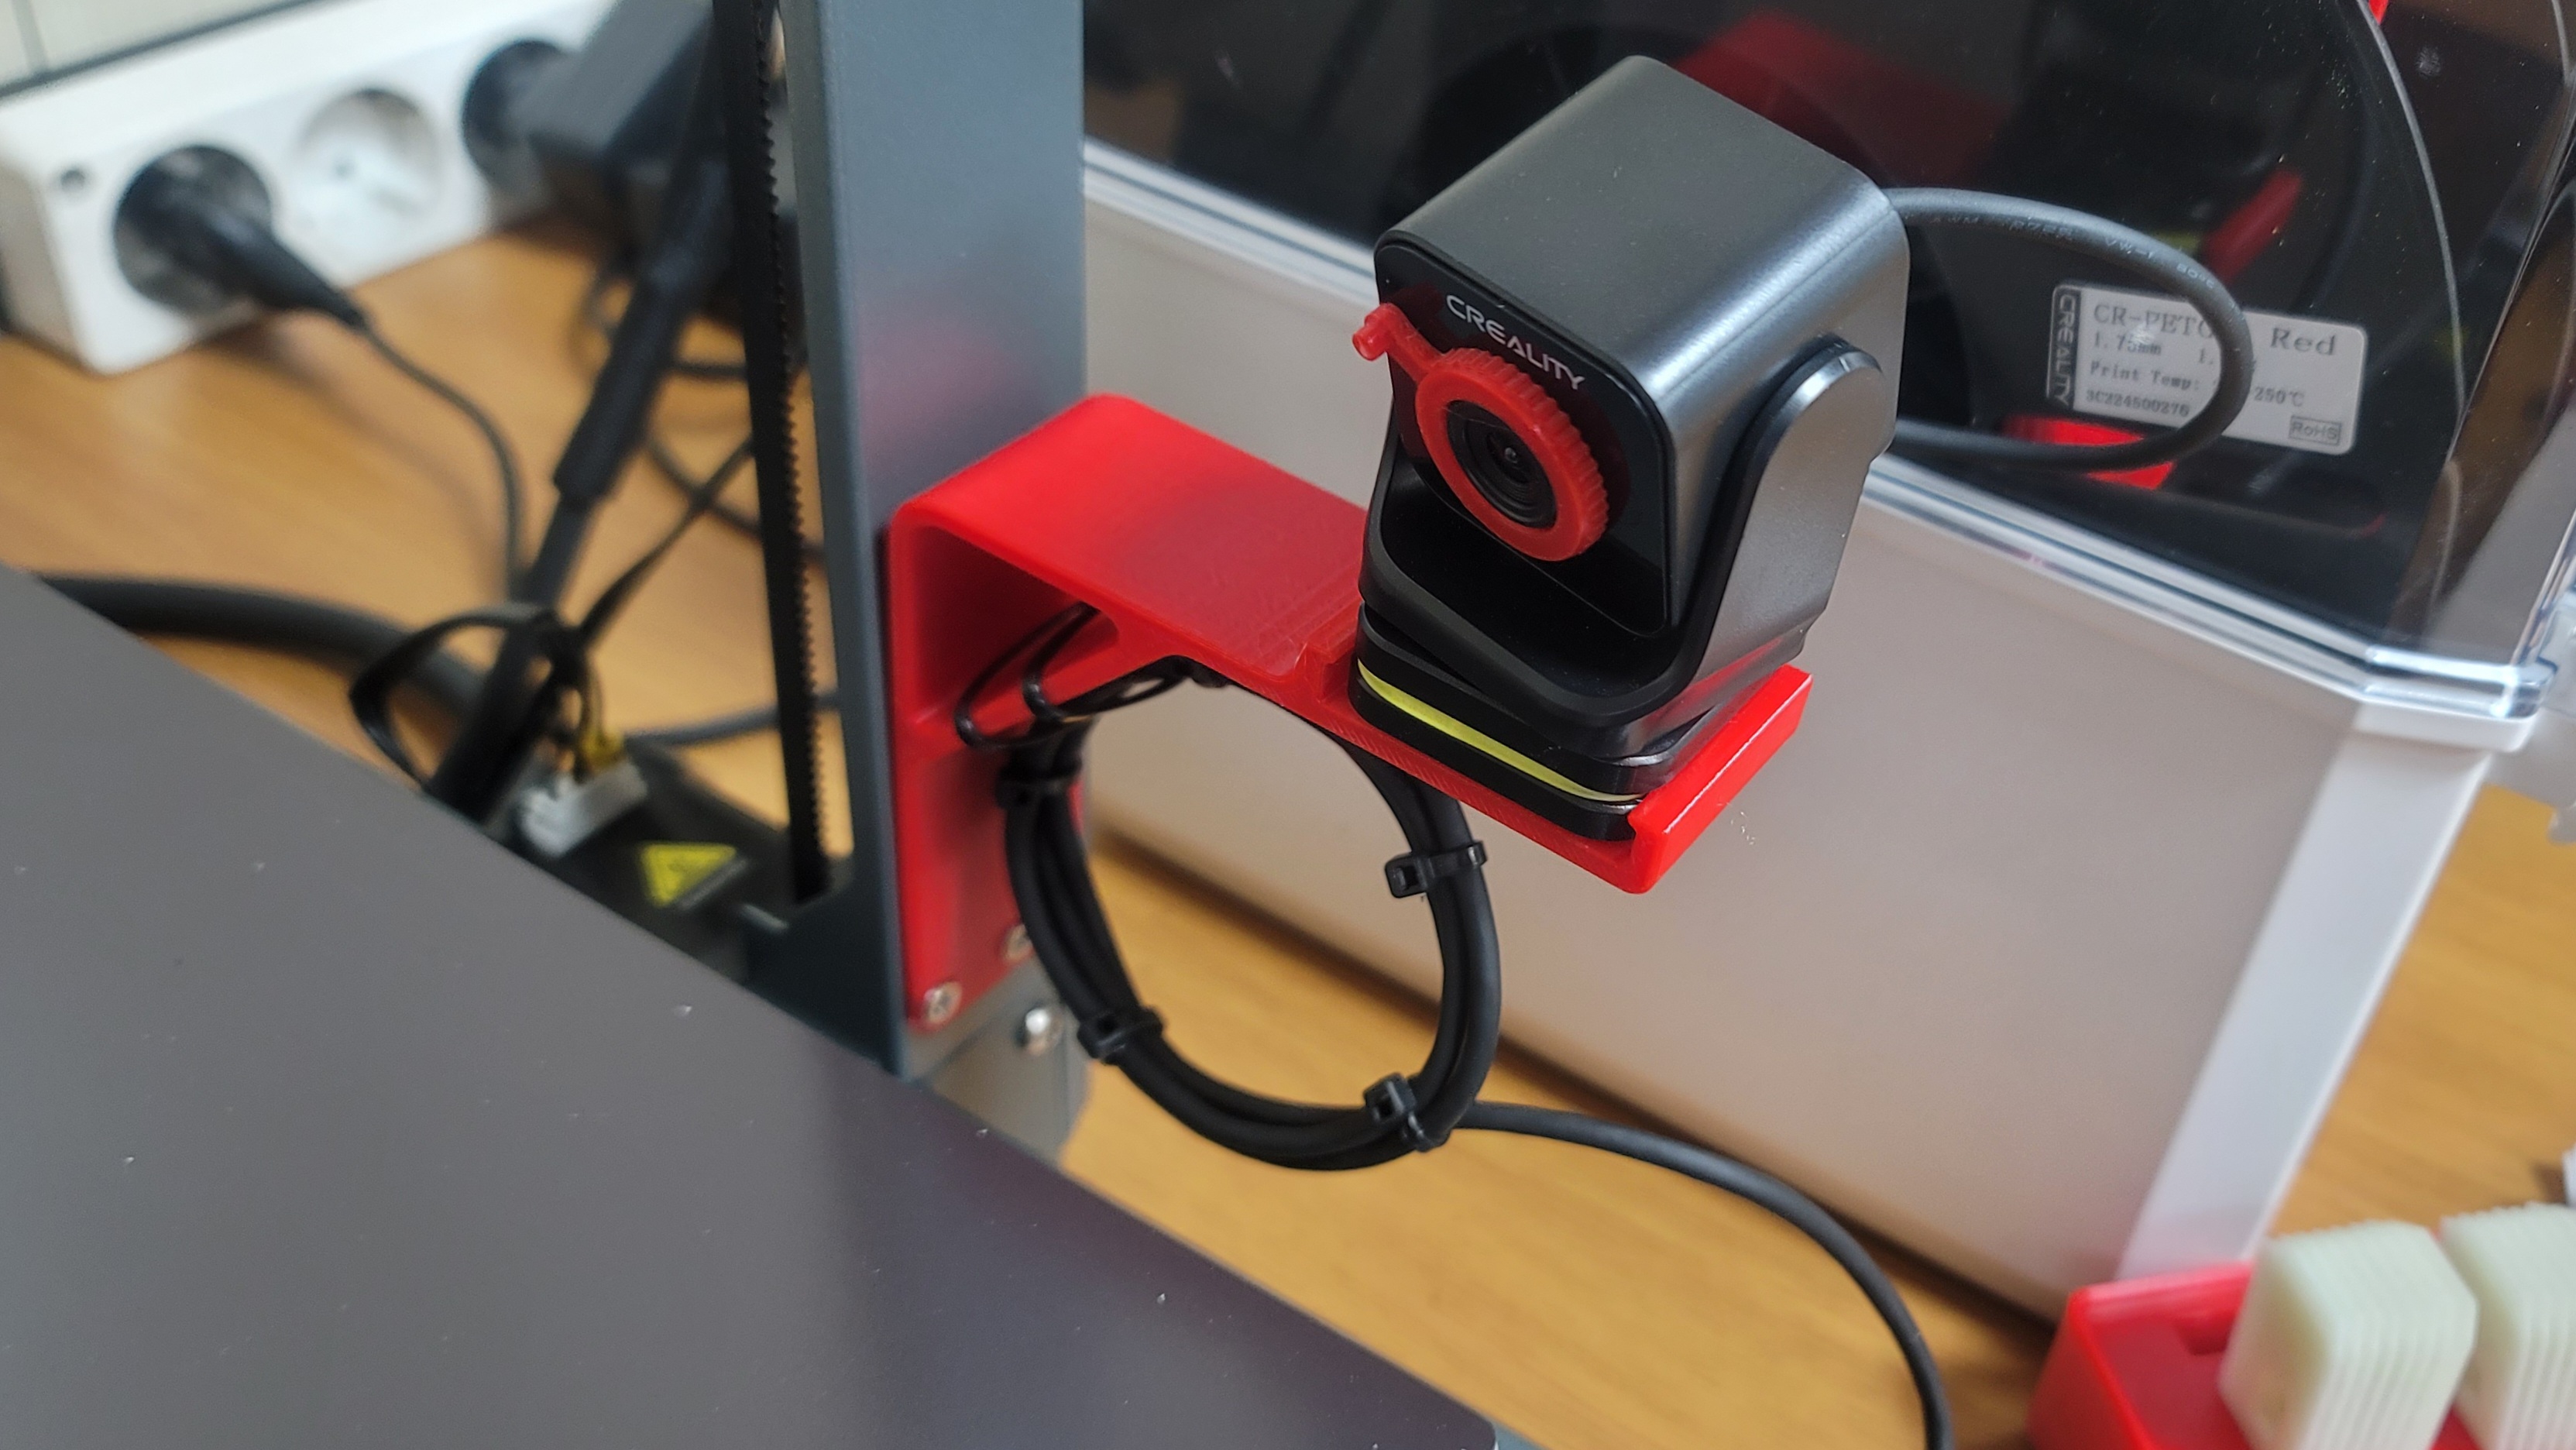
- At first, I was in a hurry and tried to install it in a simple 3T format. The camera and matching parts were loose, and the strength of the bracket was weak, so the vibration of the printer caused a wobble phenomenon on the screen.
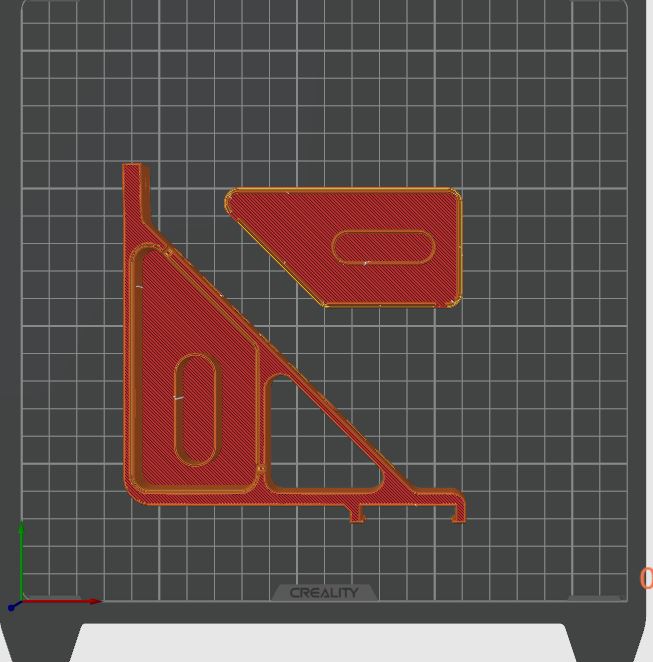
- So, I redesigned it to be a little stronger and made it into a box shape to hide unnecessary cables.
INSTALL
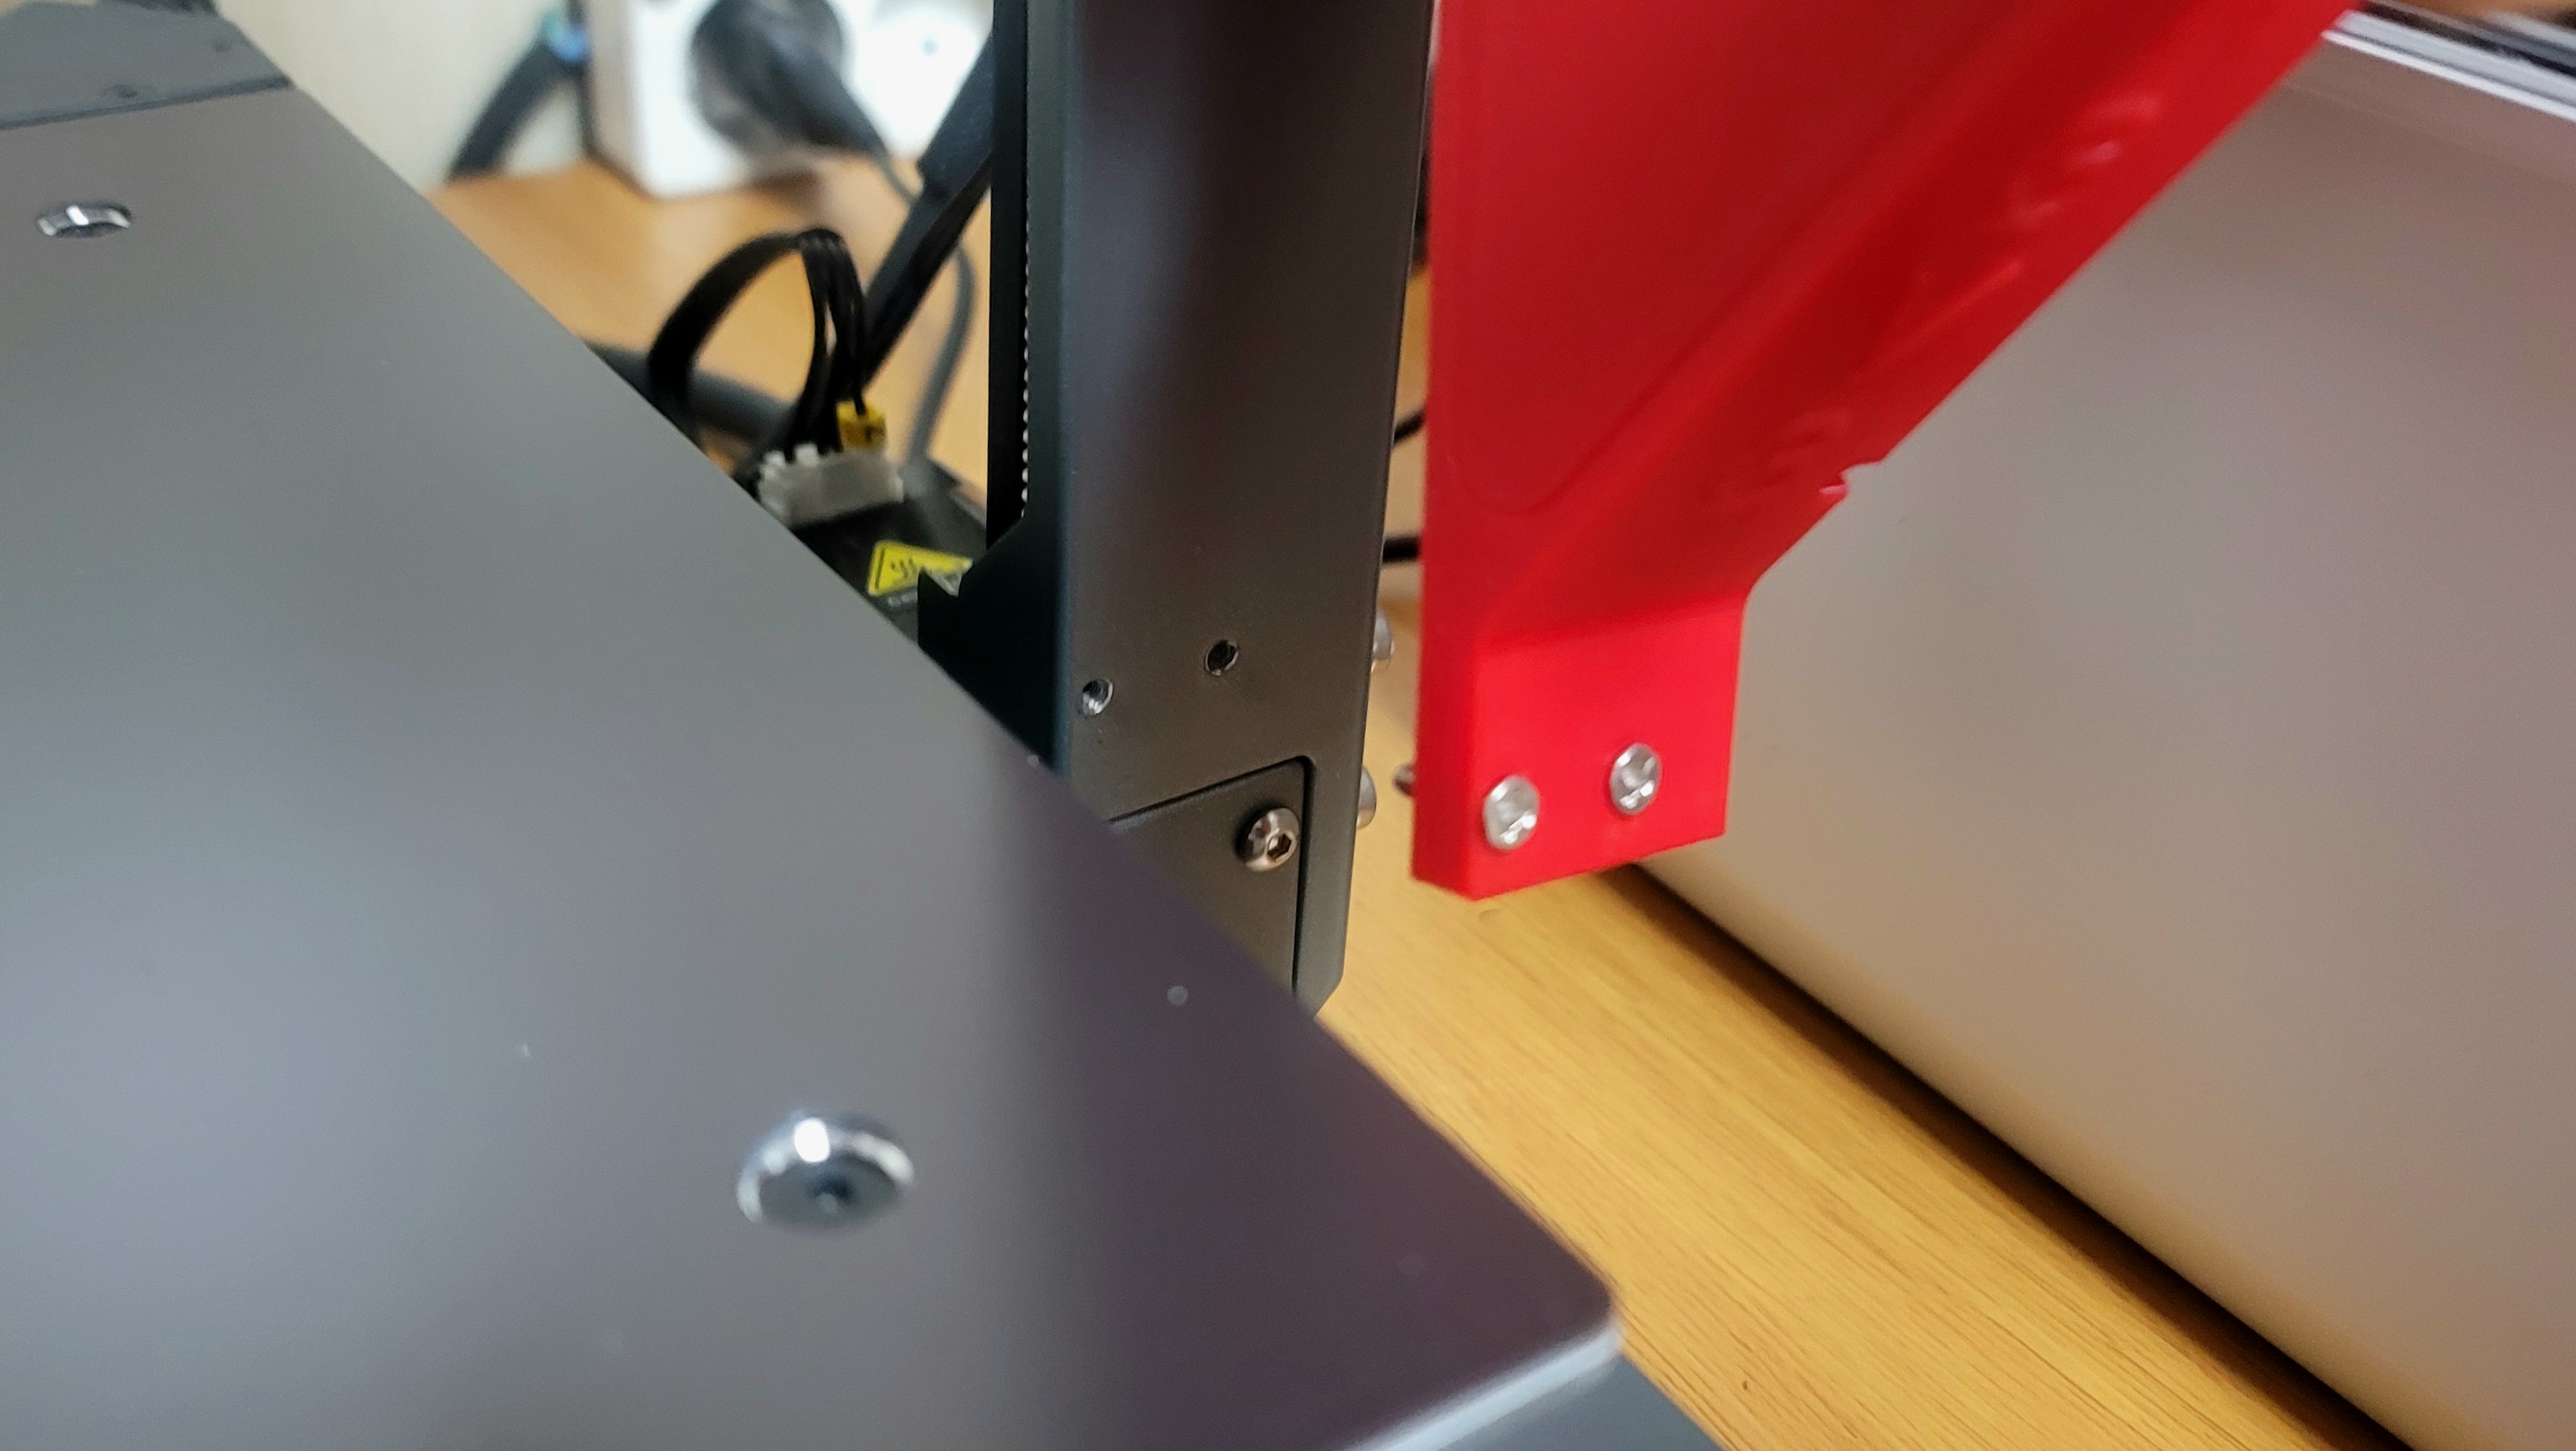
- Install it in the remaining bolt hole below the Z axis.
- Requires 2 M3 * 10~12MM bolts.
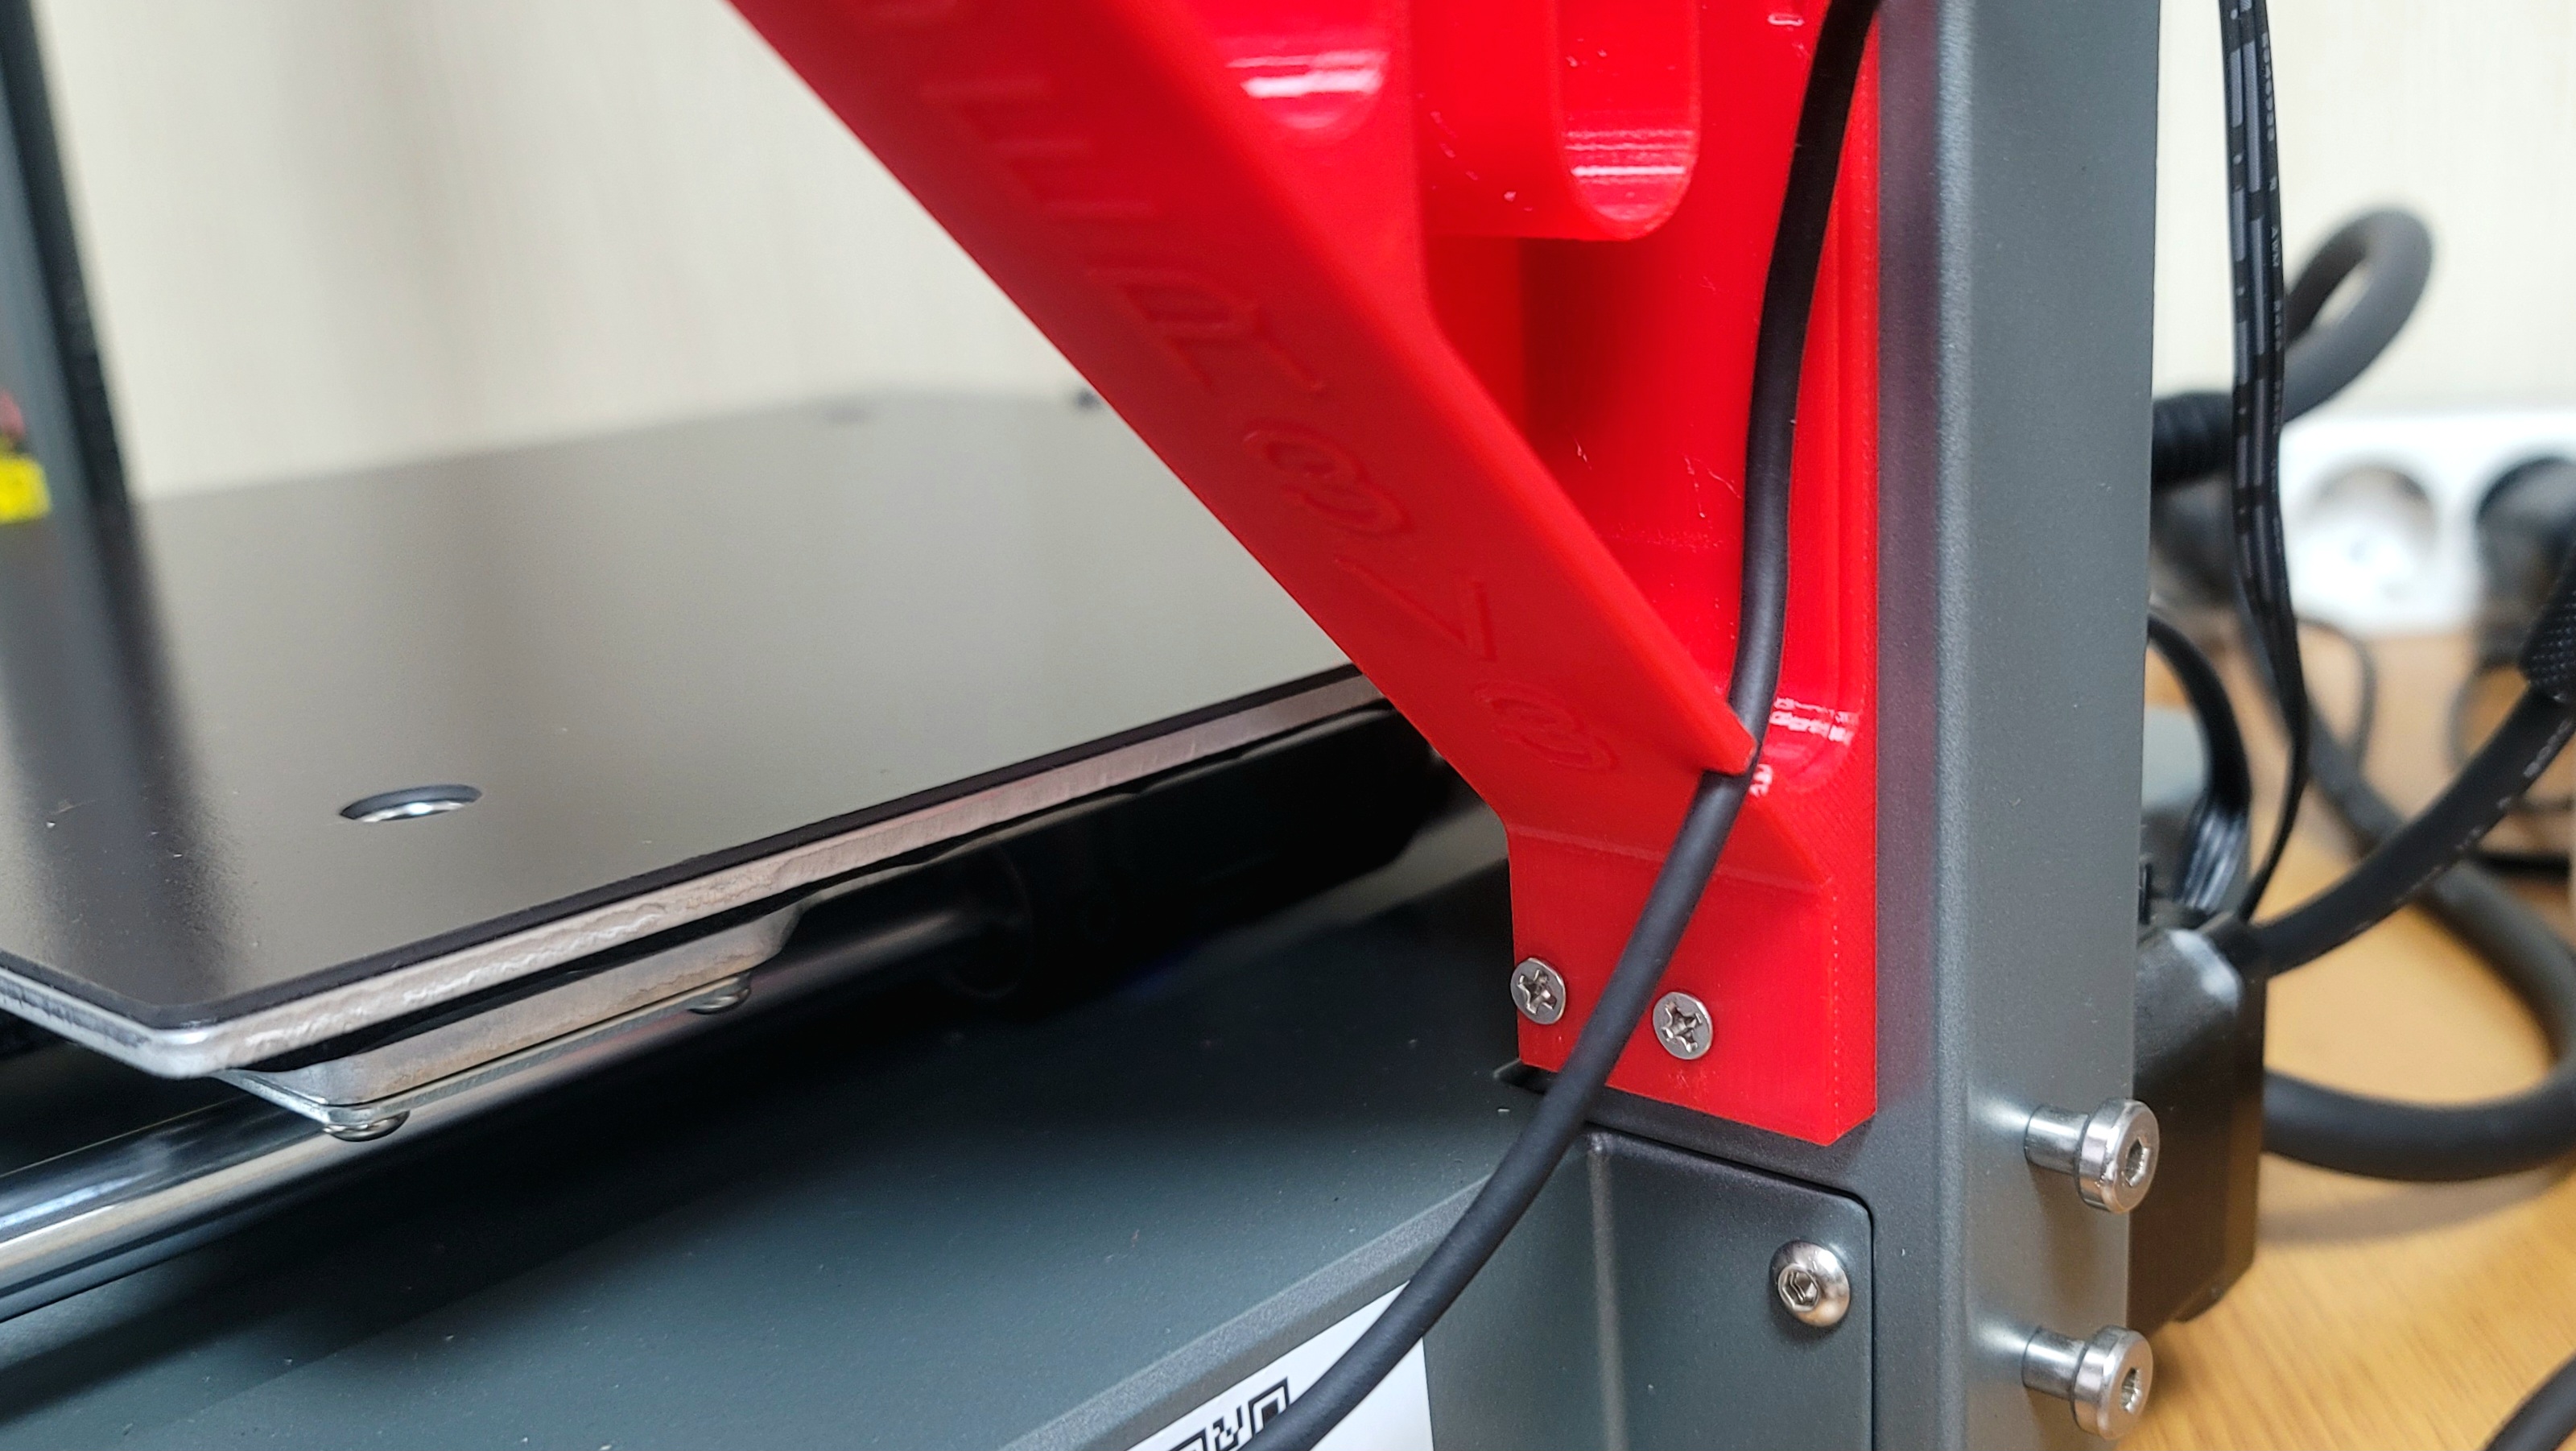
- Insert the camera cable into the main body and insert it into the bottom hole of the bracket.

- Wrap the unnecessary wire around the circular pillar inside the box.
- Then leave an appropriate length of cable and place it through the upper hole.
- Of course, you can install it the other way around.
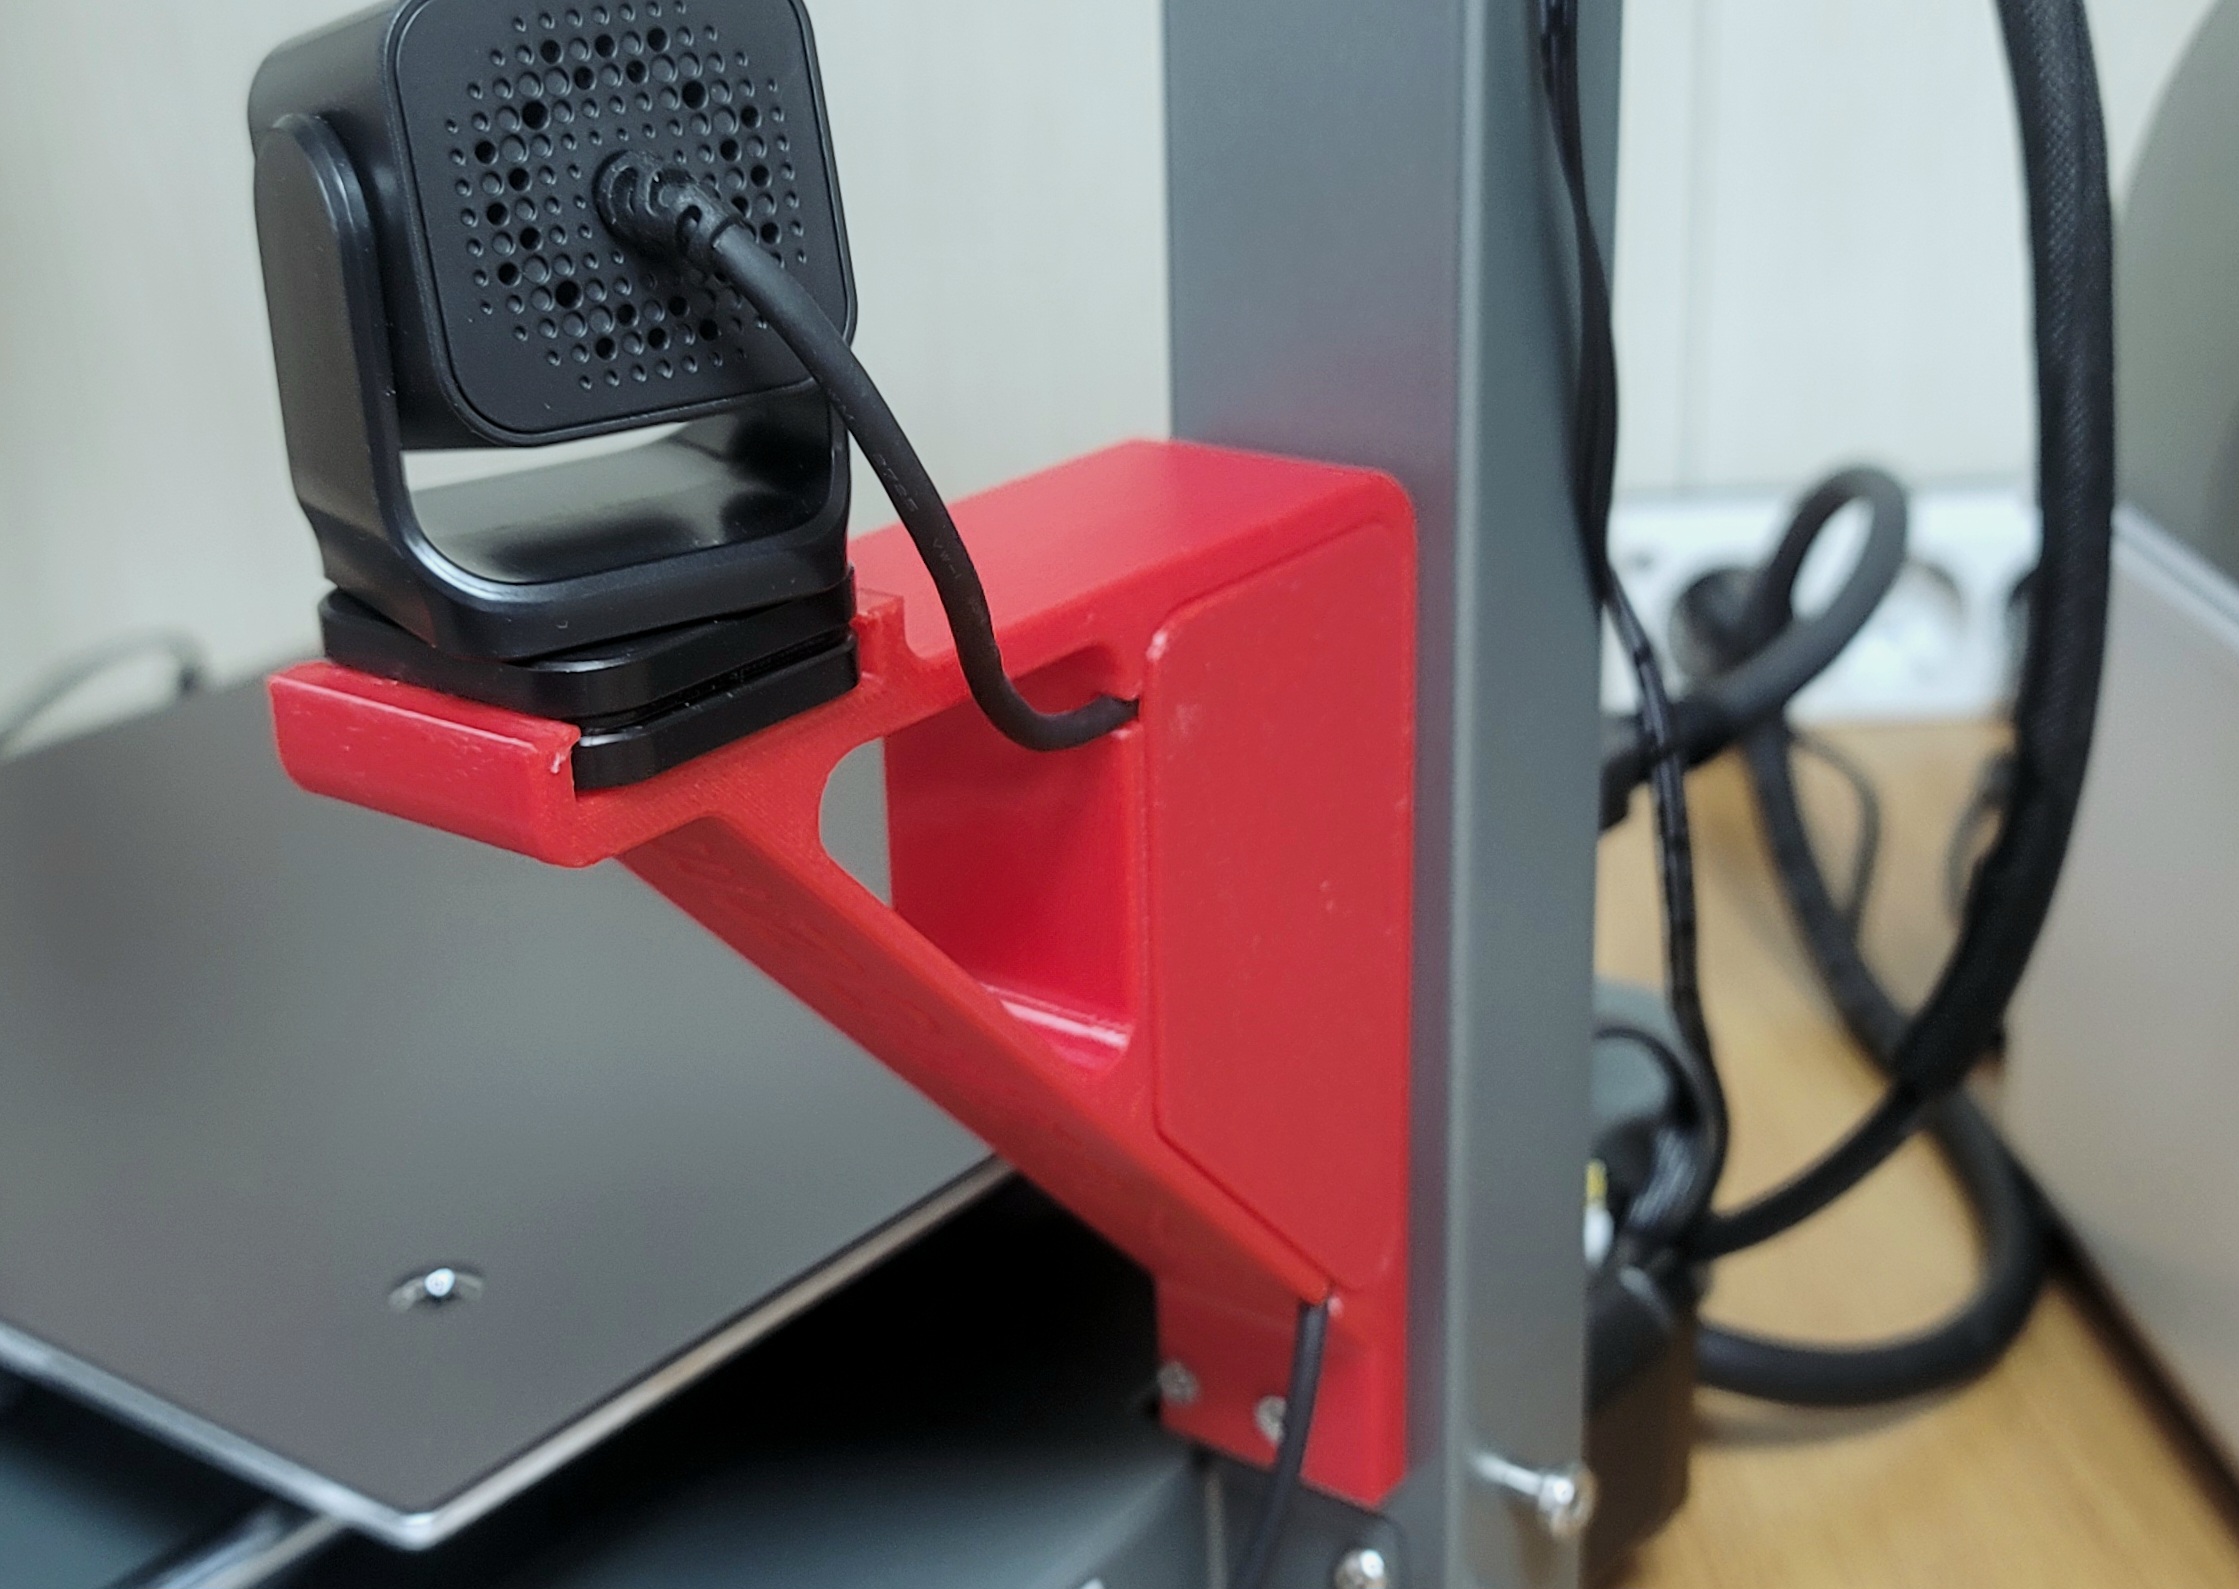
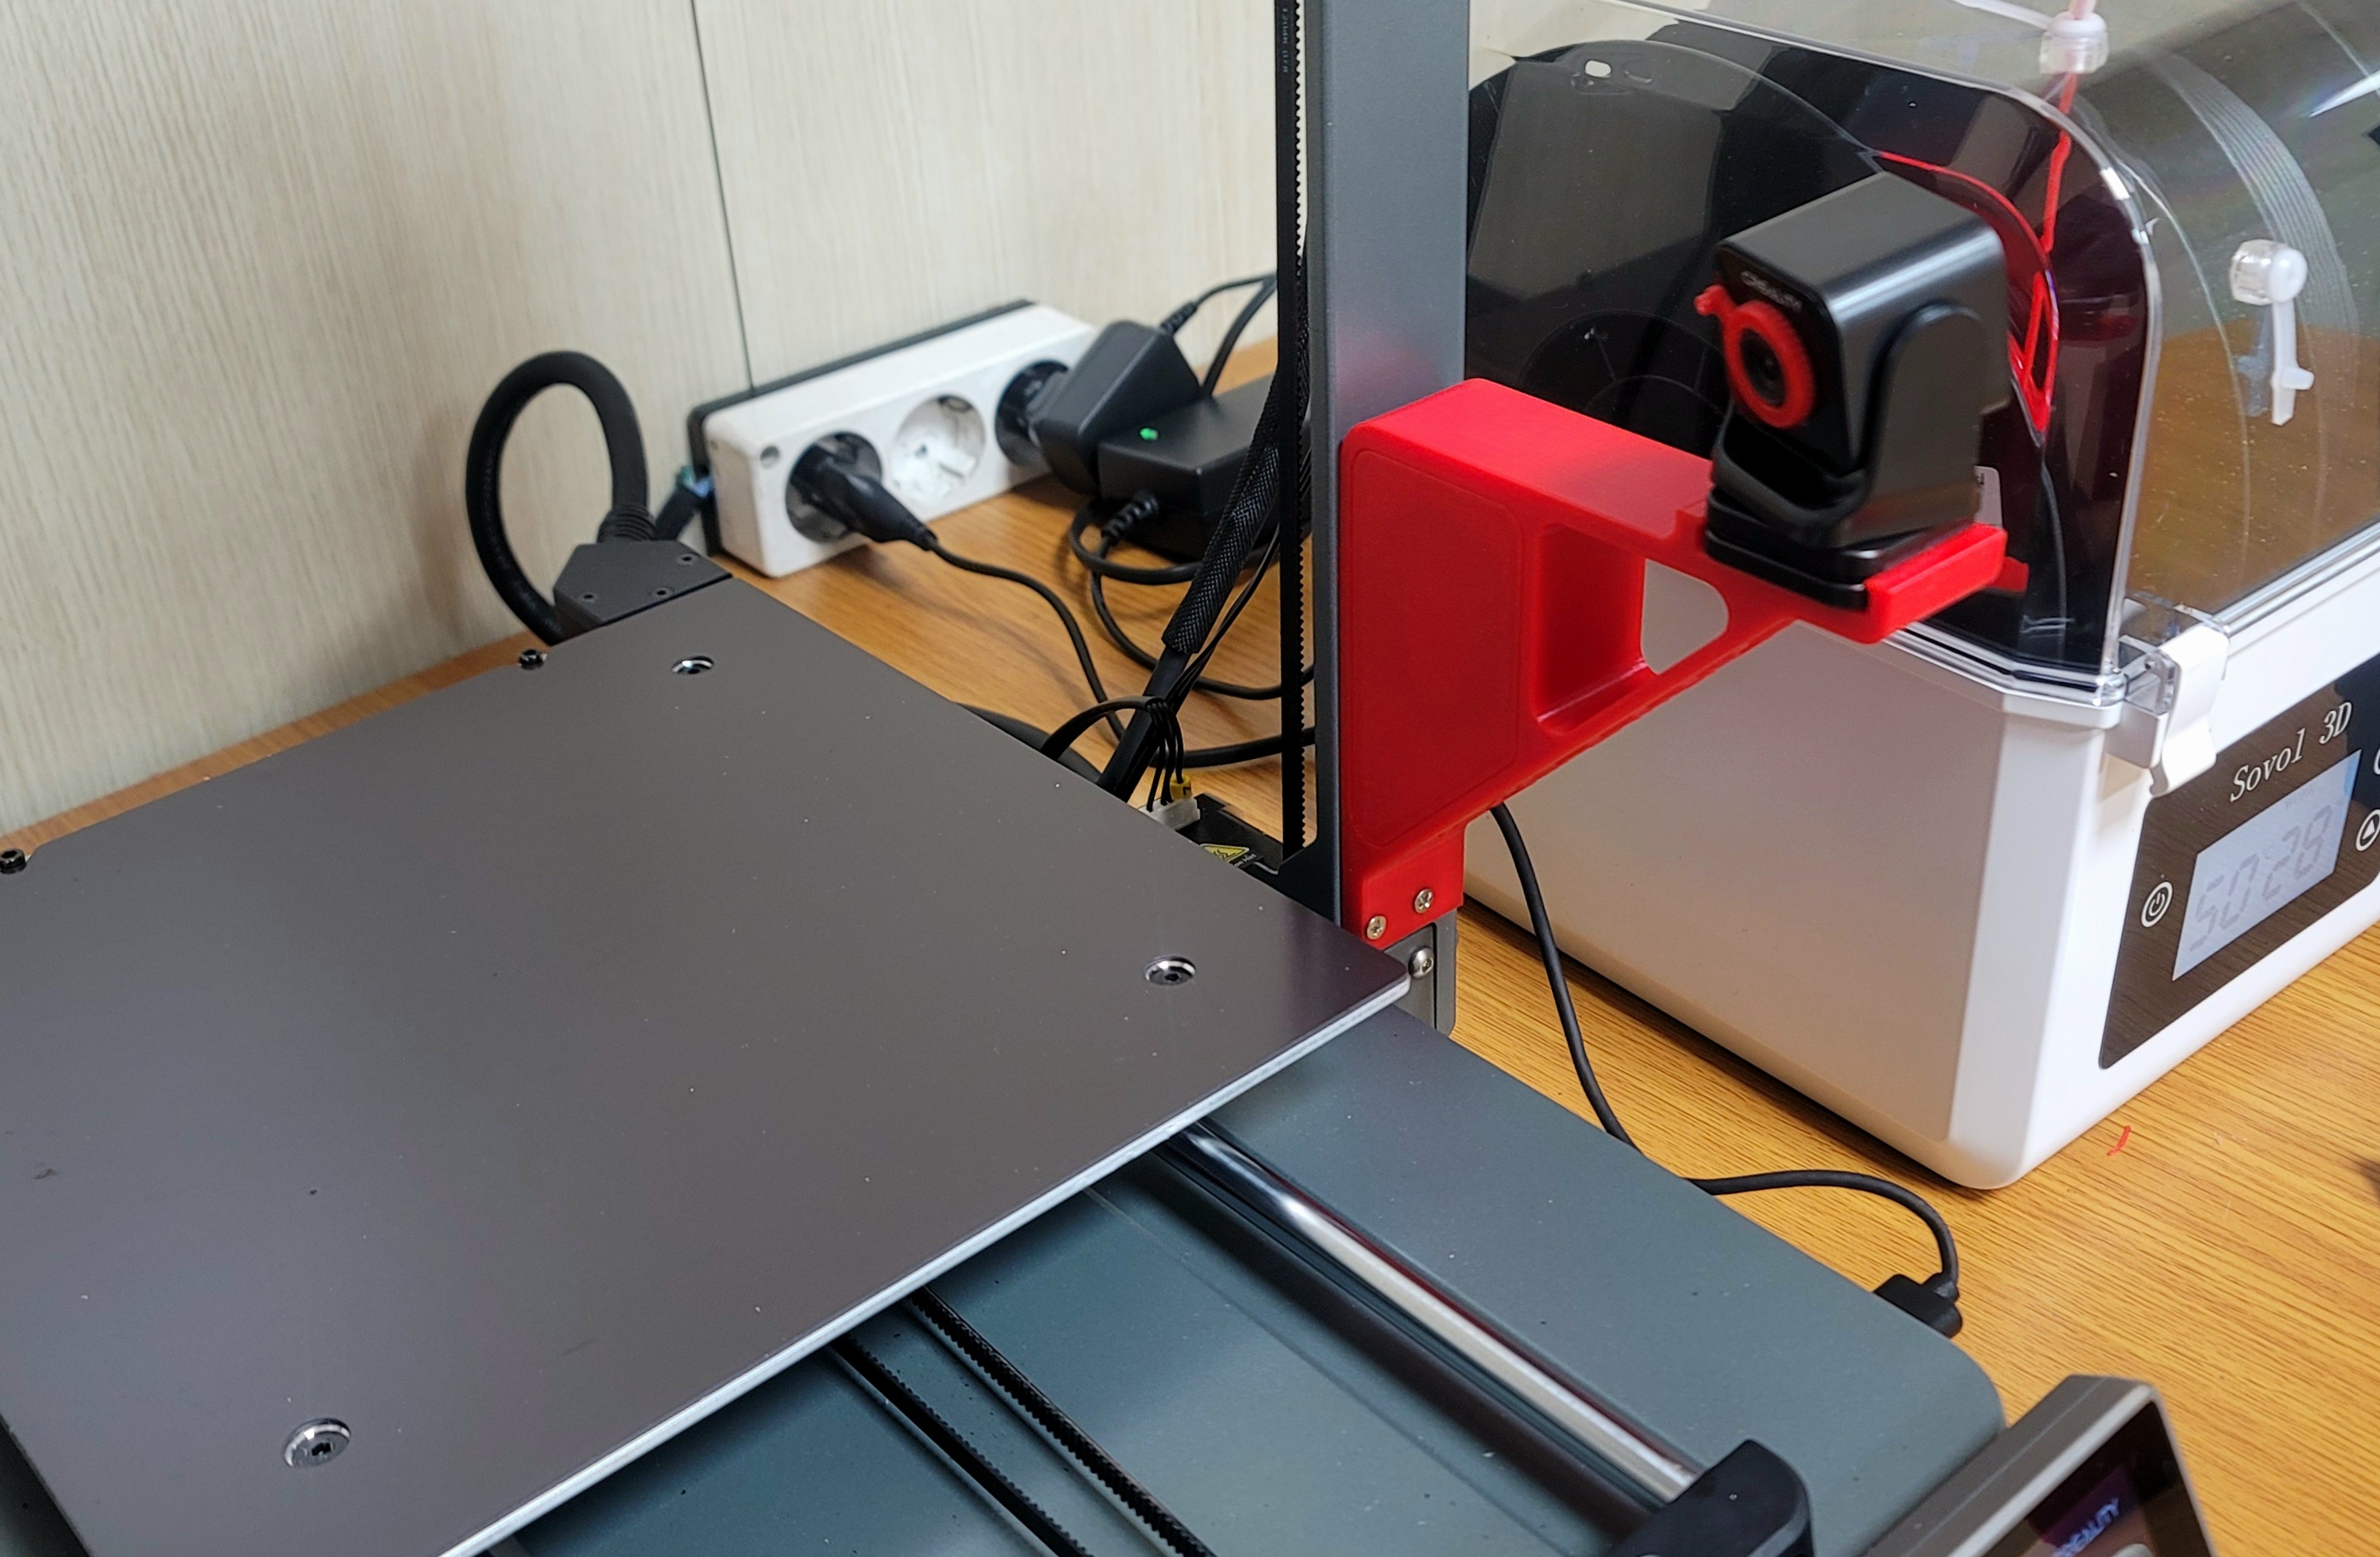
- Finally, insert the cover.
- Use it well.