
Socket ADD-on Festool MFT3 & IKEA SKADIS
Obliczymy ostateczną cenę na podstawie wybranego pliku. Sprawdzisz ją i zaakceptujesz przed płatnością.
Zapisane na tym urządzeniu.

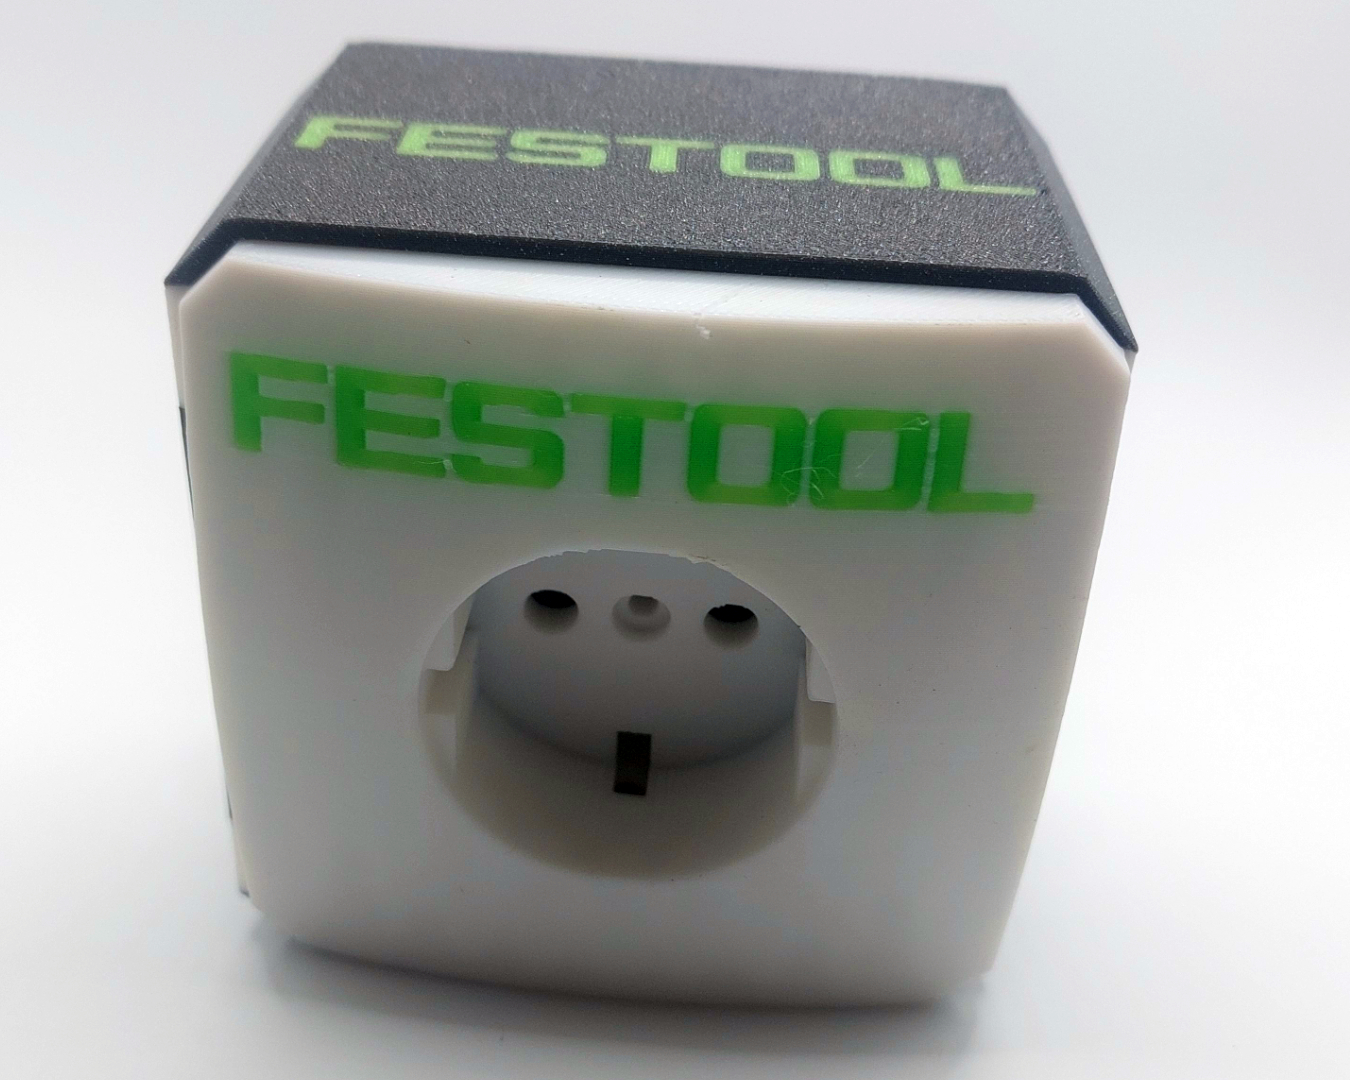
This ADD-on for the Festool MFT3 & Ikea Skadis allows you to equip your table or board with 1 or more power outlets.
- Ocena
- 0 / 5
- Polubienia
- 29
- Pobrania
- 53
- Wydruki
- 0
- Wyświetlenia
- 826
- Oceny
- 0
Aktualizacja u źródła:
Informacje o modelu
- Źródło
- Printables
- Kategoria
- Tools
- Licencja
- Creative Commons — Attribution — Noncommercial
Festool MFT3 & Ikea Skadis Pegboard Socket ADD-on
This extension allows you to equip your multifunction table or Ikea Skadis Pegboard with one or more power outlets. It is especially practical when changing tools, as the connection is always within easy reach.
Version: Festool MFT3
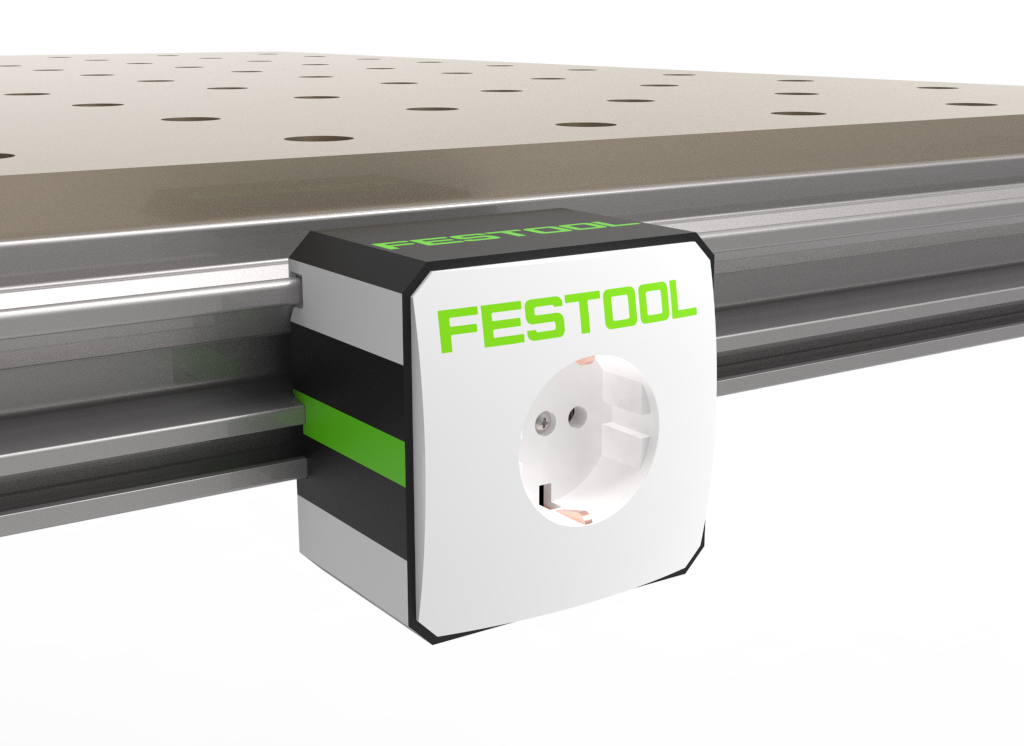
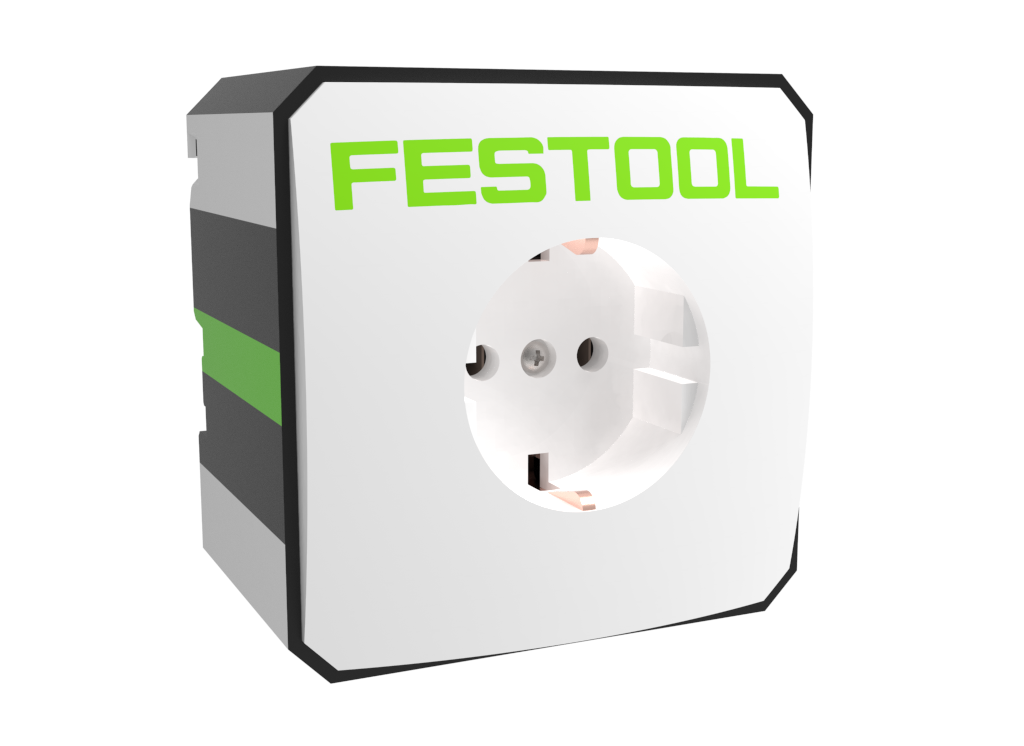 | 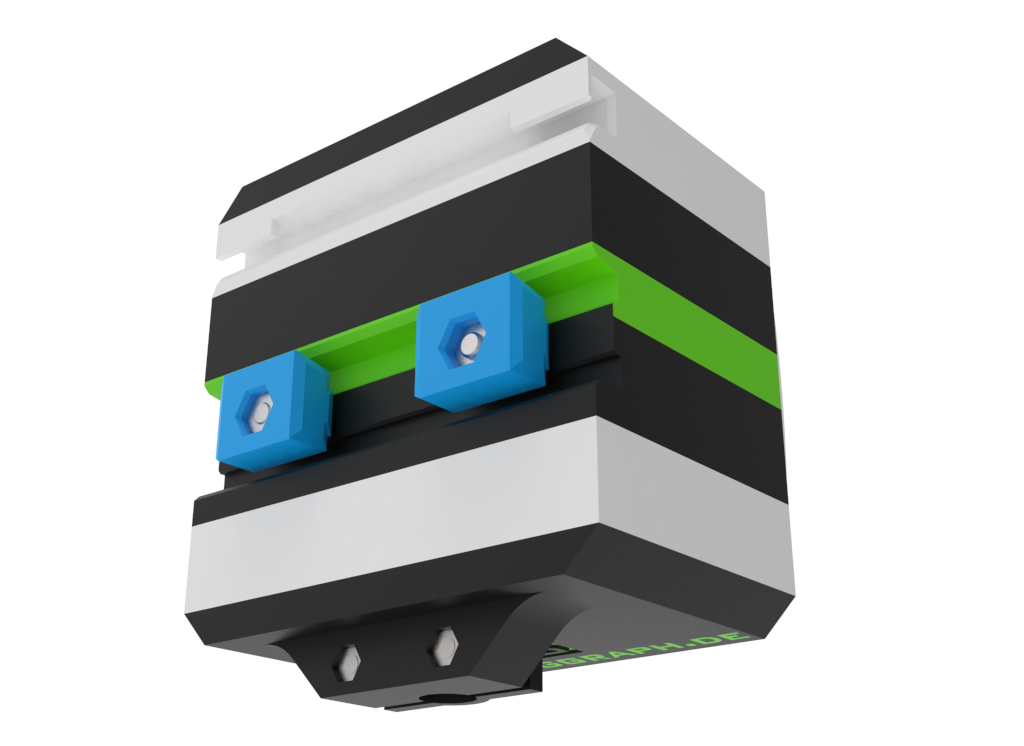 |
Version: IKEA SKADIS
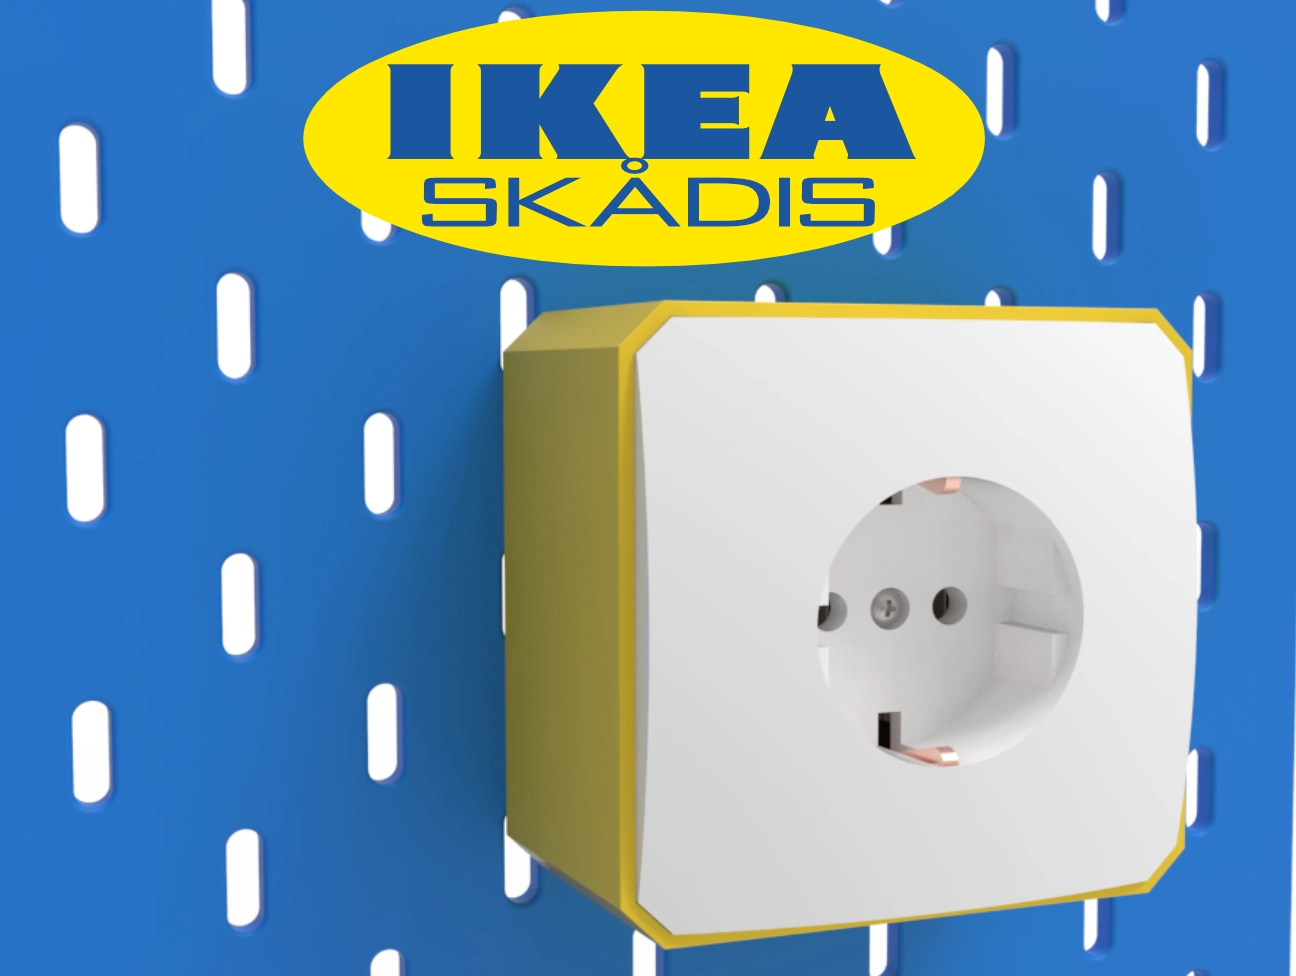
 |  |
Components/BOM:
 |  |  |  |  |
|---|---|---|---|---|
| 1 | Socket housing | 1 |  | 3D Print
There are two versions available: one compatible with Festool and one designed for IKEA. |
| 2 | Festool MFT3 T-Slot nut | 2 |  | 3D Print Is only required for the Festool version. |
| 3 | Socket Cover | 1 |  | 3D Print |
| 4 | Socket | 1 |  | Example: https://www.jung-group.com/en-DE/p/SCHUKO-socket-Safety-white/SPA-1520-KI-WW |
| 5 | Cable with Schuko connector | 1 |  | Schuko connecor only required for the Festool version. |
| 6 | Screw EN ISO 4762 M4 x 12 | 2 |  | |
| 7 |
Hexagon Nut ISO 4032 - M4 | 2 |  | Is only required for the Festool version. |
| 8 | Screw ISO 7045 M3 x 16 | 4 |  | Is only required for the Festool version. |
| 9 | Hexagon Nut ISO 4032 - M3 | 4 |  | Is only required for the Festool version. |
| 10 | Screw ISO 7045 M2.5 x 12 | 1 |  |
Assembly Instructions Festool MFT3:
STEP 1: Preparation
| Insert hexagon nut M4 (Pos.7 - 2x) in the 3d printed T-Slot nut (Pos. 2 -2x) |  |
| Insert hexagon nut M3 (Pos.9 - 2x) in the 3d printed housing (Pos. 1, inside, socket fastening) |  |
| Insert hexagon nut M3 (Pos.9 - 2x) in the 3d printed housing (Pos. 1, outside, rear, cable fastening) |  |
STEP 2: Assembly
| Insert and slide the T-slot nuts (Pos. 2 -2x) into the MFT3 profile slot. |  |
| Place the housing (Pos. 1) onto the rail and slide it into position. |  |
| Secure the housing (Pos. 1) to the MFT3 multifunction table using 2 M3 screws (Pos.8 - 2x) and T-slot nuts (Pos.2 - 2x). |  |
| Strip the cable insulation, insert it through the hole, and secure it tightly using the two M3 (Pos. 8 - 2x) screws. |  |
| Take the Schuko socket (Pos.4) insert, connect the cables, carefully slide it into the housing, and secure it with the two M3 (Pos. 8 - 2x) screws. |  |
| Place the cover (Pos.3) onto the Schuko socket (Pos.4) insert and secure it with the M2.5 screw (Pos.10). |  |
Note for 3D Printing:
I printed the model myself in multicolor with a layer height of 2.0 mm using PLA.
I have uploaded the multicolor print file and made it available for you.
While supports are required, they are minimal, easy to remove, and quick to handle.

Final Words:
Unfortunately, I wasn’t able to test the final assembly on the MFT3 myself since I don’t own the table.
However, I strictly followed the design specifications and added tolerances that, based on my experience, should work.
If you encounter any issues, feel free to reach out to me—together, we’ll find a solution.
In the meantime, I hope you enjoy the model!
Release Notes:
| Date | Version | Description |
| 14.12.2024 | 1.0 | Release |
| 15.12.2024 | 1.1 | Revised Socket Cover (Pos.3) |
| 21.12.2024 | 1,2 | Release: Ikea Skadis Vesion |
Disclaimer:
Please note that in the event of a short circuit, the socket may reach very high temperatures for a short time. Use is therefore at your own risk. It is recommended to select materials with high temperature resistance.