
Creality K1 / K1C / K1SE Wide Body Expansion Kit
Obliczymy ostateczną cenę na podstawie wybranego pliku. Sprawdzisz ją i zaakceptujesz przed płatnością.
Zapisane na tym urządzeniu.

Quickly upgrade your Creality K1 series frame with modular panels and add community-created enhancements.
- Ocena
- 0 / 5
- Polubienia
- 19
- Pobrania
- 59
- Wydruki
- 0
- Wyświetlenia
- 1388
- Oceny
- 0
Aktualizacja u źródła:
Informacje o modelu
- Źródło
- Printables
- Kategoria
- Creality Parts & Upgrades
- Licencja
- Creative Commons — Attribution — Noncommercial — Share Alike
Creality K1 Series Wide Body Kit
WIP.
Kickstart your printer's upgrade journey with the Creality K1, K1C, and K1SE Wide Body Modular Starter Kit. This foundational kit includes all the essential frame panels needed to easily expand the workspace of your printer, giving you the freedom to enhance your 3D printing experience.
Easy Modular Expansion: Begin with the essential frame expansion, then effortlessly add new modules as they're developed.
Community-Powered Versatility: Benefit from continuously updated modules, crafted by both me and the vibrant 3D printing community, to enrich functionality and customization.
Built for Creativity: With expanded space and ongoing modular updates, your printer evolves alongside your projects and ideas. Make your printer unique.
Seamless Integration: Designed specifically for Creality K1 series printers, ensuring perfect compatibility and structural integrity.
NEWS:
29.04.2025:
- New top front facing corner with cutout for 12mm button. You'll need a button - I use this one from Amazon but any that fits the hole should work.
100MM_TOP_FRONT_CORNER_BUTTON:

- New module for mounting a PSU (something like this one) and some M5STACK units on a rear plate. Example controllers from amazon: AtomS3 Lite or Atom Lite.
100MM-REAR-MODULE-5VPSU-AND-M5STACK:
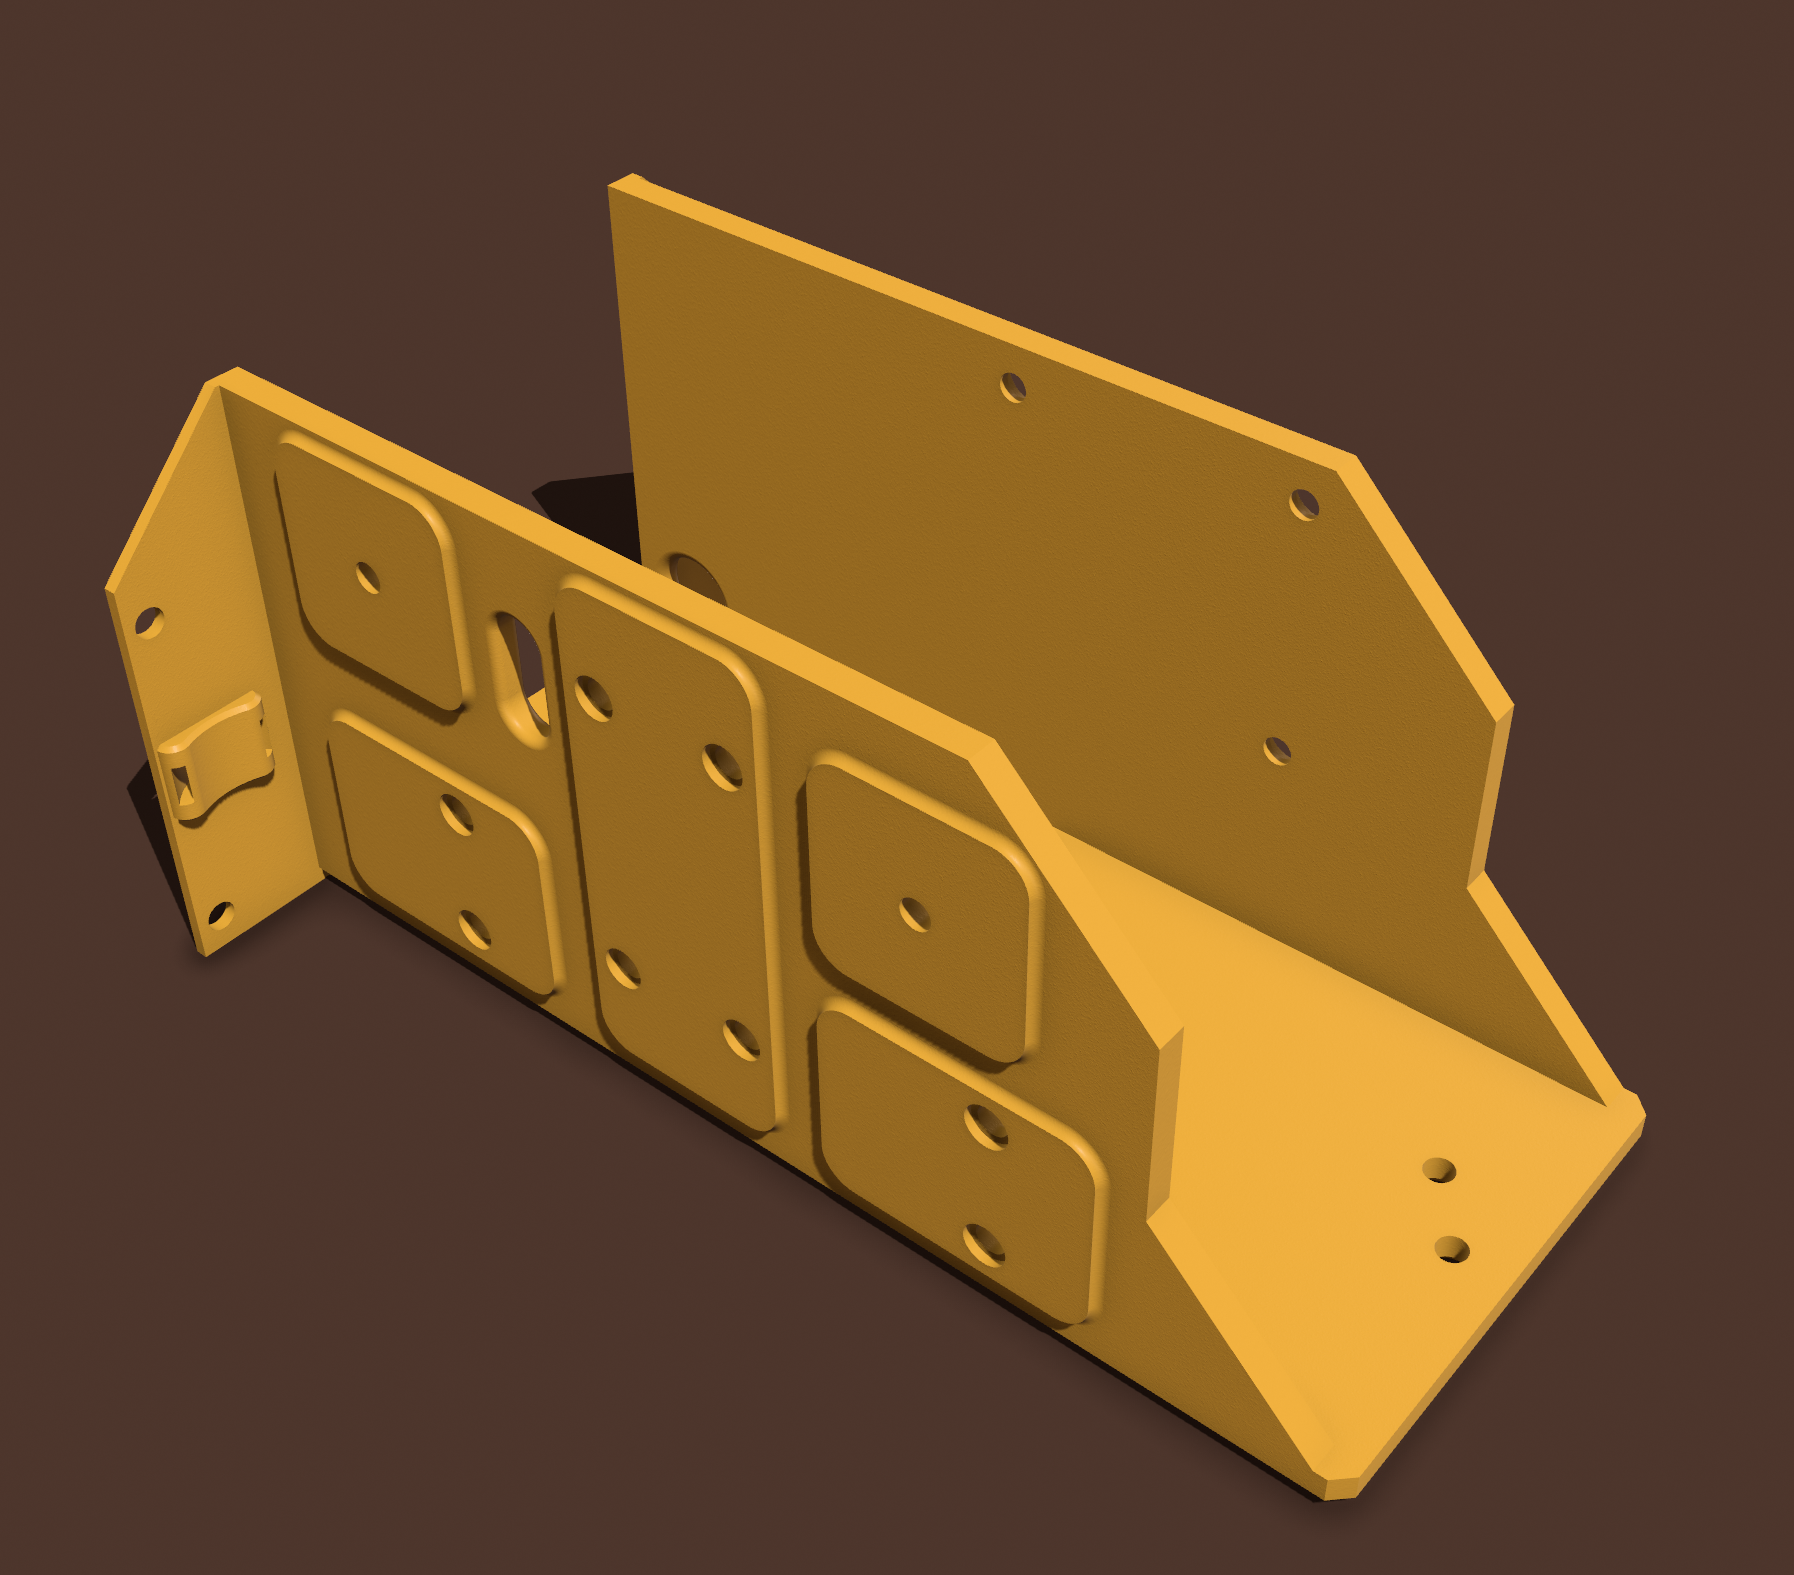
- Published STEP files for remixing - let's get creative!
3D Printing Build Sheet and Assembly Guide
To get started, you should print:
- 4 corners
- 4 front plates (or 2 large)
- 4 rear plates (or 2 large)
- 1 top and bottom plate
You should also get 2x 300mm aluminium extrusions as well as one 400mm for each side.
More options arriving very soon …
General Printing Instructions
All printed parts are designed exclusively for the left side. If a right-side version is required, you must mirror the models accordingly.
Printer Settings:
Material: ABS or ASA recommended
Layer Height: 0.2 mm
Perimeters: 3
Infill: 20–30% (Grid or Gyroid)
Supports: None (support structures are built into the design)
Bed Adhesion: Brim recommended (especially for ABS)
Nozzle Size: 0.4 mm
Post-Processing:
Remove green-colored built-in support features carefully.
Install M3 brass heat-set inserts into yellow-colored holes using soldering iron at ~200°C. Light sanding if necessary.
Enjoy!