
1 / 5
Vectrex VecMulti Cartridge Case
Zamów wydruk tego modelu
Obliczymy ostateczną cenę na podstawie wybranego pliku. Sprawdzisz ją i zaakceptujesz przed płatnością.
Zapisane na tym urządzeniu.
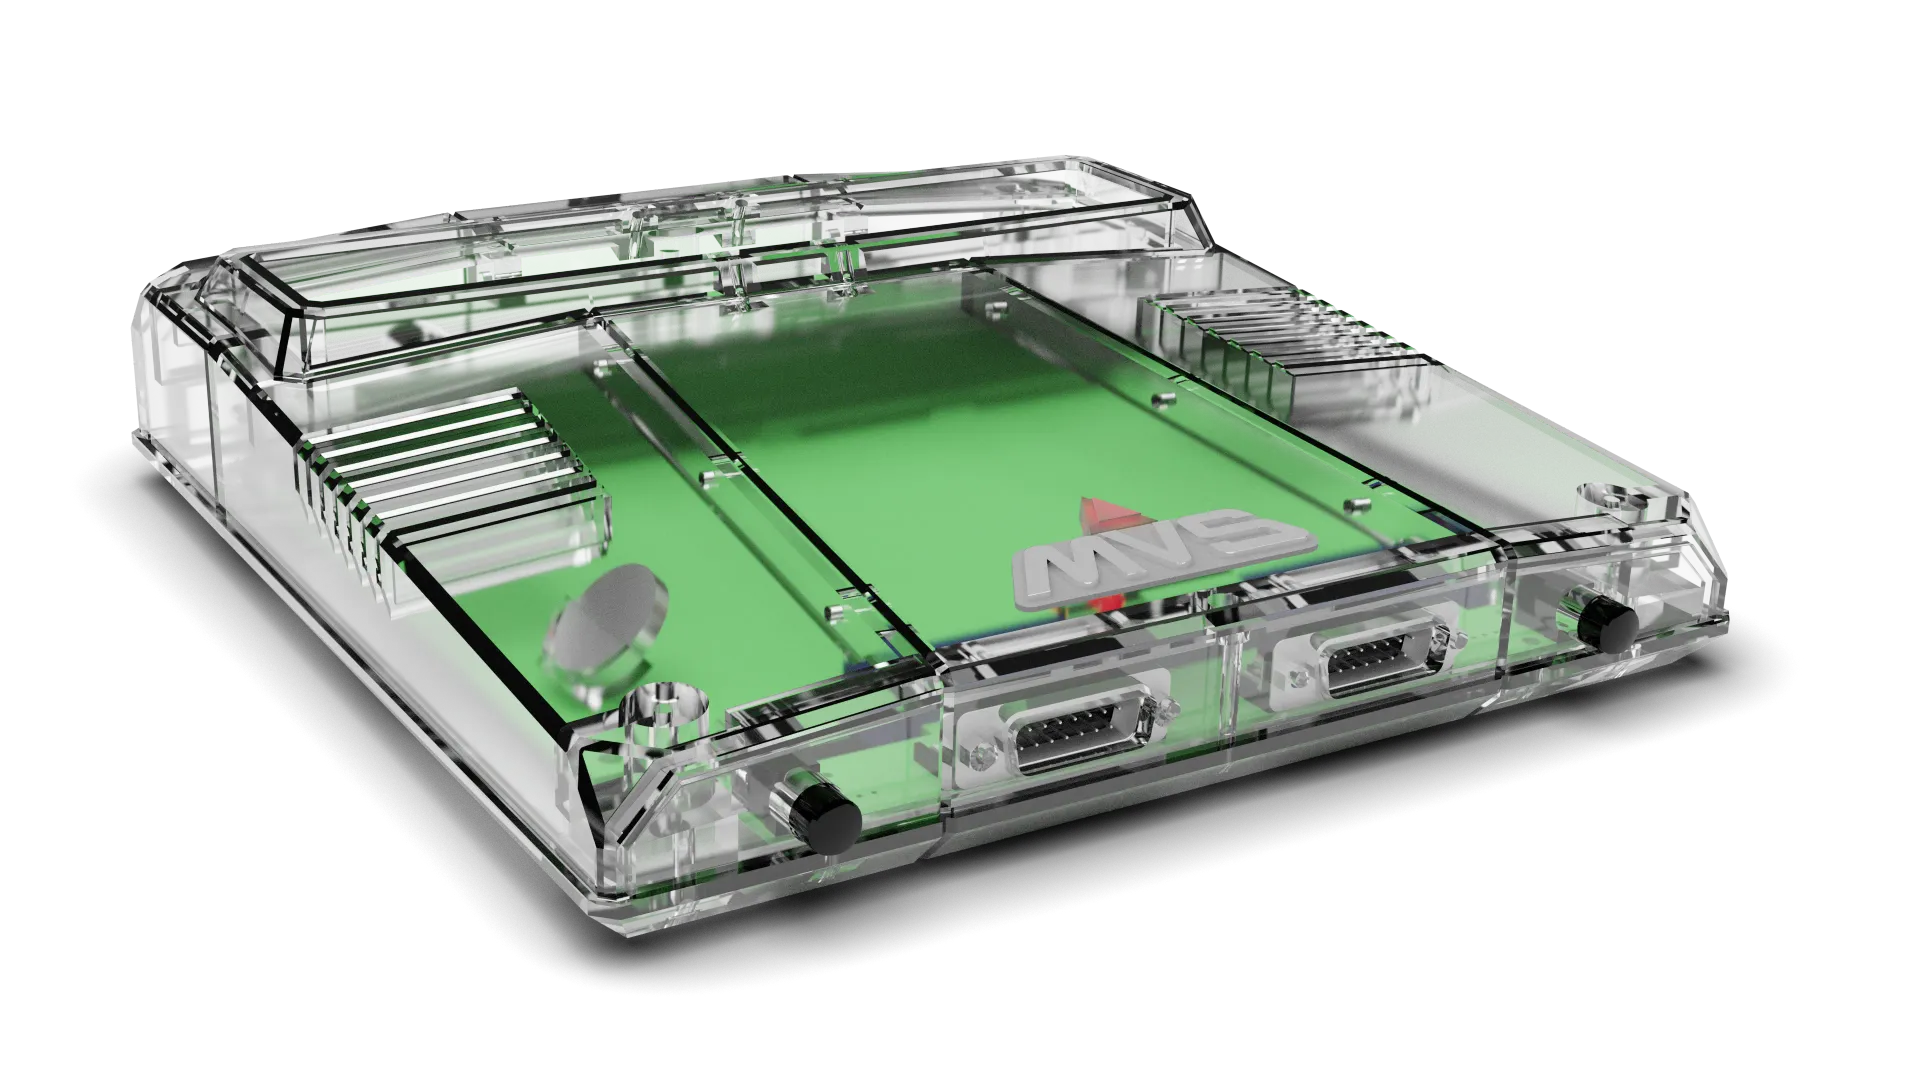
Modified version of my Vectrex cartridge case to fit a VecMulti card.
- Ocena
- 0 / 5
- Polubienia
- 3
- Pobrania
- 65
- Wydruki
- 1
- Wyświetlenia
- 511
- Oceny
- 0
Aktualizacja u źródła:
Informacje o modelu
- Źródło
- Printables
- Kategoria
- Video Games
- Licencja
- Creative Commons — Attribution
SzczegółyPliki (6)Wydruki i komentarze (Wydruki: 1) (Komentarze: 1)Remiksy (0)Kolekcje (15)Powiązane
Additional parts needed
- VecMulti Multicard (2018 version with SD-slot mounted on separate PCB)
- 6 wires, approx 30mm length
- soldering iron
- de-soldering tool
- self tapping screw, max 18mm length
Post-Printing
- De-solder the SD-slot PCB from the main PCB, completely removing the pin headers used to mount it.
- Re-mound the SD-slot PCB underneath the main VecMulti PCB using six wires of approx. 30mm length. This allows the SD Slot to fit in a standard size Vectrex cartridge.
- Slide the SD-slot PCB in the holder integrated in the bottom shell of the case. The top side will hold it firmly in place once the cartridge will be closed.
- Folding the wires, place the main VecMulti PCB into its mounting position.
- If the top shell with holes (to see the VecMulti LED) was printed, hot glue can be applied as a light guide. Apply from the inside of the shell to the holes, don't apply too much, or the PLA can melt!
- Place the top shell and close the cartridge. Use a screw of maximum 18mm length and pre-drill the holes to fit different diameters. The case should snap-fit even without a screw.
Notes:
Parts are optimized to be printed support-less. I used 3 perimeters for additional strength.