
DIY RC Lanz Ackerluftbulldog
Obliczymy ostateczną cenę na podstawie wybranego pliku. Sprawdzisz ją i zaakceptujesz przed płatnością.
Zapisane na tym urządzeniu.
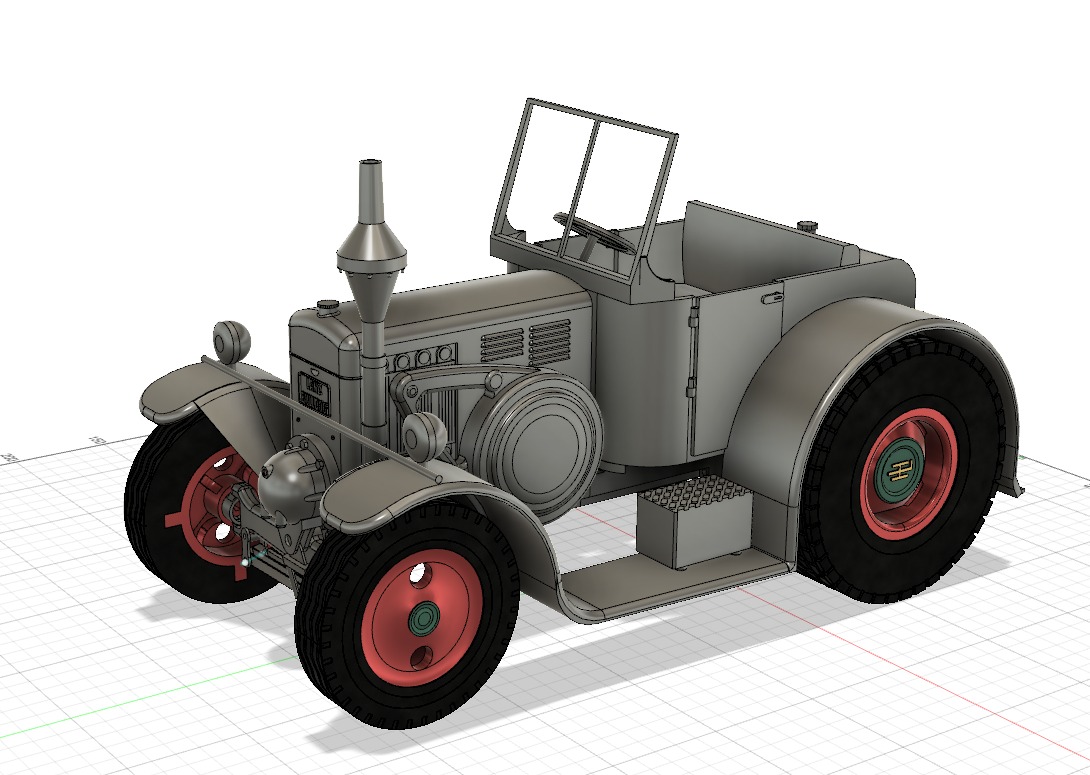
1:20 scale model of the Lanz Ackerbulldozer D9506 - fully OpenSource using a web interface in your browser!
- Ocena
- 0 / 5
- Polubienia
- 19
- Pobrania
- 214
- Wydruki
- 0
- Wyświetlenia
- 764
- Oceny
- 0
Aktualizacja u źródła:
Informacje o modelu
- Źródło
- Printables
- Kategoria
- RC & Robotics
- Licencja
- Creative Commons — Attribution
Yet another 1:20 scale model, this time a "Lanz Ackerluftbulldog". This tractor in the modelled variant was mainly used for pulling trailers in farming or shipping contexts. However, it was often also used for farm work in the field, where the air filled tires proved better pulling capabilities than the older all-rubber wheels. I've already made a similar, larger one in the past but decided I wanted to make a smaller one for indoors. It uses a web interface on your mobile device to control the bulldog :)
To accompany the Bulldog, I also made a simple trailer that can be attached using the servo controlled rear coupling.
The Bulldog utilizes standard N20 motors included with many electronics starter kits and available basically anywhere exept where I live XD.
For easy building I made a BOM (bill of materials) and instructions so anyone can build one :).
The ESP32 Code is included here as a zip file, but is also available on GitHub.
Once you have all the components, the build time is about 2 to 3 hours.
If you have already ordered the PCB for the Lanz Bulldozer, you can also use the same PCB here!
The orientation of the individual parts is ‘as exported’. Oriented versions of the full plates can be found in the ‘Full Plates’ folder. You can print the full plates versions directly. However I recommend splitting the modell onto more plates in case on part fails. Especially with the TPU parts I'd recommend you print them one by one to minimize stringing between parts.
Firmware V2 available!
This Firmware finally fixes the issues experienced with the old firmware, where the servo would 'jitter' when moved by the steering slider. From this Version onwards you will now also be able to customize the default steering layout by changing a single variable in the CSS-part of the HTML.ino file.
By changeing the 'useSlider' value (circa line 221) from true to false you can revert back to the old button interface and vice versa. An option to switch modes while in use is also available! This option however is not persistent.
Required Tools:
-3D-printer (or a 3D printing service)
-soldering iron
-Hex keys/phillips head screwdriver (depending on the types of screws you get)
-(Electronics-) Sidecutters
-pipe wrench/hammer for seating the bearings
-JST crimping tool (if you, like me, can't source a battery with a JST plug. Alternatively you can replace the JST Plug on the PCB with a molex plug)
Changelog:
15-11-2025: Uploaded model
17-11-2025: Added upload date
18-11-2025: Added Fusion assembly files and PCB design source files
07-01-2026: -Added V2 Firmware fixing the steering jitteryness
-updated instruction manual to reflect these changes