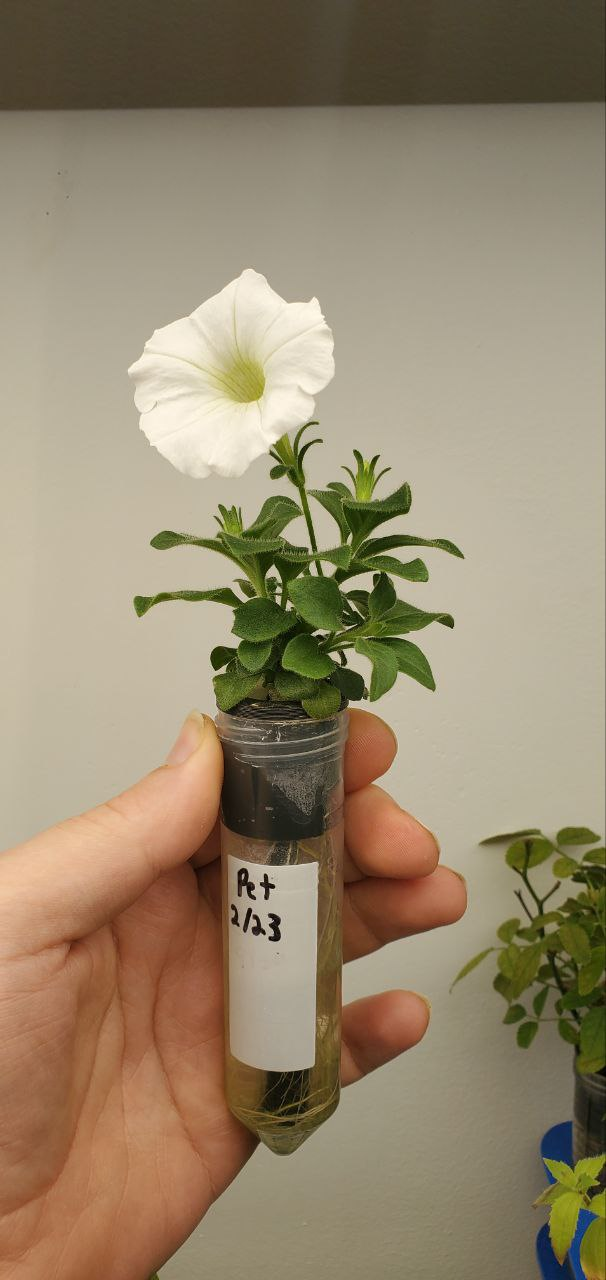
Falcoponics Lab Tube Hydroponics System
Obliczymy ostateczną cenę na podstawie wybranego pliku. Sprawdzisz ją i zaakceptujesz przed płatnością.
Zapisane na tym urządzeniu.

A simple way to make a standing hydroponic system using 50mL falcon tubes and standard hotel food pans.
- Ocena
- 5 / 5
- Polubienia
- 56
- Pobrania
- 174
- Wydruki
- 1
- Wyświetlenia
- 3834
- Oceny
- 1
Aktualizacja u źródła:
Informacje o modelu
- Źródło
- Printables
- Kategoria
- Outdoor & Garden
- Licencja
- Creative Commons — Attribution — Share Alike
I made a simple collar to turn any used 50mL centrifuge tubes into a static hydroponic module. I have also designed tray lids for internationally standardized NSF Hotel Pans to allow 9 and 33 slots for hydroponic growth. This is an ongoing project so stay tuned for updates or improvements. If you want to modify the files themselves, feel free to use the TinkerCAD link below:
Materials:
Urathane Foam Plugs 19 x 25mm
Hydroponic Mat Material as water wick cut 5mm x 115mm (inside height of 50mL tube)
50mL Centrifuge Tubes (any will suffice)
Hydroponic Fertilizer use 1uL for every 1mL of tap water, dose every 2 weeks
Black PLA Filament (print in Draft Mode 0.3mm on Prusa Mk3)
Optional Materials:
CURTA 6-Pack 1/6 Size 4" Deep NSF Polycarbonate Food Pans(or any 1/6 size NSF Hotel Pan that's 4" deep)
Half Size Long 4” Deep Food Pan Polycarbonate Clear Color
(or any 1/2 size (long) NSF Hotel Pan that's 4" deep)
Use the Falcoponic Seed Starting Lid Mk1 to start the seeds for these systems.
Cut a strip of hydroponic wicking material to a length of 300mm and width of 105mm
Thread the strip tightly through the top of the lid slits, making sure it's even on both sides
Wet the entire wick thoroughly (it will not wick on its own when dipped with top dry)
Sprinkle seeds onto surface evenly
Wet seeds via gentle spray until top surface is saturated.
Top surface will remain wet for as long as there is water in the tank
Fill to the groove line in the NSF food tray (use 1/6th Size) with fertilized water
Assembly:
Print two collar halves for every tube you wish to use. There are optional ports for 14 guage needles and standoffs to set the waste line needle depth. Print the collar without holes if you do not wish to use needles for input-output.

Place the strip of hydroponic wicking material into the cut along the height of the foam plug.

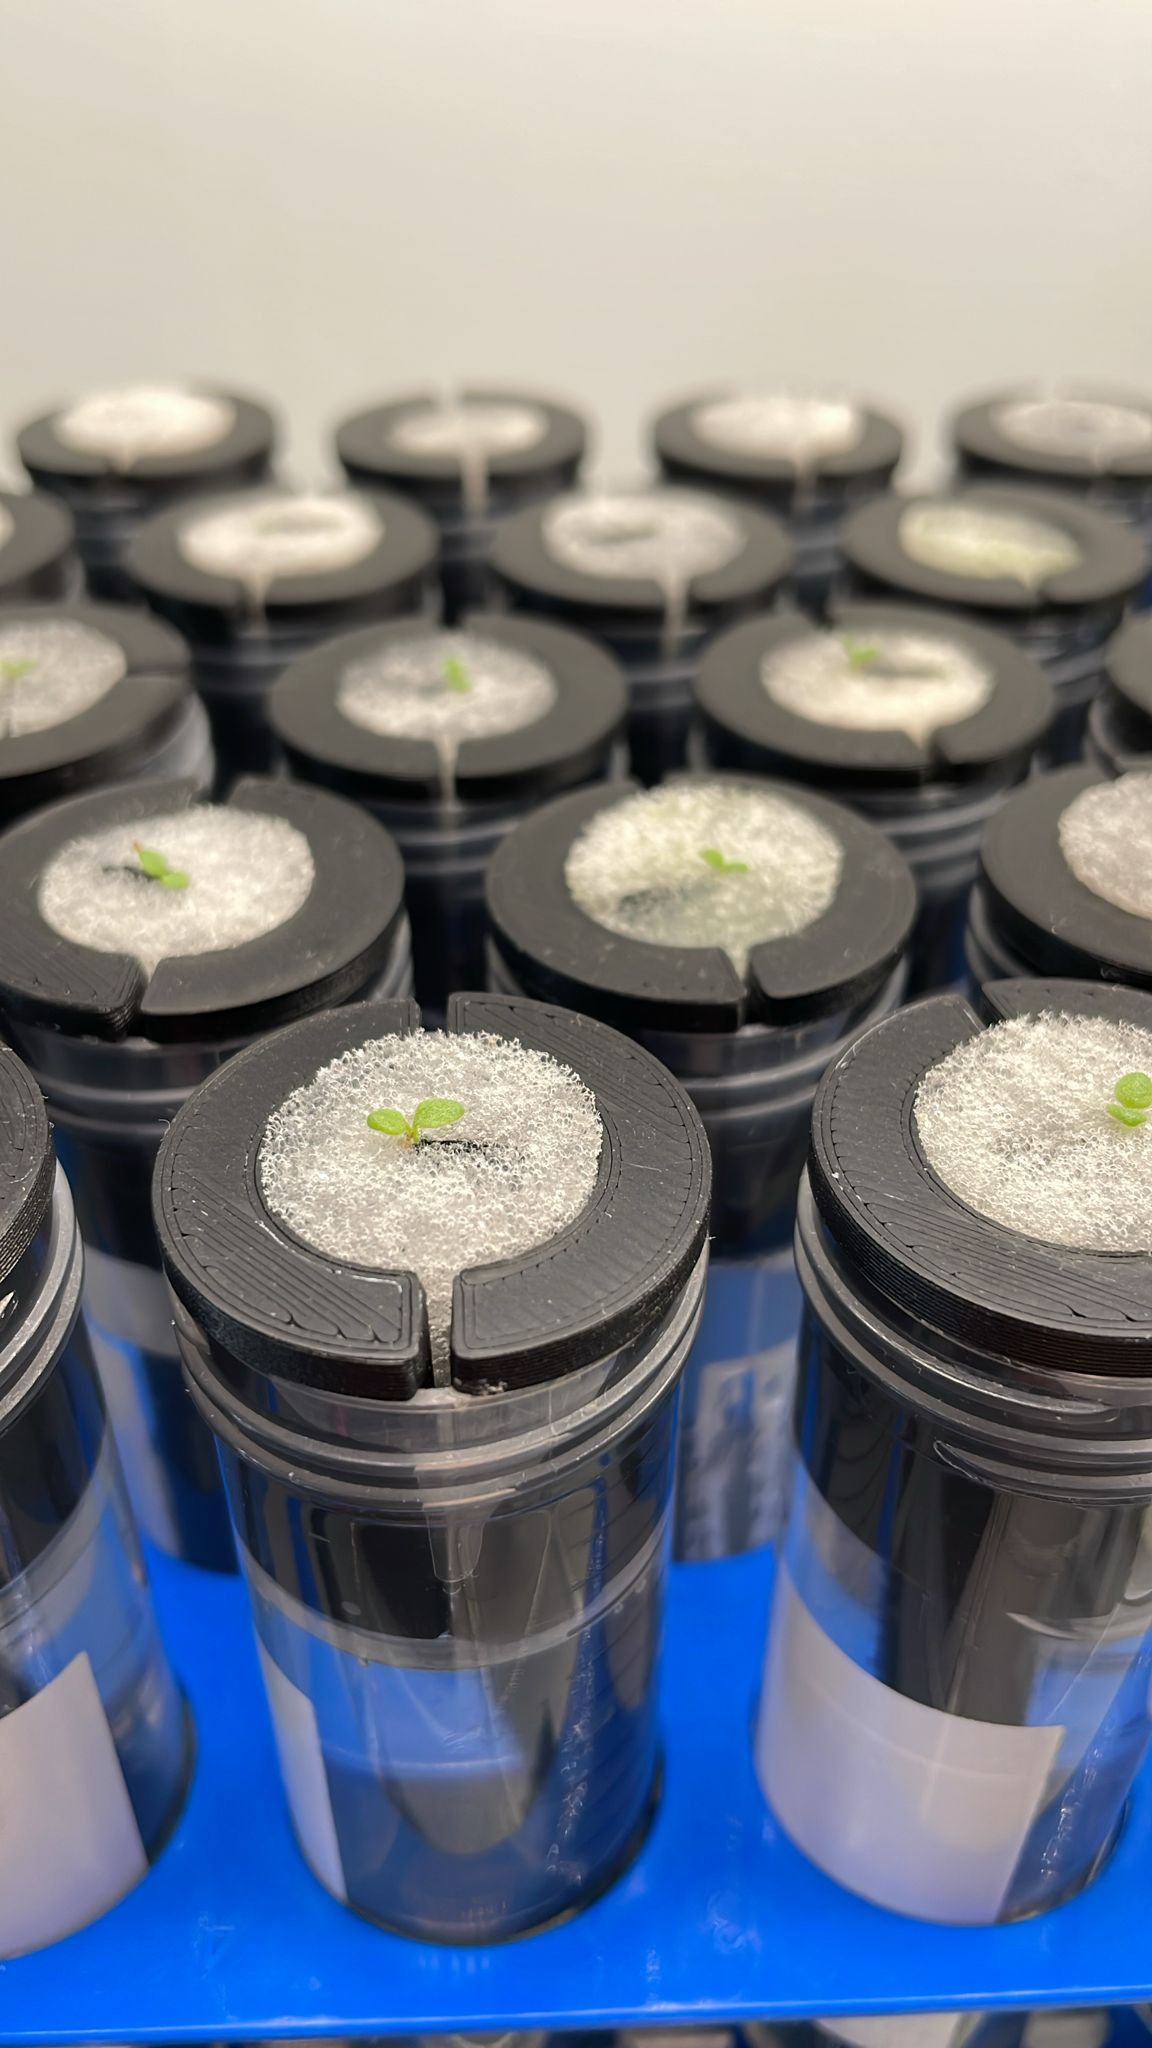
Assemble the falcoponic tube as seen below:

Rinse the plug in cold tap water. Allow the water to run through the plug for 30sec to wash away loose minerals.
Place the seedling into the middle of the plug, place the closed plug between two collar halves, orienting the seam of the plug at 90 degrees to the seam of the collars. Place the wick directly onto the plant to the top of the foam or rockwool plug. Ensure the roots make direct contact with the wick material.
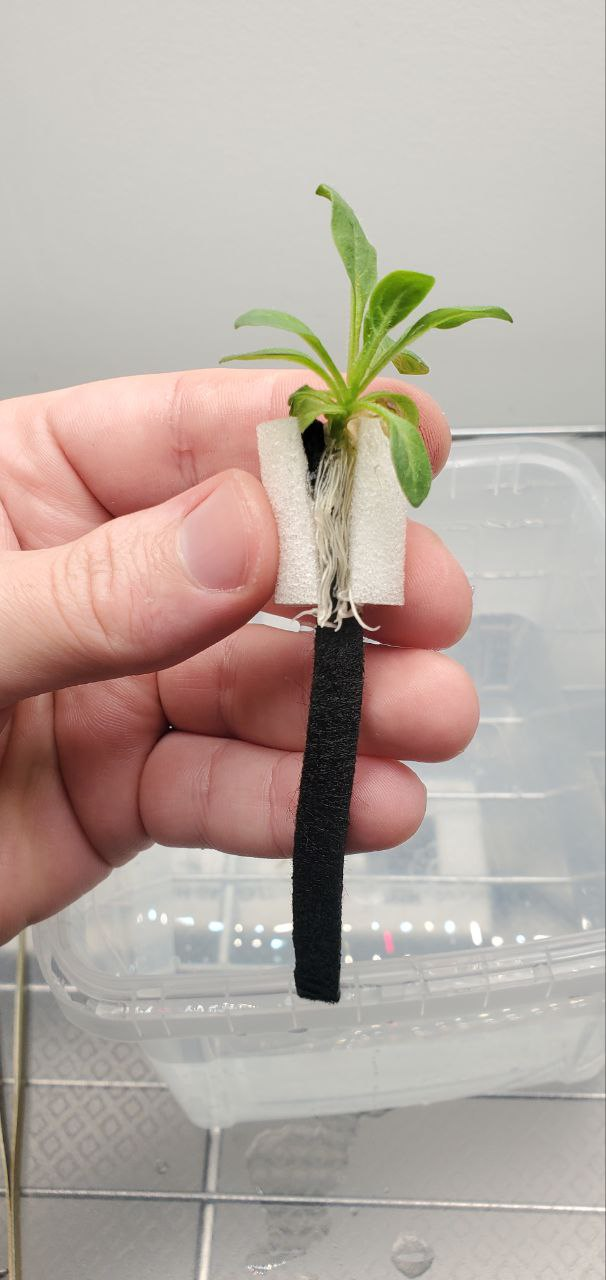
If you are sowing seeds, place the seed in the center of the foam plug, along the edge of the hydroponic wick as shown below:

Fill up a 50mL tube with cold tap water, ensure any reused tubes are autoclaved or bleached prior to use to kill any lingering microbes. The collars are obviously NOT autoclavable if printed in PLA. Gently push the plug assembly into the filled tube and let any excess water leak out over the sink.
Place the tubes in a tube rack and allow them to grow under grow lights with a photoperiod matching your plant's needs. Monitor for evaporation and refill via squirt bottle when needed. Be sure to not forget to fertilize your plants as the foam contains no nutrients.
Enjoy your new falcoponic system!