
Phone mount for Klipper screen
Obliczymy ostateczną cenę na podstawie wybranego pliku. Sprawdzisz ją i zaakceptujesz przed płatnością.
Zapisane na tym urządzeniu.
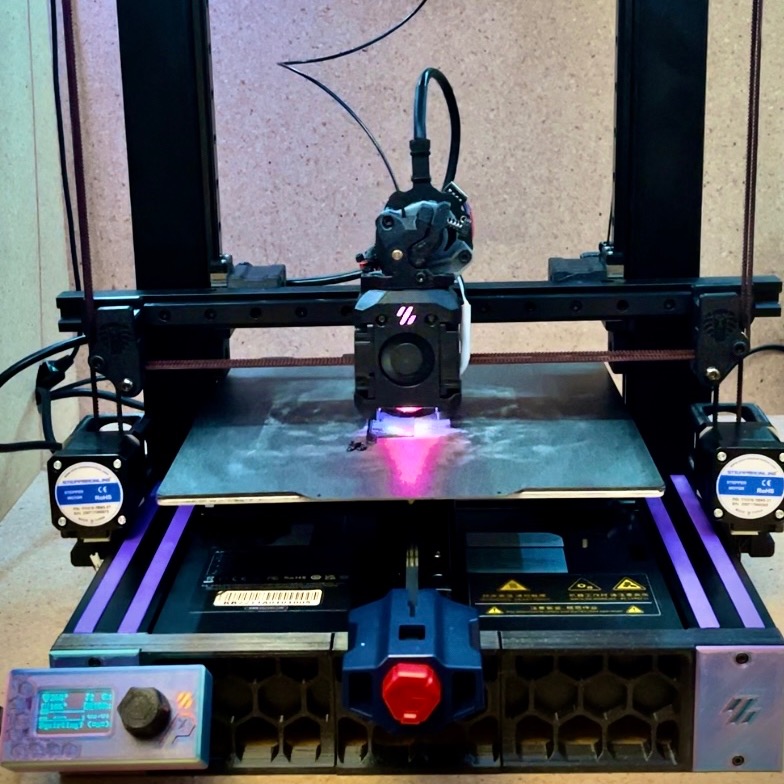
This was modeled to use a LG G3 but I provided step files so you can customize the size needed for your device.
- Ocena
- 0 / 5
- Polubienia
- 7
- Pobrania
- 27
- Wydruki
- 0
- Wyświetlenia
- 413
- Oceny
- 0
Aktualizacja u źródła:
Informacje o modelu
- Źródło
- Printables
- Kategoria
- Accessories
- Licencja
- Creative Commons — Attribution
Print settings:
.4 nozzle
.2 layer height
turn fan off to prevent warping
BOM:
4 m3 socket head cap screws (long enough to go through extrusion mount and into t slot with t nut installed)
4 10mm m3 socket head cap screws
4 m3 t nuts
4 heatset inserts
8 6x2 mm magnets
glue
Assembly:
extrusion mount:
press 4 heatset inserts into extrusion mount (where the phone base and extrusion mount will interface)
place 4 longer m3 screws down in from the top through the angled guide holes
thread t nuts onto longer screws(just a couple turns, dont snug up
slide assembled extrusion mount onto extrusion
tighten all 4 long screws to secure to extrusion
phone base:
glue 4 magnets into phone base magnet holes Let Dry!
take 4 more magnets and place one on each glued in magnet mark each of the magnets with a sharpie
screen cover:
make sure the cover plate is in the correct orientation as it would be with phone in
one at a time (let cure for a few minutes), glue the marked magnets with mark face down into its corresponding hole
let all magnets cure
Now you can place the phone in and put the screen cover on!