
Locking ball and socket arm
Obliczymy ostateczną cenę na podstawie wybranego pliku. Sprawdzisz ją i zaakceptujesz przed płatnością.
Zapisane na tym urządzeniu.
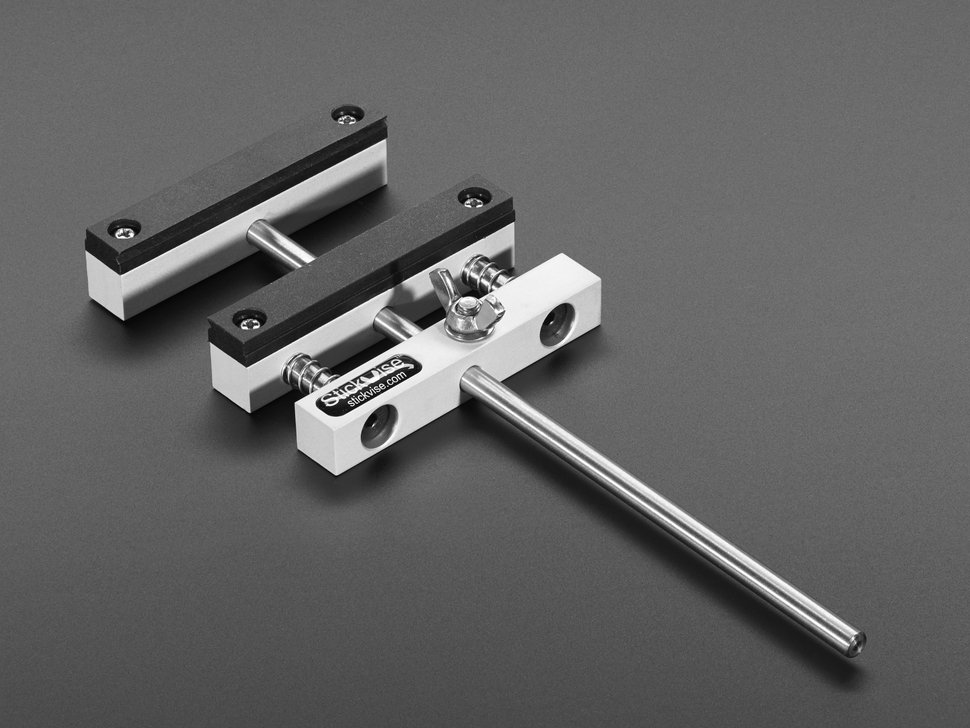
Want to support me? Interested in the PCB holder shown in the picture and want to support me?
- Ocena
- 4,778 / 5
- Polubienia
- 217
- Pobrania
- 1204
- Wydruki
- 9
- Wyświetlenia
- 6816
- Oceny
- 9
Aktualizacja u źródła:
Informacje o modelu
- Źródło
- Printables
- Kategoria
- Tools
- Licencja
- Creative Commons — Attribution — Share Alike
Want to support me?
Interested in the PCB holder shown in the picture and want to support me? Check out Stickvise, my low profile soldering vise:
- Information: http://www.stickvise.com
Buy it on Amazon: http://amzn.to/2dgmQCE
Summary
Ball and socket system, upgraded with a quarter turn twist lock on each ball joint to greatly increase pullout strength.
My idea is to create a ball and socket system that is not only 3d printable but extremly strong and will not pop apart easily. This would be suitable for things like an LED lamp arm or heavy duty alligator clip where you don't want the neck popping apart.
My original project was posted on hackaday:
https://hackaday.io/project/5739-locking-ball-and-socket-gooseneck-system
Update 5/17/15
New STL files posted on 5/17/15 - should work much better on printers with larger layer height / lower resolution
Print instructions
Category: Hand Tools Instructions
PRINTING
- I printed the parts with socket up, this minimizes supports that are placed inside the socket, easier to remove from the ball.
- I printed with a layer resolution of .01" or .25mm. For larger layers you should be fine, if you have any issues post them in the comments.
- Use a fairly dense infill if you want these to be nice and strong. The intent is for this to make a fairly heavy duty gooseneck arm.
ASSEMBLY
- Place nut over ball joint first before snapping socket onto ball.
- Snap socket onto ball, requires moderate amount of force.
- Slide nut onto socket, take care to align the locking features.
- Twist quarter turn to lock in place. Small hex flats are 10mm, large hex flats on the twist-lock nut are 19mm.
- Repeat for additional joints.