
Rotating Desk Model Display / Trophy Stand with Magnetic Drawer and Name/Logo Placards
Obliczymy ostateczną cenę na podstawie wybranego pliku. Sprawdzisz ją i zaakceptujesz przed płatnością.
Zapisane na tym urządzeniu.

A handsome, functional desk display with a rotating display stand, replaceable name/logo cards, and a storage drawer.
- Ocena
- 0 / 5
- Polubienia
- 4
- Pobrania
- 10
- Wydruki
- 0
- Wyświetlenia
- 312
- Oceny
- 0
Aktualizacja u źródła:
Informacje o modelu
- Źródło
- Printables
- Kategoria
- Office
- Licencja
- Creative Commons — Attribution — Noncommercial — Share Alike
I was recently asked to come up with a “going-away” gift for a colleague at work. This is the result – a handsome, functional desk model display with some fun features:
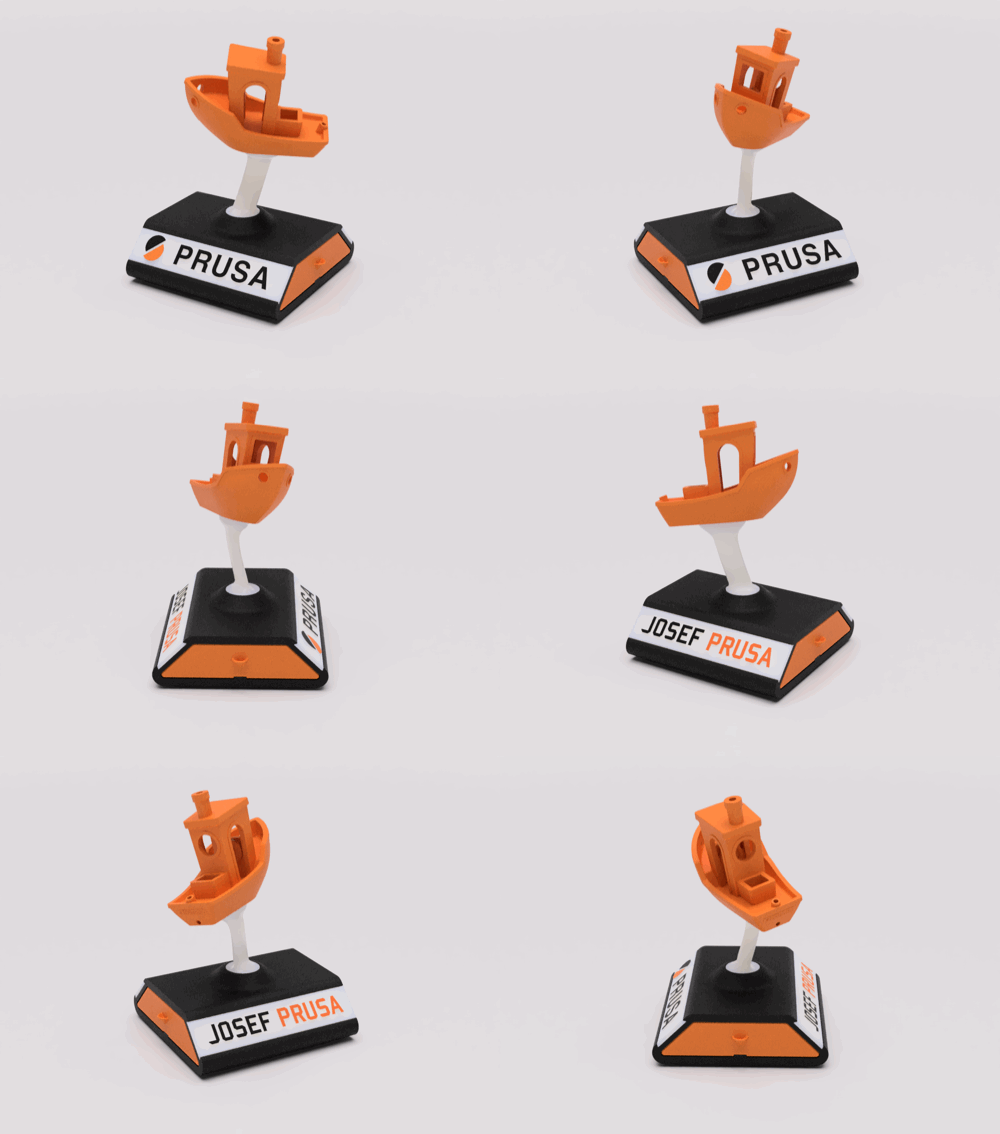
Features:
Bring-your-own-model using the provided “Mounting Interface” as a negative volume in your slicer. Details below.
Rotating display strut that mounts securely to a “6903” 17x30x7mm ball bearing for smooth movement.
Clamp the strut around the bearing with the provided end cap using an M5x10mm heat-set insert and M5 flat-head cap screw.
Replaceable placards on either side for logo, names, dates, or simple color accents. They install by sliding securely into the dovetail slots, retained in position with 6x2mm refrigerator magnets.
These work really well for embossed/debossed text, since they can print flat on the bed in the ideal orientation. You can do this in the slicer.
A drawer for storage of business cards, challenge coins, paper clips, etc.
Also held in place using 6x2 (and 10x3) magnets
Display Models:
My first build (pictured) holds a model version of the Darkstar hypersonic aircraft from Top Gun: Maverick, available separately as a paid download from DR5Creator at Cults3D. However, the design of the base and strut are generic in such a way that you can easily mount any other model or object.
To adapt any model to this design, simply:
Load the display model in your slicer and scale as desired
Add the “Mount Interface” STL provided here
Select the two objects and “Assemble” (Bambu Studio) or “Merge” (PrusaSlicer) them together as one slicing entity
Position the mount interface where you need it to be relative to the model – be aware of the center of gravity
Change the “Type” of the “Mount Interface” to a “Negative Volume” or “Negative Part”
Slice as normal


Print Guidance:
The pictured example features BambuLabs' “Brick Red” PLA-CF and “Lava Gray” PLA-CF. These CF filaments are highly recommended to eliminate layer lines – this creates a really elegant look as a display piece or gift.
I also recommend multi-color printing on the name placards, either via MMU/AMS or simply by changing colors at the layer interface between the plate and the embossed/debossed text or logo.
Here is the preferred print orientation and recommended support configuration in the slicer. Use “Snug” supports in the magnet holes, in the bearing hole, and underneath the vertically-oriented support struts.
