
Dice Flick Box (magnetic fidget dice storage)
We calculate the final price from your selected file. You review and accept it before payment.
Saved on this device.

The box that is also competing to be your new fidget toy! Enjoy!
- Rating
- 0 / 5
- Likes
- 38
- Downloads
- 61
- Makes
- 0
- Views
- 453
- Reviews
- 0
Updated at source:
Model information
- Source
- Printables
- Category
- Board Games
- License
- Standard Digital File License
Behold the Dice Flick Box! A 3D-printed masterpiece that stores your dice with style and opens with a satisfying flick. It’s like your dice are saying, “Roll me, I dare you.” Perfect for gamers and anyone who loves a little flair with their storage. Warning: May roll away your free time!
| Welcome to GlennovitS3D. Join the Club on Printables.com to support creation of new models, get access to exclusive models, and get commercial rights, to sell prints. Join today - GlennovitS3D - or check out my model collection or my popular models |
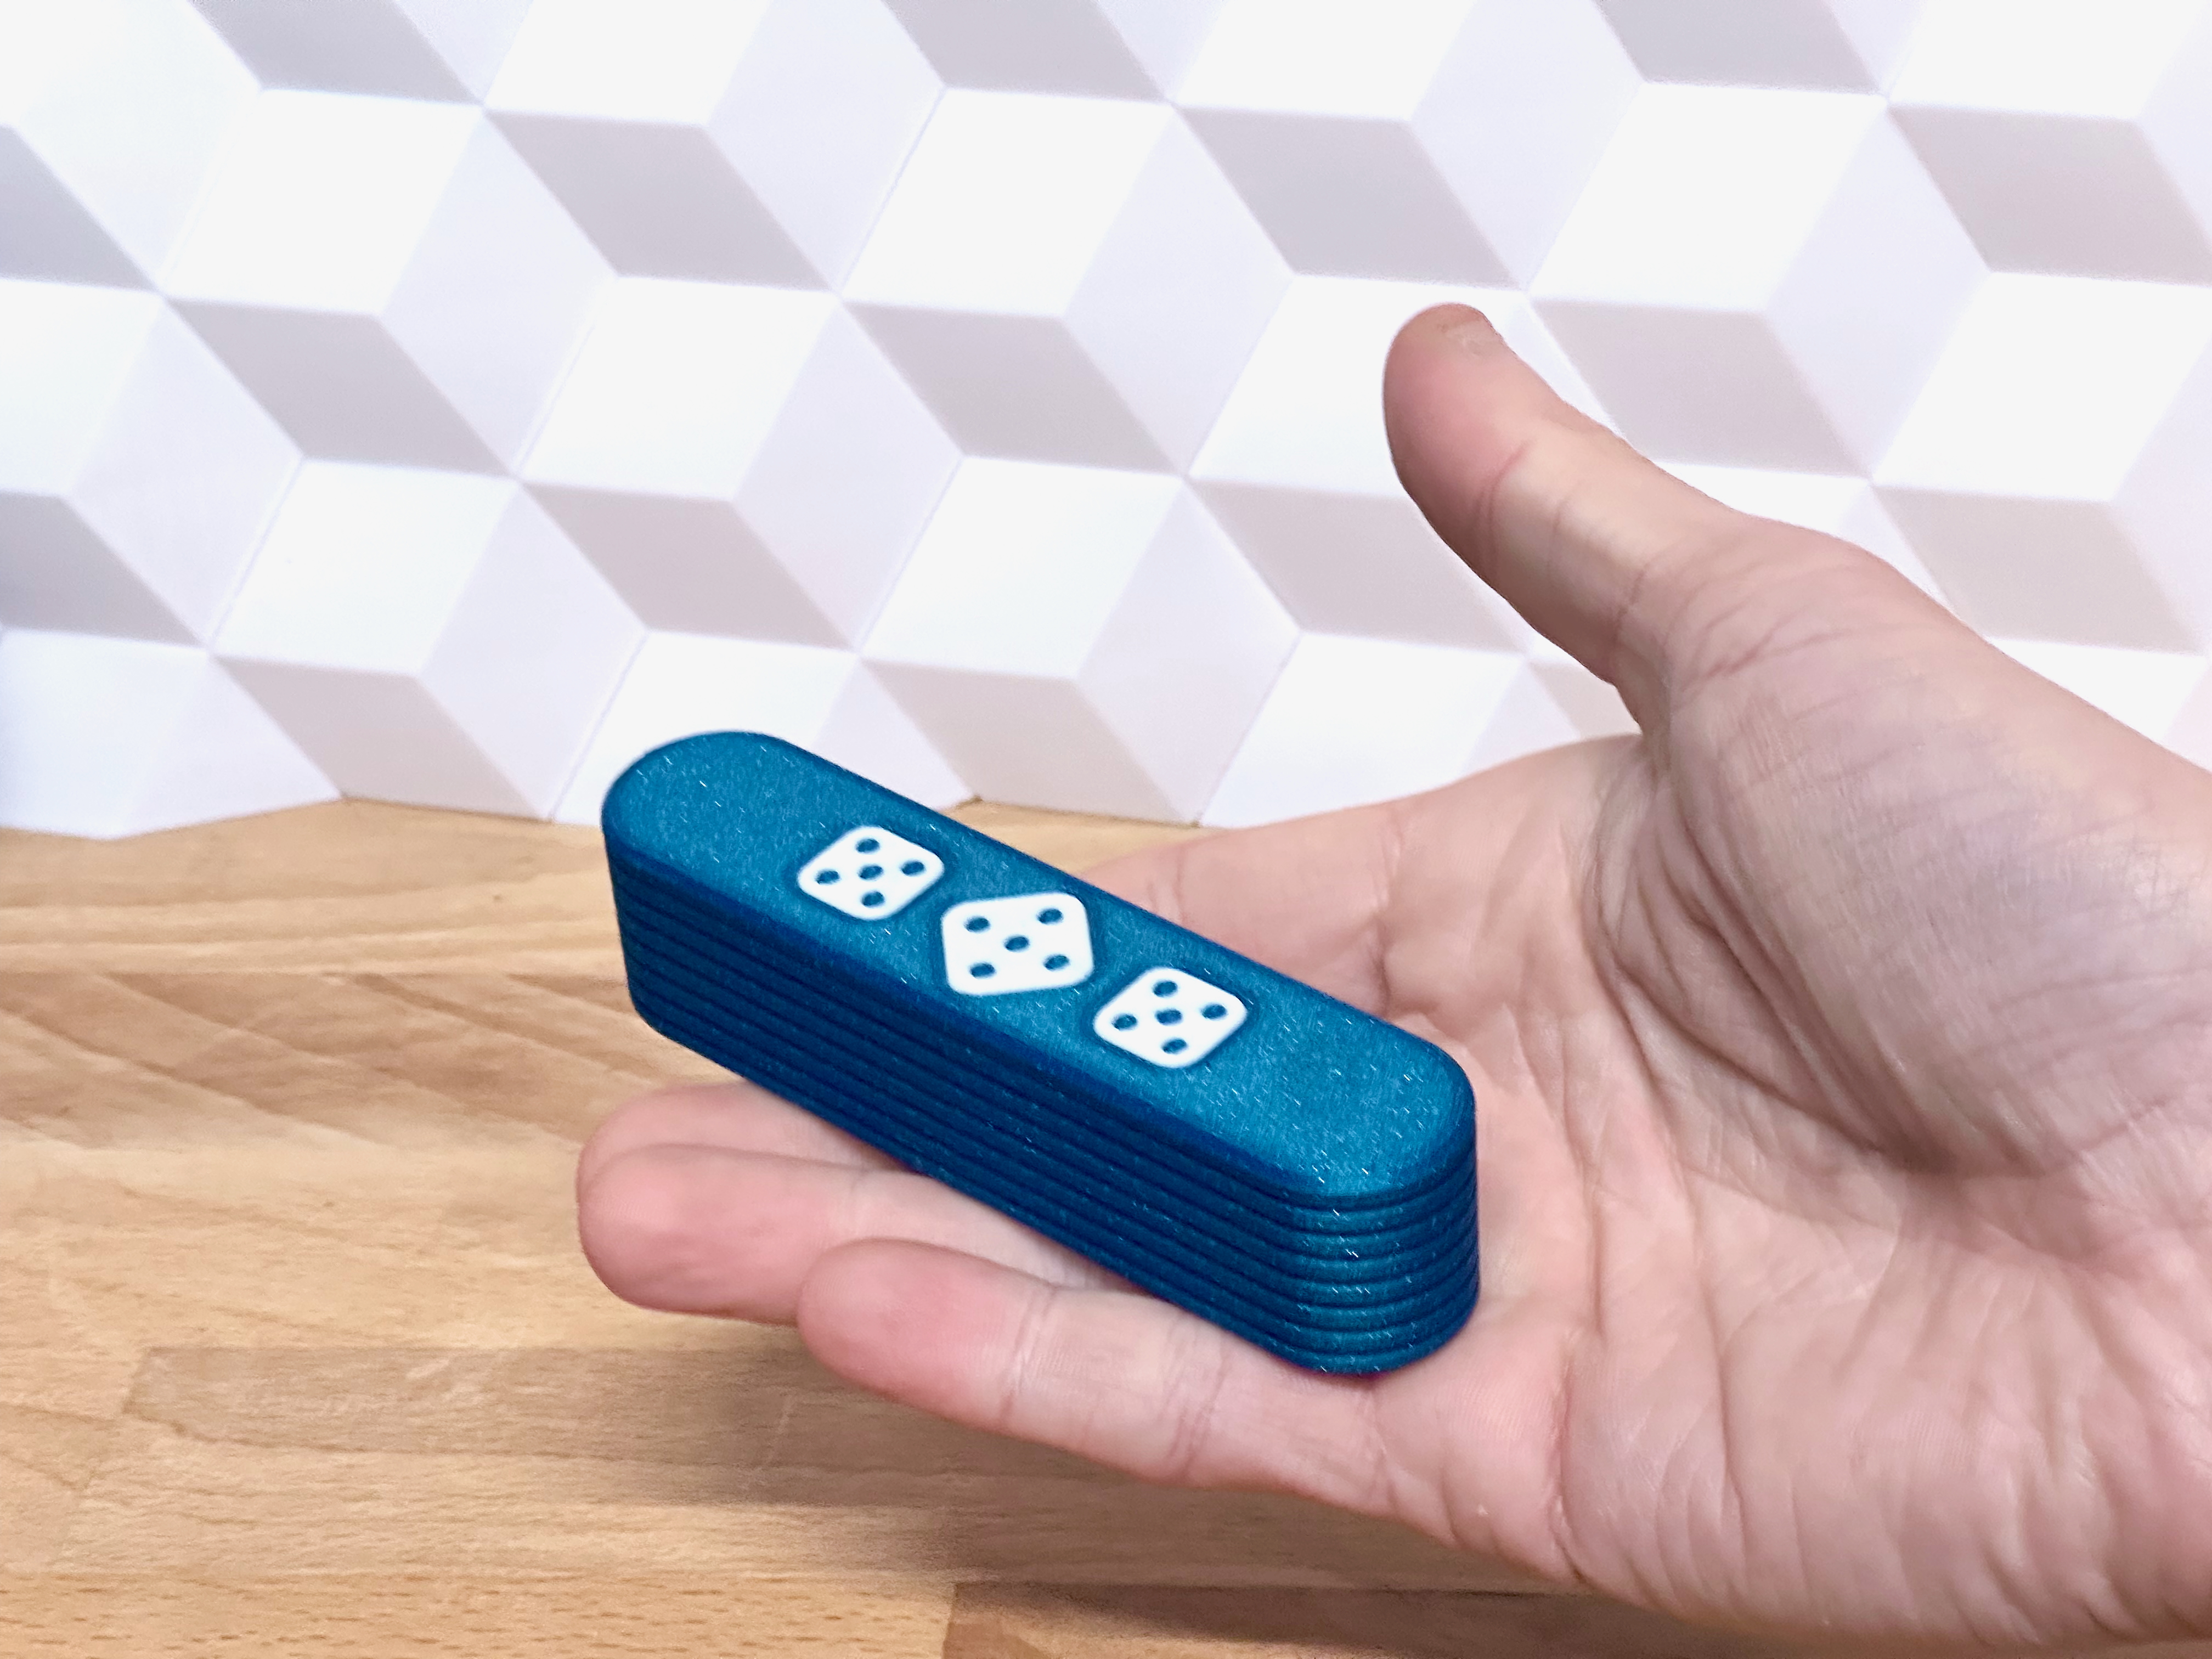
Overview
For now i comes in 9 sizes to fit different dice sizes (the dimensions are internal space):
- Small dice - 20x20 mm
- Medium dice - 28x28 mm
- Large dice - 36x36 mm
All sizes comes in different lengths:
- Short - 85 mm
- Default - 120 mm
- Long - 160 mm
All sizes use the same magnet size = D4x2 mm
| More games and puzzles? Then this might be for you.. Check out this collection of games and puzzles - everything from 1-part prints to more comlex models - have fun! |
Assembly
This should be fairly simple:
- Insert magnets in the lid and box (4 magnets in total - glue can be used, depending on the tolerances of your printer)
- Put the lid onto the box (if glue is used for magnets, please let it dry before putting on the lid!)
- Start fidgetting!
Hardware needed
Not much is needed here. If you don’t have the magnets already, you can buy them on Bambu:
- 4x Round Magnets: D4x2 mm
Multicolor prints
This is optional - but looks nice! You can do like this (in Bambu Studio):
- Insert the Lid in correct size
- Right click on the model and click on Split > To parts
- In the left pane Process click on Objects
- Select individual parts of the Caps and choose filament for each.
Print instructions
This is pretty simple, but here is a few tips:
- Speed: First layer slow! For the adhesion of small details on the cover
- Ironing: Yes: Top surfaces - makes sliding and quality feel much better!
- Orientation: Box standing normal - lid upside-down.
Happy printing!