
Dice Flick Box (magnetic fidget dice storage)
Obliczymy ostateczną cenę na podstawie wybranego pliku. Sprawdzisz ją i zaakceptujesz przed płatnością.
Zapisane na tym urządzeniu.

The box that is also competing to be your new fidget toy! Enjoy!
- Ocena
- 0 / 5
- Polubienia
- 38
- Pobrania
- 61
- Wydruki
- 0
- Wyświetlenia
- 453
- Oceny
- 0
Aktualizacja u źródła:
Informacje o modelu
- Źródło
- Printables
- Kategoria
- Board Games
- Licencja
- Standard Digital File License
Behold the Dice Flick Box! A 3D-printed masterpiece that stores your dice with style and opens with a satisfying flick. It’s like your dice are saying, “Roll me, I dare you.” Perfect for gamers and anyone who loves a little flair with their storage. Warning: May roll away your free time!
| Welcome to GlennovitS3D. Join the Club on Printables.com to support creation of new models, get access to exclusive models, and get commercial rights, to sell prints. Join today - GlennovitS3D - or check out my model collection or my popular models |
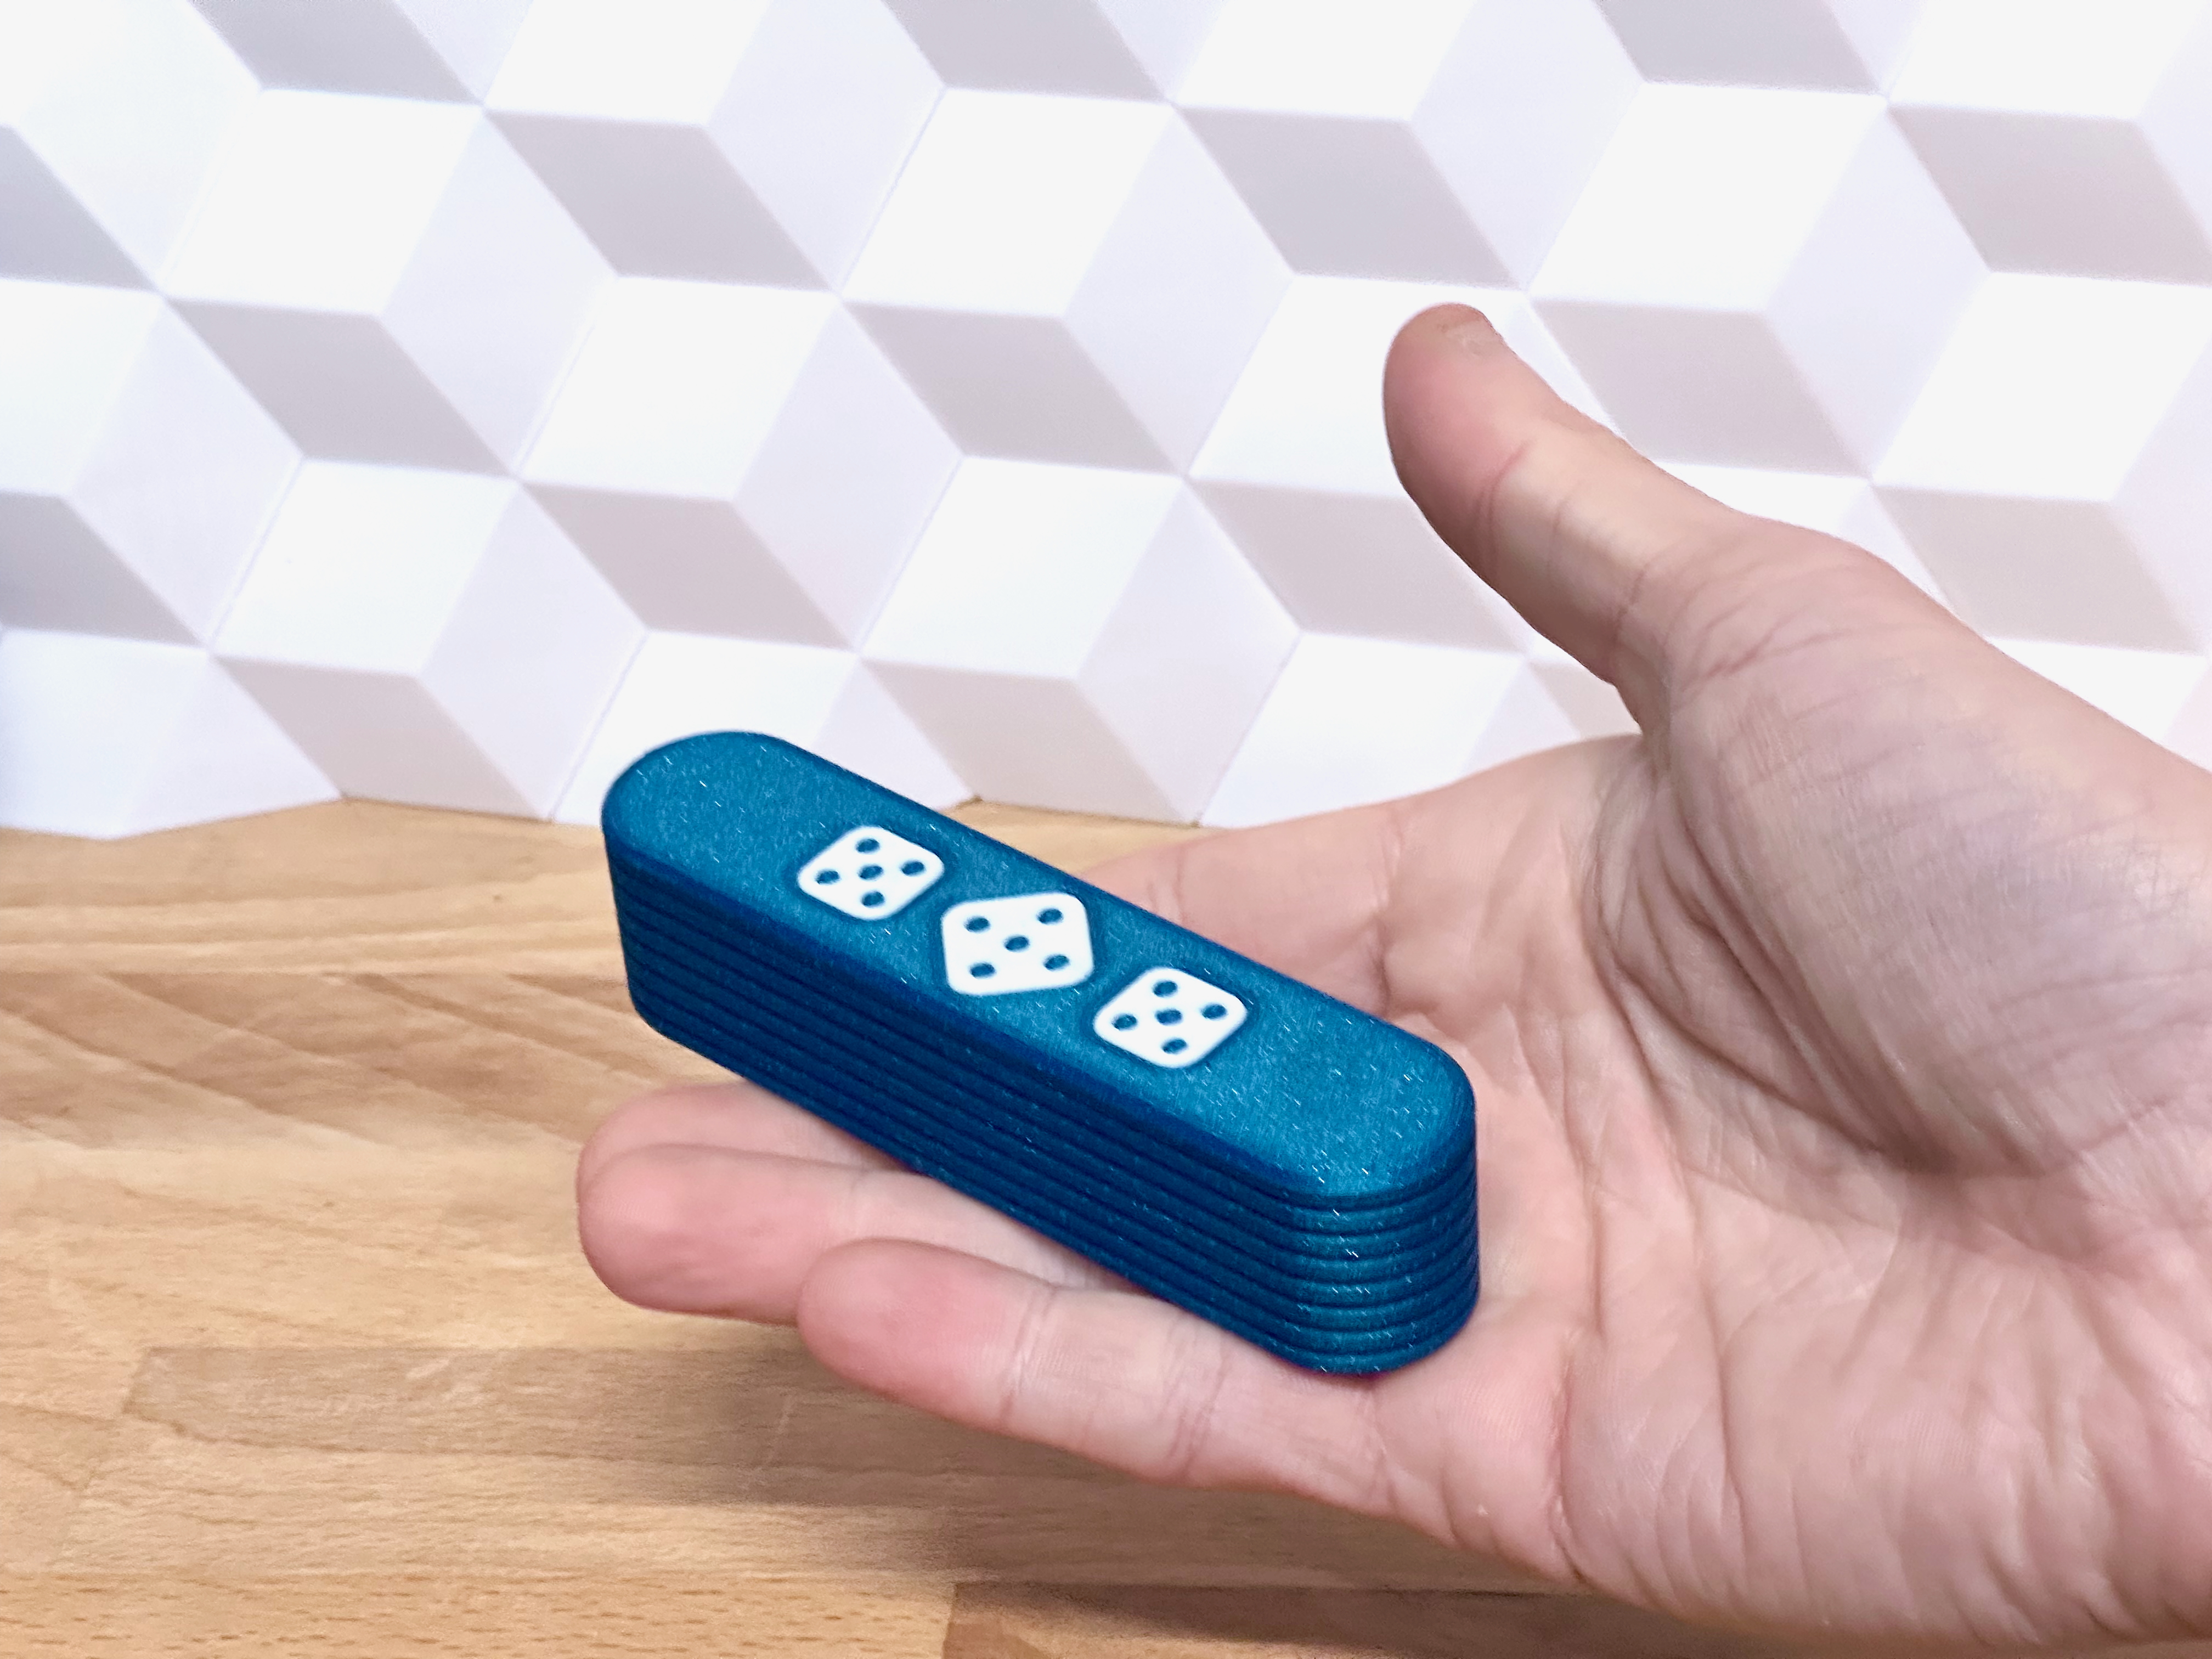
Overview
For now i comes in 9 sizes to fit different dice sizes (the dimensions are internal space):
- Small dice - 20x20 mm
- Medium dice - 28x28 mm
- Large dice - 36x36 mm
All sizes comes in different lengths:
- Short - 85 mm
- Default - 120 mm
- Long - 160 mm
All sizes use the same magnet size = D4x2 mm
| More games and puzzles? Then this might be for you.. Check out this collection of games and puzzles - everything from 1-part prints to more comlex models - have fun! |
Assembly
This should be fairly simple:
- Insert magnets in the lid and box (4 magnets in total - glue can be used, depending on the tolerances of your printer)
- Put the lid onto the box (if glue is used for magnets, please let it dry before putting on the lid!)
- Start fidgetting!
Hardware needed
Not much is needed here. If you don’t have the magnets already, you can buy them on Bambu:
- 4x Round Magnets: D4x2 mm
Multicolor prints
This is optional - but looks nice! You can do like this (in Bambu Studio):
- Insert the Lid in correct size
- Right click on the model and click on Split > To parts
- In the left pane Process click on Objects
- Select individual parts of the Caps and choose filament for each.
Print instructions
This is pretty simple, but here is a few tips:
- Speed: First layer slow! For the adhesion of small details on the cover
- Ironing: Yes: Top surfaces - makes sliding and quality feel much better!
- Orientation: Box standing normal - lid upside-down.
Happy printing!