
1 / 7
LCR-T4 Component Tester Case
Order a print of this model
We calculate the final price from your selected file. You review and accept it before payment.
Saved on this device.

LCR-T4 Component Tester Case with Built-in battery, and no need to remove screws when replacing the battery.
- Rating
- 5 / 5
- Likes
- 14
- Downloads
- 156
- Makes
- 2
- Views
- 526
- Reviews
- 2
Updated at source:
Model information
- Source
- Printables
- Category
- Electronics
- License
- Creative Commons — Attribution — Noncommercial — Share Alike
I looked for an LCR-T4 case with the following features, but couldn't find one, so I made it myself.
- Built-in battery
- No need to remove screws when replacing the battery
- Battery and screws are hidden
- Access to terminals for measuring surface-mounted components
- Thin cover around the above terminals
- Terminal numbers printed on the circuit board are visible
Parts
Printed parts
- base
- battery_cover
- display_cover
- control_cover
- corner_cover
Non-printed parts
- LCR-T4
- 9V battery
- Four M3x8mm hexagon socket head cap screws
Assembly instructions
- Insert the screws into the base

- Place the LCR-T4 to match the holes in the PCB and the screws, thread the wiring through the slits, and place the battery in its designated position

- Insert the battery_cover

- Attach the control_cover
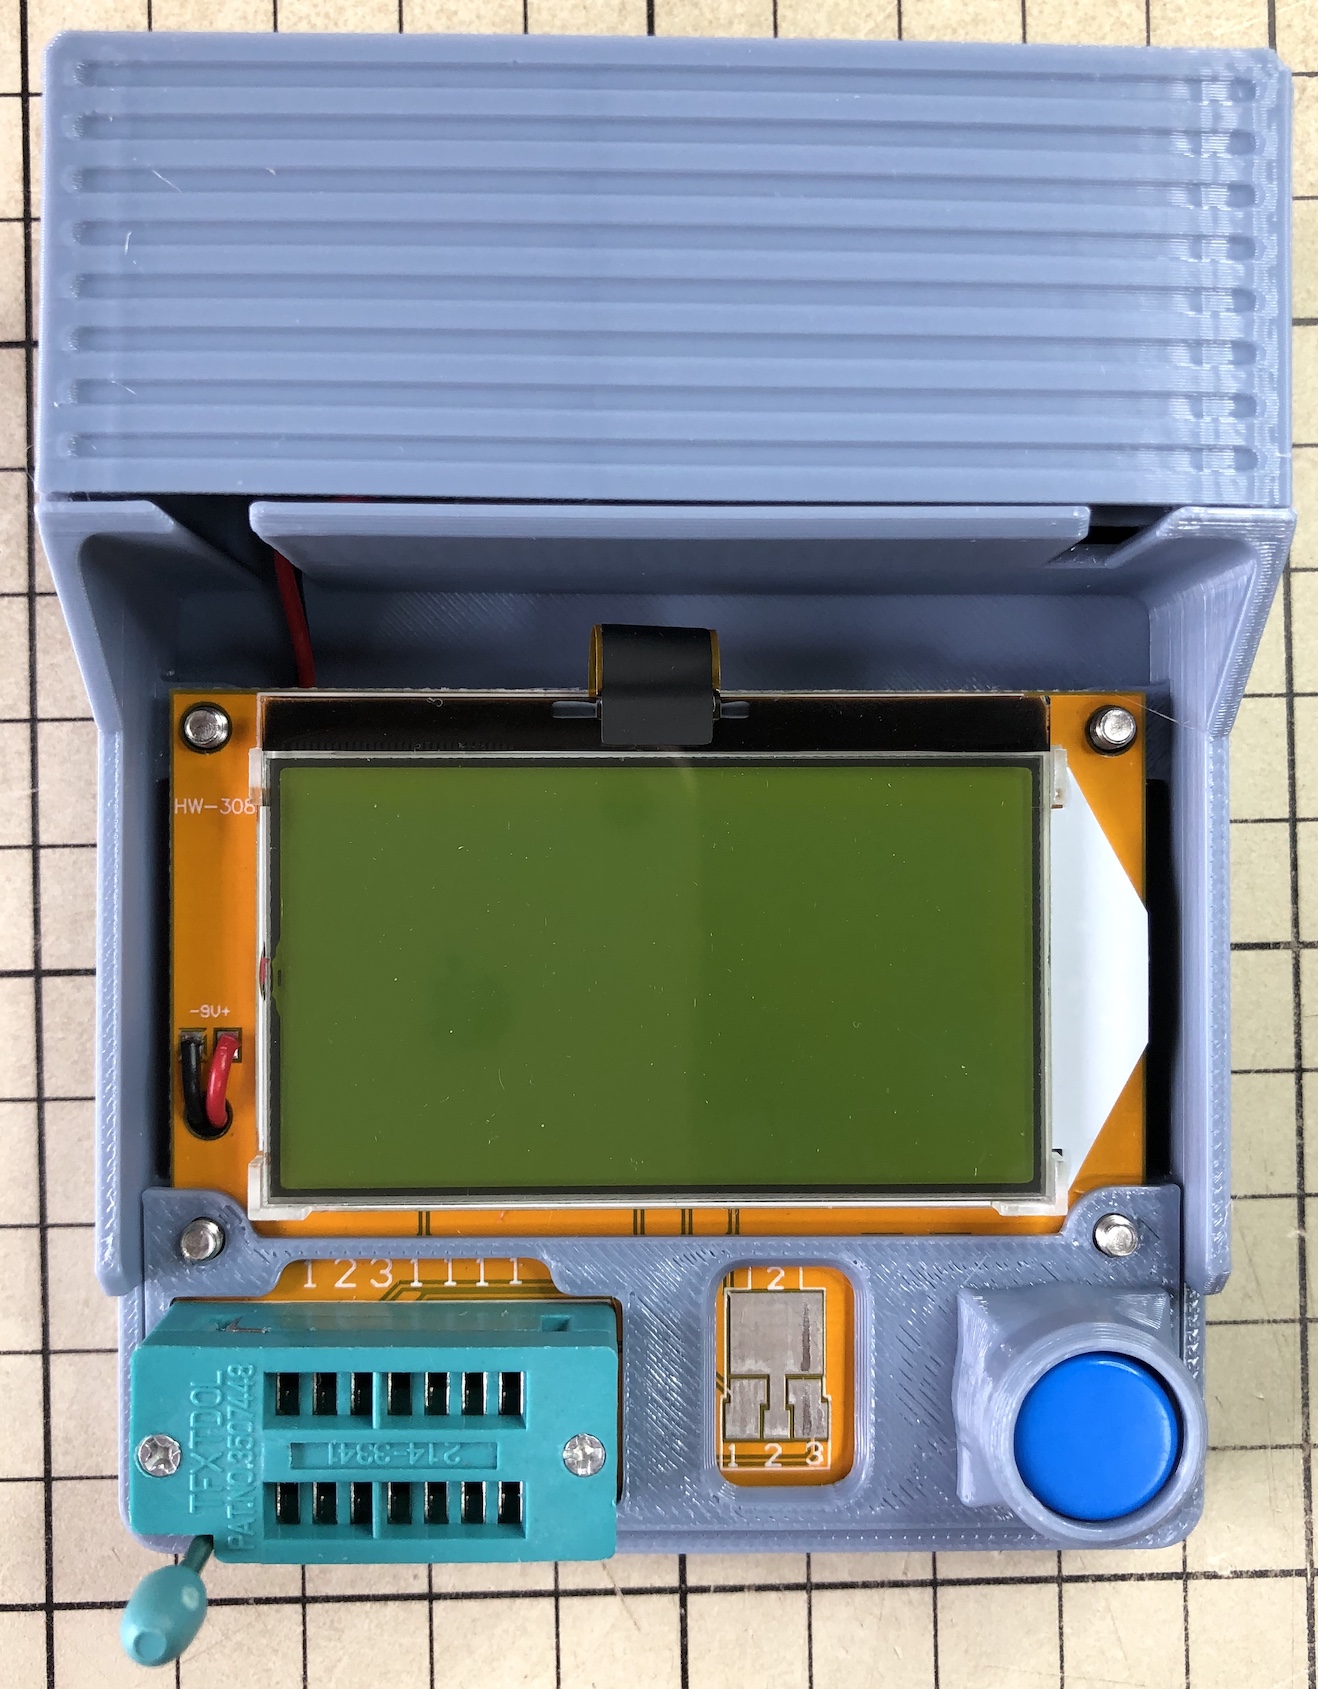
- Attach the display_cover and tighten the screws to secure the display_cover and control_cover

- Attach the corner_cover

How to remove the battery_cover
Press with your thumb as shown in the photo to remove it.

If the dimensions do not match
Since this was made by matching the actual product, there is a possibility that the dimensions may not match due to product variations or minor changes. In that case, please open the attached f3d file in Autodesk Fusion and make the necessary adjustments.