
CORE One Pins Mod (Gen 1, Gen 2)
We calculate the final price from your selected file. You review and accept it before payment.
Saved on this device.
Upgrade the XY gantry of the 🥰 CORE One by replacing the M3 bolts for idler mounting with 3mm steel pins.
- Rating
- 5 / 5
- Likes
- 401
- Downloads
- 7,390
- Makes
- 26
- Views
- 17,406
- Reviews
- 24
Updated at source:
Model information
- Source
- Printables
- Category
- Prusa Parts & Upgrades
- License
- GNU General Public License v2.0
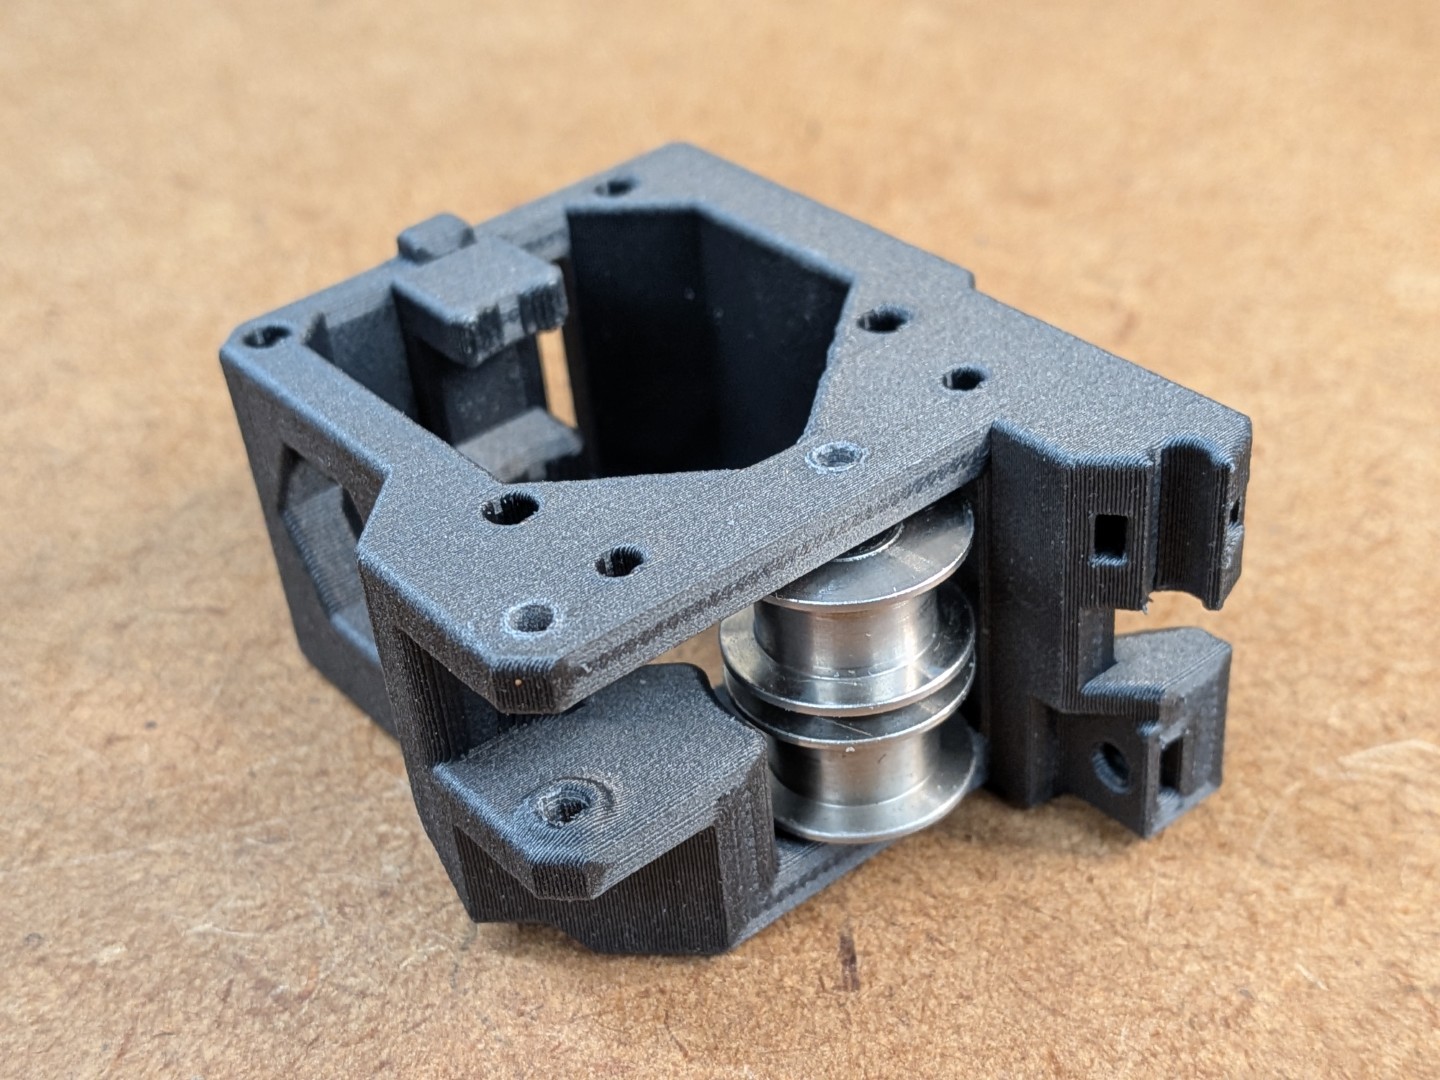
While the 🥰 CORE One is an excellent printer with a well-designed stock system, this modification offers mechanical improvements for enthusiasts seeking enhanced precision and reliability. The Pins Mod inspired by the Voron community upgrades the XY gantry system by replacing the standard M3 bolts used for idler mounting with 3mm steel axles (pins). |
🤩 NEW 🤩 - The Ultimate Pins Mod Upgrade: 5mm Pins & Genuine Gates Idlers 🚀 (link below) |

Check out the all new Pins Mod 5G which brings you the long lasting, golden standard 🪙, genuine Gates Idlers 🤩 and 5mm steel axles in beefed-up printed parts 💪! |
Key Improvements
Eliminated Idler Play on the M3 bolts
Smoother Operation that reduces potential vibration and mechanical noise
Corrected Gen2 Motor Pulley Clearance: Restores the original GT2-style pulley clearance to prevent rubbing on the stock motor mount parts
Toothed Idler Integration: Optimizes belt engagement using purpose-built toothed idlers (optional); reposition the idler to account for the different pitch-circle diameter and keep the belt path parallel
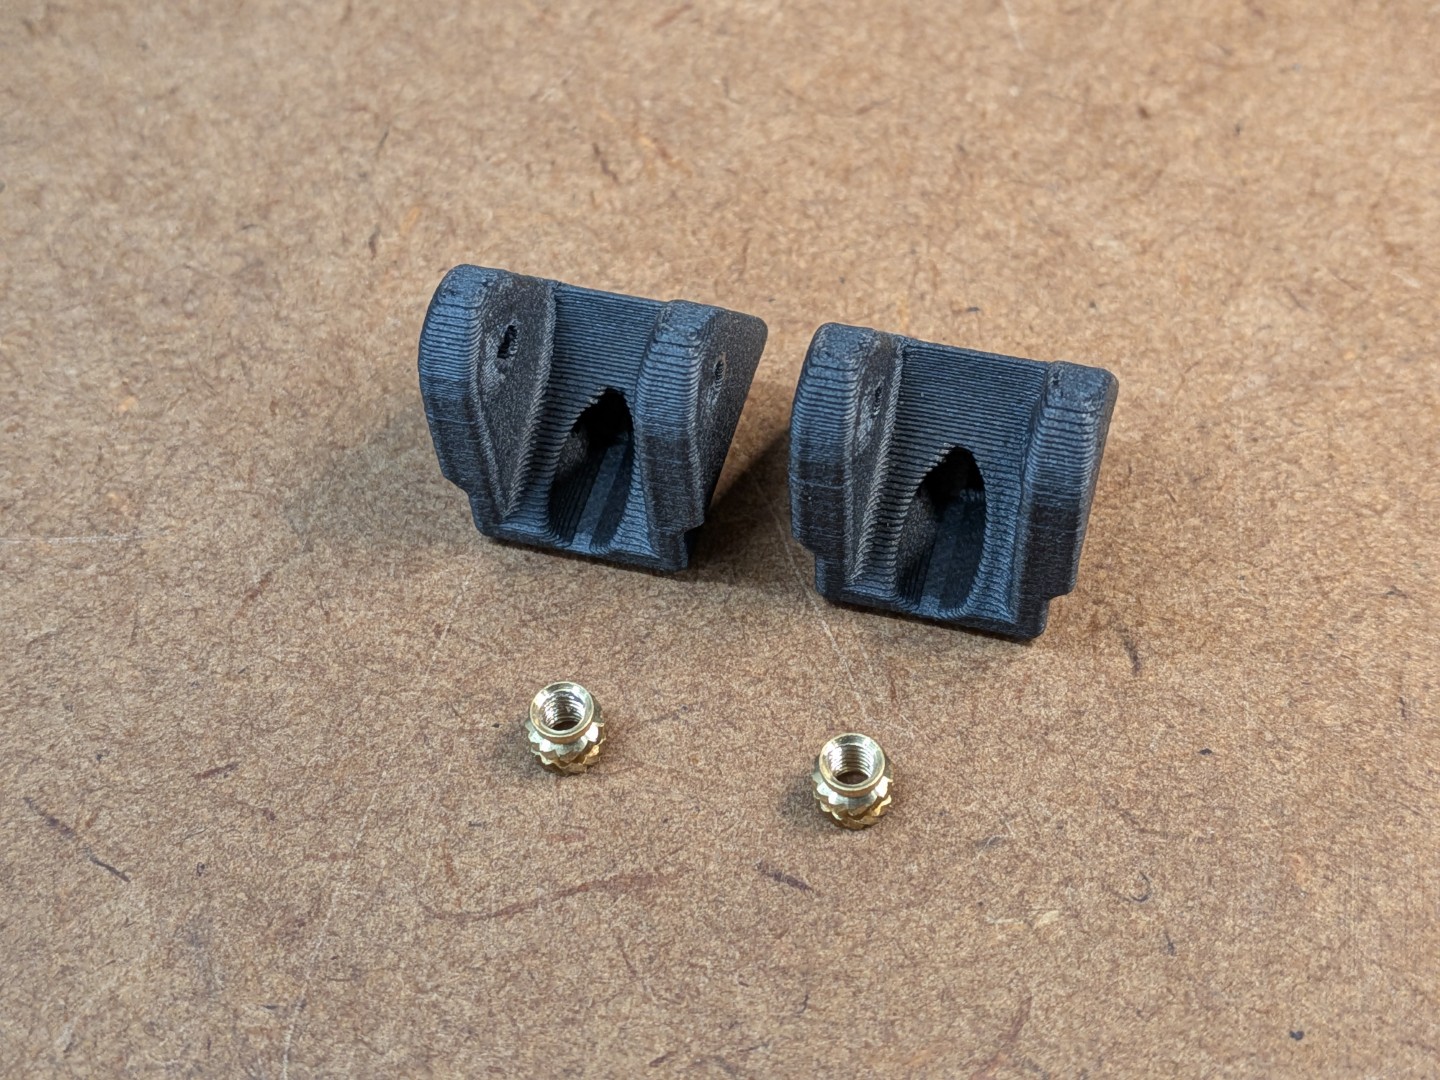
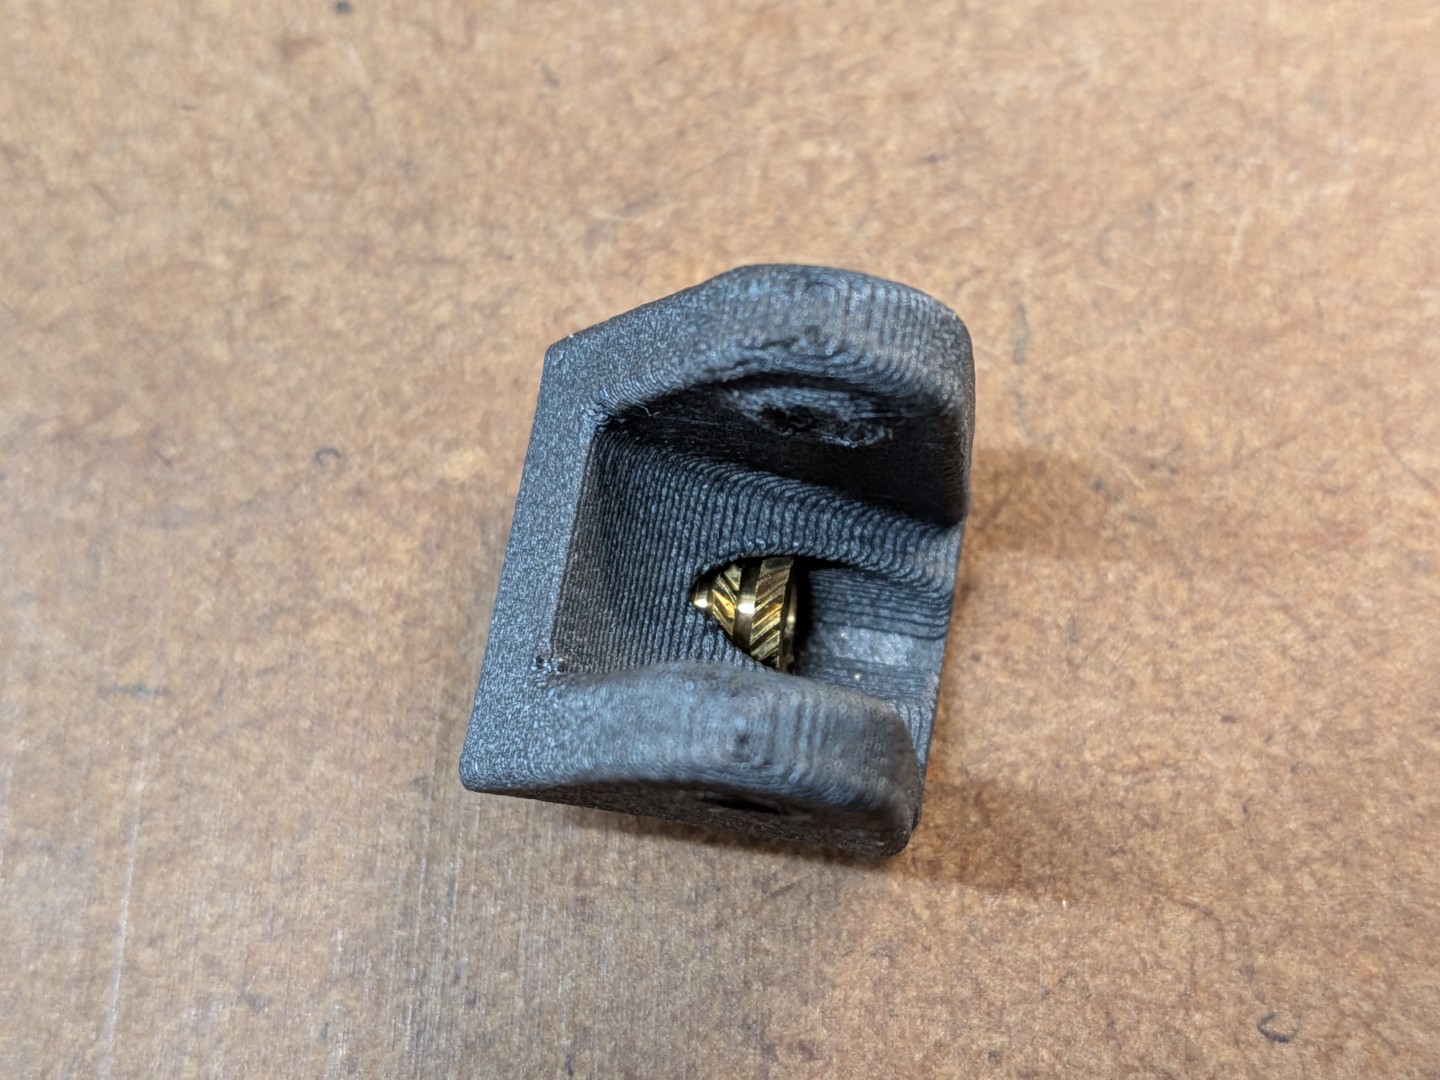
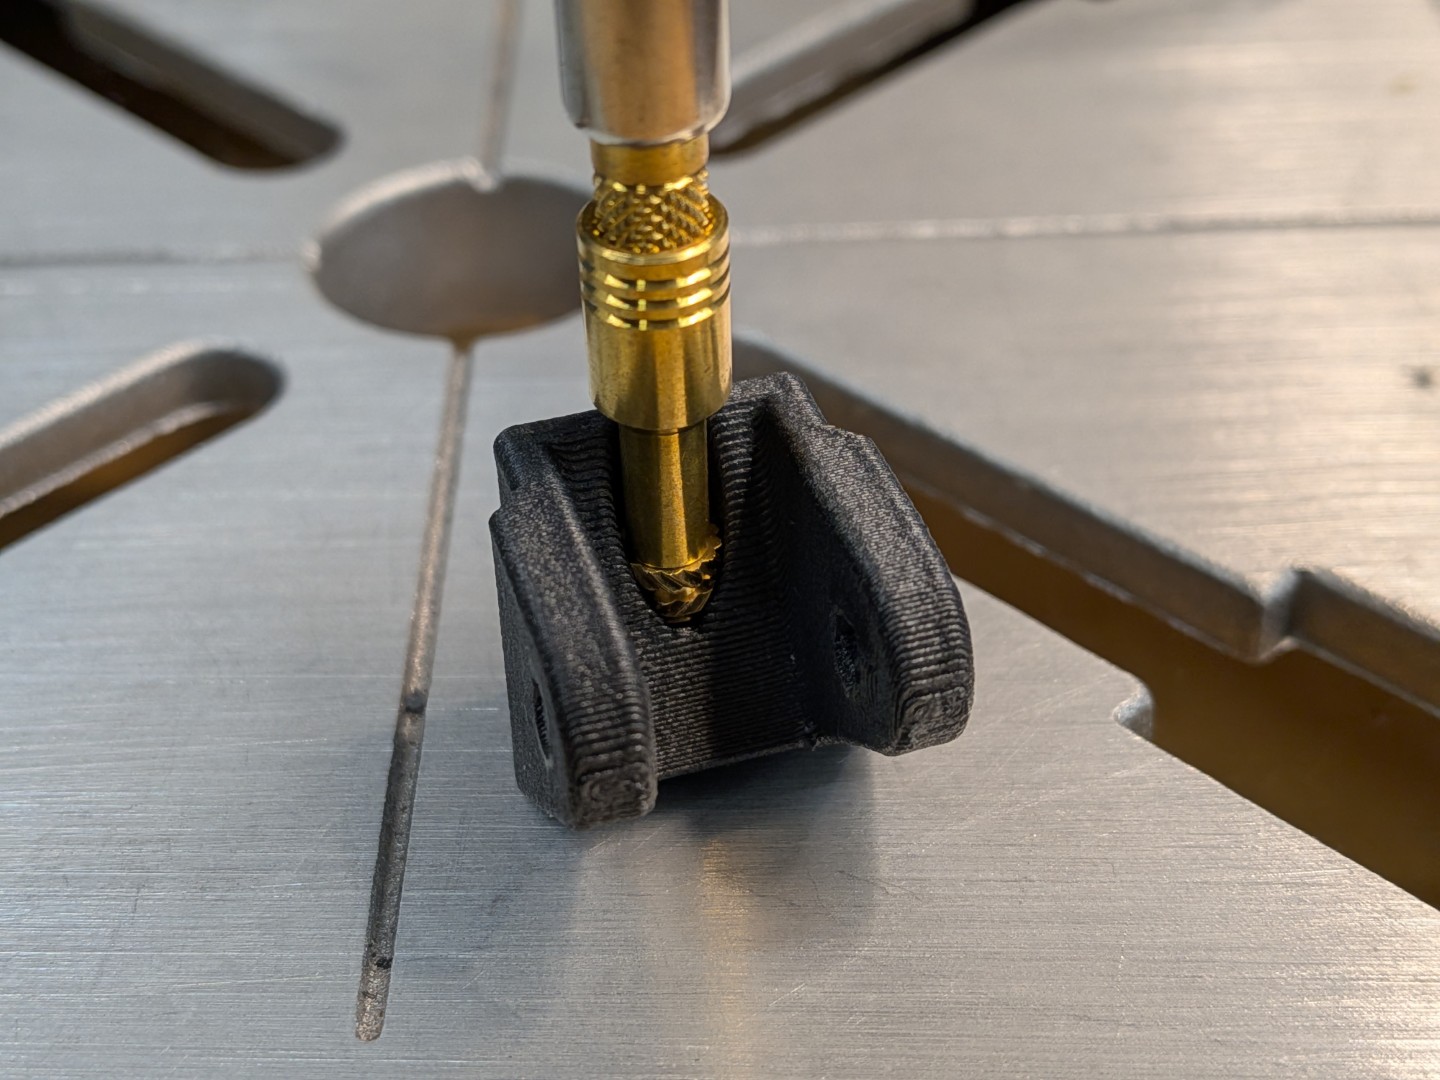
Improved Reliability for the Belt Tensioner mechanism by using a heat set insert (optional)
GT 1.5 and the Gen 2 Upgrade: Do I still need this mod? 🤔 |
|---|
Yes 😎 and with the GT 1.5 / Gen 2 belt change, this mod is even more valuable. The GT 1.5 / Gen 2 upgrade improves the belt system, but it does not eliminate the radial play introduced by the stock M3 idler mounting bolts. The Pins Mod addresses that remaining weakness by replacing the bolts with precision steel pins, making the idler assembly more rigid, smoother, and more consistent. There is also a Gen2-specific fix: The new motor pulleys included in the Gen2 upgrade kit have a slightly larger outer diameter and can rub on the stock motor mount printed parts. This is corrected by restoring the same pulley clearance that was present with the GT2 pulleys. Thanks Dave for identifying and fixing this first. Give his model a 🧡 like as well! |
Toothed Idler - How Many Teeth? |
|---|
GT1.5 (Gen 2):
GT2 (Gen 1):
None of these choices change the belt path, because the pin positions in the XY carriage parts were adjusted to account for the different idler and belt geometry. |
Idler Width & XY Carriage Compatibility |
|---|
With the CORE One Gen 2 upgrade, things became much simpler: the commonly used POWGE toothed idlers come in the same 9mm width as the stock Prusa smooth idlers. To avoid confusion about which part to print, the 10mm variants of the XY Carriage were removed from the files section for Gen2. For the CORE One Gen 1, the XY Carriage is still available in two variants: 9mm for the stock Prusa smooth idlers, and 10mm for the Mellow toothed idler (see BOM). |

Personally, I would never build a CORE One without this modification, so I can only encourage you to consider going this route. I'll do my best to describe every detail of what you need to do and help you understand the reasoning behind each step. This will be somewhat lengthy, but it will help you get it done successfully.
That being said, here's a time estimate: Plan around 90 minutes for reading, understanding, and building. You'll be rewarded with a beautifully play-free gantry system at virtually no extra cost - it's truly worth the effort 😎. |
CORE One L user? The XY Motor Mounts for the Core One L require slightly different parts. Find these adapted mounts in the companion model: Core One L Pins Mod. All other parts and instructions are exactly the same, just print those two replacement parts. |
Printed Parts
XY Motor Mounts |
XY Carriage
|
Belt Tensioner Pulley
|
Press-In Tools
|
Assembly
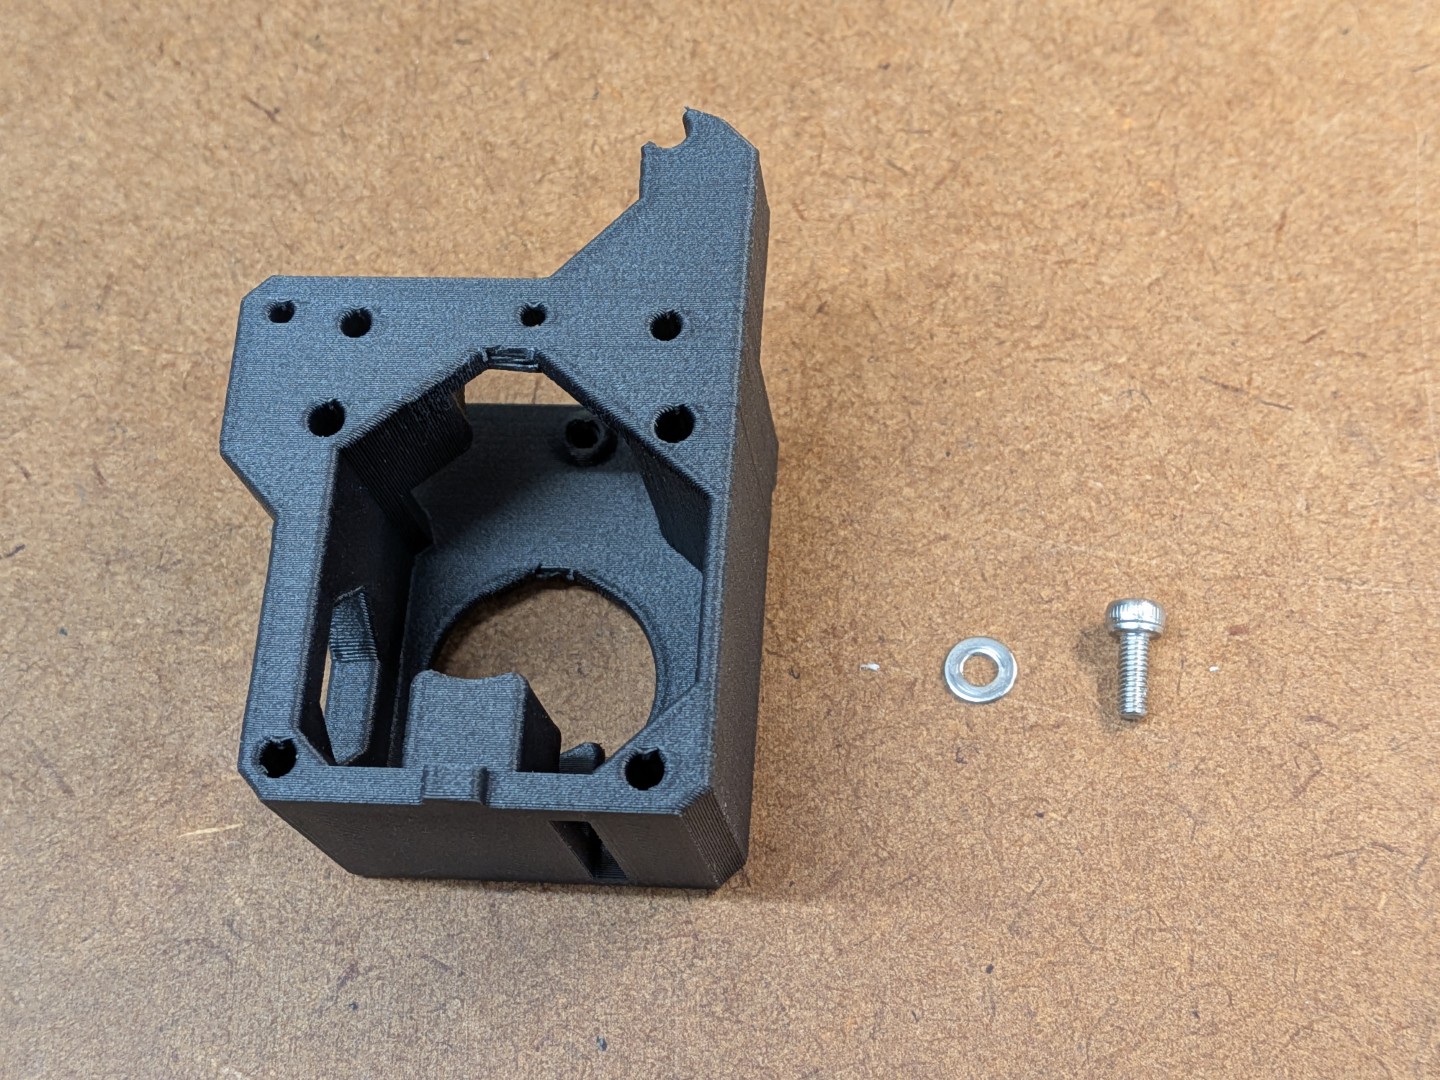
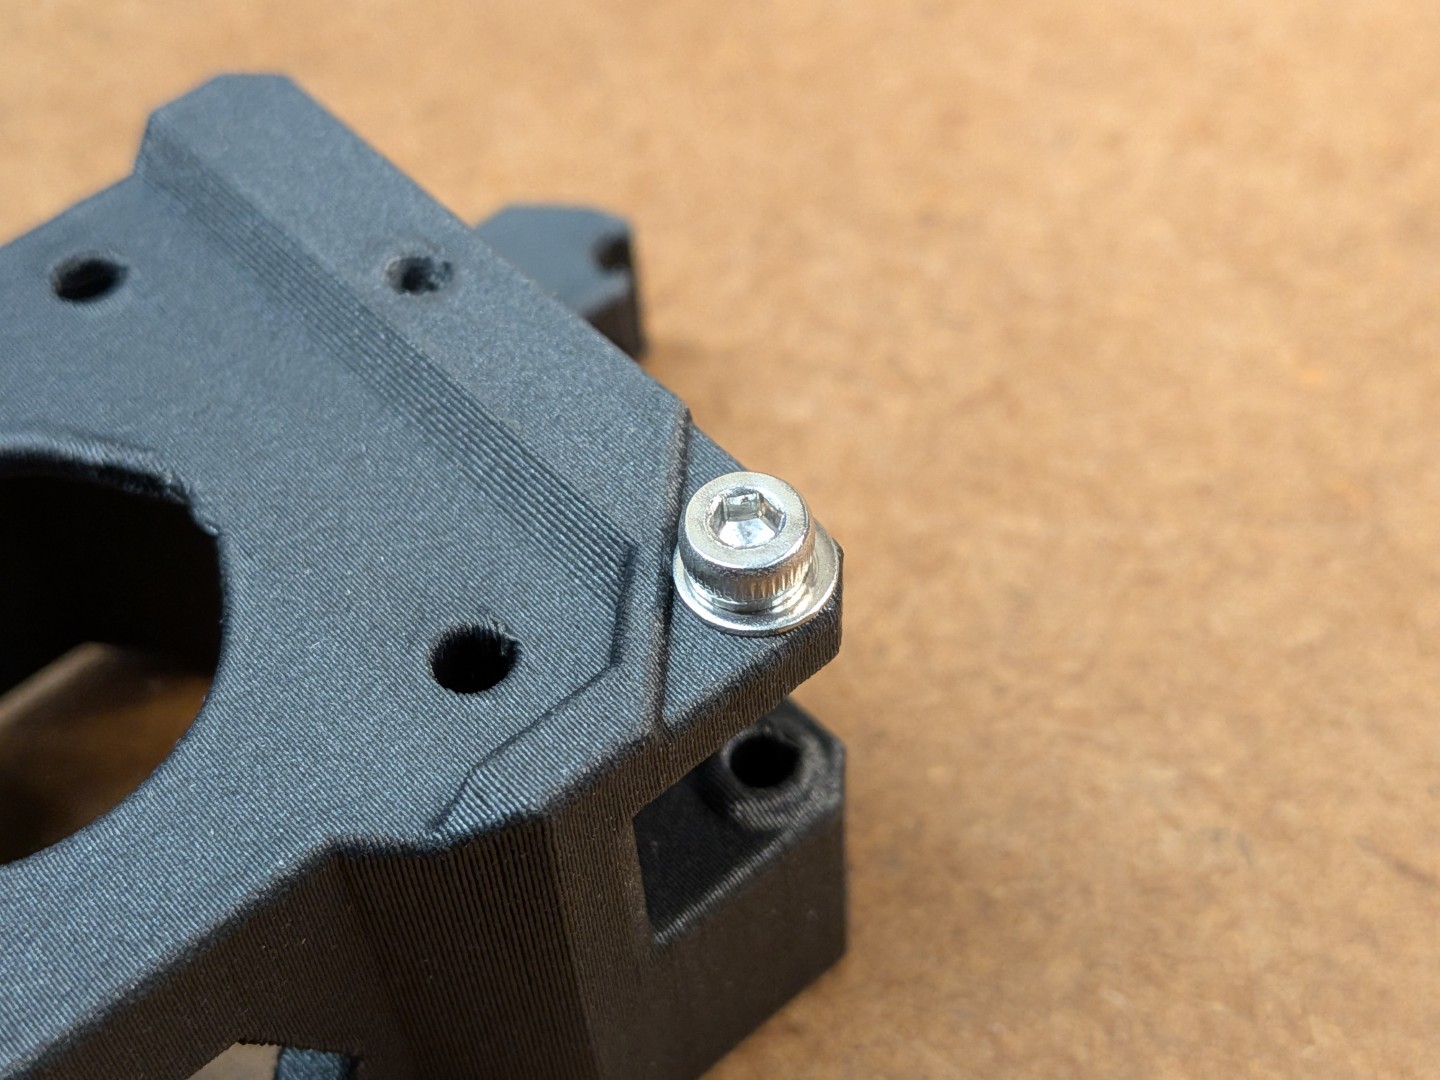
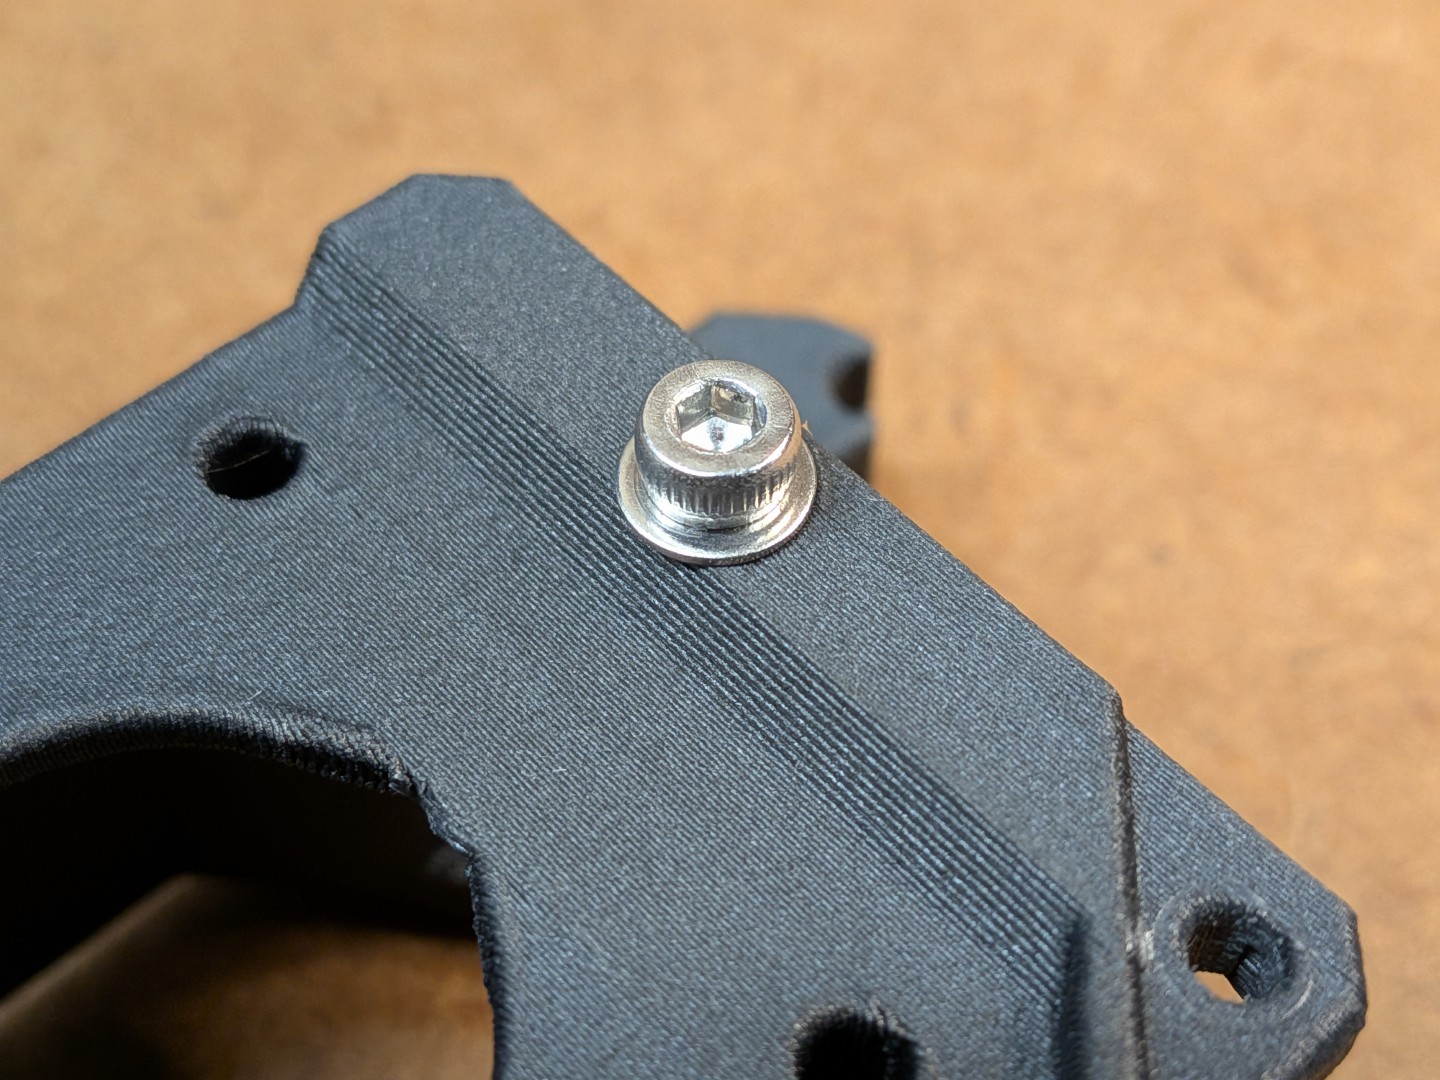
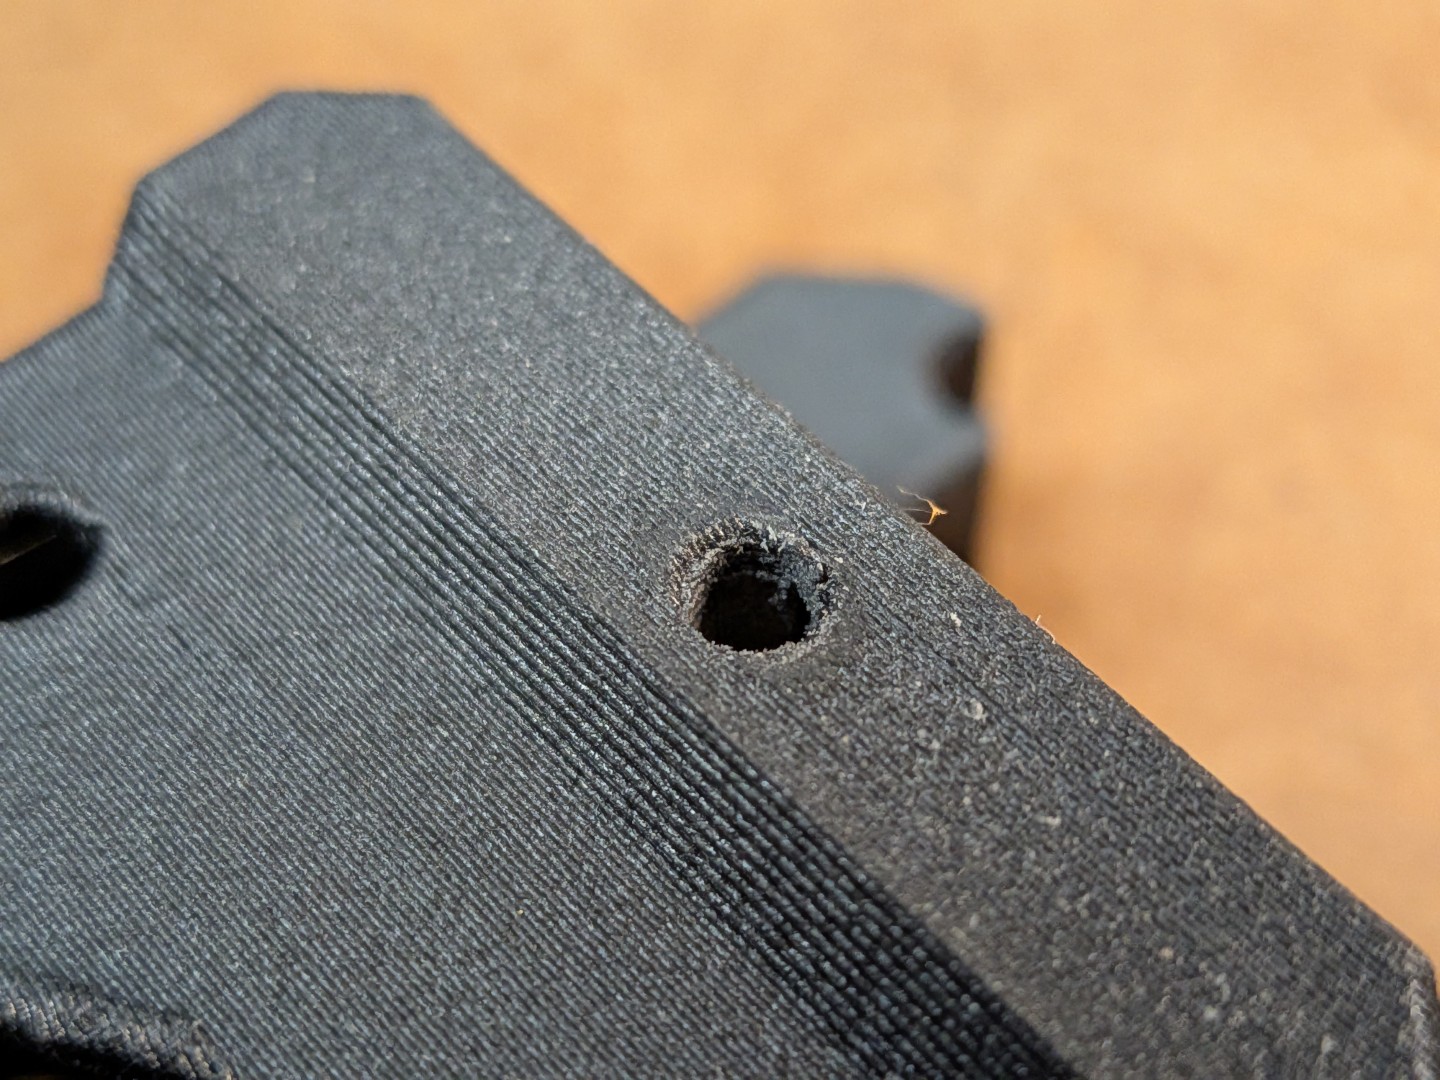
Printed-Parts Preparation
 |  |  |  |
 |  |  | 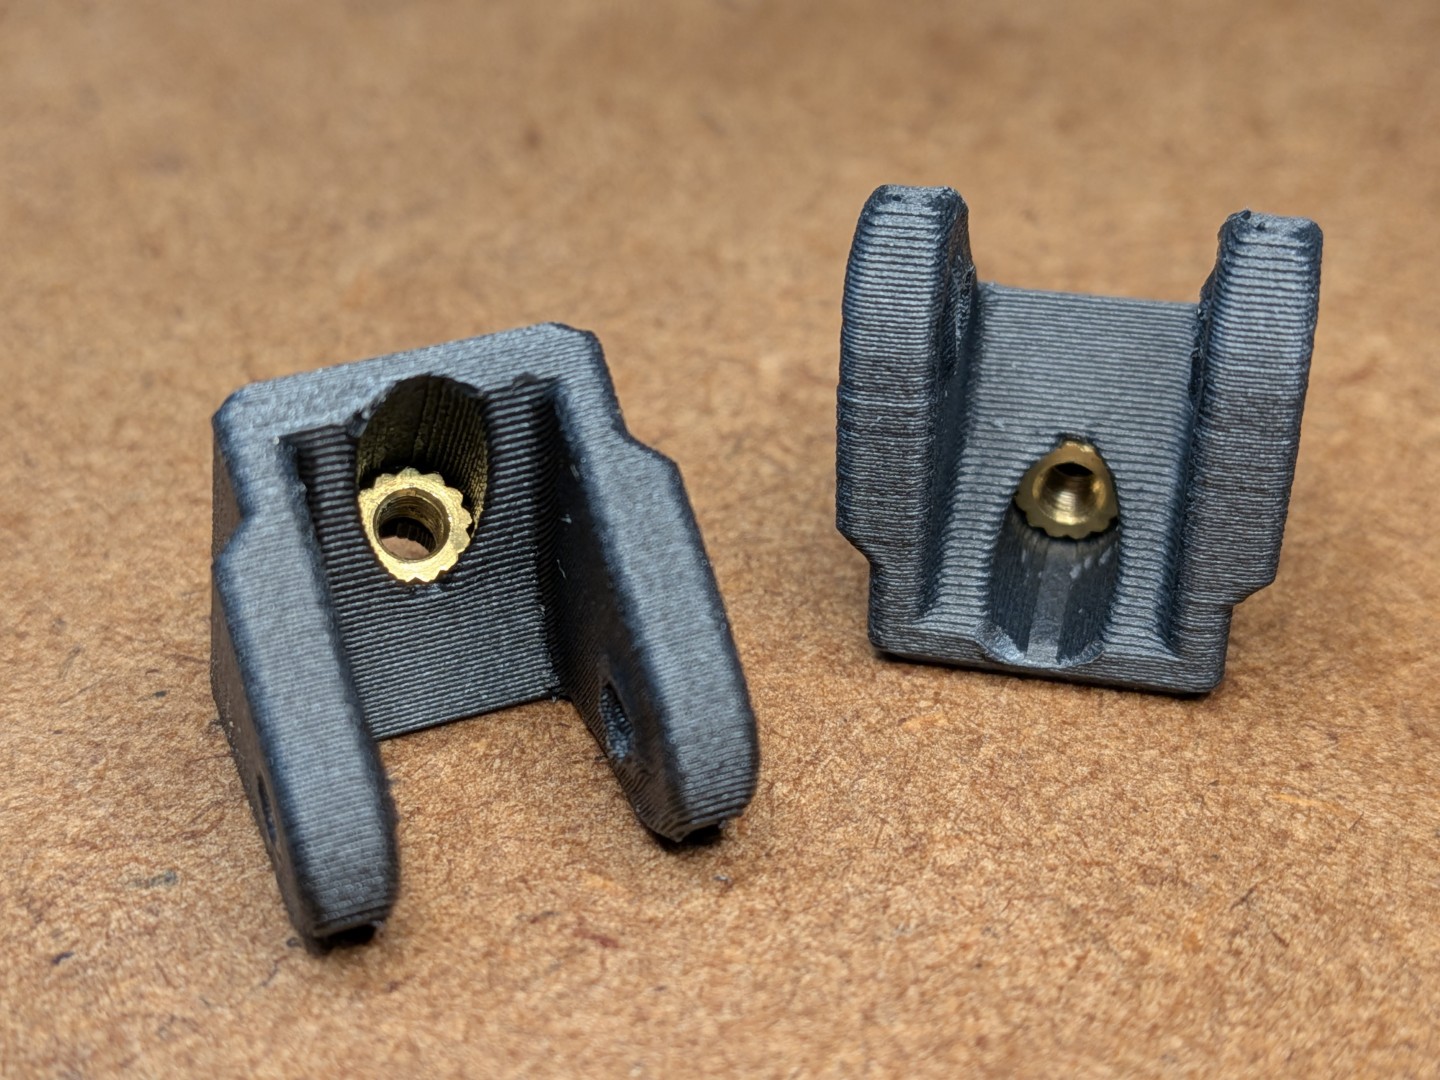 |
Hole Preparation
Make sure you prepare all holes as described. Otherwise you will risk to split the parts if there is too much stress especially along the layers. |
Heat Set Insert Installation
|
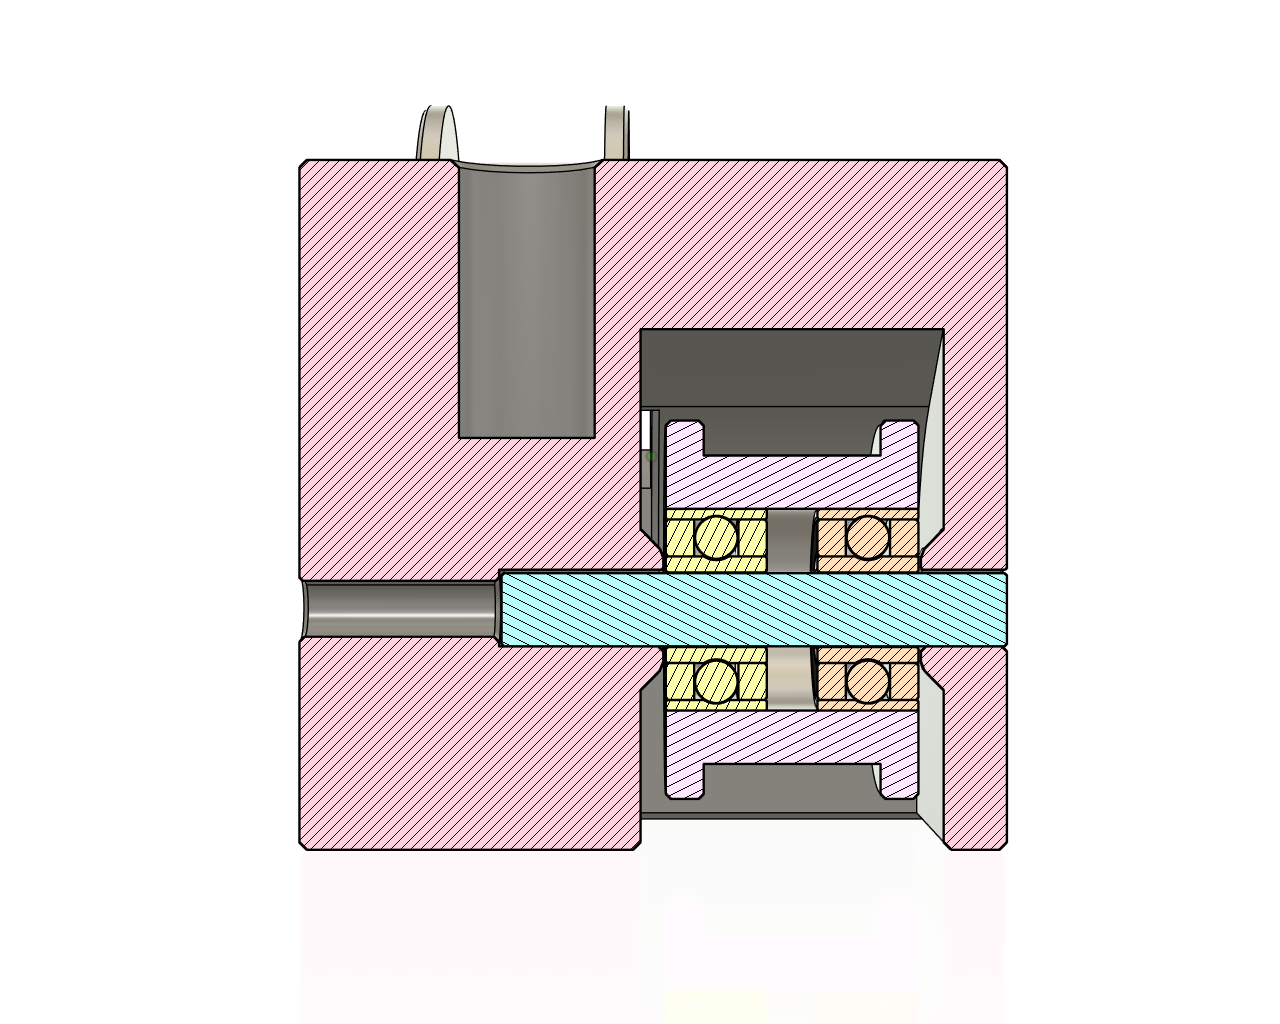
Details: Pins placement and drill-open option
Motor Mount:
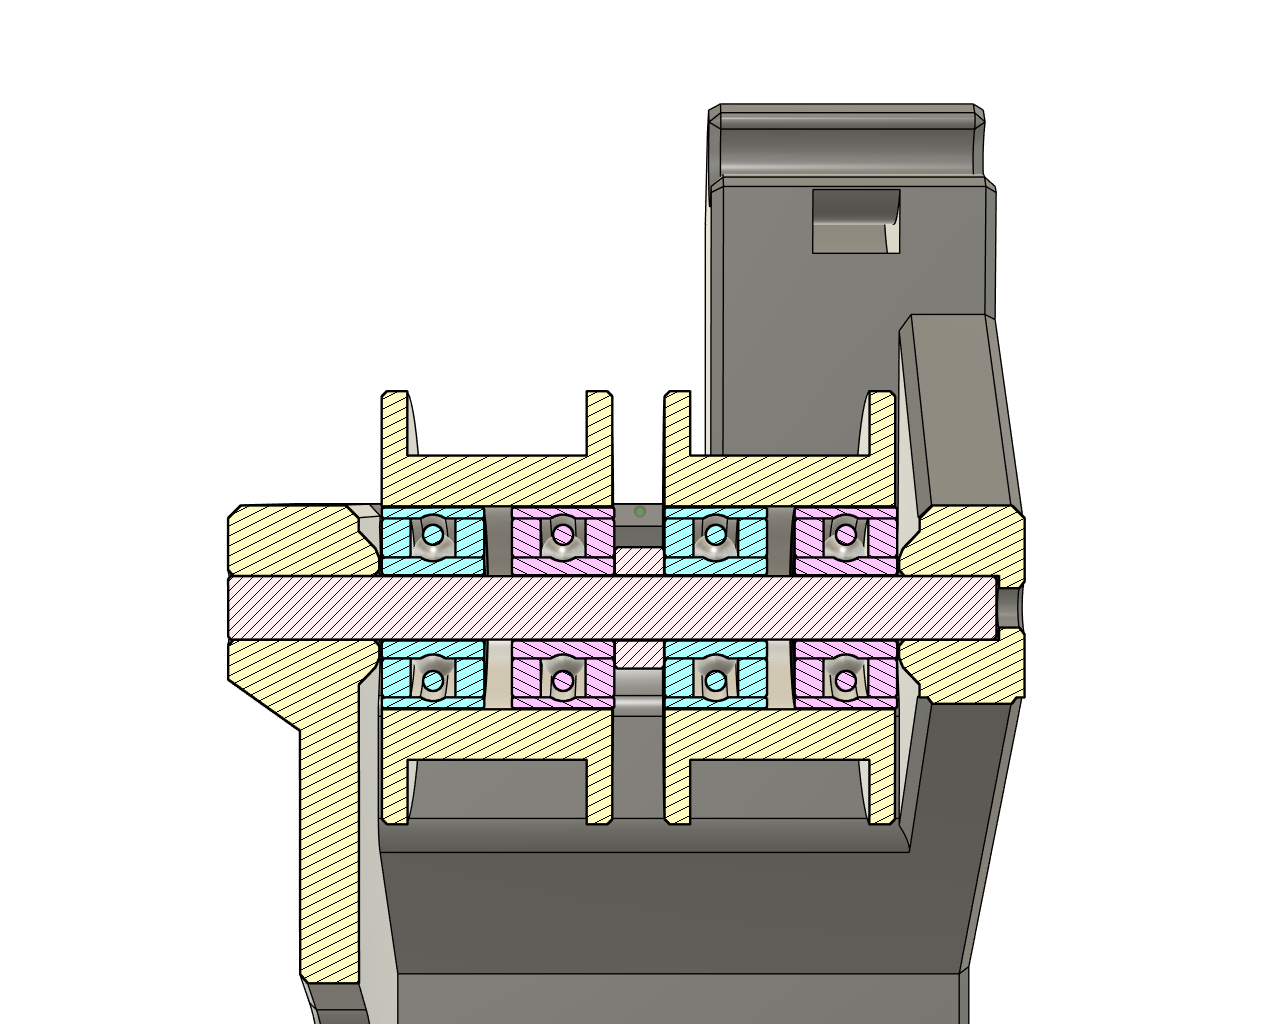 | 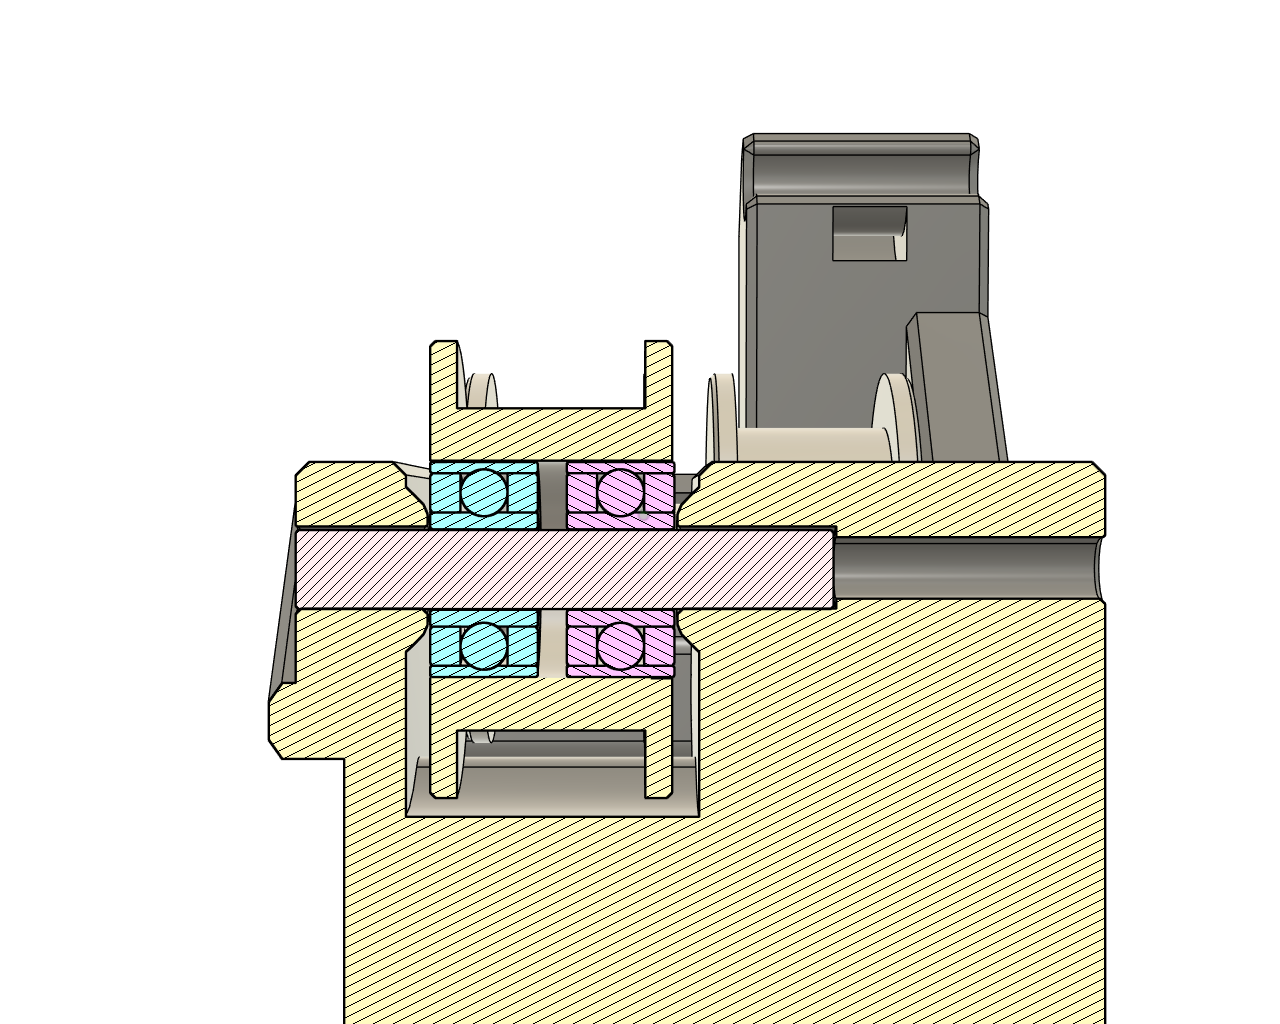 | 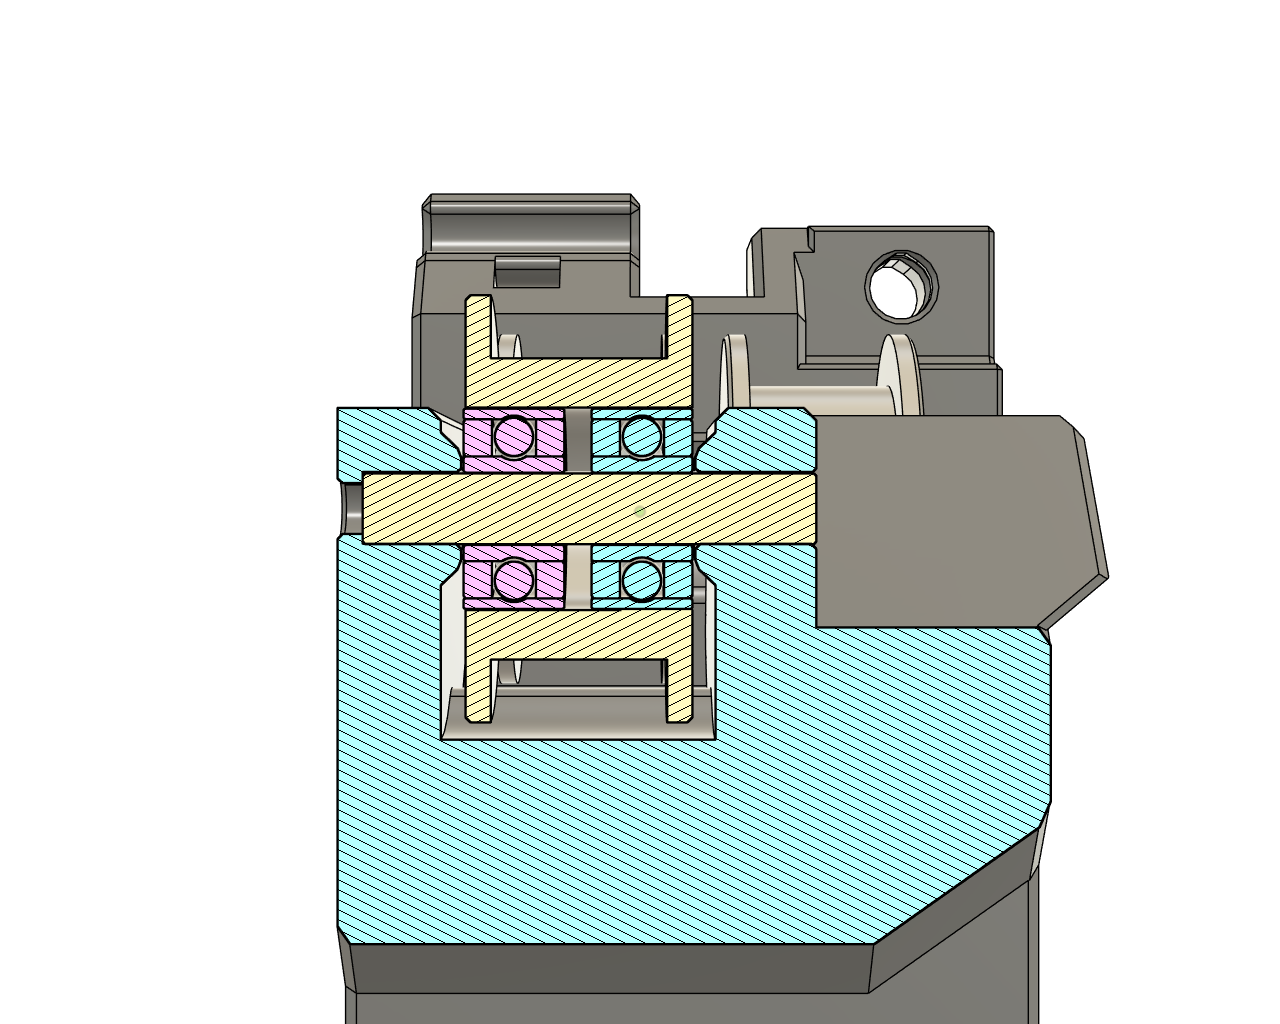 |
The pins in the Motor Mount parts do not go all the way through. Follow the instructions and drill out the “inner” hole from the inside using a longer bolt. Alternatively, use a 2.5mm drill to open the 1mm endstop and you can then use the M3 bolt technique from the outside of the part.
The idea of this design decision with the tiny 1mm end-stop:
Have an end-stop for the pin
Make it clear from what side the pin should be inserted.
After having assembled the parts, I think the decision to have this 1mm endstop just made the process more complicated with no real benefit. But I did not want to change the design but get the project finished. And you do have the option to just drill open the last 1mm as described with no downside. |
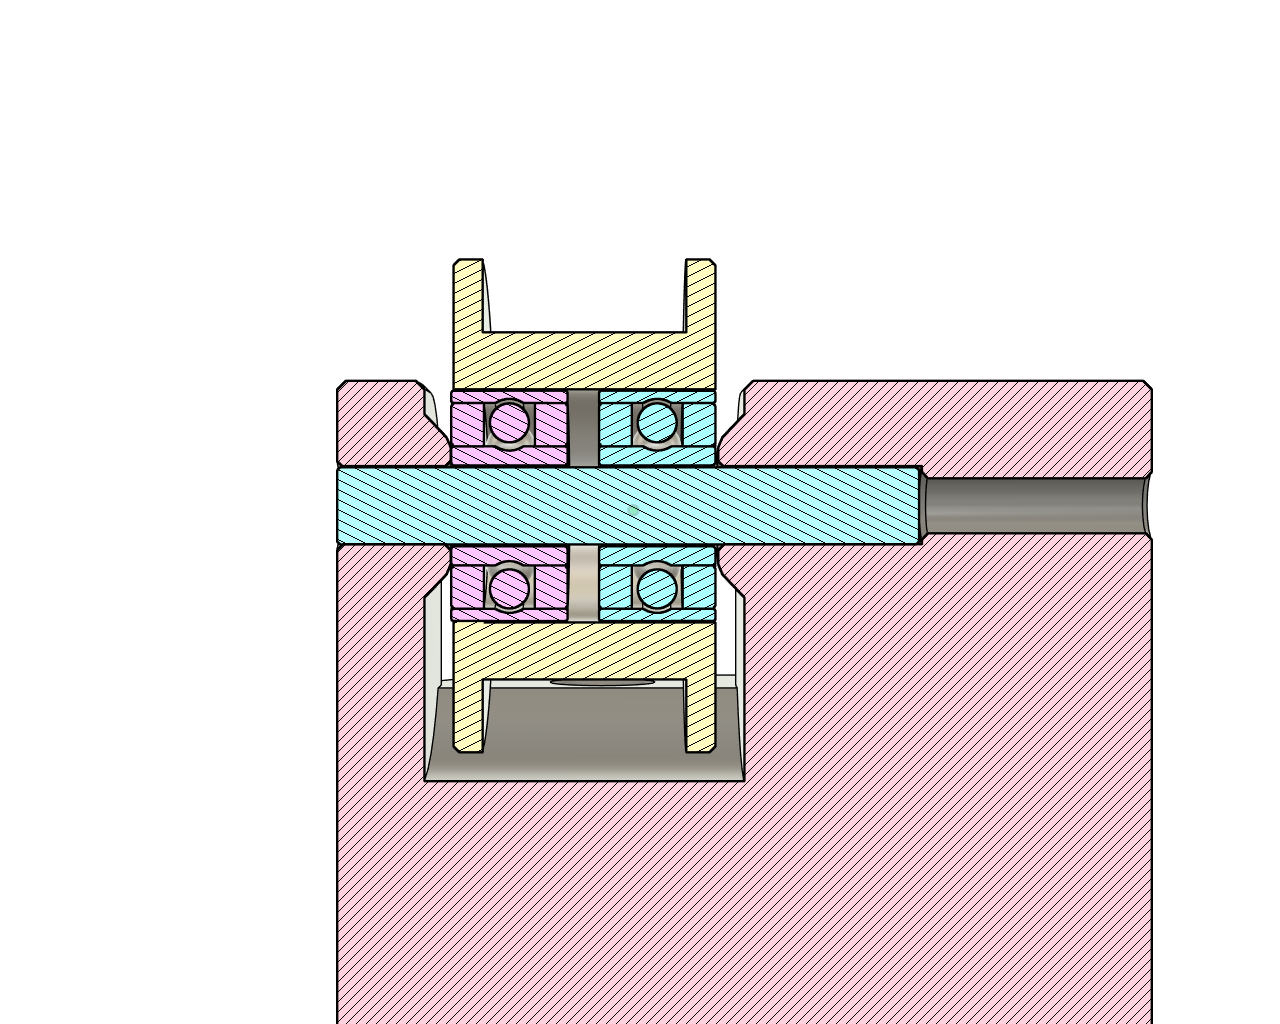
XY Carriage:
 |  |
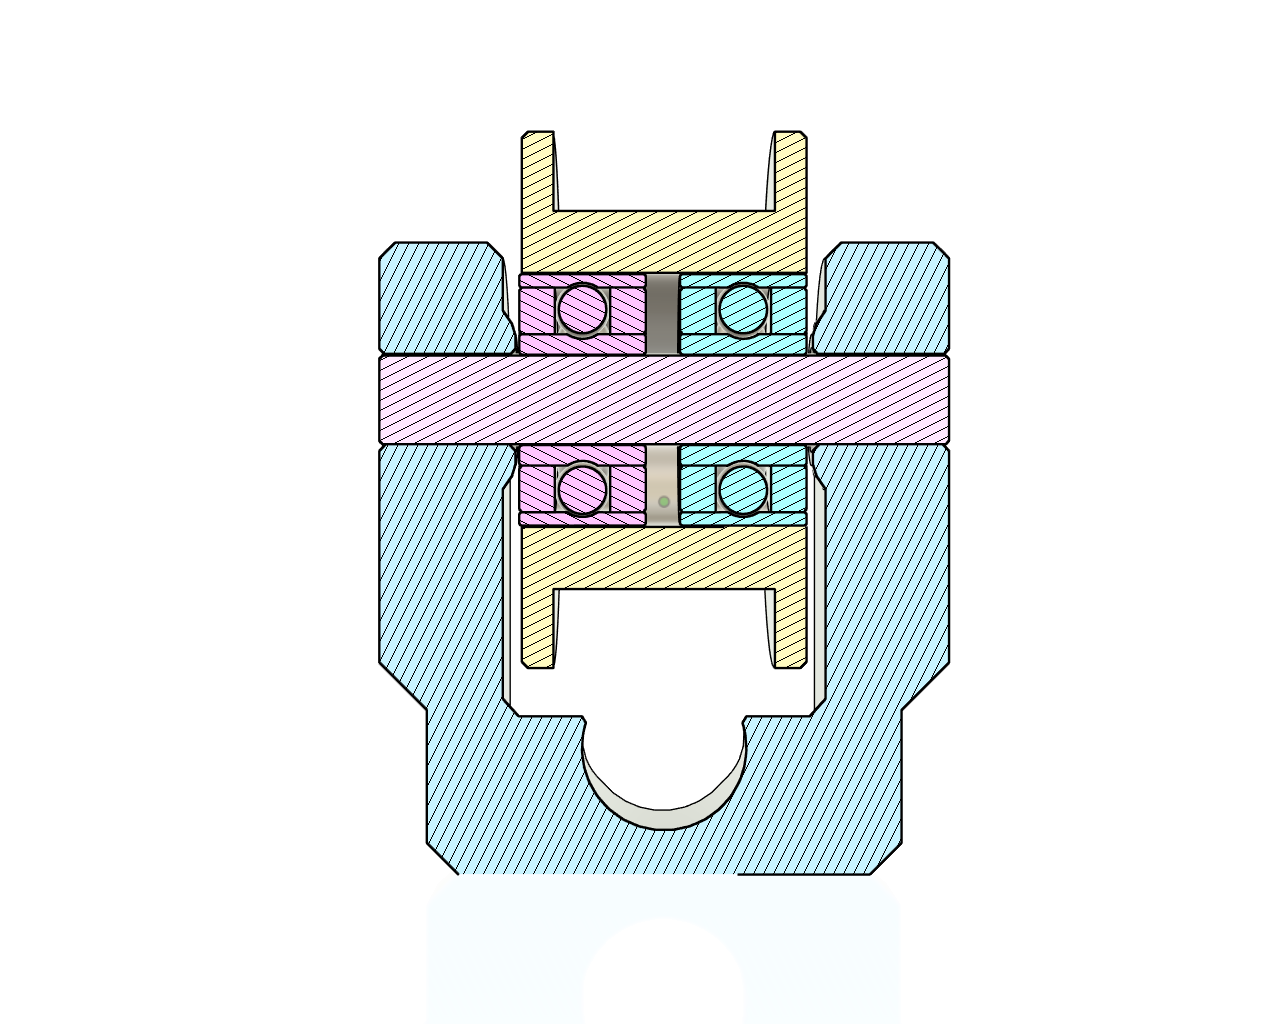
Belt Tensioner:
 |
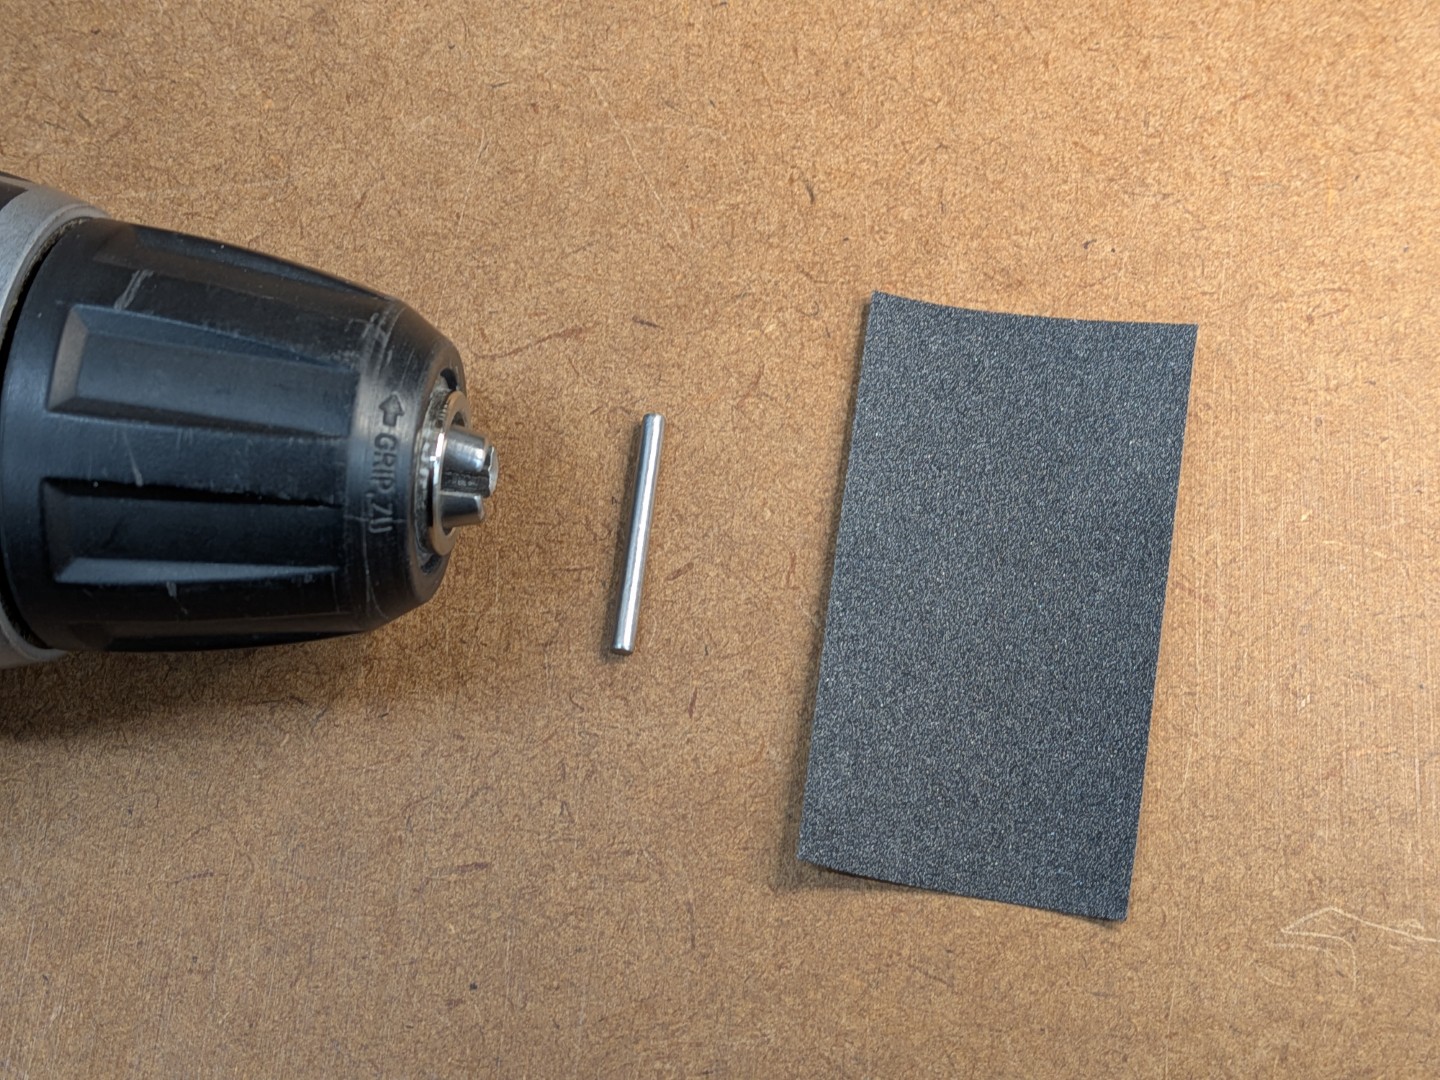
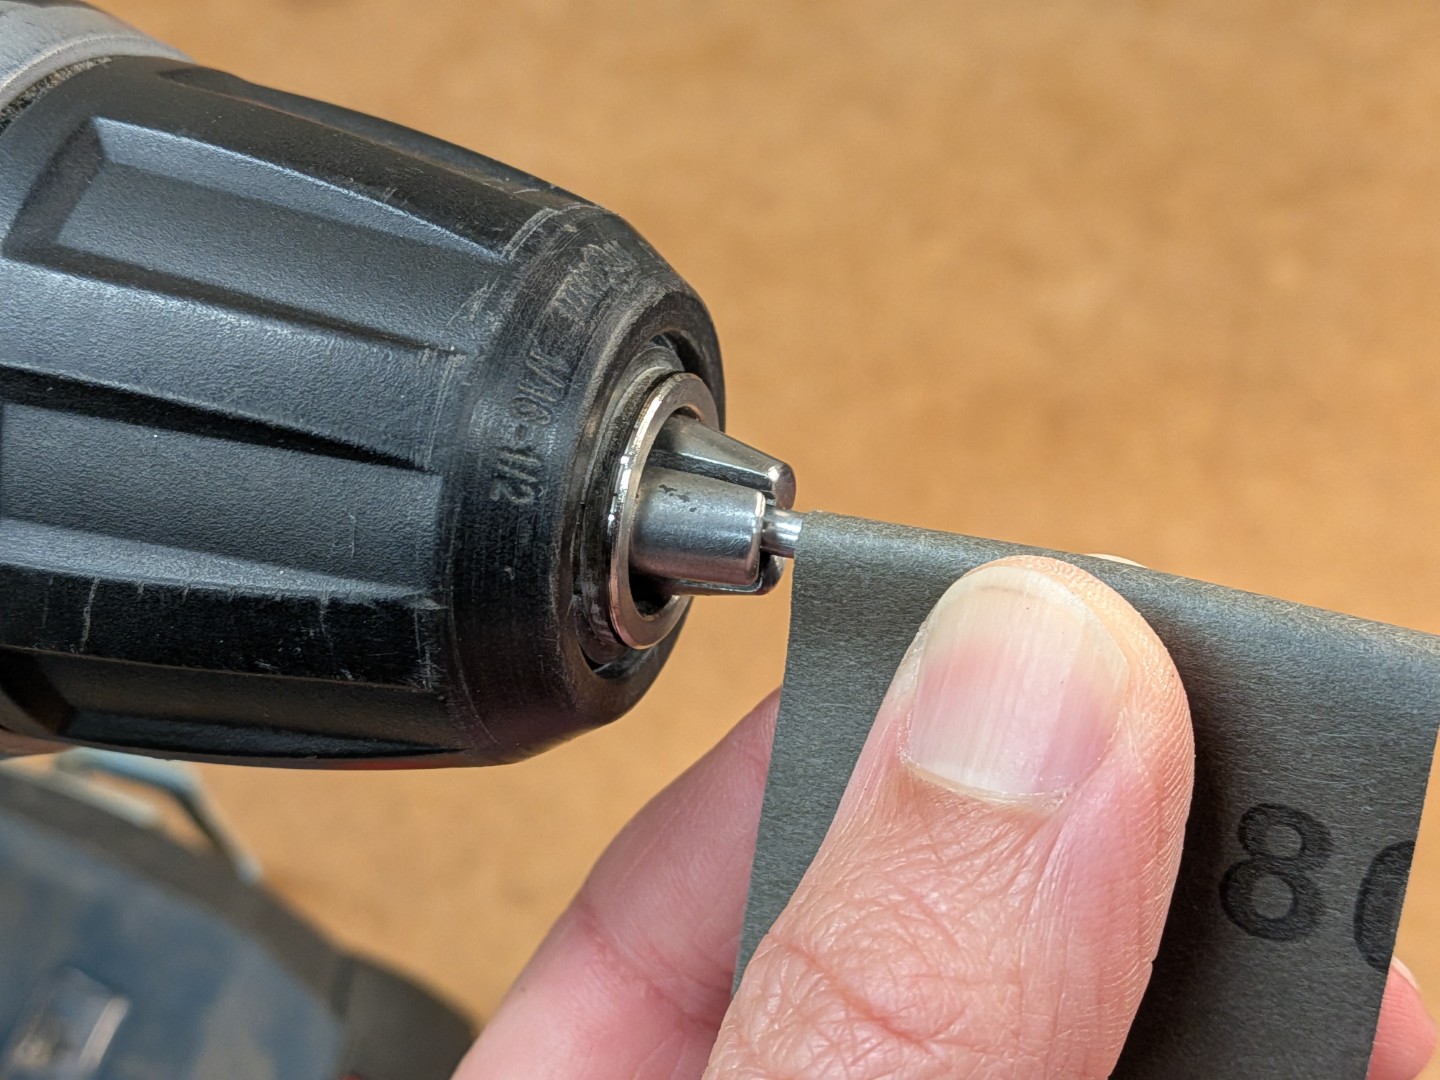
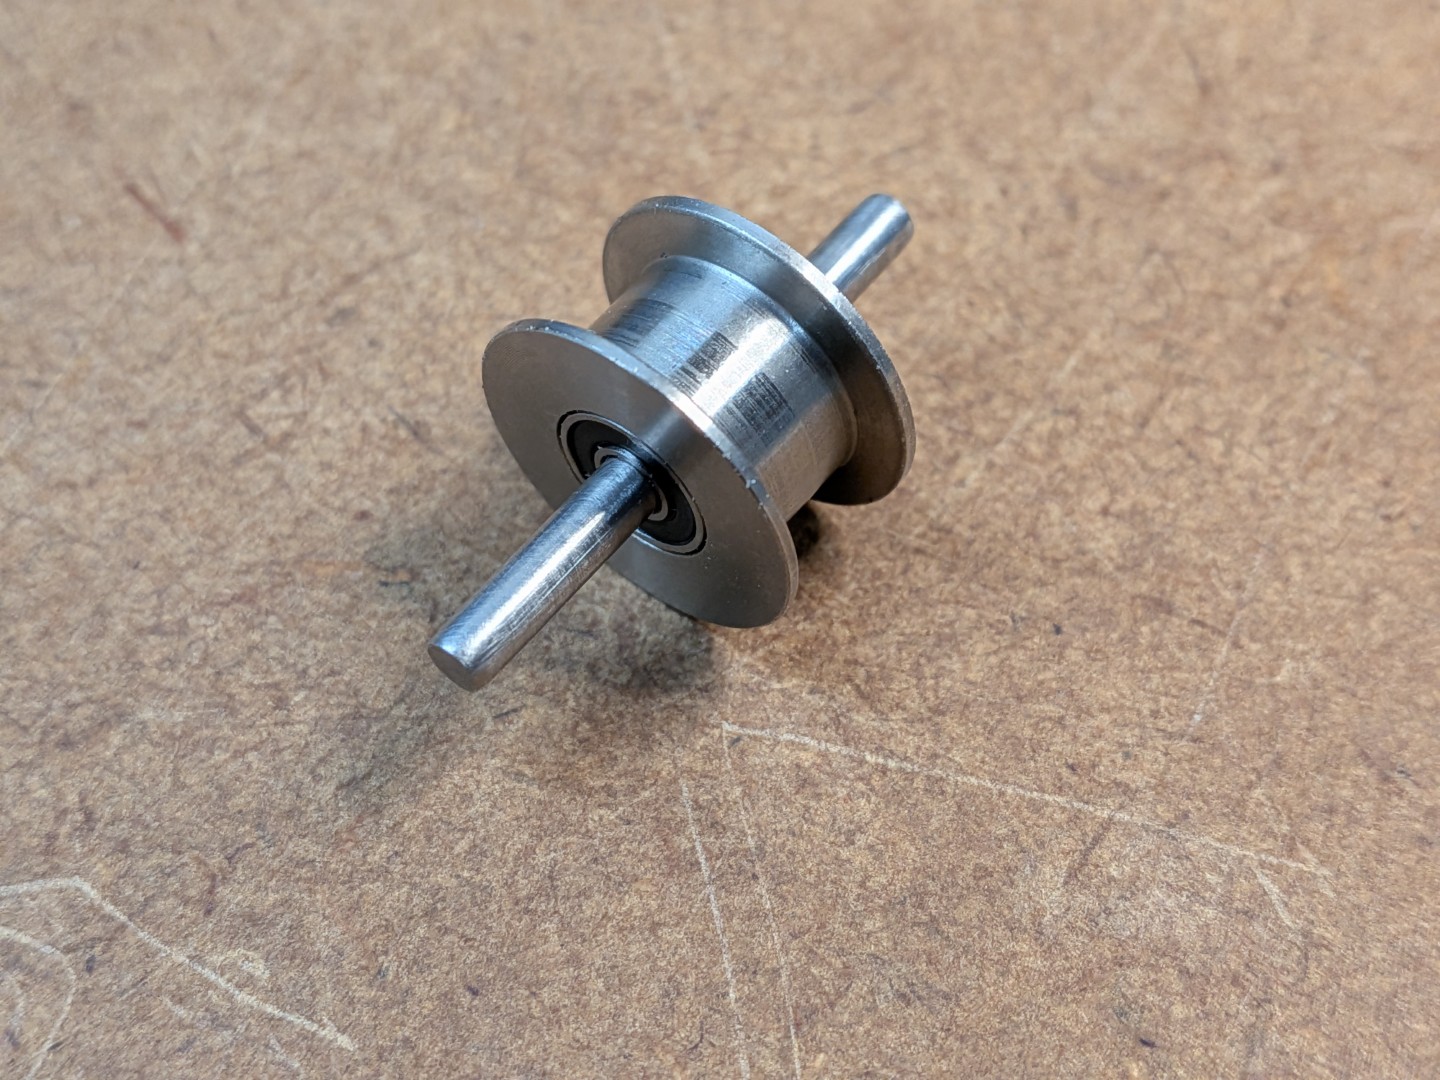
Pin Preparation
Standard 3mm steel pins may require sizing to achieve proper bearing tolerance. This process ensures optimal fit without bearing damage.
⚠ Critical Safety Note: Never force pins through bearings - any stress on the inner bearing race can cause permanent damage |
 | 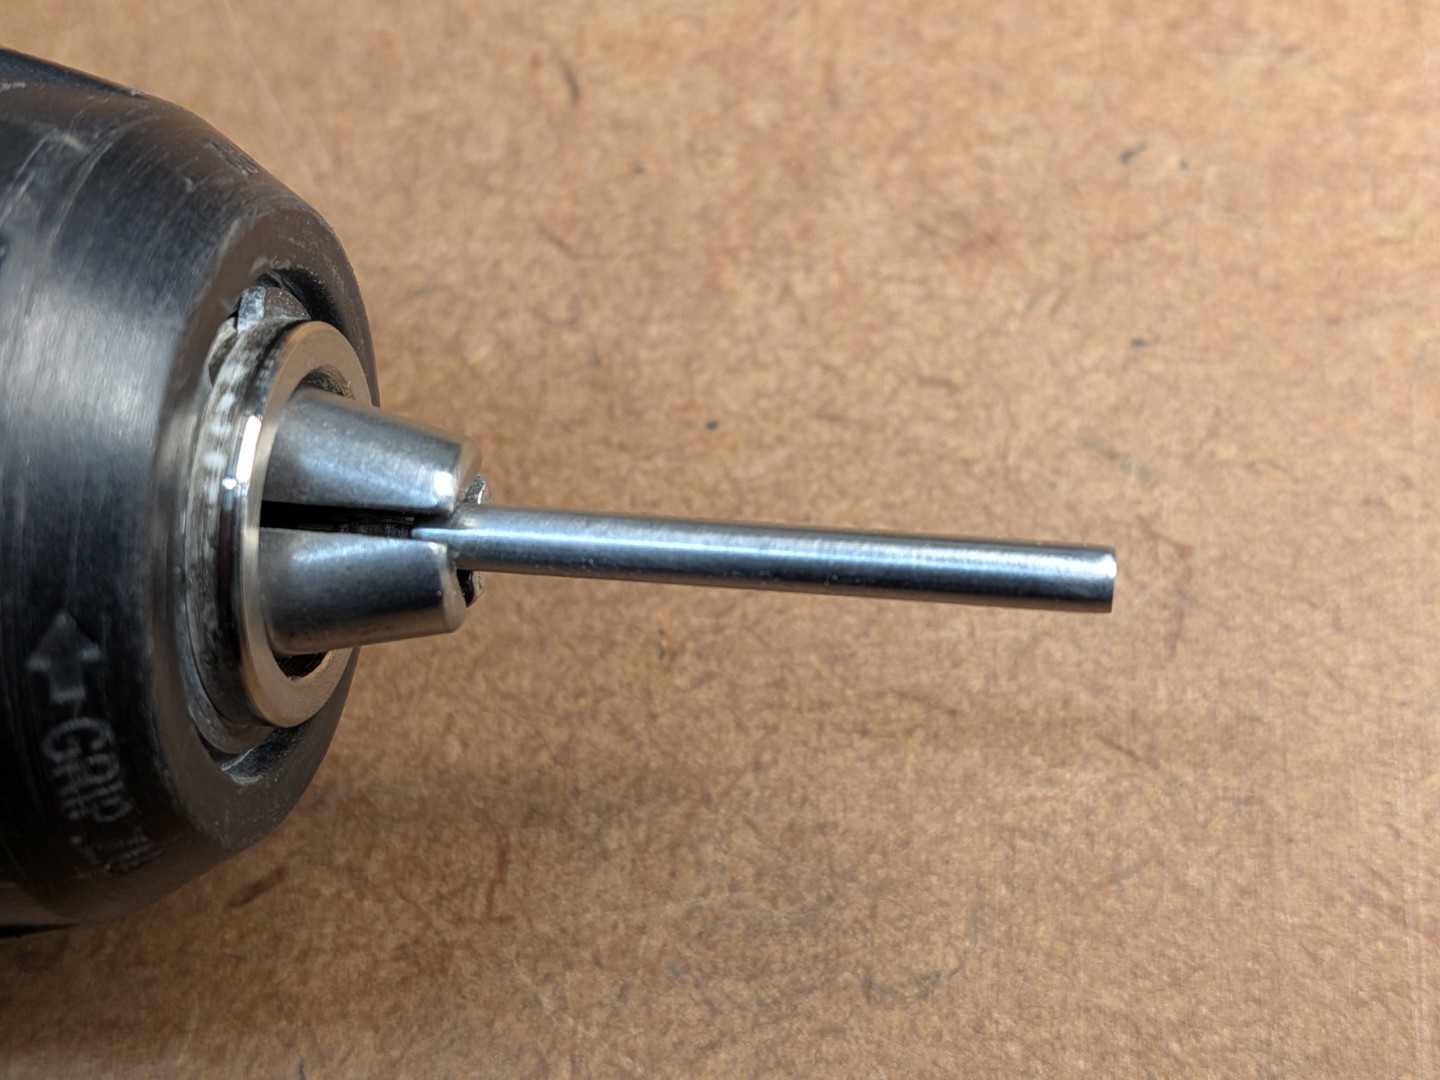 |  |  |
Initial Preparation
|
Sizing Process (if pins are oversized)
|
Quality Check: Final pins should insert smoothly into bearings with no resistance or binding |
Idler Assembly
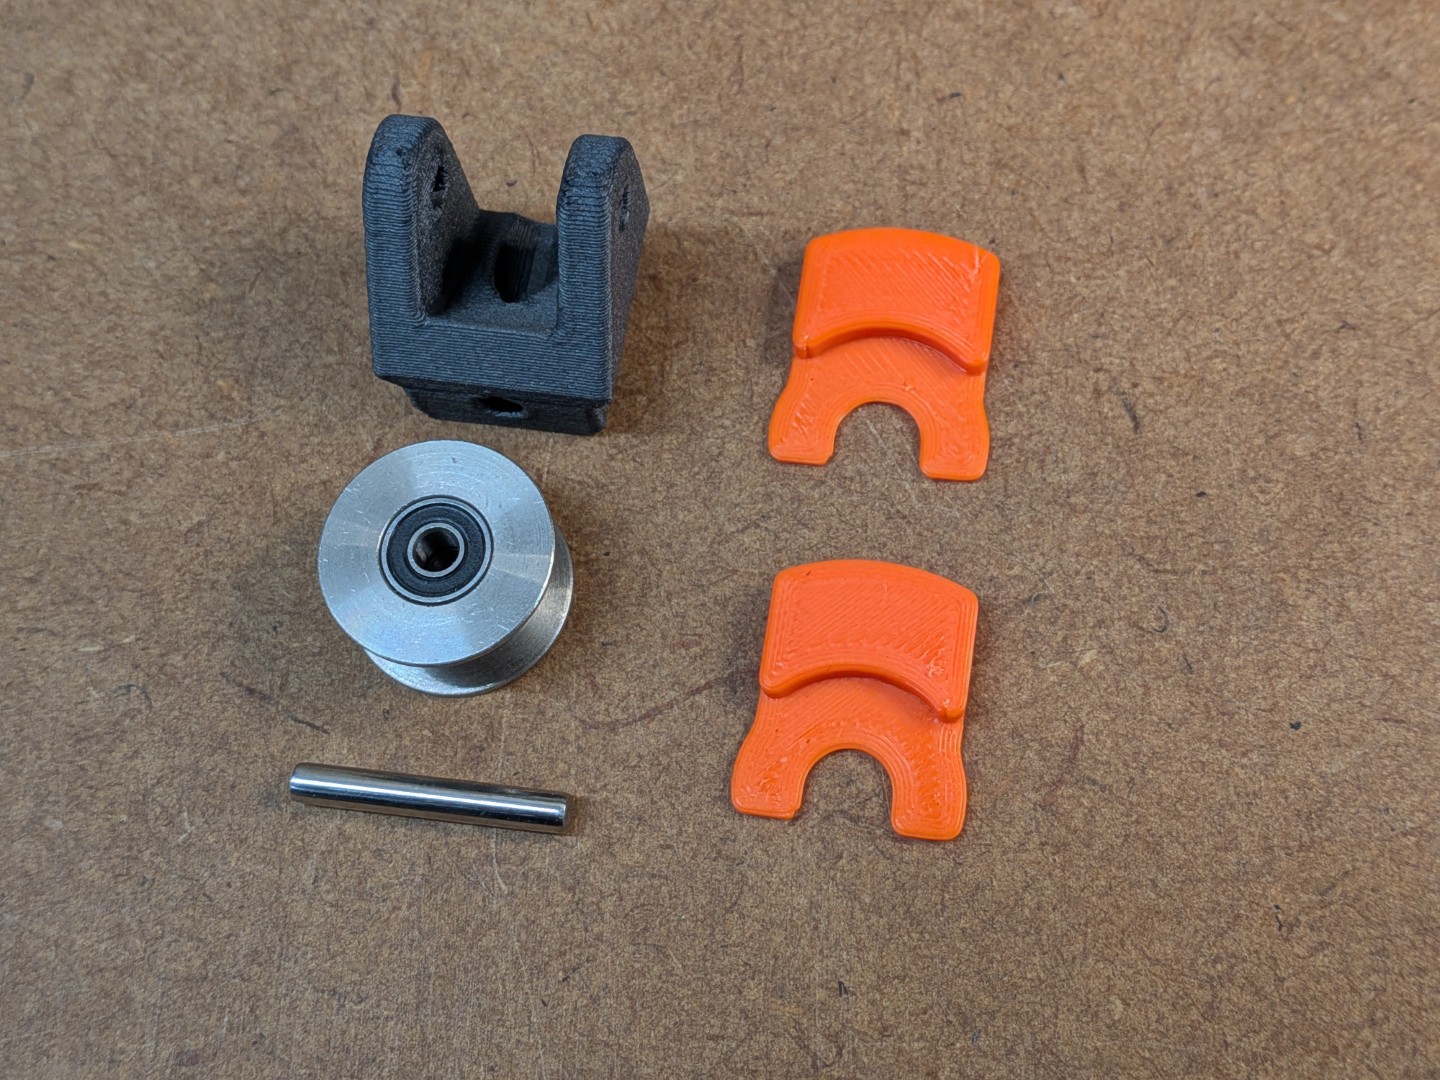
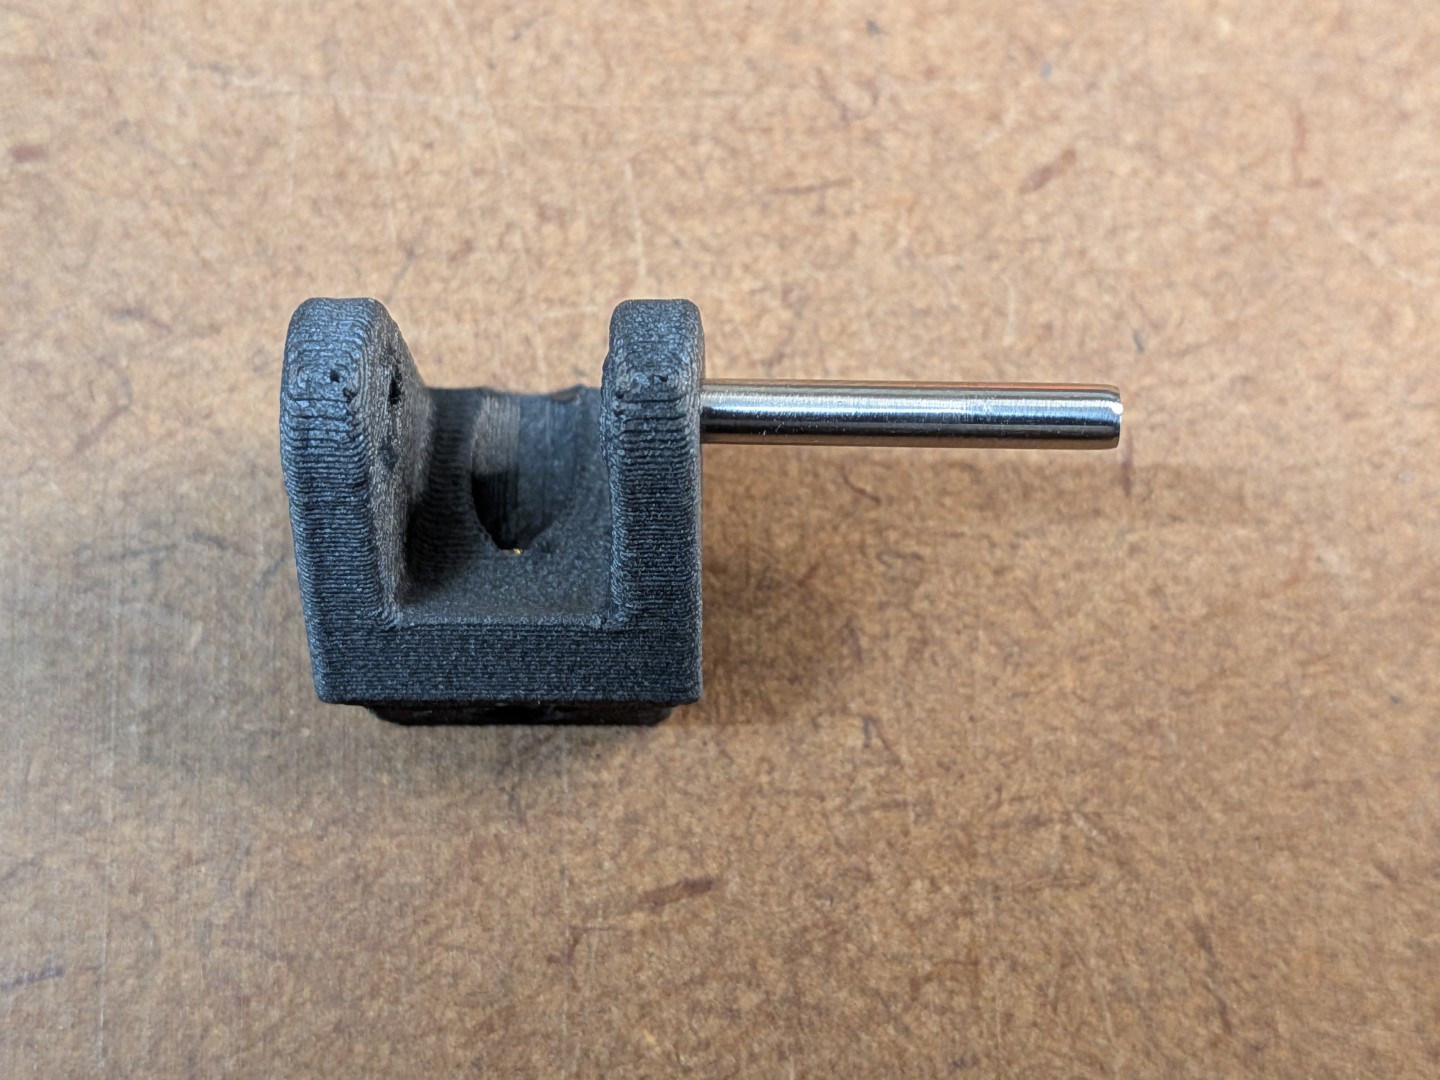
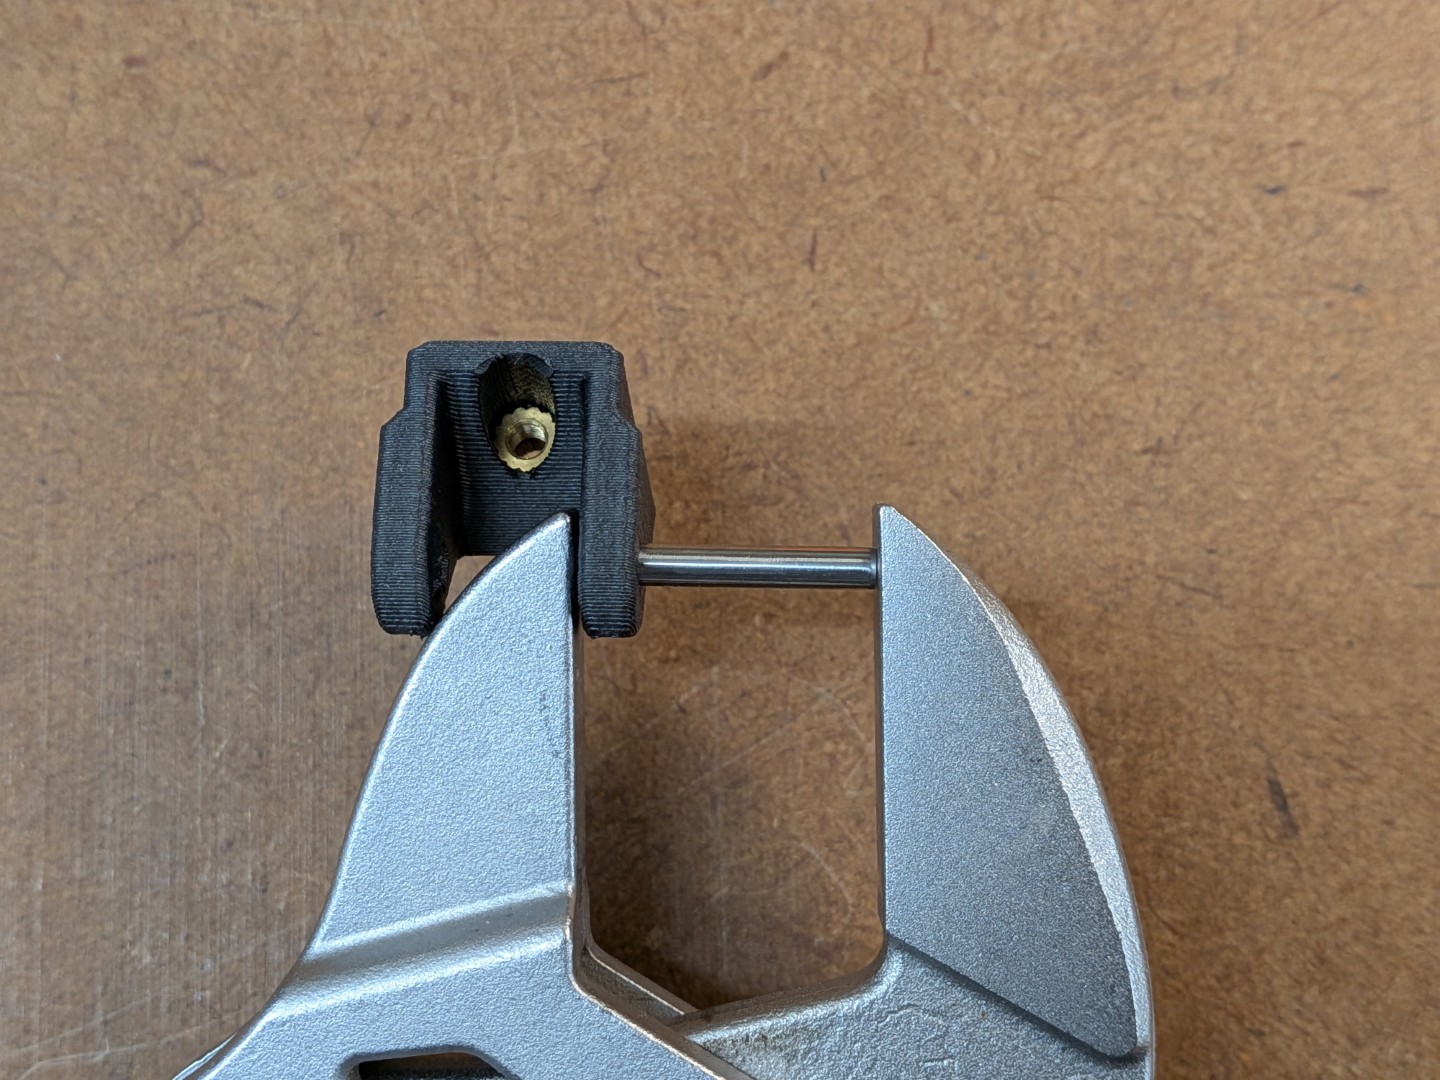
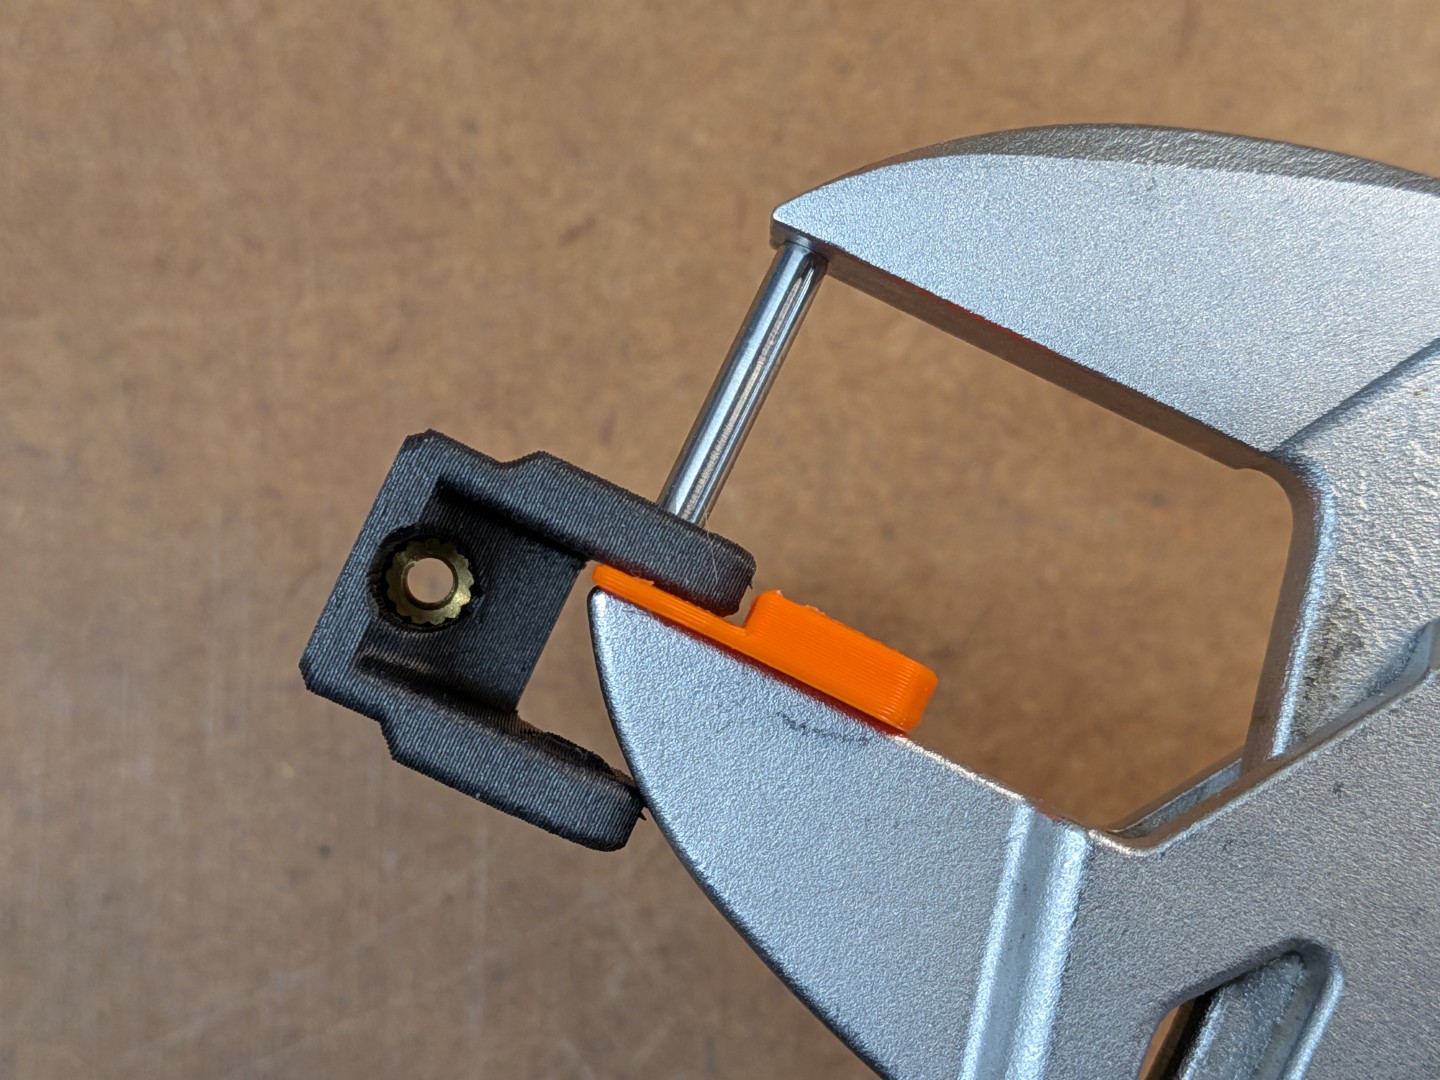
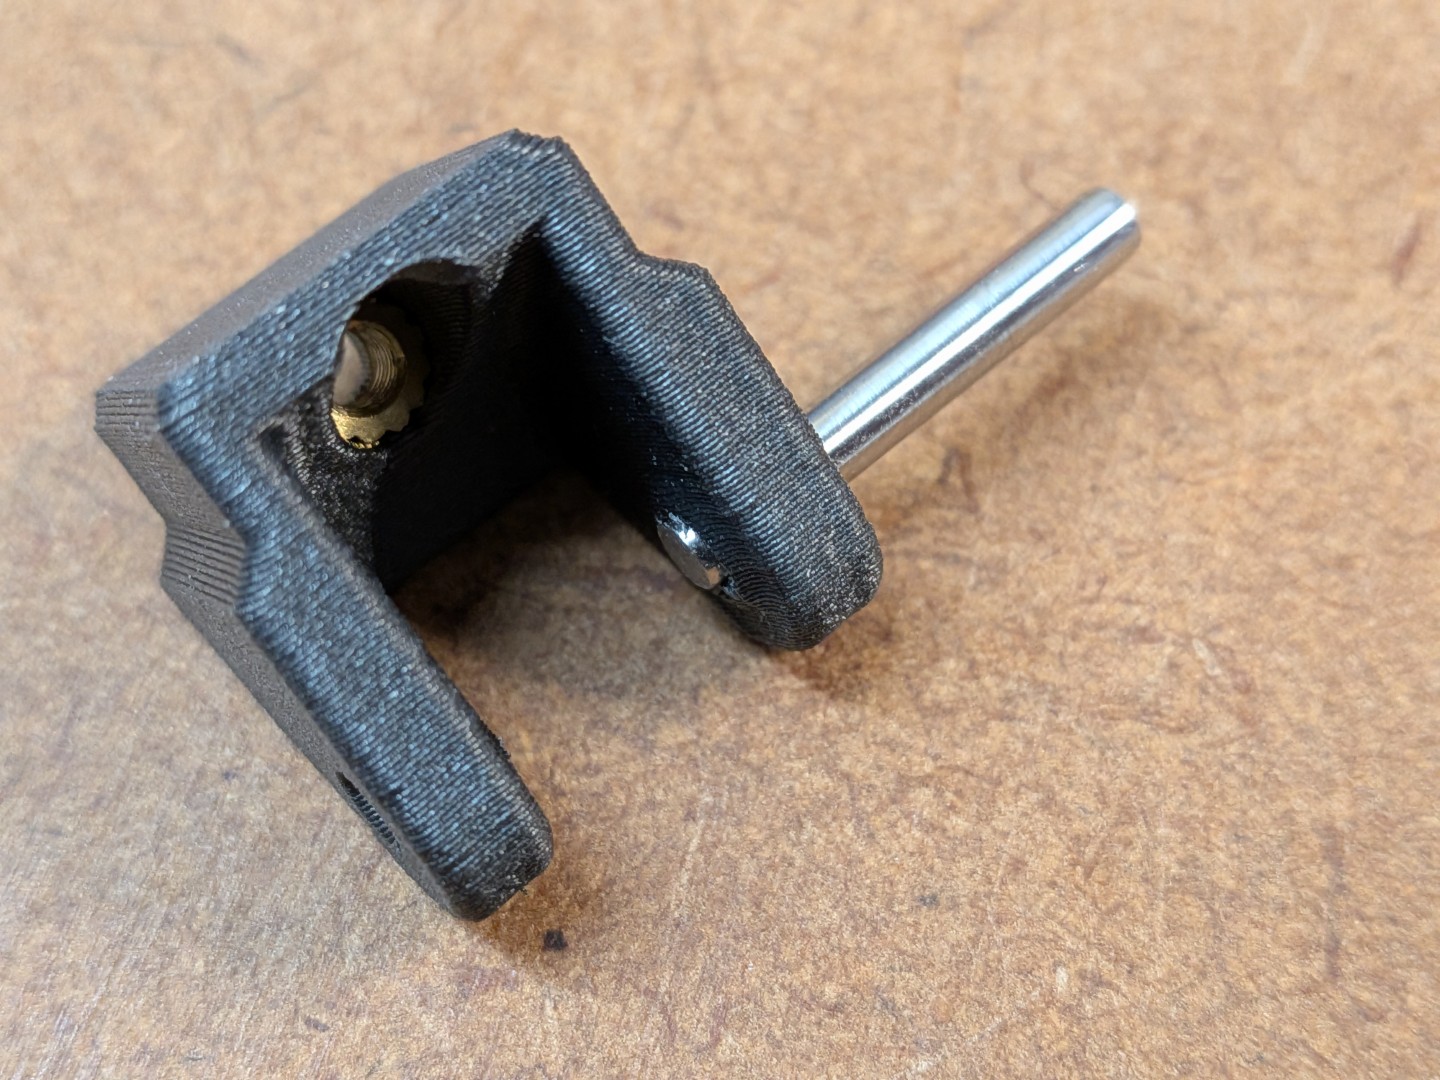
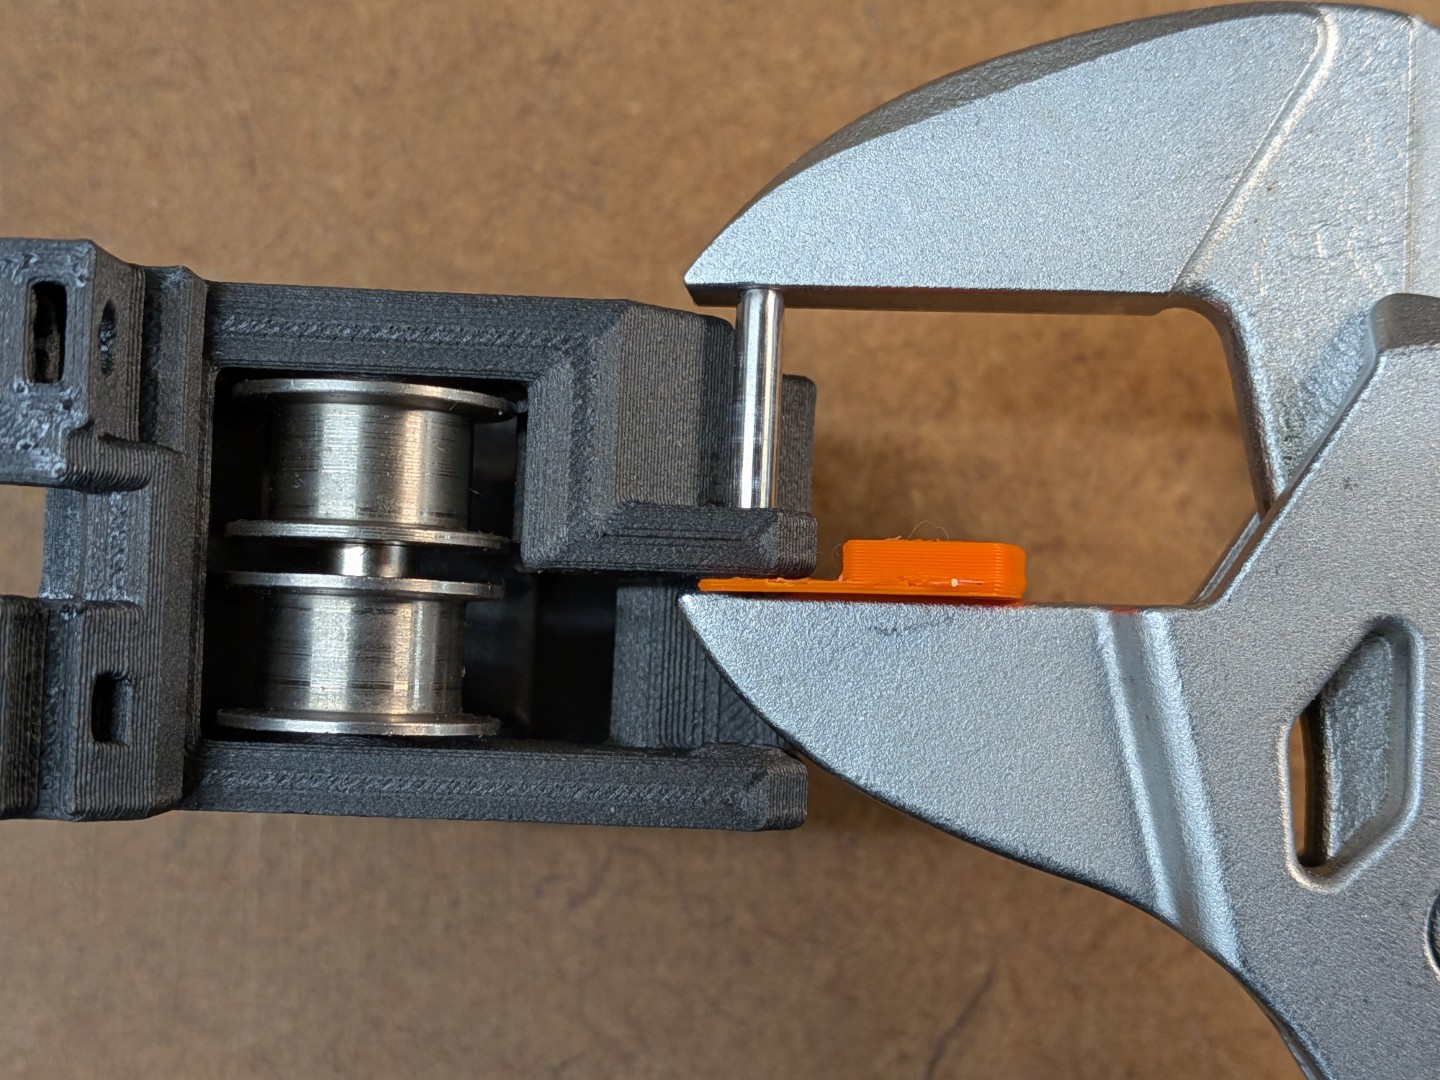
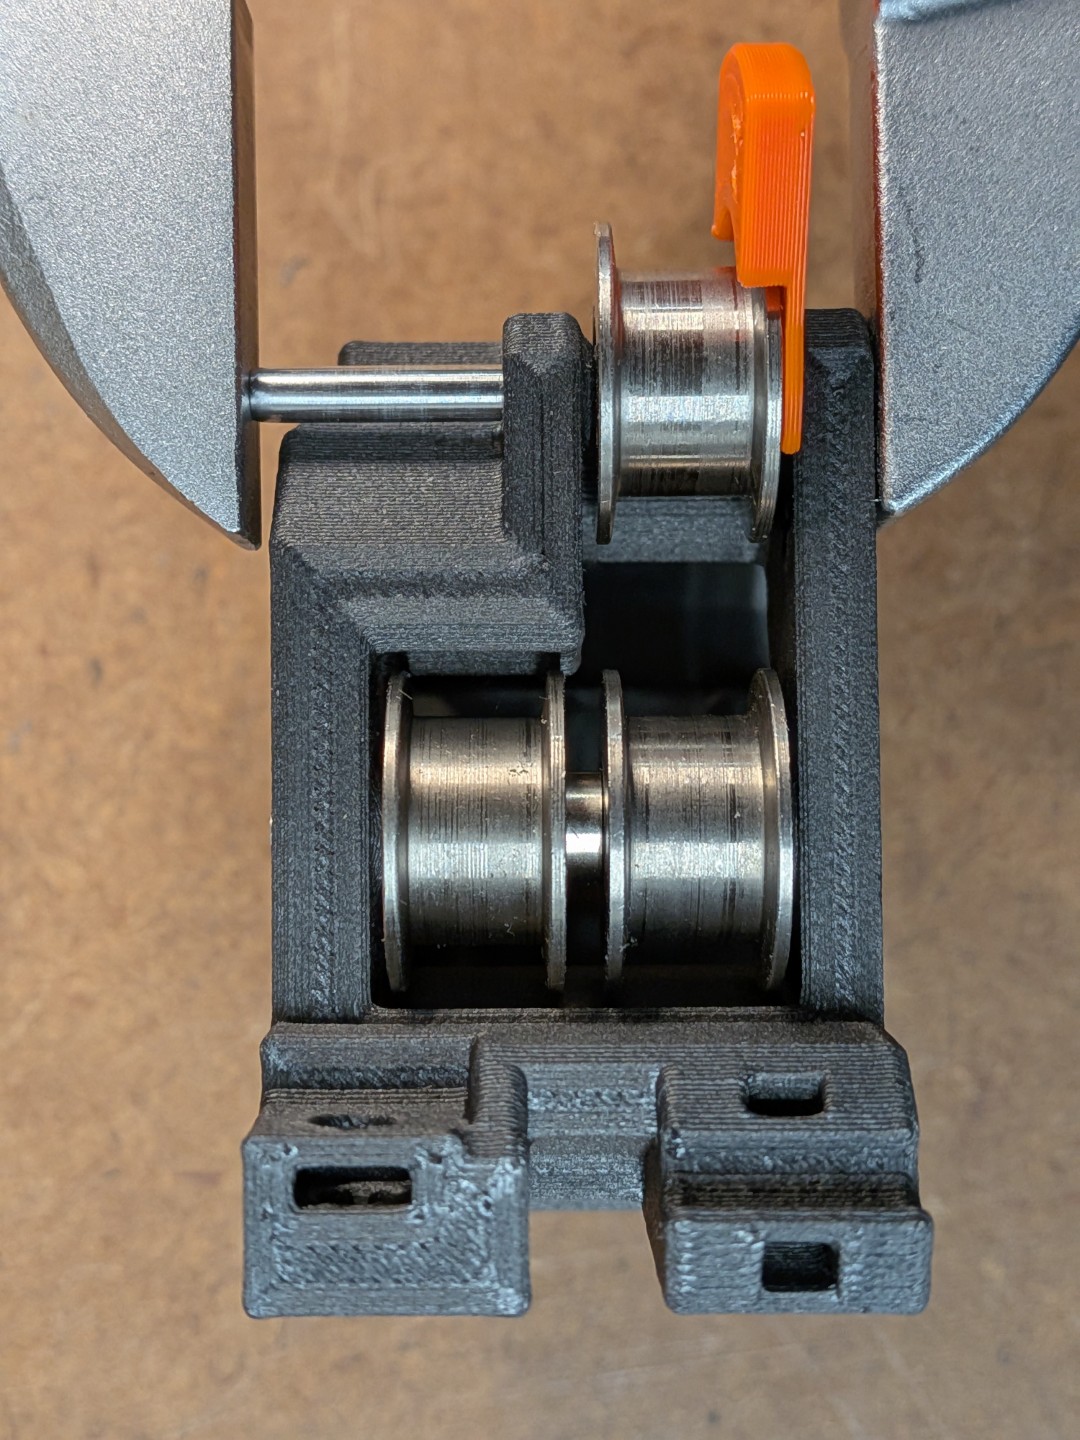
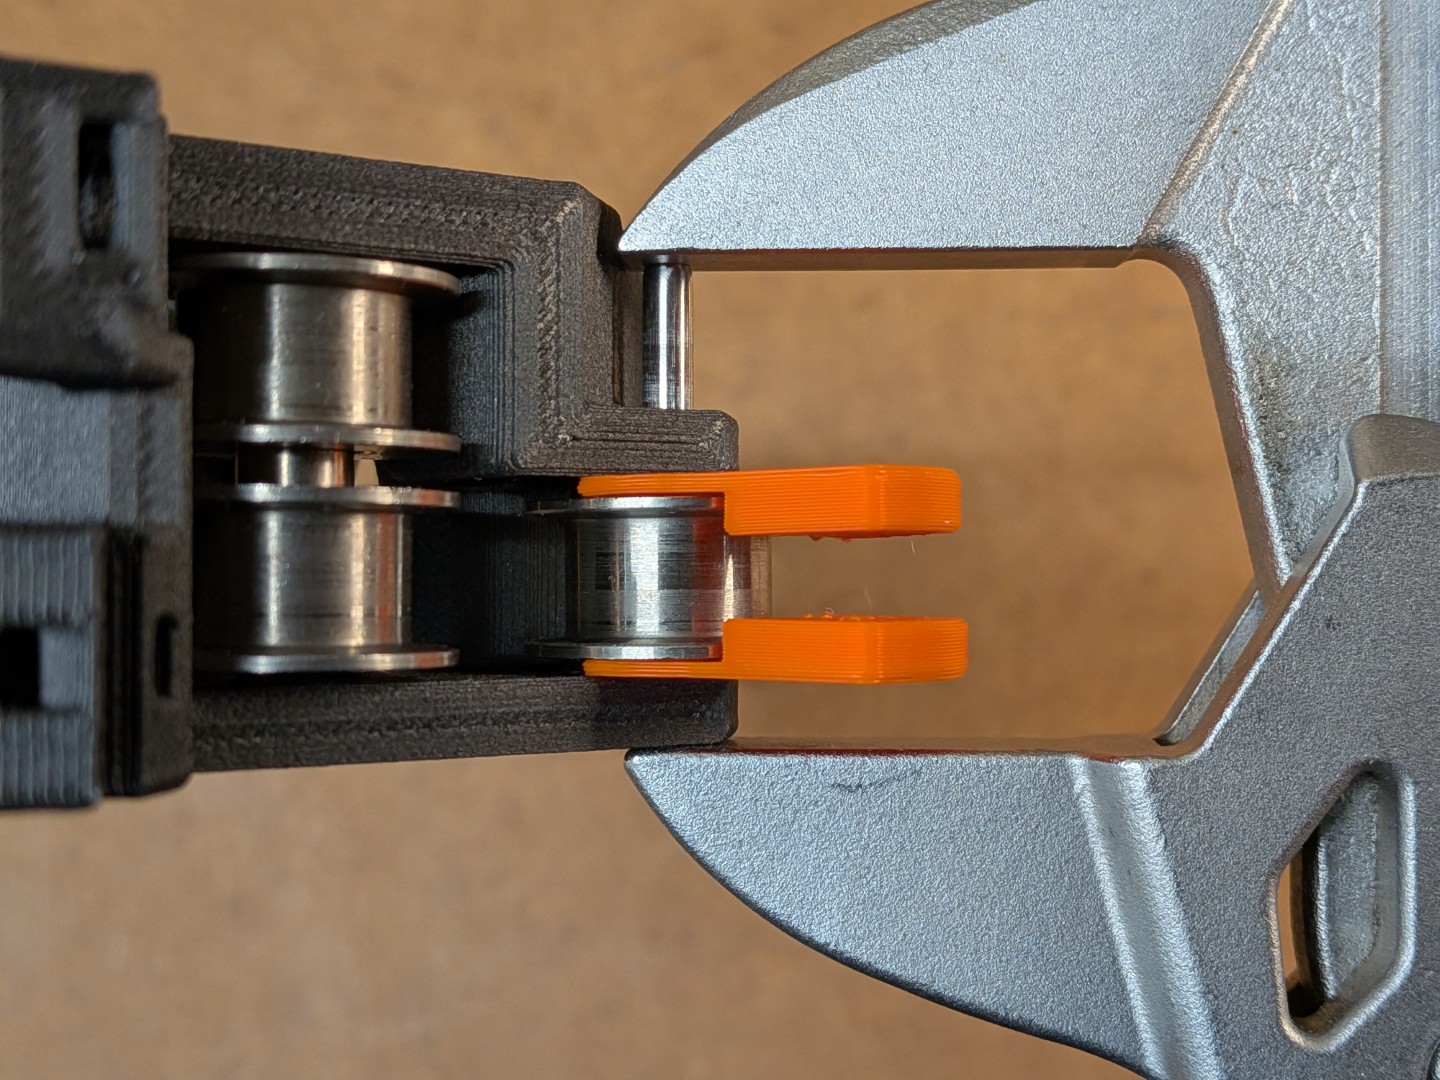
Required Tool: Parallel-press tool or vise to ensure straight pin insertion for all components. |
Required Pin Length:
|
Example: Belt Tensioner
 |  |  |  |  |
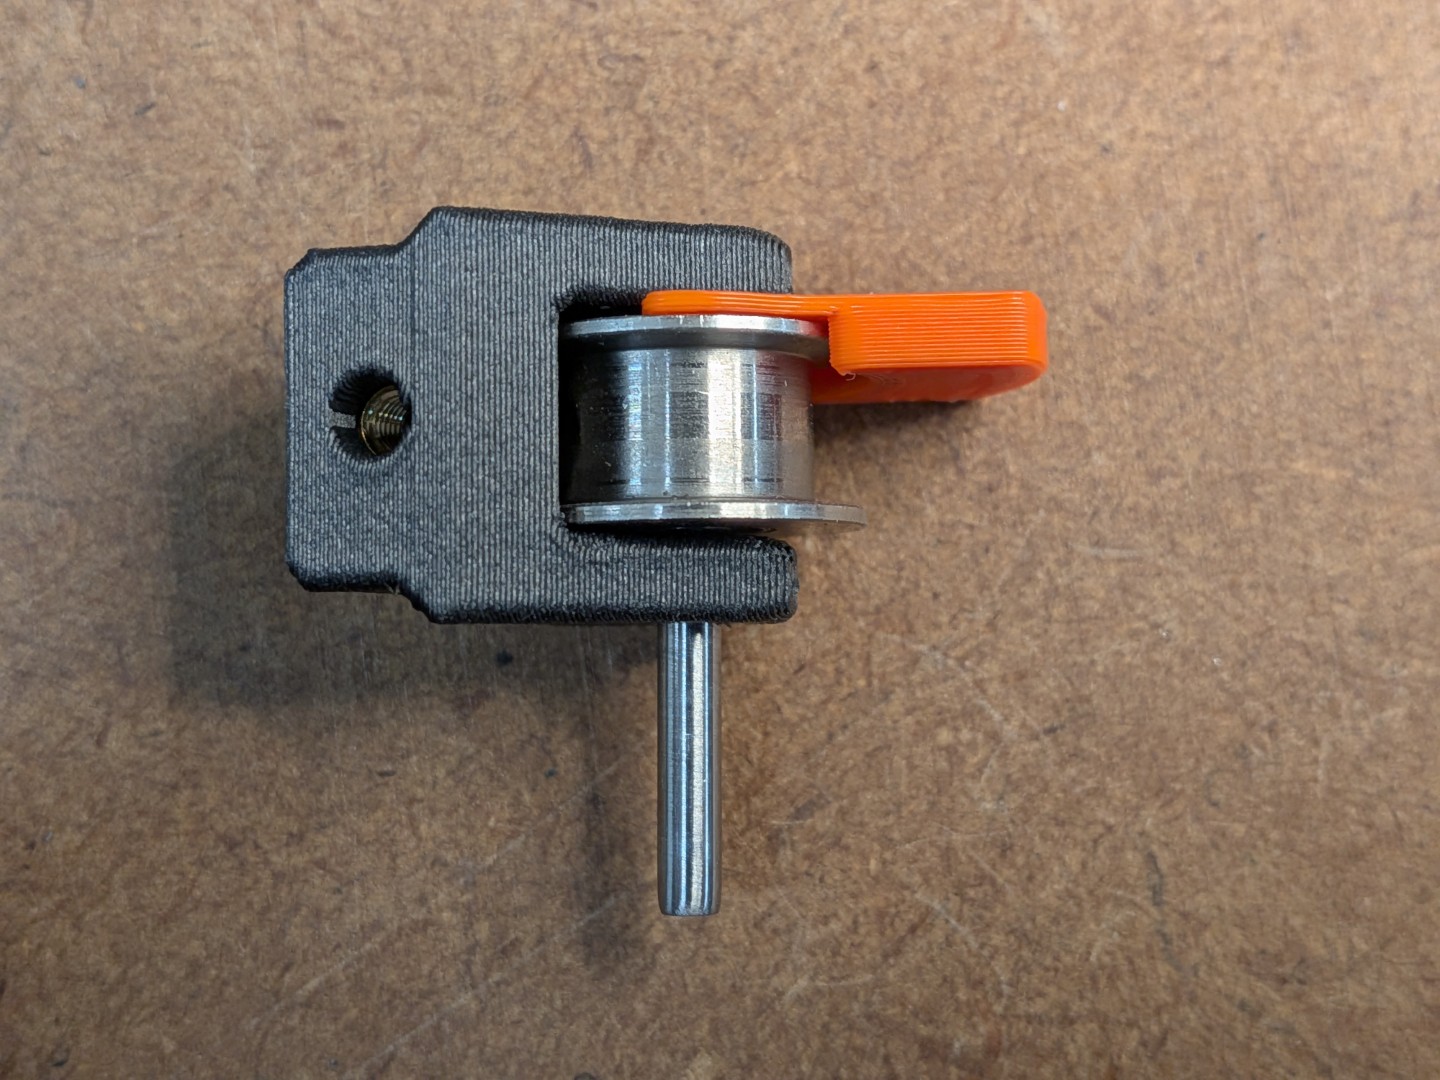 | 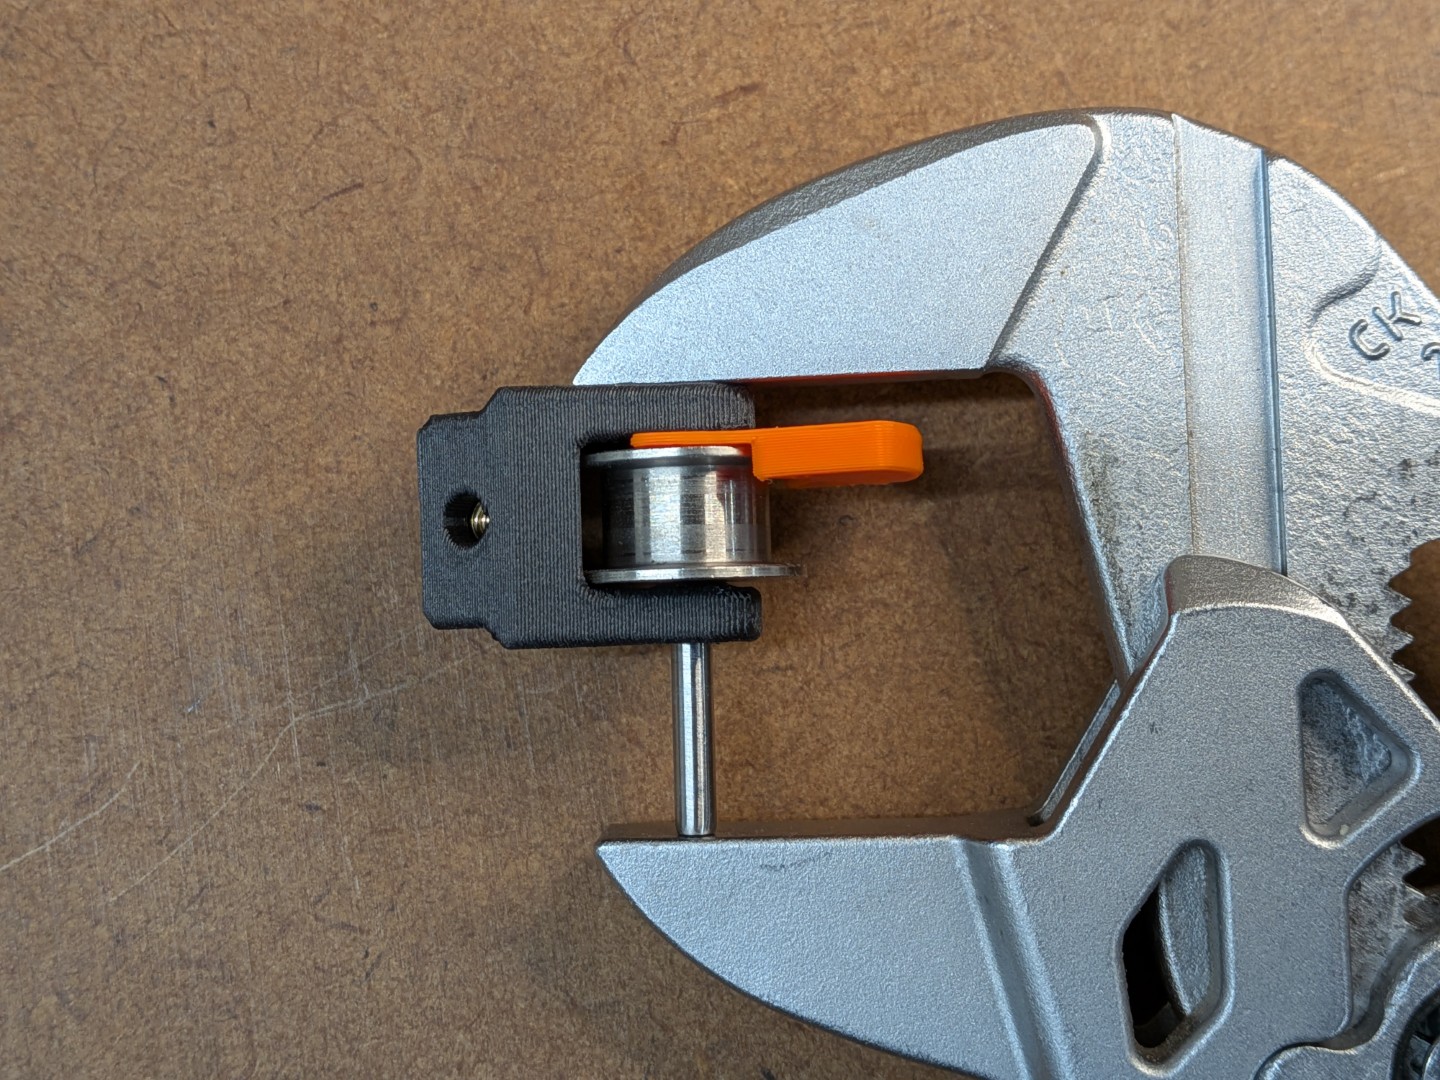 | 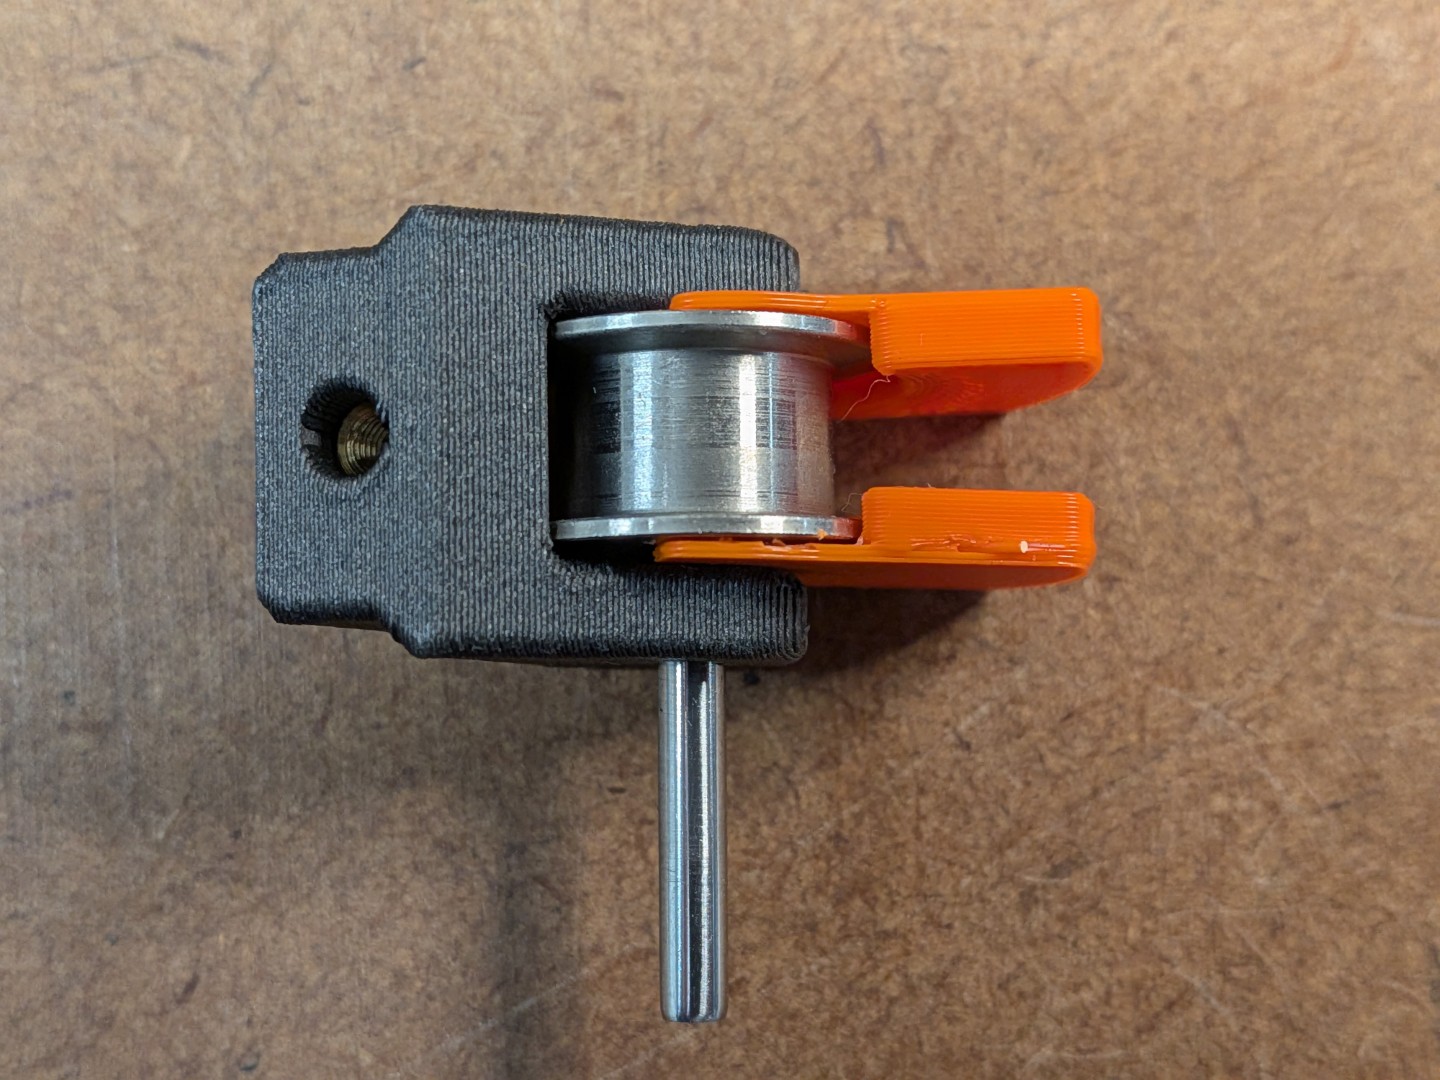 | 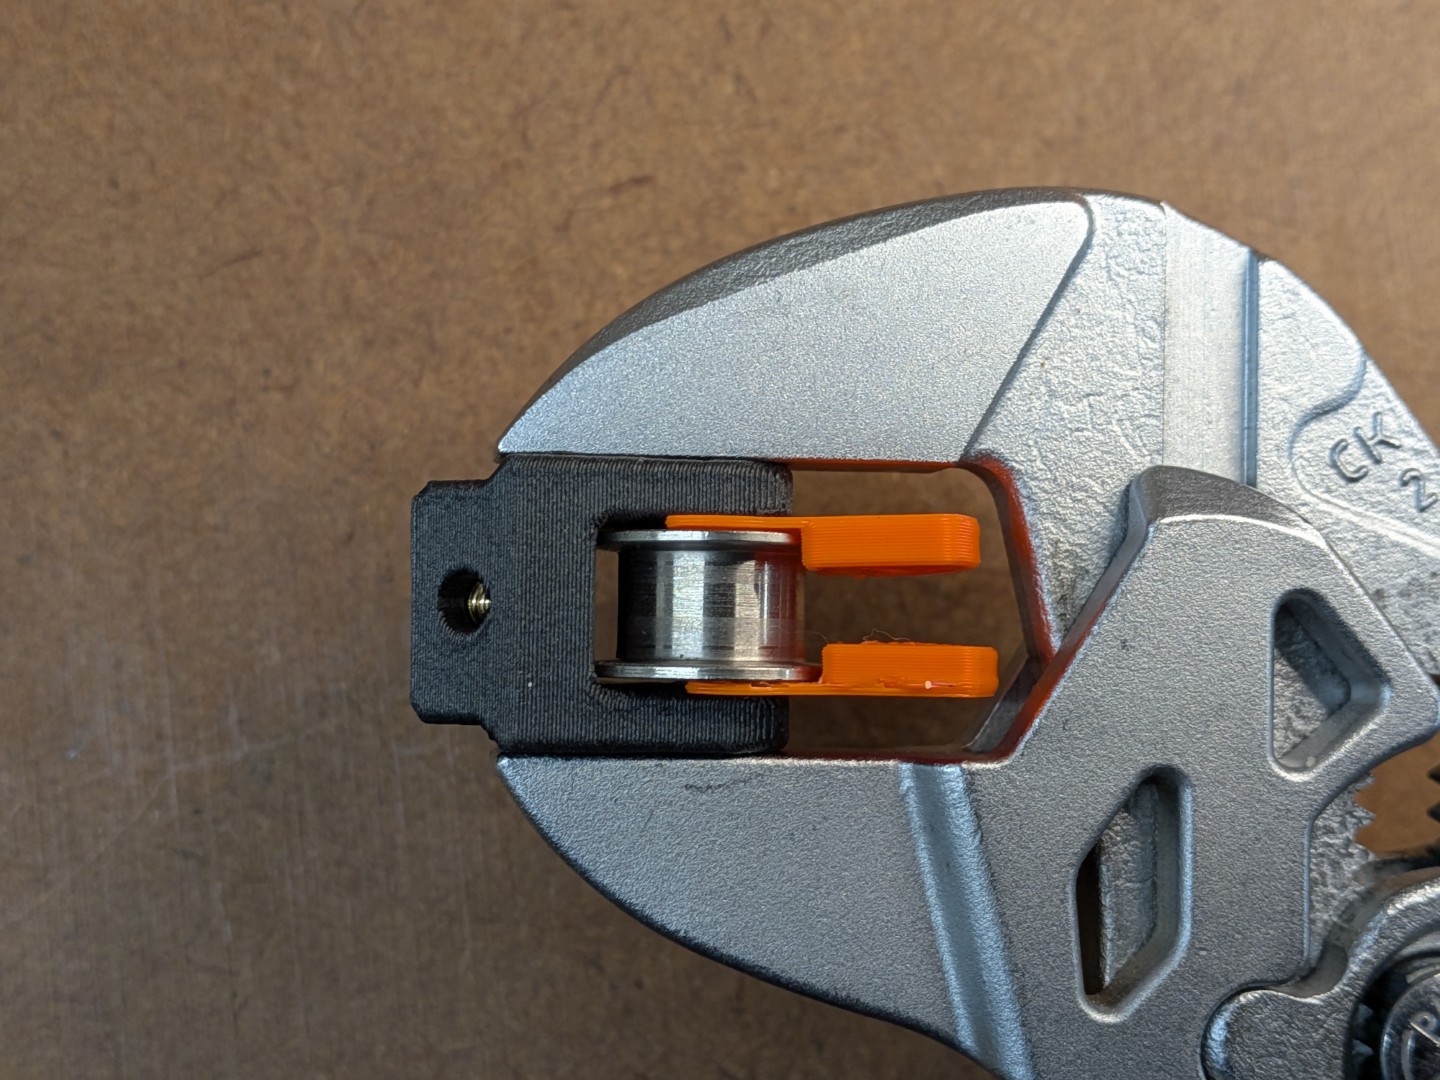 | 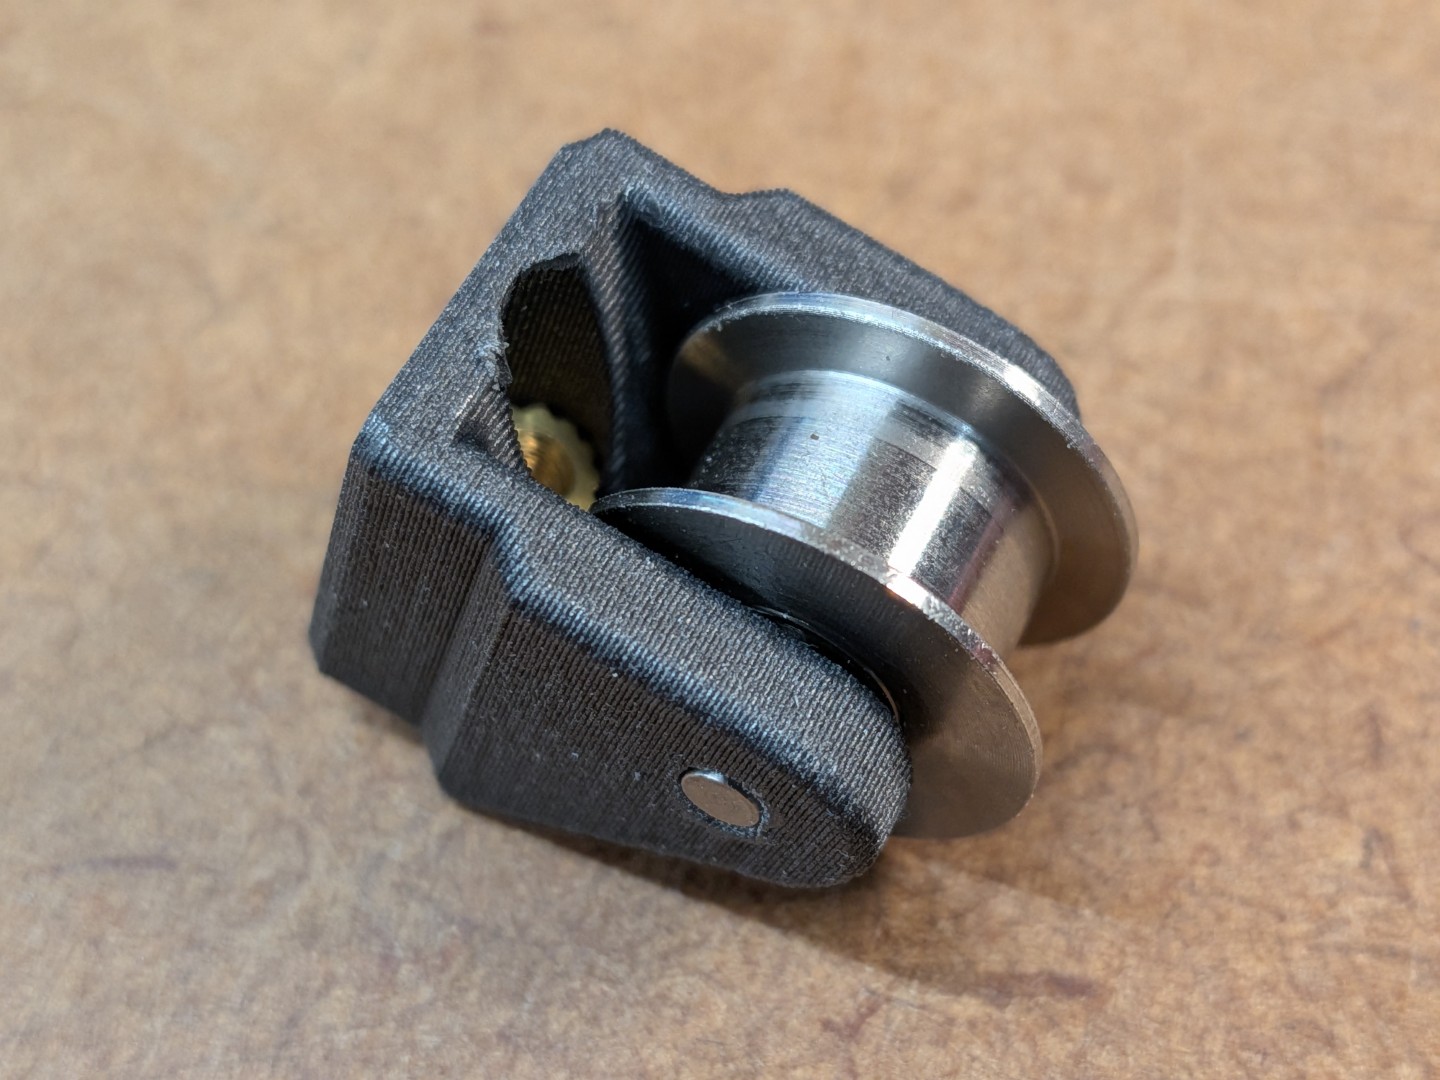 |
Example: Motor Mount Stack Assembly
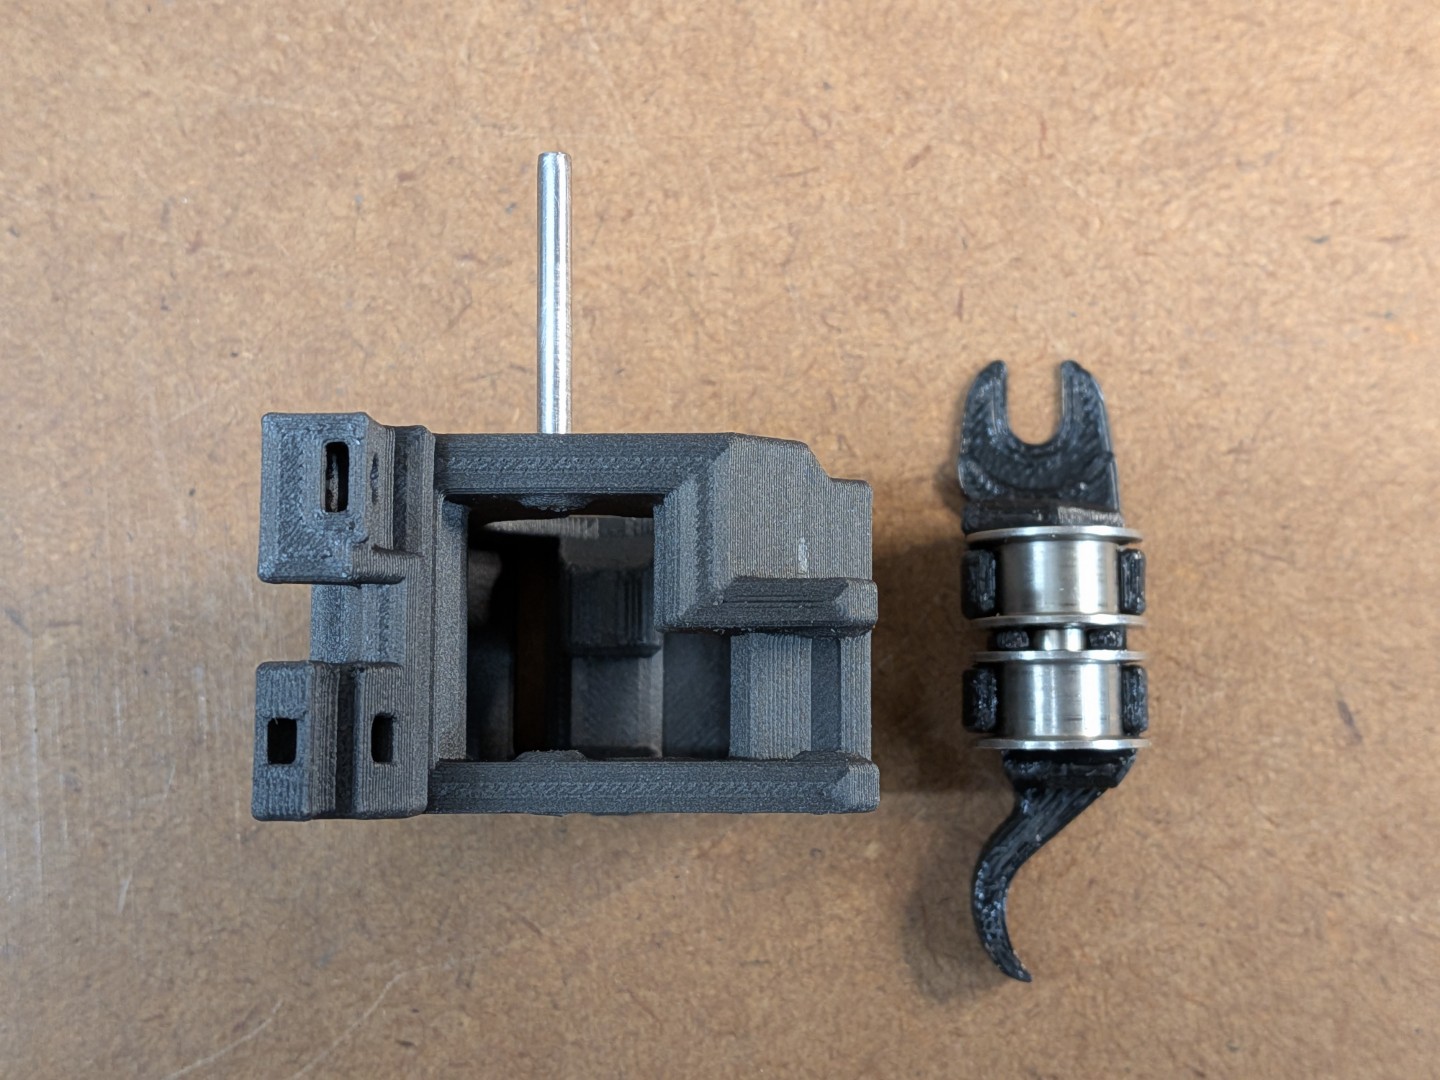 | 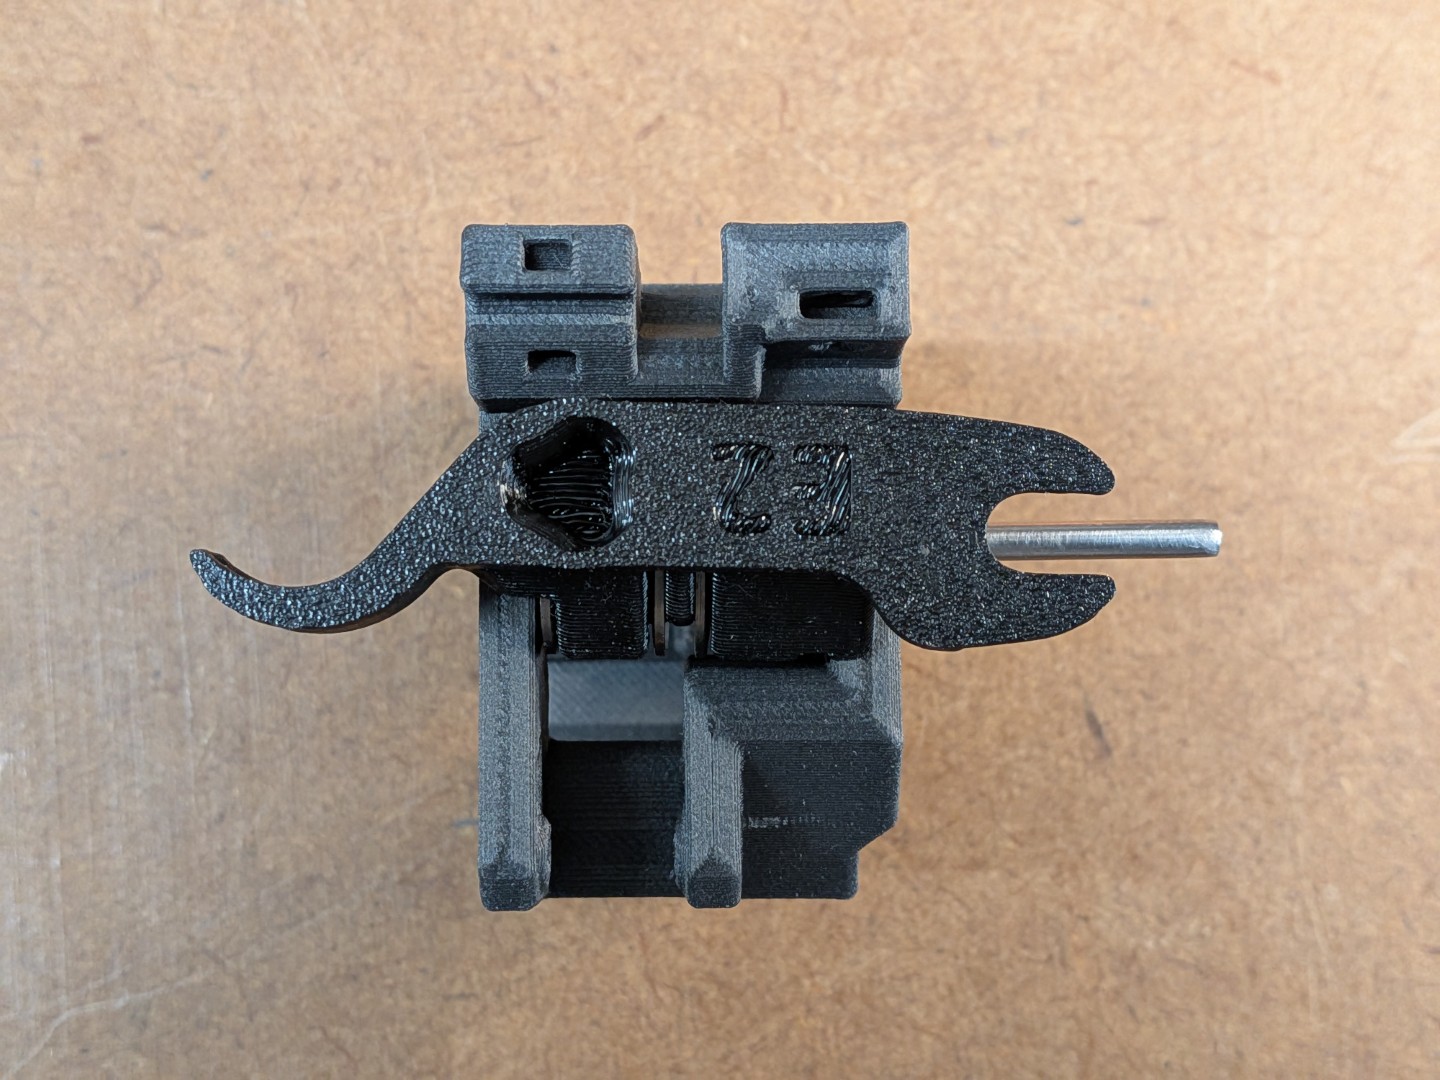 | 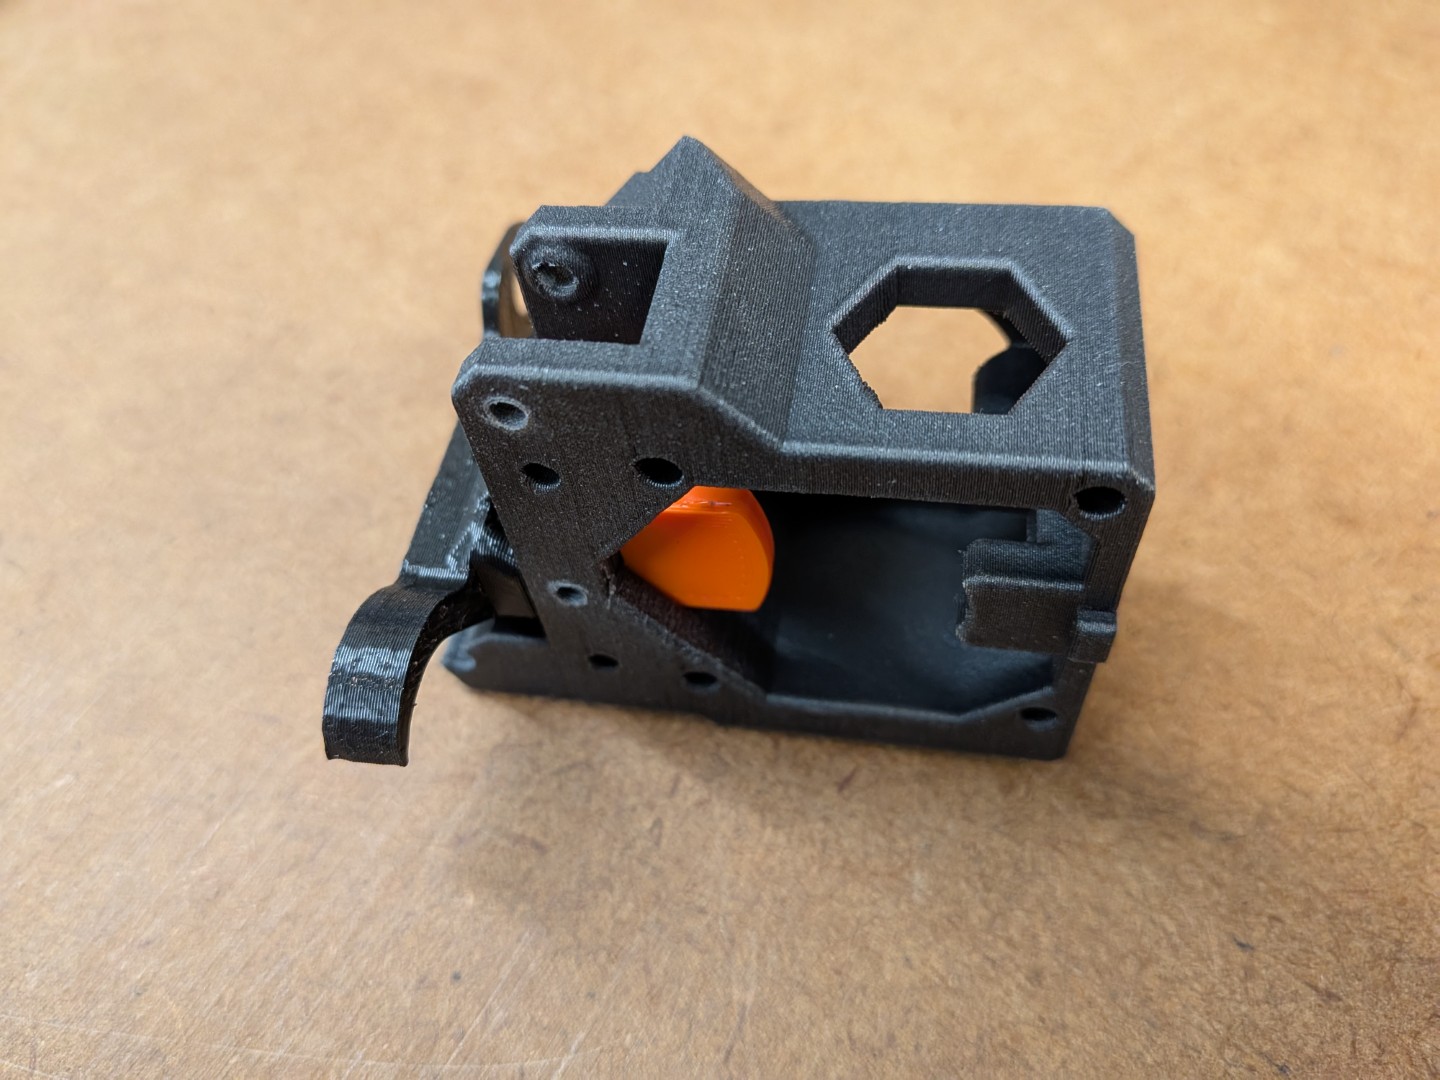 | 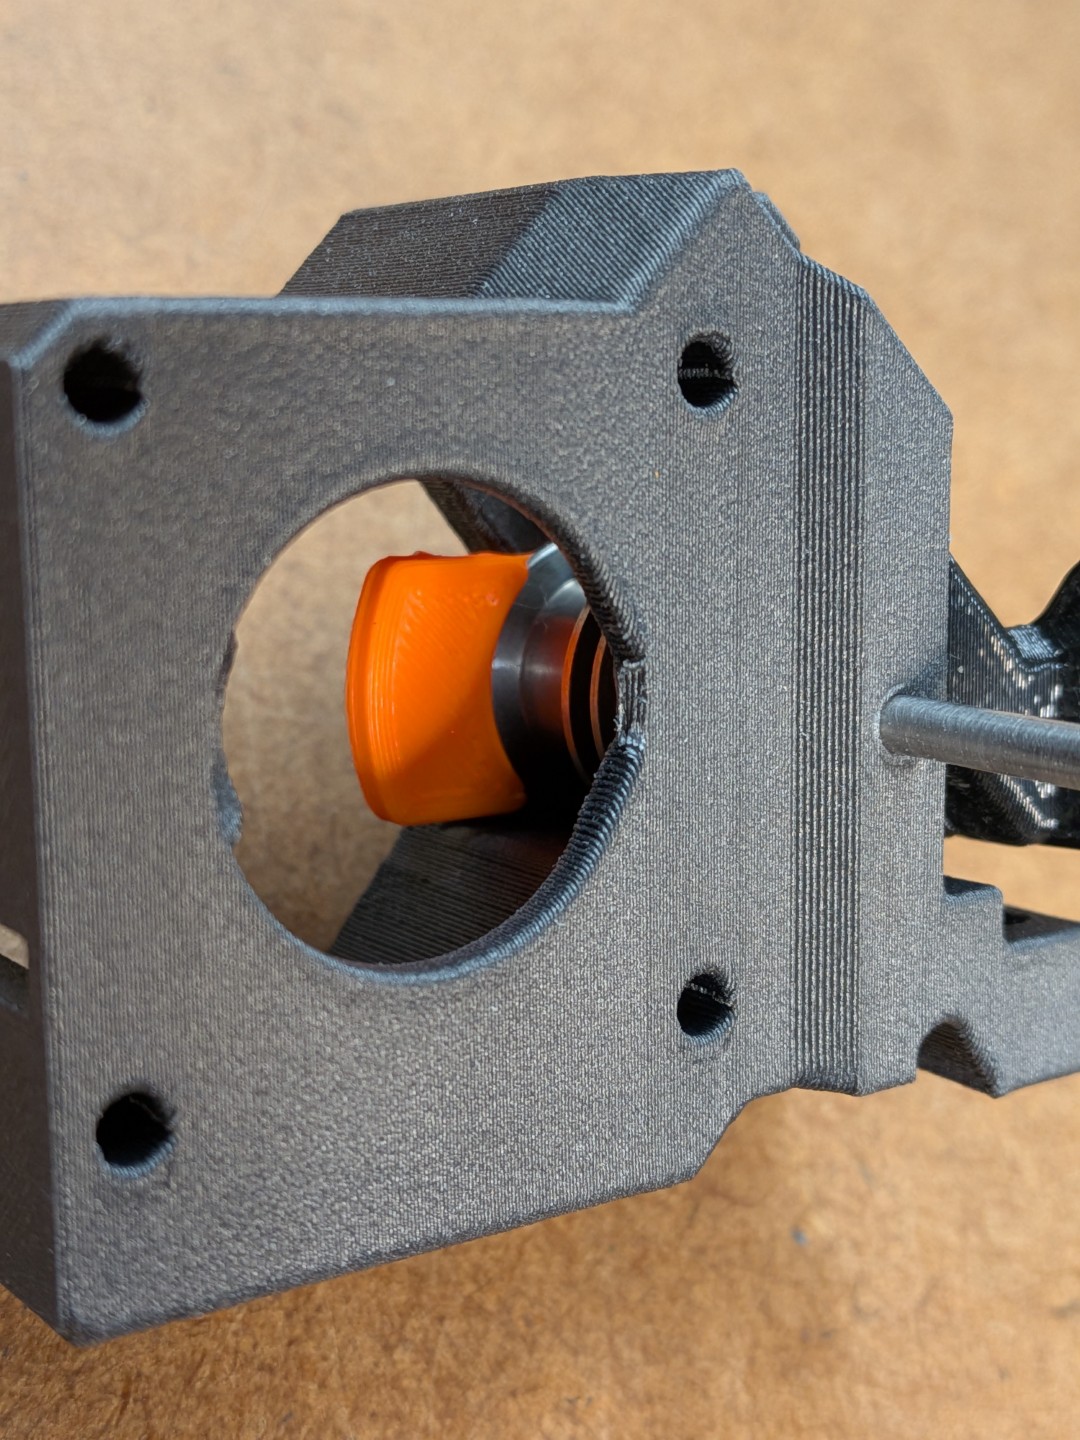 |
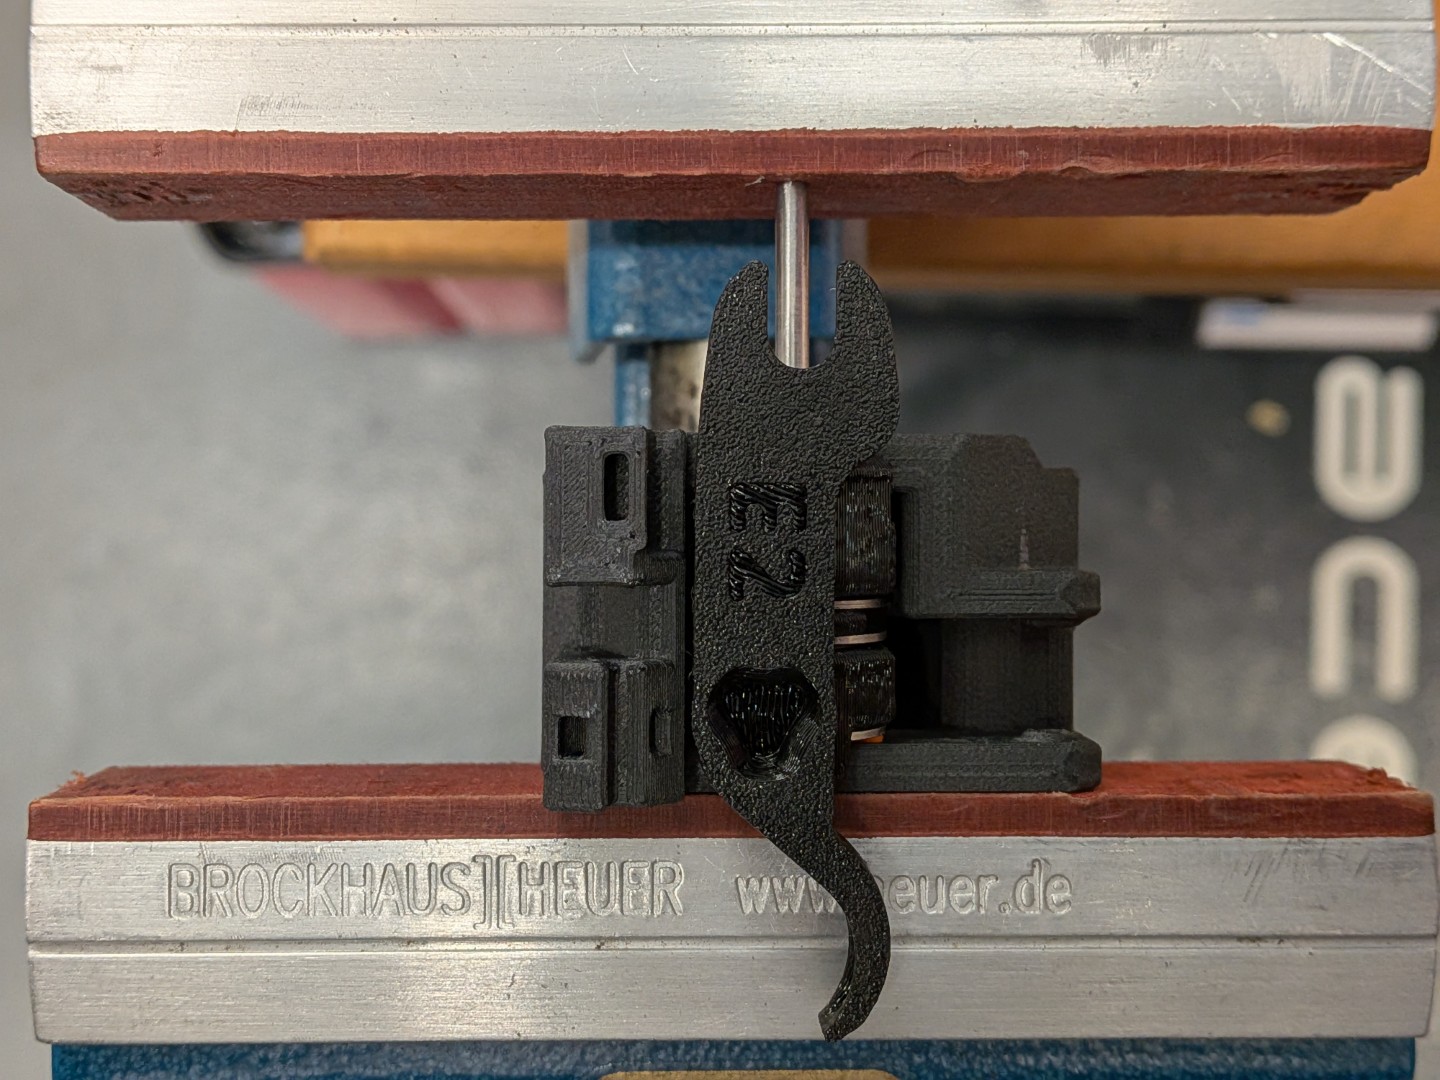 | 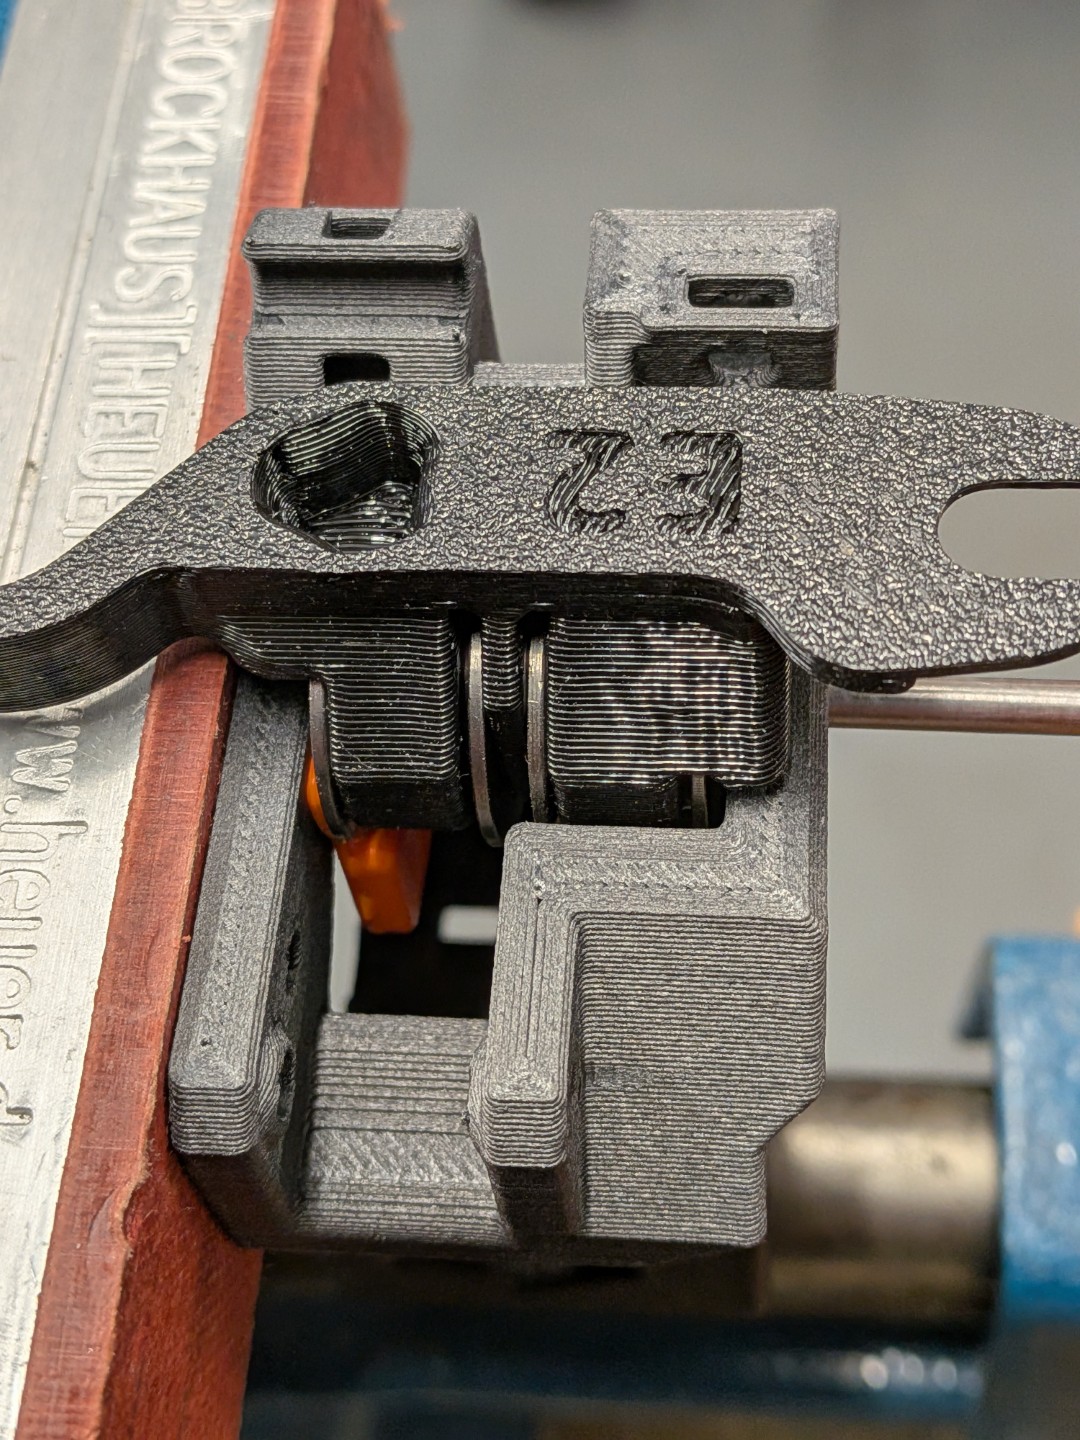 | 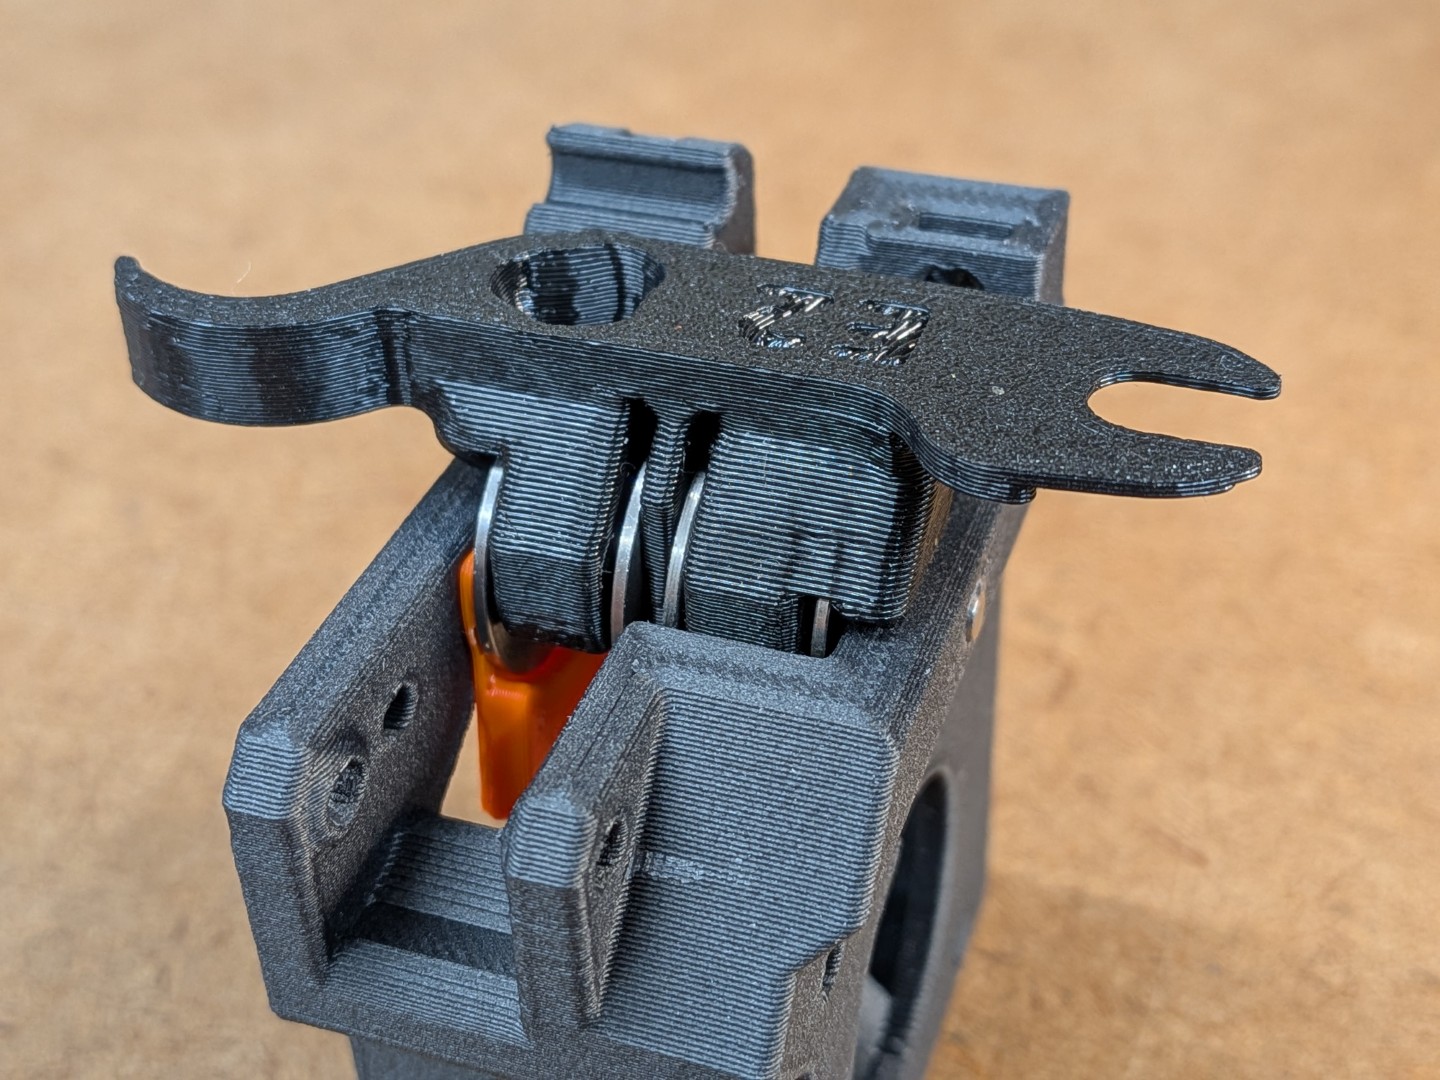 |  |
 |  |  | 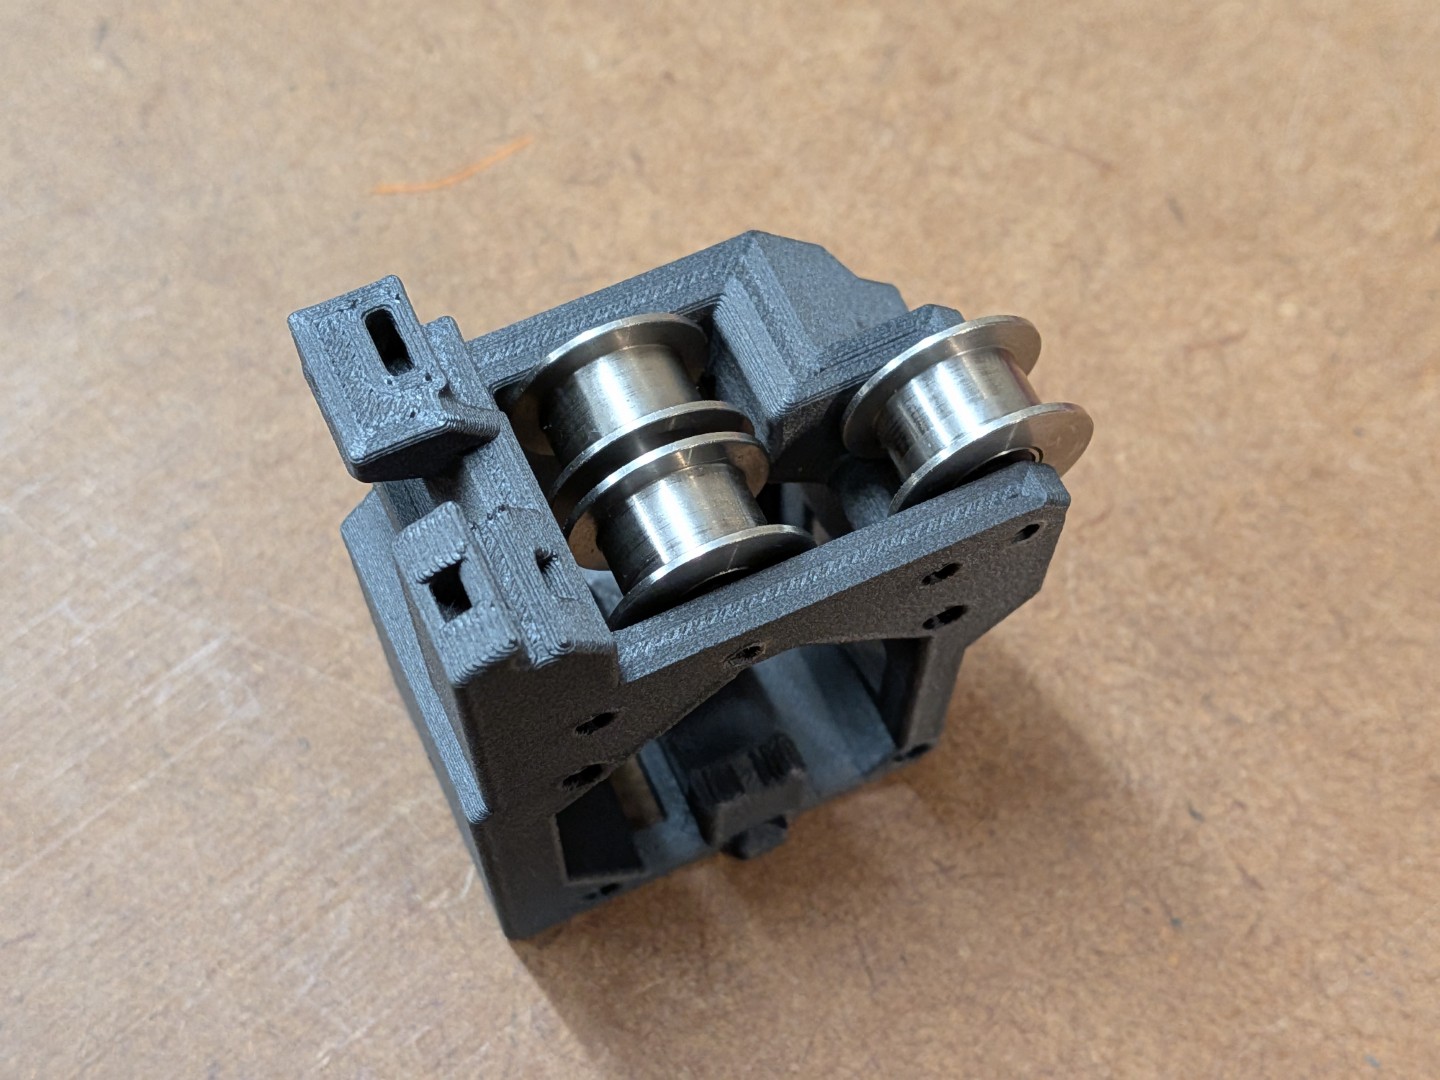 |
Assembly Process
Initial Pin Insertion
|
Idler Installation
⚠ If the alignment is not correct and you apply too much force you will push the bearing into the idler. This must be avoided. If it happens, replace the idler and if you are like me: Just order a spare one right upfront and chances are good that you won't mess it up.
|
Final Pin Installation
For all pins:
Be aware:
|
Quality Checks
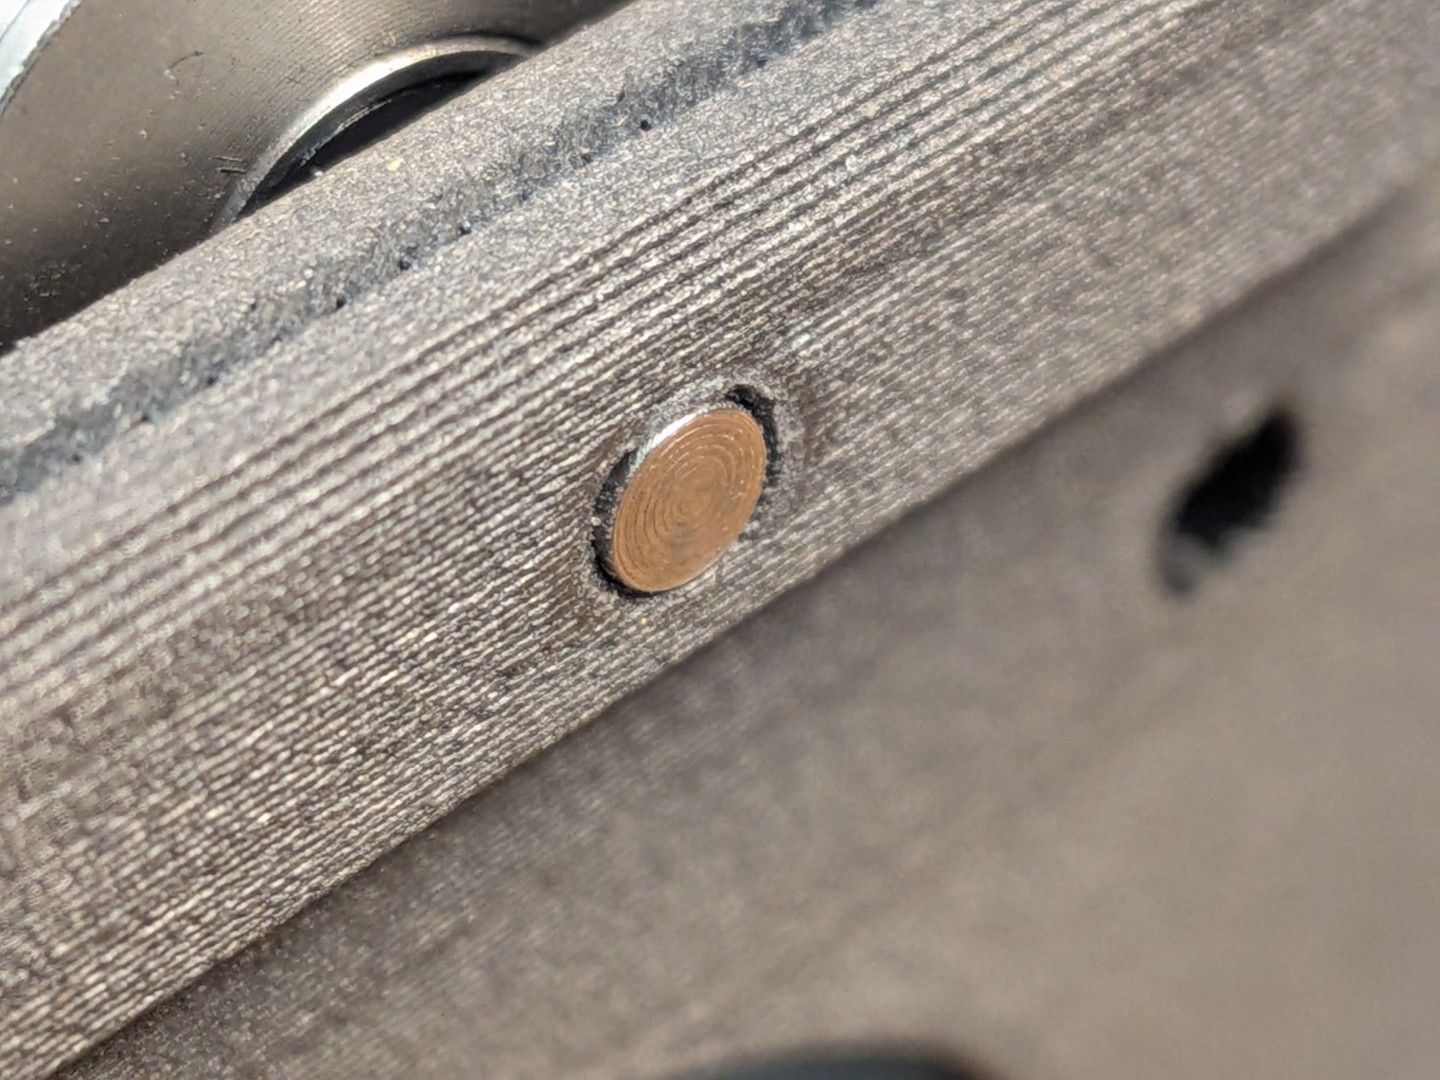
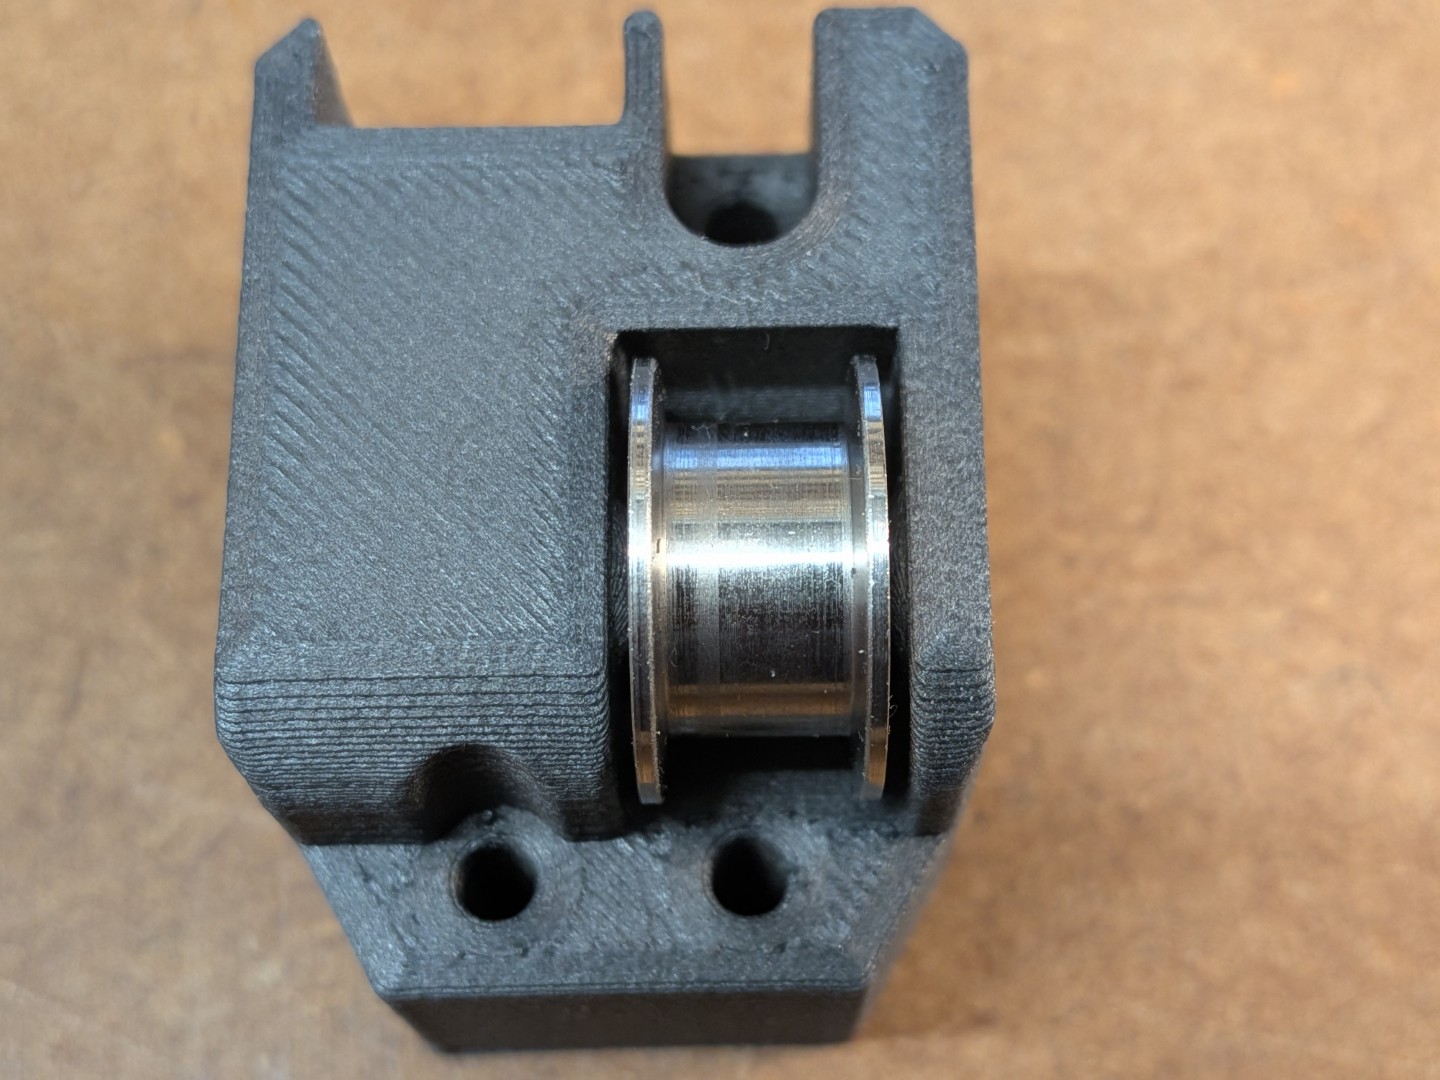
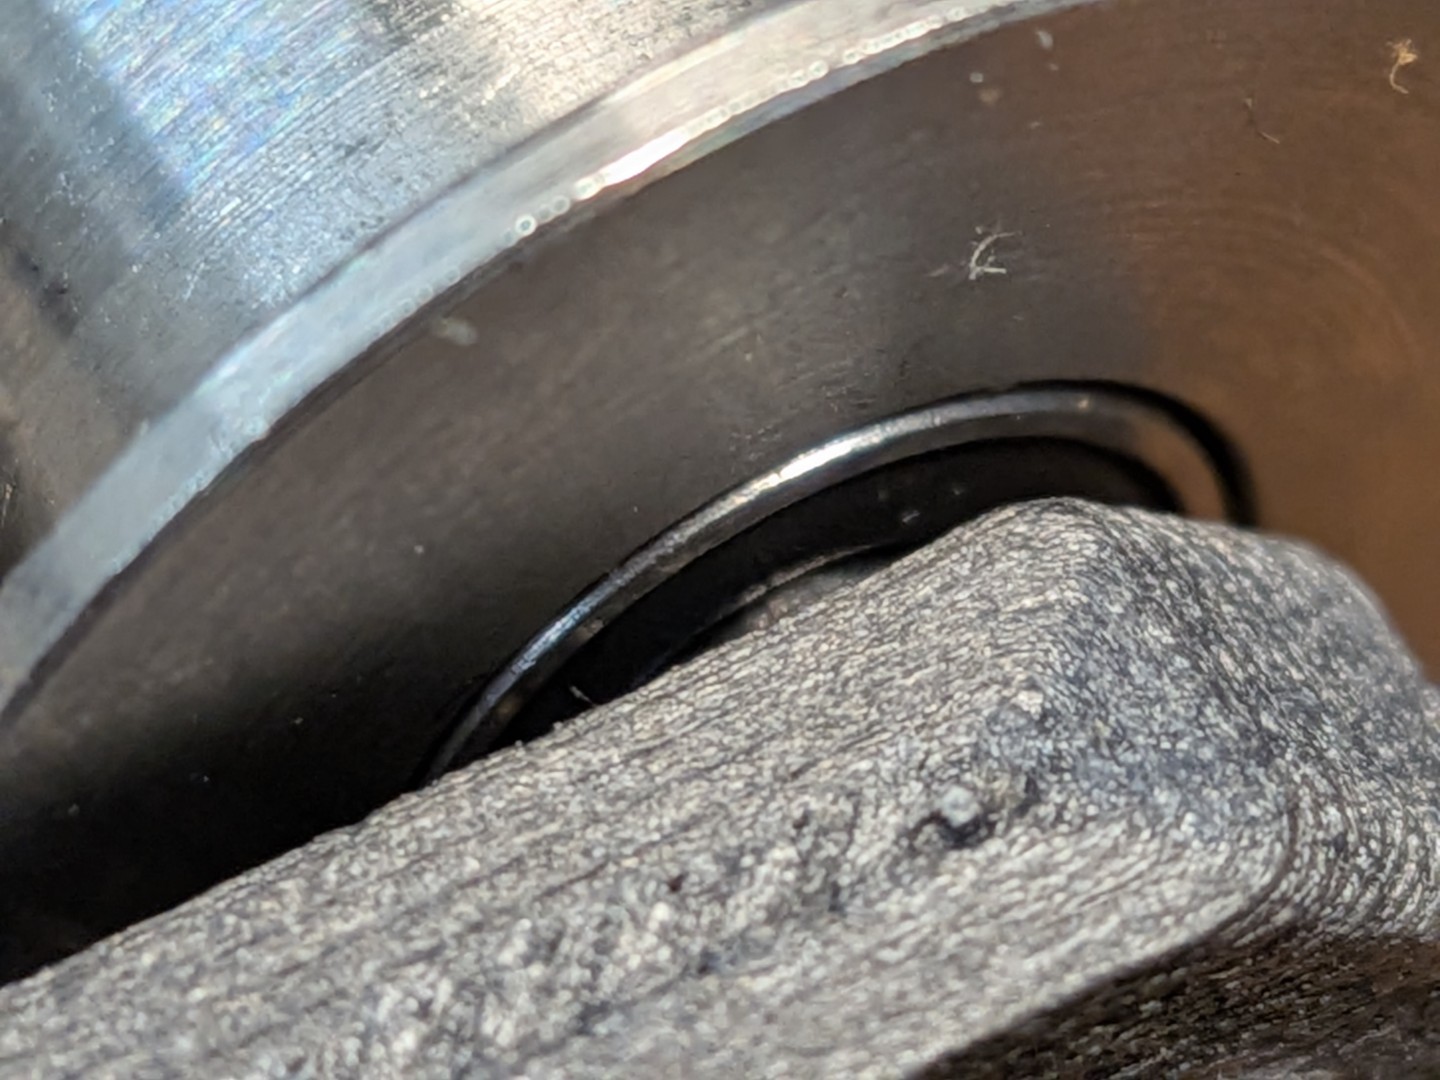
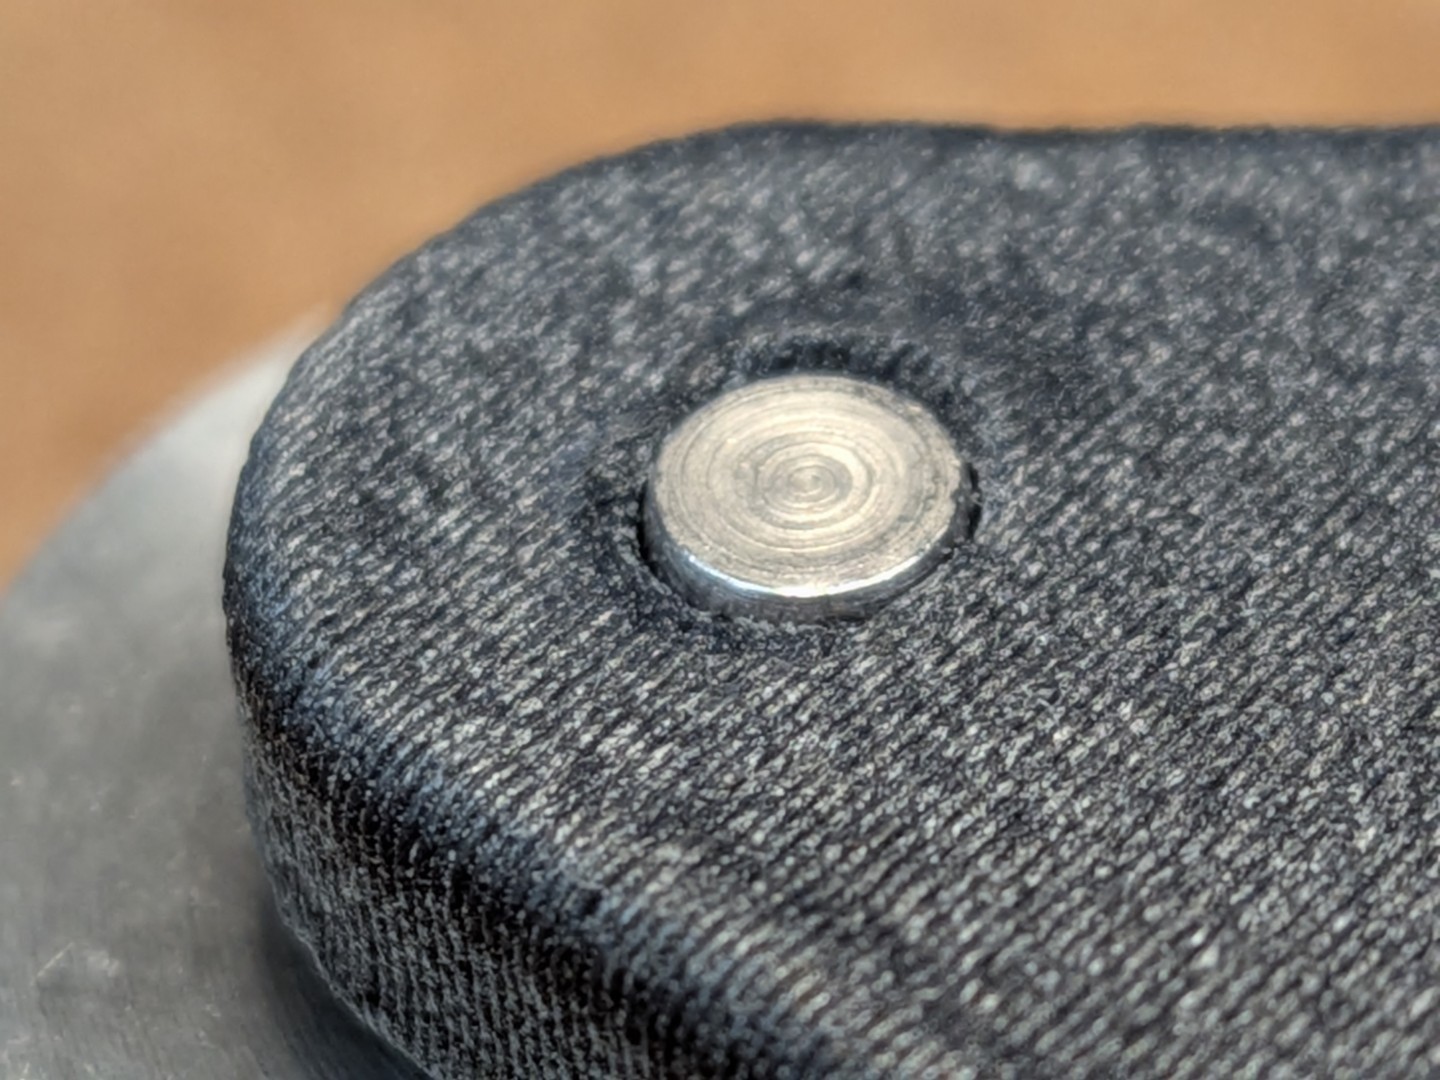
Verify that the pins are flush with the outer surface. | Confirm idlers rotate freely without binding. Check for proper alignment and smooth operation. | Check that the bearings are flush with the idlers. They must not be pushed inward. | Make sure the layers haven't separated. There should be no visible stress marks on the printed parts. |
 |  |  |  |
Print Settings
Recommended print settings:
Filament: PC-CF
Layer Height: 0.2mm
Infill: 40%
Perimeters: 4
Top/Bottom Layers: 5
Support: No
BOM
3mm Steel a Pins:
18mm: 3 pcs
20mm: 5 pcs
30mm: 2 pcs
Toothed Idler (Optional, 2pcs):
Core ONE/+: 2GT-20T: 2 pcs (e.g. these idlers by Mellow, option “20T with T”)
Core ONE+ Gen 2: 1.5 GT, 26 Teeth / 27 Teeth (max diameter 18mm!), 3mm Bore (for 6mm belt), 9mm width
Heat Set Insert (Optional):
M3x5x4 Heat Set Insert (Voron Spec): 2 pcs
CAD Files and Customization
Parametric CAD files are provided for this modification. All components have been modeled from scratch (no mesh remixes) to ensure optimal precision, fit, and performance.
File Formats Available
Autodesk Fusion 360 (.f3d) - Full parametric model with design history
STEP files for universal CAD compatibility
STL files ready for printing
Customization Capabilities The Fusion 360 files include custom parameters that allow easy modification:
Pin Diameter Adjustment: Fine-tune inner diameters for perfect pin fit
Bearing Clearances: Modify tolerances for different bearing brands
Dimensional Scaling: Adapt for different printer tolerances
Design Variations: Create your own variants and improvements