
Illuminated lithophane mounts with tutorial
We calculate the final price from your selected file. You review and accept it before payment.
Saved on this device.
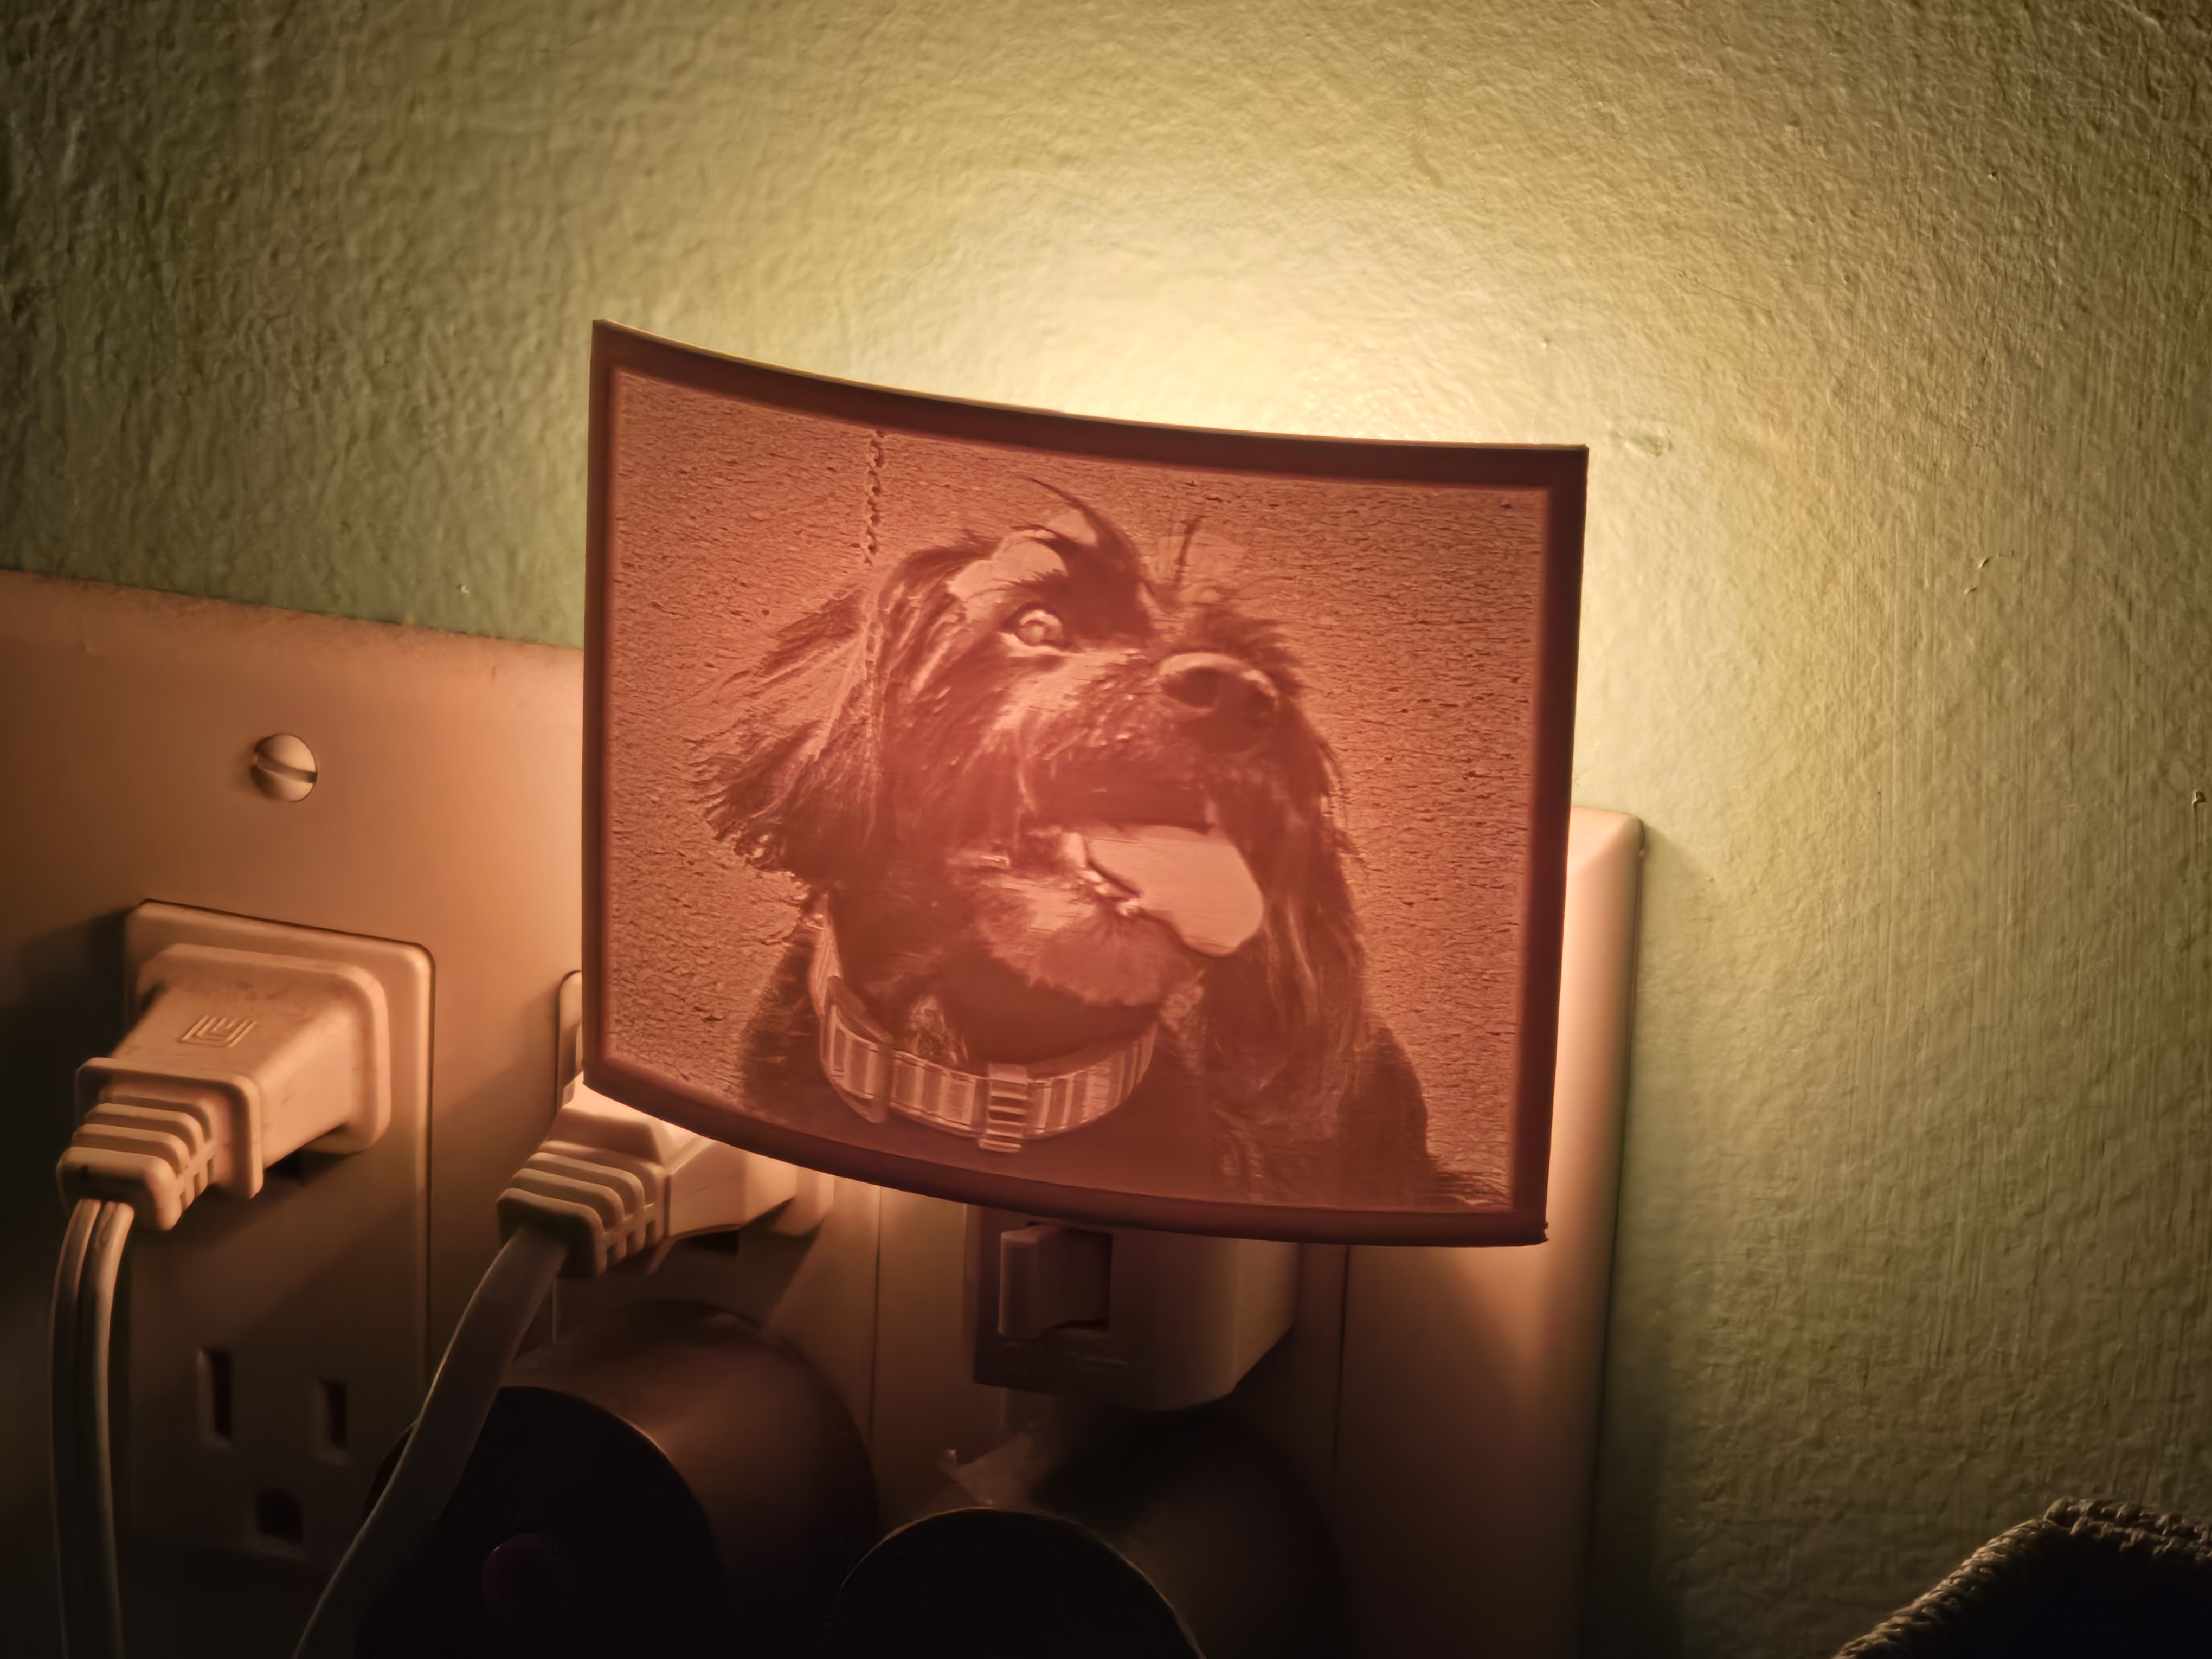
Turn a photo into a nice illuminated lithophane!
- Rating
- 0 / 5
- Likes
- 1
- Downloads
- 7
- Makes
- 0
- Views
- 84
- Reviews
- 0
Updated at source:
Model information
- Source
- Printables
- Category
- Other Art & Designs
- License
- BSD License
Here's a model with a tutorial to make a nice illuminated lithophane!
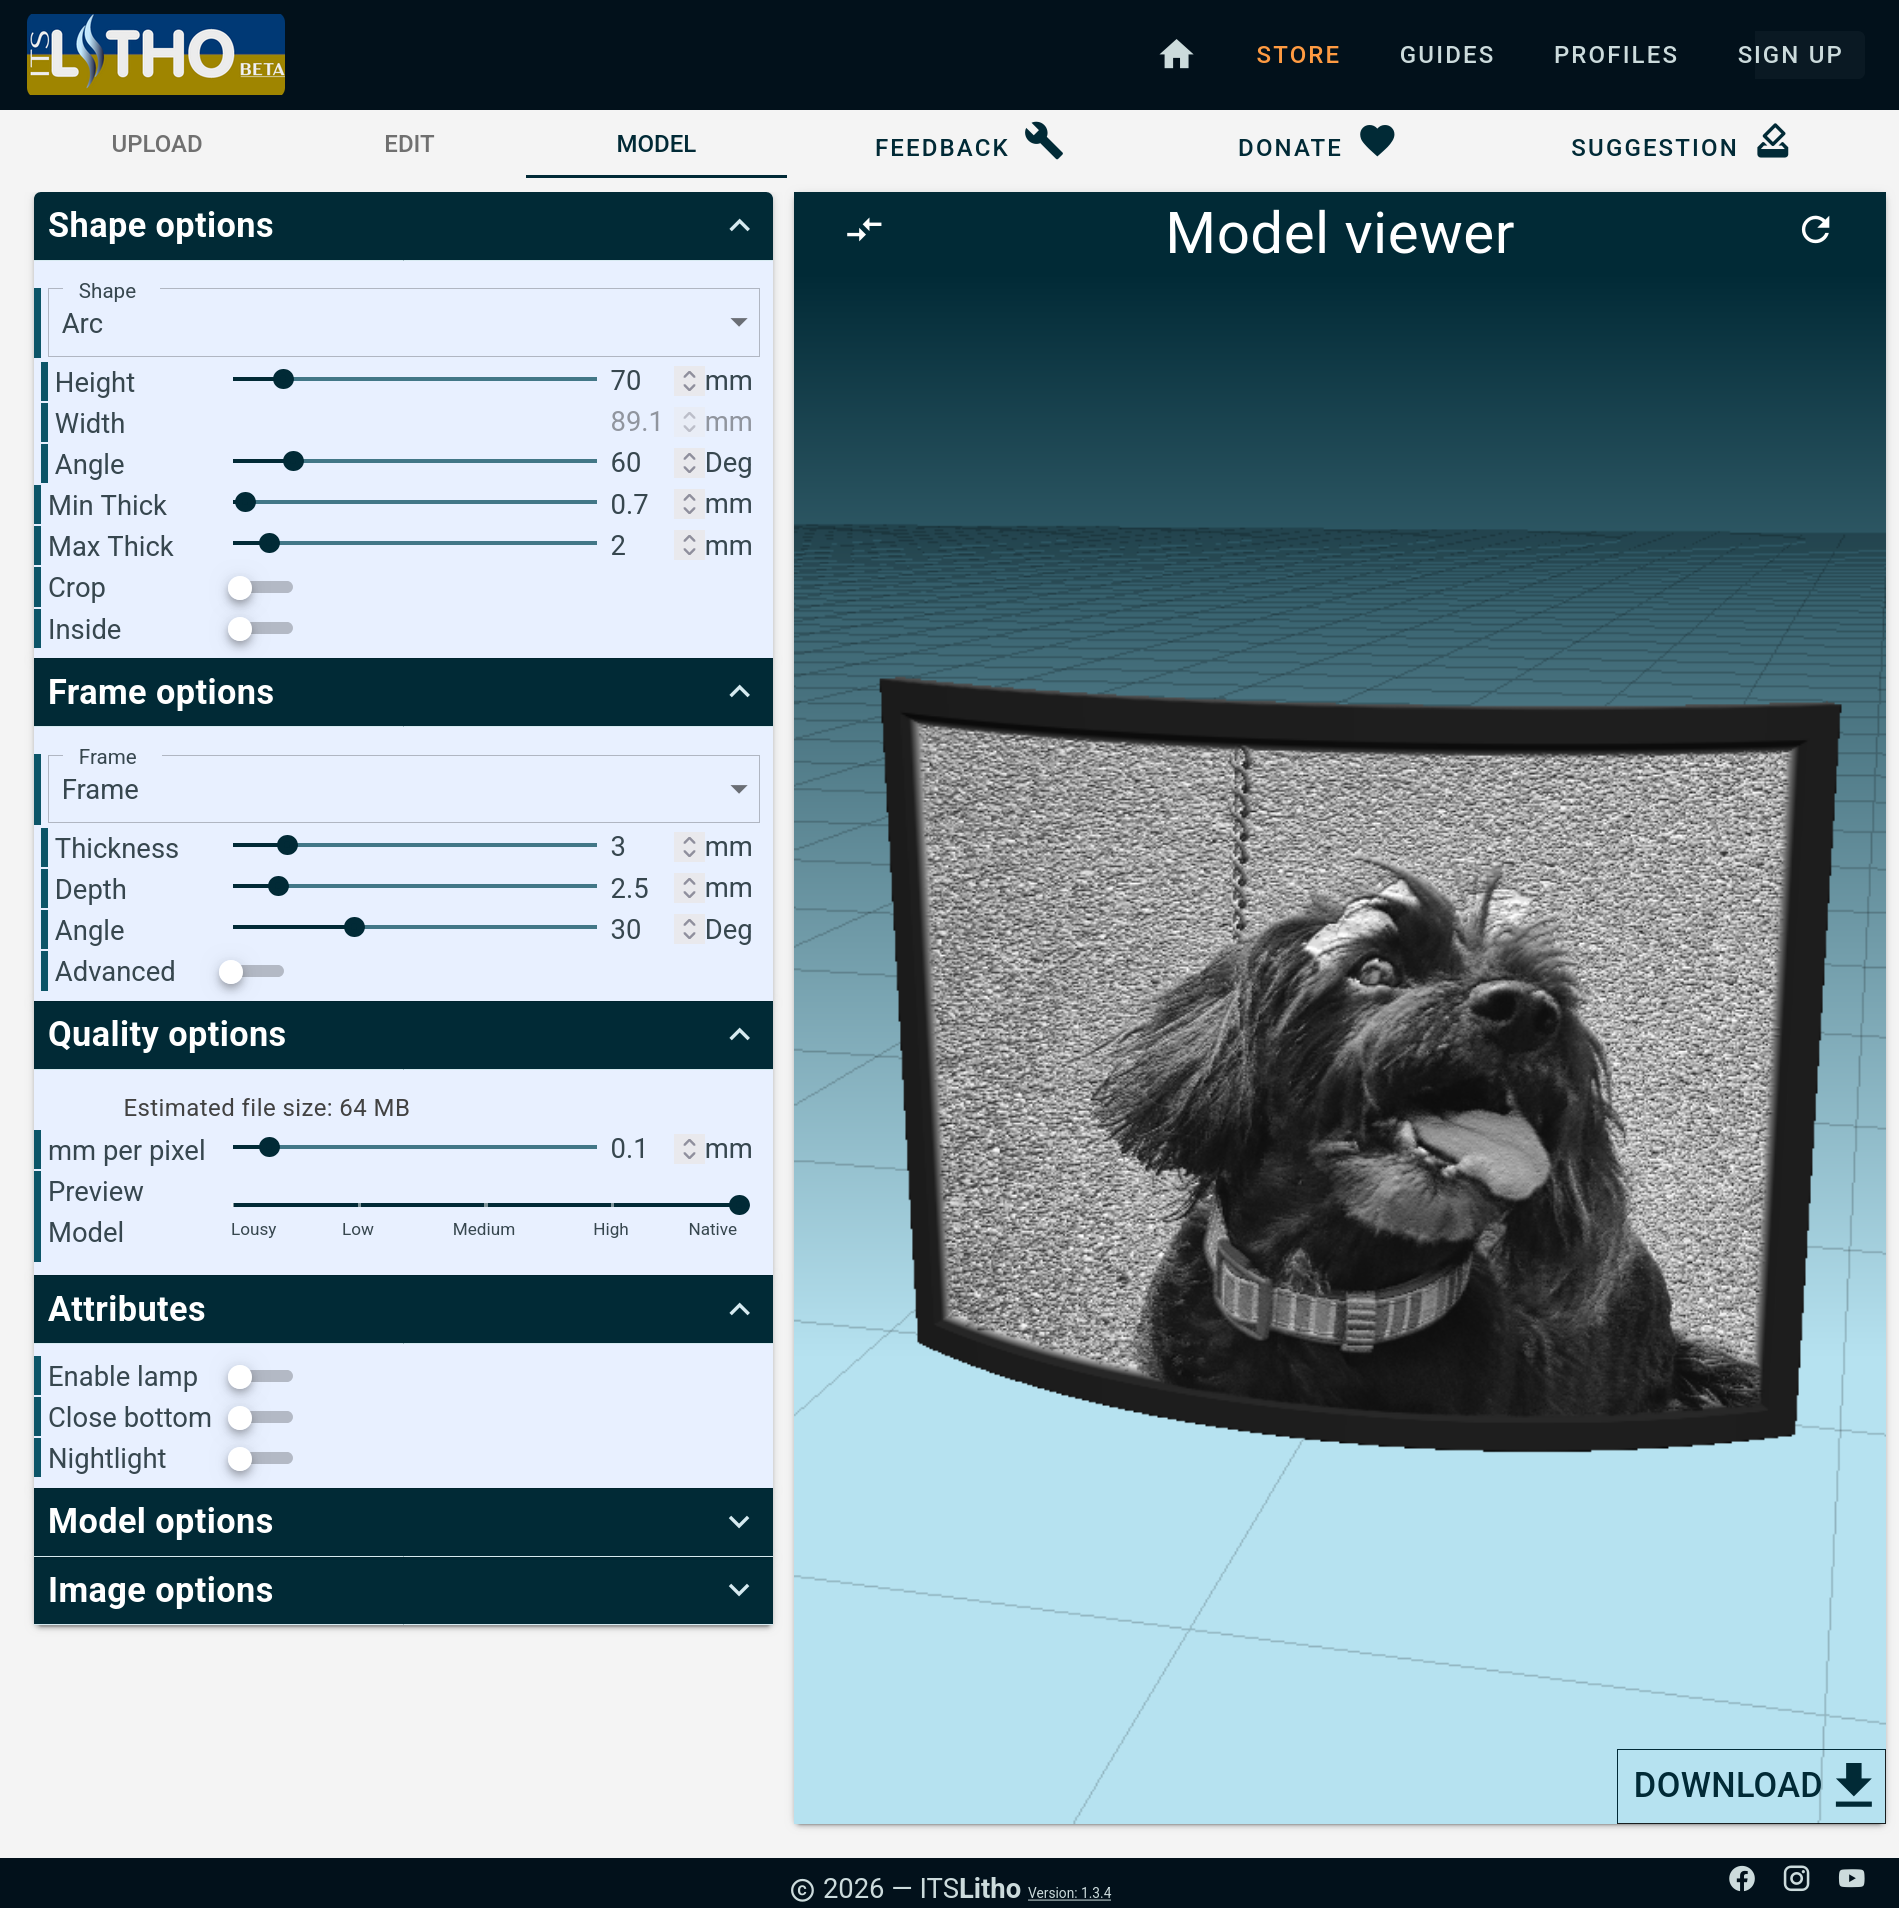
Head to https://tool.itslitho.com and upload your picture, then set these attributes:
Shape options
Attribute | Value |
|---|---|
Shape | Arc |
Width | 89.1 mm |
Angle | 60 deg |
Min Thick | 0.7 mm |
Max Thick | 2 mm |
Frame options
Attribute | Value |
|---|---|
Frame | Frame |
Thickness | 3 mm |
Depth | 2.5 mm |
Angle | 30 deg |
It should look like this:
Then, click on the download button on the bottom right, and place it in your slicer.
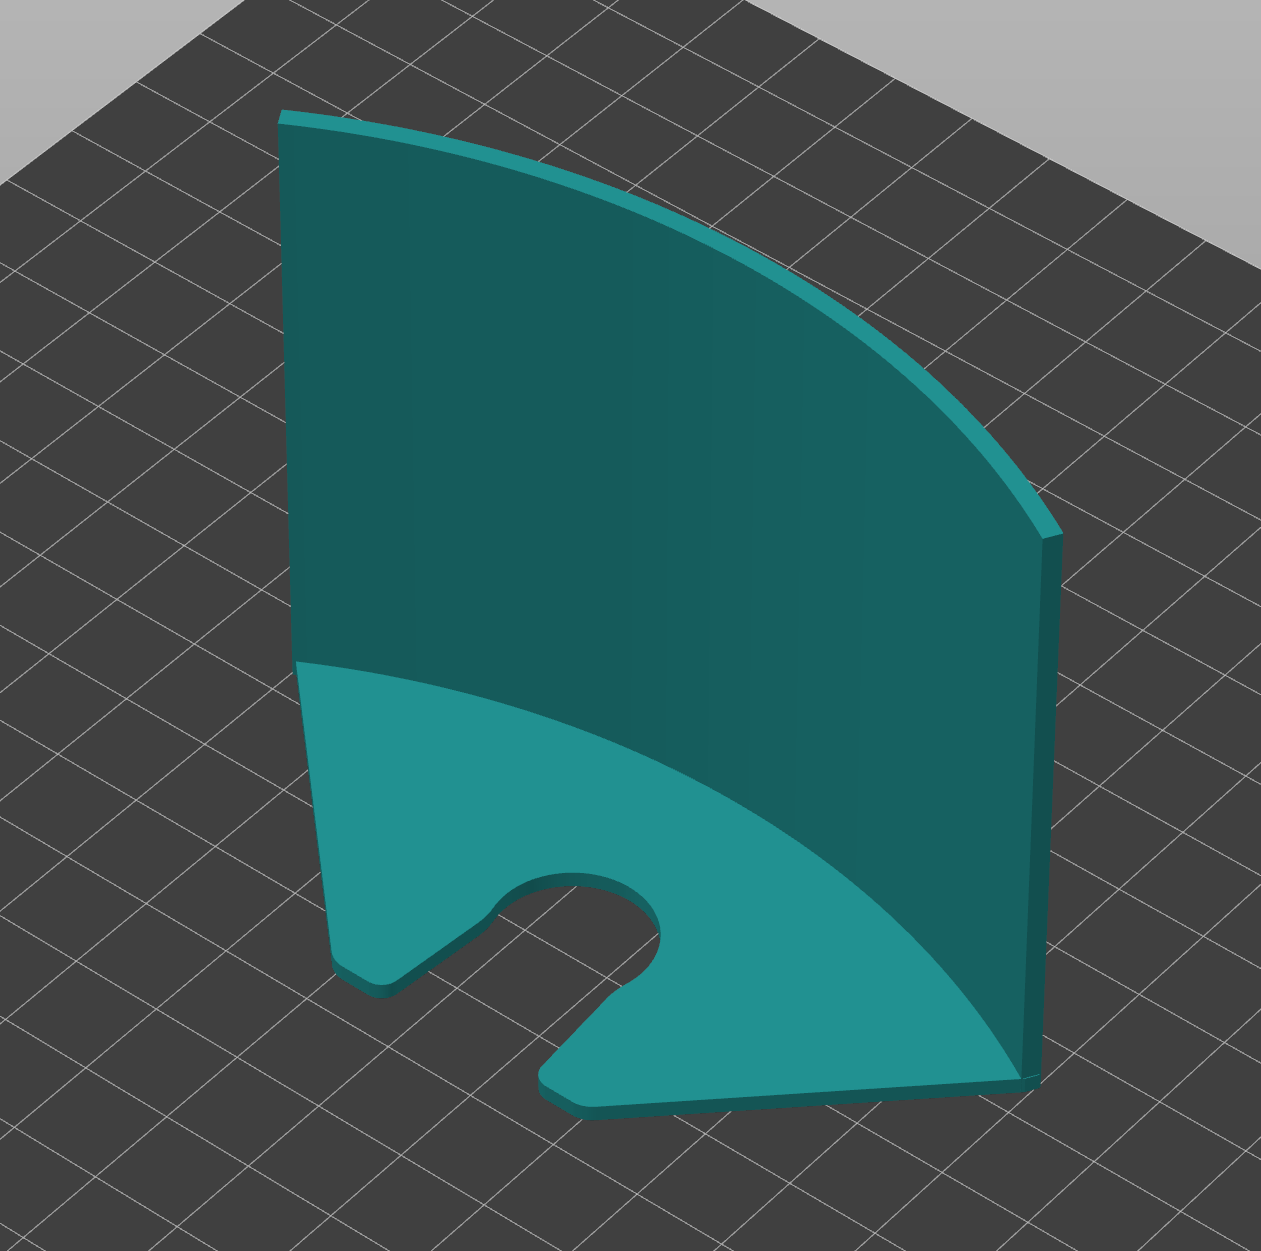
To build a night light, download the night light file and arrange the lithophane to fit on the model like so:
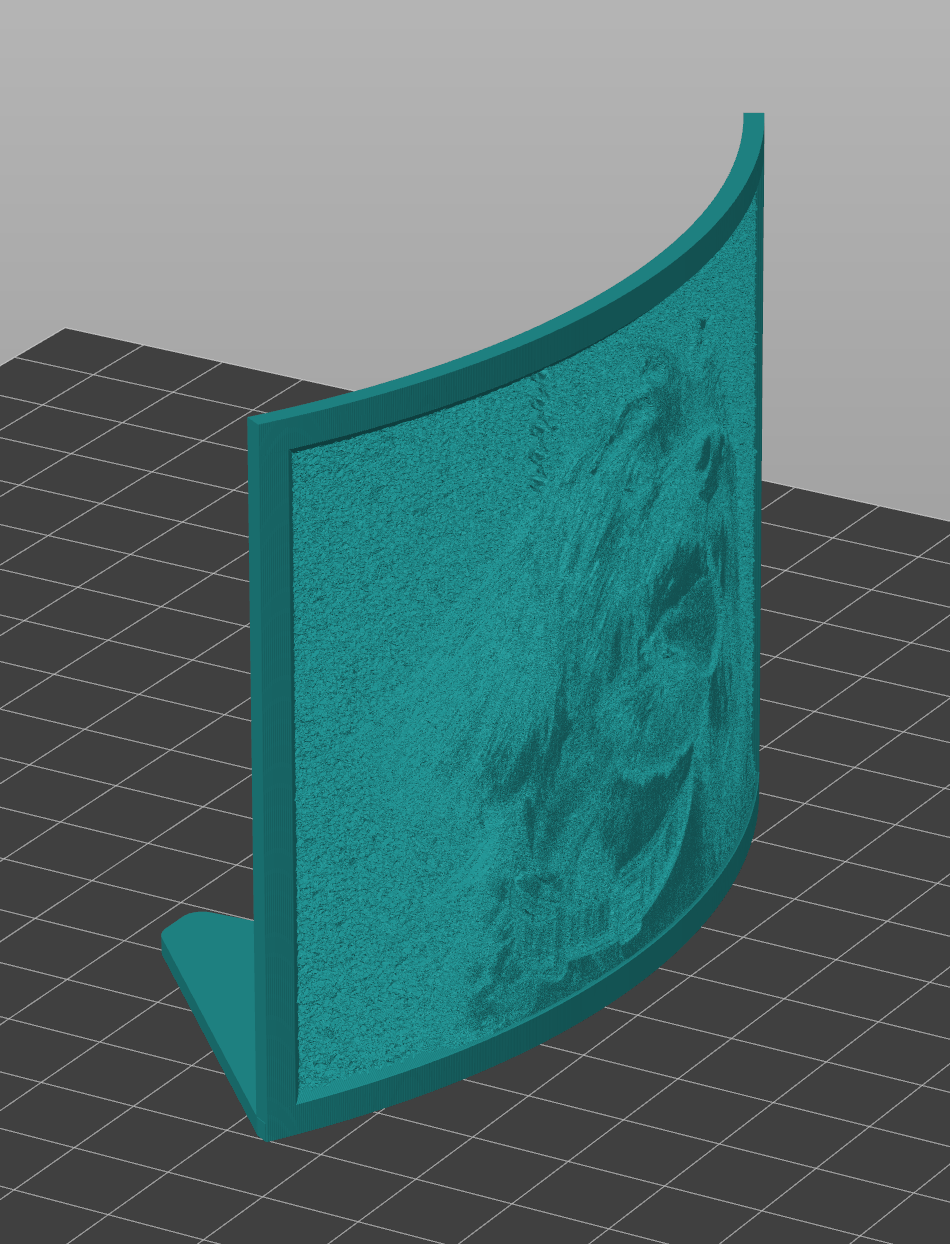
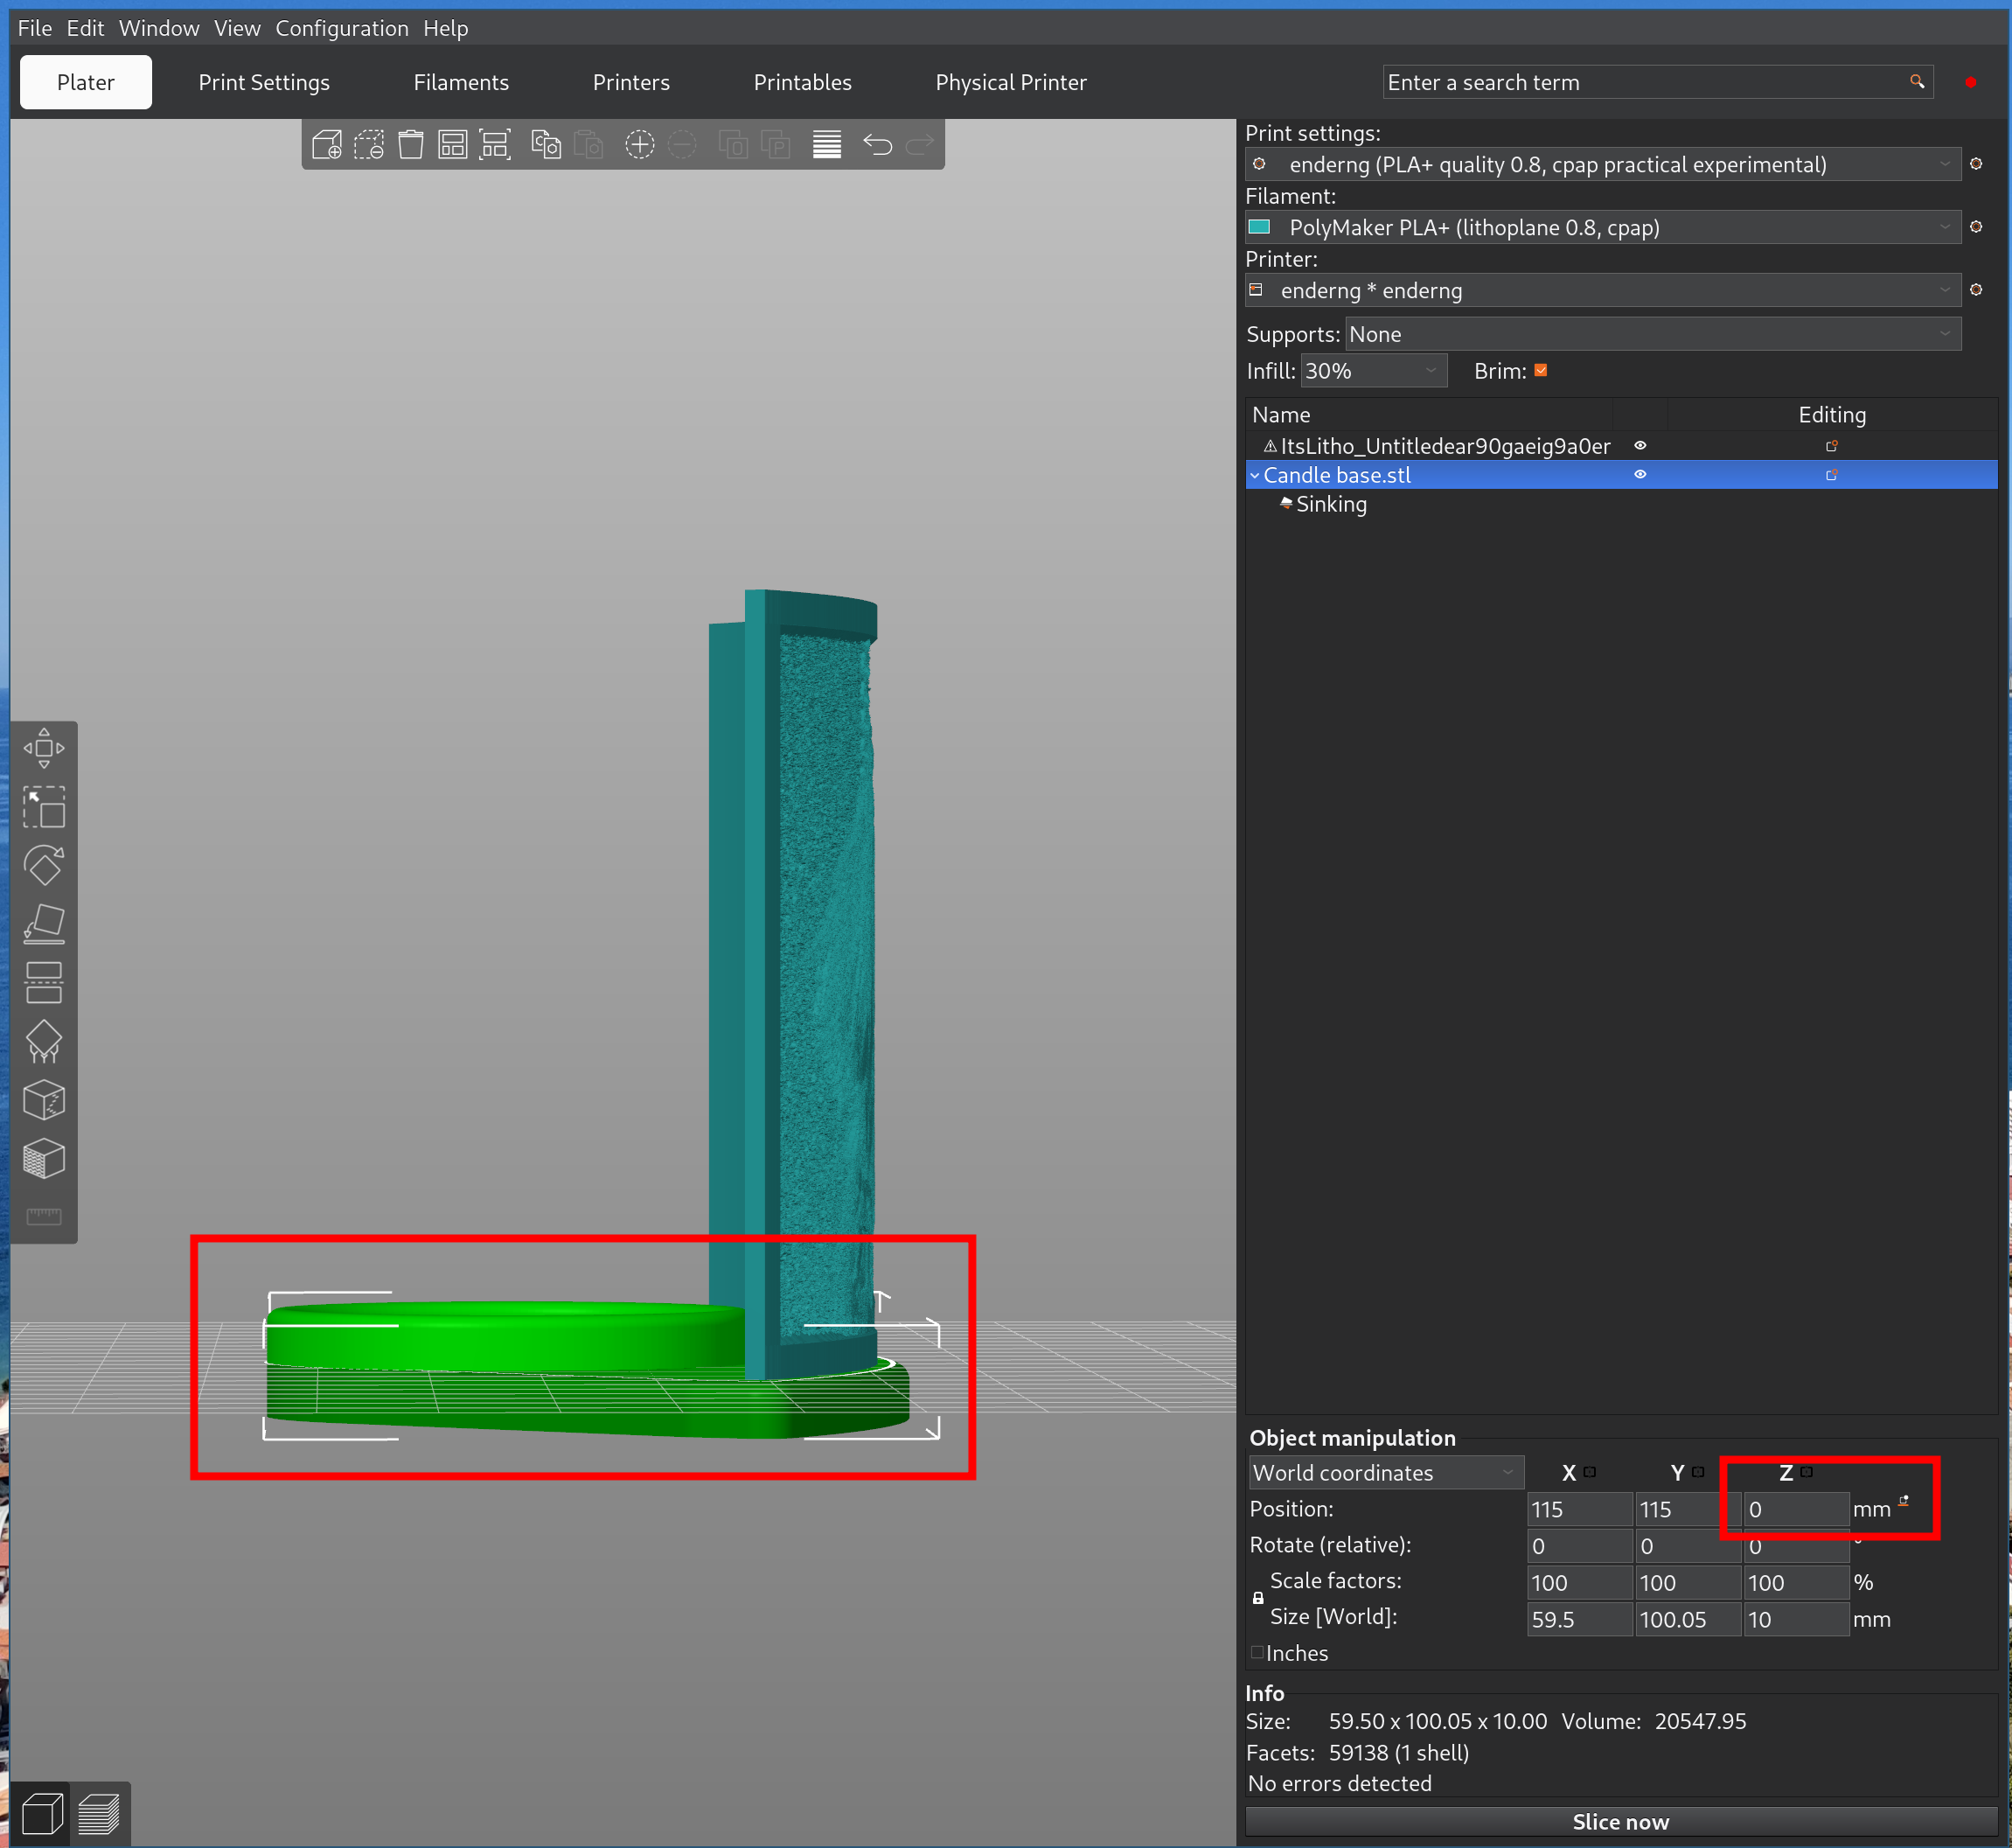
To get the lithophane to stack on top of the candle base in Prusa Slicer, move the base to the 0 mm Z position so that the flat spot is right at the bed surface, like so:
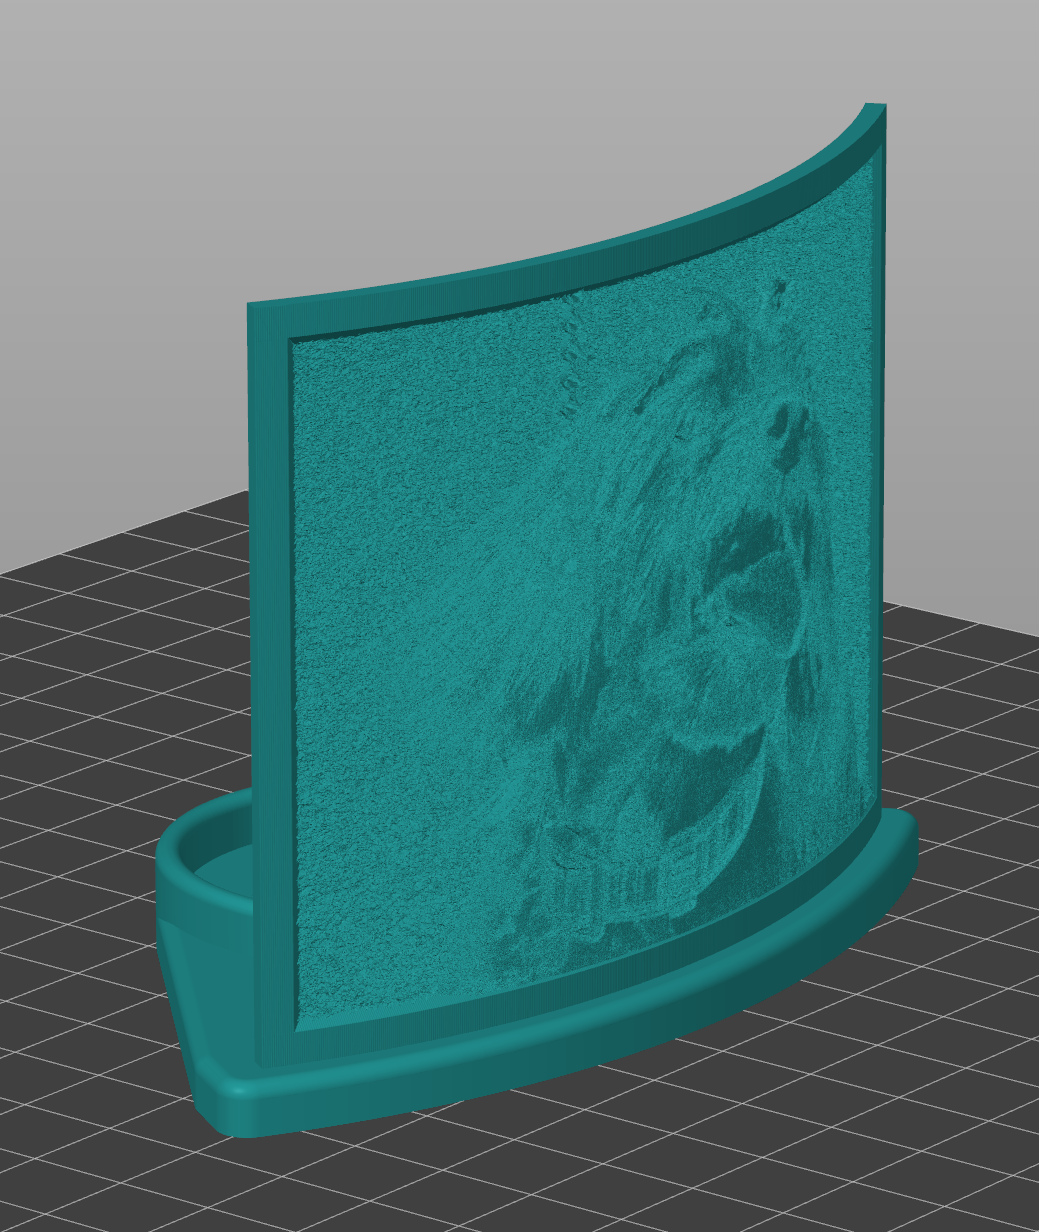
Then, select both objects, right click, merge them, and move the object's Z to be back on the bed. The model will look like this:
For best results, print at a slow speed at a low temperature with plenty of part cooling. Use a 0.08 layer height for the best-looking texture.
Use a light filament, like eSUN white PLA: https://www.amazon.com/dp/B0CS2XHNKL
If you're making a night light, you can attach it to one of these: https://www.amazon.com/dp/B0BCCB1XT2
The tea candle holder holds 1.5" candles, like these: https://www.amazon.com/dp/B0CCRKPSF9