
1 / 6
Ender 3 BLTouch Mount
Order a print of this model
We calculate the final price from your selected file. You review and accept it before payment.
Saved on this device.

Fits the BLTouch and 3DTouch for Ender 3 or Ender 3 PRO
- Rating
- 4.895 / 5
- Likes
- 152
- Downloads
- 3,299
- Makes
- 22
- Views
- 10,155
- Reviews
- 19
Updated at source:
Model information
- Source
- Printables
- Category
- Creality Parts & Upgrades
- License
- Creative Commons — Attribution — Noncommercial — Share Alike
Special features
- The Extruder Fan Cover can be removed independently (no need to also remove the BLTouch mount), thus maintaining the probe Z offset
- Optimized cable placement.
- Small and sturdy design.
Updates
3 February 2023 - Lowered the mount by 1.5 mm for more optimal BL-Touch height
Part list
- BLTouch-Mount (1x)
- M3n nut (2x)
- M3x8 screw or longer (2x)
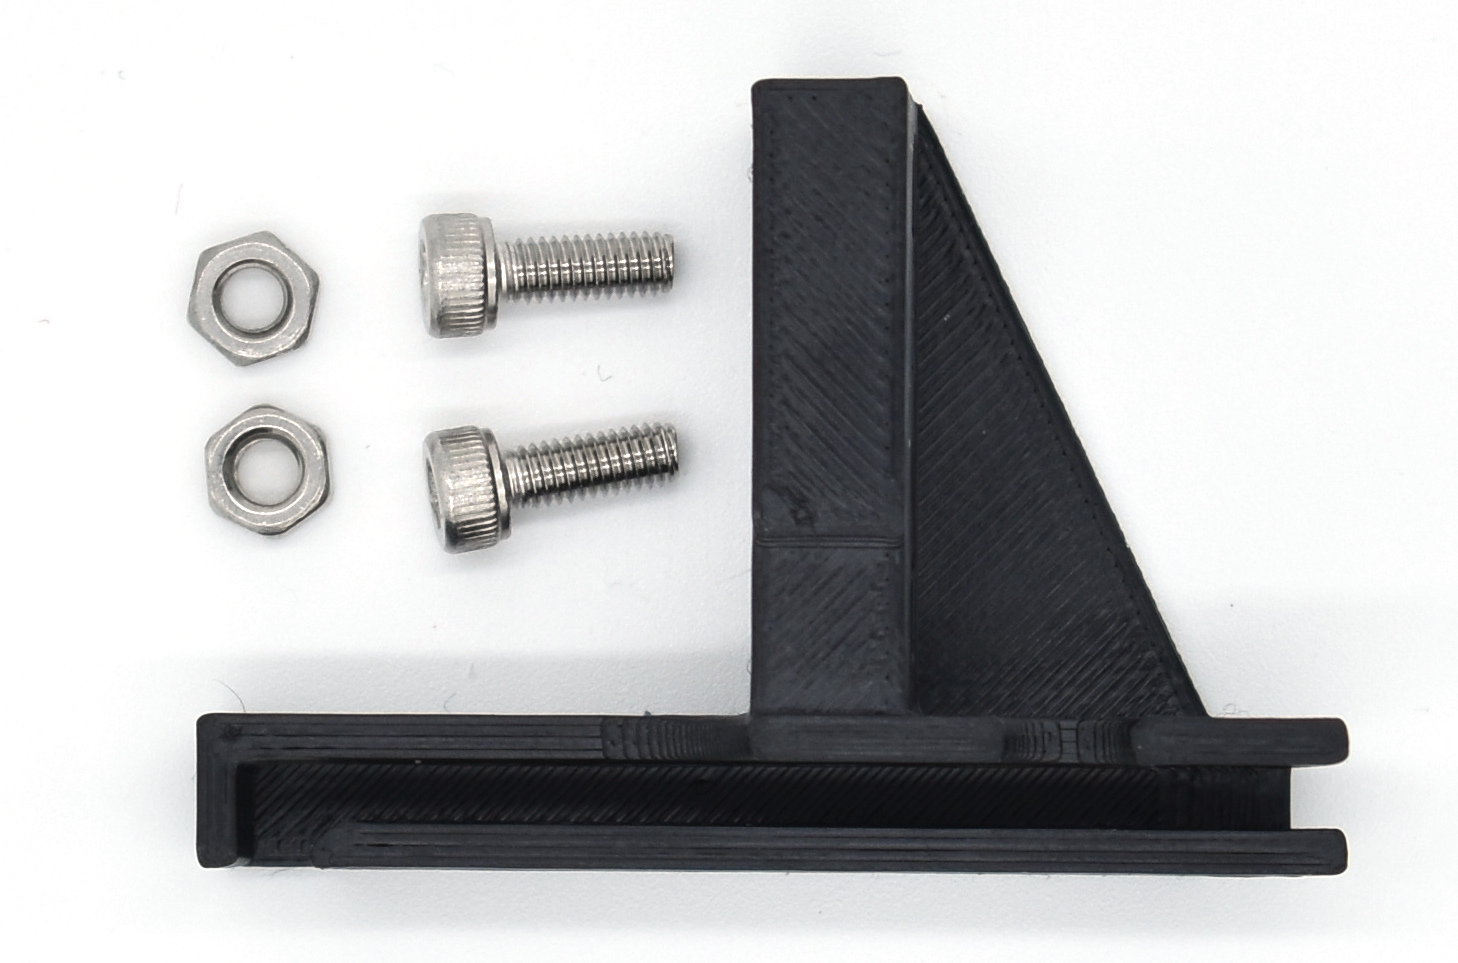
Assembly instructions
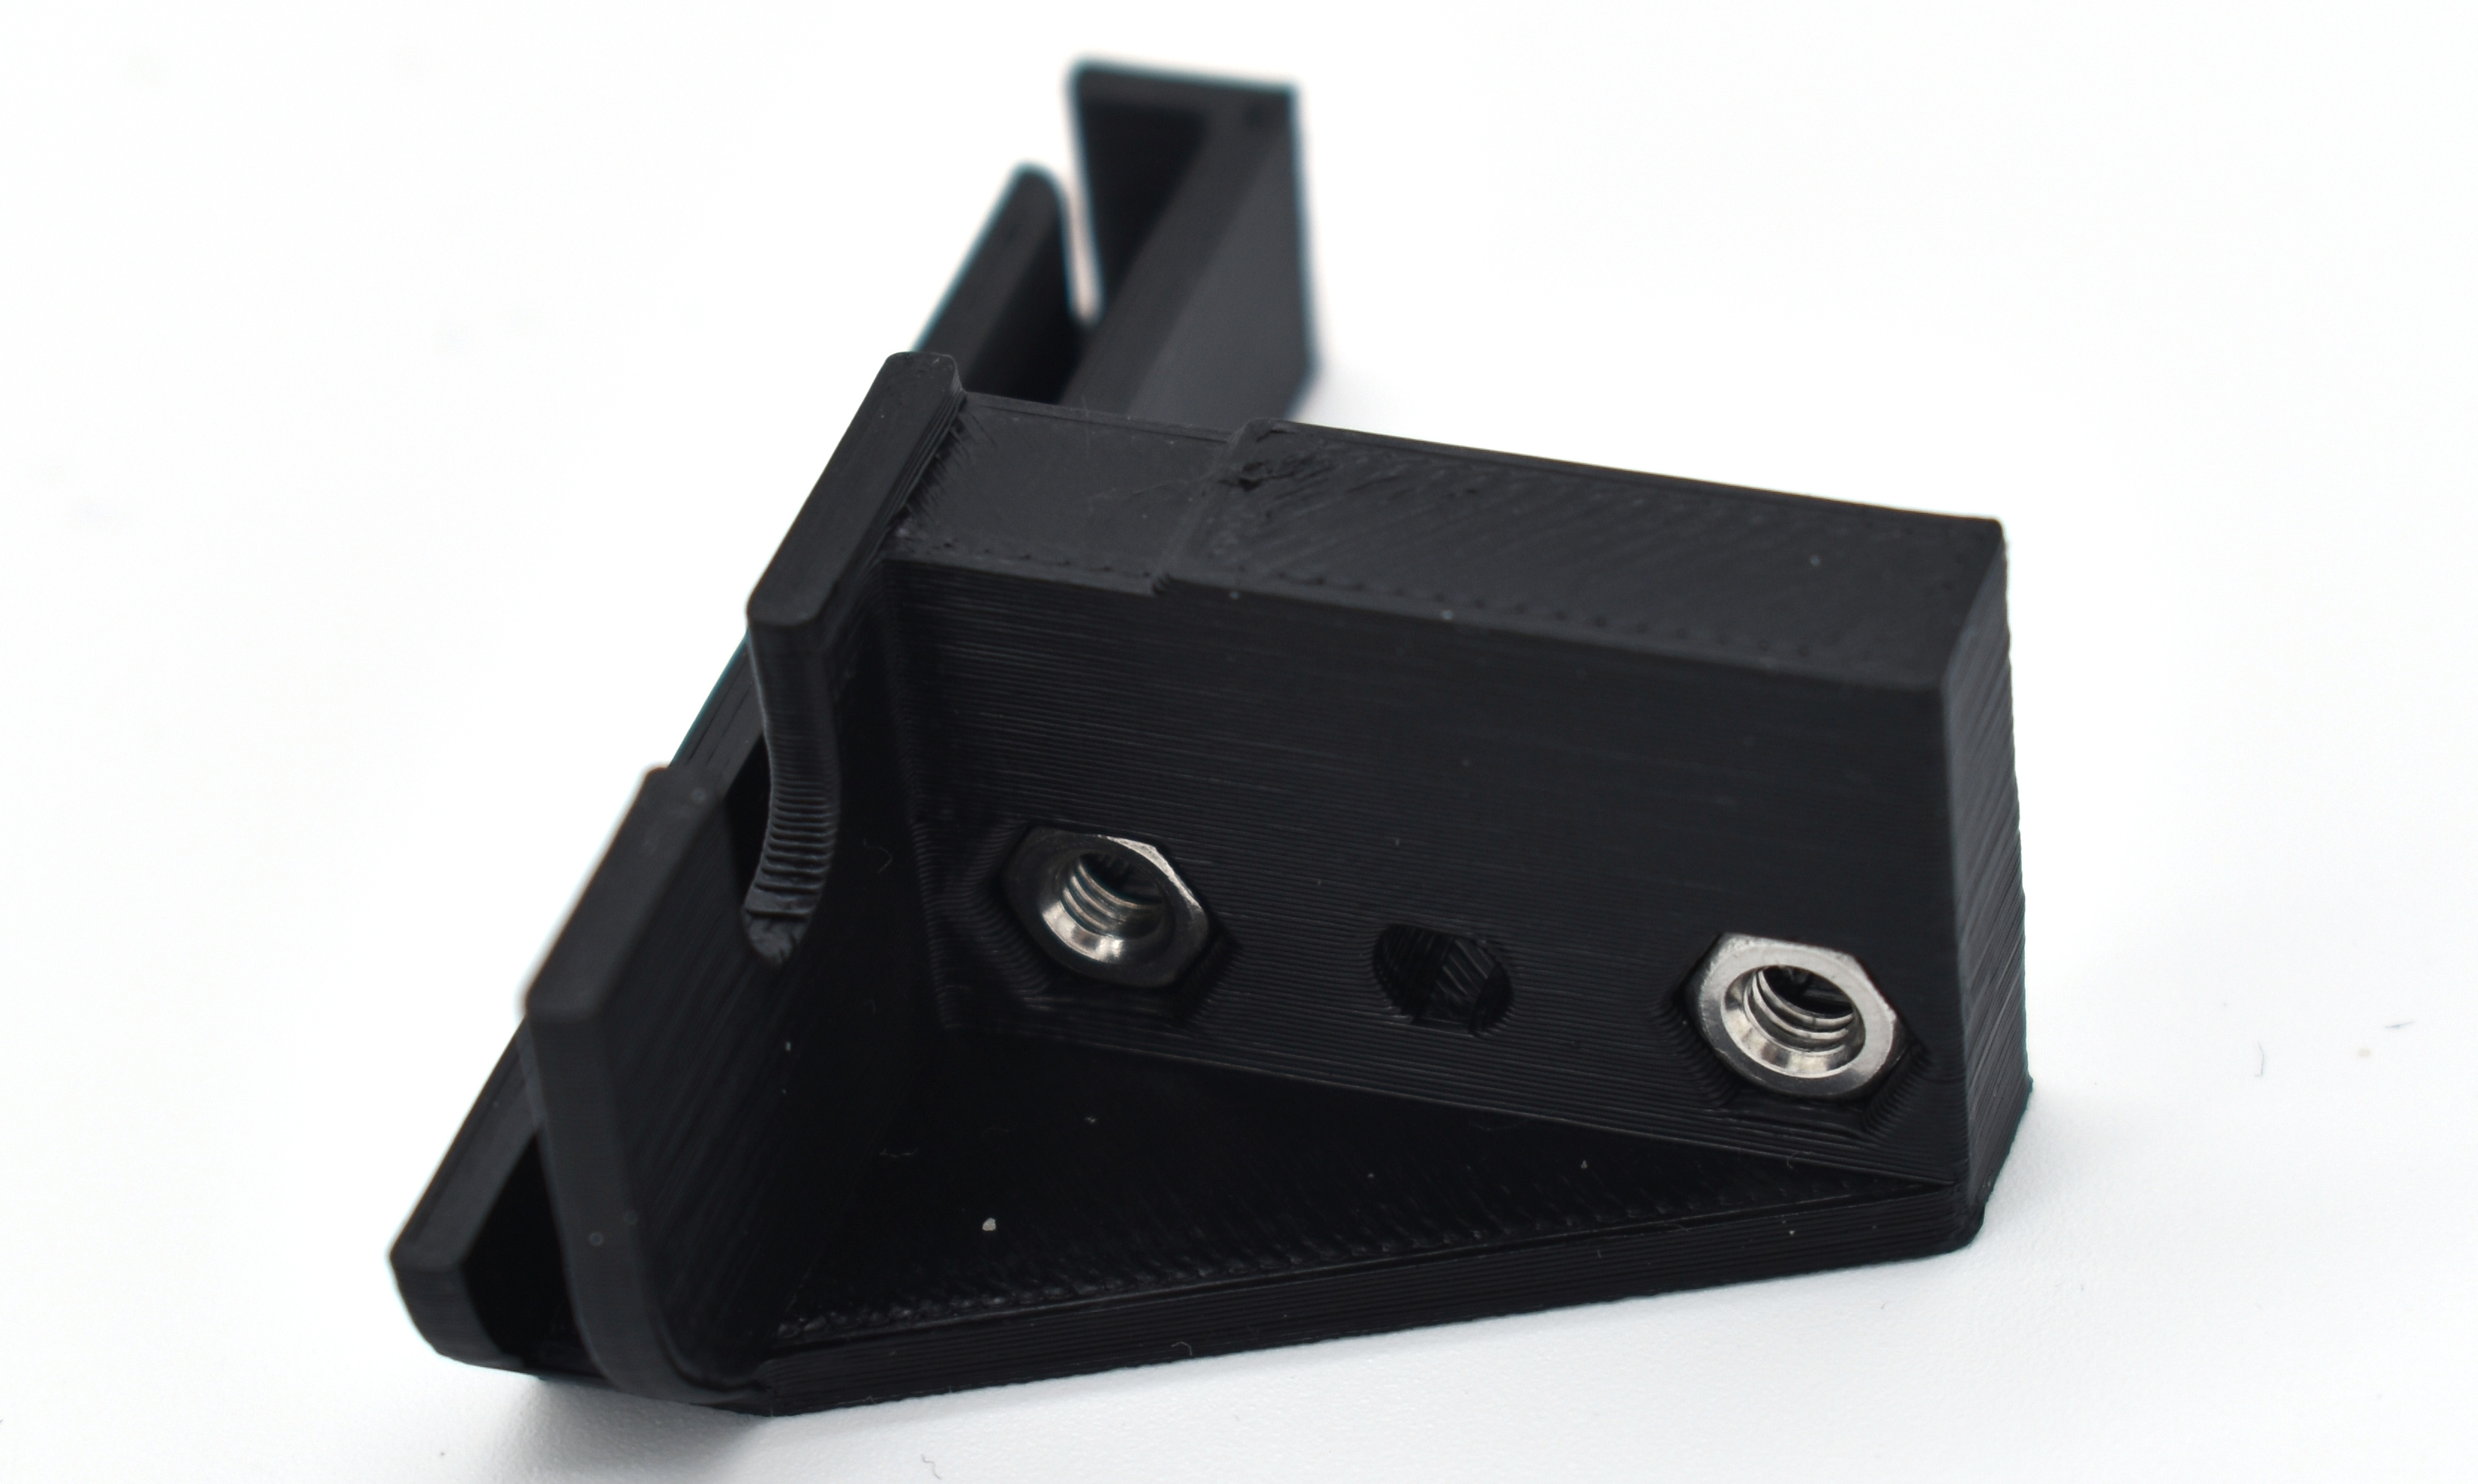
Step 1 Nut insertion
- Insert the two M3n nuts in the BLTouch-Mount.
- Pull the nuts with a screw to ensure proper insertion.
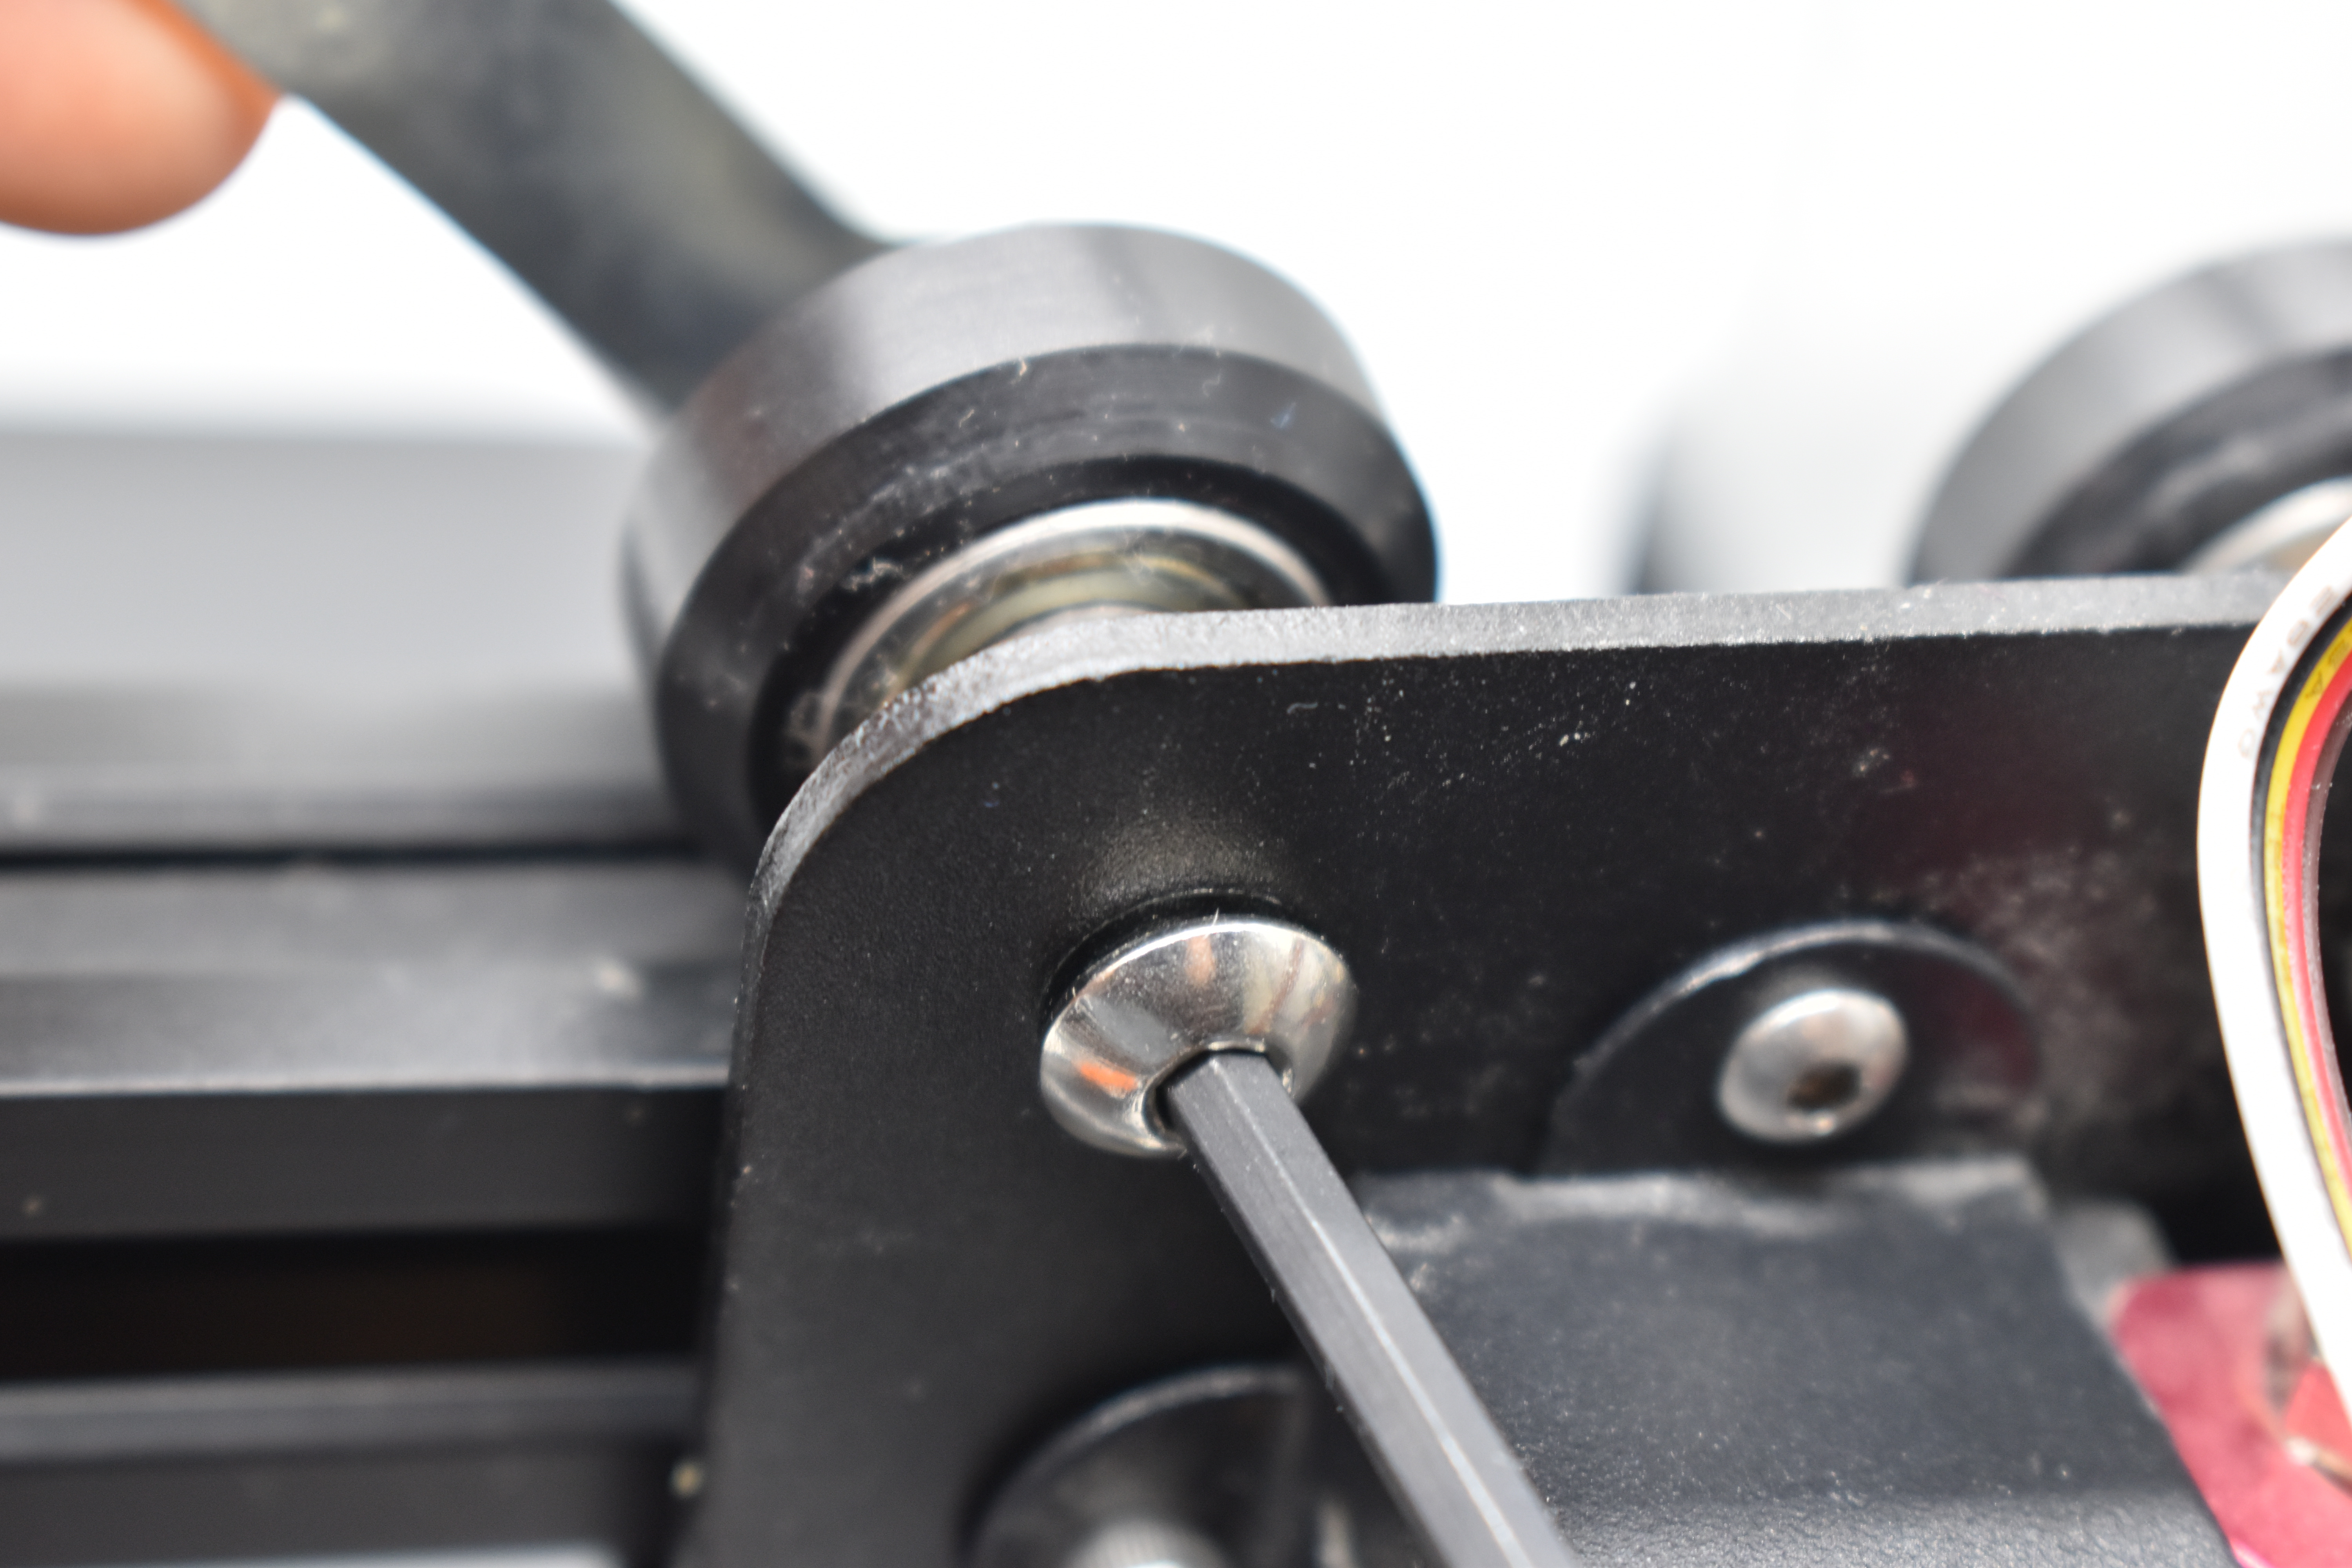
Step 2 Ender 3 preparation
- Using a wrench and an allen key, unscrew the top left screw enough to slide the BLTouch-Mount in.
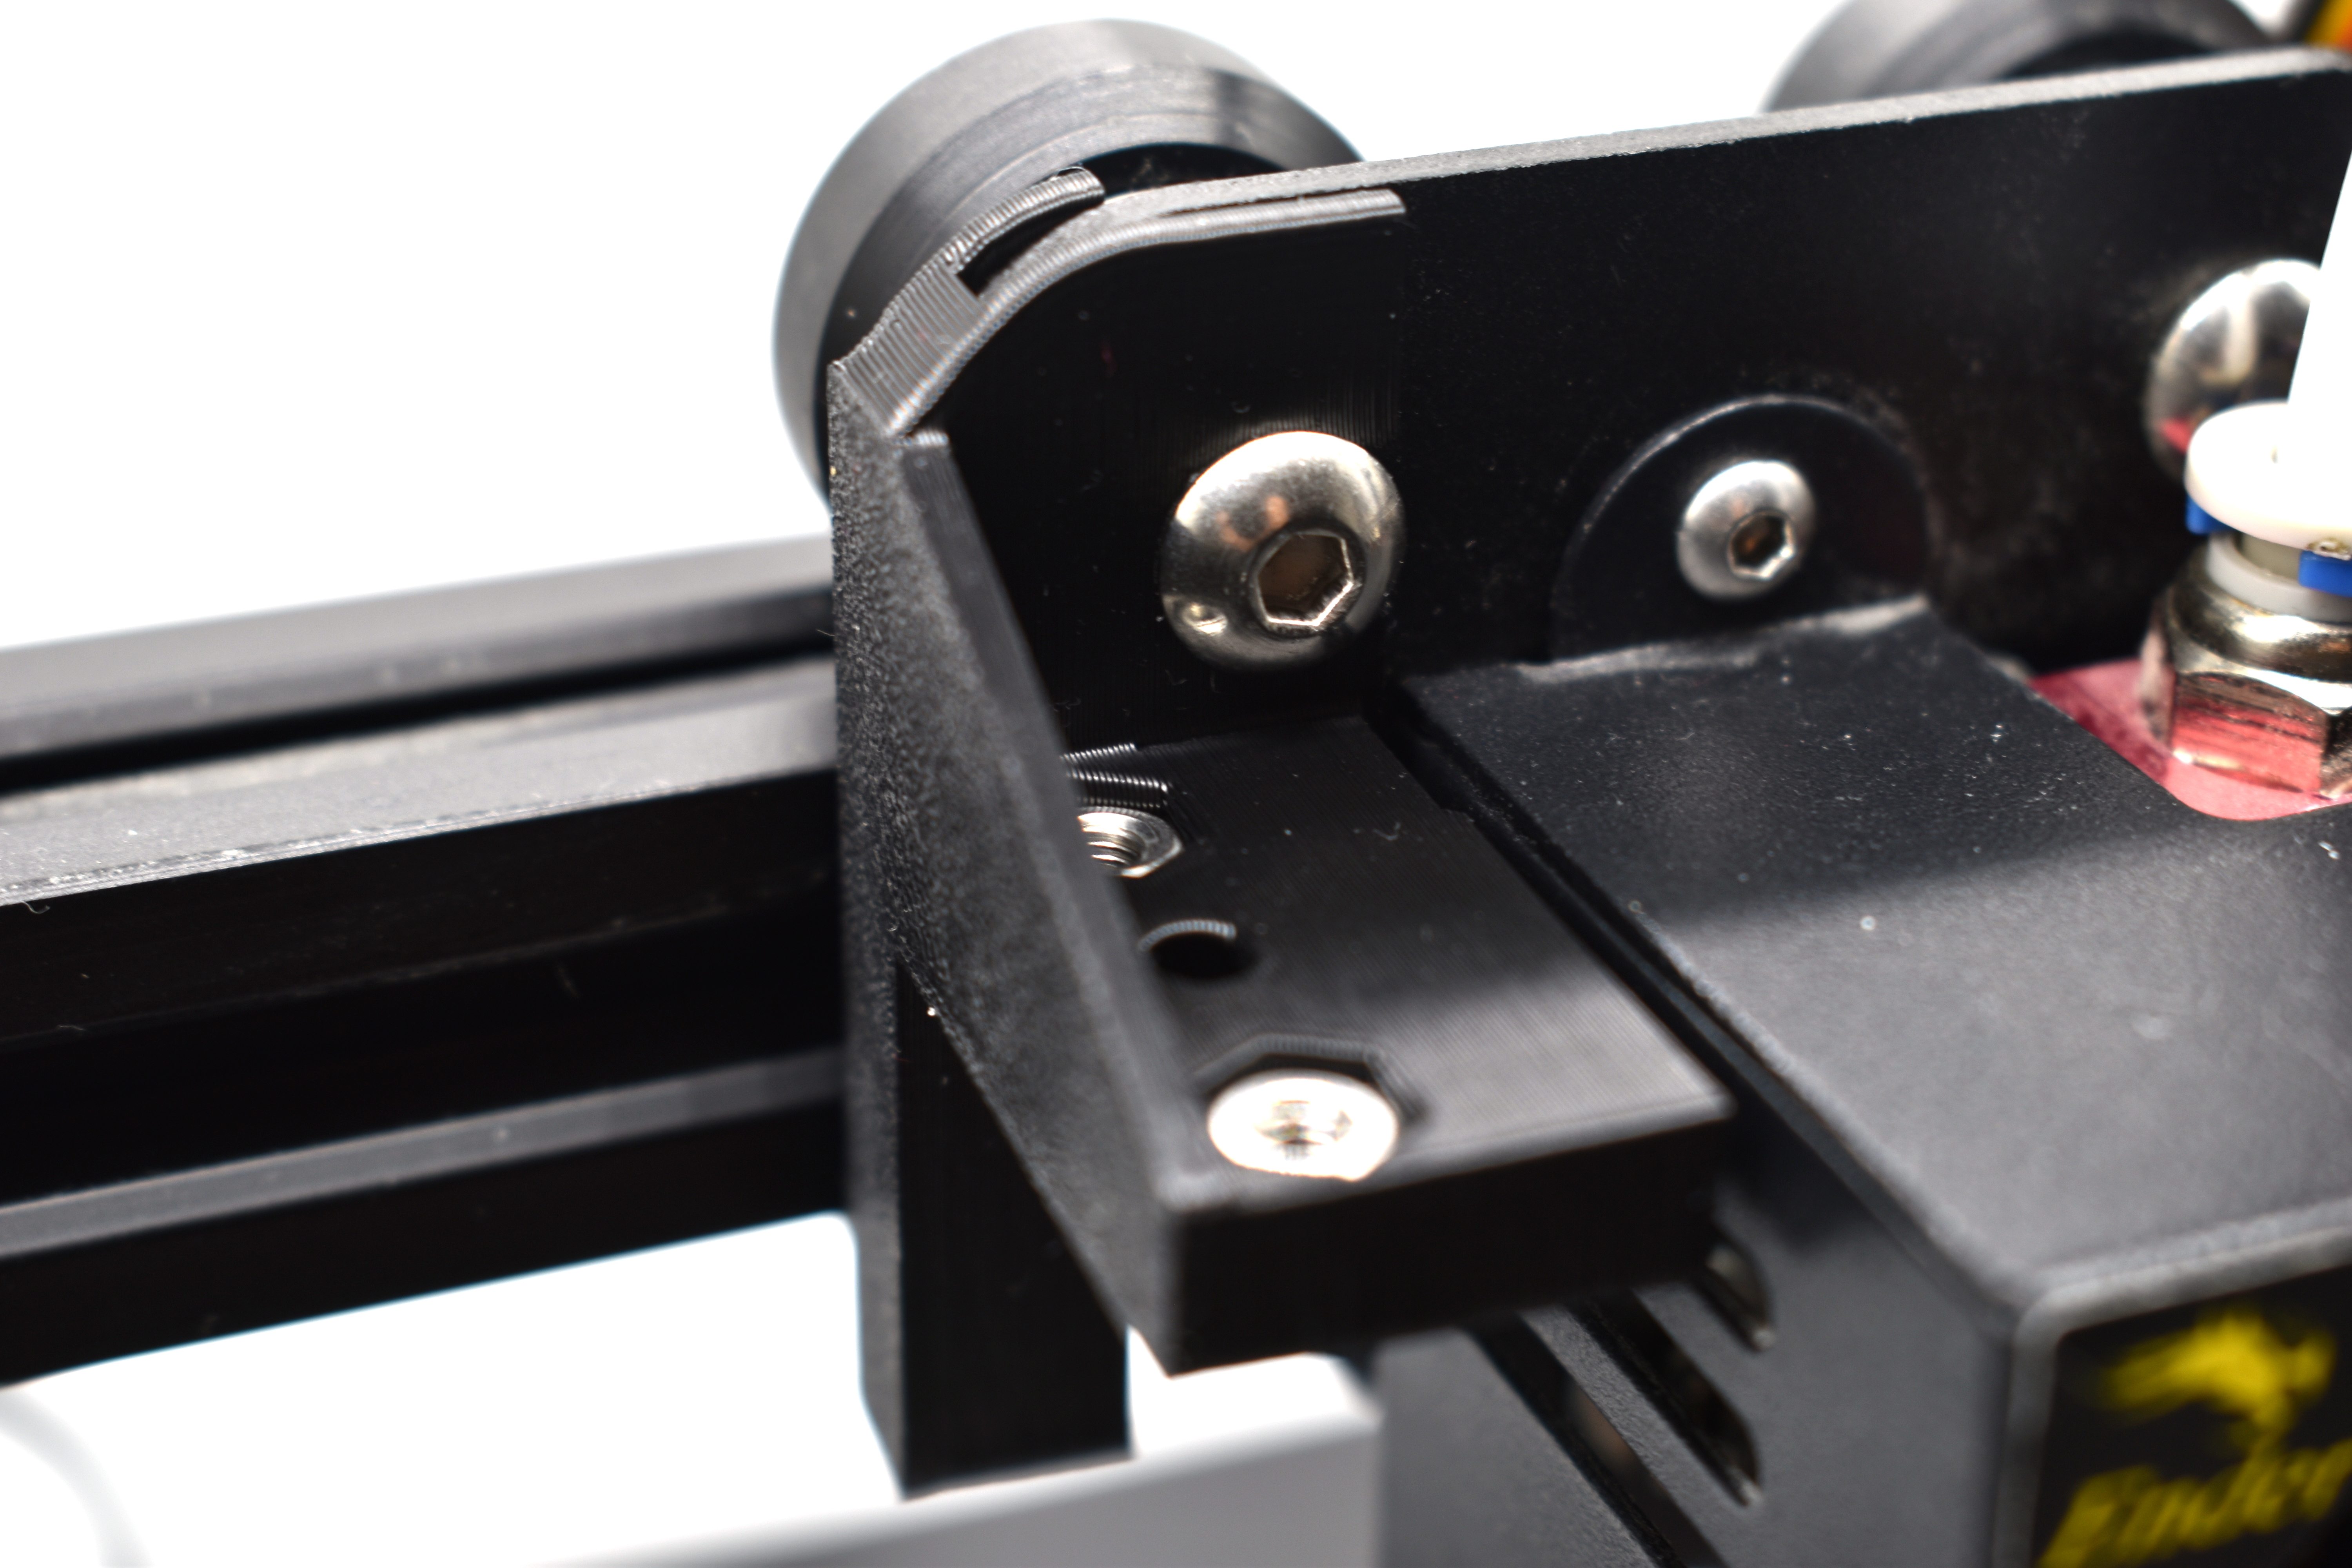
Step 3 Mount installation
- Install the BLTouch-Mount by sliding it in to place.
- Secure it in place by tightening the previously untightened screw.
Step 4 BLTouch preparation
- Slide the BLTouch wire through the slot in the picture.
- Align the holes on the BLTouch with the ones on the mount.
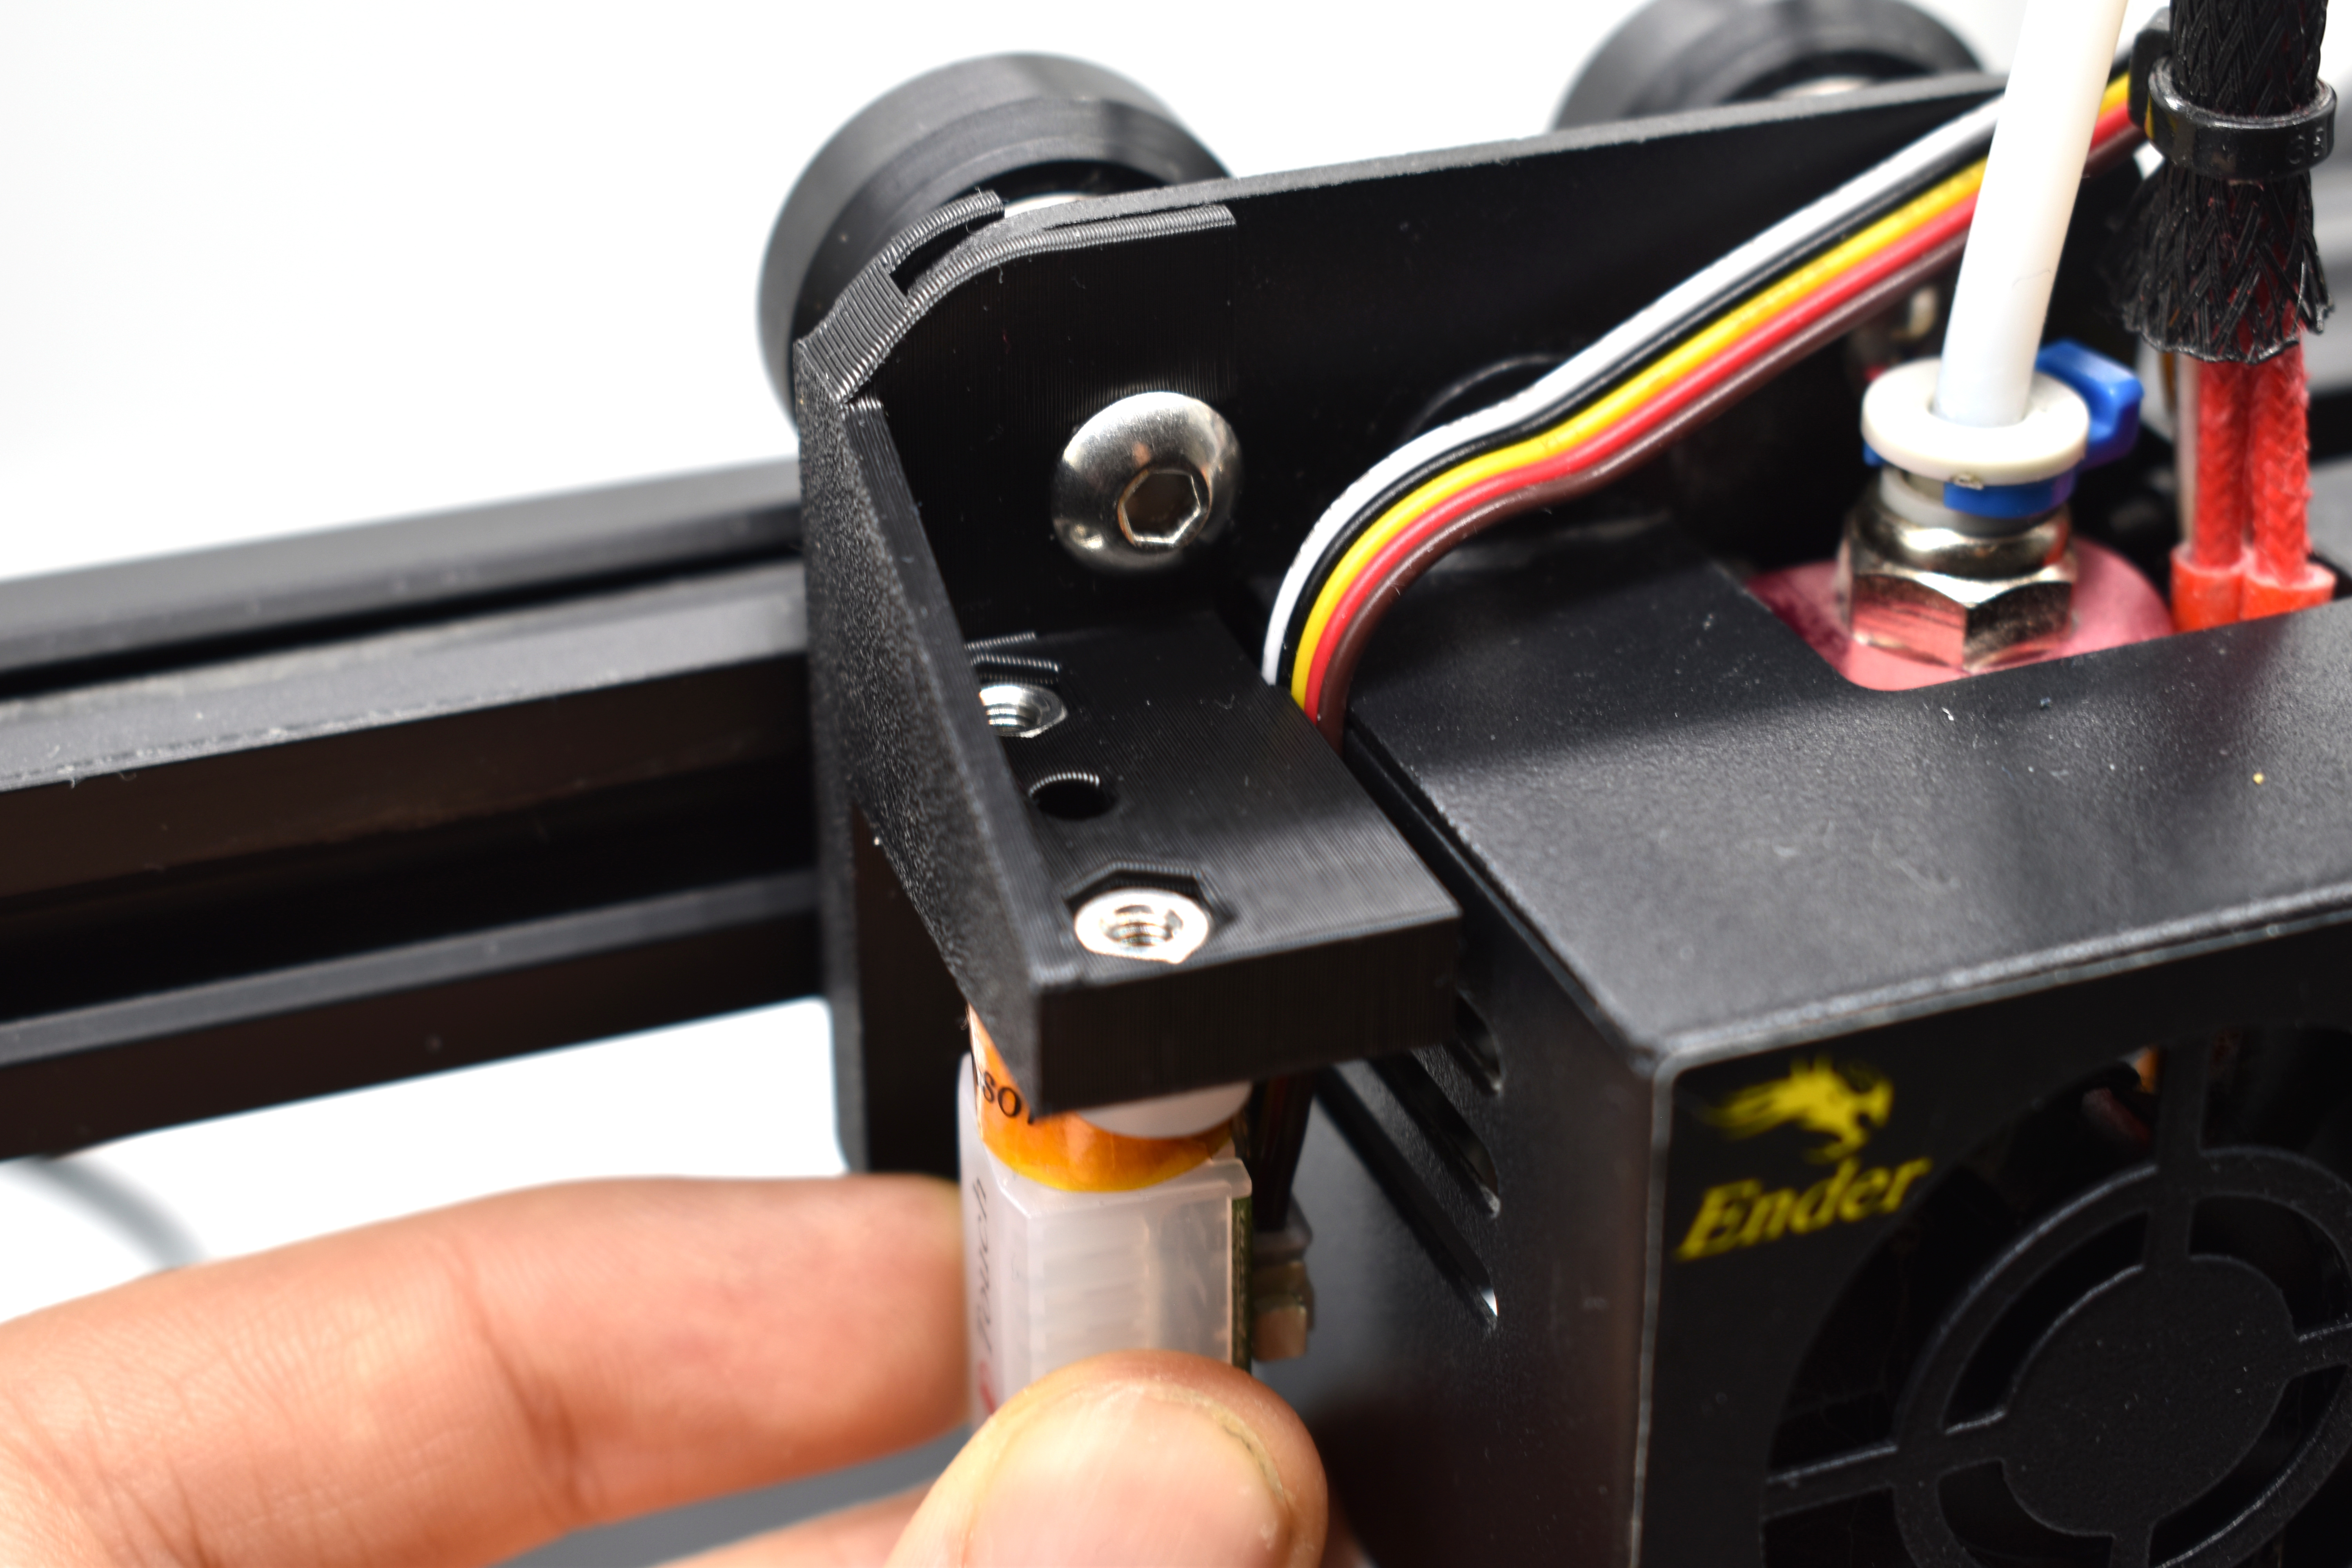
Step 5 BLTouch installation
- Secure the BLTouch with the two M3x8 screws.
- If you encounter any extruder-wobble, adjust the eccentric nut on the bottom wheel with a wrench.
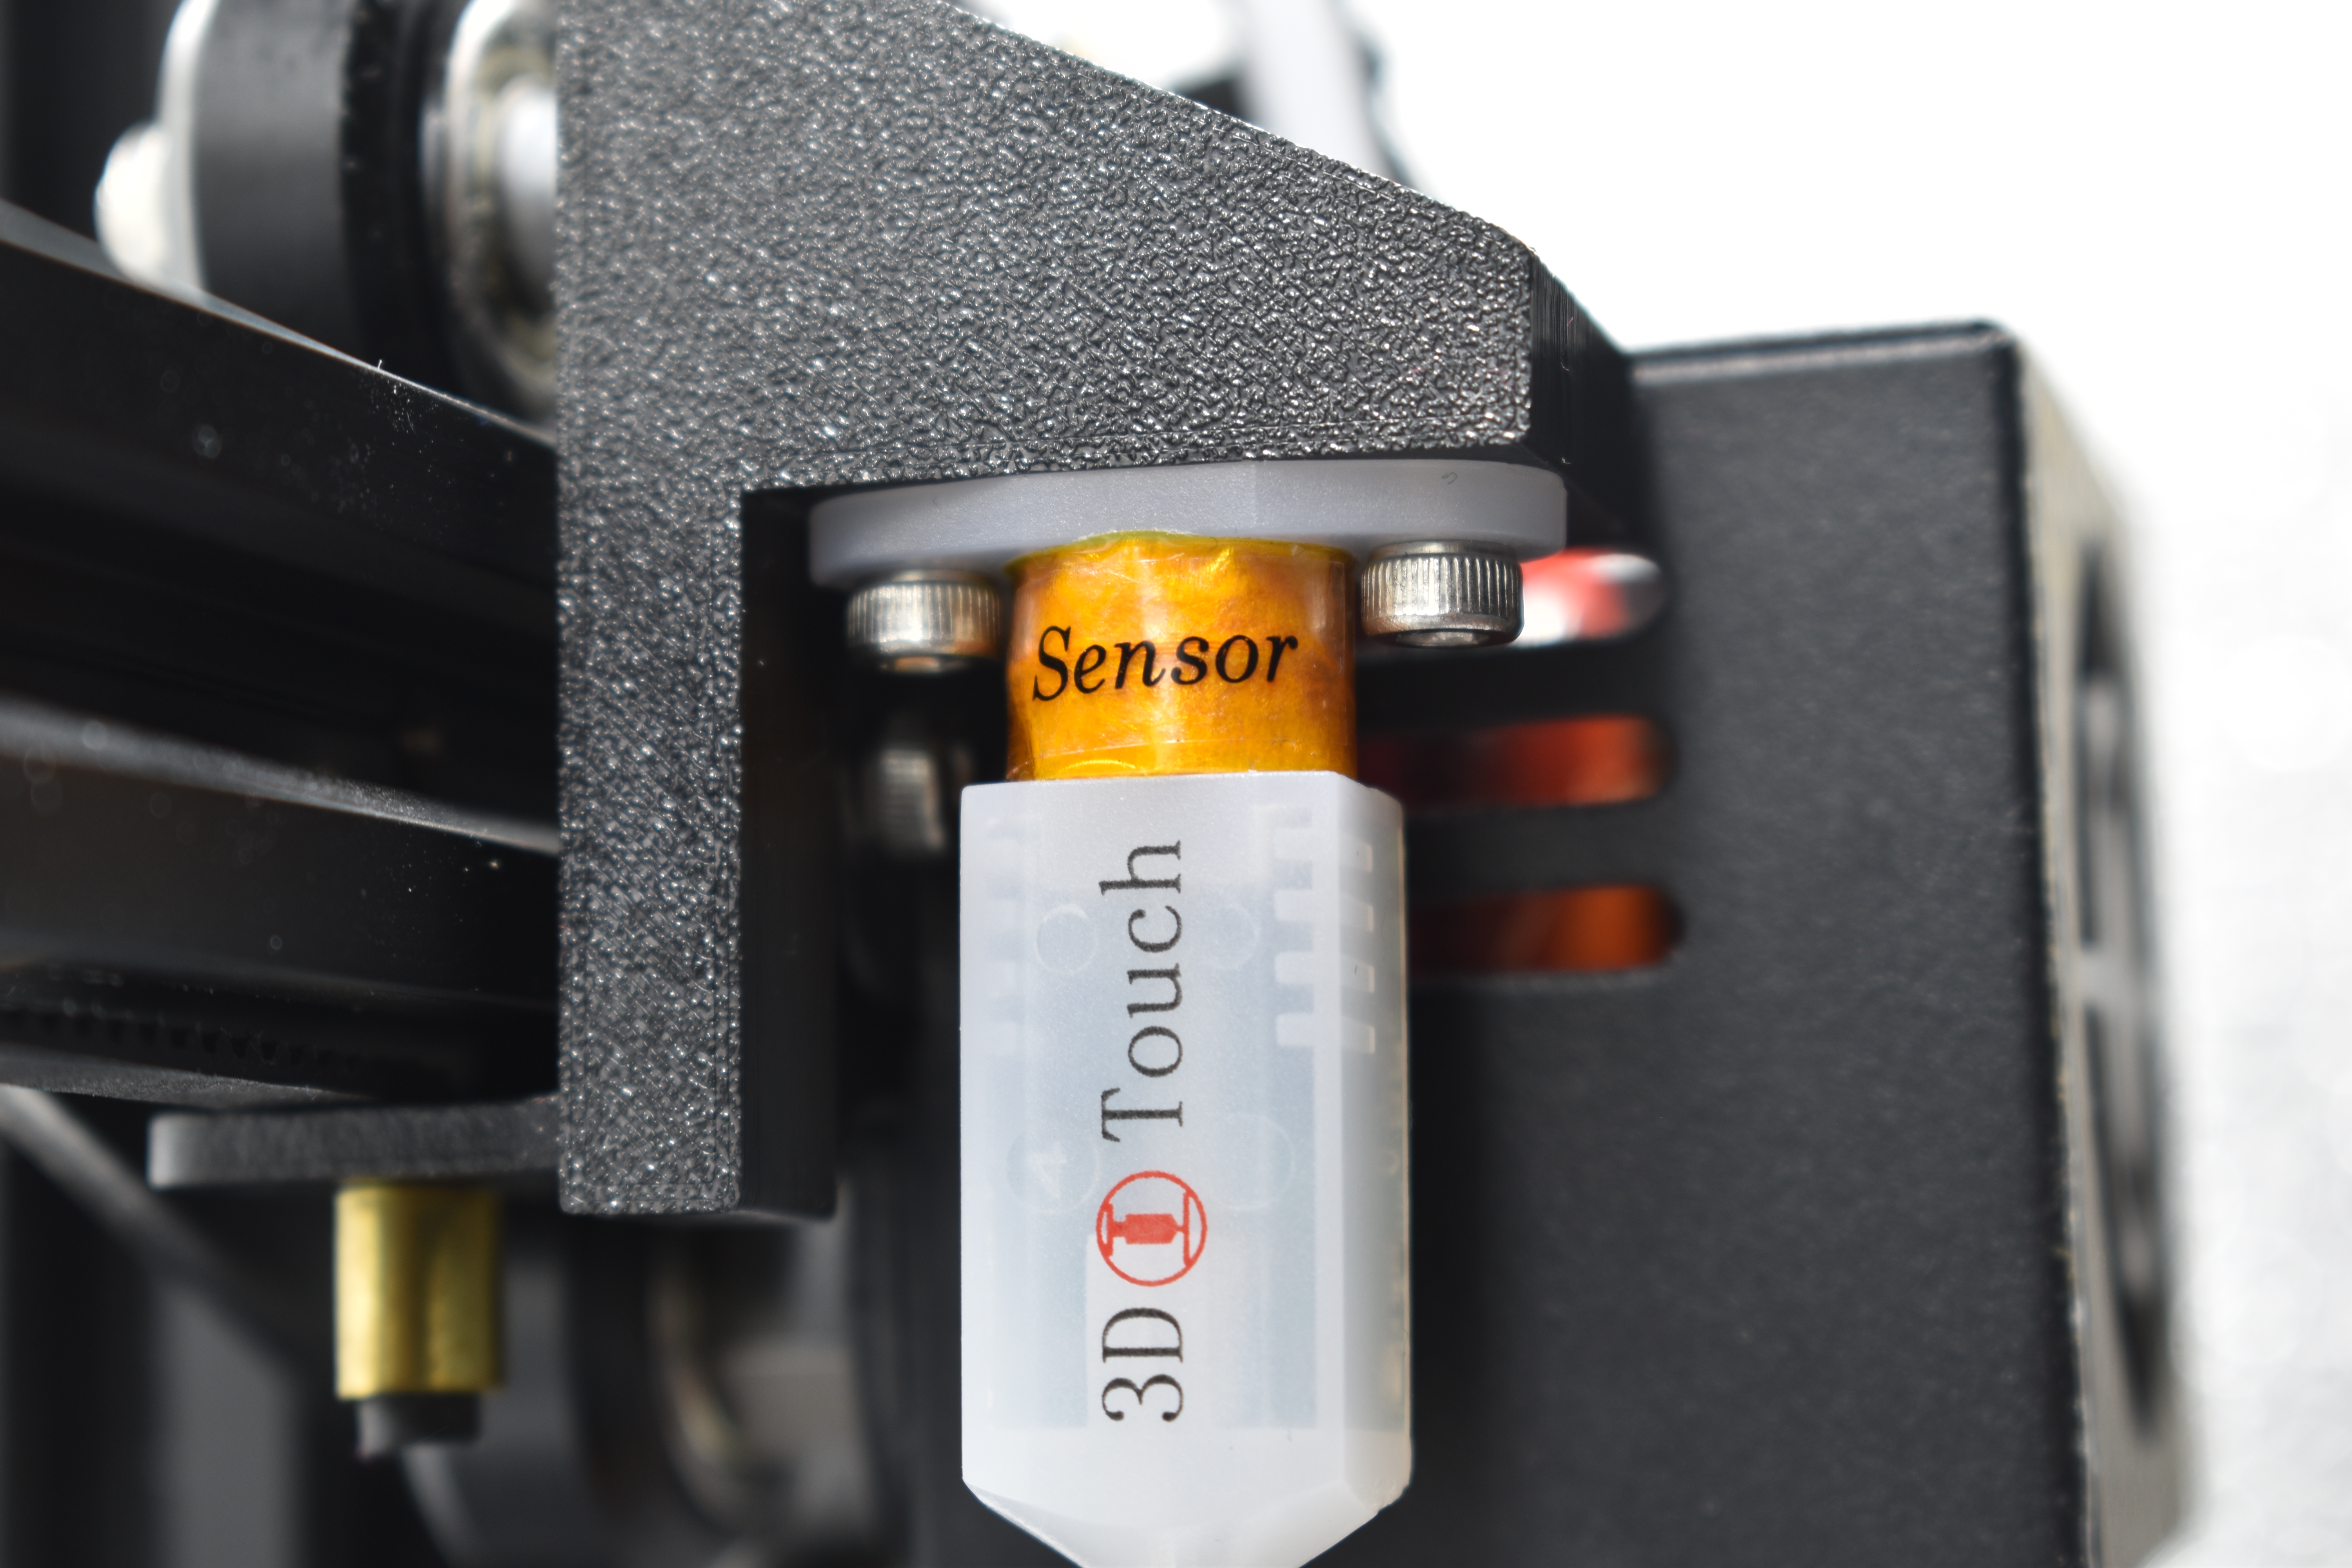
Step 5 Probe offset
- Change the probe X offset to -44.0.
- Change the probe Y offset to -5.0.
- The offsets can also be applied in the printer's configuration.h file (marlin).

Please post a make if you liked the model!