
[Multiboard] Modular and Extensible Spool Storage
We calculate the final price from your selected file. You review and accept it before payment.
Saved on this device.

Modular extensible system holding 5 x 1 KG spools and prints in 3 hours total on 100mm/s printers using minimal material
- Rating
- 4.5 / 5
- Likes
- 29
- Downloads
- 138
- Makes
- 2
- Views
- 846
- Reviews
- 2
Updated at source:
Model information
- Source
- Printables
- Category
- Accessories
- License
- Creative Commons — Attribution — Noncommercial — Share Alike
I have been trying a lot of filament mounting systems. I was unable to find something that required minimal printing and can be done quickly and at scale. Each set can easily hold up to 5 x 1KG spools. Fully extendible and modular system.
Printing Recommendation:
Please use at least 3 walls for all printed parts for durability. PLA works just fine, it is what I used. But if you have more durable material, it is recommended.
Materials Required for a full set
- 2 Pcs of Mount plates (3x2 multiboard base plate)
- 4 Pcs Screw in mount snaps for multiboard
- 1 Pcs of spacer multiboard element (helps to properly space out mount plates)
- 2 Pcs of Mount brackets preferably layer lines going perpendicular to the mount snap direction
- 8 Pcs of Dry Wall Screws, link is for the ones I used. But as long as they are rated for weight bearing, you should be fine. Choose at your own risk.
- 3/4th inch wooden dowels of your choice. I got mine from local walmart
Installation (Outside in)
- Press in 2 screw snaps in top and bottom row of each of the 3x2 multi board base plate
- Press in the weight bearing snap in the first or second column of the second row in the base plate
- Add spacer to separate the plates
- Press in the spool bracket into the load bearing snap into each of the base plates
- Side in the dowel into the slotted holes
- Mark level lines on the wall
- Screw in the contraption. Into a stud (recommended) for additional strength. Ofcourse, use appropriate screws if driving into a stud
- Remove Spacer
- Leave 14-16 inches of gap until next set of brackets are installed. Choose your distance here according to the mounting screws for safety.
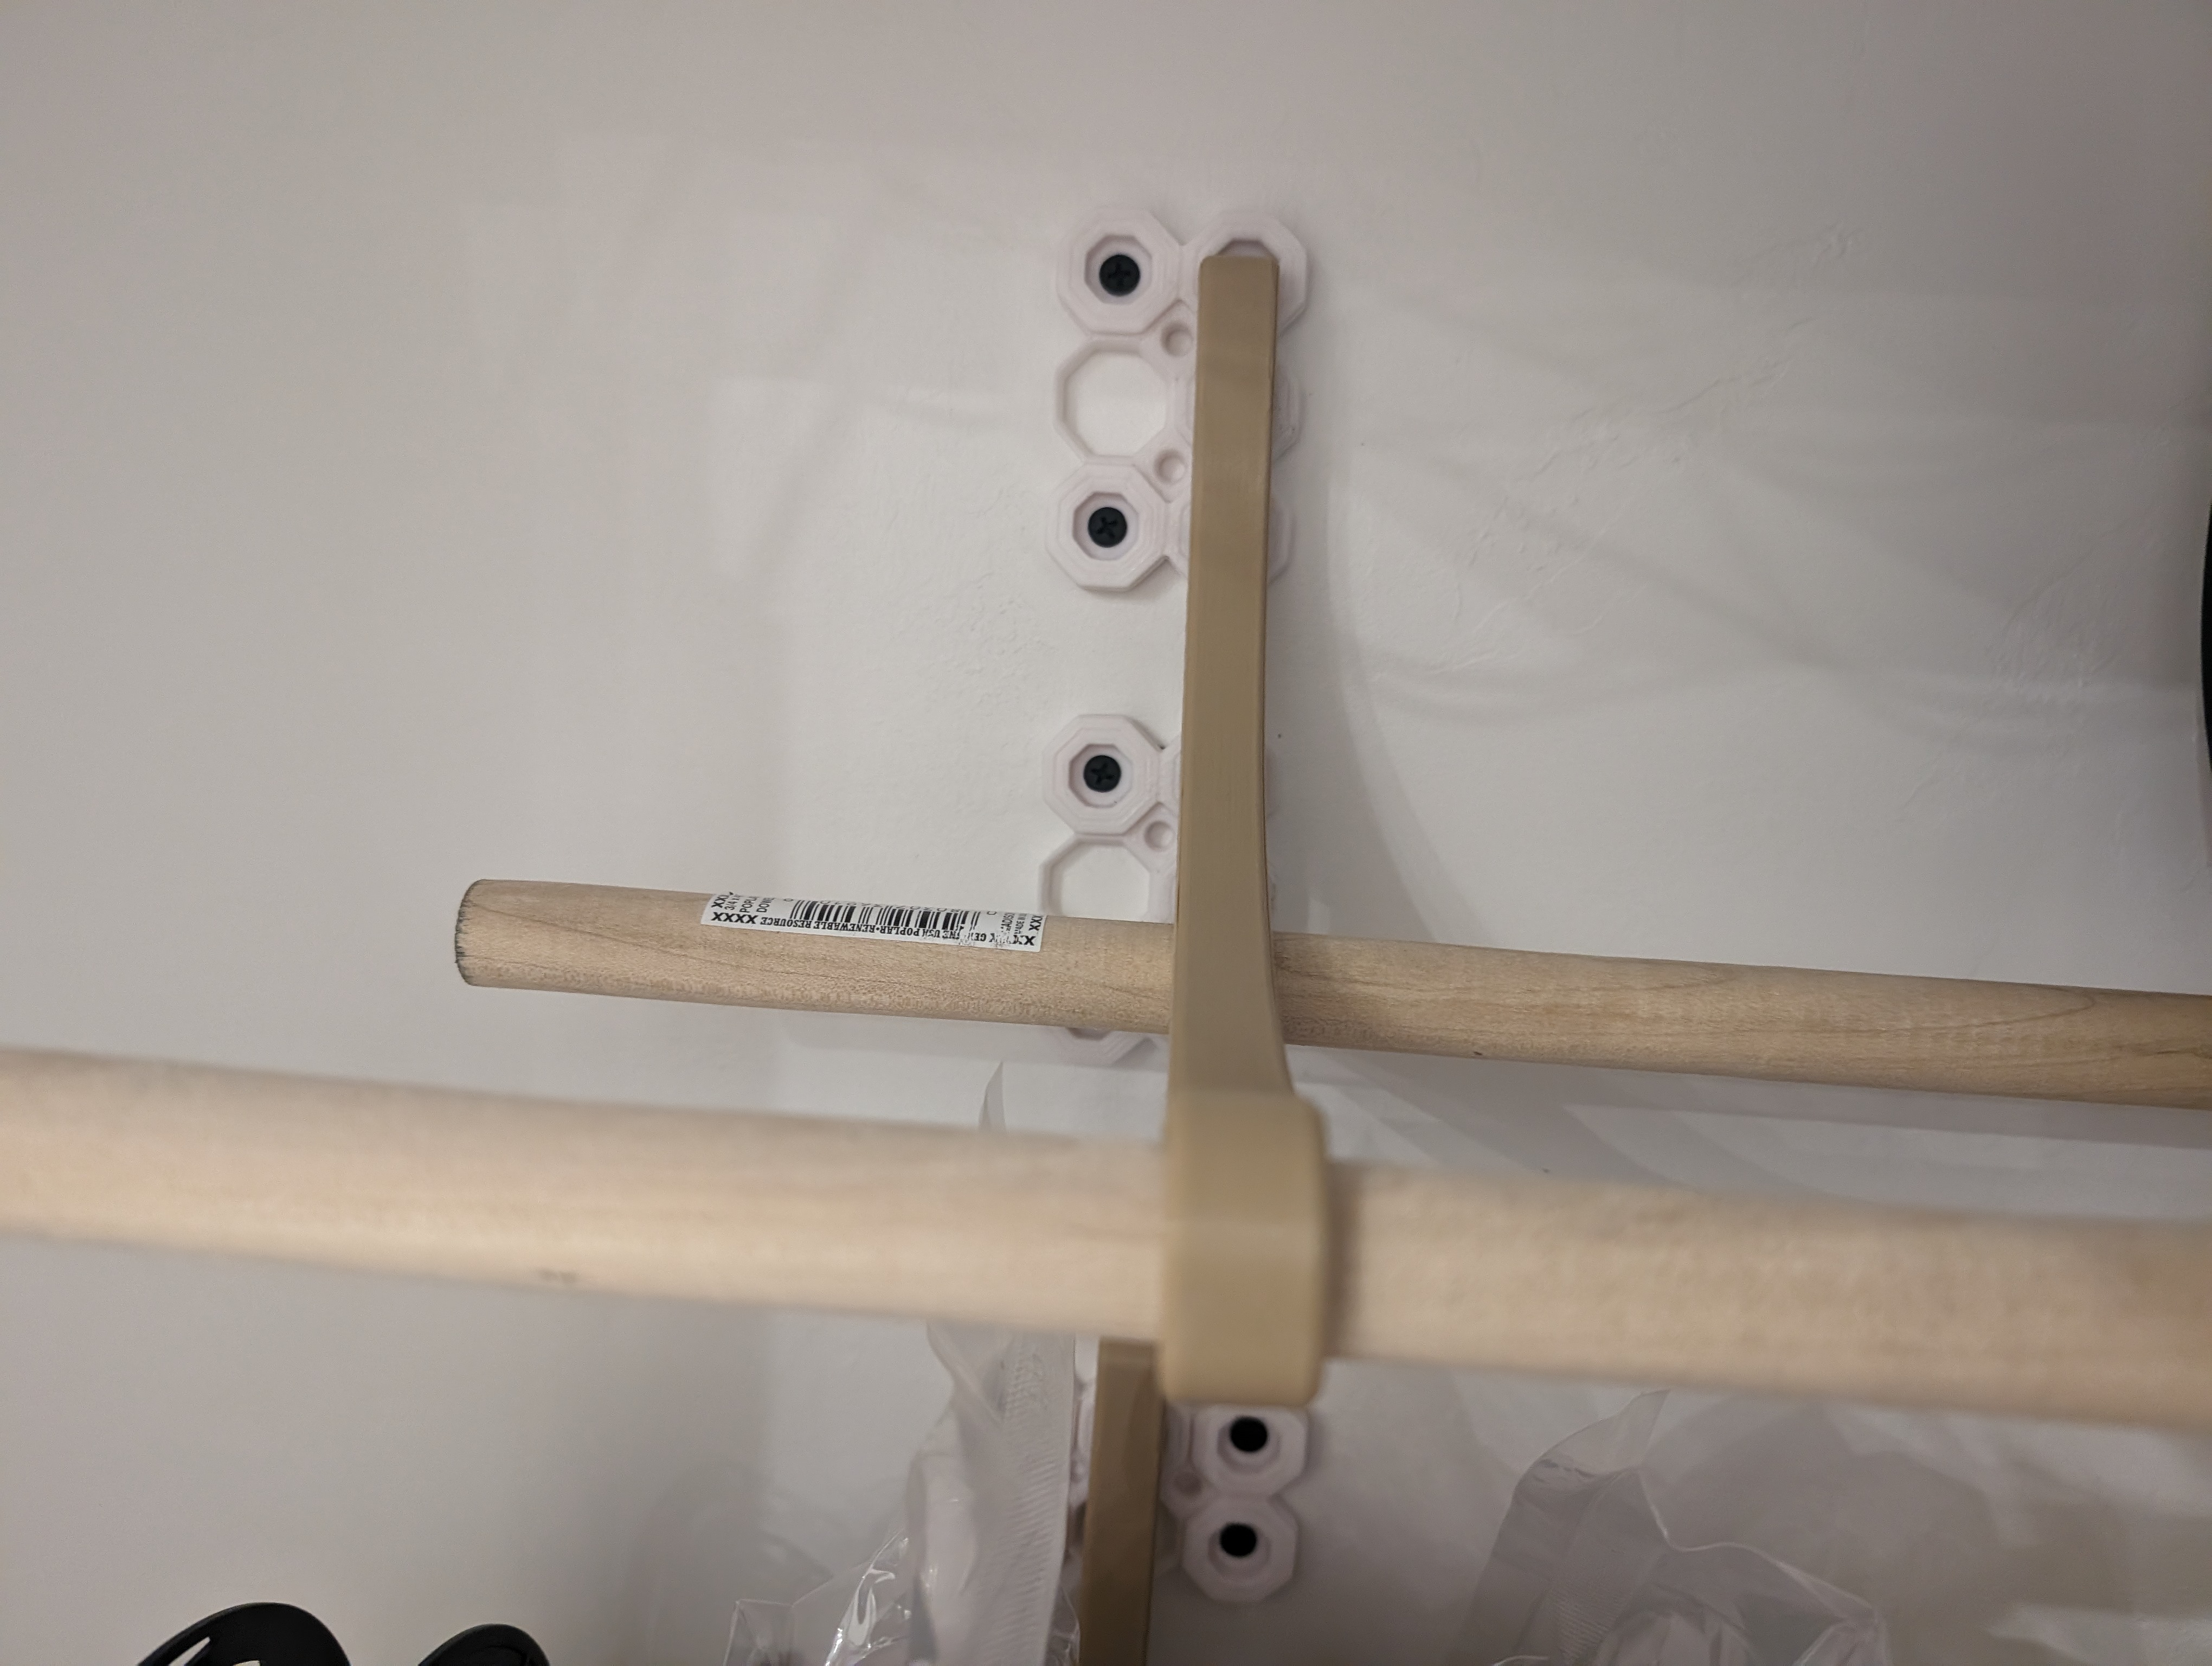

PS: You can also install the base plate horizontally for easy screw hole accessibility if using power tools to drive your screws into the wall.
