
GEN2 Decor - Faceplates - Classic Pro Series
Obliczymy ostateczną cenę na podstawie wybranego pliku. Sprawdzisz ją i zaakceptujesz przed płatnością.
Zapisane na tym urządzeniu.

Iconic GEN2 front meets Decor flexibility in this classic faceplate series. Features swappable accents and labels.
- Ocena
- 5 / 5
- Polubienia
- 63
- Wydruki
- 3
- Wyświetlenia
- 3290
- Oceny
- 3
Aktualizacja u źródła:
Informacje o modelu
- Źródło
- Printables
- Kategoria
- Organizers
- Licencja
- Standard Digital File License
 | ||
|
| |

The GEN2 Classic Pro Series is for makers who want the timeless look of the original GEN2 drawer, now with a premium twist. These upgraded faceplates maintain the iconic integrated front style while adding support for both swappable 3D printed labels and custom accent pieces. Whether you're organizing with precision or dialing in a unique aesthetic using textured build plates, the Pro Series brings a whole new level of function and style to the Decor system.
The GEN2 Modular System lets you print only what you need, snap it together with QuickLock, and rearrange or expand your storage anytime.
An Overview of the GEN2 Decor Series
PLAN YOUR BUILD WITH THE FREE GEN2 PLANNER

Not sure which faceplates and drawer sizes you need? The free GEN2 Planner lets you lay out your Decor drawers in 3D and hands you the exact parts list with download links, including every faceplate size. No size charts, no guessing.
👉 gen2planner.jerrari3d.com · free, right in your browser
HARDWARE
Includes affiliated links to help support my projects
• Filament - PLA or PETG
Filament used in images:
- Orange - Prusament PLA
- Black PLA (Faceplate)
- Silver Silk PLA
- White PLA
• M3 nuts and screws: Stainless-Steel or Steel
INSTRUCTIONS
• Your printed parts should look similar to what's shown here, for this example I'm using a GEN2 1x0.5 Decor Slim Drawer - Medium..
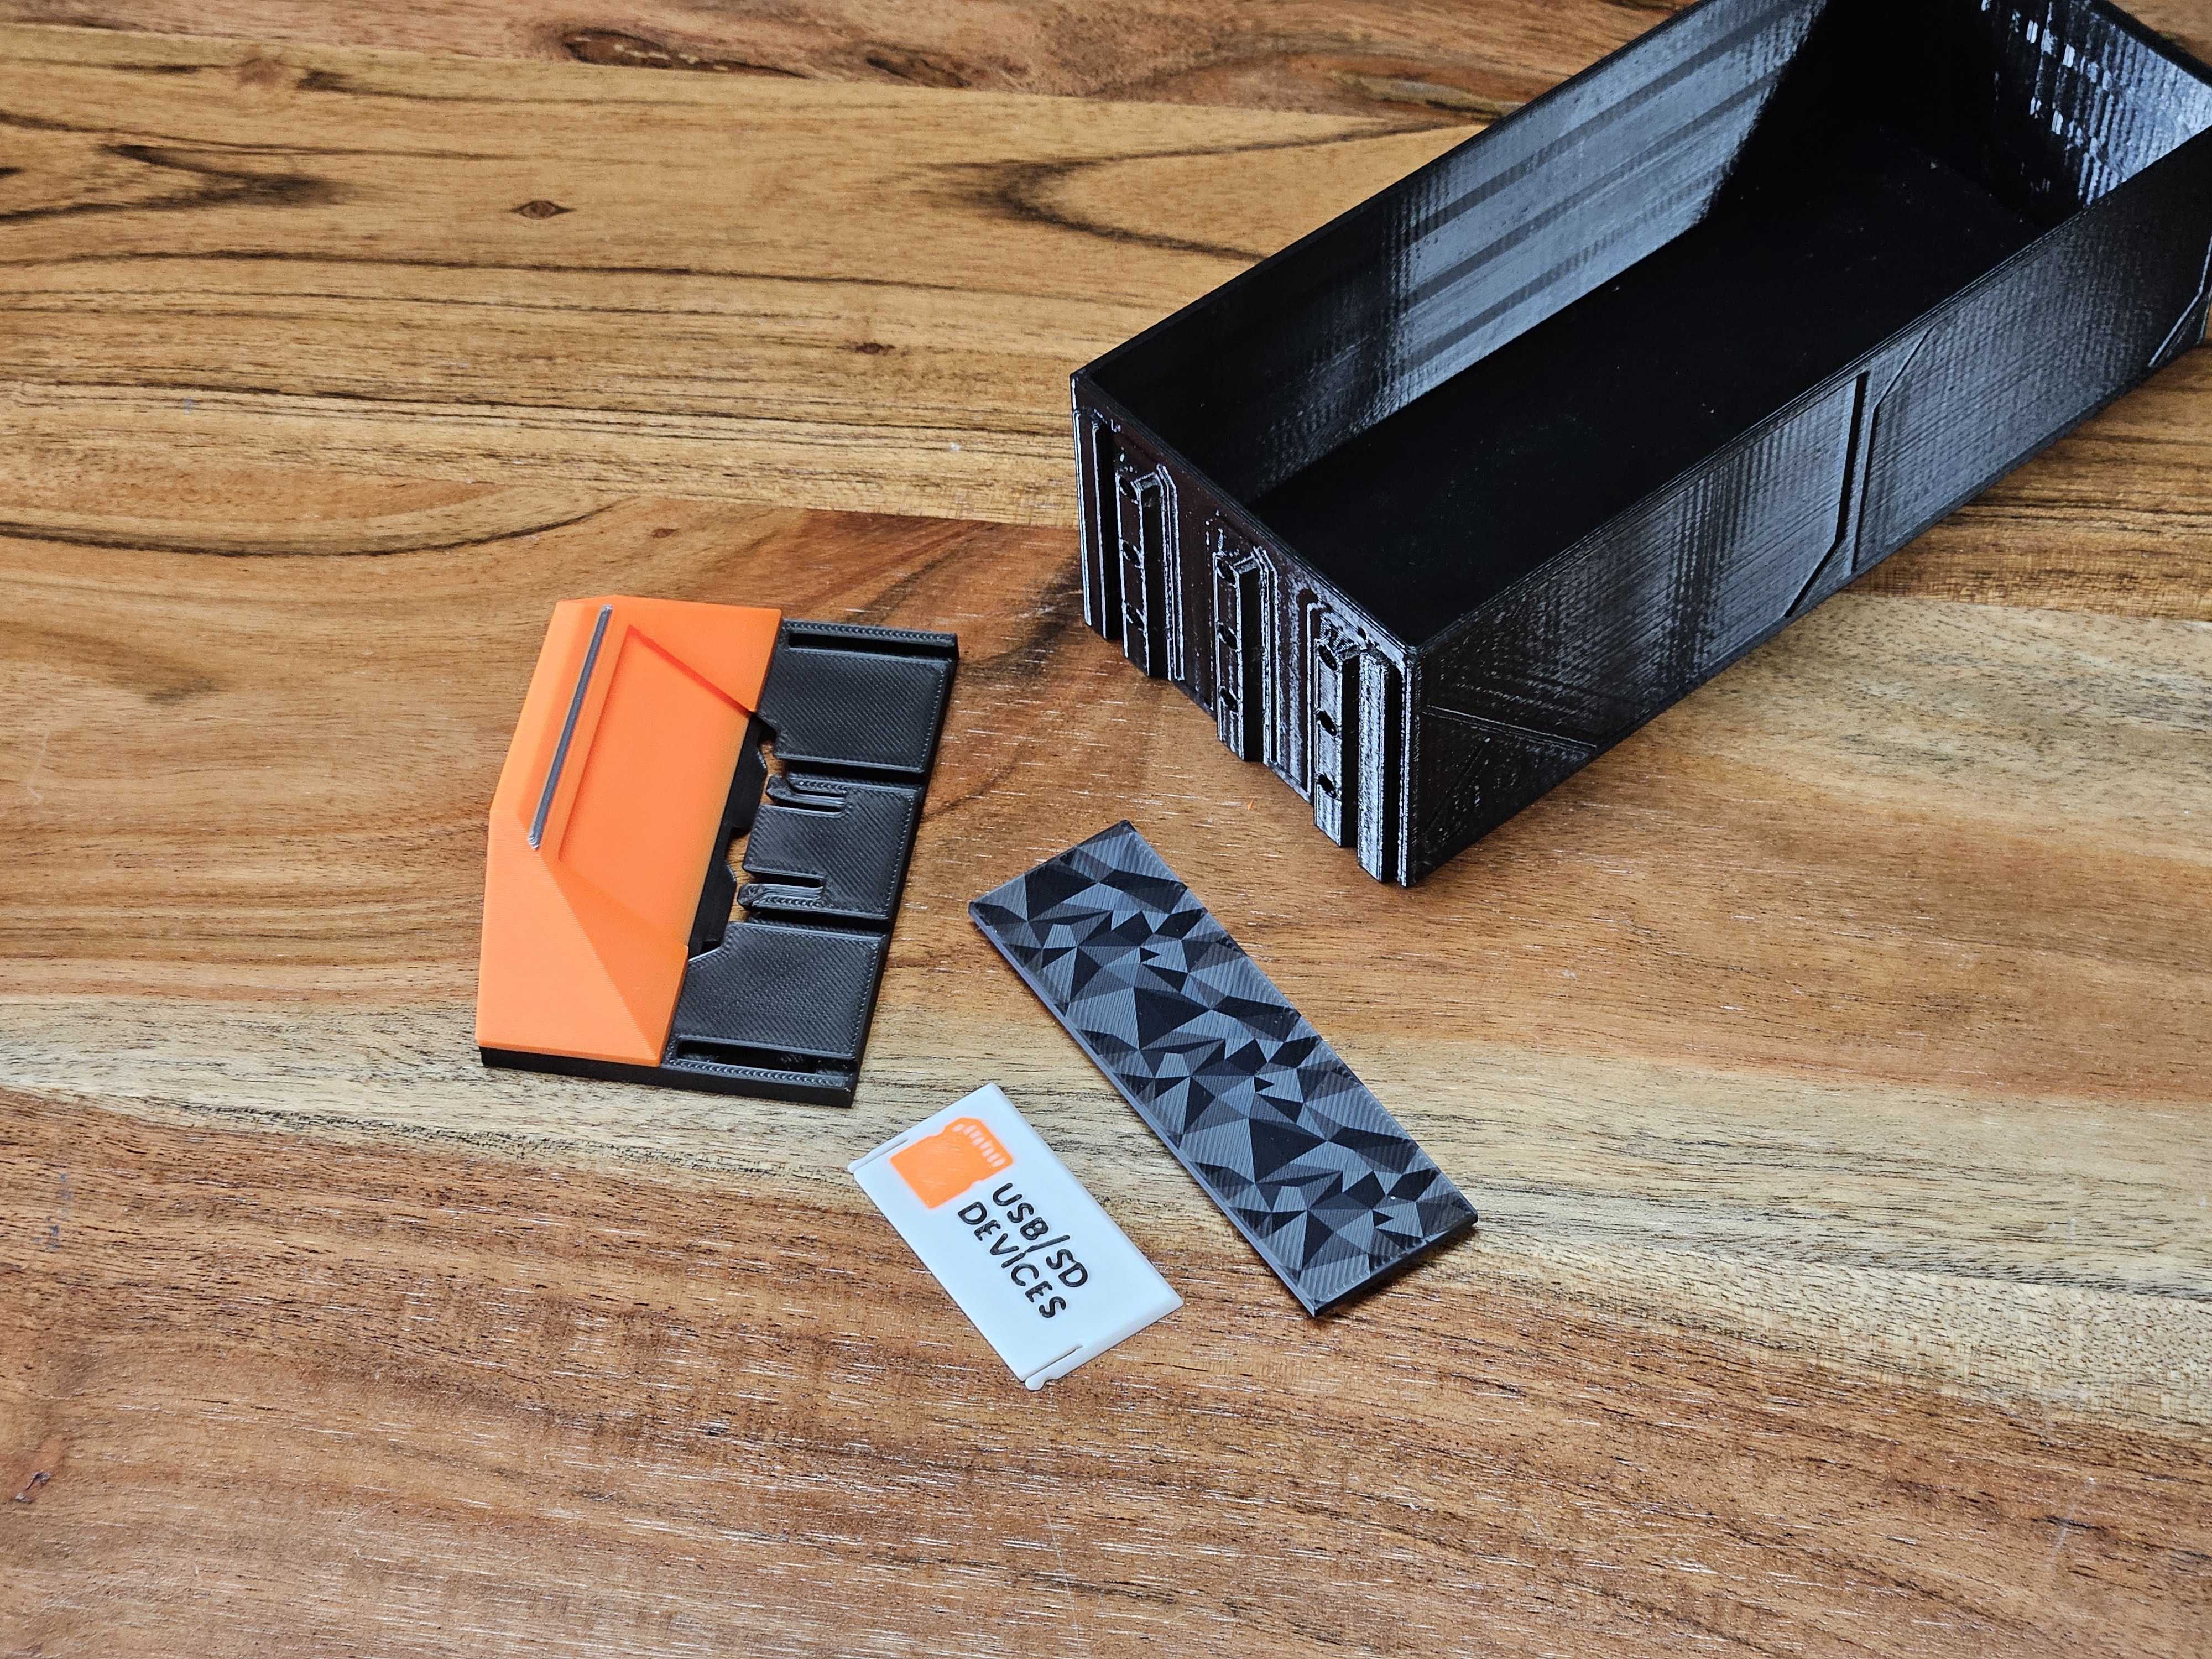
• Slide the label into place on the faceplate as shown.
 |  |
• Slide the accent piece in place as shown
 |  |
• Slide the faceplate onto the front rails of the GEN2 Decor drawer like shown.

• (Optional) Use M3x6 screw and thread it in from the inside of the drawer front to the self-tapping hole (or M3 nut on V1.0) to lock the faceplate in place.

• Your faceplate is now fully assembled 👍
Slicing Tutorials
*Note faceplate and labels may look different in tutorial but the process is identical
I've provided both 3MF and STL files for the labels and faceplate and labels.
Opening the 3MF file you should find the file already sliced and ready to be printed, depending if you need to select a different printer. When opening the STL file the model will show as one solid color, to separate them to print in multi color simply right click on the STL in the list of objects, select "Split > To parts" as shown below. This can be done in both PrusaSlicer, Bambu Studio or similar.

How to set up a new label using the Blank STL
• Lets start with a blank label opened from the STL.

• In the list of objects right click the label STL and select “Add Part > Text”

• In the text menu you can select the font, size, justification and more. Here are the settings I prefer. I recommend using a condensed semi-bold font such as Saira ExtraCondensed ExCond available here. Simply drag your text into position on the label model (I left a small amount of room to the left of the text for the next optional step)

• (Optional) Add icons, I find this to be a very effective way to identify the contents of any container, luckily slicers make it easy to add them to the model and even swap them out once in position. Just like for the text, right click the label in the object list and select “Add Part > SVG”

Select you SVG and drag it into position on the label. (I've included a collection of SVG with this model but you can use any design. Here are the settings I use.

• (For MMU/AMS Multi Color Printers) In you slicer you can now assign the colors to the Text and SVG you just created.

• (For Single Color Printers) Select the “Slice” button, this will add a vertical slider to preview layers the gcode. Drag this slide down a few layers just above the layers containing the top layer of the label body, select the plus shown on the slider button.

This adds a programmed filament change when printing the label allowing you to swap to the color of the text you want.
And that's it! This process works great whether you are printing a single label or a dozen.
SUPPORT GEN2 AND UNLOCK MORE
Join the Jerrari Club for member-exclusive models and early access. Every membership helps fund new GEN2 releases and free tools like the Planner. Or explore the premium faceplate collections.
NEW TO GEN2?
🎥 Watch the system overview: GEN2 QuickLock 3D Printed Modular Storage System