
Brio Train Elevator
Obliczymy ostateczną cenę na podstawie wybranego pliku. Sprawdzisz ją i zaakceptujesz przed płatnością.
Zapisane na tym urządzeniu.
Informacje o modelu
- Źródło
- Printables
- Kategoria
- Vehicles
- Licencja
- Creative Commons — Attribution — Noncommercial
WELCOME! PLEASE READ
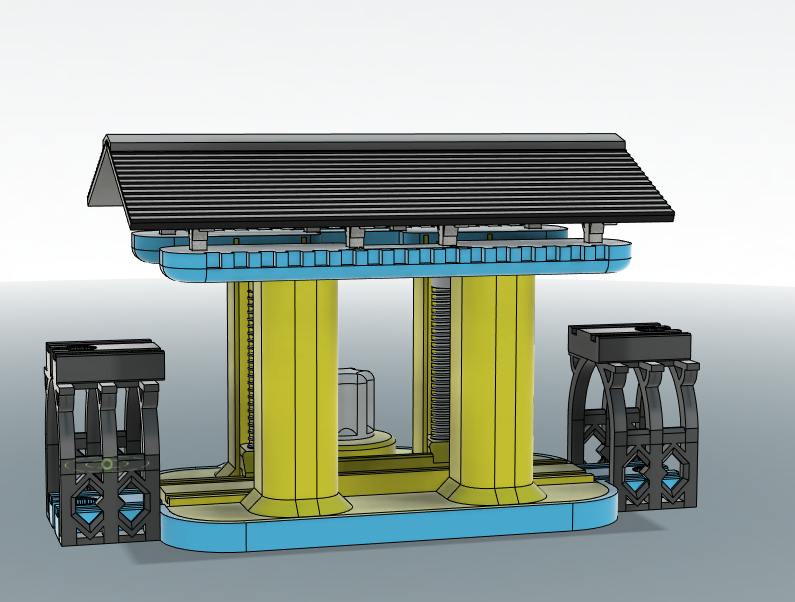
This model has been tested through several variations so that all tolerances are correct and the action runs easily and smoothy. This model SHOULD BE USED WITH A 608zz BEARING ON THE MAIN DRIVE GEAR. These bearings are super common and easy to find on amazon or ebay.
I included a adapter if you choose not to however from experience it is not nearly as smooth. It does work though. The picture below shows where the bearing or the adapter goes.

-----------------------------------------------------------------------------------------------------------------------
NOTE ON TOLERANCES AND PRESS FITS
There are some tolerances that are intended to be tight. I have test these tolerances on two printers and both provided enough tension to hold the part to the respective shaft while still being relatively easy to get on (a couple whacks with the handle of a screwdriver). These include :
The gears on the bottom of the lift screws. Keep in mind the position of the gear teeth to the threads does not have to be exact for each lift screw. the gear ratio and tooth count provides more than enough "slack"' where it does not matter. Just smack it on there =)
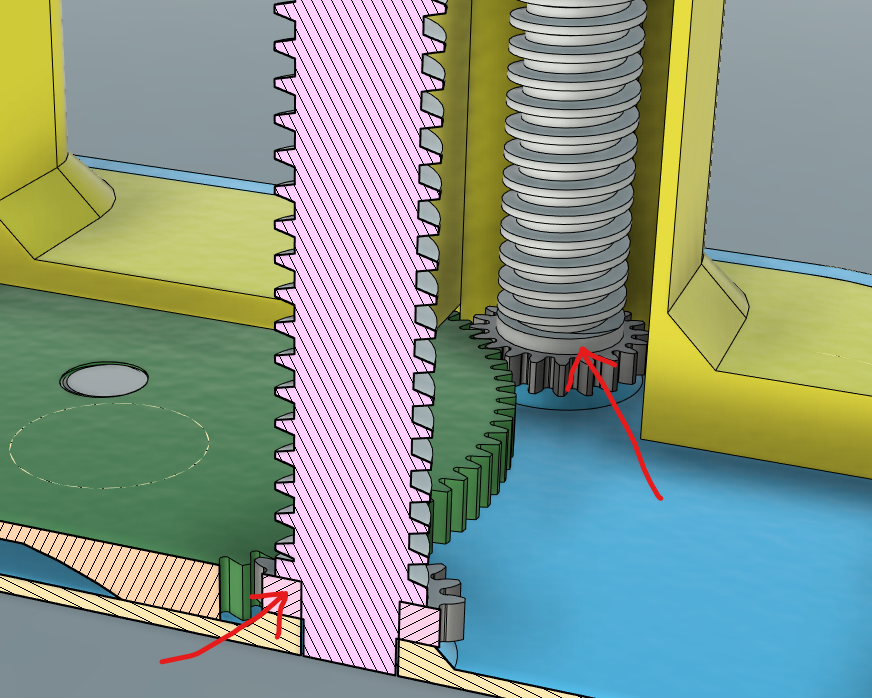
The Shaft on the main drive gear (hardest to whack in because of surface area but it has to be tight) It is best for the Hex to push just past the under side of the gear so the gear does not ride on the main body (pic 2)
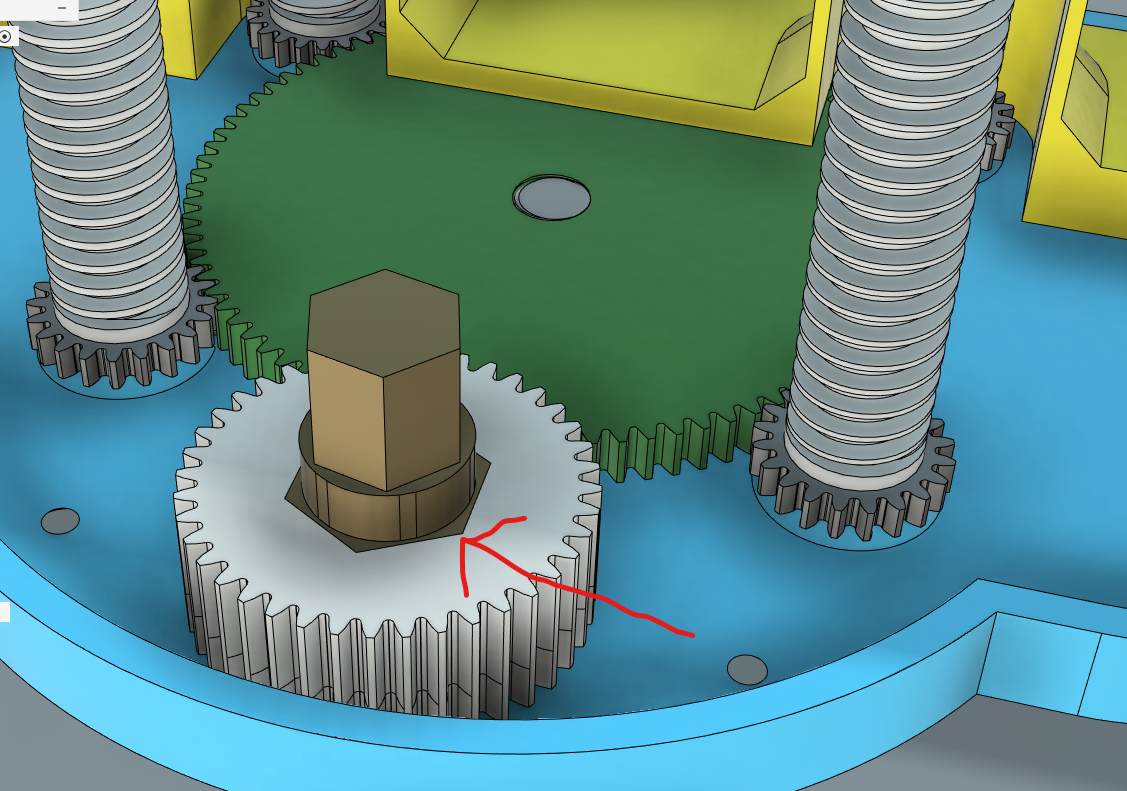
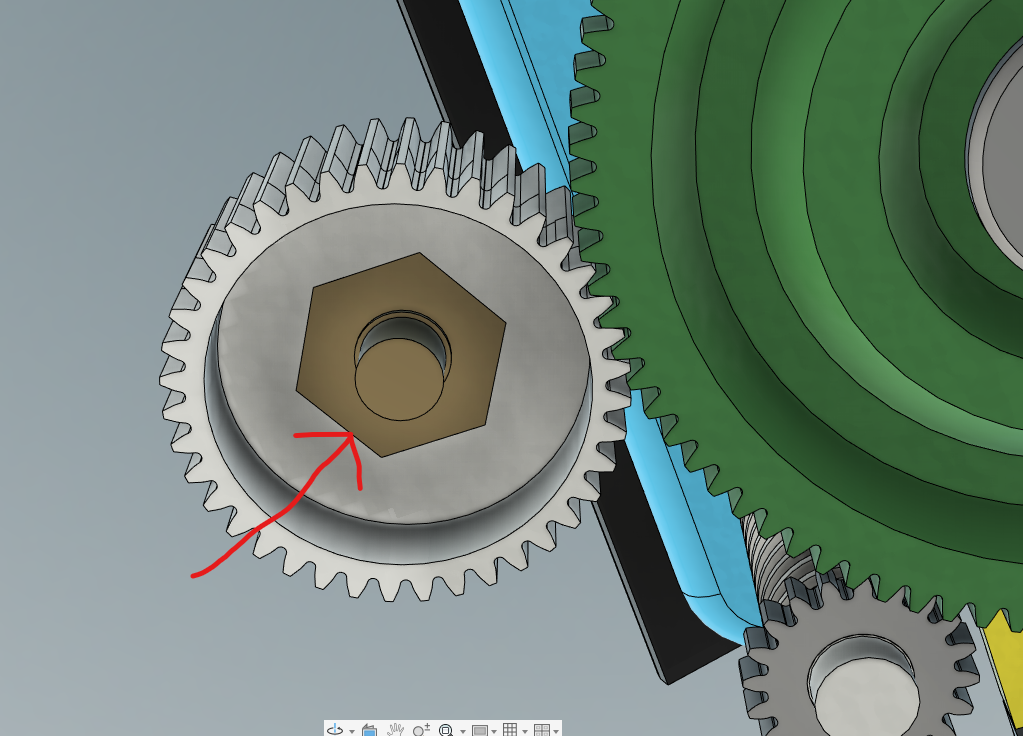
The knob on the main drive shaft (push all the way to the collar)
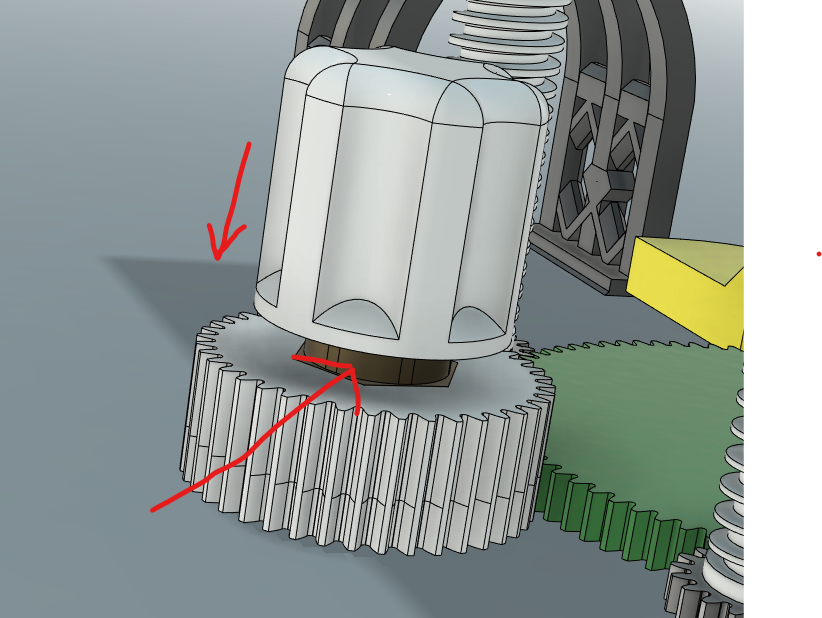
-----------------------------------------------------------------------------------------------------------------------
GENERAL ASSEMBLY TIPS
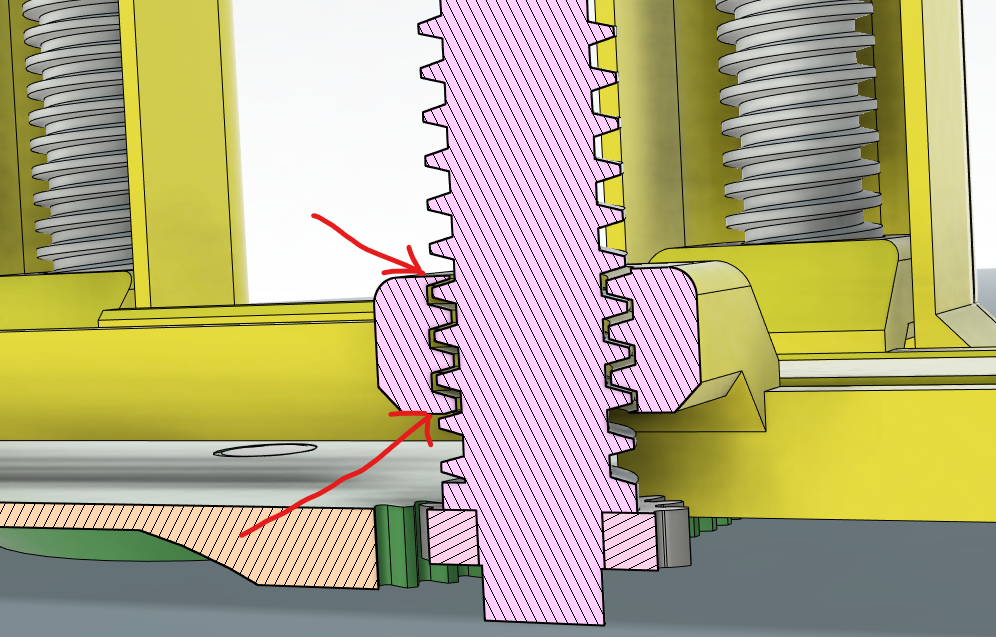
When assembling the light table make sure to run a deburring tool on the top and bottom of the treaded holes. both of my machines are spot on but doing this cleared out of the gunk, specifically at the bottom where the supports were for the large overhang. As you can see from the picture there is plenty of tolerance. Before putting on the side covers visually level the lift platform as best as you can. I have tried the mechanism several times with the platform out of level and it still works fine it is just not as smooth.
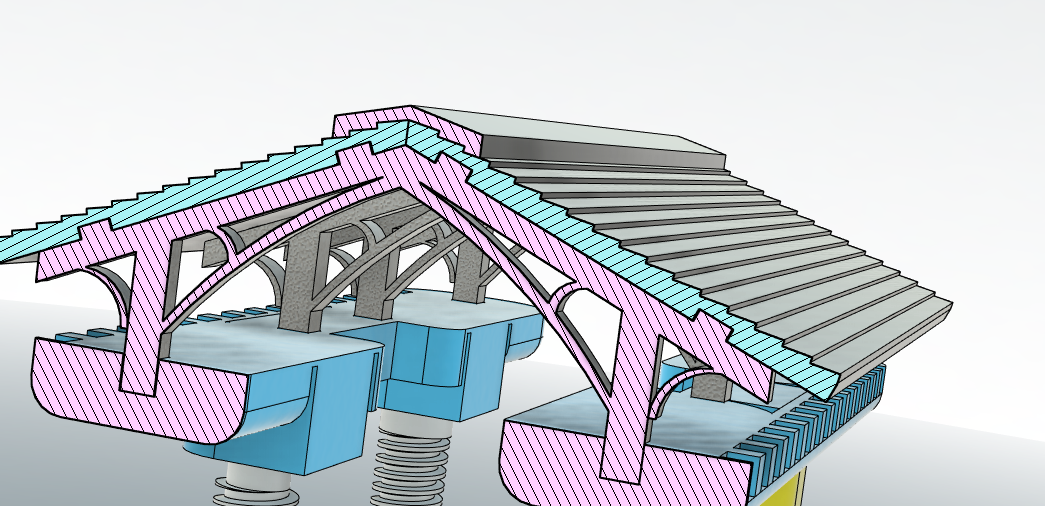
The roof has pins in the supports to hold it on. Its your choice to glue the roof halves and the top cap together if you want.
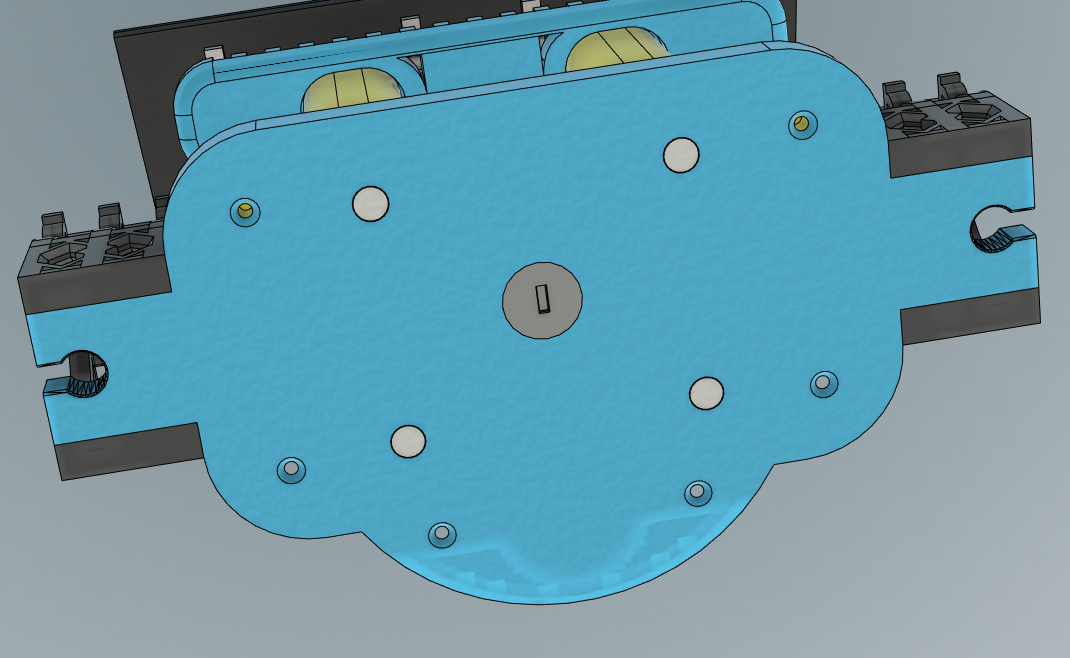
The screw holes at the bottom should accept any 1/2" long woodscrew from Menards or home depot
Once everything is together it is possible there will be a little resistance in the system (mostly dependent on print quality). Use a drill with a 14mm socket to spin the mechanism up and down to break in the parts. YOU SHOULD STILL BE ABLE TO TURN THE MECHANISM BY HAND BEFORE DOING THIS. If you cannot something printed wrong.
PLEASE comment on any issues you may have so I can edit parts that may need editing. HAVE FUN!