
VESC 75100 Bike Tube Mount & Cable Gland End Cap
Obliczymy ostateczną cenę na podstawie wybranego pliku. Sprawdzisz ją i zaakceptujesz przed płatnością.
Zapisane na tym urządzeniu.
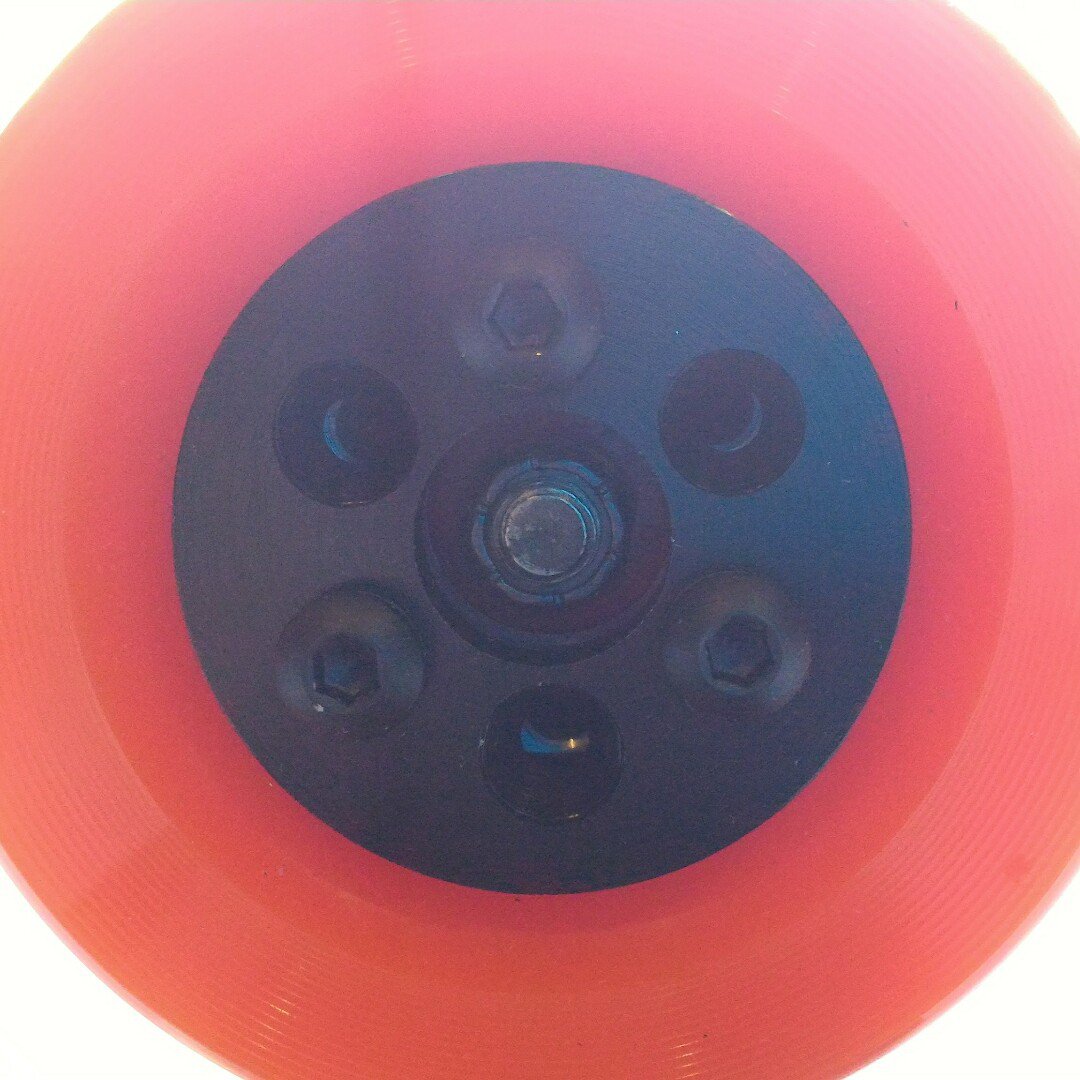
This is a mount for attaching a Flipsky/Makerbase VESC 75100 to a bikes seat post tube with hose clamps.
- Ocena
- 0 / 5
- Polubienia
- 3
- Pobrania
- 11
- Wydruki
- 0
- Wyświetlenia
- 151
- Oceny
- 0
Aktualizacja u źródła:
Informacje o modelu
- Źródło
- Printables
- Kategoria
- Mechanical Parts
- Licencja
- Creative Commons — Attribution — Noncommercial — Share Alike
This model is for mounting an "EBike" style VESC 75100 to a bike seat post tube with hose clamps. The mount is designed for a bike tube diameter of 35mm, but this can be modified in the attached Fusion 360 archive file by modifying the parameter "d1_Tube_Diameter".
New Mk2 Design
EDIT: Mk2 release! After my first VESC 75100 died after a few months (more info here) and as I couldn't repair it due to the potting gel being an absolute nightmare to remove, I decided to improve the VESC 75100 enclosure to improve its ingress protection. NOTE: The Mk2 Tube Mount (Tube Mount Mk2 V6.stl) can still be used with the stock aluminum end caps.
New Mk2 End Caps:

The new Mk2 design features two end caps designed to replace the original flat aluminum lids provided with the VESC. The purpose of the front cap is to replace the simple hole and grommet with a proper PG19 Cable Gland which seals around the wires coming out of the enclosure, improving its ingress protection. NOTE: due to the mixed diameter and quantity of wires, the gland does not seal perfectly, but it is an improvement over the original open hole.

The end caps also have gaskets meant to be printed out of a flexible filament like TPU and are inserted in-between the metal frame and end cap. While these are optional, I would highly recommend using them to further improve the ingress protection.

These end caps also have slots for M3 hex nuts which are used with the "Cap Mount" parts to join the end caps and Mk2 tube mount together.
Just like the original, all parts should be printed out of a strong high temp material like Fiberon PET-CF17 which I used for my Mk2 parts and has held up wonderfully.
Each end cap is secured with 4x M3x8mm screws that go into the aluminum extrusion housing. Another 2x M3x8-12mm screws are used for securing each cap mount to the tube mount part.
Total Hardware Required:
16x M3x8mm Socket Head Screws
8x for End Caps
8x for Cap Mounts to End Caps
4x M3x8 to M3x12mm Screws
These are for the Cap Mount to Tube Mount. These thread into the plastic threads of the tube mount. I'd recommend using washers on the heads of these screws.
8x M3 Hex Nuts (Standard Profile)
(Optional) 4x M3 Washers for Cap Mounts to Tube Mount
2x Hose Clamps
I used 2.5" clamps (adjustable from 40-64mm)
Makerbase VESC 75100: https://www.aliexpress.us/item/3256804277669942.html
More info in my Reddit post about this Makerbase VESC 75100 here: https://www.reddit.com/r/VESC/comments/1ud7sqn/makerbase_vesc_75100_quick_review_and_sale_notice/
ESP32 Based Bluetooth VESC BLE Bridge:
As I wanted to add a Bluetooth bridge to my VESC for using the VESC mobile app on my phone, I decided to use an ESP32-C3 Supermini flashed with A-Emile/VescBLEBridge. Additionally as I needed to support the floating capacitors inside the VESC, I realized there was enough room to fit the ESP32 inside the enclosure! This would allow me to have one less wire bundle coming out of the cable gland, simplifying my wiring. To do this I used the existing JST connector for the UART2 header and wired it directly to the ESP32. I then conformal coated and heat shrunk it together before placing it below the high density foam tape to secure the capacitors inside the enclosure.

Original Design:
The tube mount is designed to be attached using one or two hose clamps. I used 2x 2.5" Hose Clamp (adjustable from 40-64mm) and trimmed them down slightly once tightened. Then the ESC can be attached with 4x M3x10mm screws.
I'd recommend printing this in a high-temperature material that can withstand the hot sun, and a warm ESC attached to it. I used Polymaker PA6-CF and coated the finished part with matte clear coat to protect from the fibers.
Makerbase VESC 75100: https://www.aliexpress.us/item/3256804277669942.html
2x Black 2.5" Hose Clamps: https://www.amazon.com/dp/B0DP7J52F9
As this mount leaves the ESC quite exposed, I would recommend potting the ESC to protect it from water damage. I used a two-part silicone potting compound for mine. Check out my fixture for potting the ESC here: VESC 75100 Potting Fixture
Check out my test of this impressive little VESC here: