
Tilted Desktop Organizer (minimal, modern and colorful storage)
Obliczymy ostateczną cenę na podstawie wybranego pliku. Sprawdzisz ją i zaakceptujesz przed płatnością.
Zapisane na tym urządzeniu.

Want something useful to print, that helps you organize your desk, while also looking good? Then look no further!
- Ocena
- 5 / 5
- Polubienia
- 507
- Pobrania
- 1123
- Wydruki
- 7
- Wyświetlenia
- 7246
- Oceny
- 7
Aktualizacja u źródła:
Informacje o modelu
- Źródło
- Printables
- Kategoria
- Office
- Licencja
- Creative Commons — Attribution — Noncommercial — NoDerivatives
| Welcome to GlennovitS3D. Join the Club on Printables.com to support creation of new models, get access to exclusive models, and get commercial rights, to sell prints. Join today - GlennovitS3D - or check out my model collection or my popular models |
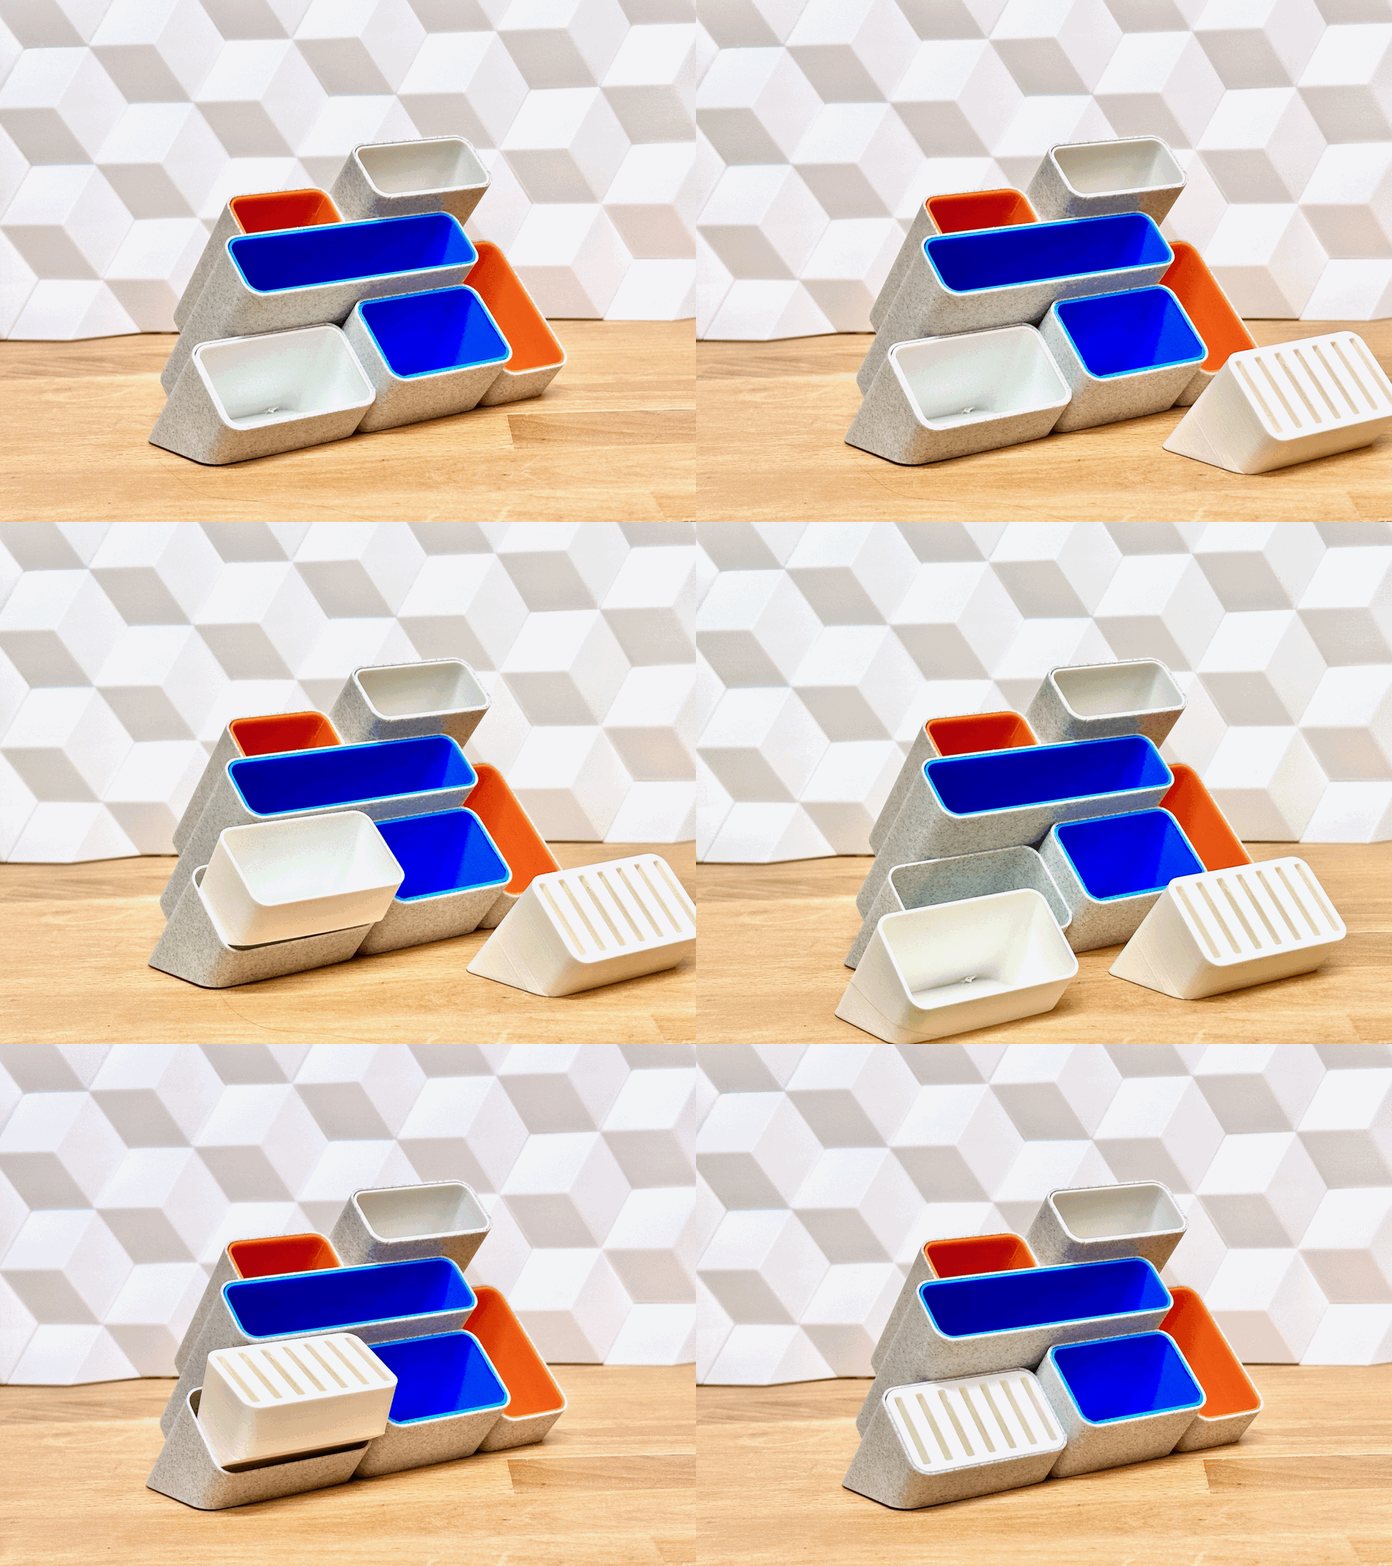
This is the desktop organizer for you, who needs those essentials close to you when working, to make it even easier to start working! Fits great under a desktop monitor due to the angled orientation, and makes everything easily accessible. There are different ways of customizing it to your needs - different kind of Inserts and colors. Would love to see you versions!
Overview
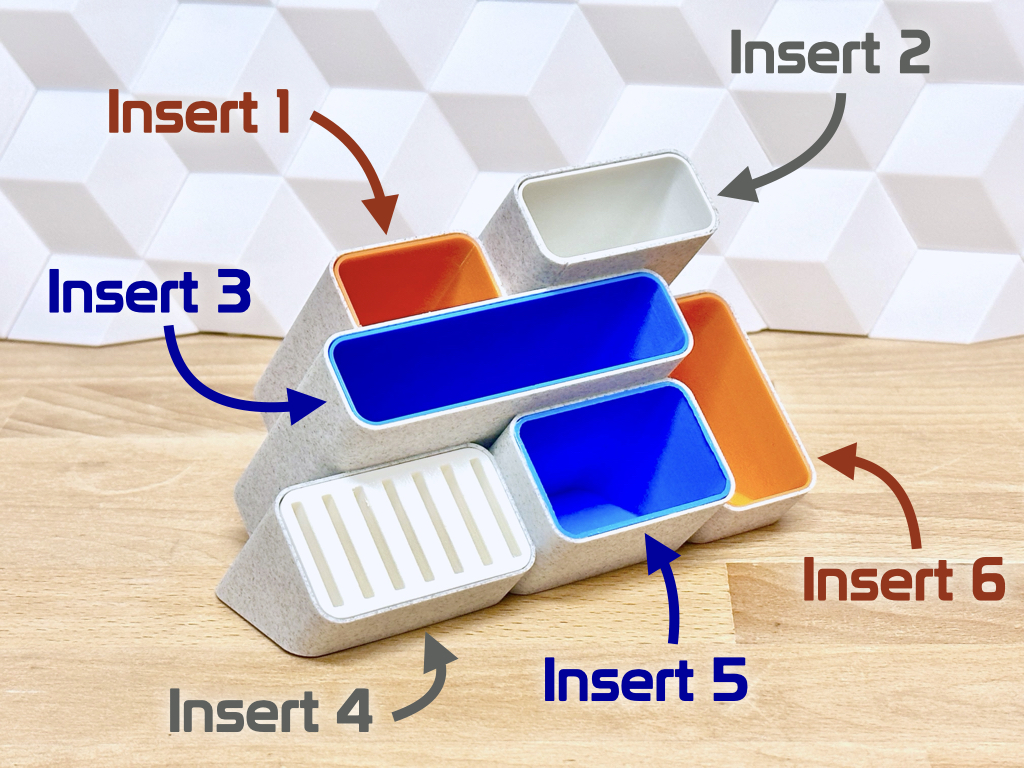
The model is made of the Shell - the outer most walls that keeps everything in place. You can just use the Shell alone as it is, or you can print some colorful Inserts to add some personality and functionality (like specific SD-card storage). The Inserts are named 1-6 from the top-left corner (see image). The inserts availble are:
- Insert 1
- Plain
- Insert 2
- Plain
- Insert 3
- Plain
- Insert 4
- Plain
- SD-card slots
- Insert 5
- Plain
- SD-card slots
- Insert 6
- Plain
Do you like the concept, but miss a certain specific insert-type, then please let me know. If possible I’ll try to make more insert-types to fit more needs.
Assembly
This is easy! No glue or anything needed!
- Print Shell and Inserts
- Slide the Inserts into the correct placements (dont glue them together, as this would prevent you from changing to a different kind of insert later on)
- Fill up with you pens, paper, SD-cards and whatever you need
| More practical prints? I got you covered! Check out this collection of practical models - everything from tools to storage solutions. |
Print instructions
Here are a few tips to print as easy as possible.
- Orientation: The models are oriented in the correct print position
- Brim: Yes it's recommended - to keep everything in it’s place without warping and making parts not fit together
- Supports: No - not needed.
- Colors: I made the one for my desk with a neutrual Shell and some bright colors as some of the inserts. But please choose whatever you like, and remember to share an image :-)
Happy printing!