
L.A.M.P - Light Assembly, Minimal Parts - a Keychain flashlight with very few parts!
We calculate the final price from your selected file. You review and accept it before payment.
Saved on this device.
Keychain flashlight - minimal parts required! Quick, easy print and assembly.
- Rating
- 0 / 5
- Likes
- 3
- Downloads
- 29
- Makes
- 1
- Views
- 187
- Reviews
- 0
Updated at source:
Model information
- Source
- Printables
- Category
- Electronics
- License
- Creative Commons — Attribution
Recommended print settings:
- Material: PLA/PETG
- Layer Height: 0.15 mm or less
- Infill % : 15+
- Supports: No
- Print Orientation: Default as modeled
- Brim: Optional
This model is a simplistic flashlight that can be added to a keychain. A CR2032 battery and 5 mm light emitting diode (LED) are used in the assembly.
This is an original design, but I was inspired to create it based on some similar designs:
https://www.thingiverse.com/thing:6930181
https://www.thingiverse.com/thing:6887859
https://www.printables.com/model/667566-keychain-led-torch
This design is optimized for 3D printing and modification:
- no supports are required
- Flat top and bottom provide good bed adhesion - no brim required.
- Flat Space is provided for easy addition of a logo or text - See the PrusaSlicer Embossing Tool
- Prints in 20 minutes at 0.10 layer height.
- Holes accept M3 threads, but are not threaded (simplicity).
Features:

Required Parts:
Only three non-printed items are required:
| Item | Type |
| Battery | CR2032 |
| LED | 5 mm |
| Hex cap Screw | M3x5 |
You may need to add a piece of tape on the battery to keep the lead from touching when the button isn't being pressed.

Assembly:
- Start with the bottom piece - it's the side marked with a + symbol - this is the positive side.
- Slide the LED into the slot, with the long lead (anode, a.k.a. positive) on the bottom.
- Insert the battery between the LED leads, with the positive side down.
- Add tape if required.
- Adjust the top lead so that the LED only lights when the end of the cathode (negative) lead is pressed against the battery - this is the most fiddly part of the process, and may take several tries.

- Slide the top piece - with the button gently downward on top of the LED/battery assembly. The LED should light up when the button is pressed, and not light when the button is not pressed.

- Insert the M3 cap screws into the top piece, and tighten the threads into the bottom piece. There are no threads in the printed part.
- Add a Key Ring. The final assembly should look like this:
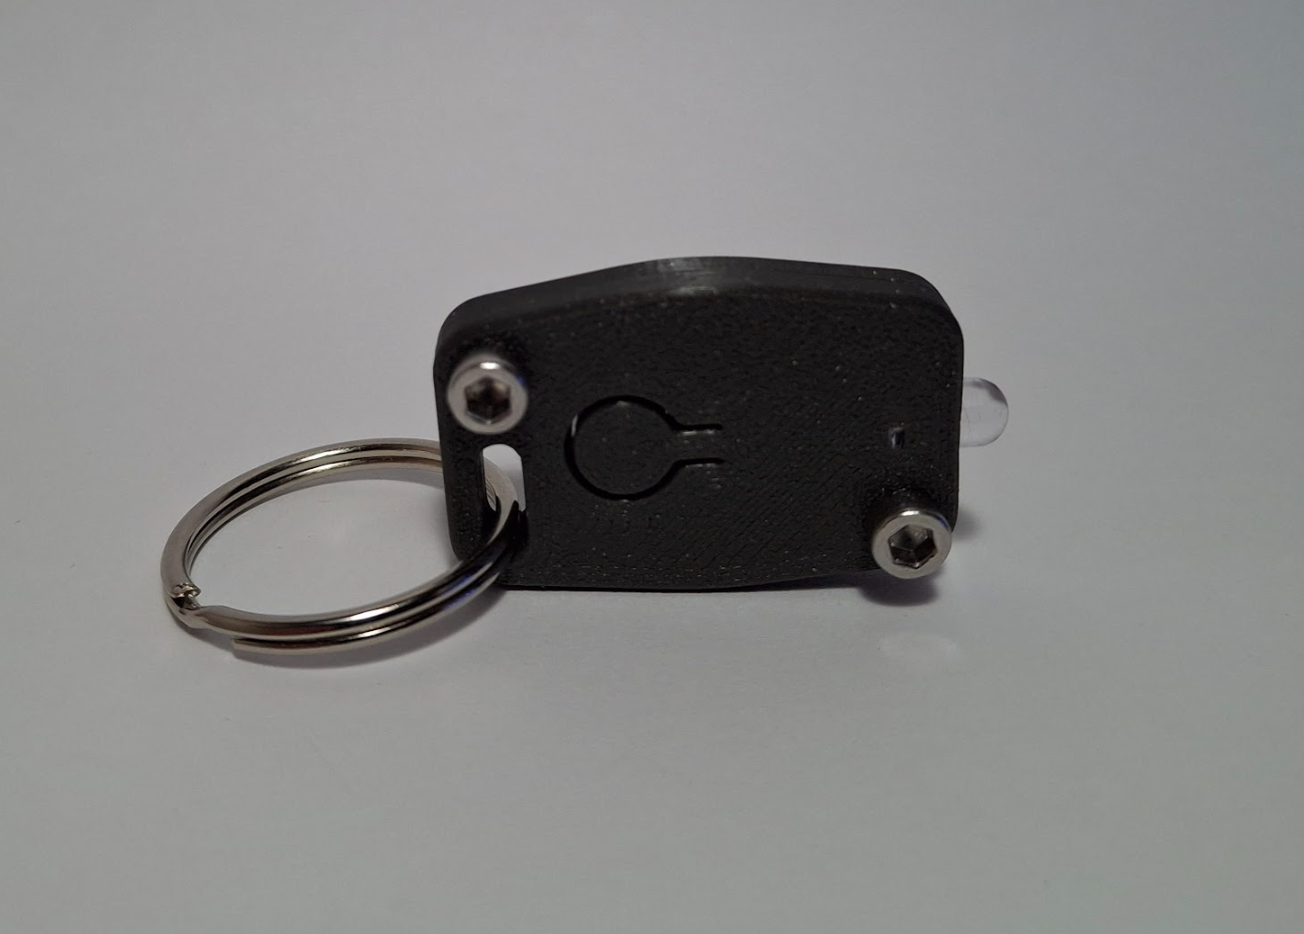
To operate, press the button:
