
Screw measuring tool, Metric M1.6 to M12
We calculate the final price from your selected file. You review and accept it before payment.
Saved on this device.
Screws, bolts & nuts M1.6 up to M12. Multiple variants, even vase mode.
- Rating
- 4.857 / 5
- Likes
- 571
- Downloads
- 969
- Makes
- 19
- Views
- 7,625
- Reviews
- 14
Updated at source:
Model information
- Source
- Printables
- Category
- Tools
- License
- Creative Commons — Attribution — Noncommercial — NoDerivatives
What it is
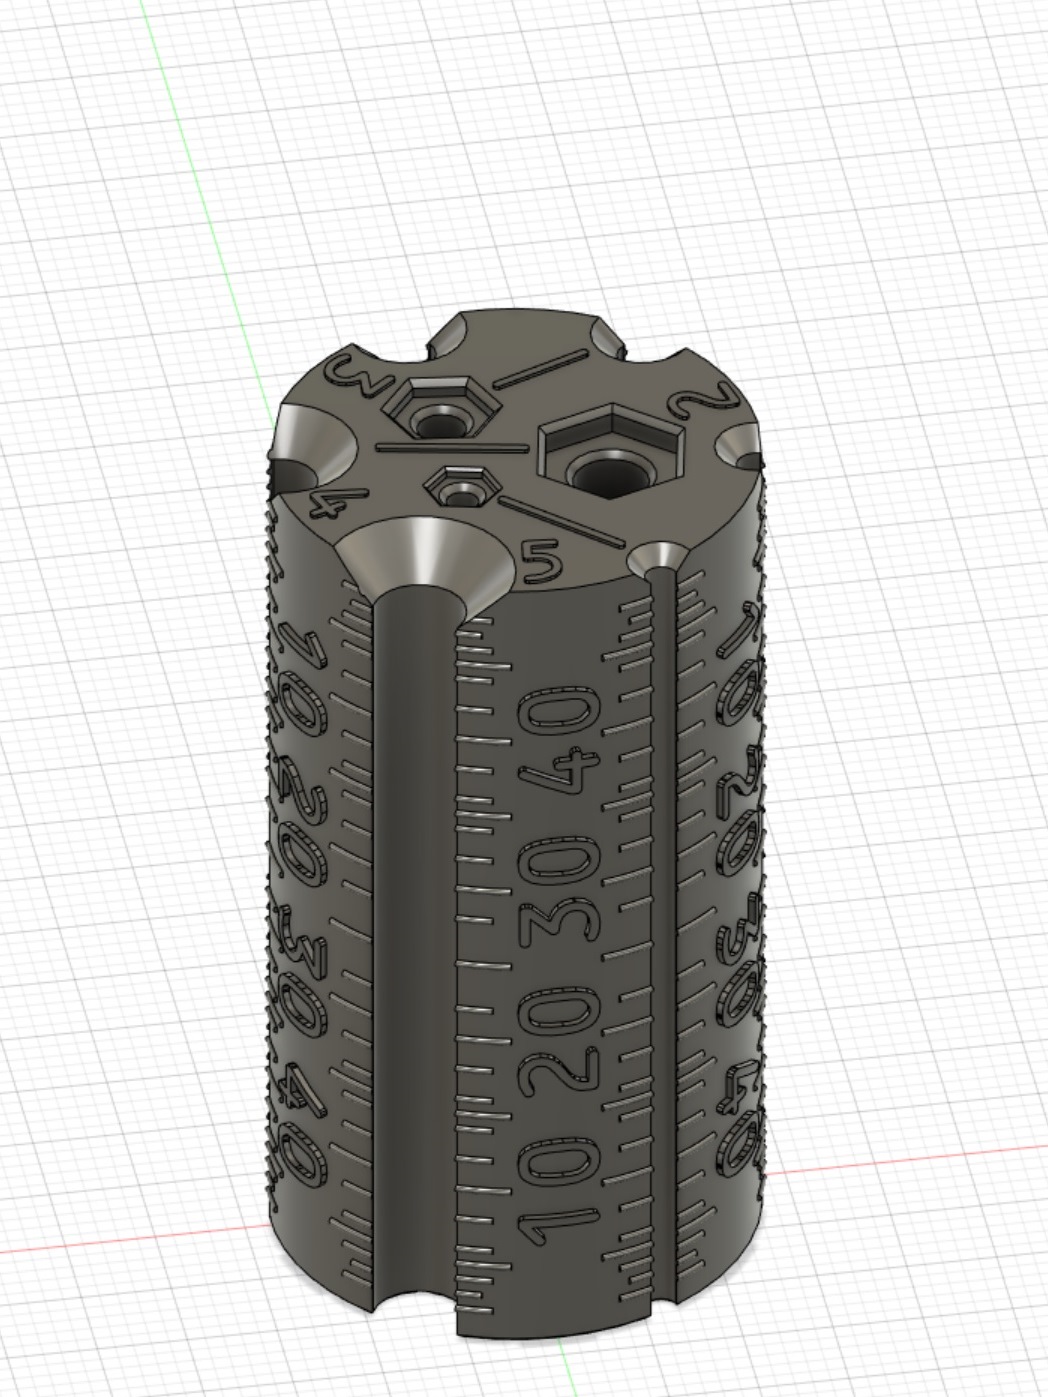
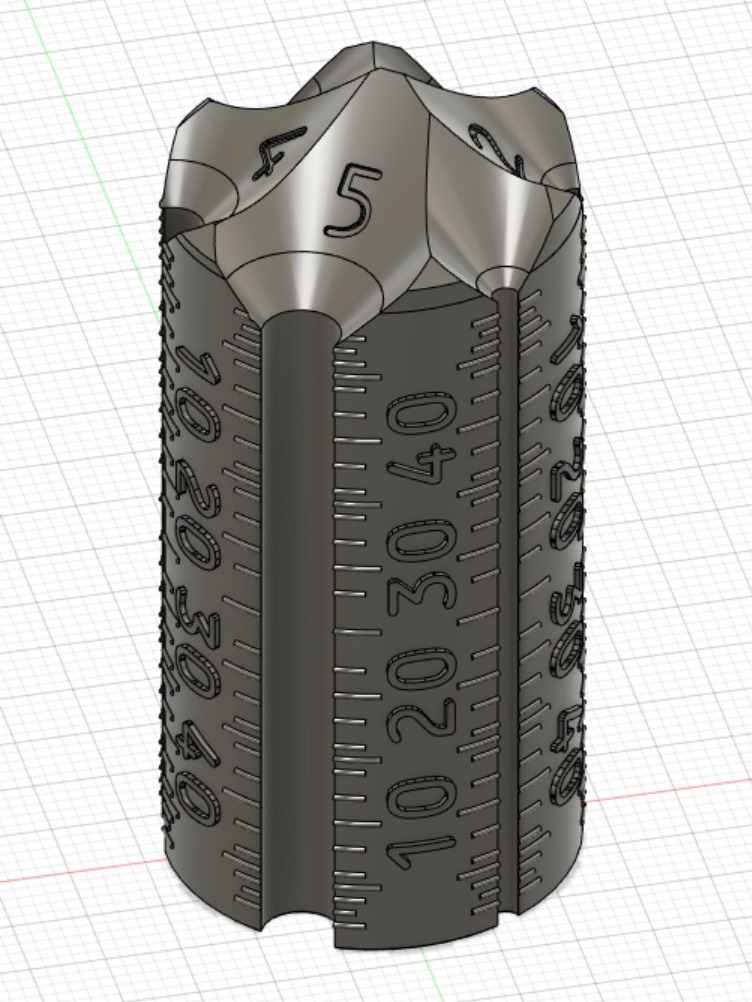
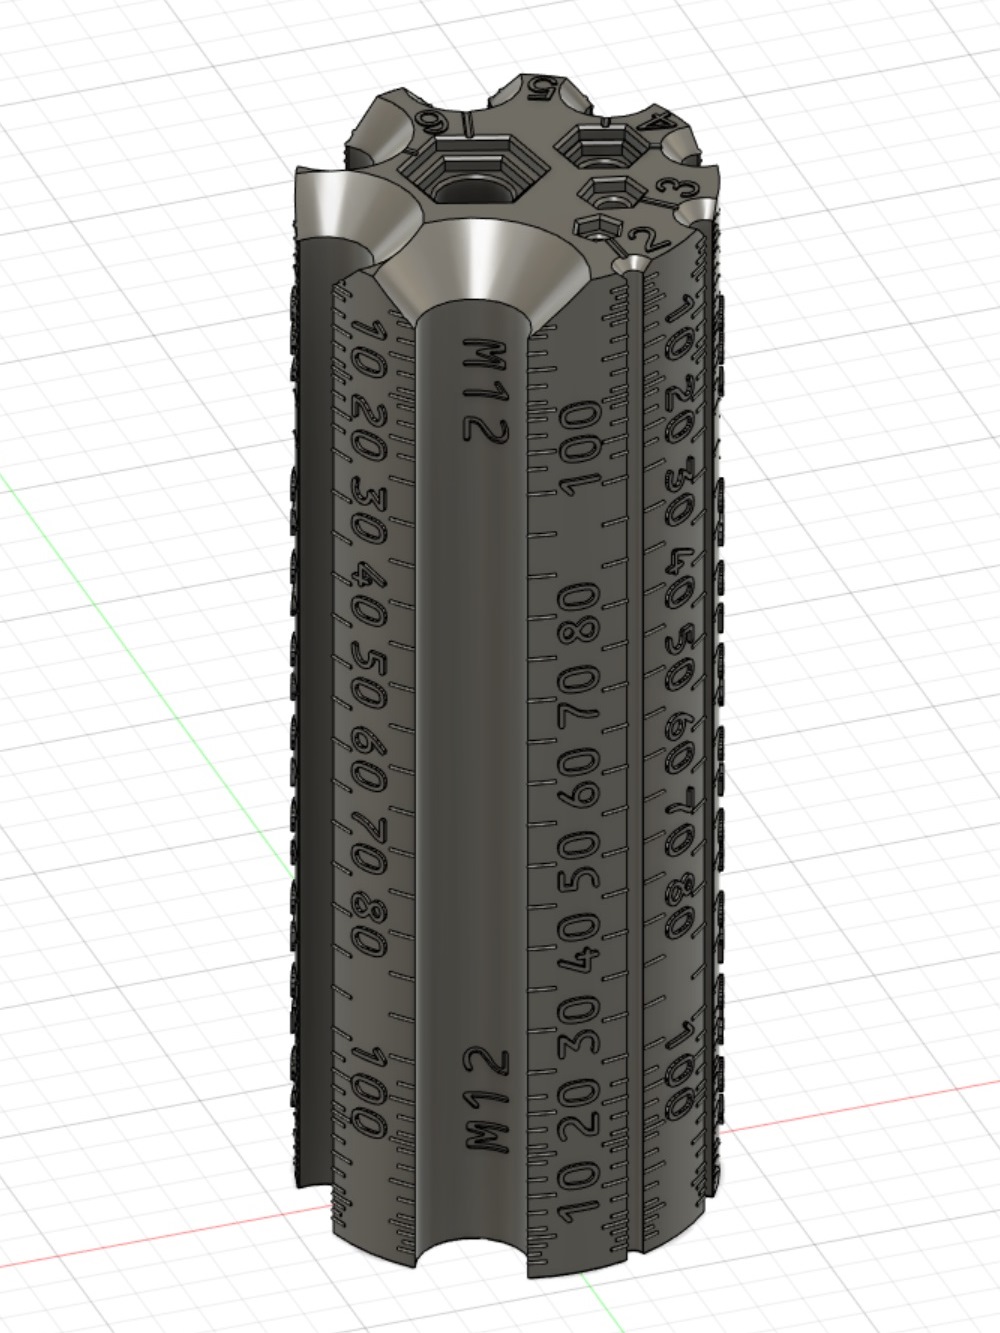
A compact tool to determine the size and length of screws & bolts. In contrast to other designs it offers a unique cylindrical design which packs additional features like measuring flathead screws and corresponding nut sizes on the same tool.
What to print
There are multiple variants awaiting you:
 |
|
 |
|
 |
|
 |
|
 |
|
 |
|
How to print
Recommended for printing is a 0.2 mm layer height. Printing with a 0.6mm nozzle and Arachne activated in PrusaSlicer works well, as can be seen in the pictures above.
A multi color version is just a matter of filament changes between layers. 3mf files for the mini and standard variant are provided. If you happen to have a MMU, you can of course go crazy with the markings.
In case it won't print neatly after a filament change: A draft shield, wipe tower or any object to consume filament beforehand (establishing good flow by doing so) may help.
Material at one's discretion, I used PETG in two different colors.
What next
There may be improvements and modifications based on feedback given here.
Maybe, take a look at my other designs ;-)