P
PrintablesBossingArt3D
18+
The source marked this model as adult content.
- Downloads
- 1,965
- Likes
- 521
- Rating
- 4.67
Counting matching models…
The source marked this model as adult content.
Heavy-Duty holder for Milwaukee M18 batteries, which was created specifically for the larger high-demand and new FORGE batteries. The holder can be mounted on the wall (designed for 4.5 or 5.0 mm screws), but since the batteries also lock…
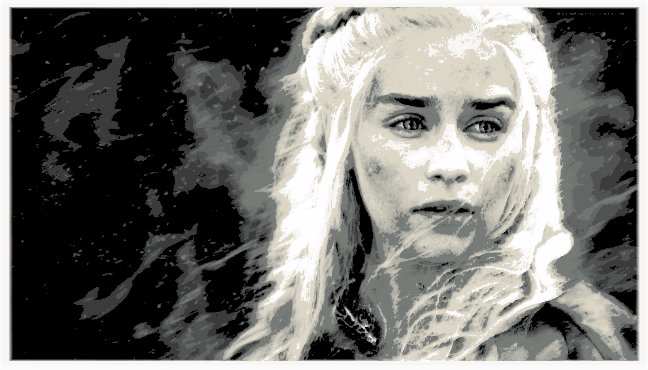
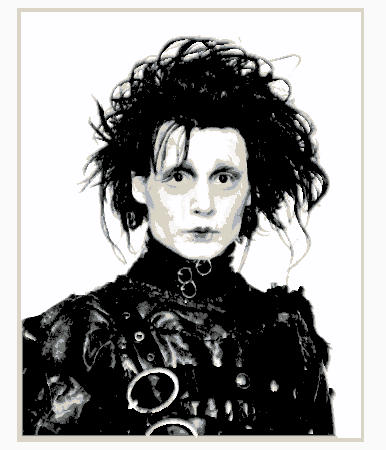
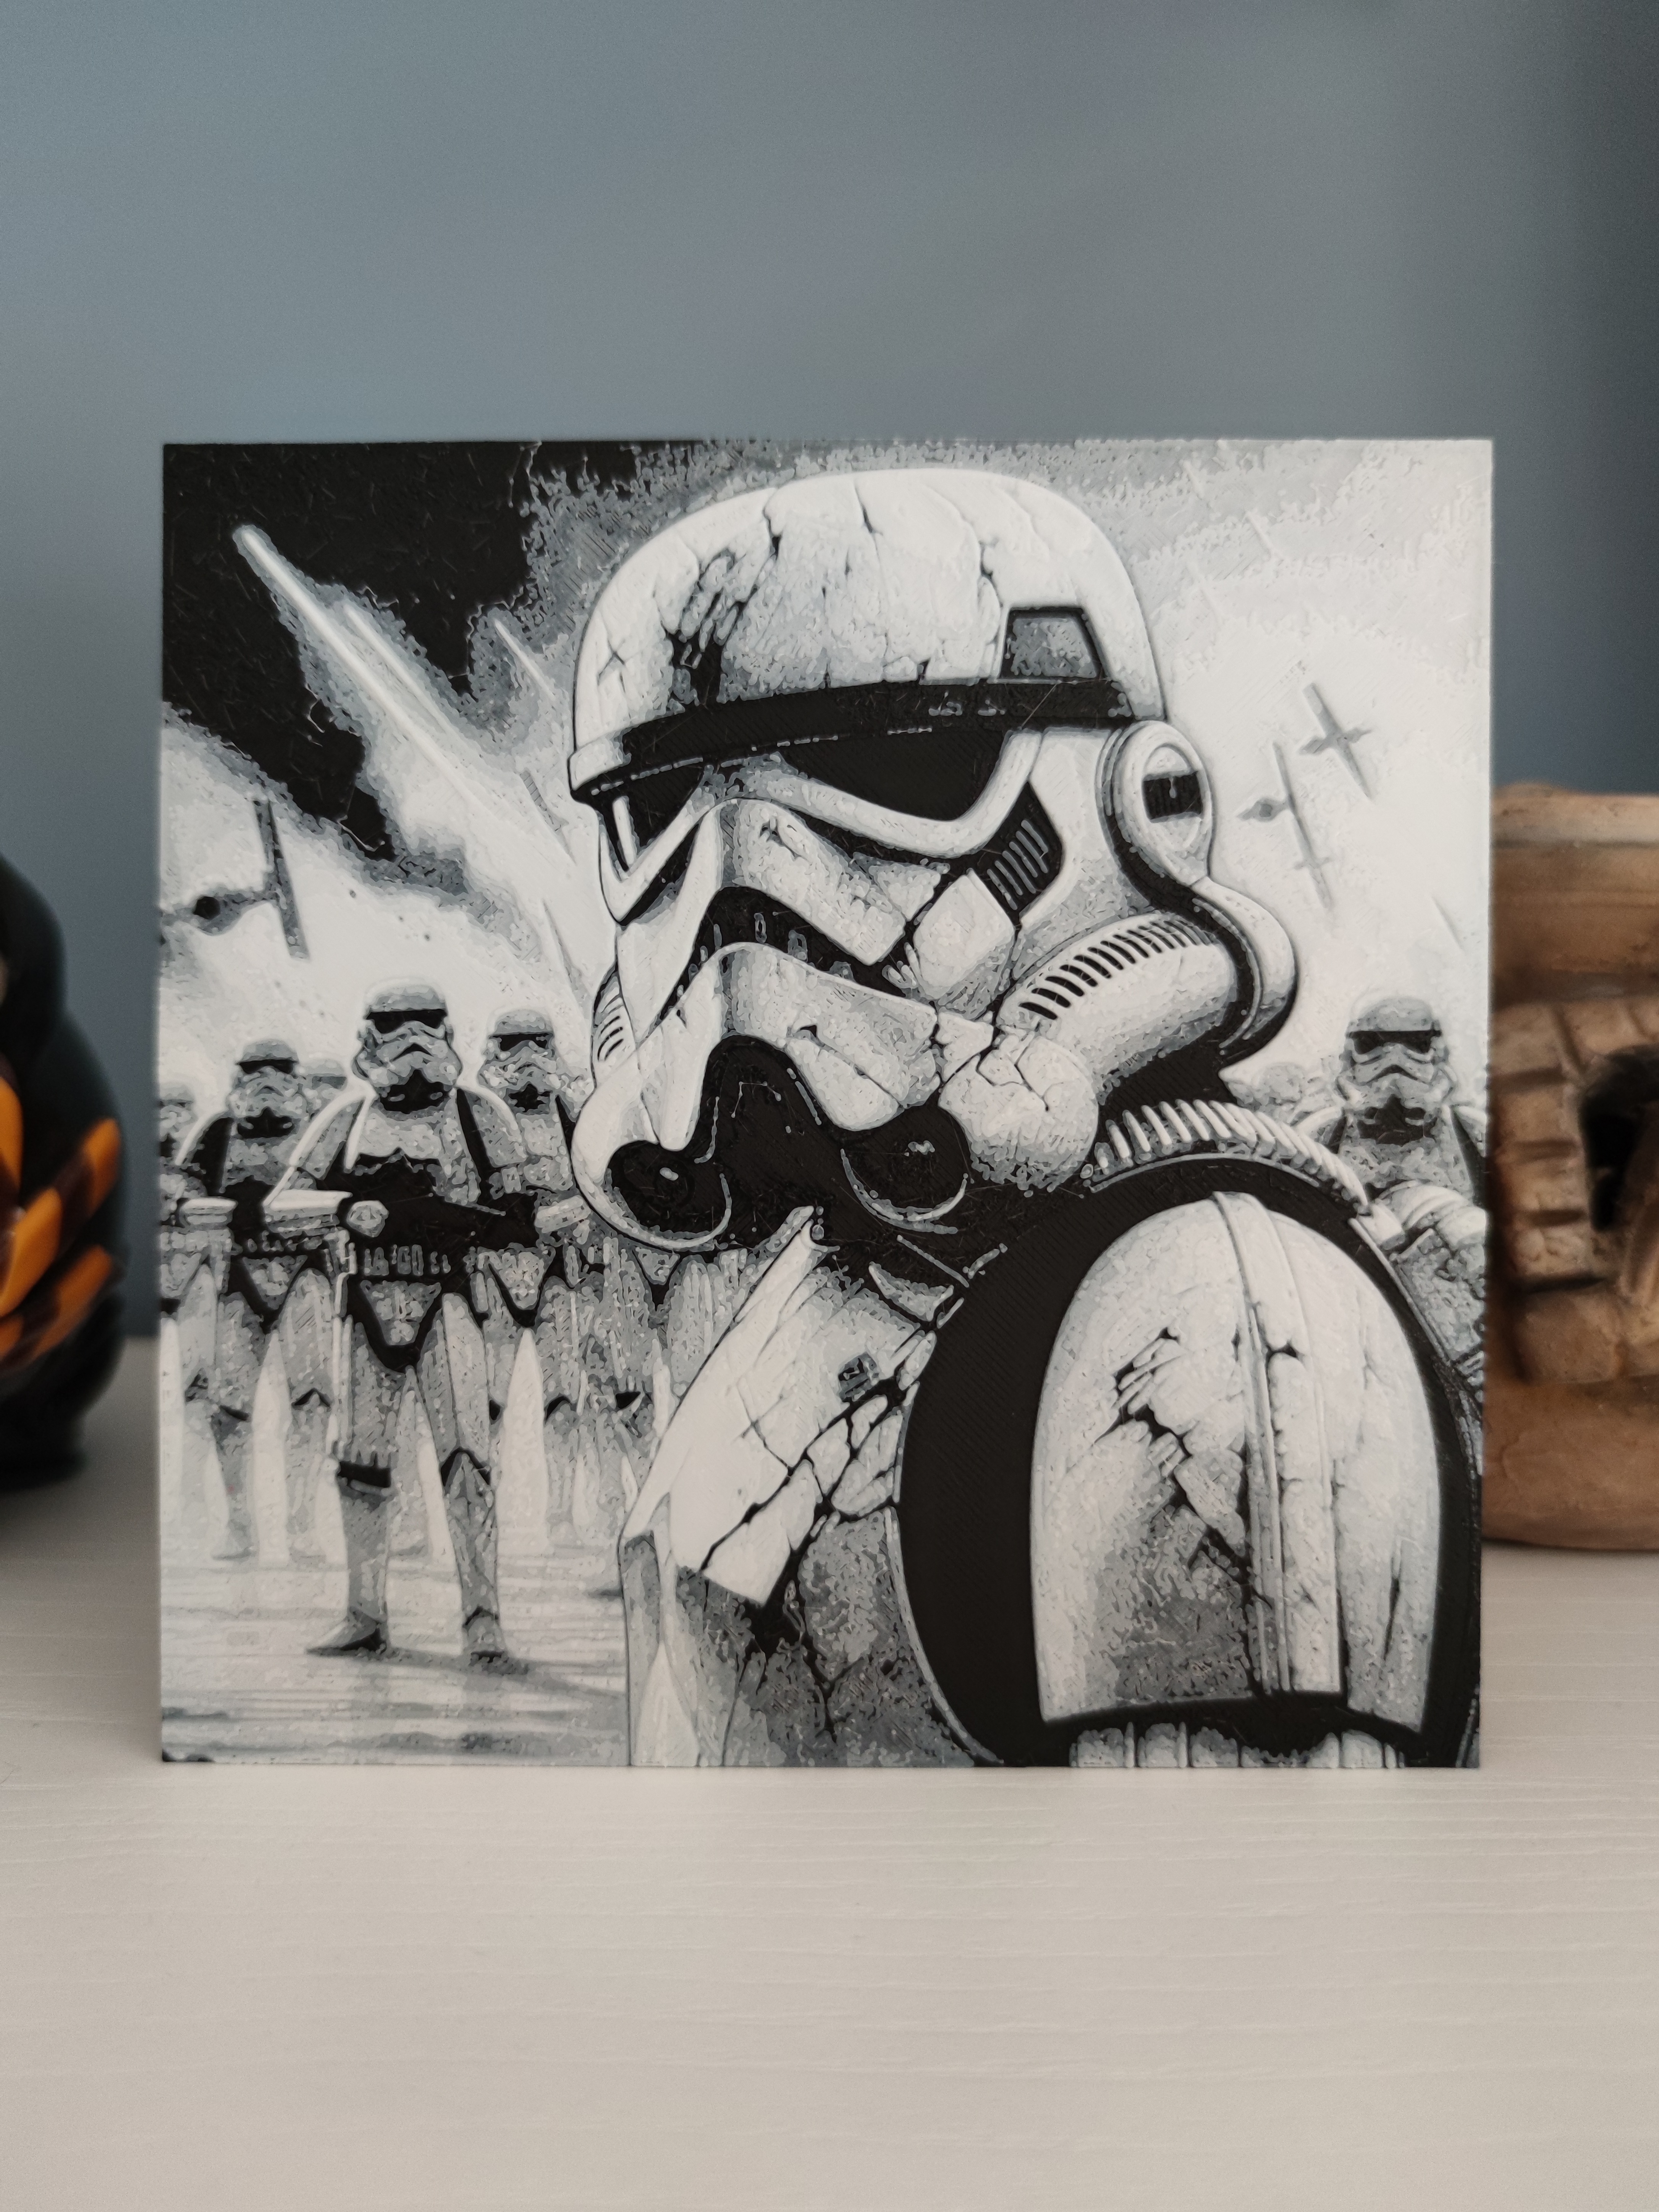
Print at 100% infill with a layer height of 0.08mm with a base layer of 0.16mm Filaments Used: PLA Control3d Black PLA Sunlu Meta Grey PLA+ Esun Bone White PLA Overture Matte Light Gray PLA Control3d White Swap Instructions: Start with…
Print at 100% infill with a layer height of 0.08mm with a base layer of 0.16mm Filaments Used: PLA Control3d Black PLA Sunlu Meta Grey PLA+ Esun Bone White PLA Control3d White Swap Instructions: Start with Black At layer #9 (0.8mm) swap…
5 Color Hueforge model of a mech in a field at sunset. DO NOT RESCALE Ive included a small 100x100mm and a large 200x200mm model slicing is the same for both Colors used: (all matterhackers build series /polymaker (I do not know the…
Picture: Generated with Stable Diffusion XL (metadata available in PNG file) Transparency via the extension: ‘stable-diffusion-webui-rembg’ Filaments: Prusament Galaxy Black base PolyTerra layers: Purple, Sakura Pink, Cotton White…
Print at 100% infill with a layer height of 0.08mm with a base layer of 0.16mm Filaments Used: PLA Basico Control3D Black PLA Sunlu Meta Grey PLA+ Esun Bone White PLA Basico Control3D White Swap Instructions: Start with Black At layer #8…
Layer height 0.10mm with a base layer 0.20mm. Start with Black. At layer 5, swap to Red. At layer 10, swap to Yellow. At layer 18, swap to white.
Print at 100% infill with a layer height of 0.08mm with a base layer of 0.16mm The Model is 154.79x193.49mm in size You may print at higher layer heights below the Min Depth of 0.48mm The Max Depth is 2.2mm and the Actual Depth is 2.2mm…
Print at 100% infill with a layer height of 0.1mm with a base layer of 0.2mm The Model is 200x199.8mm in size You may print at higher layer heights below the Base Thickness of 2mm The Max allowed Thickness is 3.8mm and the Actual…
Print at 100% infill with a layer height of 0.04mm with a base layer of 0.16mm The Model is 200x100mm in size You may print at higher layer heights below the Min Depth of 0.48mm The Max Depth is 2.2mm and the Actual Depth is 2.2mm…
Picture: Generated with Stable Diffusion XL (metadata available in PNG file) Transparency via the extension: ‘stable-diffusion-webui-rembg’ Filaments: Prusament Galaxy Purple, Azure Blue, Ms. Pink Blend, Vanilla White HueForge Project…
This is printable enclosure for Flashforge adventurer 5m, this model is made by Flashforge . Flashforge will soon release a kit on their homepage with neccesary items. Measurements for panels: Top Plate 332 x 315 x 3 24mm Radius Handle…
I remixed the drag chain by INQUE and cut off the spool holder portion because I use a side mounted spool holder and don't have a use nor the space for the vertical spool holder. I also added in the drag chain termination part by Doug…
A simple and effective poop chute / ramp and bucket solution for the Flashforge AD5X as seen in my review video here: There are two files in this listing - the first is a 3MF configured for the Bambu Lab A1 and if you use the drop down to…
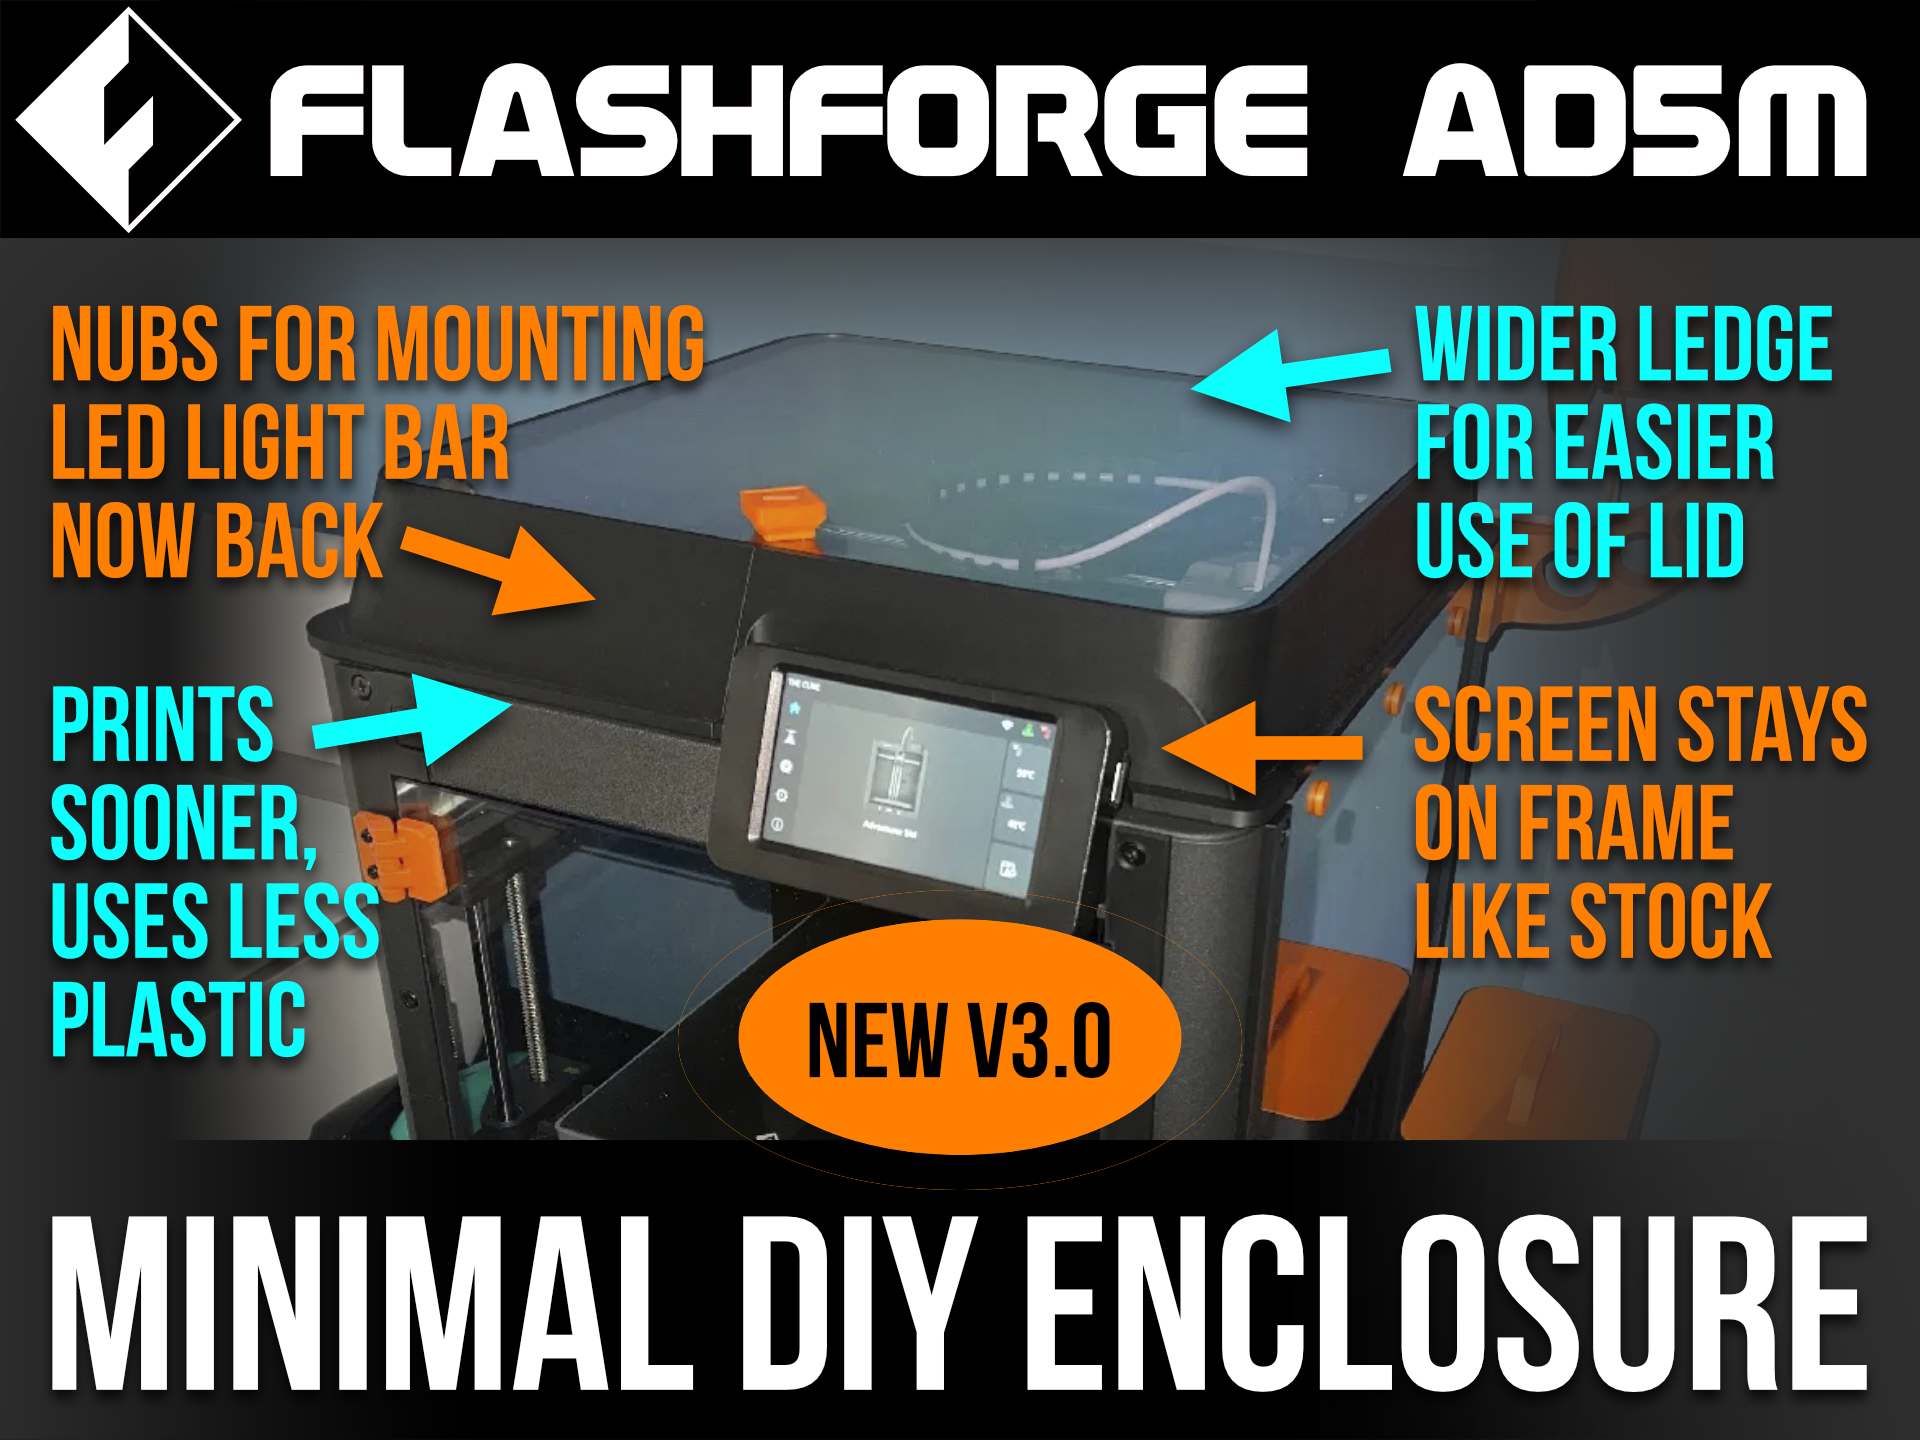
Heads-up News Heads-up #1: there’s a newer version of this here: https://www.printables.com/model/1247920-new-v30-of-top-riser-set-for-flashforge-adventurer Also, heads-up #2: There is a helpful new “guard plate” improvement remix…
23 June 2024 - NOTE: Updated model of the insert to accommodate the longer allen keys that are being shipped with new printers. This tool box holds all the accessories and tools that are shipped with the Flashforge Adventurer 5m and 5m…
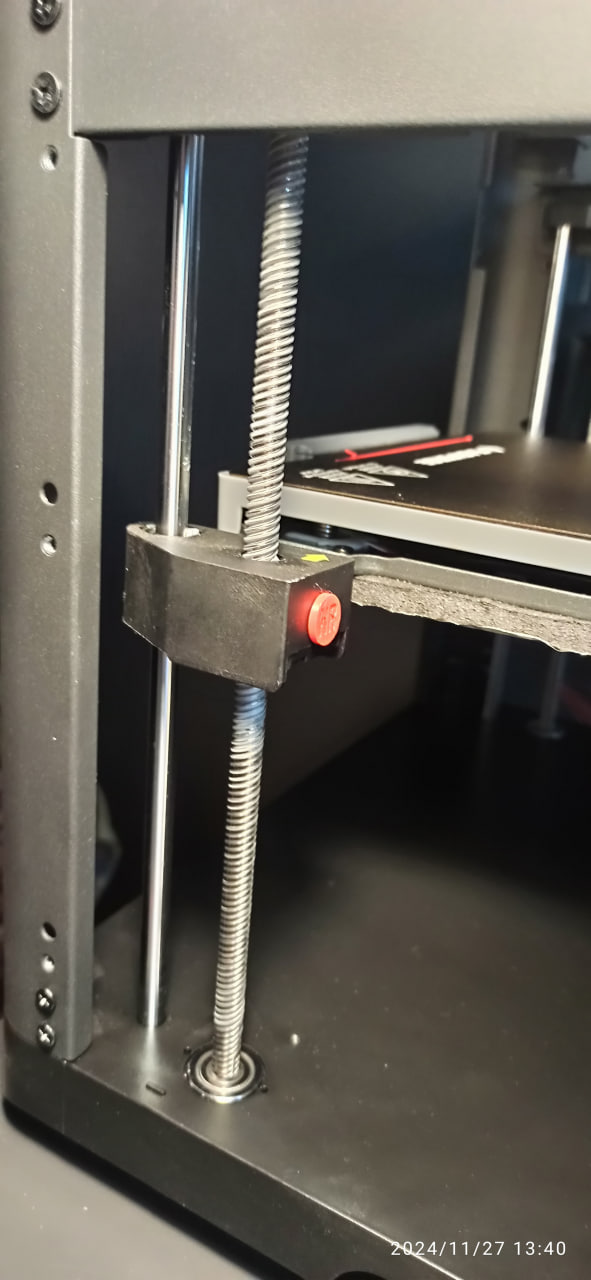
Уменьшение стука стола при Z-HOPE: фиксатор гаек ходовых винтов. Нужно два фиксатора на передние стойки (-SIDE) и один на заднюю (-BACK). You need two retainers for the front struts (-SIDE) and one for the rear strut.
The Printed parts are created by Flashforge, I sketched DXF file of enclosure based on it. All panels are made of 3mm polycarbonate or acrylic panels Besides you need to cut the panels which are cut by laser or CNC cutter, you also have…
How to use the 'All Files' choice "Download All Files" gets everything — including the .3mf file — named " ad5m-minimal-enclosure-by-design8studio-for-orcaslicer-230.3mf " — which is an OrcaSlicer project file , containing multiple print…
This was made for use with the DIY enclosure available here . HEADS UP - 1 of 3 - new better version of this! I've published a new, improved remix of my popular side-mounted spool holder — PLEASE NOTE: it's not just about the four…
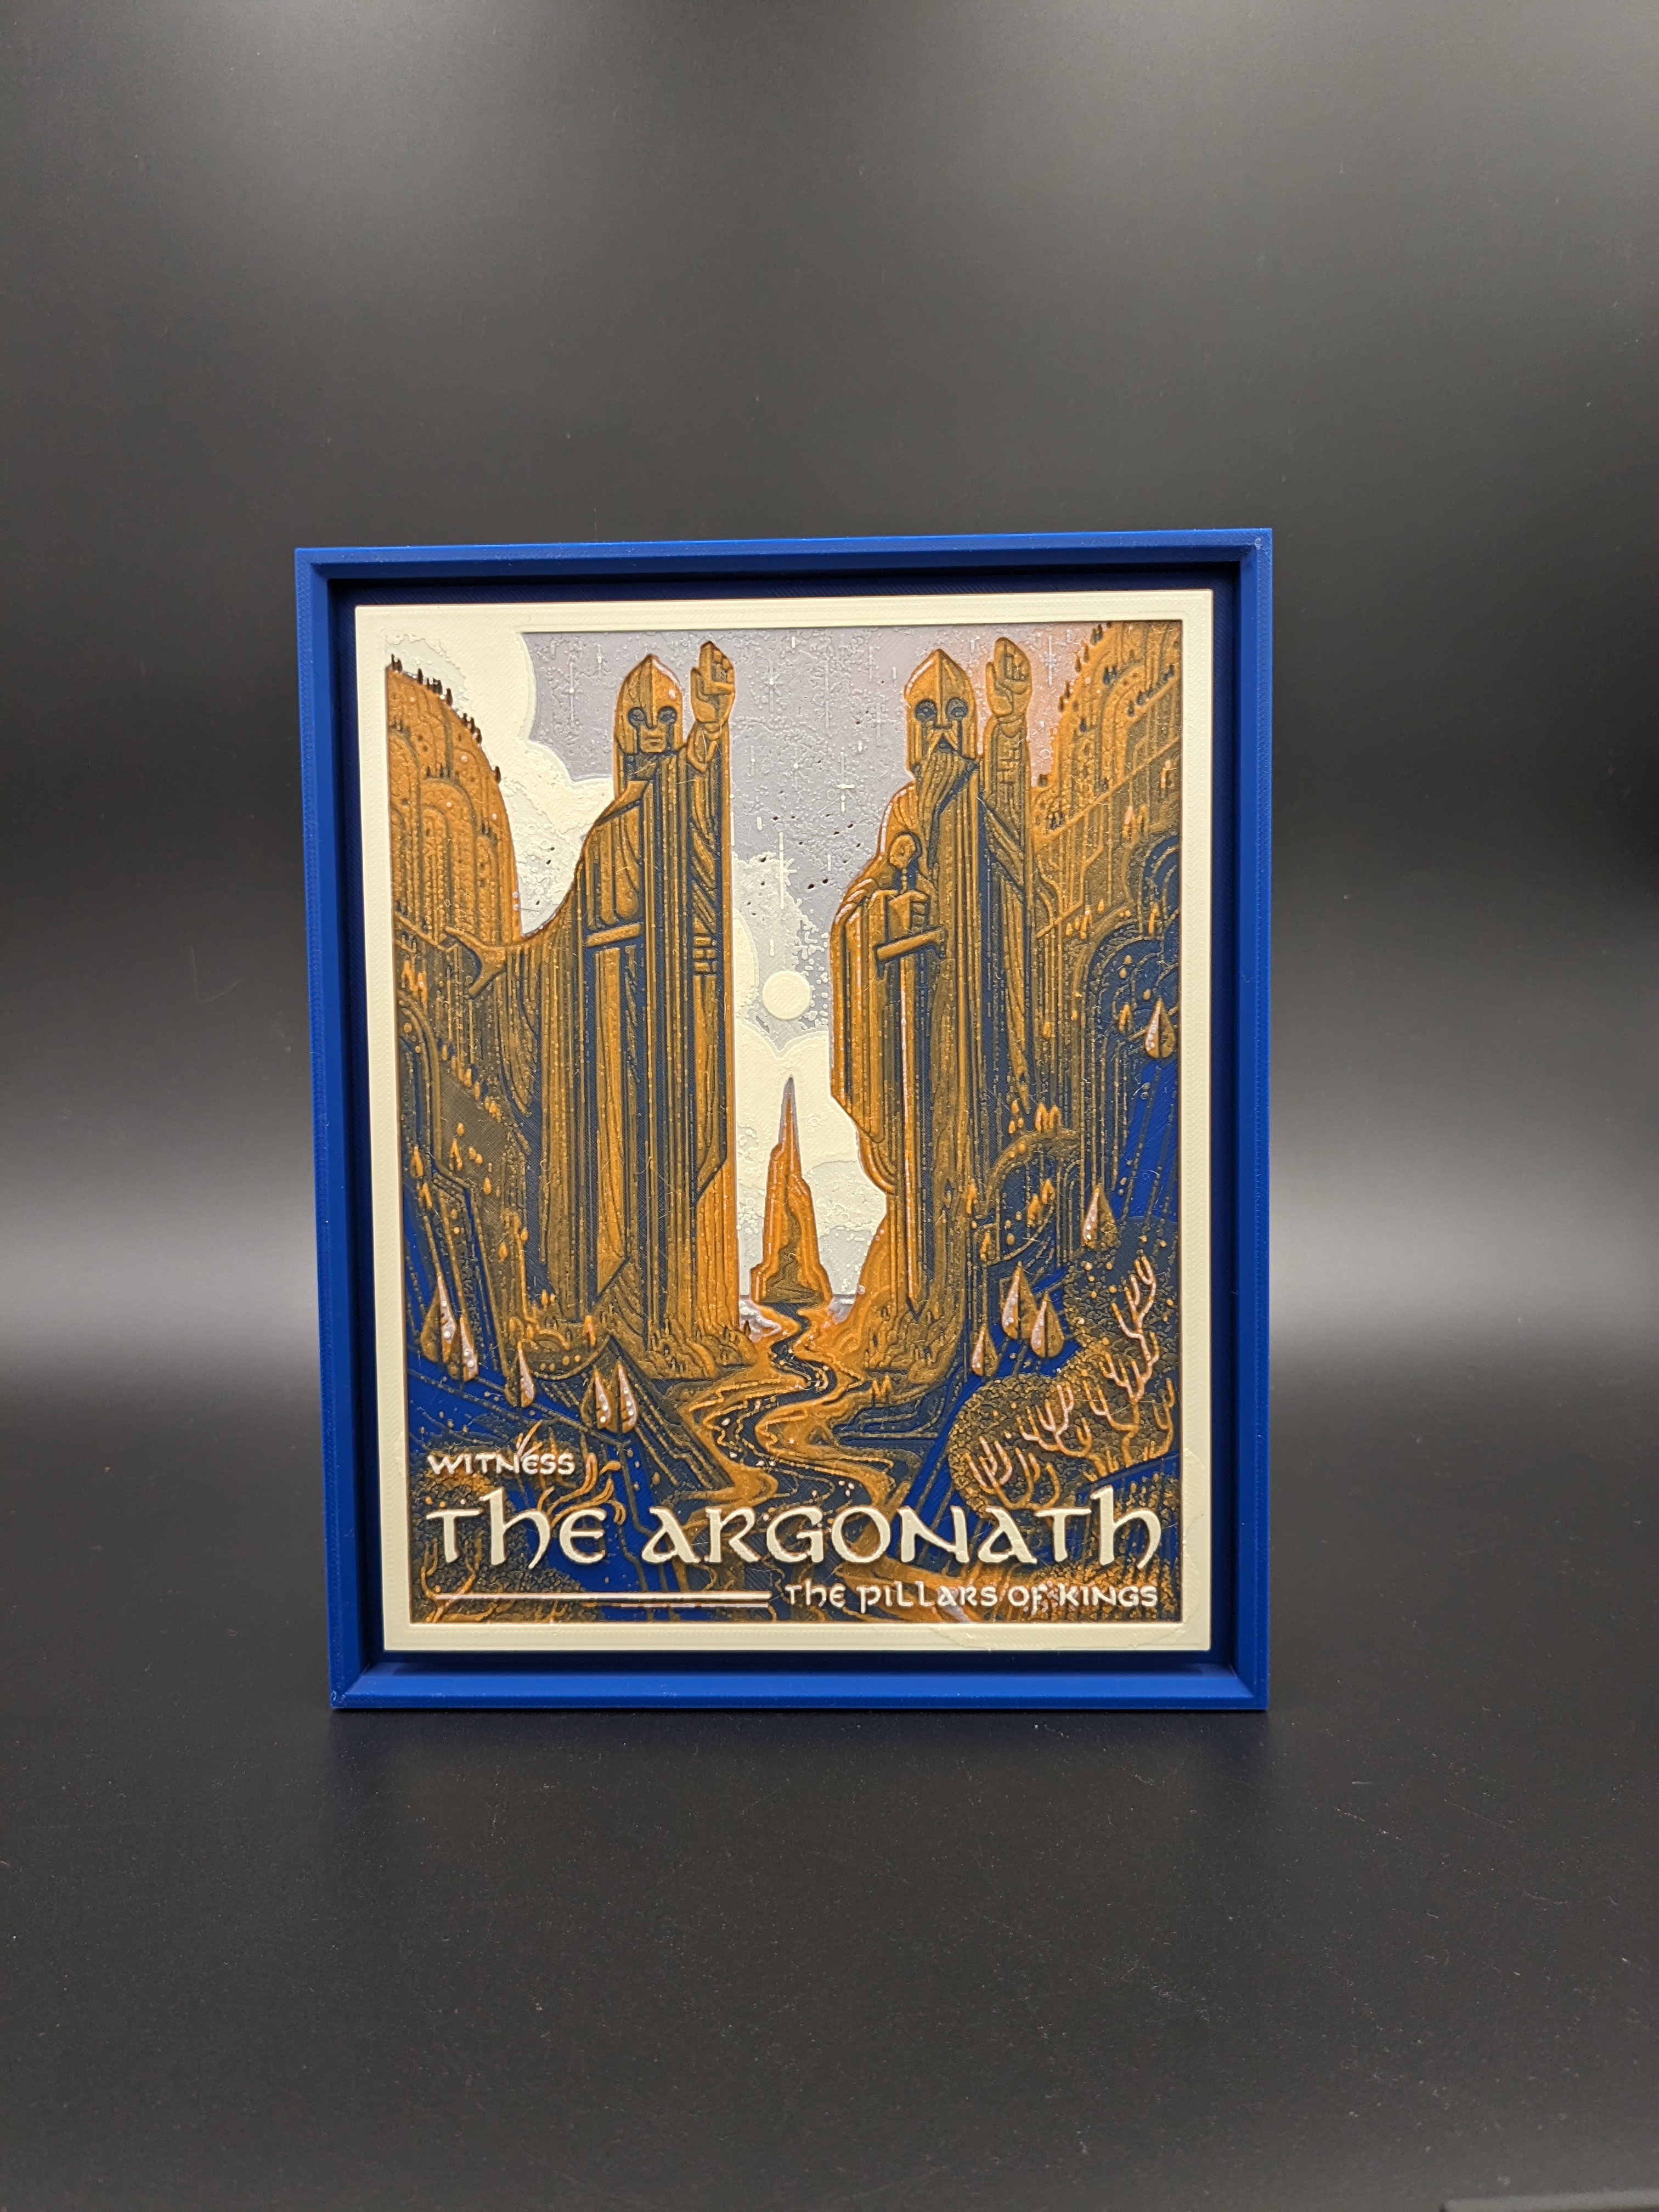
Print at 100% infill with a layer height of 0.08mm with a base layer of 0.2mm Swap Instructions: Start with Black At layer #8 (0.76mm) swap to Orange At layer #11 (1mm) swap to Beige At layer #18 (1.56mm) swap to White for the rest.
CAVEATS Before you download this or try it: I get a fair amount of reports of issues with this particular listing, especially when used with one of my minimal enclosure remixes. For example, this warning from fellow maker Eric Morneau : I…
I am attaching the STEP file for possible modifications. It is not HSW compatible. Recommended print settings: PLA, 0.6 nozzle, height 0.42 mm, 2 perimeters, gyroid infill 15%, 4 layers top and bottom, and no support
Flashforge AD5X Spool Number Plates, shaped to the spool spindle ends. Useful to show spool number which is hidden if the spool is installed. Just clips in to existing spindle hex hole at the end. Print Settings: Nozzle Temperature: 220°C…
This design can be printed using one of the AD5X feature - Multi-Color Printing.
UPDATED 2023-07-25: Added a guide on how to use this test, plus other additional info. If you're interested just in using the test, don't read it whole; just read the “What is the Blending Distance (BD)?” section and do the steps of…
Simple printbed scraper with Flashforge logo. Must have tool to remove stubborn prints and/or purge lines from the printbed. Layer height:0.12 Shells/walls: 3 Infill: 15%
FAQ Q: I printed your enclosure and I can’t figure out how to install the filament sensor / spool holder. I’ve looked on YouTube for installation videos and still stuck. Any help would be greatly appreciated. A: Not long after the initial…
NEW The new remix prints as one piece, not two, with no supports needed, and this eliminates an intermediate step of gluing two parts together. Kudos and thanks to WingWong (@WingWong_521453) for the idea. I'd have just used his remix,…
now you can print with support or just use the 2 parts with no support for the two part you need glue. printed in abs if you want the part to be stronger print the parts like in the picture.
A Flashforge AD5X tool insert to fit into the Flashforge Adventurer 5M Toolkit .
This is printable enclosure for Flashforge AD5X, this model is made by Flashforge. Flashforge will soon releas
Designed for users who want printer waste to drop to the left side of the printer instead of behind it. Installs into the standard mounting using the existing bolts on the rear cover.
This custom FlashForge AD5X enclosure features a clean, functional design finished in Galaxy Black, accented with Green Silk Matte inlays for subtle contrast and depth. The build focuses on durability and visual balance while keeping a…
I needed to save space and access the filament easily. I created this :-) (easy to print NO raft or support needed) 15% infill should be enough. It mounts on the right side top! Works for both - small and normal 1kg. filament rolls. 𝔗𝔴𝔬…
This is one of three options I've made available for Bowden PTFE Coupler C-Clip for the Adventurer (AD5M) Runout Sensor. OPTION 1 of 3 — Clone of the stock factory clip PLA. Print as oriented. I used 0.2 mm layer height on 0.4 mm nozzle.…
An extruder guide for Flashforge Adventurer 5m Pro to avoid scratches on the inside of the cover. The bottom part is made flexible to follow the extruder tube in any direction, while at the same time hold it down a little bit. Make sure…
Wanted a larger bin to hold filament waste. Painted a few spaced support strips on the underside of the raised bottom part (.mf); otherwise very simple print
This is an S-shaped dual clip designed to organize and hold two tubes in parallel. in this case, the extruder cable and the filament tube for the FlashForge AD5X 3D printer. Shape: The S-shape forms two opposing curved channels, each…
Overview A screen bezel and a stylus holder for the FlashForge Adventurer 5m. One M3x6 or M3x5 screw is required to securely fasten the stylus holder to the cover. A bit of super glue might help as well. The bezel is a semi-loose fit for…
There are several ways to make Ornaments + Hueforges, the easiest way was to just add a hole in Bambu studio, so I decided to bring an ornament designed from Fusion 360, and combine both. This model was not generated using AI,the photos…
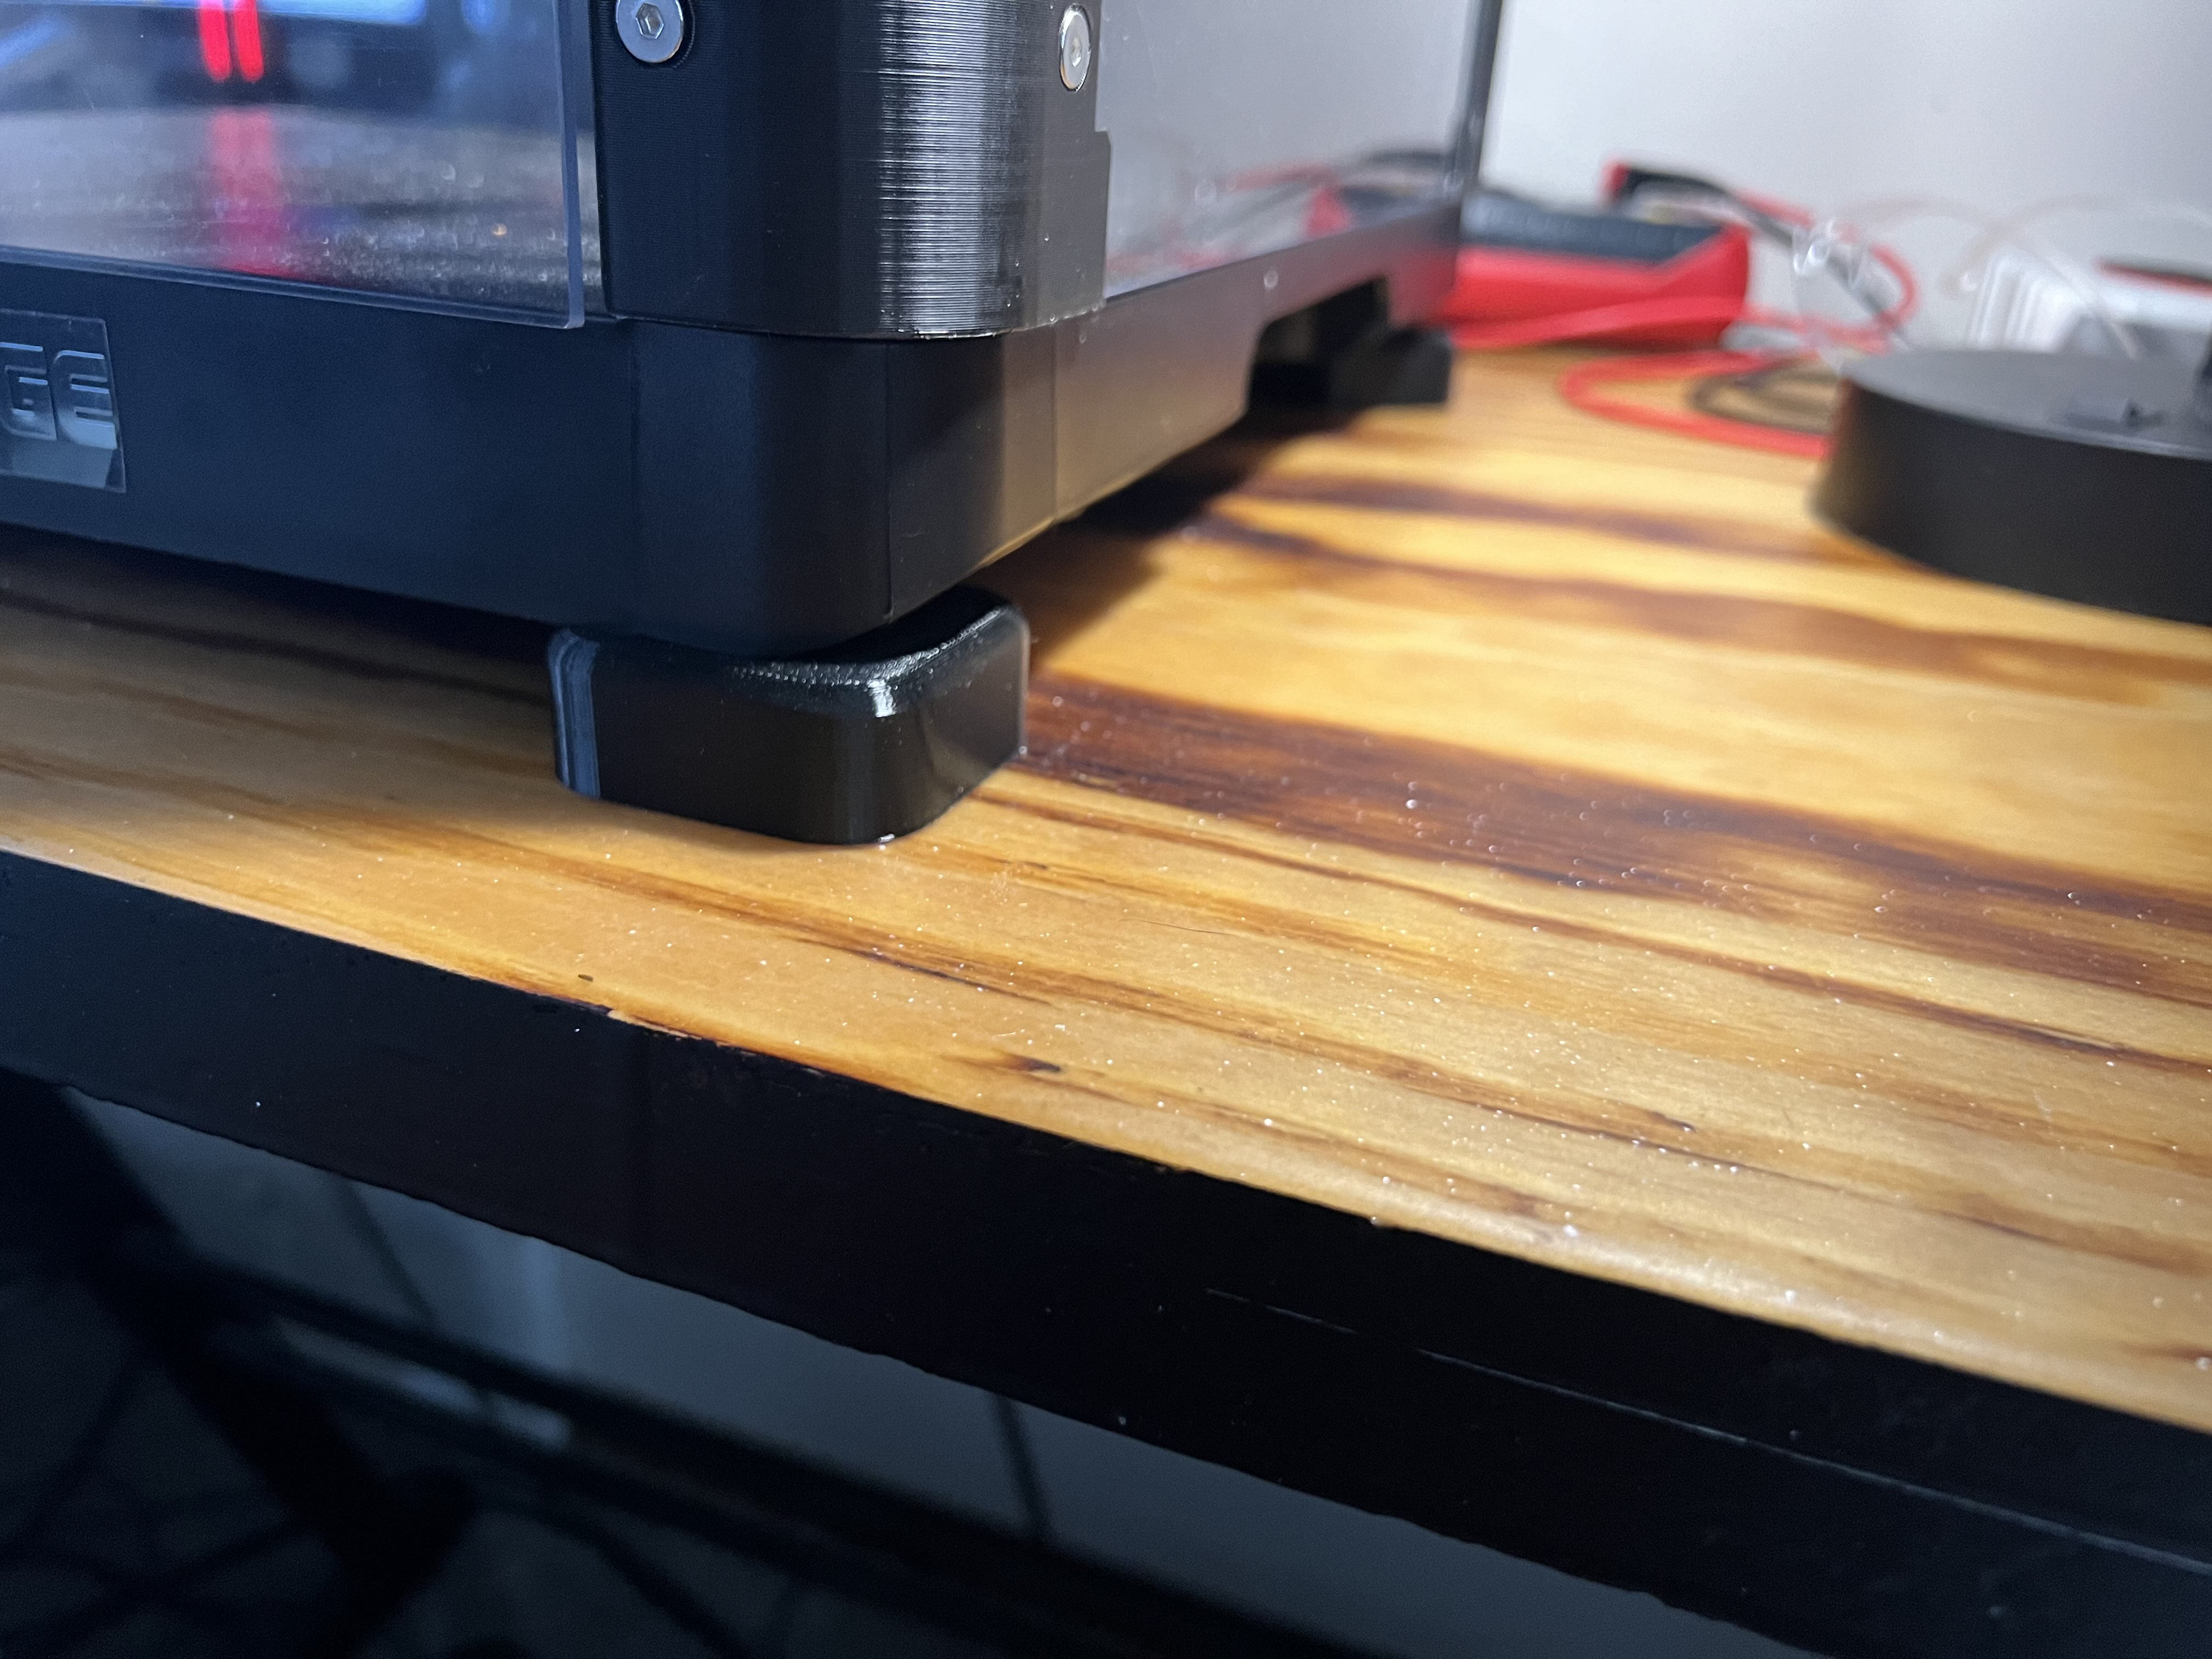
Anti Vibration feet for Flashforge Adventurer 5m. The rear feet sit at a 45 degree angle to be able to fit. These make the printer feel and sound a lot more solid and help reduce vibrations tremendously. I'm not sure if it is necessary…
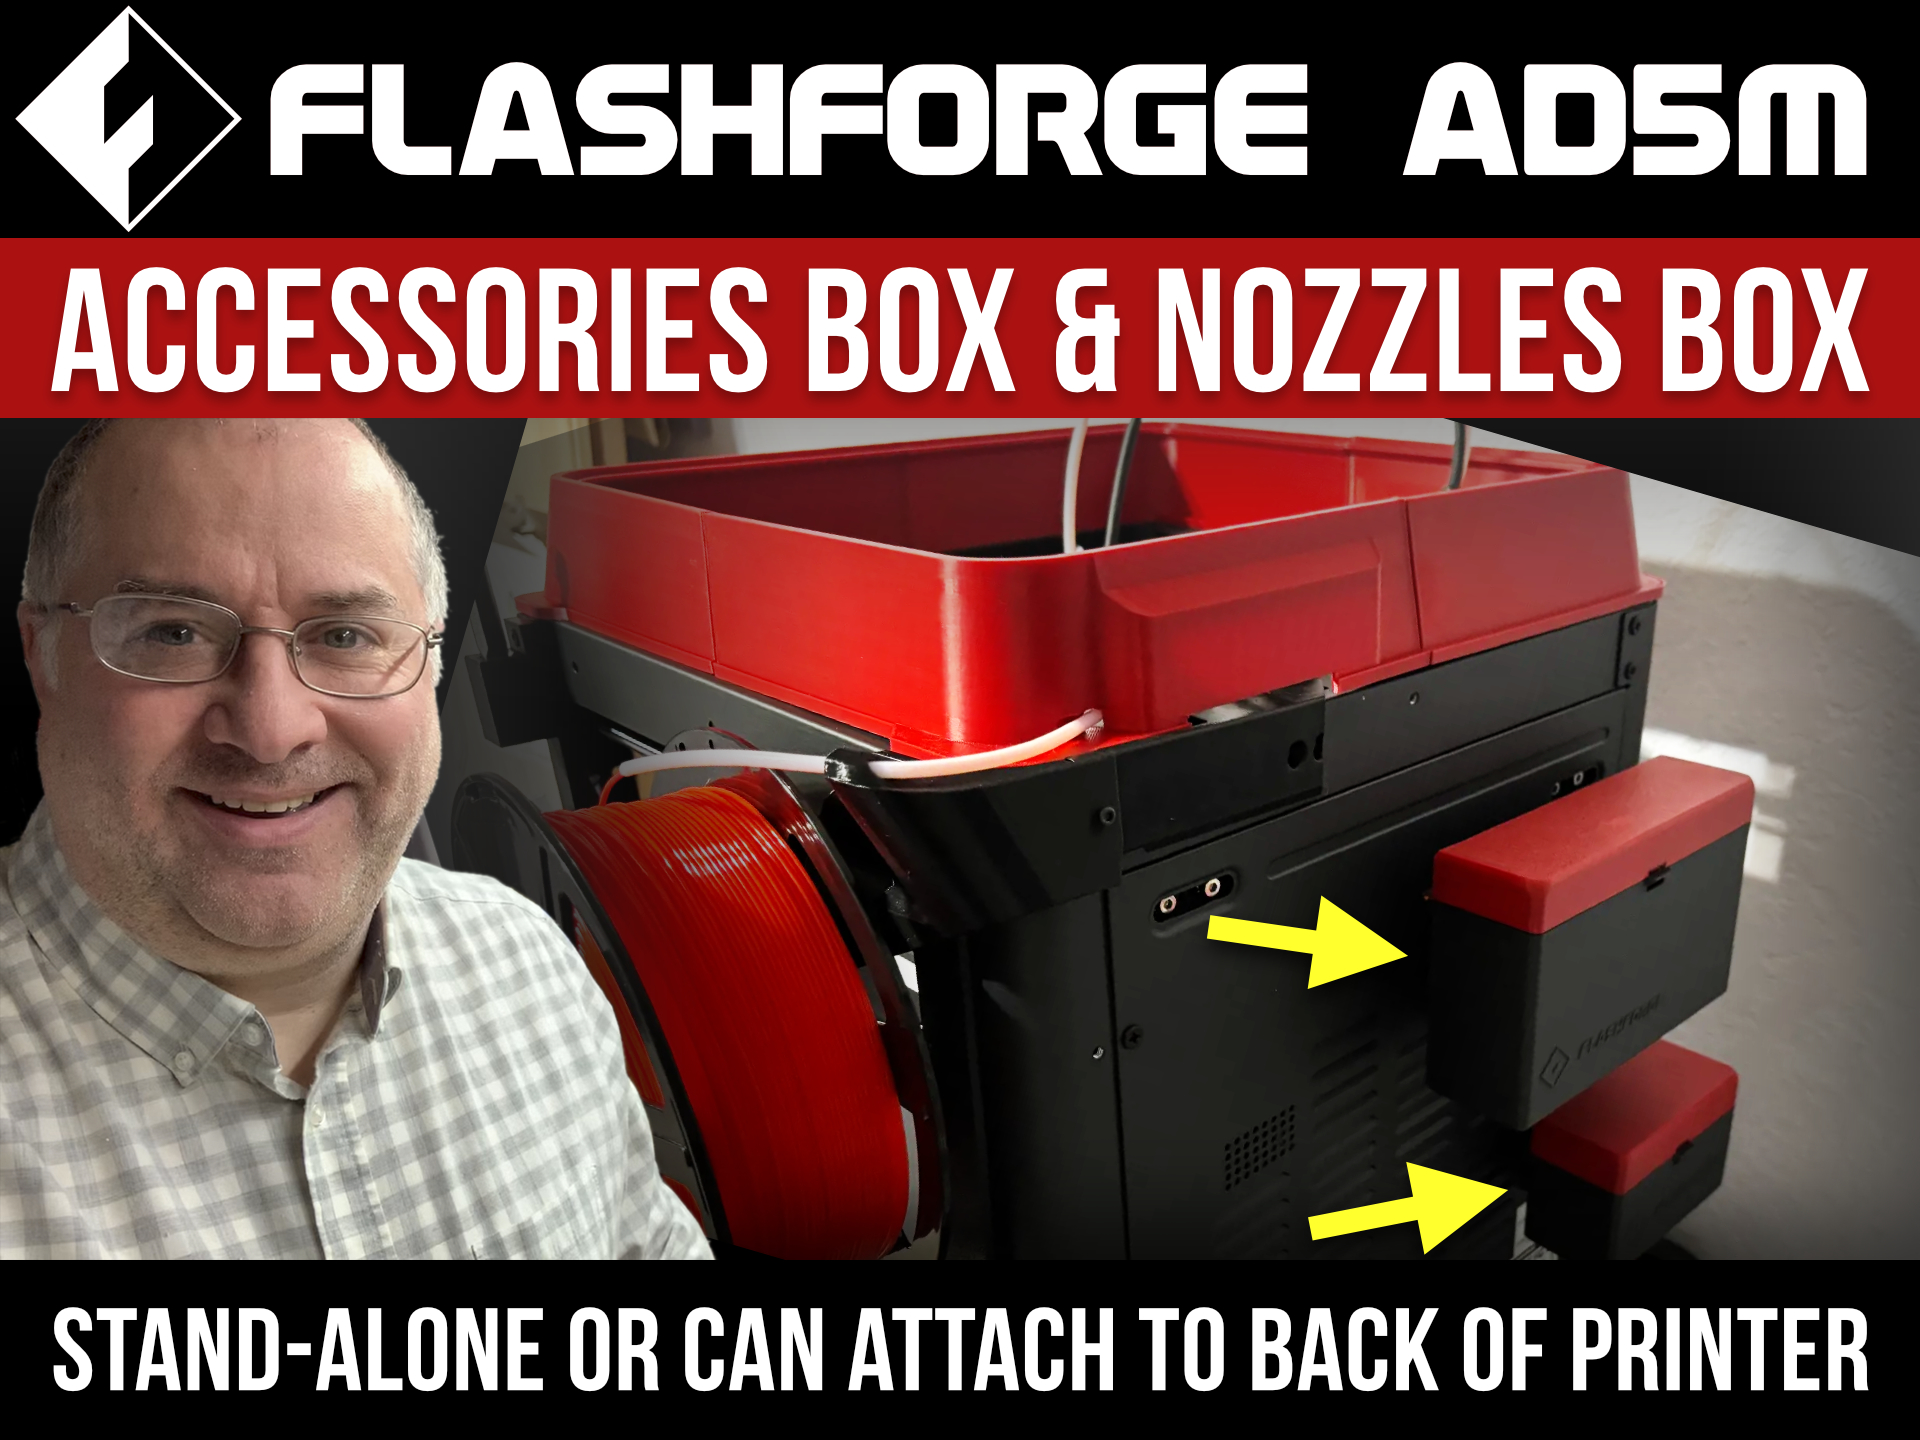
VIDEOS These two short videos explain everything: NEW New as of January 28, 2026 — The following additions and improvements were made: Now the boxes can be mounted on the sides of the printer. Click here: New as of January 27, 2026 — The…
Модификация системы обдува 3D-принтера Flashforge Adventurer 5M Modification of the Flashforge Adventurer 5M 3D printer blowing system Печатать без поддержек и отключить замедления на внешних периметрах Print without supports and disable…
You need 2 M4x8.1 Heat inserts and 2 M4x16 socket screws. First mount the base on the printer, after that you can mount the holder to the base. No need to reposition the filament runout sensor.
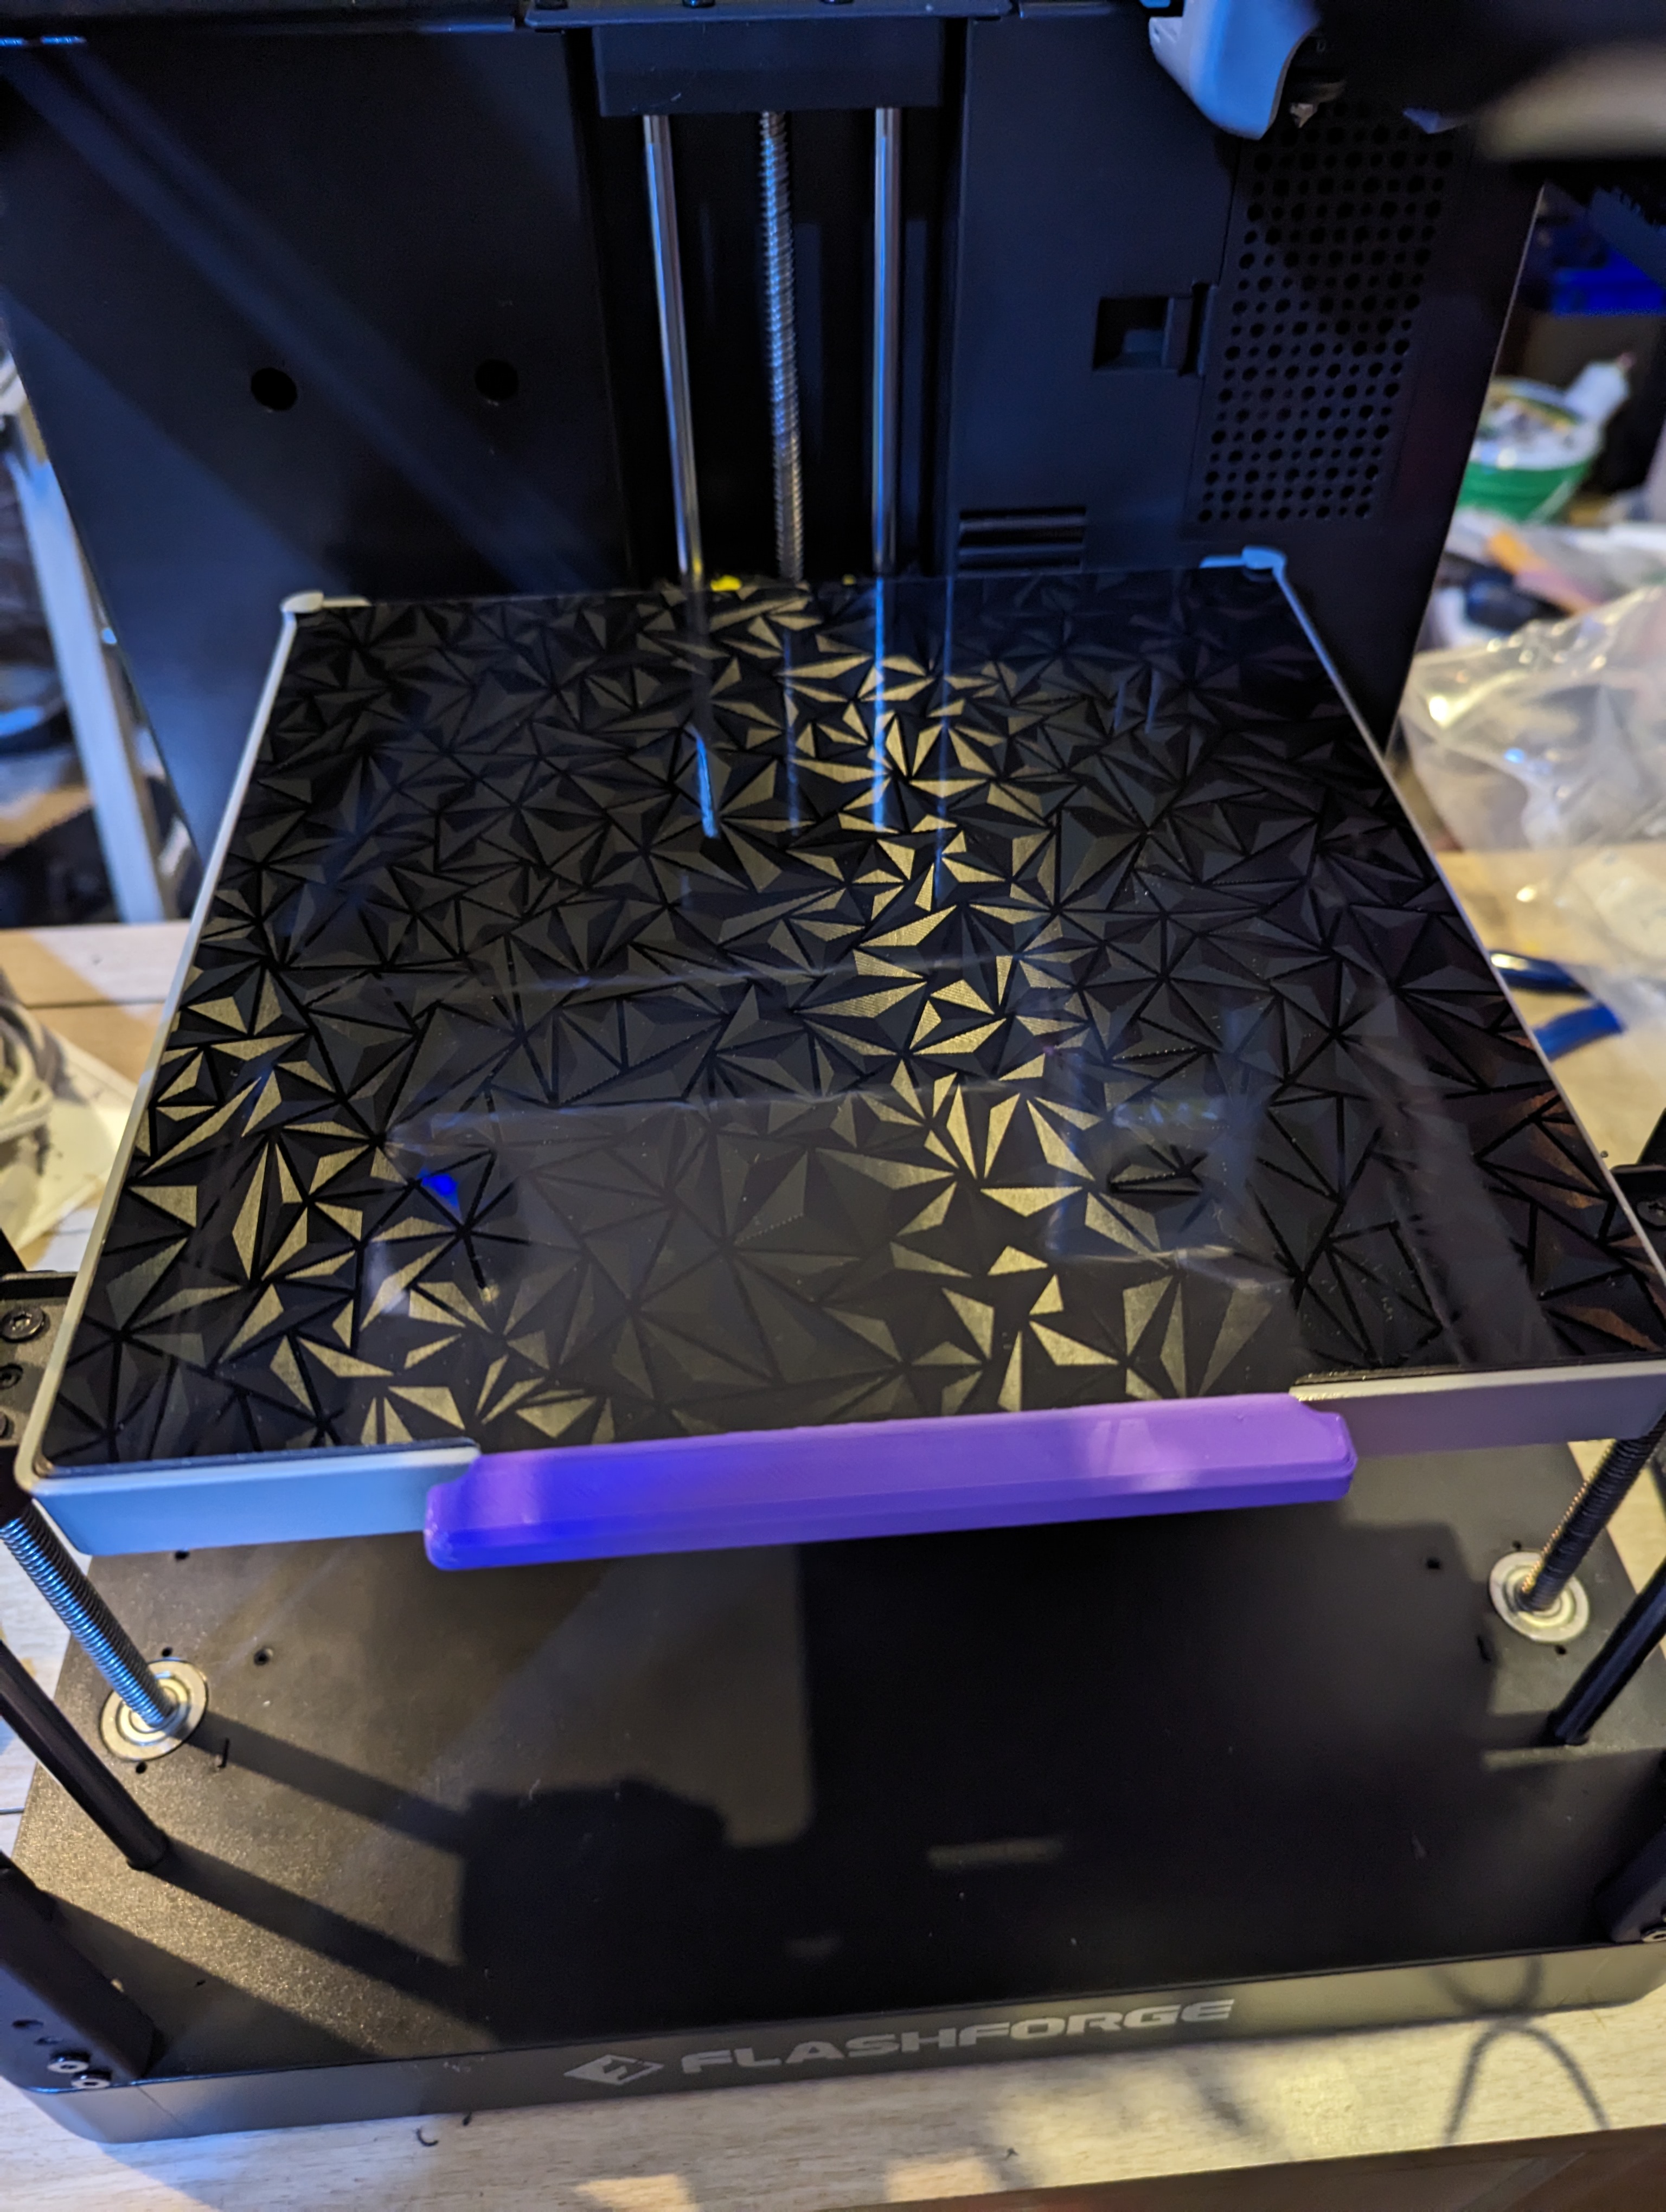
I bought this HysiPrui PEI build plate from Amazon for my AD5M and wanted to print the handle part. I found that the build plate was added to OrcaSlicer by FlashForge. Source:…
Overview A re-imagined side mounted spool holder for the Flashforge Adventurer 5M. This design fits over your existing enclosure piece “D1”. A 4mm x 10mm bolt might be needed to replace the existing bolt in the guard plate, although I was…
REUPLOAD from official Flashforge Wiki! All Rights at Flashforge! The Files for the official AD5X Enclosure as 3mf File. Print at 0,4 Nozzle , 0,2 layer, min 15% infill and PLA. Works and looks great.
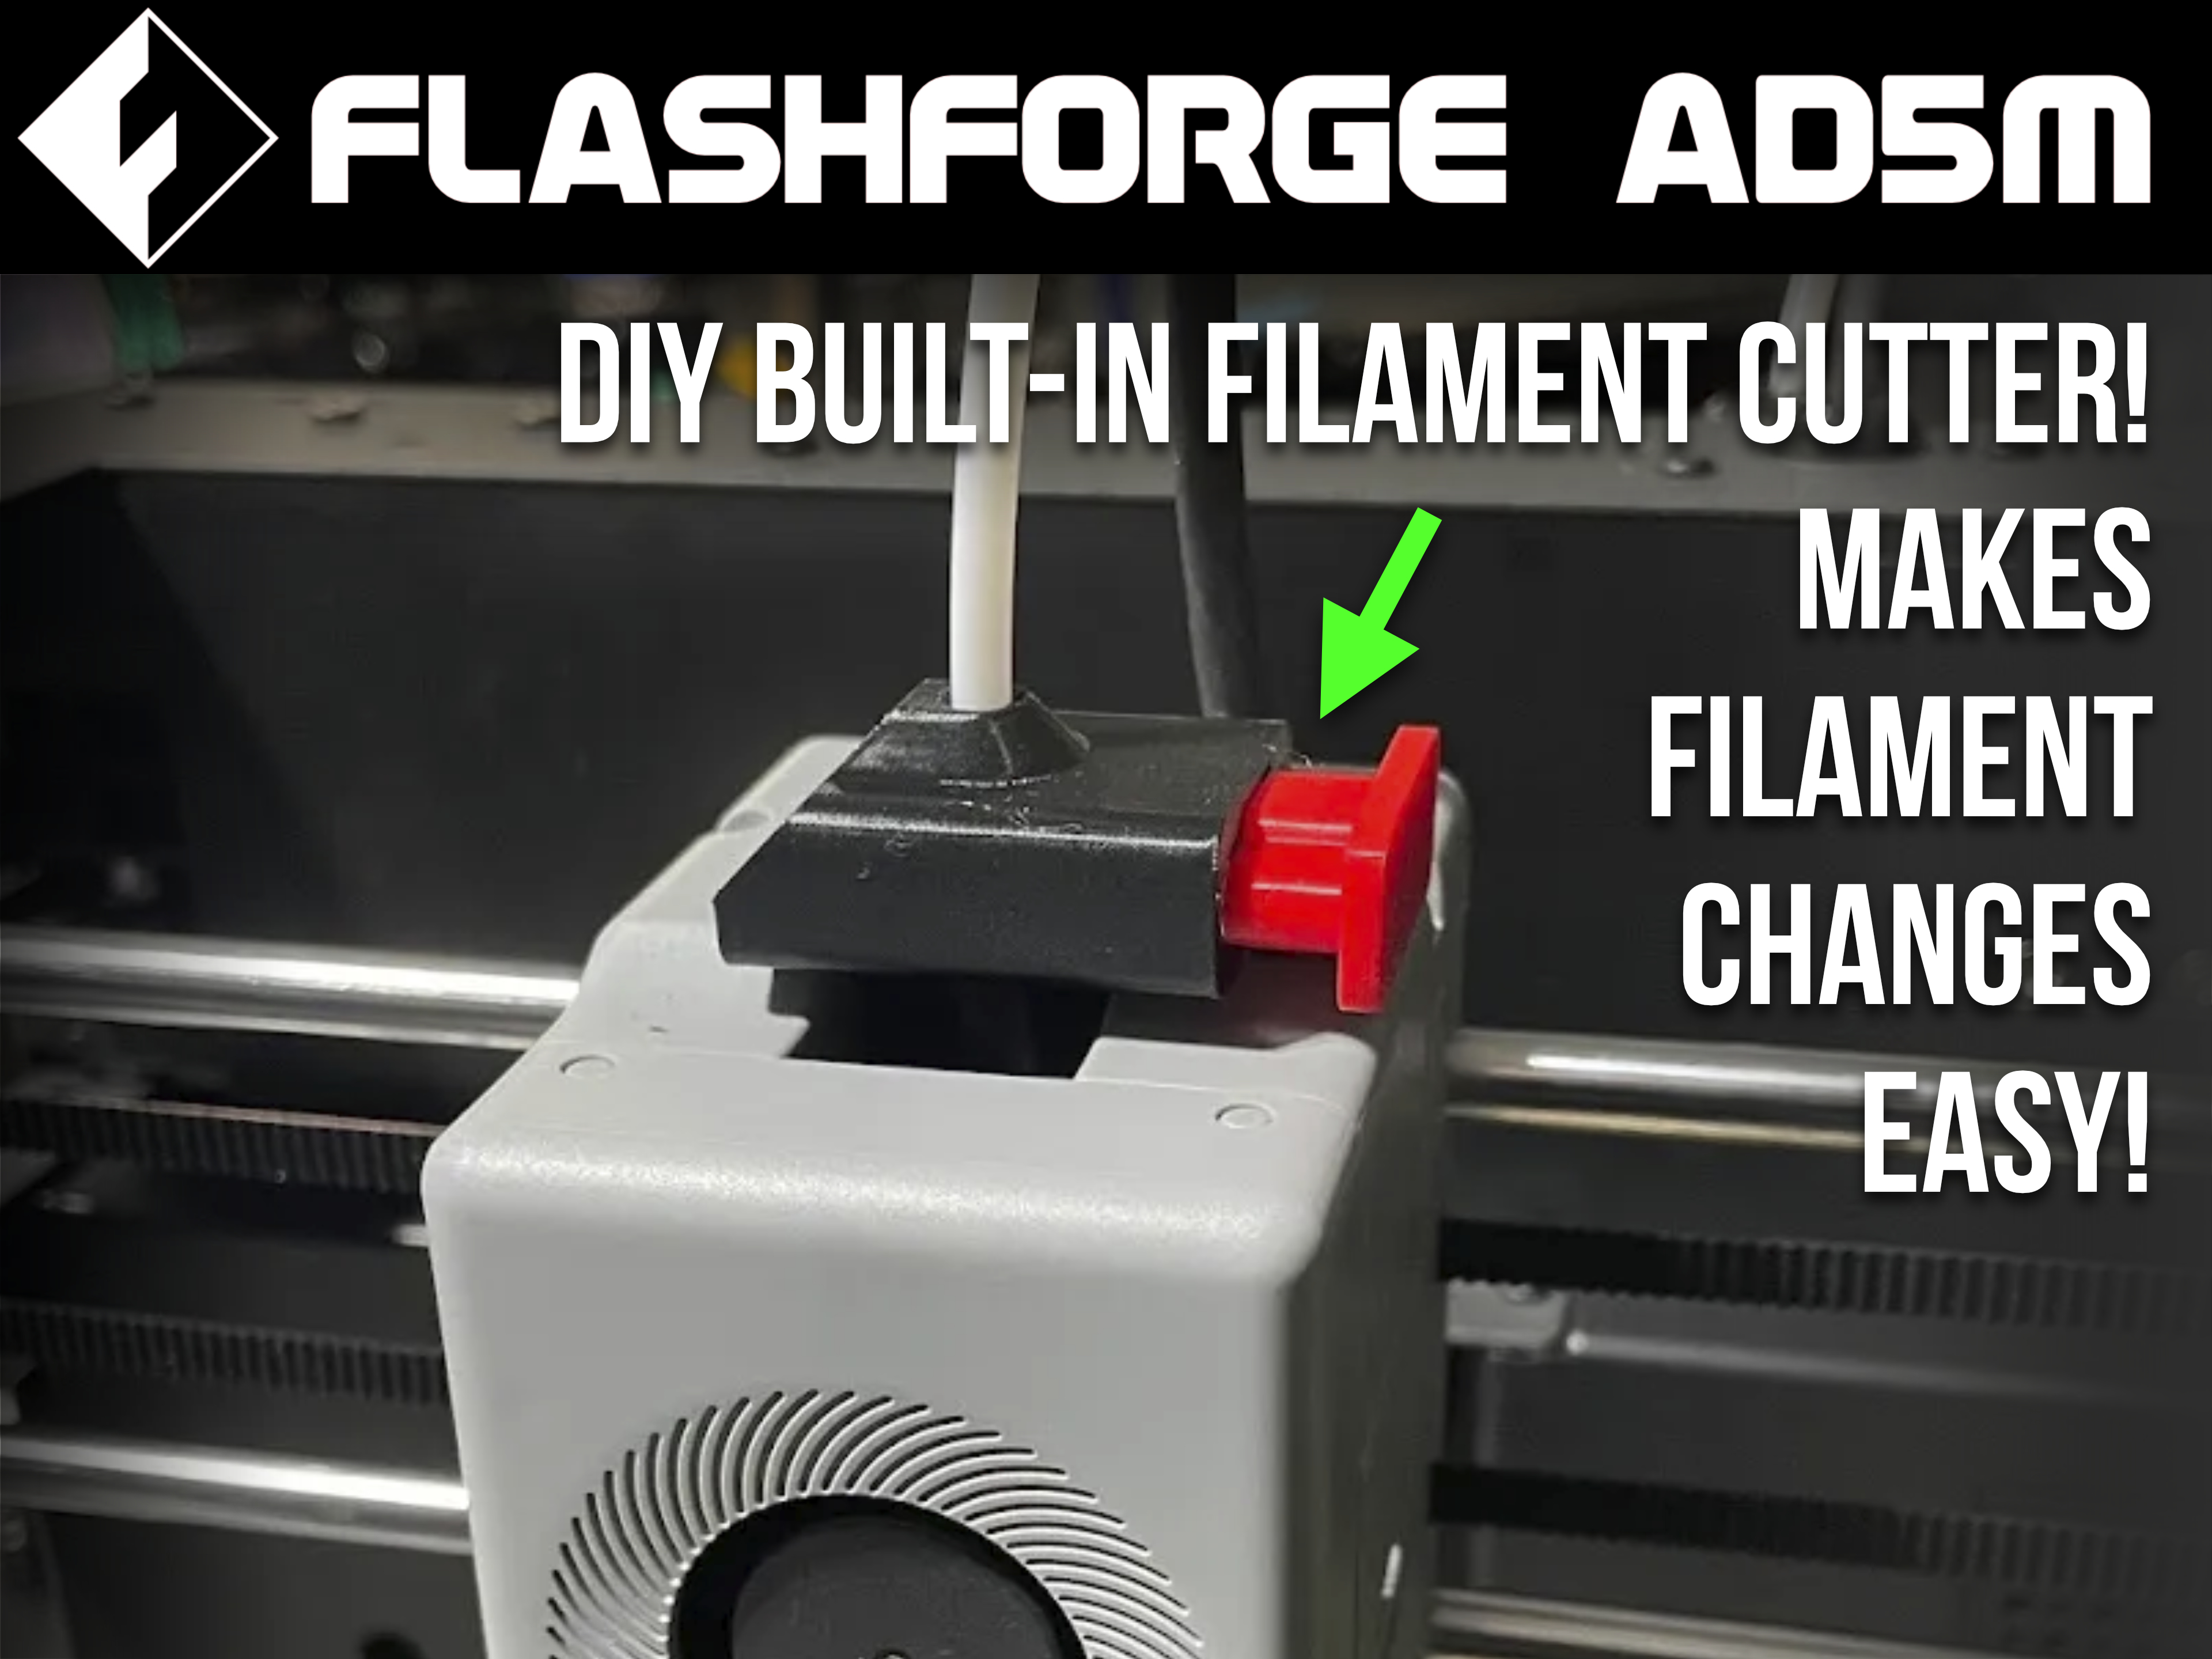
The rest of the files can be found → HERE ←, as well as a description of the necessary parts. The model is put directly on the filament slot on the printhead. Therefore, to change the filament, you will no longer need to remove the tube…
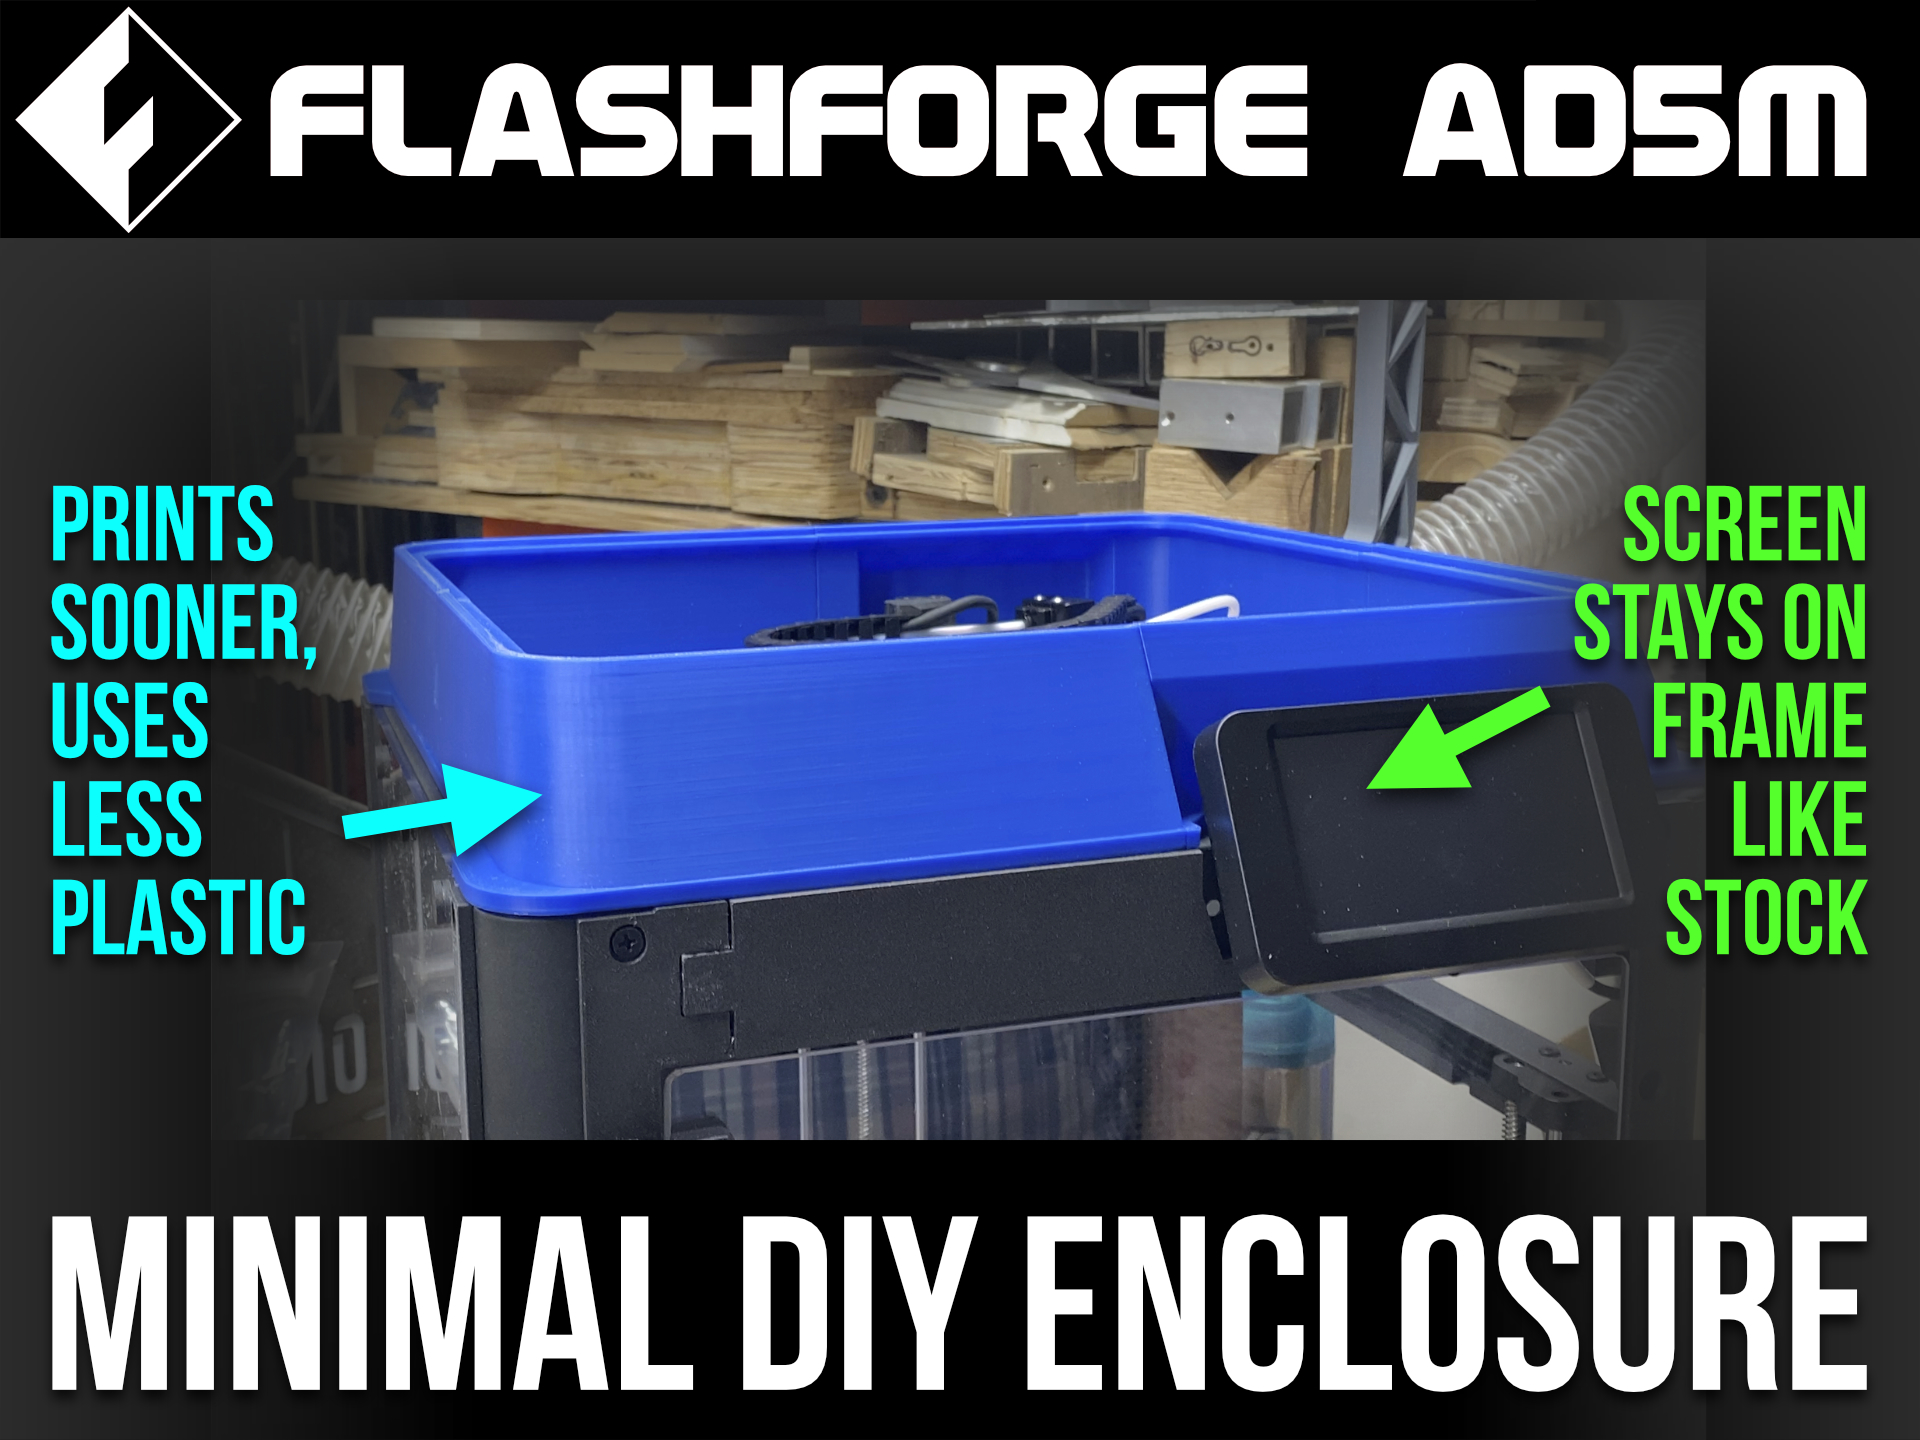
Neat, easy to print enclosure with 4 mm (or 3 mm) polycarbonate sheet panels. The purpose of the creation was to minimize the design and the likelihood of damaging the display by accidentally snagging it. Approximately 750 grams of…
Box for nozzle set AD5X optinal pause in print to add 4 x 8mm magnets
Recommend using PETG or better and at least 10% infill Hardware needed: 2 M3x16 for filament sensor 1 M4x8 2 M3x6 2 M3 brass inserts Working on some mods to the Adventurer 5M follow me for more updates :D
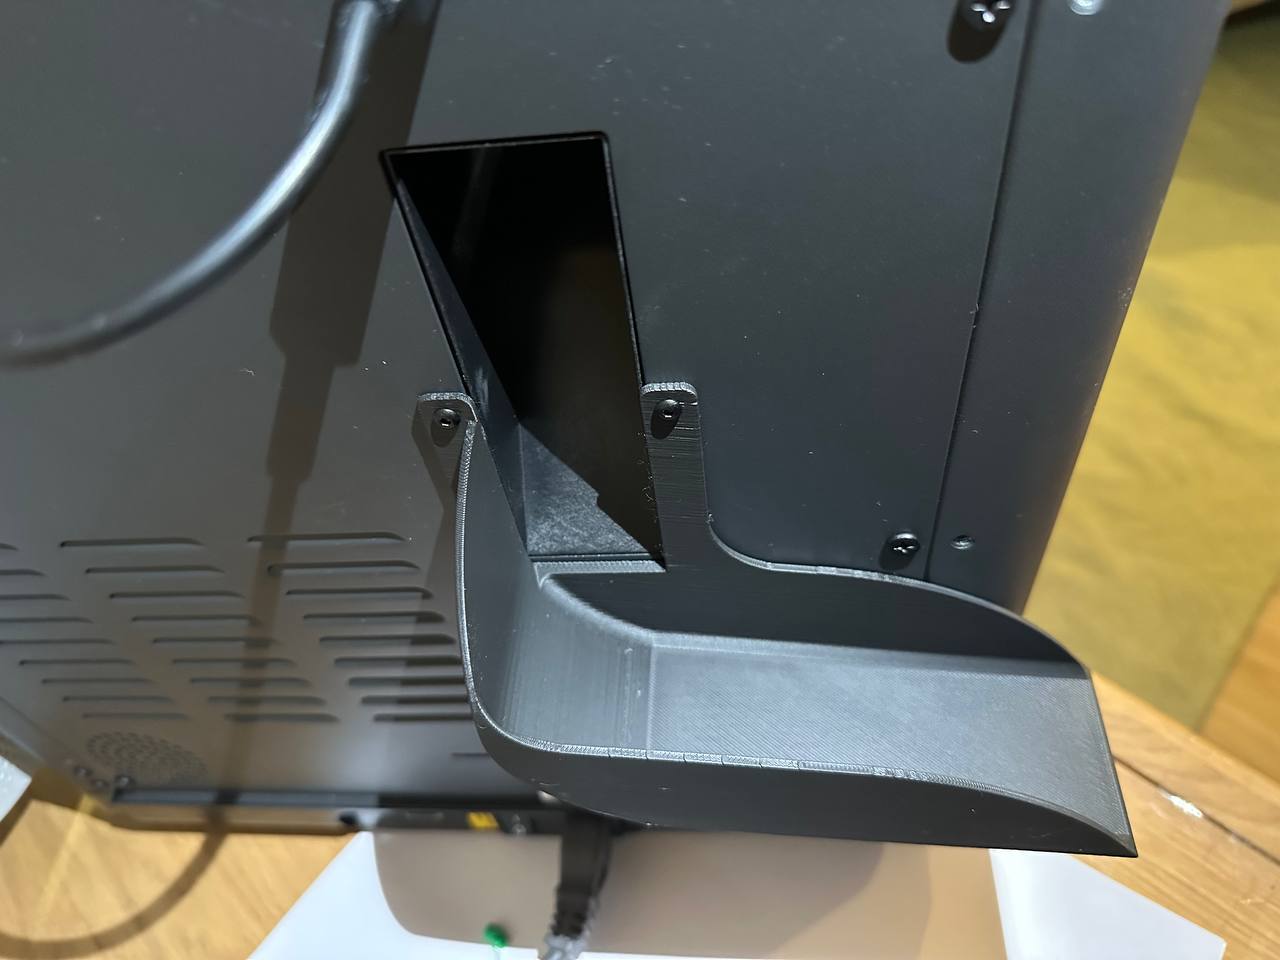
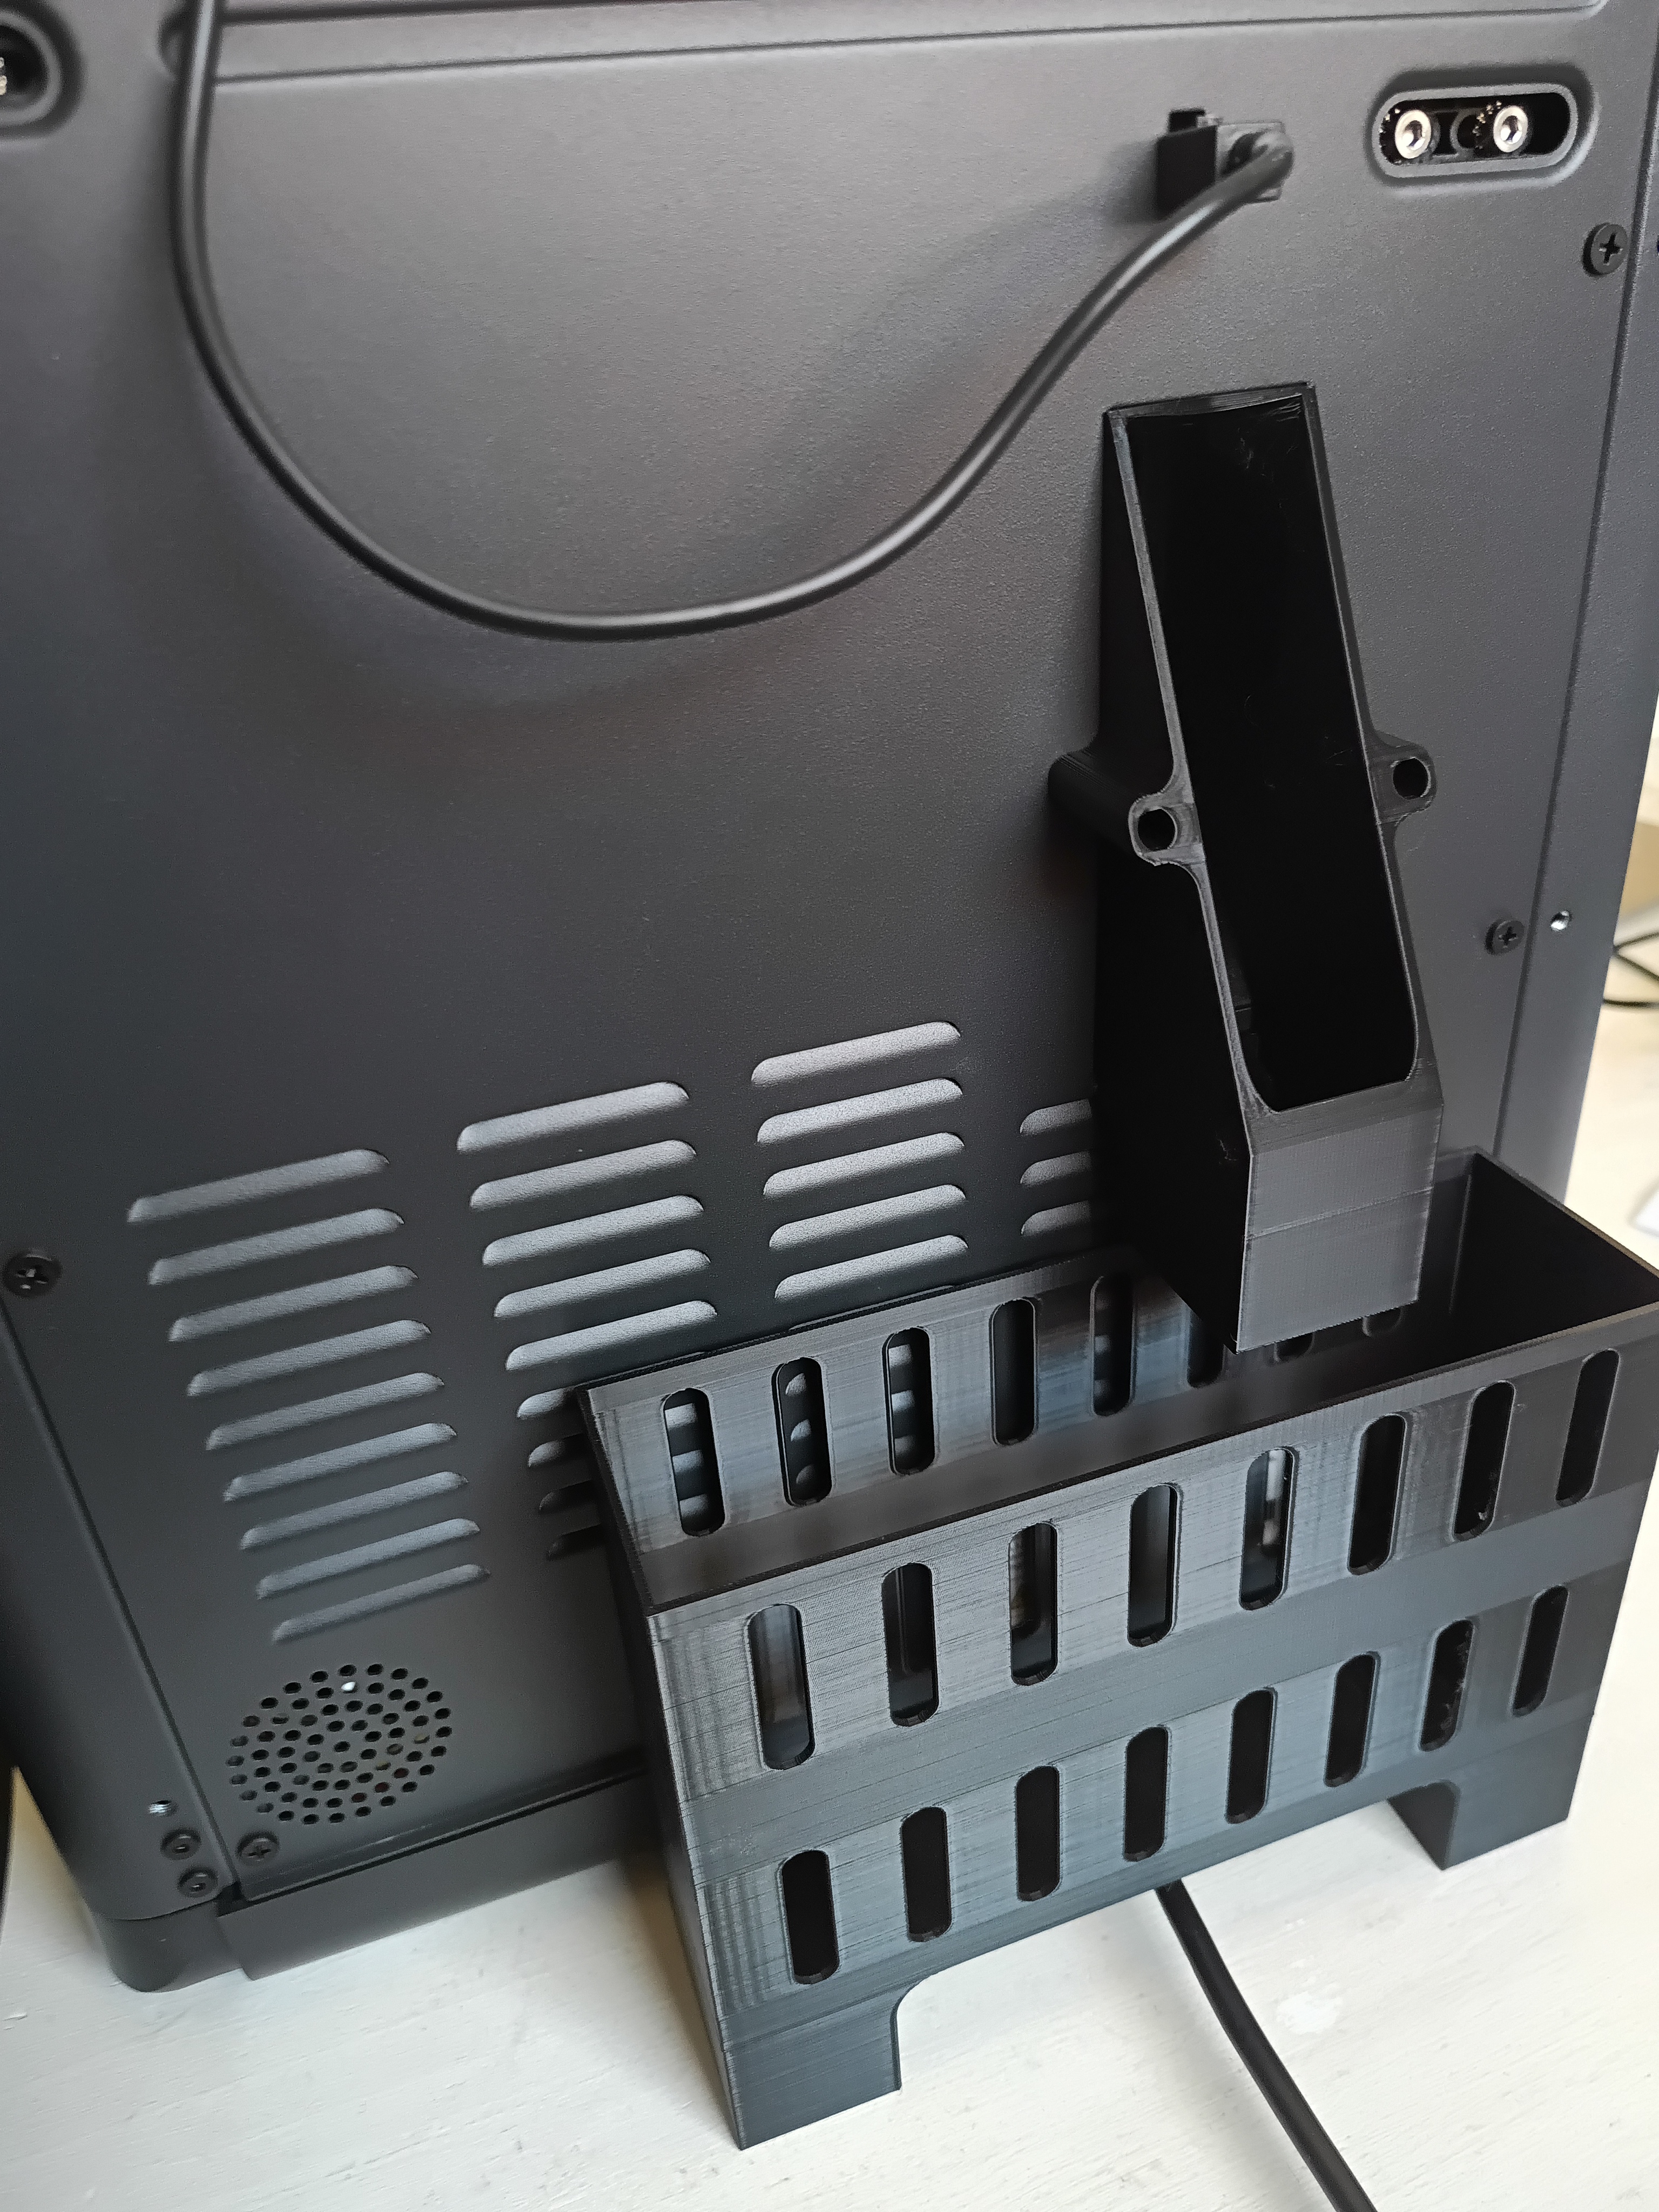
This is my poop chute design for the AD5X so you can still have access to the power cable and lan connection. I printed the slide standing up with tree supports on build plate only. The basket i printed with normal supports on build plate…
FAQ Q: I printed your enclosure and I can’t figure out how to install the filament sensor / spool holder. I’ve looked on YouTube for installation videos and still stuck. Any help would be greatly appreciated. A: Not long after the initial…
Use tree supports only in green area (see photos). Print with something heat-resistant (abs, abs-gf, petg-cf, etc). Self-tapping screws for fan mount. Holes for 5x3 magnets.
Improved version with display installation from the inside (without frame). _____________________________________________________________________________ Enclosure with 4 mm polycarbonate sheet panels https://a360.co/47jcXw3 . The purpose…
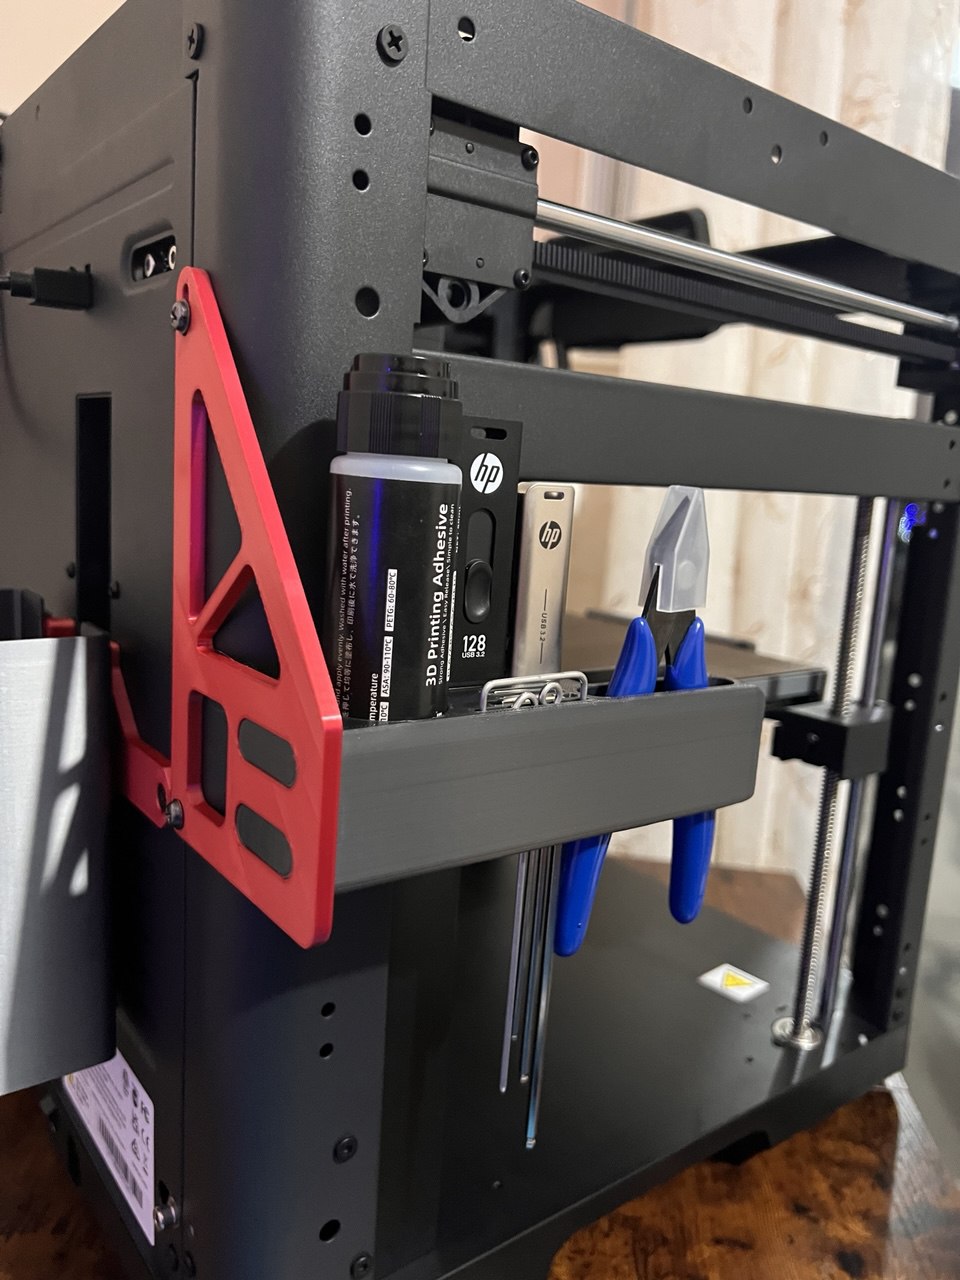
This short explainer video is less than 1 minute long. Side Cutter Mount adapted for use on the Flashforge Adventurer 5M (AD5M) with the DIY printed enclosure. One model suits the front right or left, while another model suits the back…
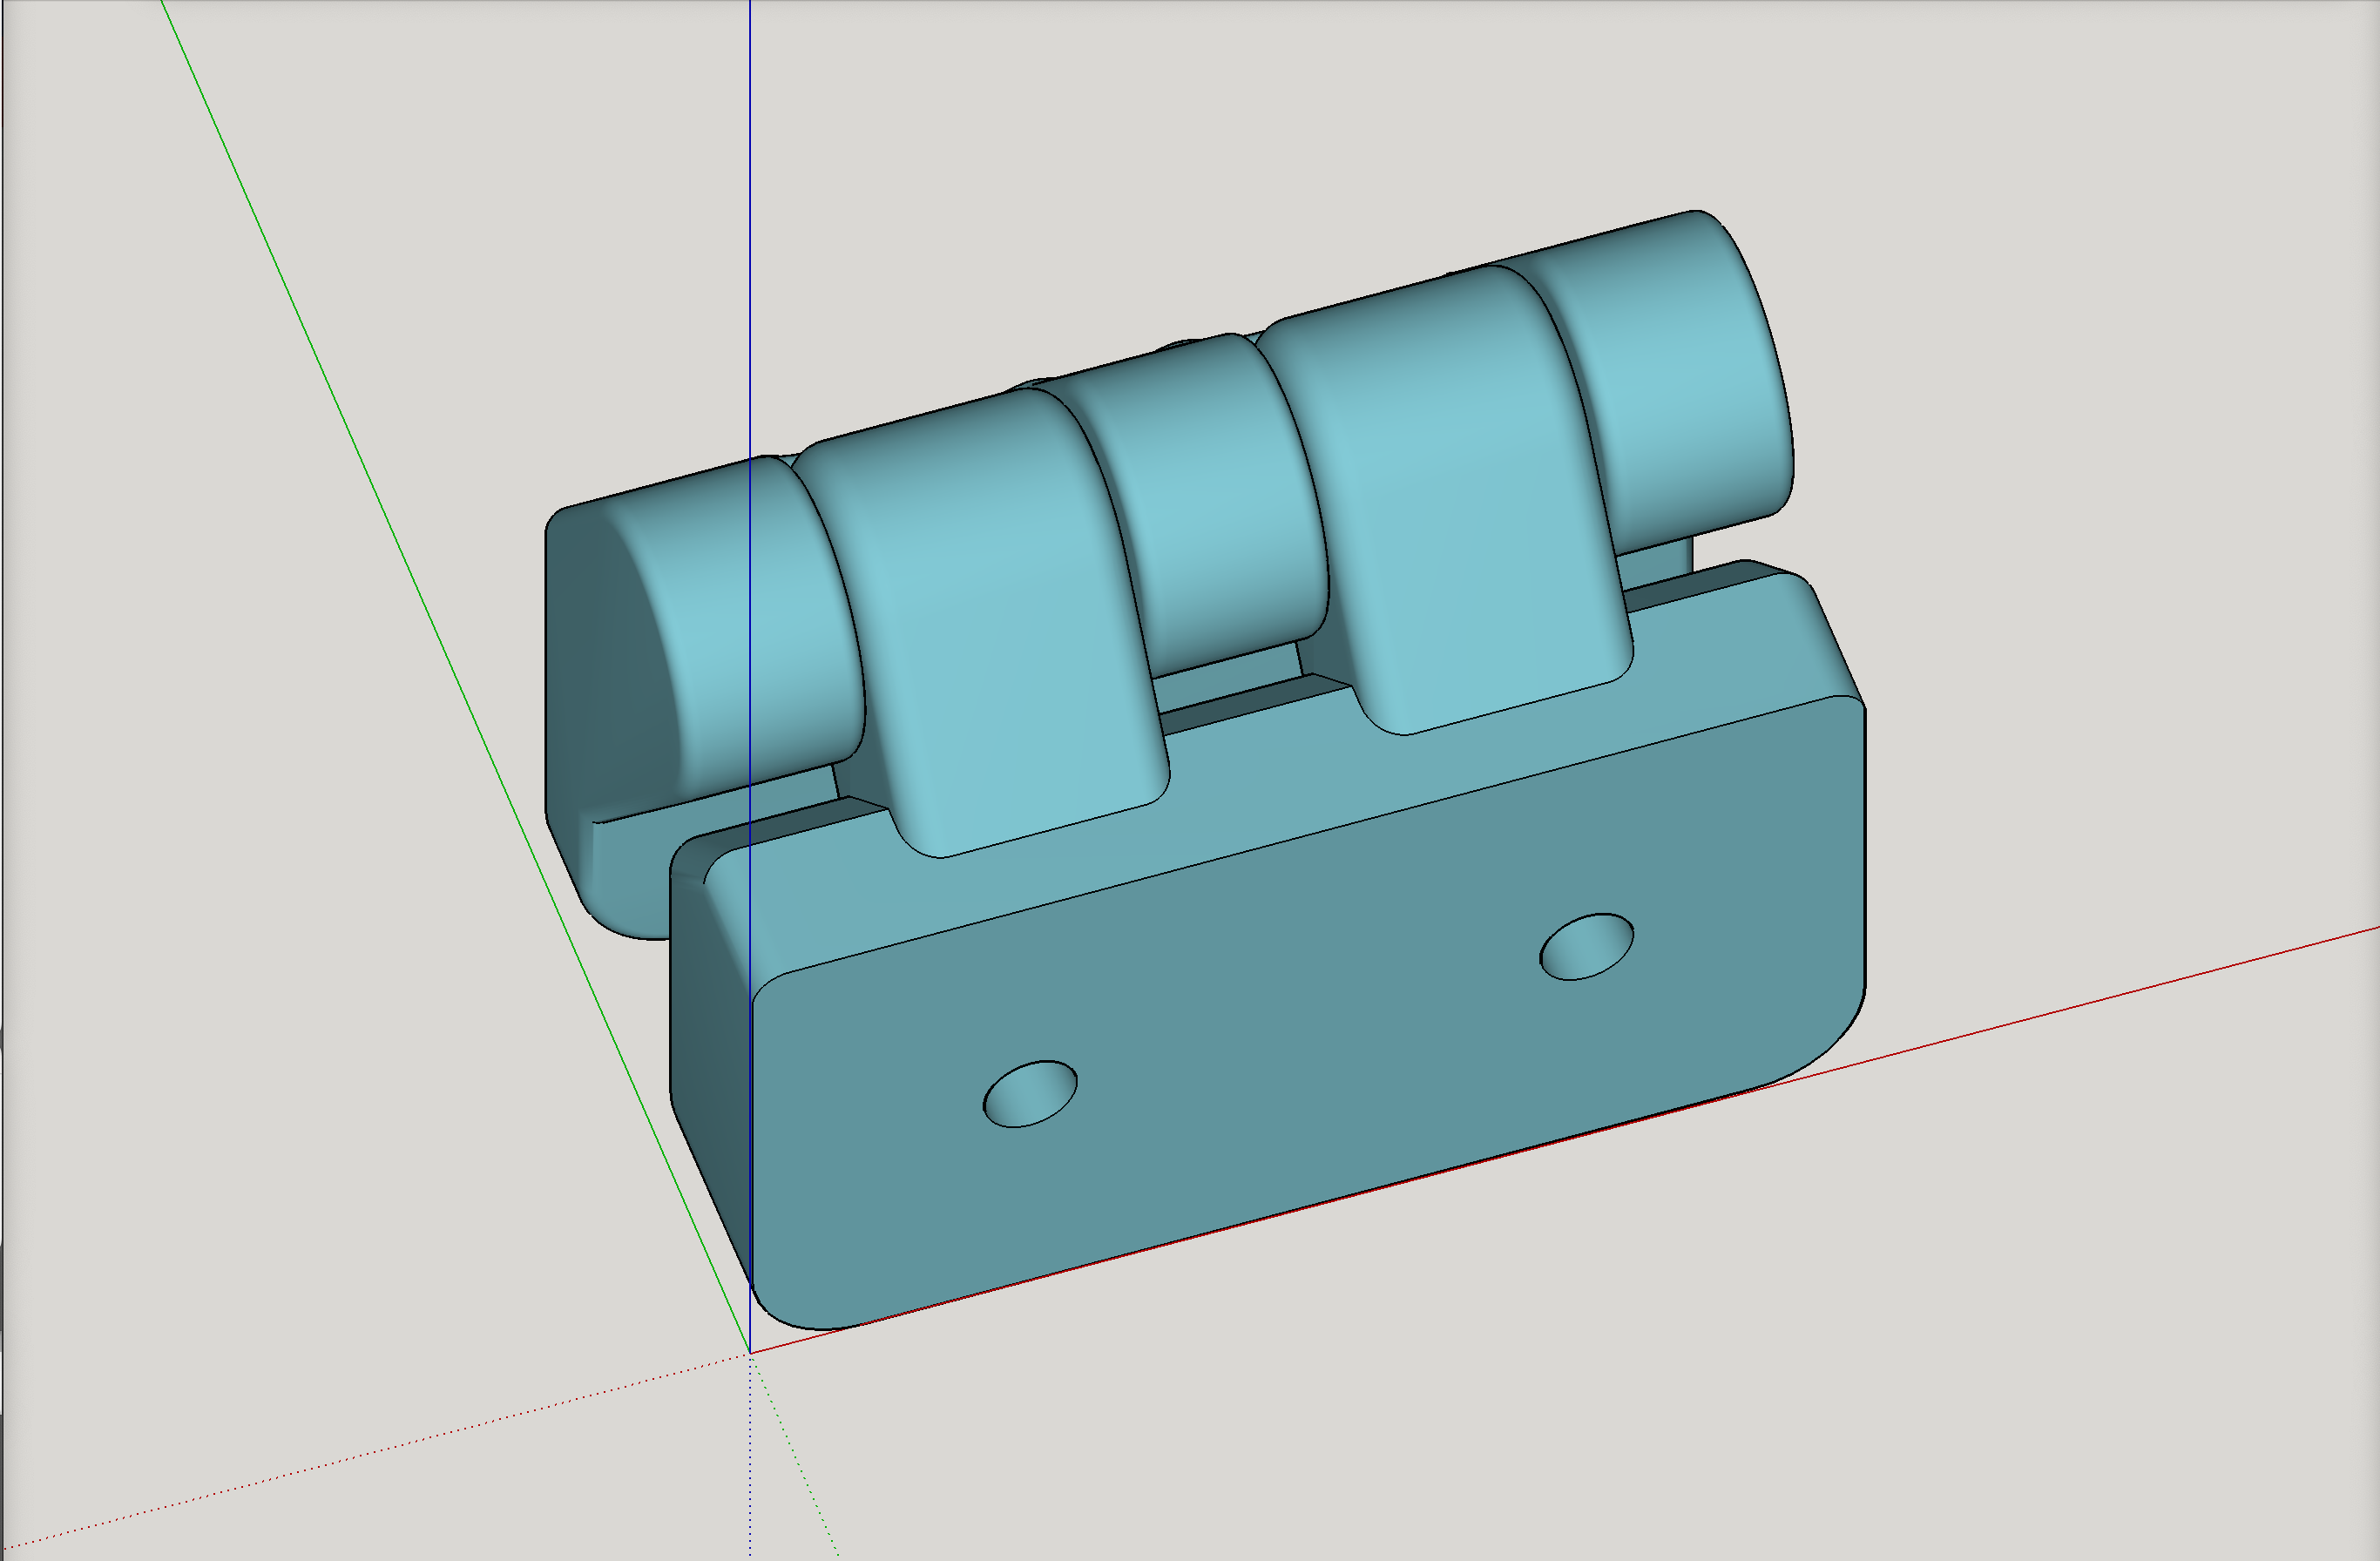
NEW VERSIONS v3 of the AD5M door hinge now available expressly for the Minimal enclosure and its remixes. It moves the plexiglass door downward by 5mm to accommodate getting the touchscreen back on the metal frame, as well as all the…
I have made this model to get all instruments following with FF ADV5M PRO: side cutter, screwdriver, Allen wrenches, glue stick, grease, nozzle cleaning pin, extra hot-end/nozzle assembly and USB stick, also a place for the printable…
Printed with ASA and 0.4 nozzle with 0.2 Layer height.
Magnetic Gridfinity base for mounting with magnets on Flashforge AD5X or any other the steel frame. Great for mounting near the poop shoot to catch that flying debris or for any other Gridfinity container. The back of the base uses either…
I have incorporated several ideas into a single model. Remix of the official enclosure risers. Remix of Riser D, took the remix of santa(lemuroff) and added HSW on his model. Check out my spool holder remix as well. I took the idea of…
This is the official TD(Transmission Distance) step test developed by the creator of HueForge(listed here with his permission). This test can be used to test the TD of your filament TDs. This is the LEDs I used for the light box…
Created the missing cover for the back of the print bed and merge that with the Noise Reducer that would also go there.
72mm and 73mm openings should fit most larger spools. Most spools with larger openings have a slightly larger diameter on one side, which is why i have 2 sizes loaded into one print. Added a lip to these so that even if the spool opening…
printed with abs with 30% infill work great with all spool type.
This is modified LED holder from Add an LED Light to Your AD5X | Flashforge Wiki to fit AD5M LED strip https://aliexpress.ru/item/1005008409091282.html You need to remove one connector from strip. Also I'd recommend to remove one…
Italiano: Ho creato questo organizer perché non ho trovato altri progetti simili per le mie stampanti (AD5X e AD5M) senza enclosure. Com'è fatto: L'organizer è diviso in due pezzi: La Staffa di supporto: Si aggancia direttamente sul retro…
**UPDATED:: 07/11/25 Attempted to add FF logo =). Loaded it as a .3mf since I added it in slicer. 07/04/25 Adjusted the fan muffler angle and depth for better fit to hot end Cut lateral piece thickness down for better clearance and…
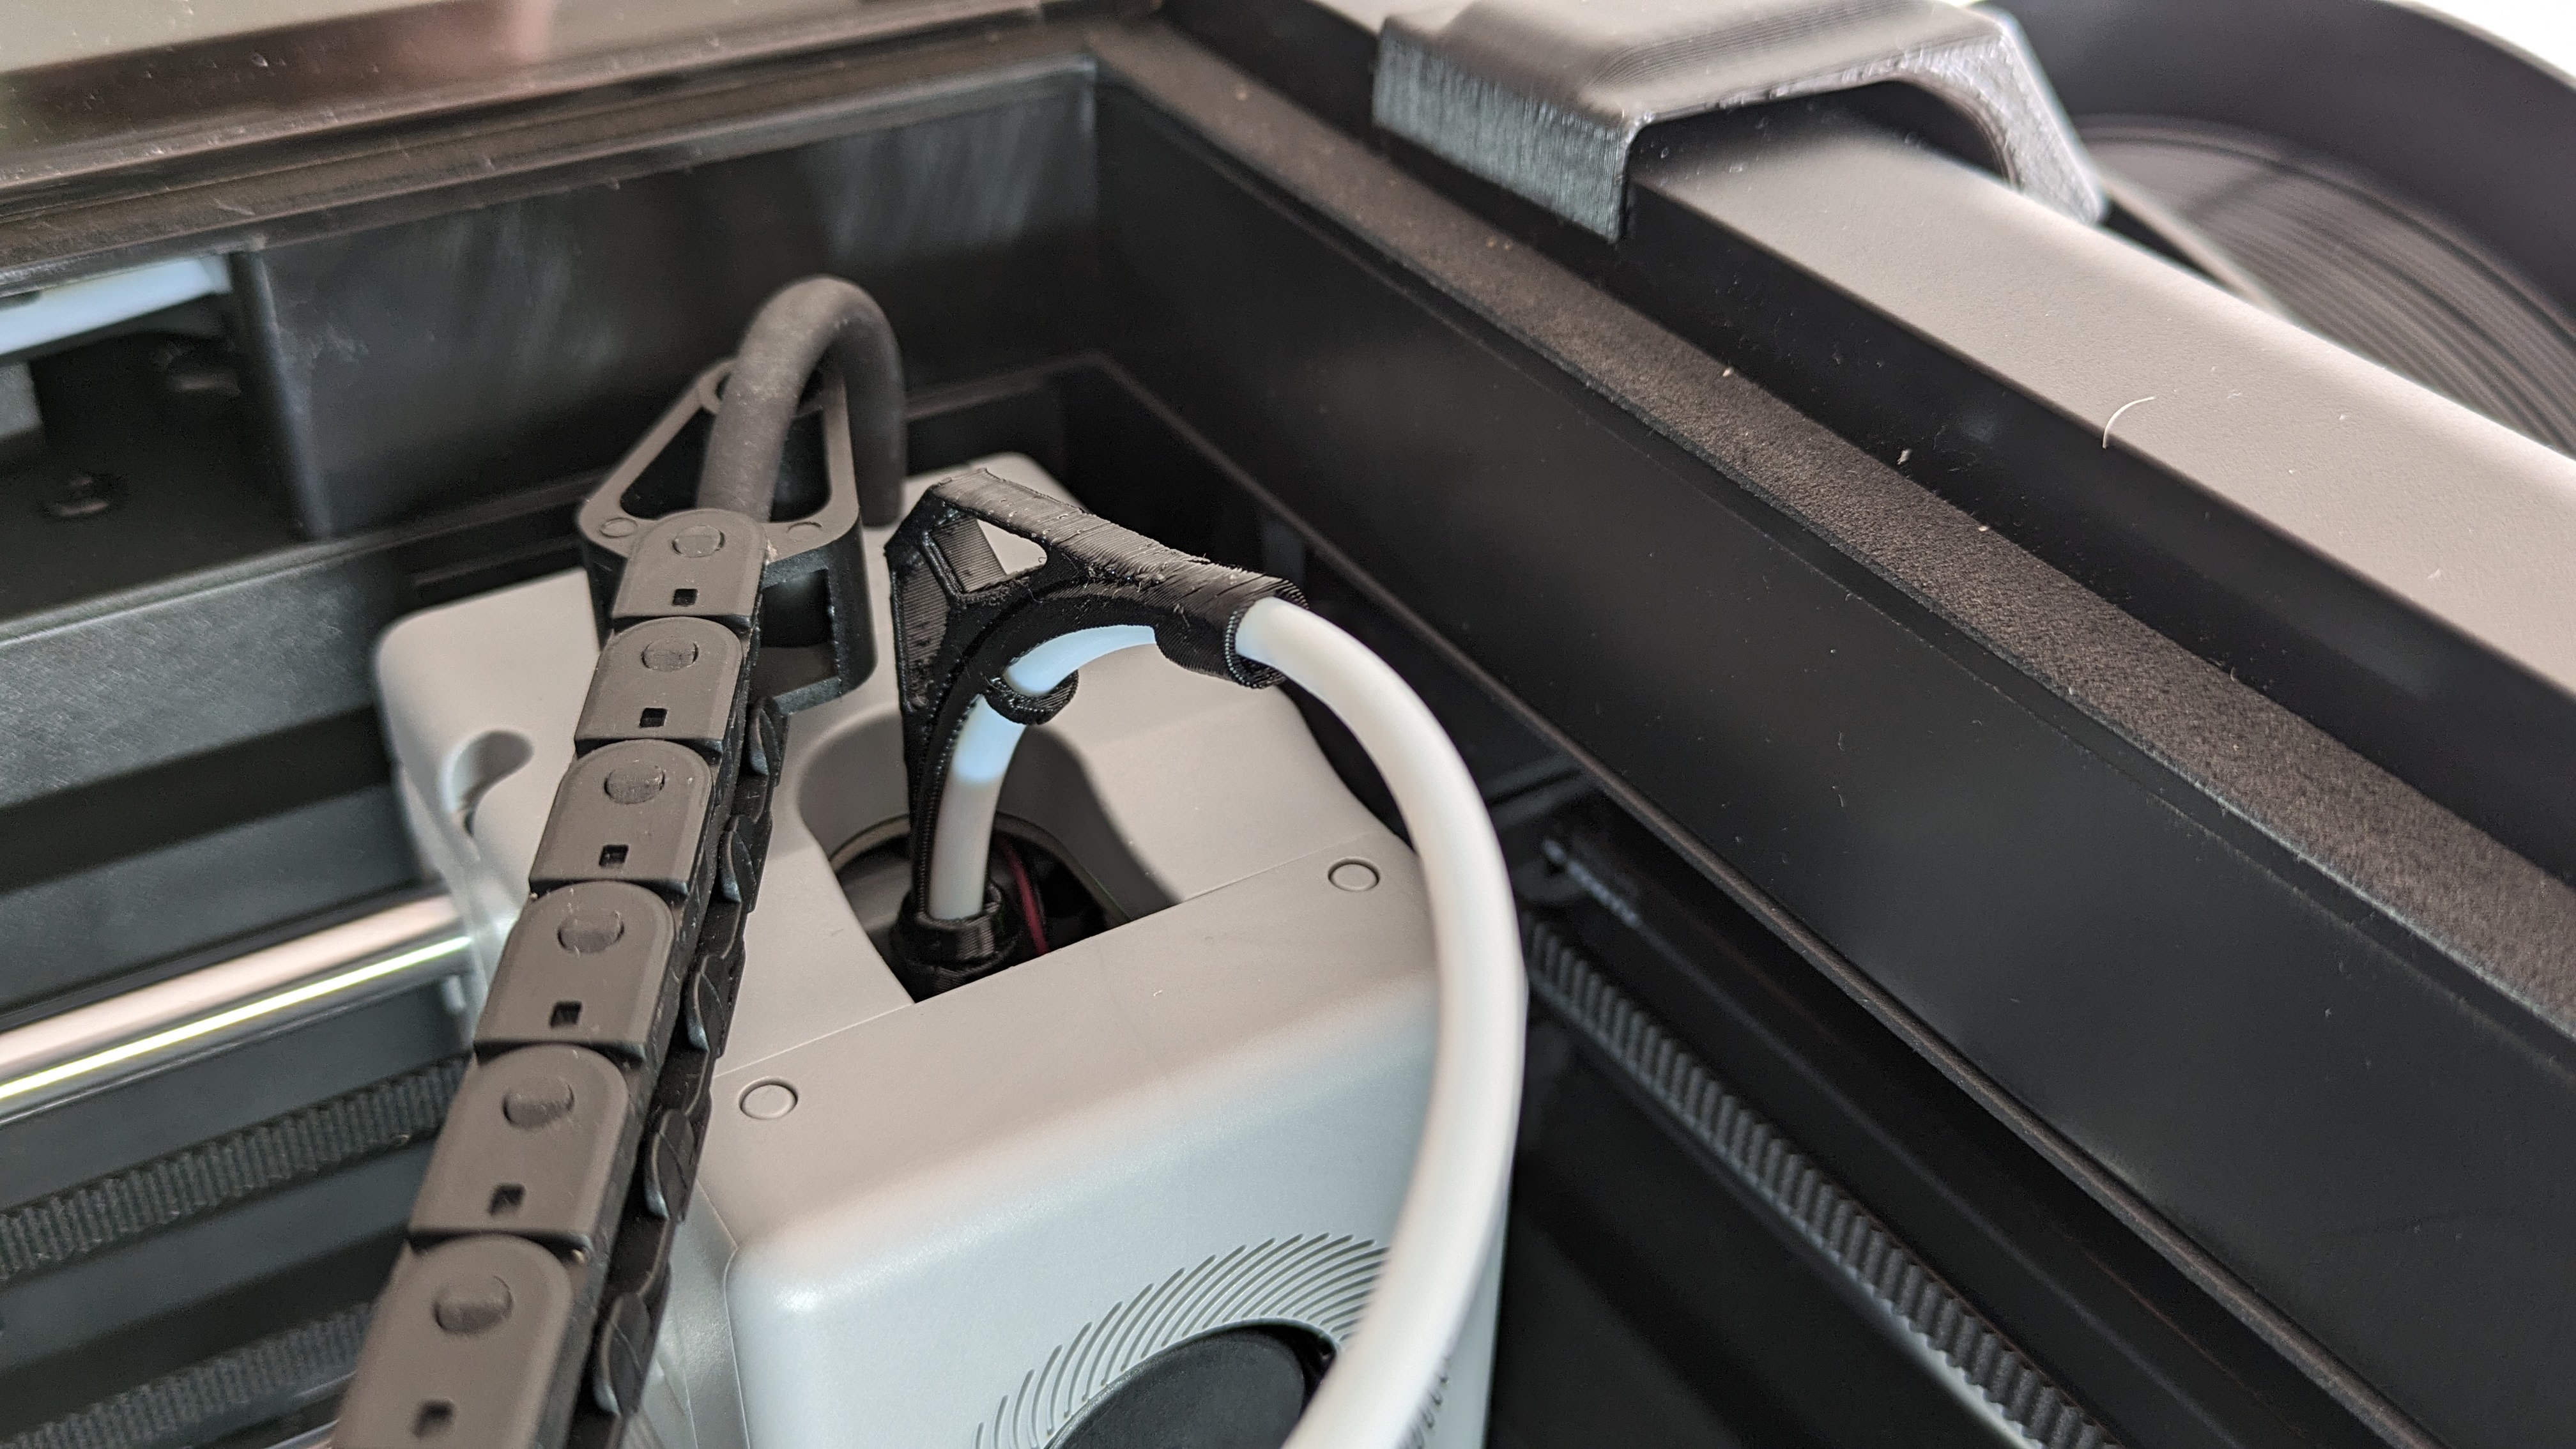
Hello, This is my first ever post and also creation I made for the FlashForge Adventurer 5M/Pro (AD5M) series printer. This kit allows the AD5M to have a drag chain that is not only minimal, but also keeps the new filament sensor in the…
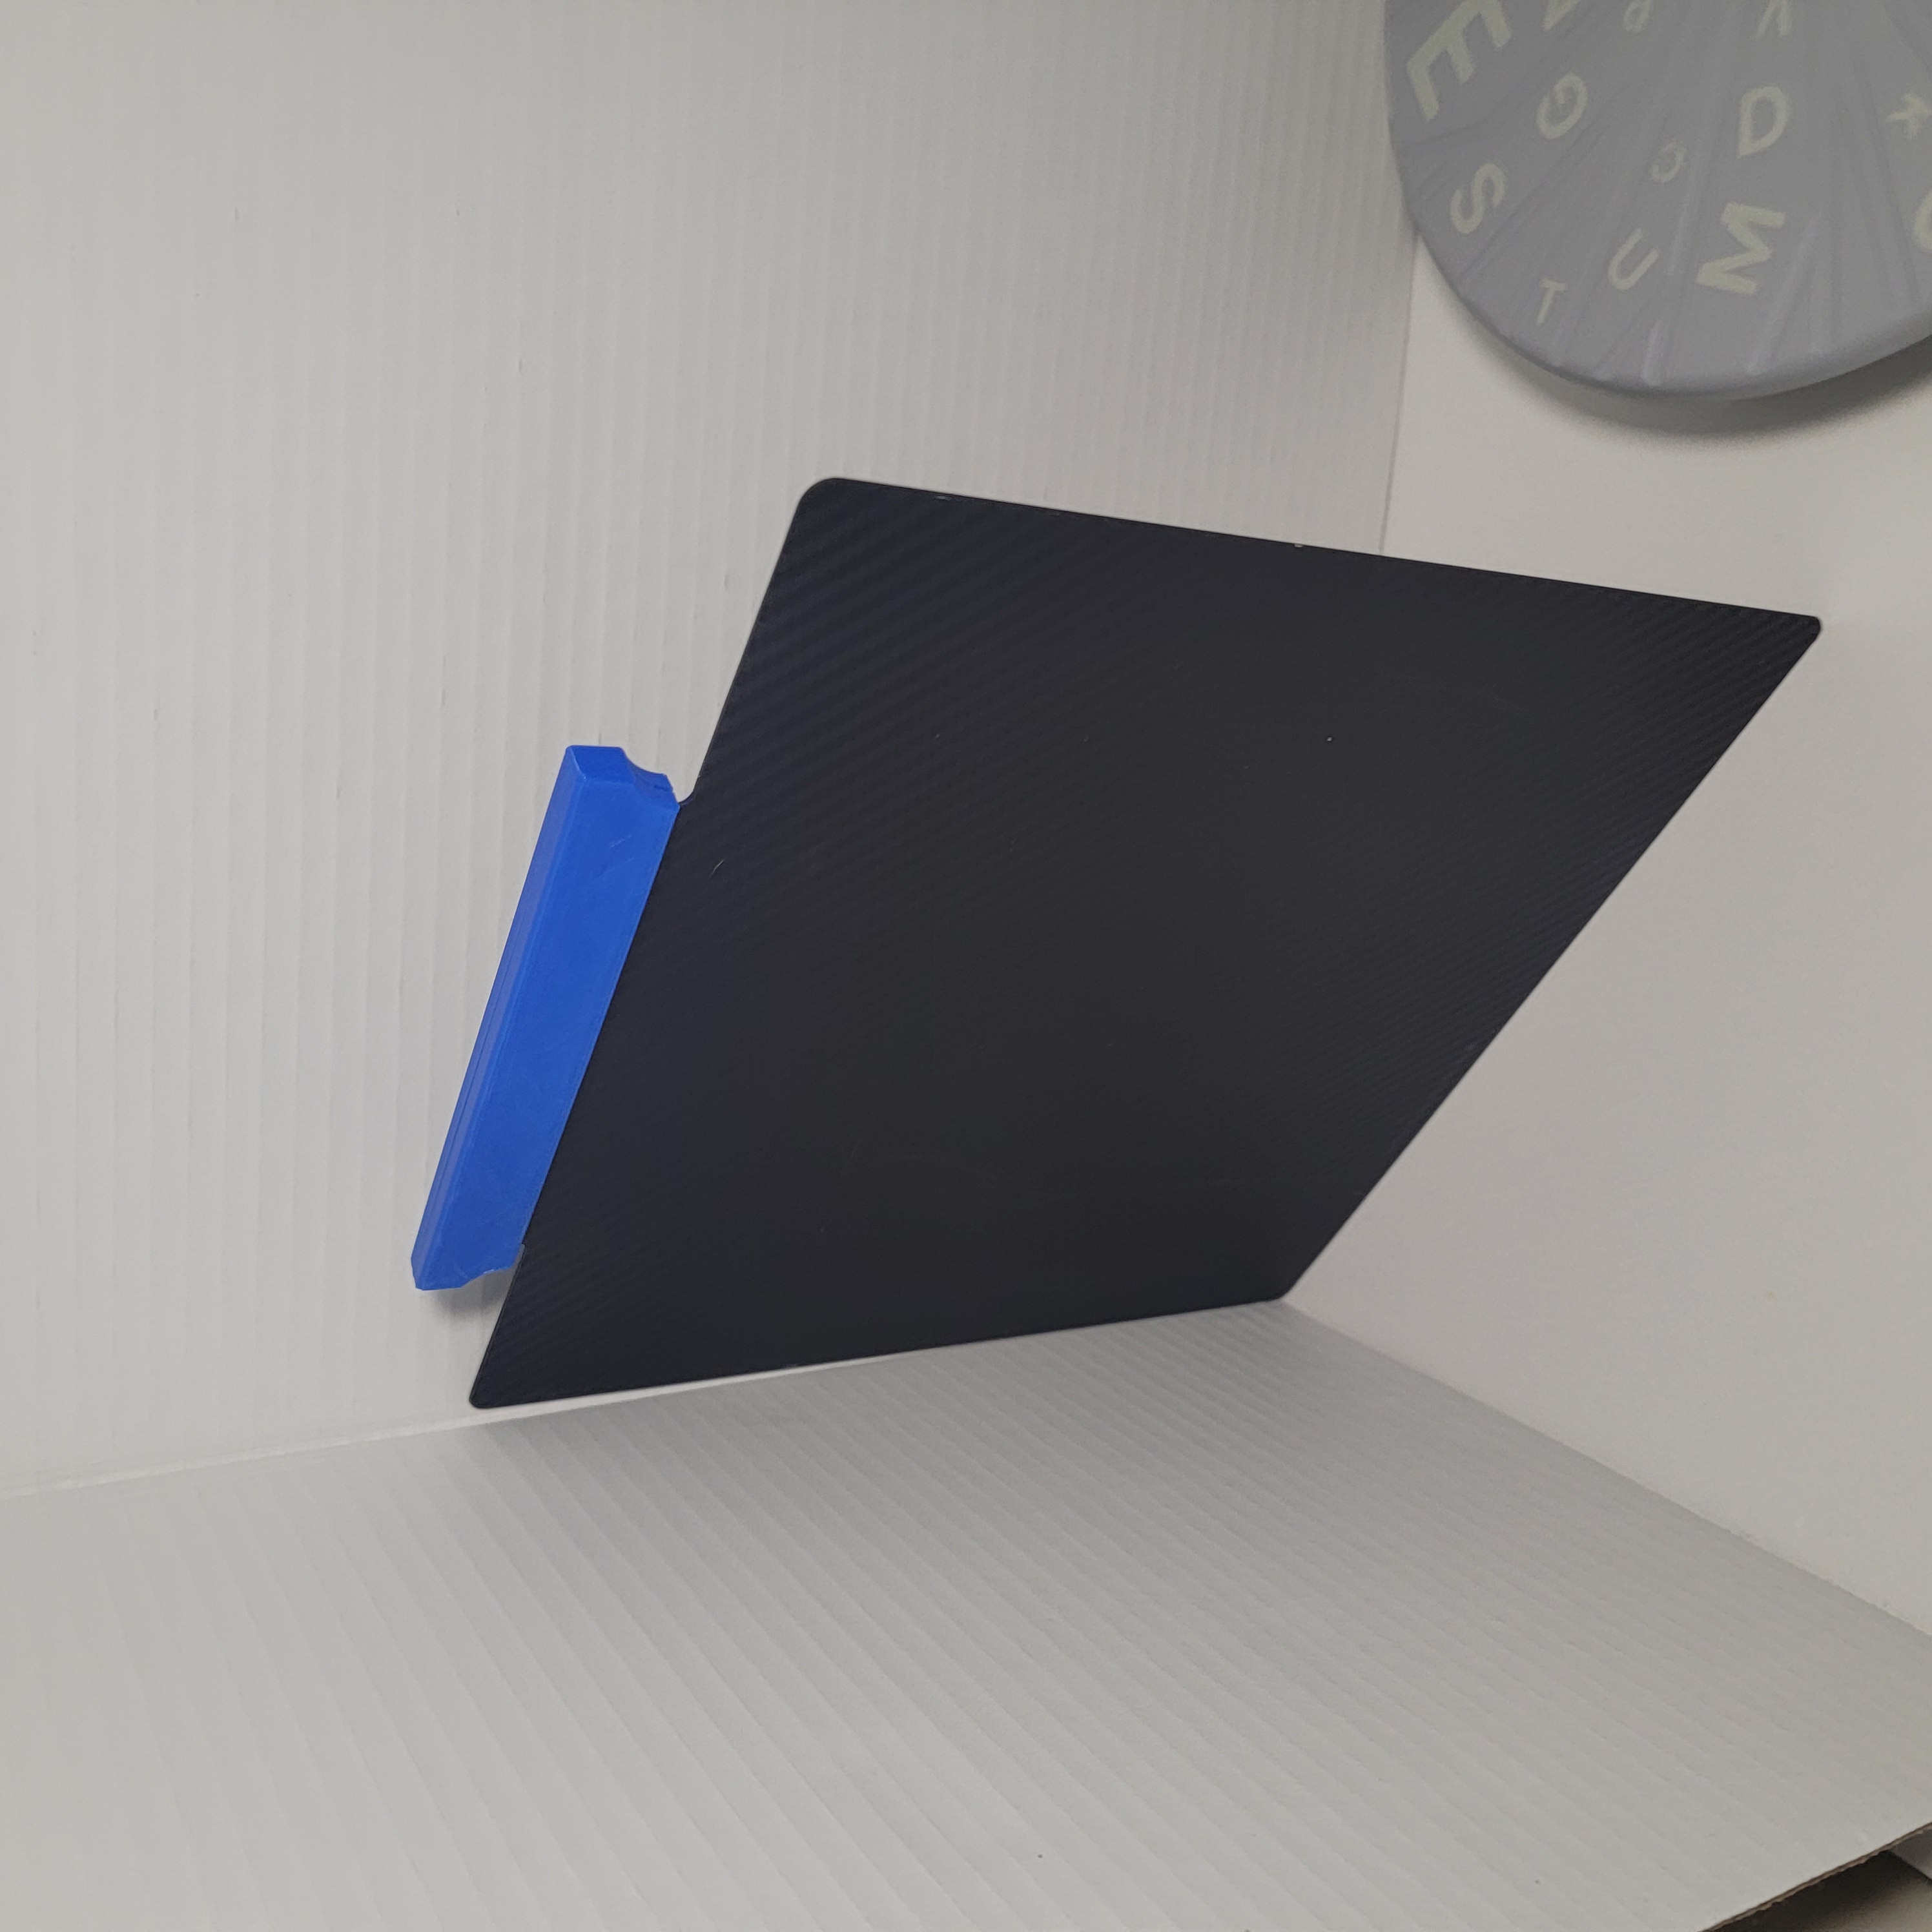
Easy build plate handle for aftermarket AD5M plates. I recommend printing in PETG or better. Presses together with pliers. Glue is optional. It is a snug fit. UPDATE 1/18/25 Slimmed down the profile some for v2.
Instructions Print at 100% infill with a layer height of 0.08mm with a base layer of 0.1mm Swap Instructions : Start with Black At layer #8 (0.66mm) swap to Jade White for the rest.
После покупки 4го сопла решил сделать для них единую коробку. В конструкции предусмотрен зазор под пальцы для легкого доставания отдельного сопла. В роли оси подходит кусочек прутка. Магнит 5х3 мм.
Print at 100% infill with a layer height of 0.08mm with a base layer of 0.2mm Filaments Used: PLA Smartfil Reciclado Negro Transmission Distance: 0.2 PLA 3DFils Galactic Red Transmission Distance: 5.8 PLA 3DFils Galactic Gray Transmission…
This model allows you to modify the coil support and better position the cables. I also left two holes to install a side support, in my case I made a support for the camera YES YOU CAN REUSE THE ORIGINAL SCREWS BUT LONG SCREWS ARE…
Overview Need a custom toolhead cover? Maybe your original was damaged? Take your pick of chamfer(sharp edge) or fillet(round edge) from the designs I have made or if you do not like them I have included the parametric source file for you…
Printed with PLA and 0.4 nozzle with 0.19 Layer height. Nail polish was used for the coloring. Smear the surface with petroleum jelly, pour the nail polish, and wipe off with a cotton disk. Mr_medvedko dushniak & diatel
StampForge - Customizable SVG Stamps StampForge is an open-source tool that allows you to create custom stamps from SVG files. This model is designed to be 3D printed and used with the compatible stamp holder (also available for…
Try out this hummingbird generated using HueForge software! Play around with different colors and swap heights to customize the look. Instructions for Bambu Studio and PrusaSlicer layer swaps. Print at 100% infill with a layer height of…
First mount the base on the printer, after that you can slide the holder to the base. WORK IN PROGRESS, still need to make the testprint but should fit according to the drawings.
Disclaimer: Before you start doing anything with electrics, make sure that you understand what you are doing and comply with all conditions for your safety, the safety of others, as well as the safety of equipment.…
Complete enclosure as tiny as possible and with multiple opening options. I didn't like the official enclosure as I think makes the printer very big and has some kind of a toy appearance. Original metal frame at sight (not bigger than de…
Hinged lid stand for Flashforge Adventurer 5M (AD5M) 3d printer. Works with manufacturers' DIY enclosure - just unscrew screws and screw them back with this stand. When stand is not needed, it just laying flat on the back side of a lid.…
Use M4x10 self-tapping screws to mount the holder. Tear a hole for the screwdriver on the back side after printing. Print settings: Auto-orient the model in the slicer (lay the model on its top surface). No supports needed. 15-30% infill.…
Holder for spare nozzles of the Adventurer 5M & 5M Pro Nozzles. Gridfinity size 1x2 units and 4 units high. Fits the Flashforge box : https://www.printables.com/model/725161-flashforge-gridfinity-box
Print at 100% infill with a layer height of 0.08mm with a base layer of 0.16mm Filaments Used: PLA JAYO Black Transmission Distance: 0.3 PLA JAYO Gray Transmission Distance: 2.5 PLA PolyTerra Sunrise Orange Transmission Distance: 2 PLA…
This model use original screw. I have first batch of flashforge ad5x so mine don't have screw so I use double side tape to fixe it on my printer
Made a poop chute collection bin that fits over the power cord and still hold a decent amount of printer poop.
Warforged minis I've made so far. Want to access even more models not found here in Prusa Printers? Interested in supporting my efforts making free models for the world to enjoy? Check out my patreon page here:…
Printed with PETG and 0.4 nozzle with 0.2 Layer height.
Both of these two models can serve as a drop-in replacement for the Flashforge injection molded camera mount, which is stock on the AD5M Pro, and can be ordered from Flashforge's website for use on the AD5M (non pro version). One of the…
I noticed that the IFS wouldn't grab onto the spool correctly when I was using Anycubic filament I had purchased on Amazon. I decided to create an adapter, which seems to work perfectly and hasn't caused any issues after further prints.…
simple poop chute for the ad5x. prints without supports. included .3mf,s for the ad5x, and 2 for bambu p1s Update - just added the enclosure for my ad5x and the chute still works fine
a remix of Rado's “box na odpad filamentu pre FLASHFORGE AD5X” with solid walls. i took the model into blender, removed all the vertices making up the lattice, and filled the remaining holes with new faces. i like the look of the original…
This model features a small secret compartment to stash things. Treat the Outer Vase as the “lid” when stashing things so that stuff doesn't get in the way as you screw it together. It was originally designed around this Monstera Plant by…
I created this minimalist floating Frame for my HueForge Filament Paintings. Included are the Fusion360 file and a .step file In Fusion 360 just change the user parameters “objectwidth” & “objectheight” to match your painting dimensions…
A holder for three Flashforge Adventurer 5M build plates.
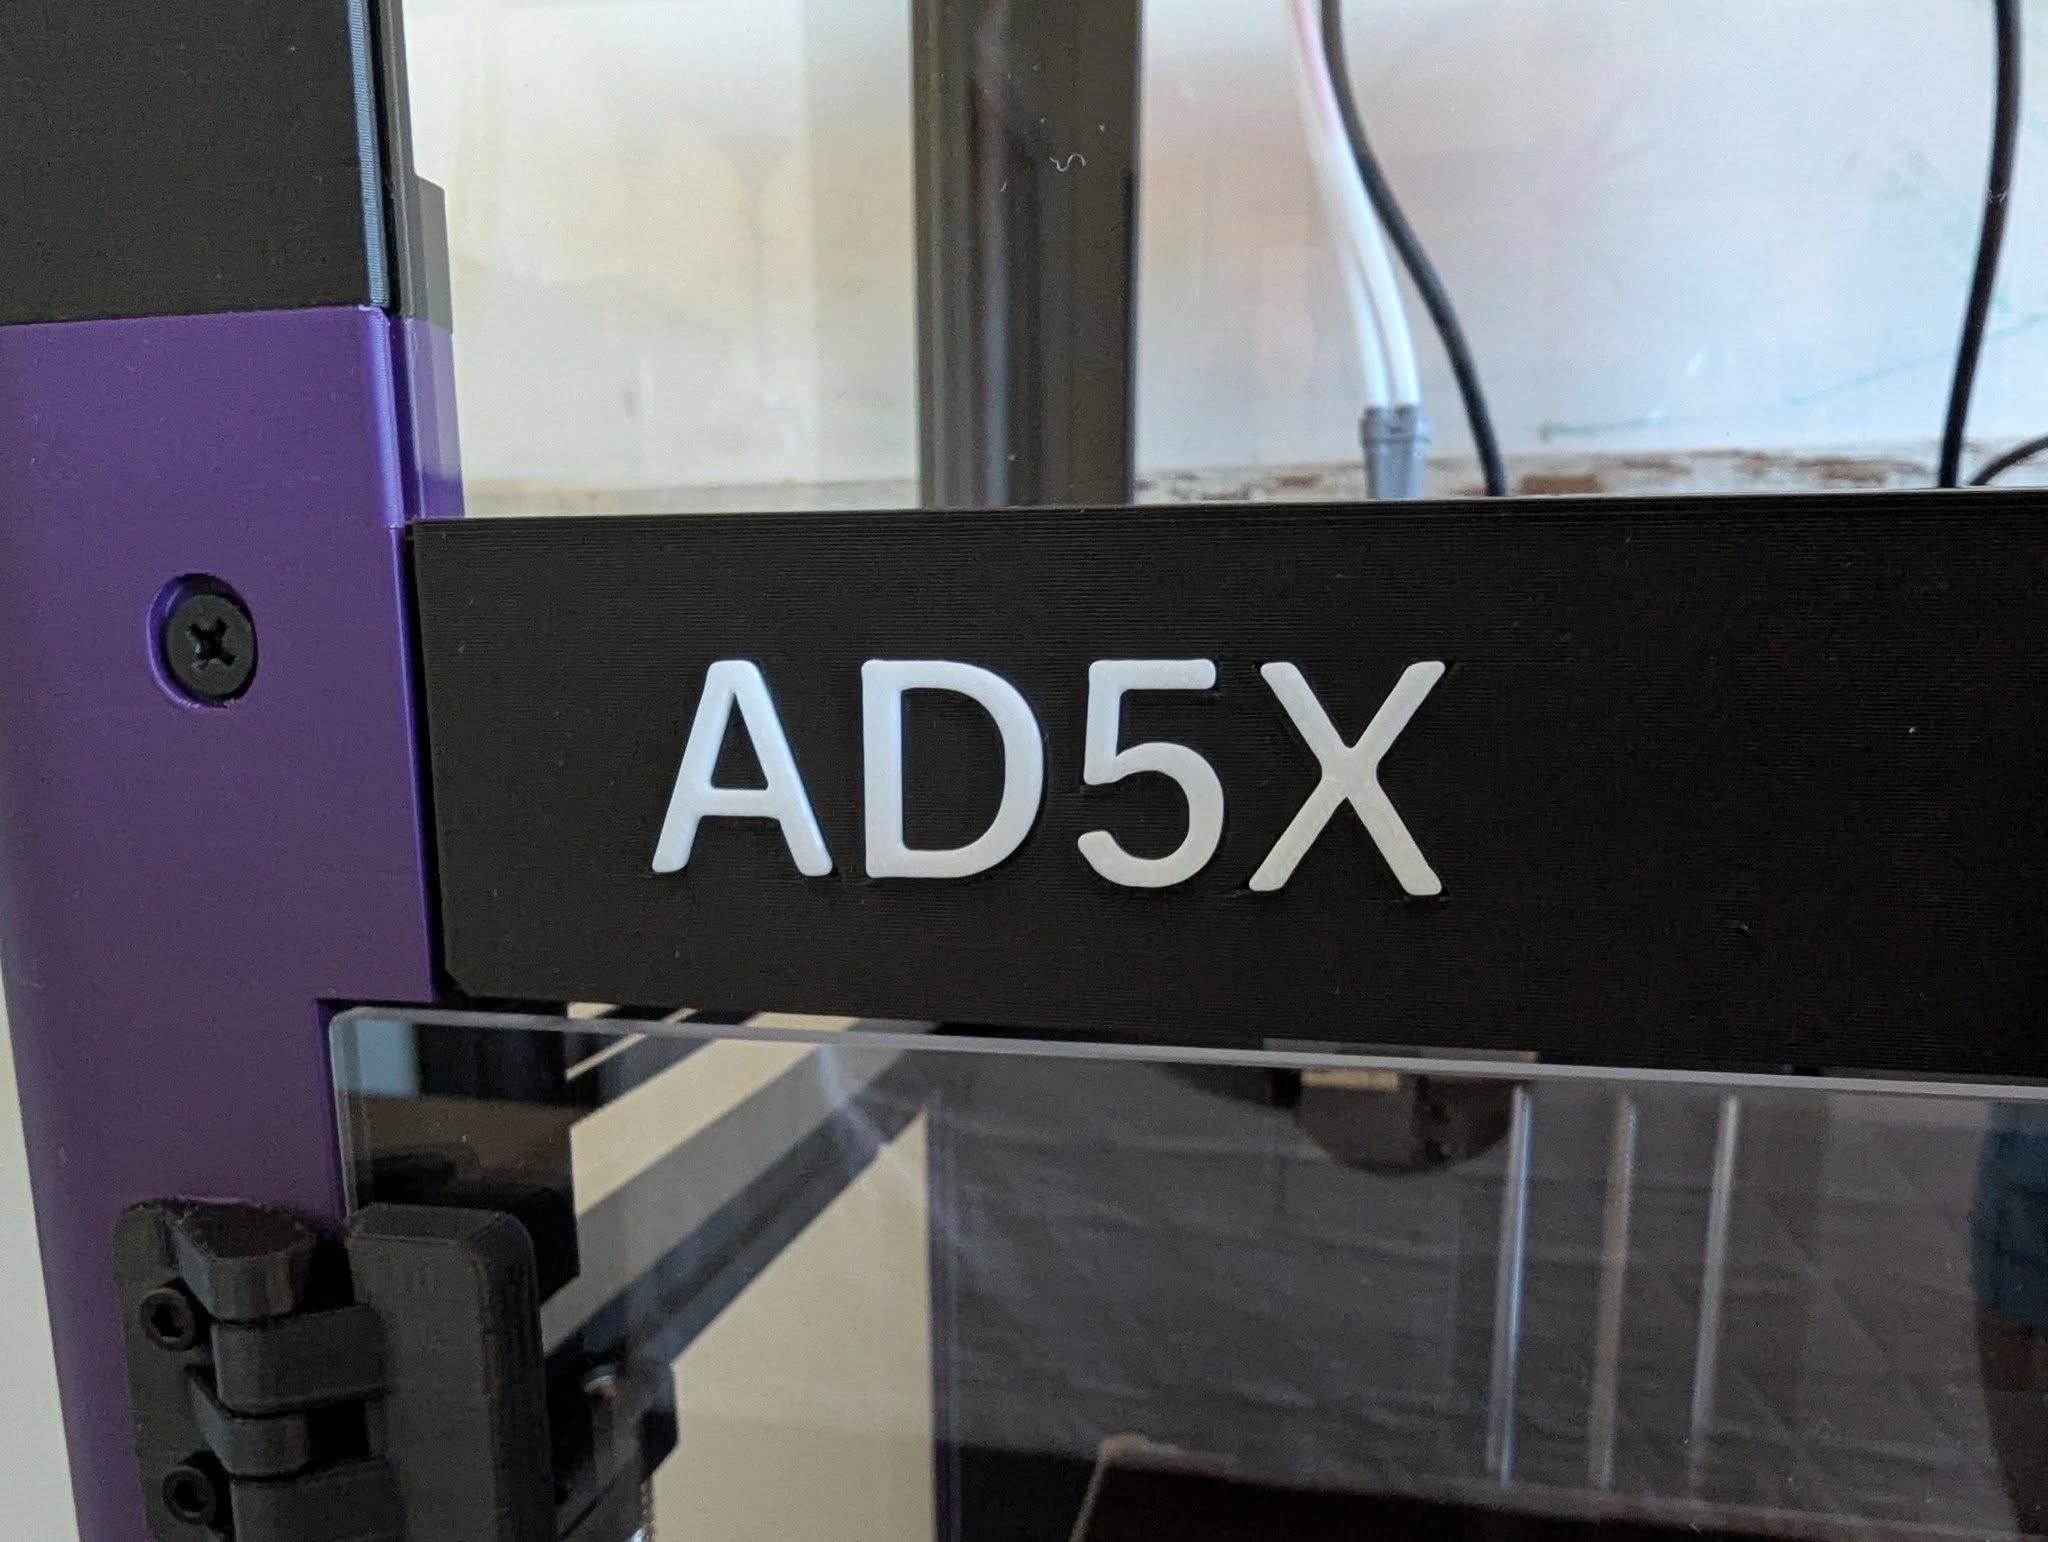
AD5X logo insert, can be printed in different colors separately from the enclosure parts. This will save your print time and avoid poops from multi-color prints. This model has tight tolerance and can be press fitted into the original…