P
PrintablesPrusa Research

Homing Tower
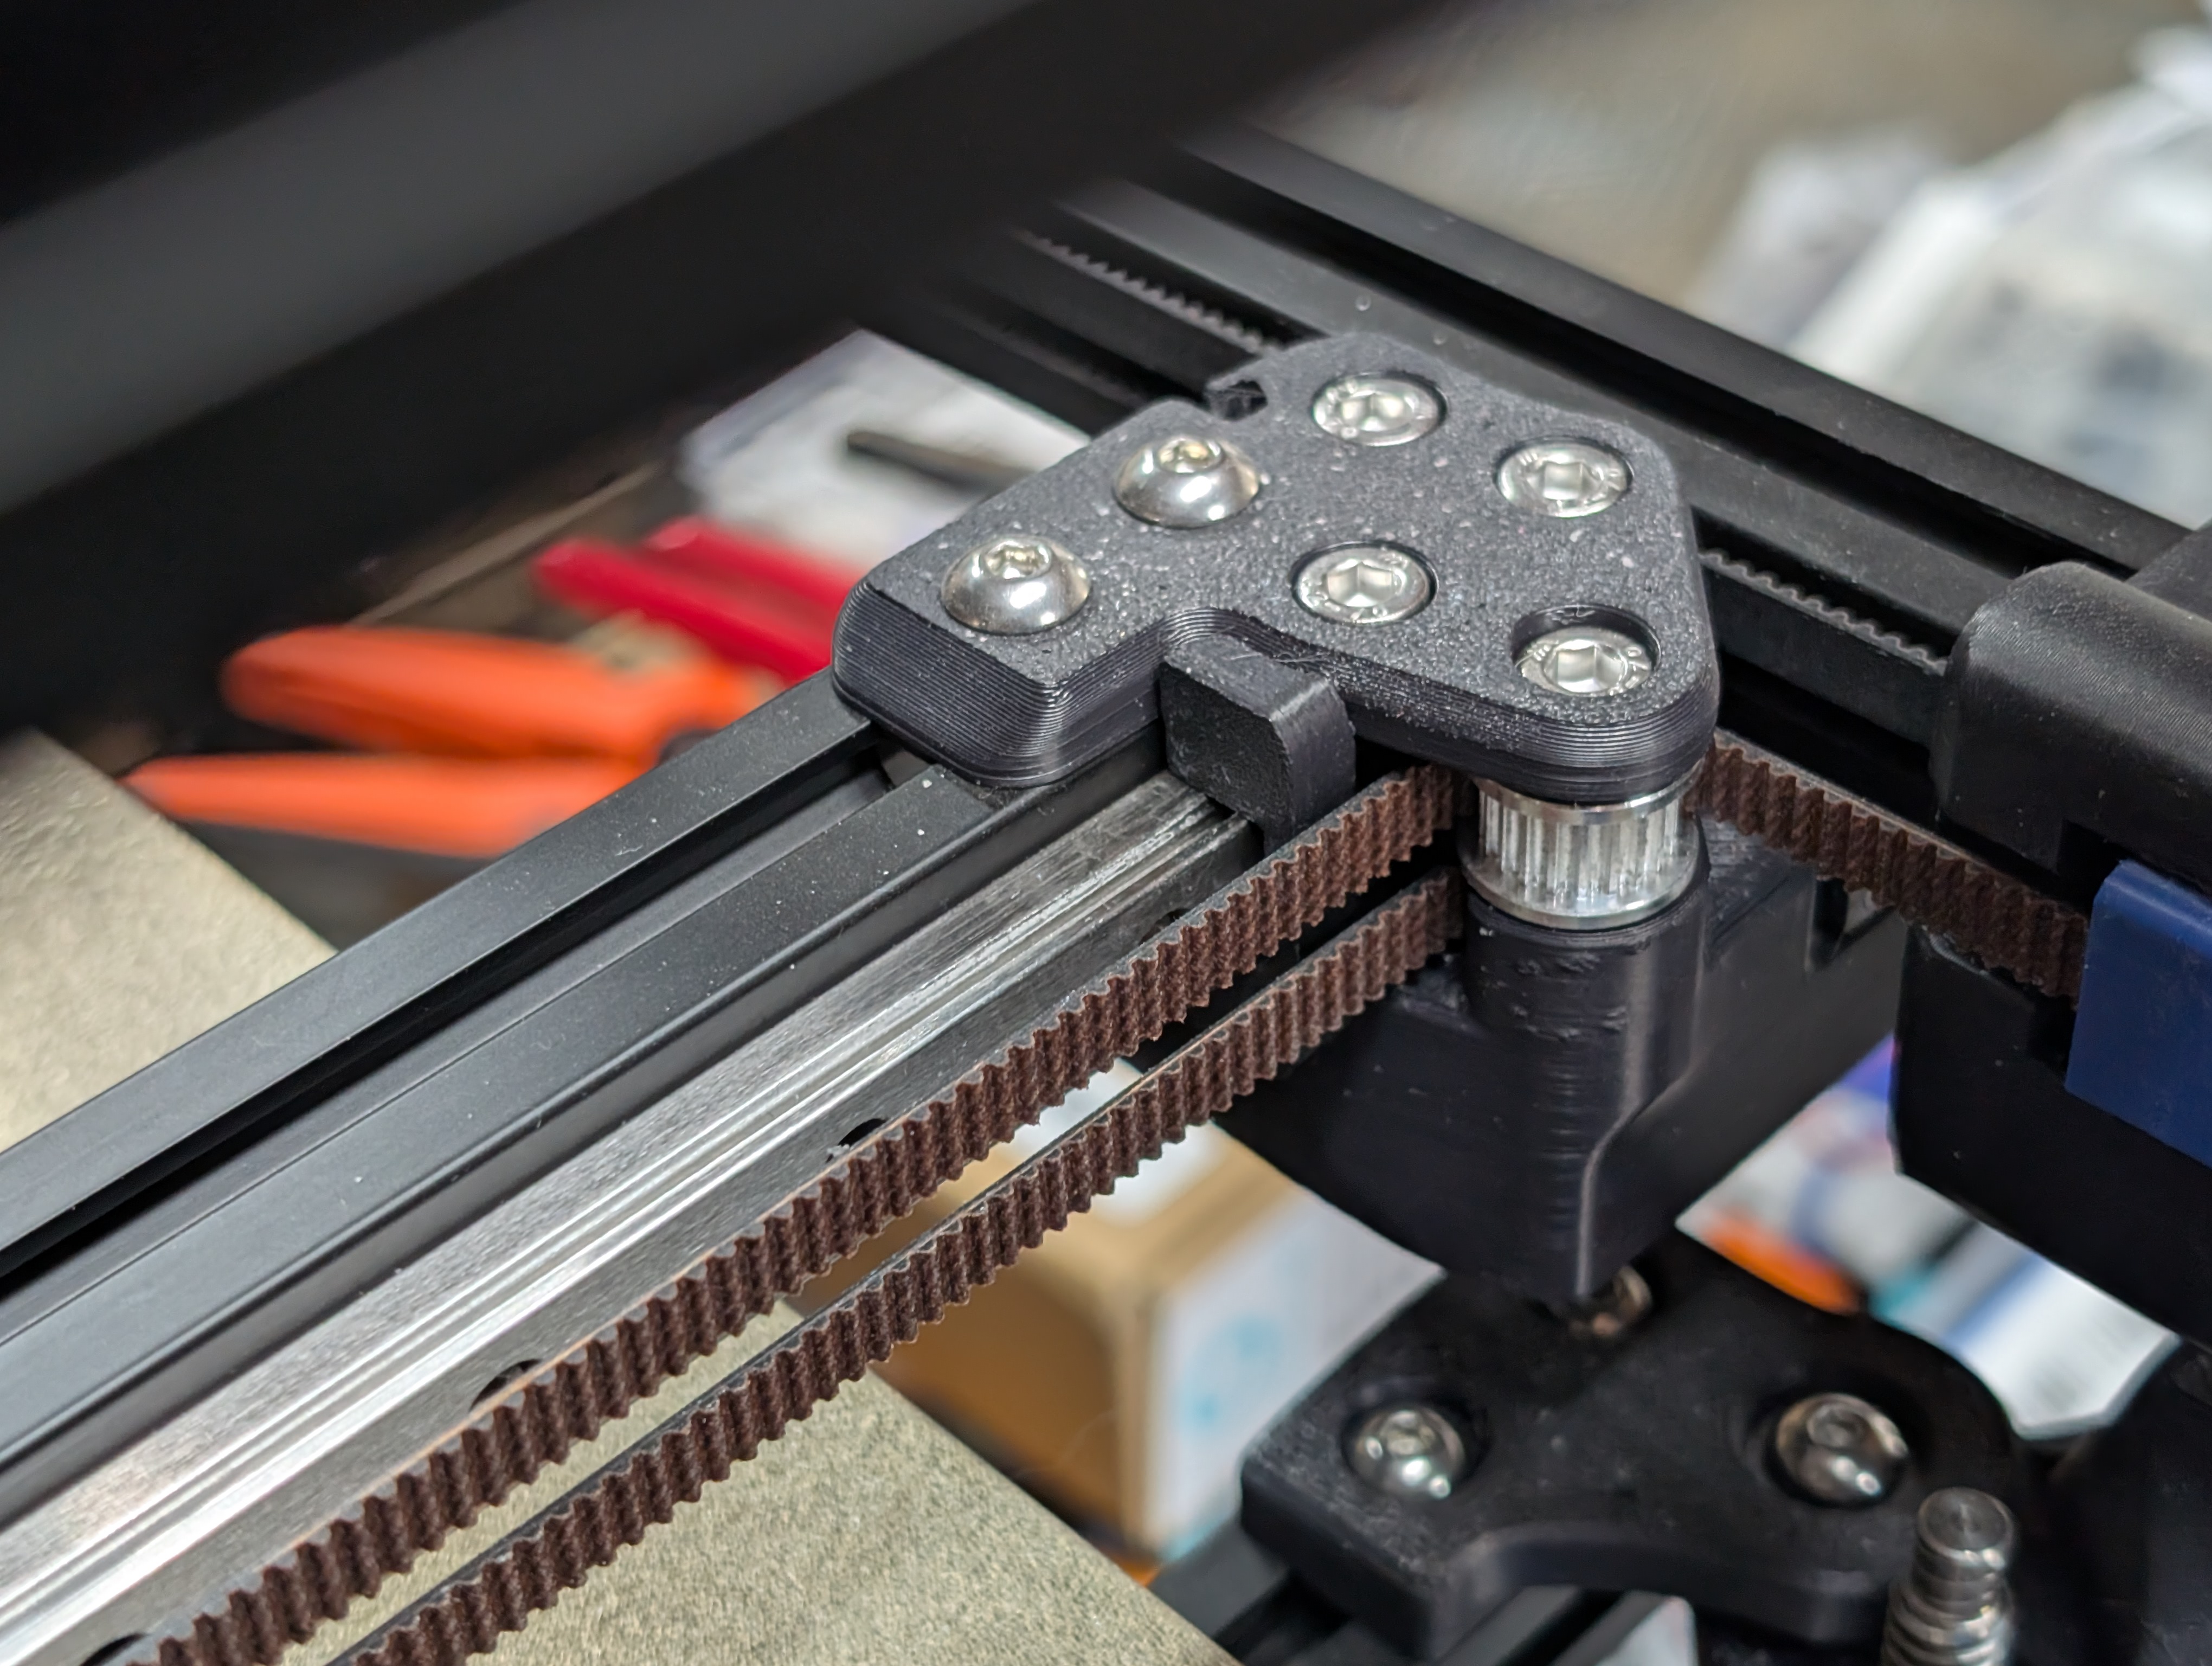
On the Original Prusa XL , adjusting the belt to the optimal tension is crucial to achieving good quality on the prints. Here is a detailed guide .
- Downloads
- 4,821
- Likes
- 156
- Rating
- 4.68
Counting matching models…
On the Original Prusa XL , adjusting the belt to the optimal tension is crucial to achieving good quality on the prints. Here is a detailed guide .
Finally, I can print decent keycaps on an FDM machine. And with a 0.2mm nozzle, you can as well!! This model is designed and optimized to be printed using a 0.2mm nozzle. I haven't tested with other nozzle sizes. I bought a 0.2mm…
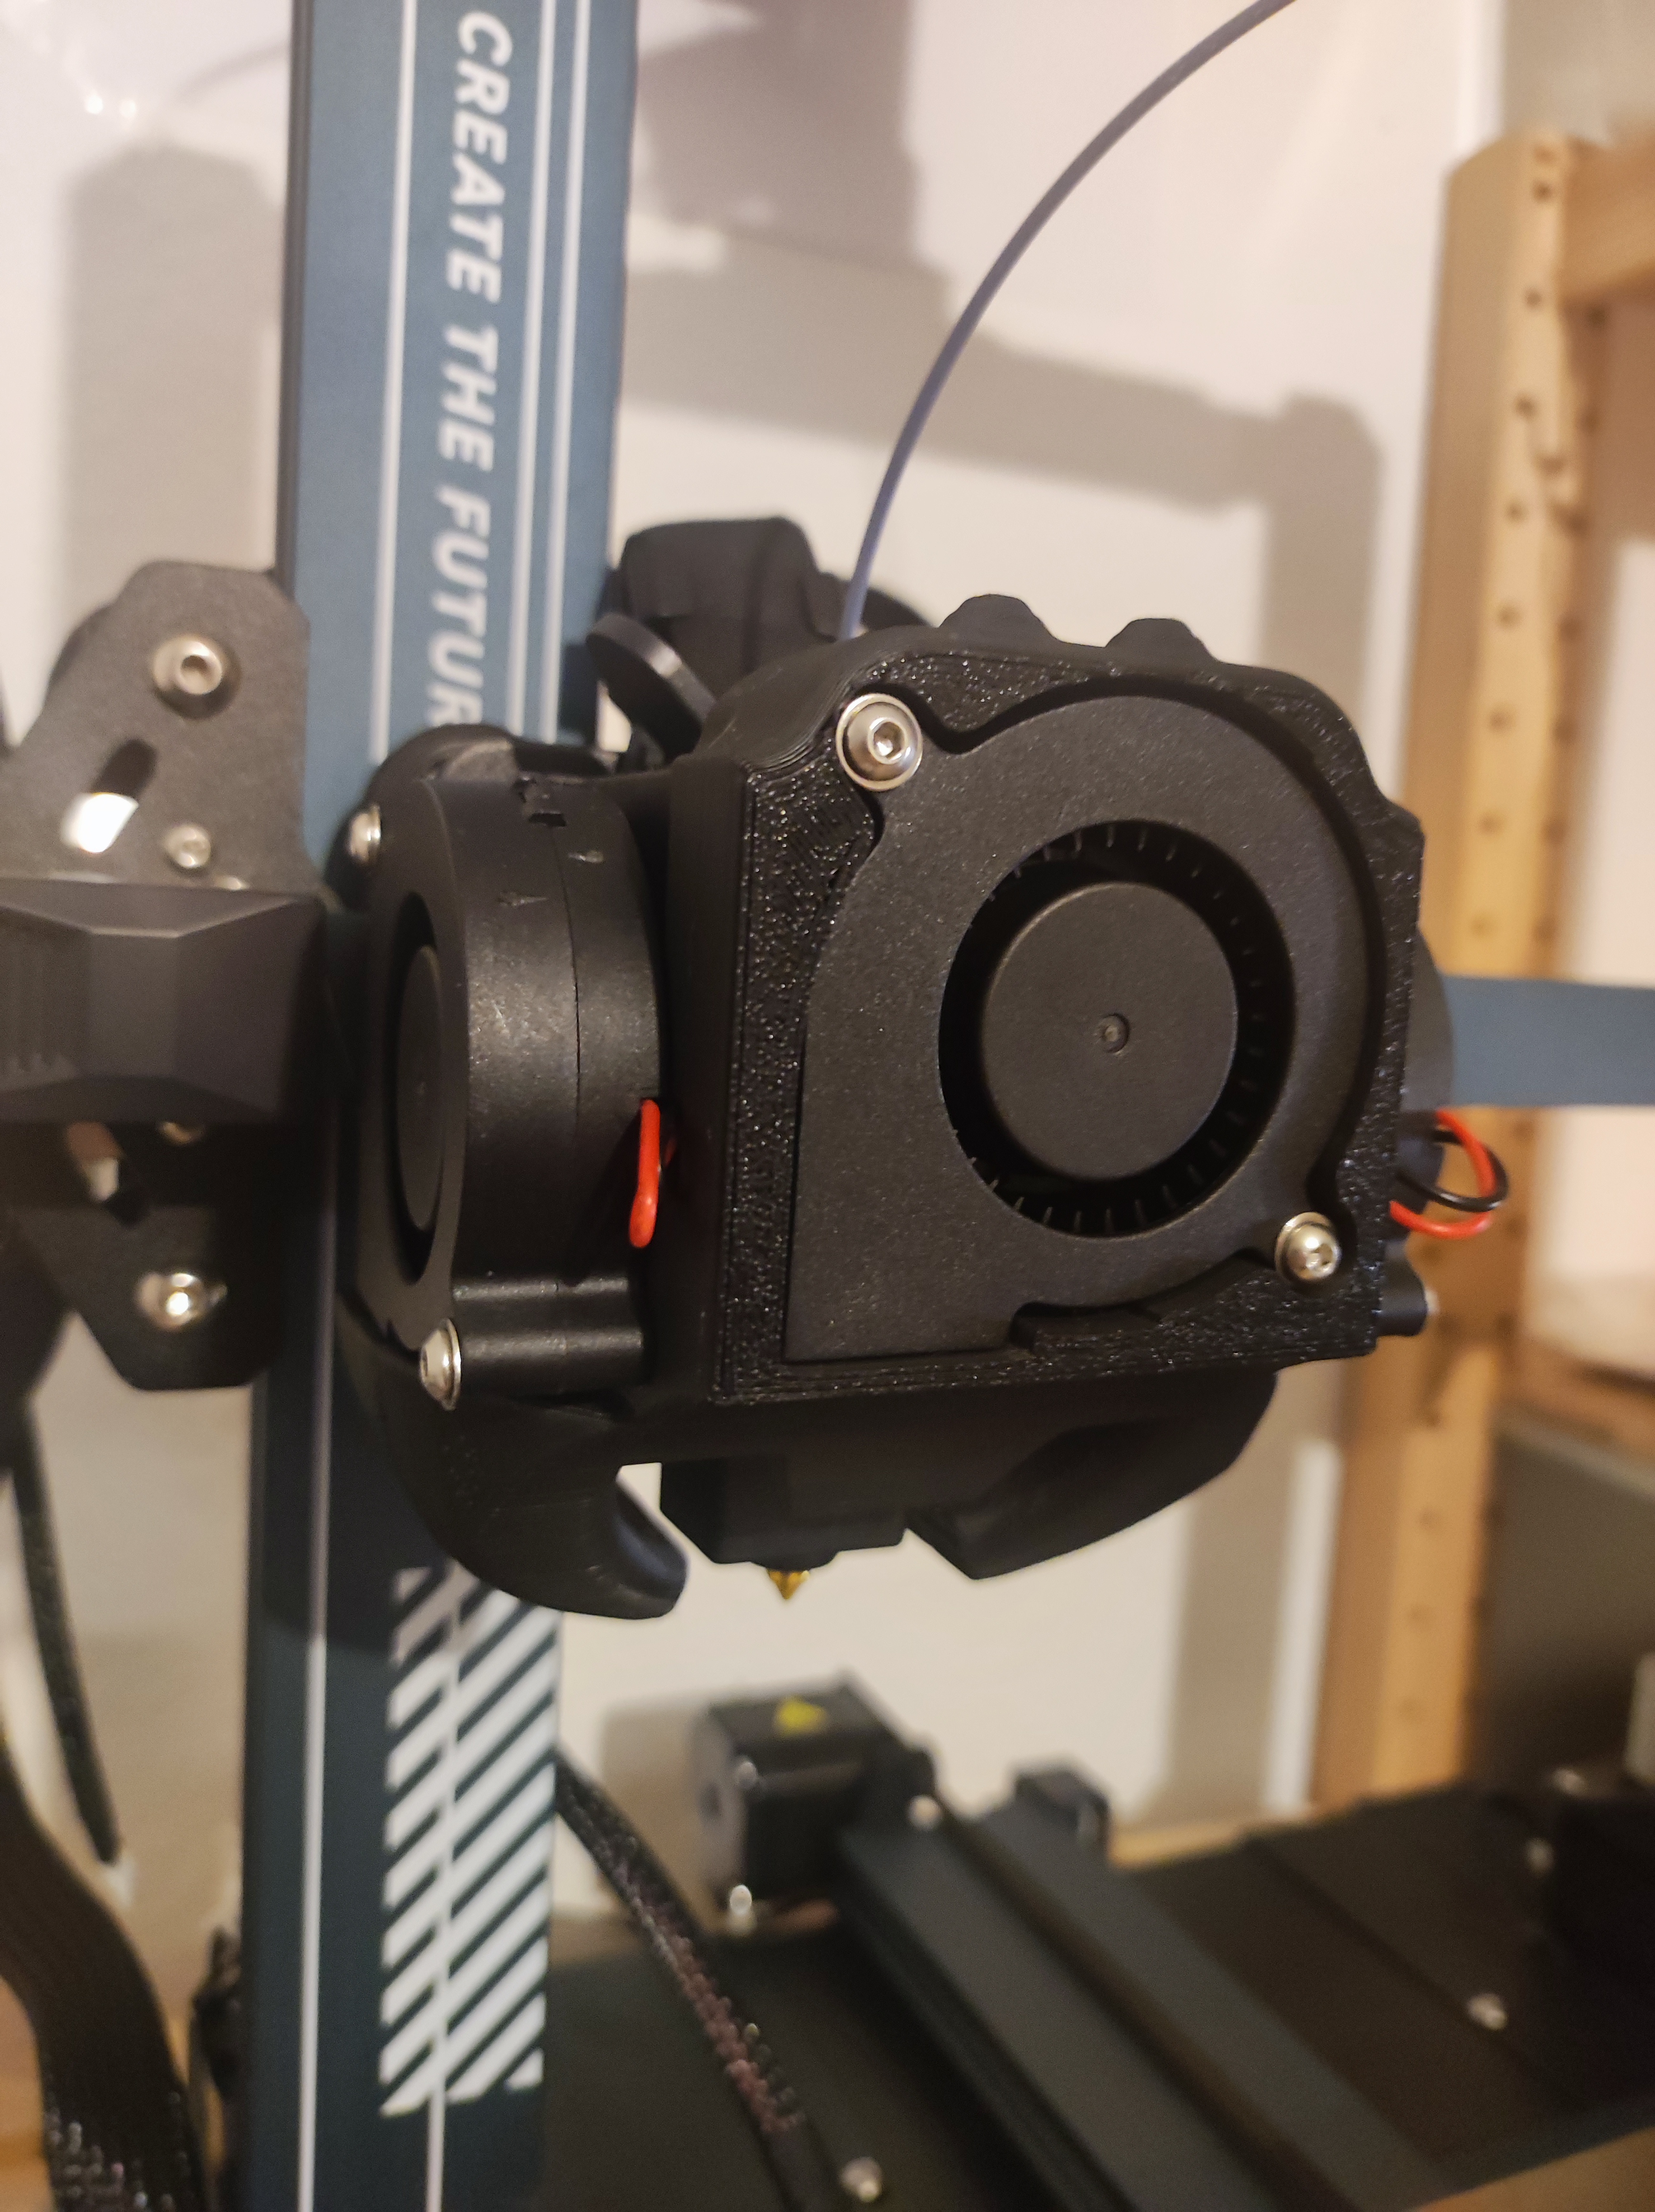
Y-endStop sensorLess Y-axis homing Happy 3d printing
The original model was off on the mounting positions for the chute flap and chute flap arm causing two issues: The flap to hit the front of the chute and not allow the arm to go back far enough when pushed by the print head. When the…
Found these at https://facepunch.com/showthread.php?t=1304034&page=6 Also found AnyCad converter with the click of a button turned them straight into .OBJ and .STL's http://www.anycad.net/the-free-3d-model-converter-anycad-exchange3d.html…
--- Commercial Use --- By purchasing this design on Cults , you support my work and receive a commercial license to sell physical 3D prints of the model Click here to purchase the design and get the commercial license (or just type…
Welcome. This is a full set for CNC 3018 Pro of end stop mount. You need : M2x12 screw and nuts M4x18 screw and nuts for aluminum profil, some cable, dupond female connector the advantage of this solution is that you do not have to make…
An alternative EVA 3 top supporting sensor-less homing and MGN9 rails. This version eliminates the X axis end-stop mount and adds extra zip tie mounting holes. Updated version adds 3mm to height to level the belts. Happy Printing!
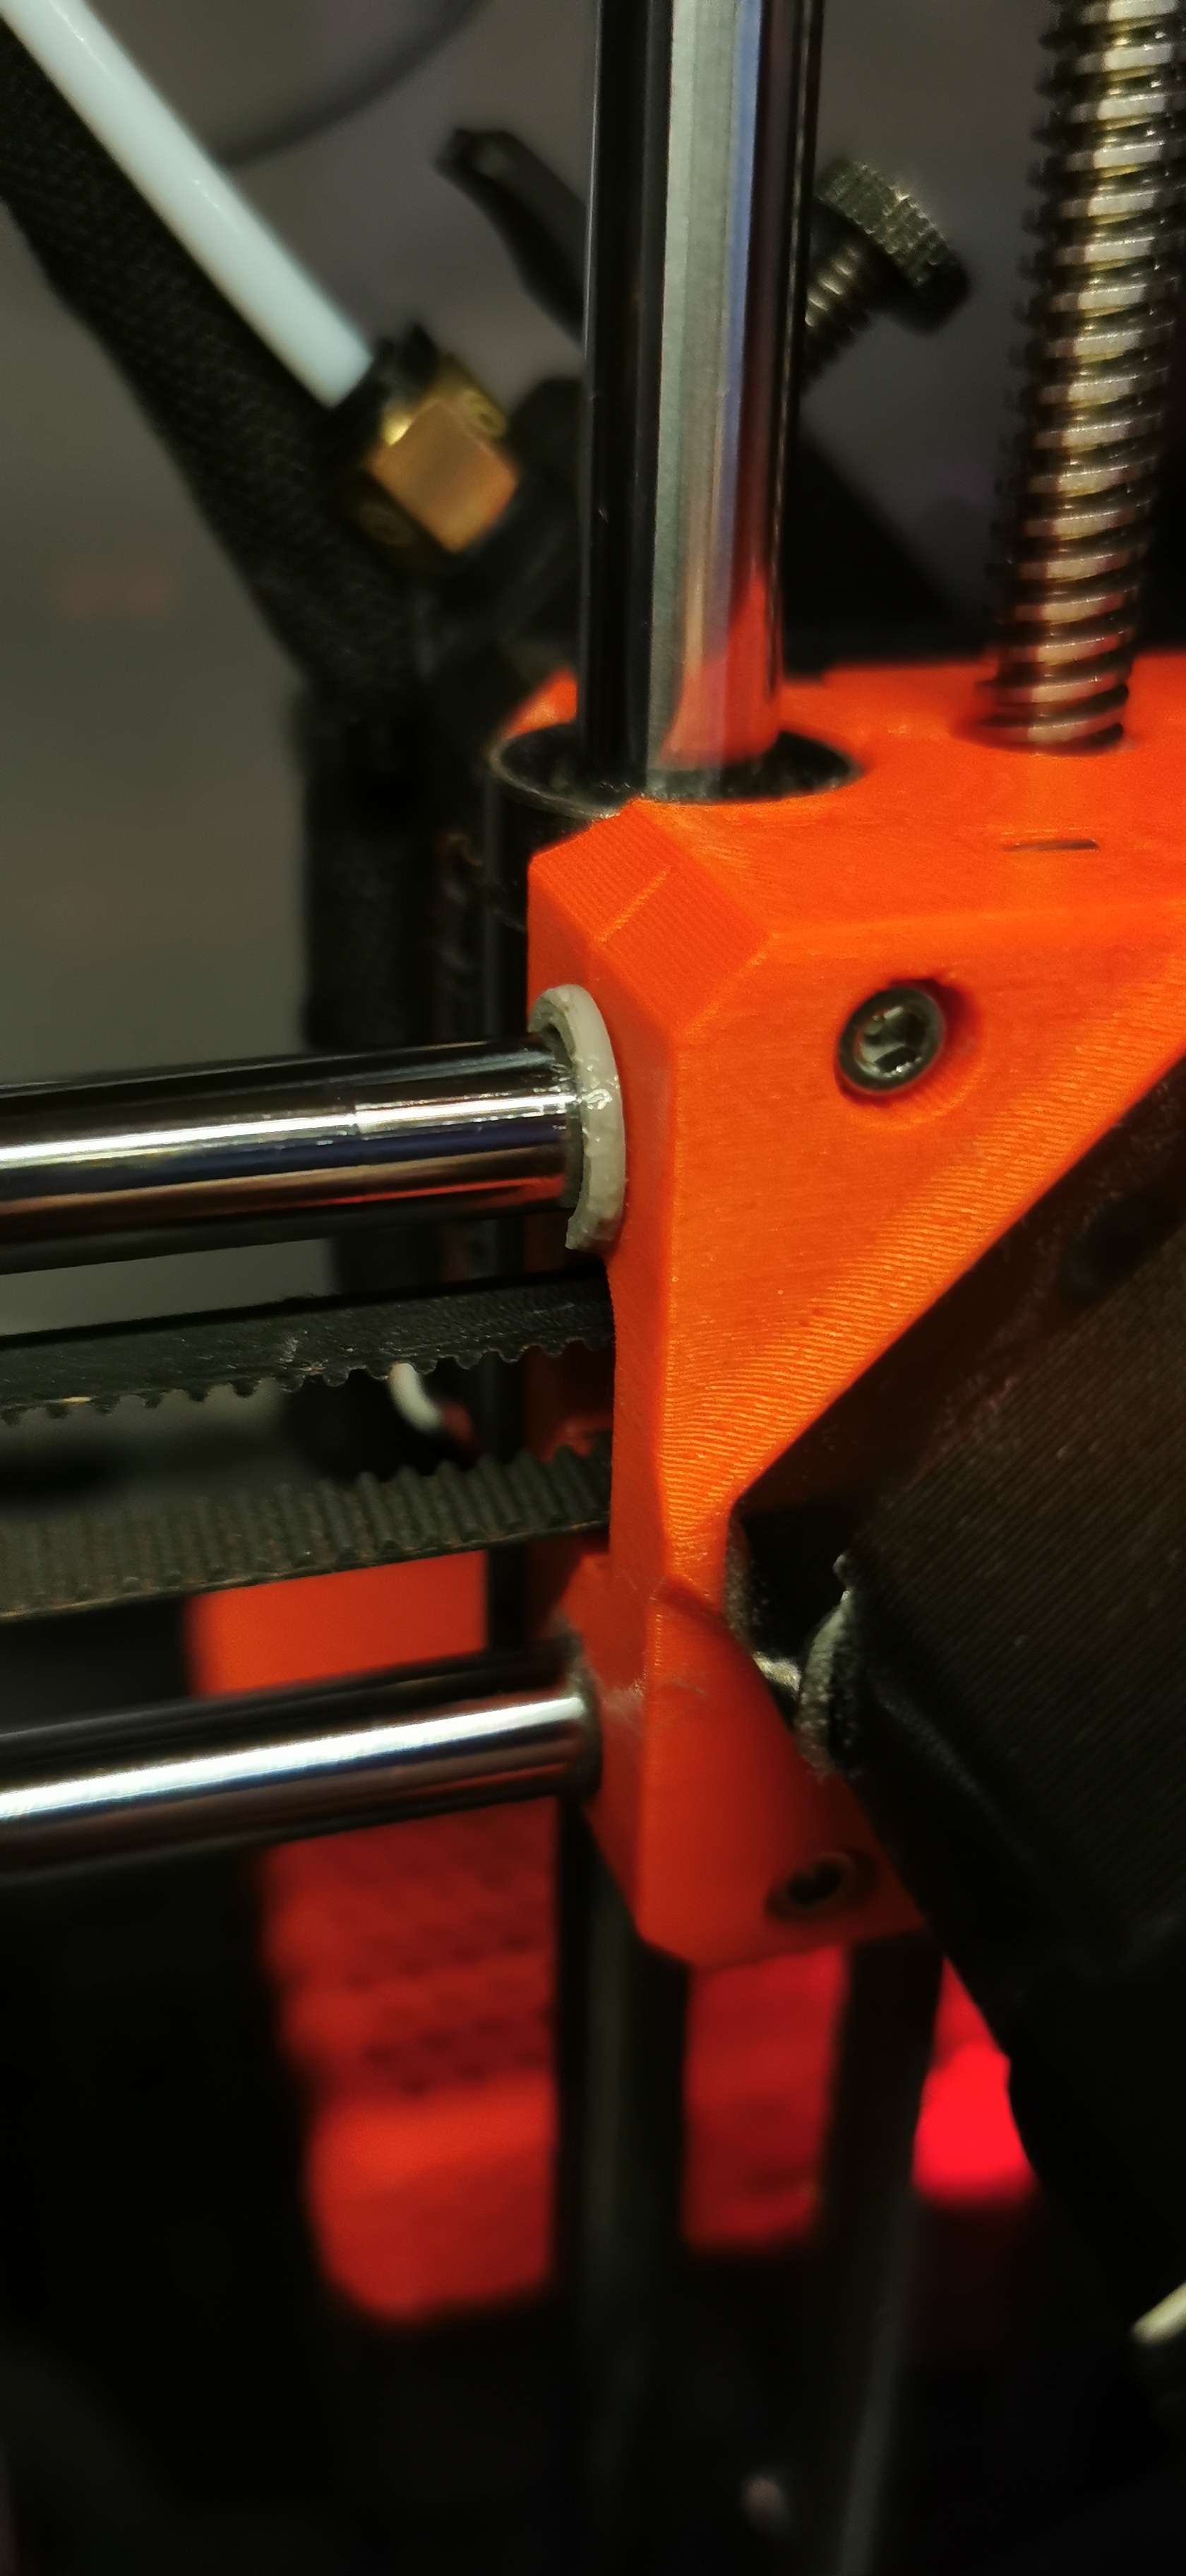
The Sovol SV06 homes by running into the end stops and detecting the stepper stalling. For the bed the stop is a one linear bearing block which is offset from the center and would pull the bed to one side each time. To reduce the stresses…
BOM: M5x12 and M5 t-nut
replace your endstop with this
OG Model from roadsidebomb.
Modification of the Neptune 4 35015 Printhead to avoid the nozzle-bed collision issue.
NEW: Homing bump variant is now available! This model is made to fit into the standard key switches that come with the Voyager. It is definitely not as high quality as the ZSA caps, but it works if you just need to replace one or two…
I've printed one in PETG and it's working fine.
The holes for the angled screws in the TAP_Front that the magnets attract to were too loose and would easily strip so I made them smaller. I then modified the [a]Tap_Center_r6 to remove the endstop mount since I use sensorless homing. It…
Uses a M4x10 SHCS screw and a T nut. I used supports but it's not necessary.
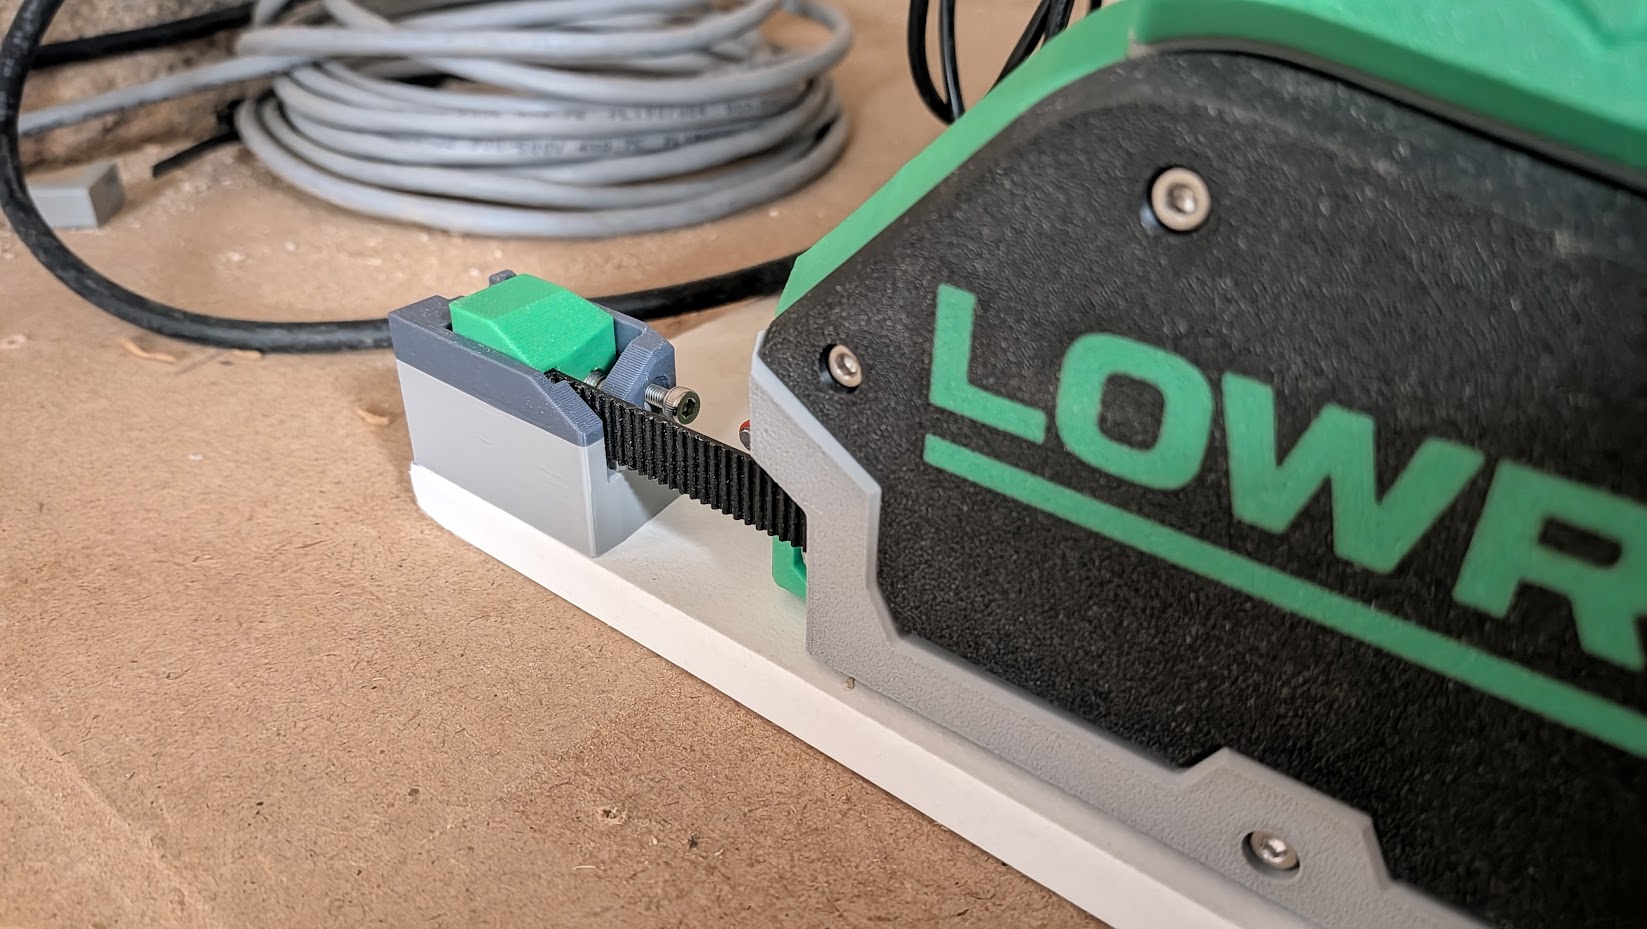
See also . This remix seeks to accommodate owners (or potential makers) of a LowRider v3 MPCNC who either have printed, or plan to print, their XZ plates (as opposed to buying or making milled metal XZ plates) and who also desire to flip…
So, like many of you who operate LowRiders, I've had the little thin metal blades come off my homing / end stop switches. As many of you already know, but in case some don't, the little blades serve a purpose, which may be more important…
…Please at least be sure to hit like & post a make, I'd love to see your prints! Replace your endstop switches when using senseless homing feature on compatible stall guard equipped boards. Use at your own risk & be sure to have your…
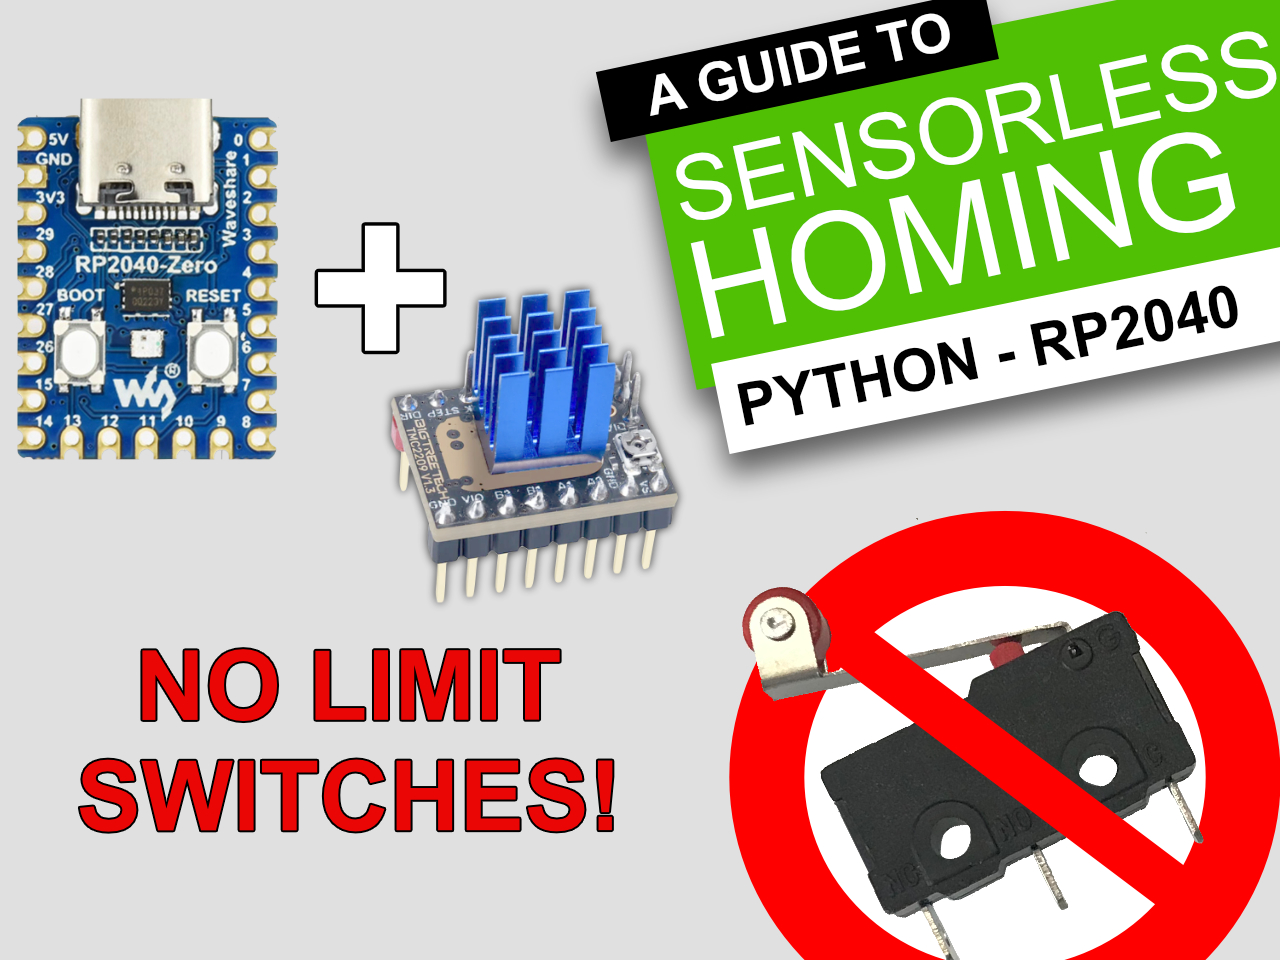
Use sensorless homing in your own projects! In this project and associate video I’ll show you how to set up sensorless homing using a TMC2209 stepper driver — no mechanical limit switches required! Perfect for 3D printers, CNC machines,…
Made this parts to avoid destroying the endstops that came with the printer, they are based on the official Creality CAD files so they should fit well. I have been testing them for over two years (feels great to migrate my models here 🤣)…
My previous design had an issue, where the homing could fail violently, because the carriage, which has the thing that triggers the endstop, would stop at the bed, while the wobble fix would continue to go down until it was tightly…
See also . Want to swap X & Y axes on your LowRider v3? You'll probably need to flip which way the short axis homes. This works for that. It allows moving the X end stop switch (which would become the new Y end stop switch) from the left…
Homeing/Limit switch brackets for the Onefinity CNC, for use with when using a 3rd party controller which does not use stall homing. Designed to be used with proximity sensors on X/Y, and mechanical switch on Z axis. Print Settings Rafts:…
BOM plastic spacer (m3 ID) - 2 m20 (to replace m16) - 2 m3 x 12 - 2
Fasten with an M5 screw, included a M5 spacer. Designed for 2020 extrusion but could be used with whatever its compatible with.
Created this to provide the proper offset for z-homing on the Elegoo Saturn when using a Magnetic Flexible Build Sheet (Wham Bam FBS in my case). Tried a few different versions that were posted and none fit correctly. I am not sure if the…
This is a spacer to ensure you have proper clearance between an Anker M5's foot and the front of any enclosure when it performs a homing sequence and the table extends forward.
One model with a clip to hold the cable to the hotend assembly and one without a clip In the picture I just engraved my own name, it is not included in the model
Top mounting block for the EVA-3 designed to mount on an MGN9C linear rail. I have done a fairly exhaustive search and could only find designs for 9H+. So I drew this up quickly. Just a simple design to get the job done. I only added the…
NEW: Homing bump variant is now available! This model is made to fit into the standard key switches that come with the Voyager. It is definitely not as high quality as the ZSA caps. This will not allow light through it unless you print it…
I noticed that my printers sometimes would home inconsistently. I own two core ones that I build from the conversion kit, thus i did the extruder wiring myself. For me, the wiring undernath the cover pushes into the cover, slightly moving…
What's the Purpose of This Part? When the bed homes (Y-axis), it slightly twists along the X-Y plane when the bump occurs at the back. This is not an issue, that is, it's not having an effect on the printing process or print quality.…
This is a parametric Endstop dummies for your ender3/ender 3 pro using a StallGuard 2 board ( like btt skr mini e3 v3). Please enable sensorless homing on your firmware. You can parameter the lenght of the endstop on fusion 360 IM NOT…
Simple rear-mounted Z limit switch mount for the Millright Mega V, replacing all of: the long-armed limit switch, “Z Engager Bracket” “Z Engagement Stud” m5x35mm screw, lock washer, and nut long armed limit switch extension piece, and…
Remixed the endstop dummy to work with a Micro Swiss Direct Drive on my Ender 3 Max X axis. The Micro Swiss DD will cause the 0 position on the X axis to be incorrect and the prime line to happen off the edge of the bed. I simply added…
it is for x5sa pro sensorless homing Y endstop and spacer Category: 3D Printer Parts
After installing a chitubox mono LCD screen upgrade for the Anycubix Photon-S and in conjunction with a flexible build plate I found the new addition height of the LCD upgrade would cause the printer homing to fail each print due to…
Use 8mm 5v rated Proximity Sensor (glass on aluminium bed might not work, recommend adding stainless steel sheet in between or use spring steel flex bed instead of glass as I do) Print the part Run through the M8x1 tap (it has thread…
Print at 40% infill, abs or asa recommended, 4 aoutside walls, 5 bottom and top layers, layer high at .15. This mode homes the x axis on the left side of the printer.
Z homing precision issue After some time using the Ender 3 printer, I have encountered a quite annoying occasional issue: the z homing sometimes vary by a small offset, maybe 0.1 or 0.2mm, causing a bad first layer when starting a print.…
This is just a simple remix of gdramos' design . I removed the 2 unneeded screw holes to make it a little more aesthetically pleasing. Tested both on my Tevo Tornado and Tevo Tarantula Pro.
This is a remix of Teddie’s QIDI Max 4 Polar Cooler flexible hose guide. The original design works well, but on my printer the first flexible section could move forward and contact the front inner frame during homing. I redesigned the…
The z-axis switch on my newly built LDO Voron 0.2 kit wasn't reliably activated during homing moves. I tried adjusting the location of the switch but couldn't find a location that delivered reliable homing. I also tried replacing the…
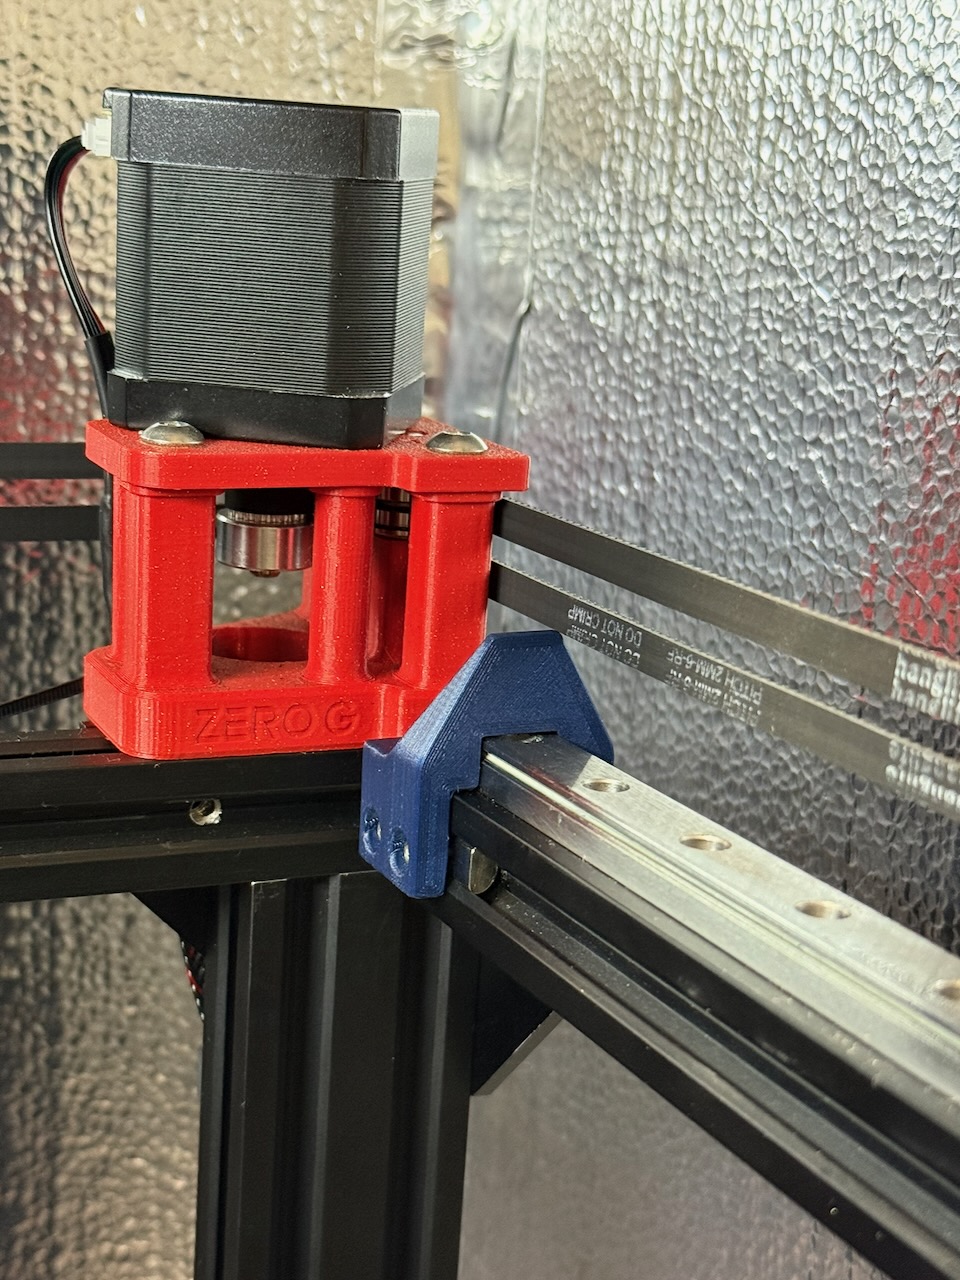
I have a ZeroG Mercury One.1 printer with X and Y axis linear rails. I needed a sensorless homing bumper/stop block that I could mount on top of the Y axis rail. But, since I use steel plate corner brackets to stabilize my frame, I could…
If you want to change the homing of the Qidi X-Plus 3 to use the back corners (Y = 280) instead of the front corners (Y = -24), you will quickly realize there is nothing but the back of the tool head to bump against. (Why home to the rear…
/!\ Warning /!\ This is not the standard configuration, please use this only if you know what you're doing You will need to make some changes in the fluidnc config.yaml file, How to use Mount the Y endstop switch in the rear wheel slot…
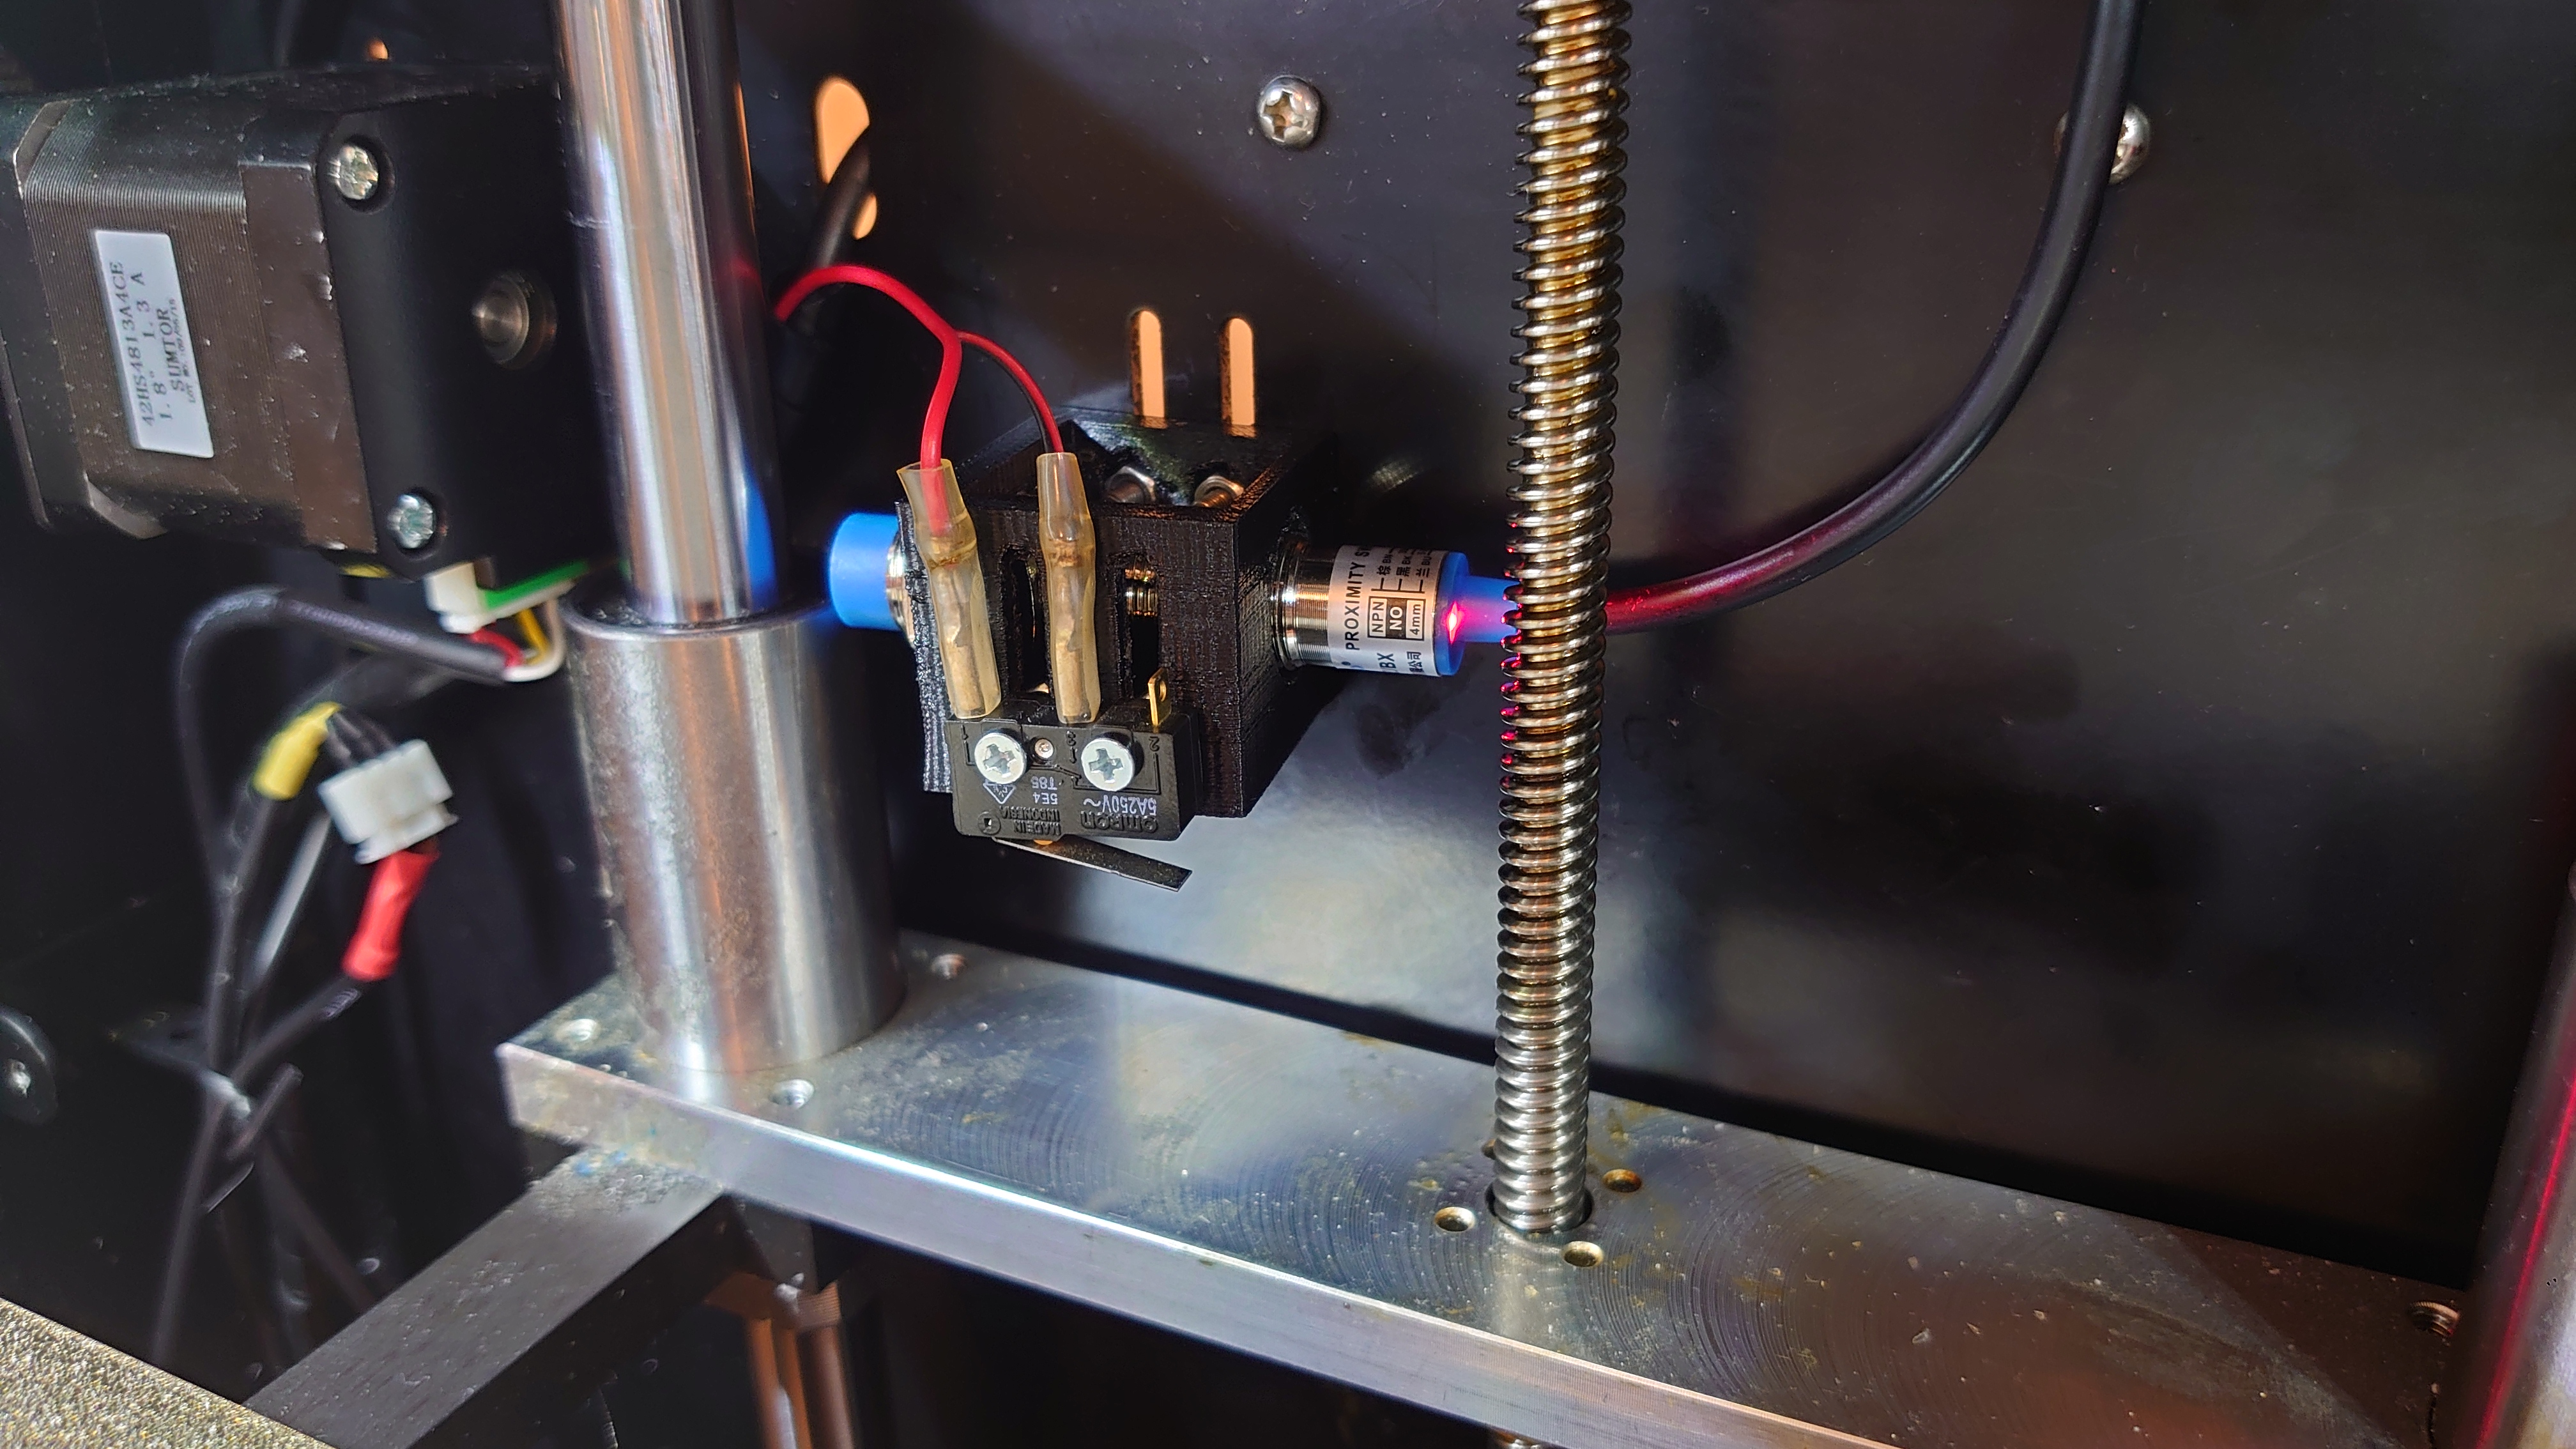
Homing is performed with the inductive sensor. The micro-switch is supposed to just stay untriggered during normal operation (even at position Z=0), so it can act as an ‘overtravel’ emergency stop. A few reasons for this home sensor…
If you want to change the homing of the Qidi X-Plus 3 to use the right side (X = 280) instead of the left side (X = -11), unless you are very careful, the bed probe will crash into the Z-axis support. (Why home to the right? Like me, you…
This is a simple modification of the existing MGN12 alignment tool that makes it a shim on the X rail. When setting up my Tapchanger, I wanted to use sensorless homing, but the shuttle by itself touches the X axis at a different location…
print it in abs and screw it behind the shuttle with two M2.5 screws
This is a recreation of a Thing I printed about 5 years ago and needed to re-print, but the original Thing seems no longer available. So I recreated it. These are the Y-axis bump stops, mount on the four corners, if you have a BLTouch, be…
This remix is adding homing to the tilted keycaps (both normal and saddle)
NEW: Homing bump variant is now available! This model is made to fit into the standard key switches that come with the Voyager. It is definitely not as high quality as the ZSA caps. This will not allow light through it unless you print it…
I have a ZeroG Mercury One.1 printer with X and Y axis linear rails. I needed a sensorless homing bumper/stop block that I could mount on top of the Y axis rail. But, since I use steel plate corner brackets to stabilize my frame, I could…
This is a simple modification of the existing MGN12 alignment tool that makes it a shim on the X rail. When setting up my Tapchanger, I wanted to use sensorless homing, but the shuttle by itself touches the X axis at a different location…
/!\ Warning /!\ This is not the standard configuration, please use this only if you know what you're doing You will need to make some changes in the fluidnc config.yaml file, How to use Mount the Y endstop switch in the rear wheel slot…
I had issues with the original cover that came with my palette 3 pro popping out on it's own when filament was feeding through to the heater. It was rare originally, but got progressively worse, so I went online to see if there was a…
I remixed the Choc normal keycap to use a bar as the homing feature instead of the standard three dots, for improved tactile positioning and personal preference.