
Calibration Bro ( CaliFlower Calilantern Calibration cross alternative) - Calibration shape + Calculator - Klipper & Marlin
Obliczymy ostateczną cenę na podstawie wybranego pliku. Sprawdzisz ją i zaakceptujesz przed płatnością.
Zapisane na tym urządzeniu.
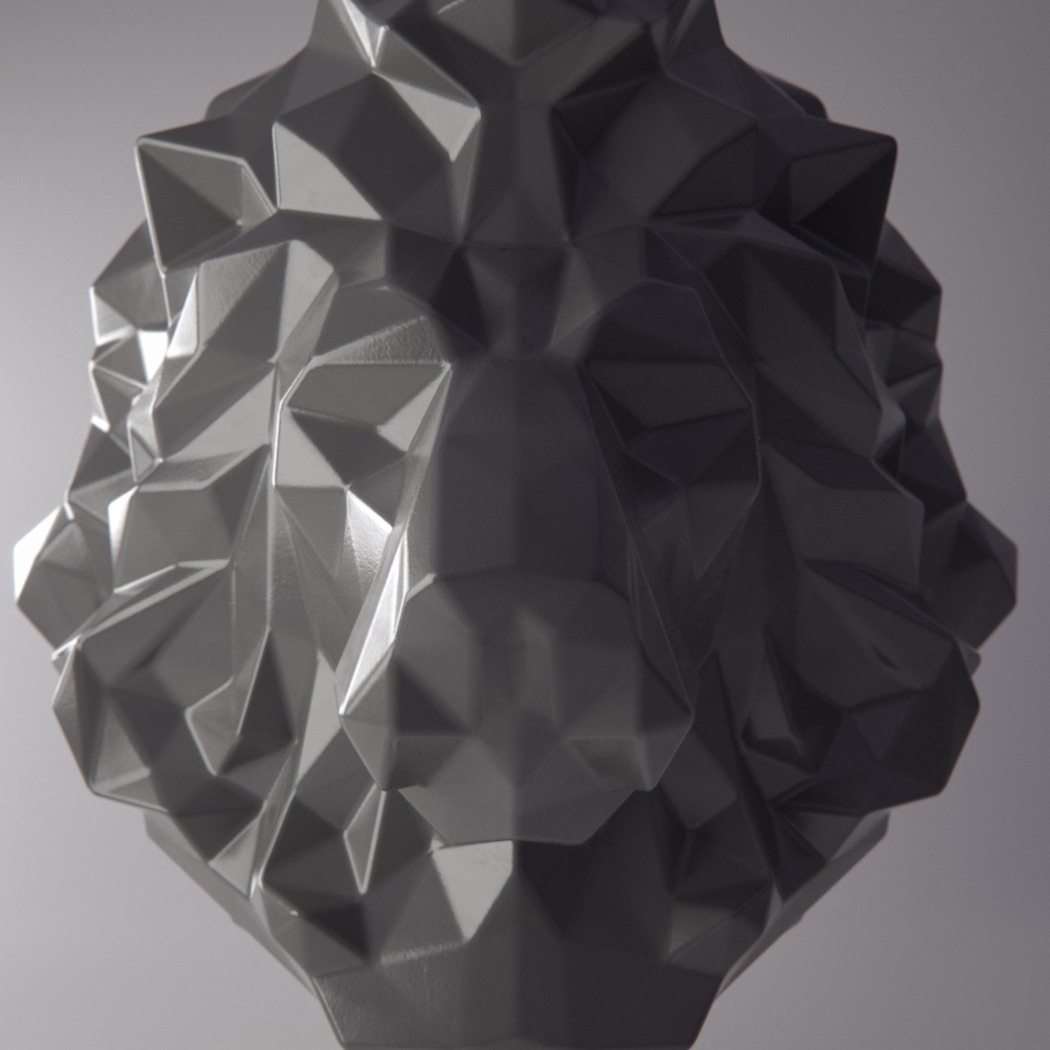
Use Calibration Bro to calibrate your printers X & Y Esteps, and Skew. 1) Print Calibration Bro & wait for it to cool…
- Ocena
- 4,762 / 5
- Polubienia
- 675
- Pobrania
- 6654
- Wydruki
- 46
- Wyświetlenia
- 26 687
- Oceny
- 42
Aktualizacja u źródła:
Informacje o modelu
- Źródło
- Printables
- Kategoria
- Accessories
- Licencja
- Creative Commons — Attribution
Use Calibration Bro to calibrate your printers X & Y E-steps, and Skew. Its a free alternative to the Califlower and/or Calilantern.
Print Calibration Bro. Wait for it to cool down! Don't compromise the shape by removing it while hot & bendy. You should tune your flow and pressure/linear advance before using calibration bro.
Measure Calibration Bro, using the reference measurements in the images.
Follow the calculator link below and enter the measurements into the calculator
Take the results and use them to update your X & Y E-steps and to create a skew correction.
Calculator: A) You can use the attached excel workbook file that has images embedded, or B) clone a copy of the calculator from google docs. The docs version strips the embedded images.
https://docs.google.com/spreadsheets/d/e/2PACX-1vThsVkzw7_n7qthCFOmfJjI5CmkoGVeD1cE45_tOZ1VgvNR_wJLD5nc67XXAV3KsfGcDHsZuWXqzEXM/pub?output=xlsx
See the images for reference measurements as well as measuring tips !
Watch this video if you want more info, it works the same!
Please don't forget to hit the like button if you found this useful ;)
I would like to thank lukeskymuh (Lukas Sky) for their development and maintenance of the Calibration cross in/since 2017.
Leave a comment if you found this helpful!
Print Settings
Printer:
Any
Rafts:
No
Supports:
No
Infill:
Min 10%
Filament:any PLA
Notes:
Print in PLA for minimal material shrinkage. No need to print with top skin. Just a few layers of bottom skin and 3 walls or more should do. Use 3 walls minimum. It shouldn't be flimsy.
Category: 3D Printer Accessories