
GEN2 Paper Towel Holder
Obliczymy ostateczną cenę na podstawie wybranego pliku. Sprawdzisz ją i zaakceptujesz przed płatnością.
Zapisane na tym urządzeniu.

Paper towel holder for the modular GEN2 rail storage system
- Ocena
- 5 / 5
- Polubienia
- 194
- Pobrania
- 576
- Wydruki
- 6
- Wyświetlenia
- 4751
- Oceny
- 5
Aktualizacja u źródła:
Informacje o modelu
- Źródło
- Printables
- Kategoria
- Accessories
- Licencja
- Creative Commons — Attribution
NOTE: this currently on fits US paper towels. I plan on have an update to include compatibility for European paper towels as well.
The GEN2 Paper Towel Holder is part of the GEN2 Modular Storage System I designed which features a simplified installation method that allows you to rearrange and customize layouts in minutes.
This allows you conveniently store paper towel directly under your desk or even under GEN2 storage drawers. Being a modular design you can easily move or rearrange the placement of this paper towel holder with ease.
NOTE: This paper towel hanger requires 4 GEN2 units of width for proper installation.
Download the GEN2 Interactive Catalog PDF
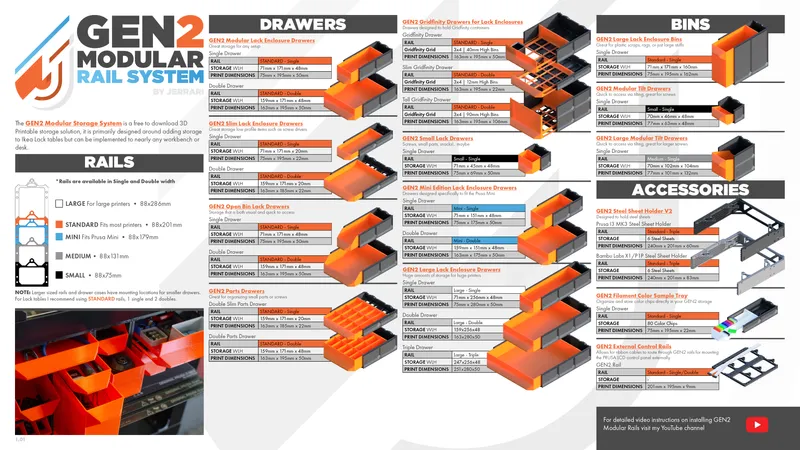
HARDWARE
• Screwdriver
• Countersunk woodscrews: (Metric: 4x25mm to 4x16mm) or (SAE: #6 or #8 up to 1" long)
• Drill bit that is smaller diameter than the wood screws
• Pen, Marker, or Scratch Awl
• M3 Screws and Nuts
INSTRUCTIONS

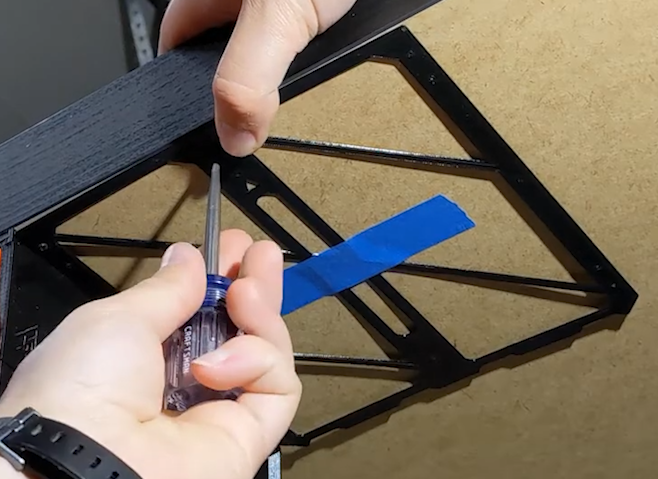
• Use templates to mark the hole locations on the surface you are mounting the desired sized rail to.
• Drill out marked locations using a drill bit smaller than the diameter of the wood screw you will be using.
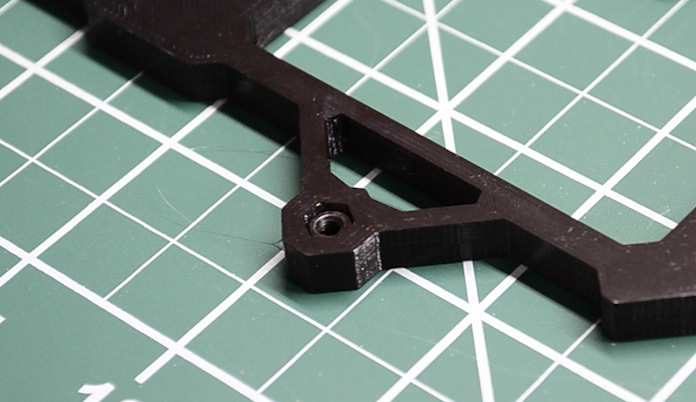
• Prep the rail for installation by installing M3 nuts into the hexagonal holes. You can use a M3 screw to position and tighten the nut in place.
• Install the rail using wood screws, use at least 4 screws on the outer corners to mount the single rail and and 6 to mount the double rail. (extra screw holes are available if you plan to stack more than 2 rows of drawers or contents of heavier than normal weight.)

• Assemble one side of the paper towel holder. The rail piece attaches to the body of the towel holder using two M3 nuts and two M3x6mm (or longer) screw. Repeat for other side.
• Slide each paper towel holder into place (Spacing should take up 4 GEN2 rail units)
• Lock the holders into place using an M3x14mm (+/- 2mm) on the front tabs and an M3x10mm (+/-2mm) on the back tabs.
• Load paper! The print should have a little bit of flex to it allowing the paper towel to slide over the circular ends.
RECOMMENDED PRINT SETTINGS
Filament: PLA (PETG or ABS for heavier duty storage)
Nozzle Size: 0.4mm
Print Height: 0.2-0.35mm
Infill: 10-20%
GEN2 COMPATIBLE PRINTS | |
Gen2 Open Bin Lack Drawers | 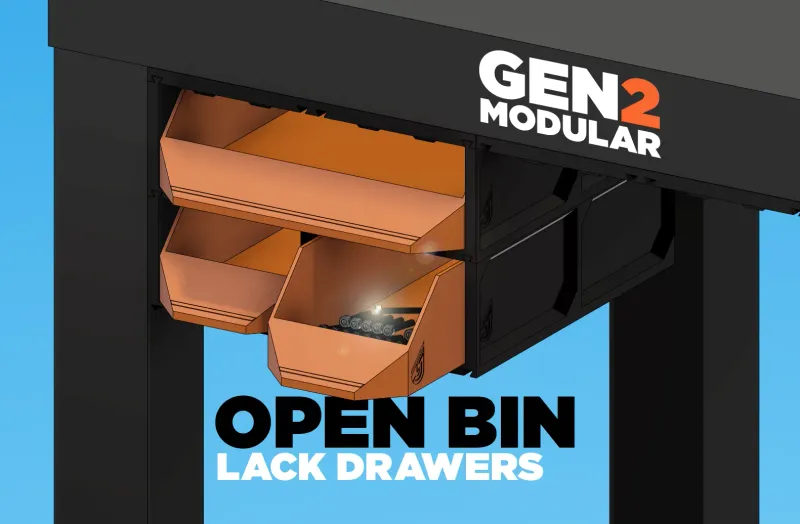 |
Gen2 Gridfinity Drawers | 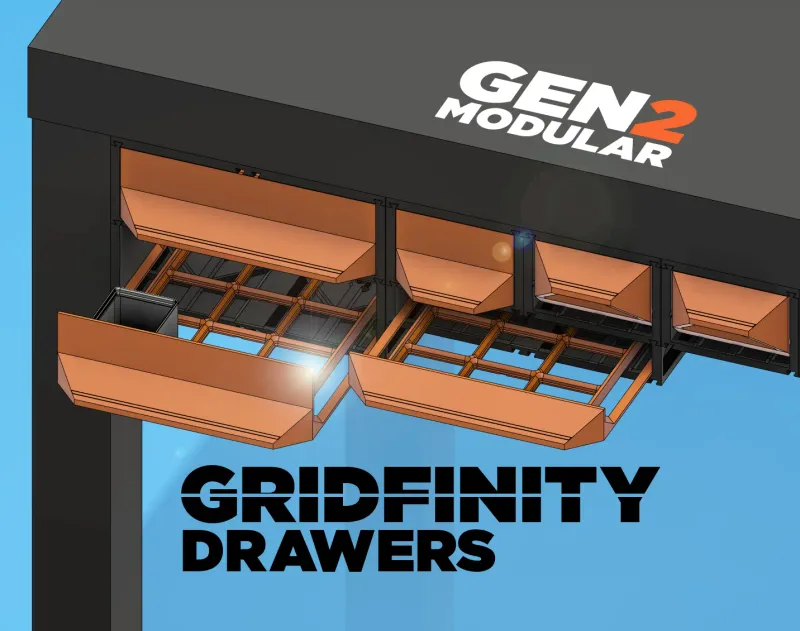 |
Gen2 Slim Lack Enclosure Drawers | 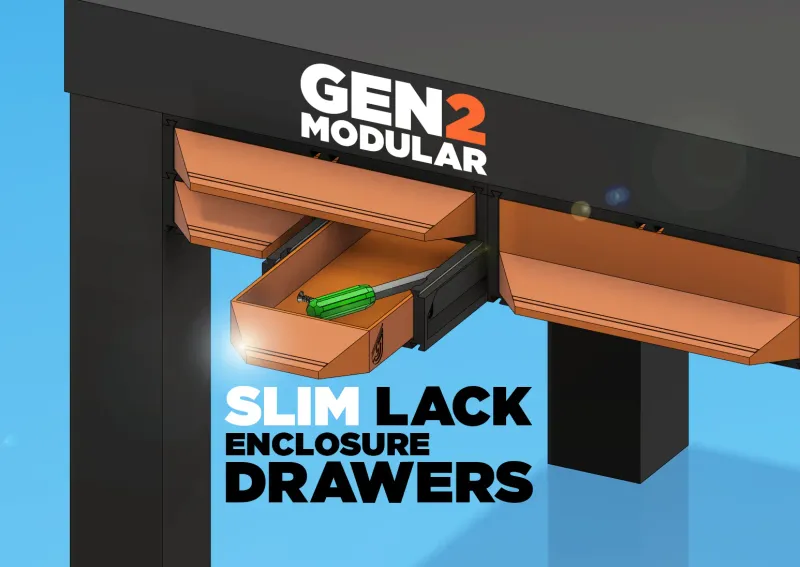 |
Gen2 Modular Lack Enclosure Drawers | 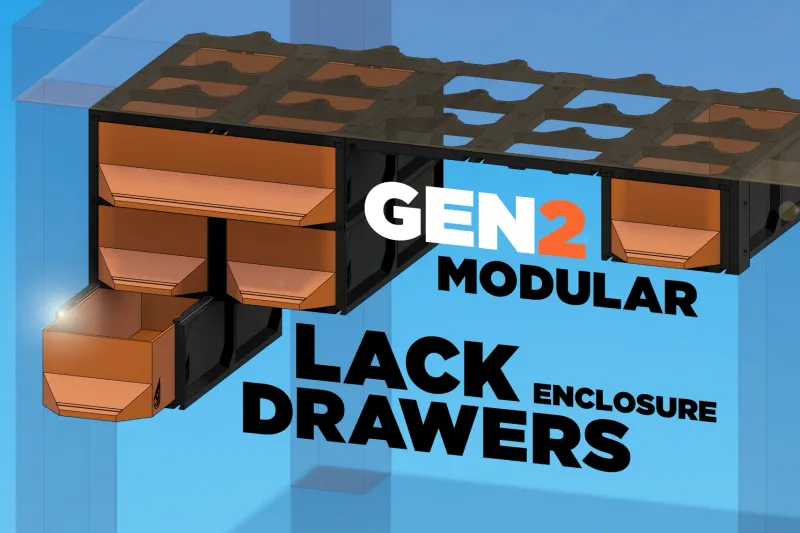 |
Gen2 Modular Tilt Drawers |  |
Gen2 Large Modular Tilt Drawers | 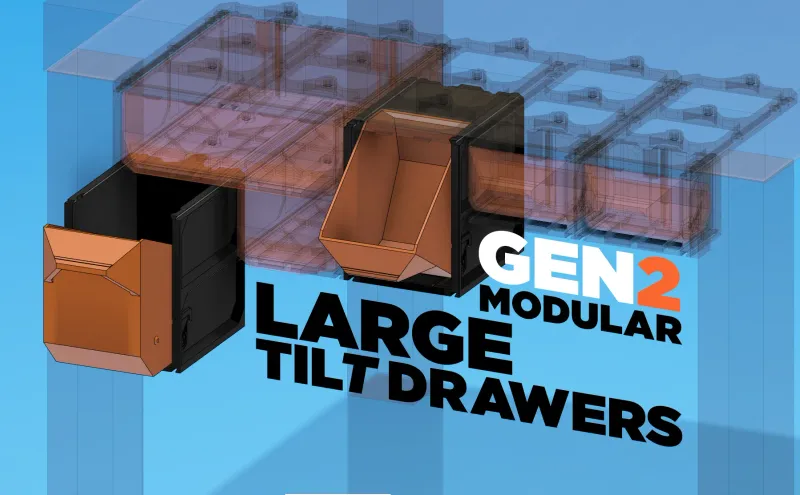 |
Gen2 Large Enclosure Bins | 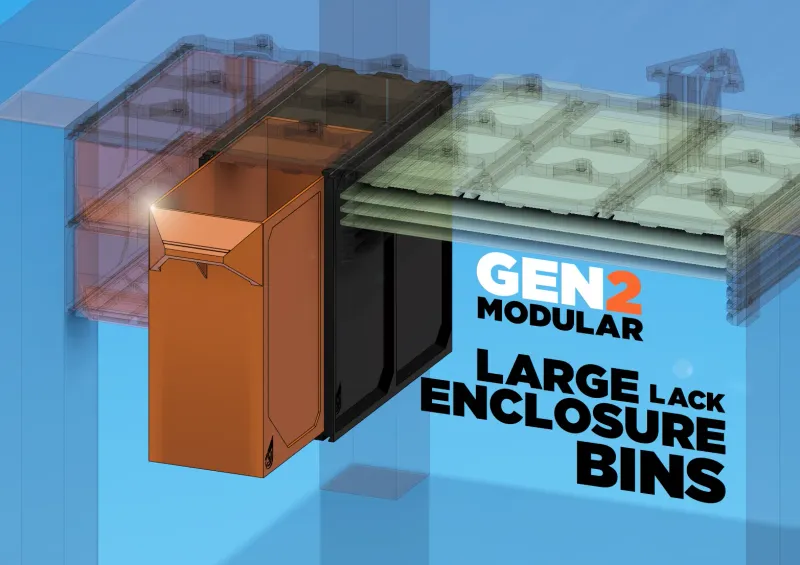 |
PLAN YOUR BUILD IN SECONDS
Not sure which parts fit together? The free GEN2 Planner lets you design your build in 3D, checks every part against your printer size, and hands you the exact print list · no guesswork, no wrong sizes: gen2planner.jerrari3d.com
SUPPORT GEN2 AND UNLOCK MORE
The GEN2 system is free and always will be. If it saves you time or space, you can support the project by joining the Jerrari Club (CAD and STEP files, early access, premium drops) or picking up a premium faceplate collection · it means a lot and directly fuels new designs.
• Jerrari Club: Join here
• Premium faceplates: Decor Faceplate Collections