
Original Prusa CORE One xLCD Status LED Diffuser (xLCD Type A and B)
We calculate the final price from your selected file. You review and accept it before payment.
Saved on this device.

Original Prusa CORE One (L) xLCD Status LED Diffuser. Remix of original Display Mount version R1 and version R2
- Rating
- 4.833 / 5
- Likes
- 79
- Downloads
- 186
- Makes
- 20
- Views
- 1,330
- Reviews
- 18
Updated at source:
Model information
- Source
- Printables
- Category
- Prusa Parts & Upgrades
- License
- GNU General Public License v2.0
Original Prusa CORE ONE and CORE ONE L xLCD Status LED Diffuser (xLCD Type A and B)
News 11. August 2026: Thanks to the user ProtaDec, my attention was drawn to the following finding.
The description was adjusted accordingly.
version R1 fits only xLCD version A (new) which is used on CoreOneL, CoreOne+, CoreOne and CoreOne upgrade Kits for newer MK4/S
version R2 fits only xLCD version B (old) used exclusively with CoreOne upgrade kits for older MK4/S models
News 10. July 2025: version R2 just added, fits xLCD version B.
Version R1 is only for the new xLCD version, also known as version A
Version R2 is for only for the old xLCD version, known as B.
This is a remix of the Original Prusa CORE One xLCD Backcover (Display Mount)
It features an LED diffuser for the status LEDs. The original display mount covers the LEDs.
Printing recommendations:
Display Mount PETG black, 0.20mm Structural, 0.4 nozzle, no supports
Diffuser PETG clear (transparent), 0.20mm Structural, 0.4 nozzle, 90% infill 3D Honeycomb
If you like a more single LED look, use 7 perimeters with standard 15% infill, this gives a more glass like diffuser (see 2nd picture with the green leds)
Make sure the xReflector sticker is present on the front cover, otherwise the LED light will be very dim.
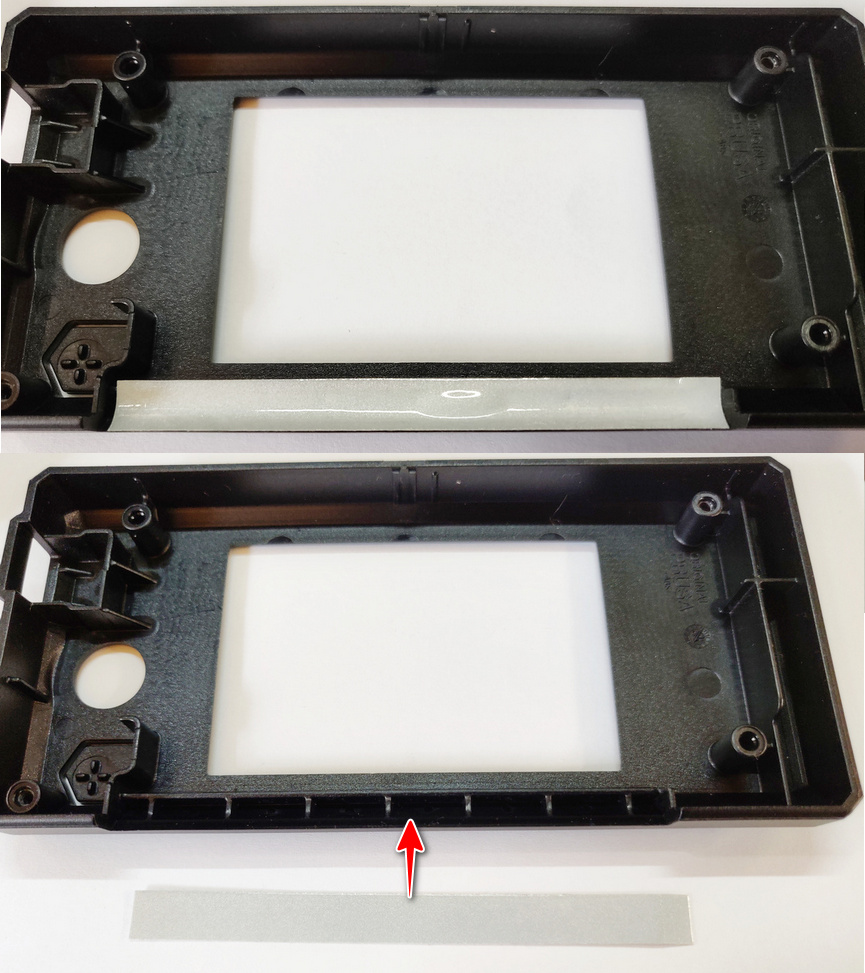
Installation:
Power off the CORE One (L)
Remove the xLCD from the frame
Unplug the ground cable and the data cable
Remove the USB-Stick and the Knob
Remove the screws on the backside
Remove the original display mount and remove the two M3nS nuts
Insert two M3nS nuts into the designated slots of the diffuser Display Mount
Add the diffuser into the frame on the Display Mount (if printed separately)
To assemble the xLCD see the original Mounting instructions for version A or B