
Ender 3 S1 Pen Plotter attachment
We calculate the final price from your selected file. You review and accept it before payment.
Saved on this device.

Turn your 3D printer back into a 2D printer by having it draw out text or images with a pen on paper.
- Rating
- 4 / 5
- Likes
- 88
- Downloads
- 1,152
- Makes
- 3
- Views
- 5,058
- Reviews
- 1
Updated at source:
Model information
- Source
- Printables
- Category
- Accessories
- License
- Creative Commons — Attribution
This allows you to attach a pen to your ender 3 S1 extruder. This enables you to let the printer write or even "draw" on a piece of paper.
2xM3 screws are used clamp the pen down
This project works with any pen with a diameter smaller than 10.85mm. This includes Sharpies. I have also created files for a pen to be printed that uses a sprint to apply consistent force down onto the paper.
--------------------------------------------------------------------------------------------
Printer Setup
Printer settings
Important Note:
Start your text or image plotting file WITHOUT the pen tightened.
The printer will level your z axis and then pause at a height.
Insert your pen into the holder and tighten only after the printer has come to a standstill.
Press the control knob to start plotting.
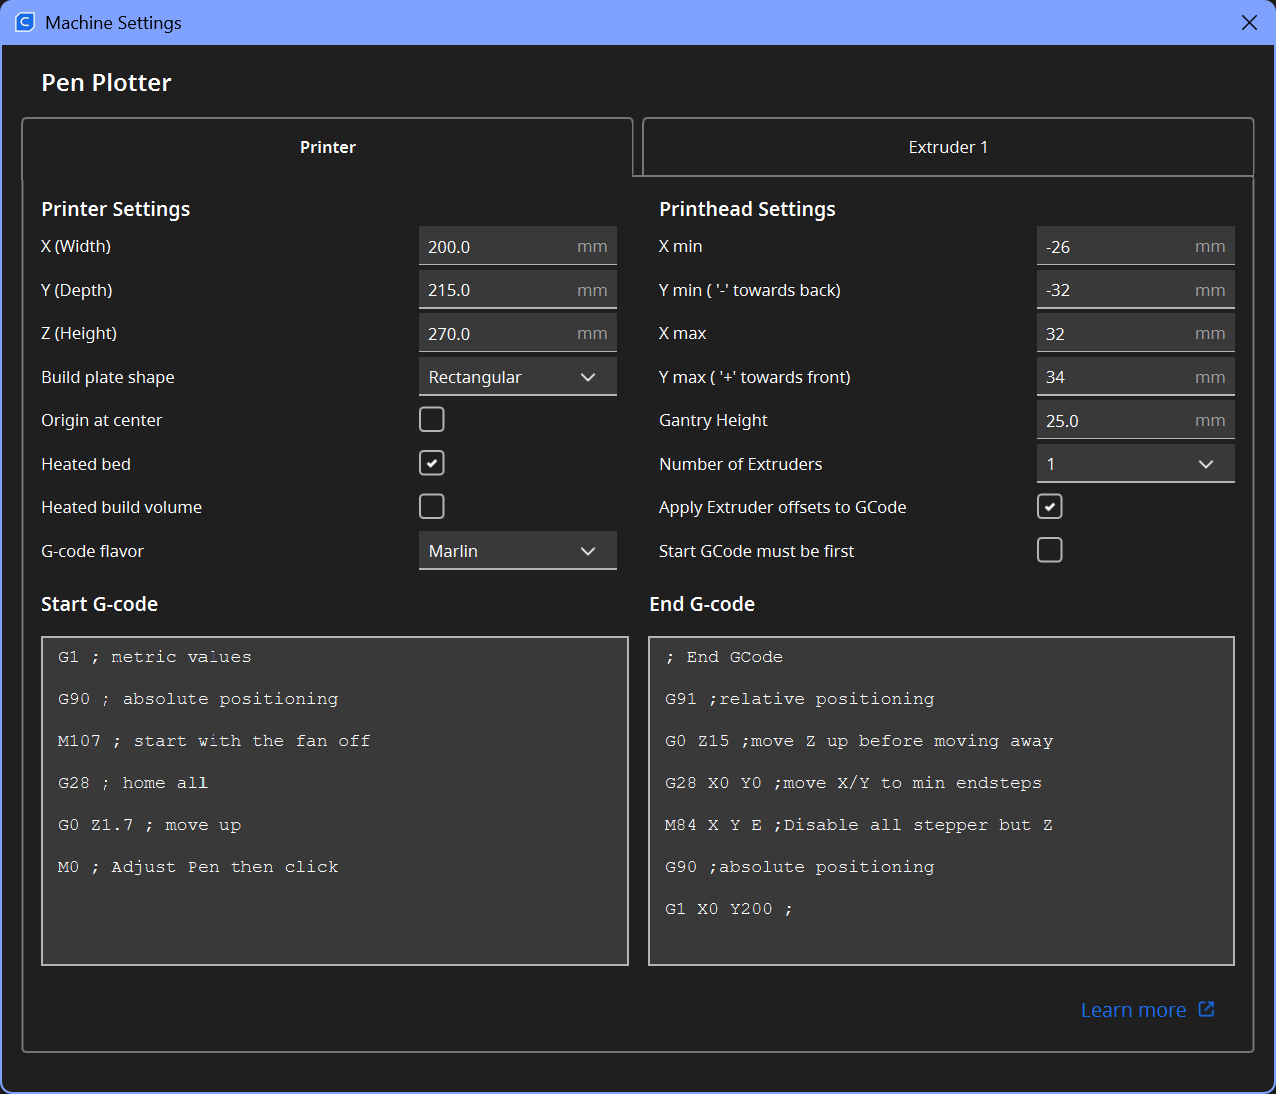
Add a new printer and change the following settings:
- X (width) = 200mm
- Y (depth) = 215 mm
- Heated bed = unchecked
Replace the Start G-Code with the following:
G1 ; metric values
G90 ; absolute positioning
M107 ; start with the fan off
G28 ; home all
G0 Z1.7 ; move up
M0 ; Adjust Pen then click
Replace the End G-Code with the following:
; End GCode
G91 ;relative positioning
G0 Z15 ;move Z up before moving away
G28 X0 Y0 ;move X/Y to min endsteps
M84 X Y E ;Disable all stepper but Z
G90 ;absolute positioning
G1 X0 Y200 ;---------------------------------------------------------------------------------------------
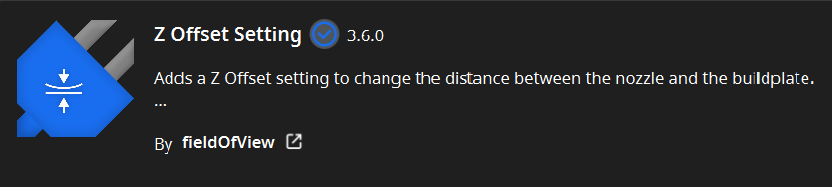
Z Offset plugin
Install the free "Z offset Setting" plugin from the Cura marketplace :
https://marketplace.ultimaker.com/app/cura/plugins/fieldofview/ZOffsetPlugin
---------------------------------------------------------------------------------------------
Zip file
Download the Profile+Material.zip file and extract the files
Import both the Plotter_Print_settings.curaprofile and the Pen_material.xml.fdm_material into Cura
Or alternatively use the following slicer settings:
- Layer Height = 0.3mm
- Wall thickness = 0.3mm
- Wall Line Count = 1
- Print Thin Walls = Checked
- Infill Density = 100%
- Infill Pattern = Lines
- Printing Temperature = 0
- Build Plate Temperature = 0
- Enable Retraction = Checked
- Z Hop When Retracted = Checked
- Z Hop Height = 2.5mm
- Z Offset = 1.7mm (for my pen)
- = 0.2mm (for a sharpie)
---------------------------------------------------------------------------------------------
Printing Files:
Images
- Drag a .jpg file onto the cura build plate
- When Prompted, use the following import settings:
- Height : 0.2 mm
- Base : 0.0 mm
- Width & Depth : your desired dimensions
Text
- Use the included Text.sldprt
- Edit the text sketch
- Rebuild
- Save as an STL
Category: 3D Printer Accessories