
LED Flashlight for the XRP robotic kit
We calculate the final price from your selected file. You review and accept it before payment.
Estimated printing price per file
€0.09 – €0.12 net (excluding VAT)
For file: multicolor_gray_xrp_flashlight_prusa_mk4.bgcode
This is an estimate for one file. You’ll confirm the exact price before ordering.
File and estimate settings
File used for this estimate
Average indicative estimate: €0.11 excluding VAT (range midpoint).
- Weight reported by the author
- 1 g
- Print time reported by the author
- 7.2 min
- Source material
- PLA
- Estimate material
- PLA
- Estimate printer
- Bambu Lab P1S - 0.4 nozzle
- Estimate process
- 0.20mm Standard
Indicative estimate for the selected file only, based on the author’s weight and print time. File variants are not added together. The final price is calculated after file analysis.
Saved on this device.

Don't let your XRP robot get lost in the dark! This is a rotatable mount for a 5mm LED.
- Rating
- 4 / 5
- Likes
- 11
- Downloads
- 25
- Makes
- 1
- Views
- 320
- Reviews
- 1
Updated at source:
Model information
- Source
- Printables
- Category
- RC & Robotics
- License
- Creative Commons — Attribution — NoDerivatives
Don't let your XRP robot get lost in the dark! This model is compatible with the 5mm LEDs. It's designed to be attached to the hole(s) on the XRP base. It does not need any supports, so the printing is pretty easy. Can be printed in one or multiple colors. I recommend you print two flashlights - each one on each end.
Print recommendations:
It doesn't need supports, just orient it right. I printed it with the basic Bambu slicer settings so I think there's no need to change them. I don't have a Prusa printer so I didn't test the sliced file in Prusa slicer, but I don't think there could be troubles.
What do you need:
- Printed parts
- LED(s)
- 220 Ω resistor(s)
- 2x wires
Assemble tutorial:
First, here is a photo of all the components needed:

- Take the LED and resistor and cut its ends:


- Solder a resistor and wires to the LED as shown:


- Put it to the LED mount:

- Snap the XRP mount to the hole:

- Attach the upper cover:

- Have fun!
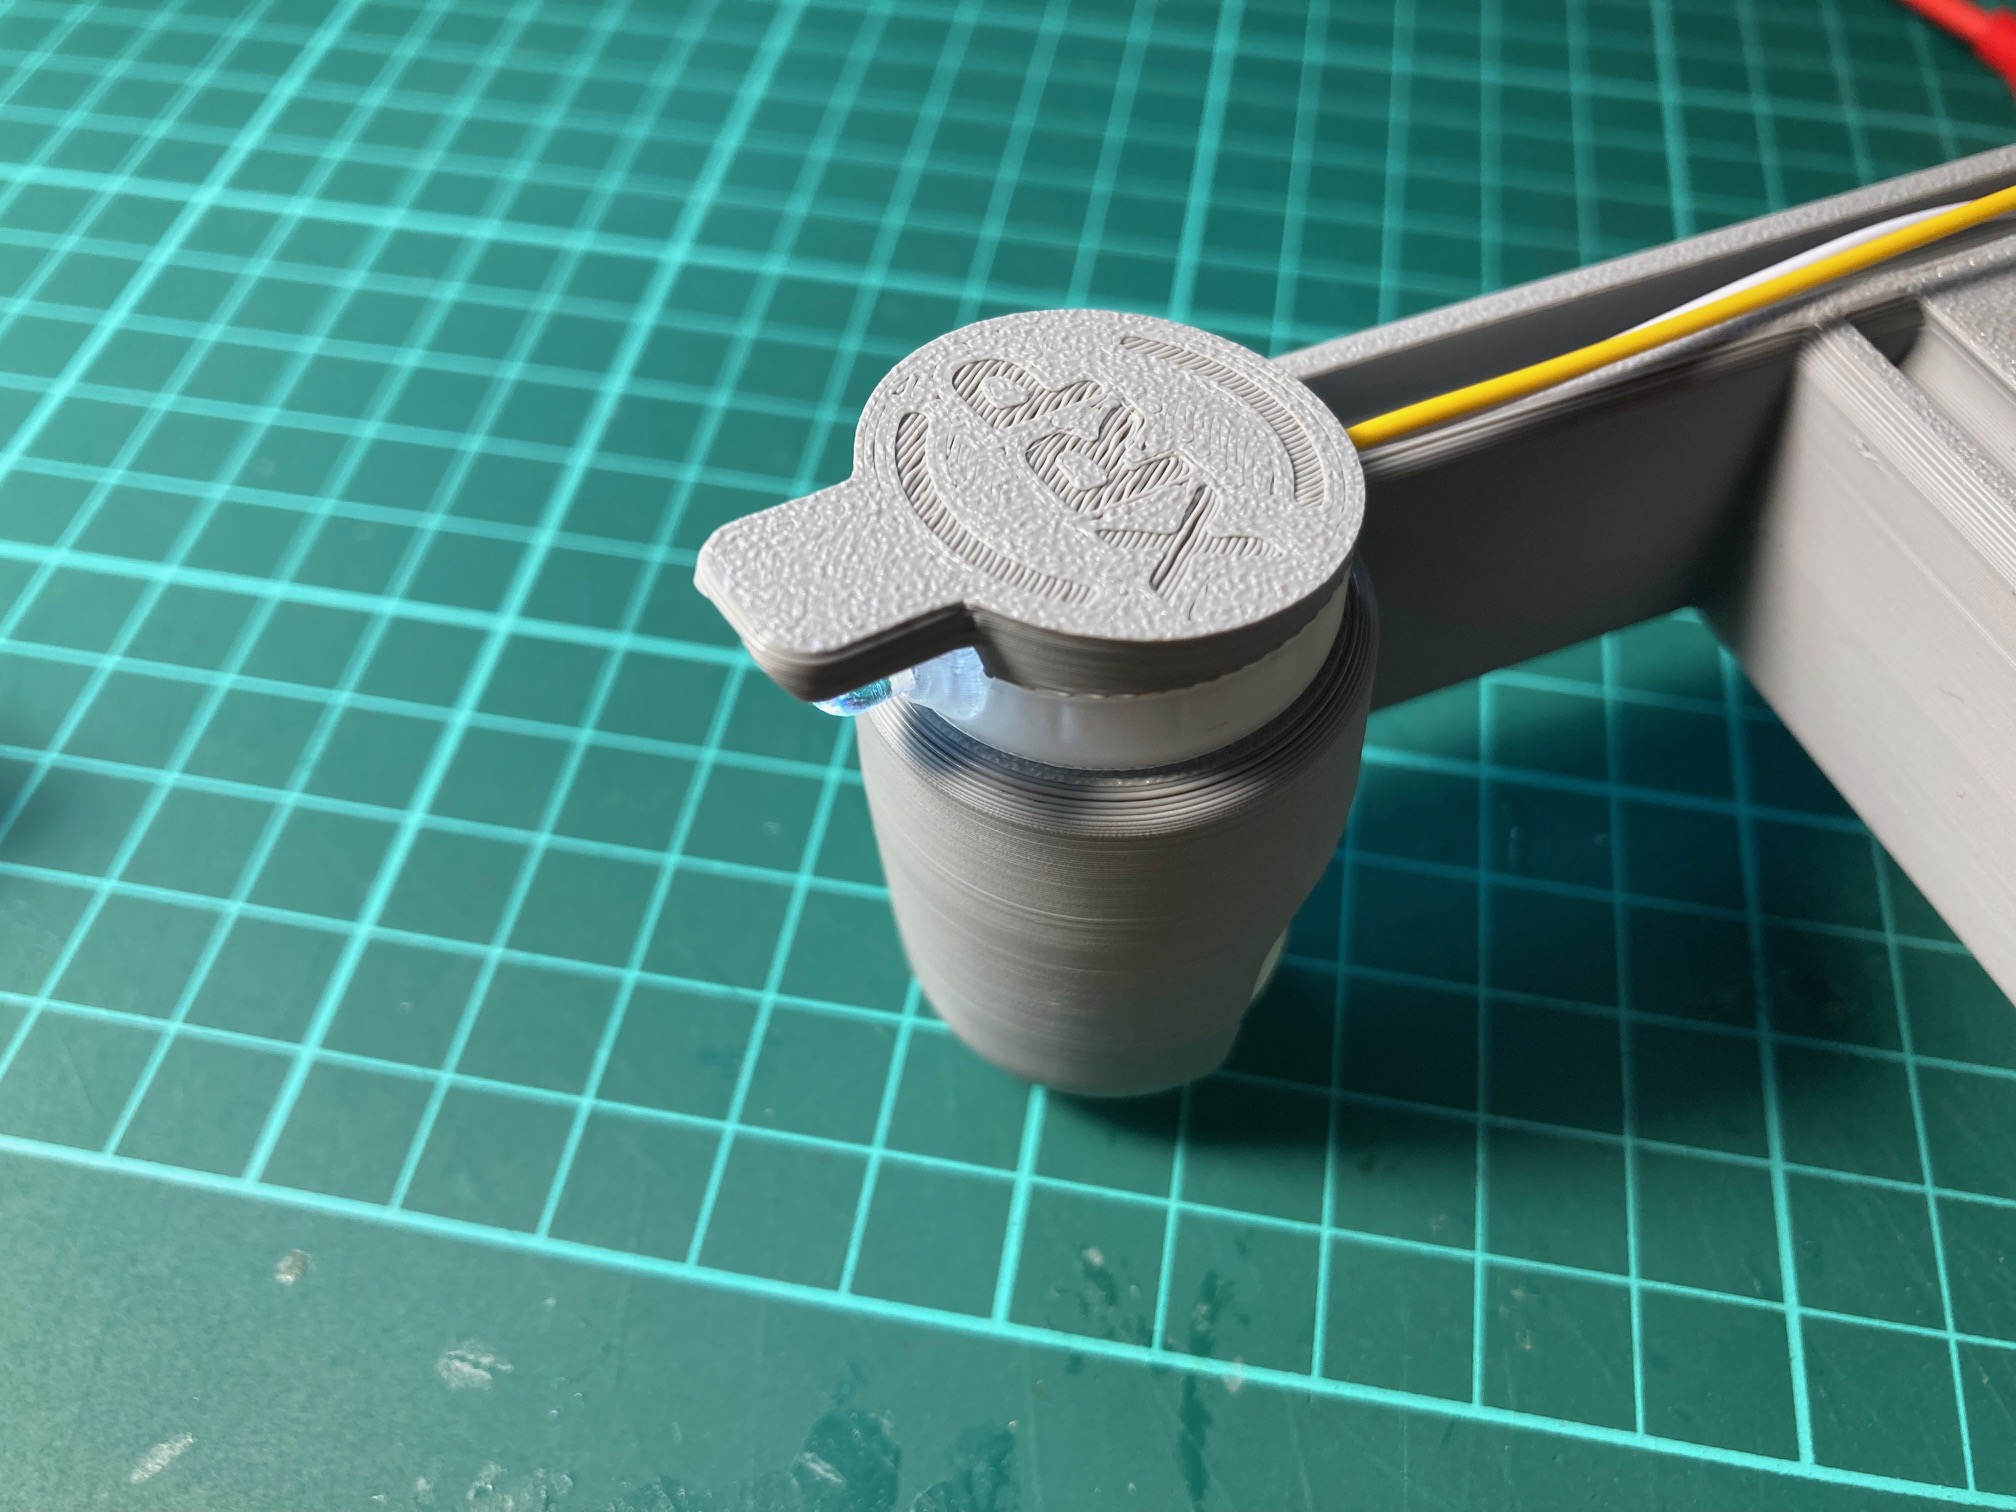
I don't actually have the XRP robotics kit, so I created a simple replica for the photo :)
