P
Printables

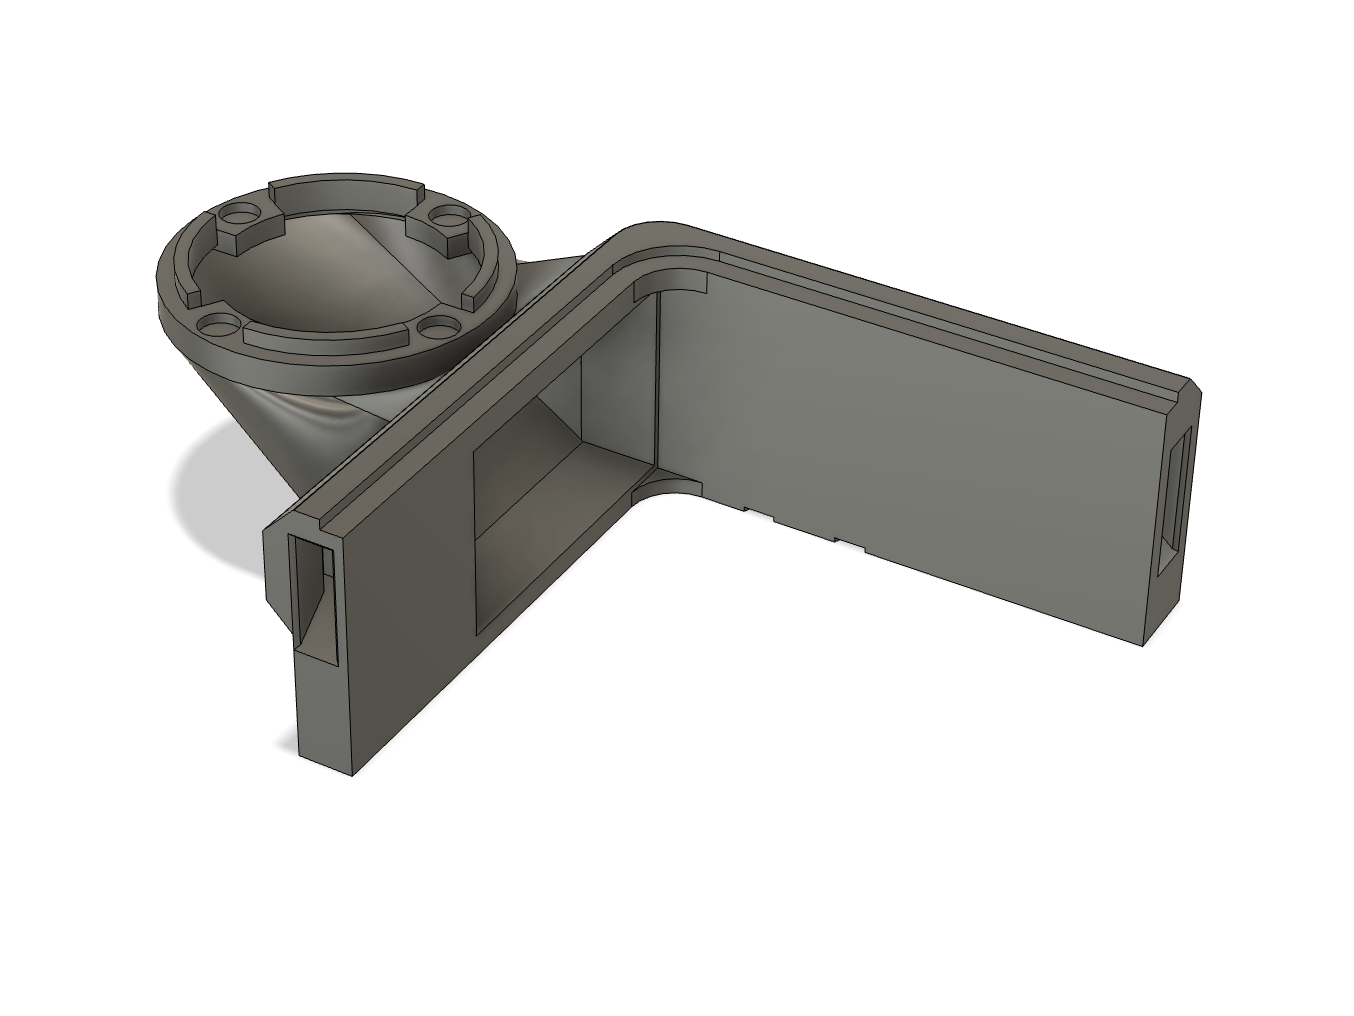
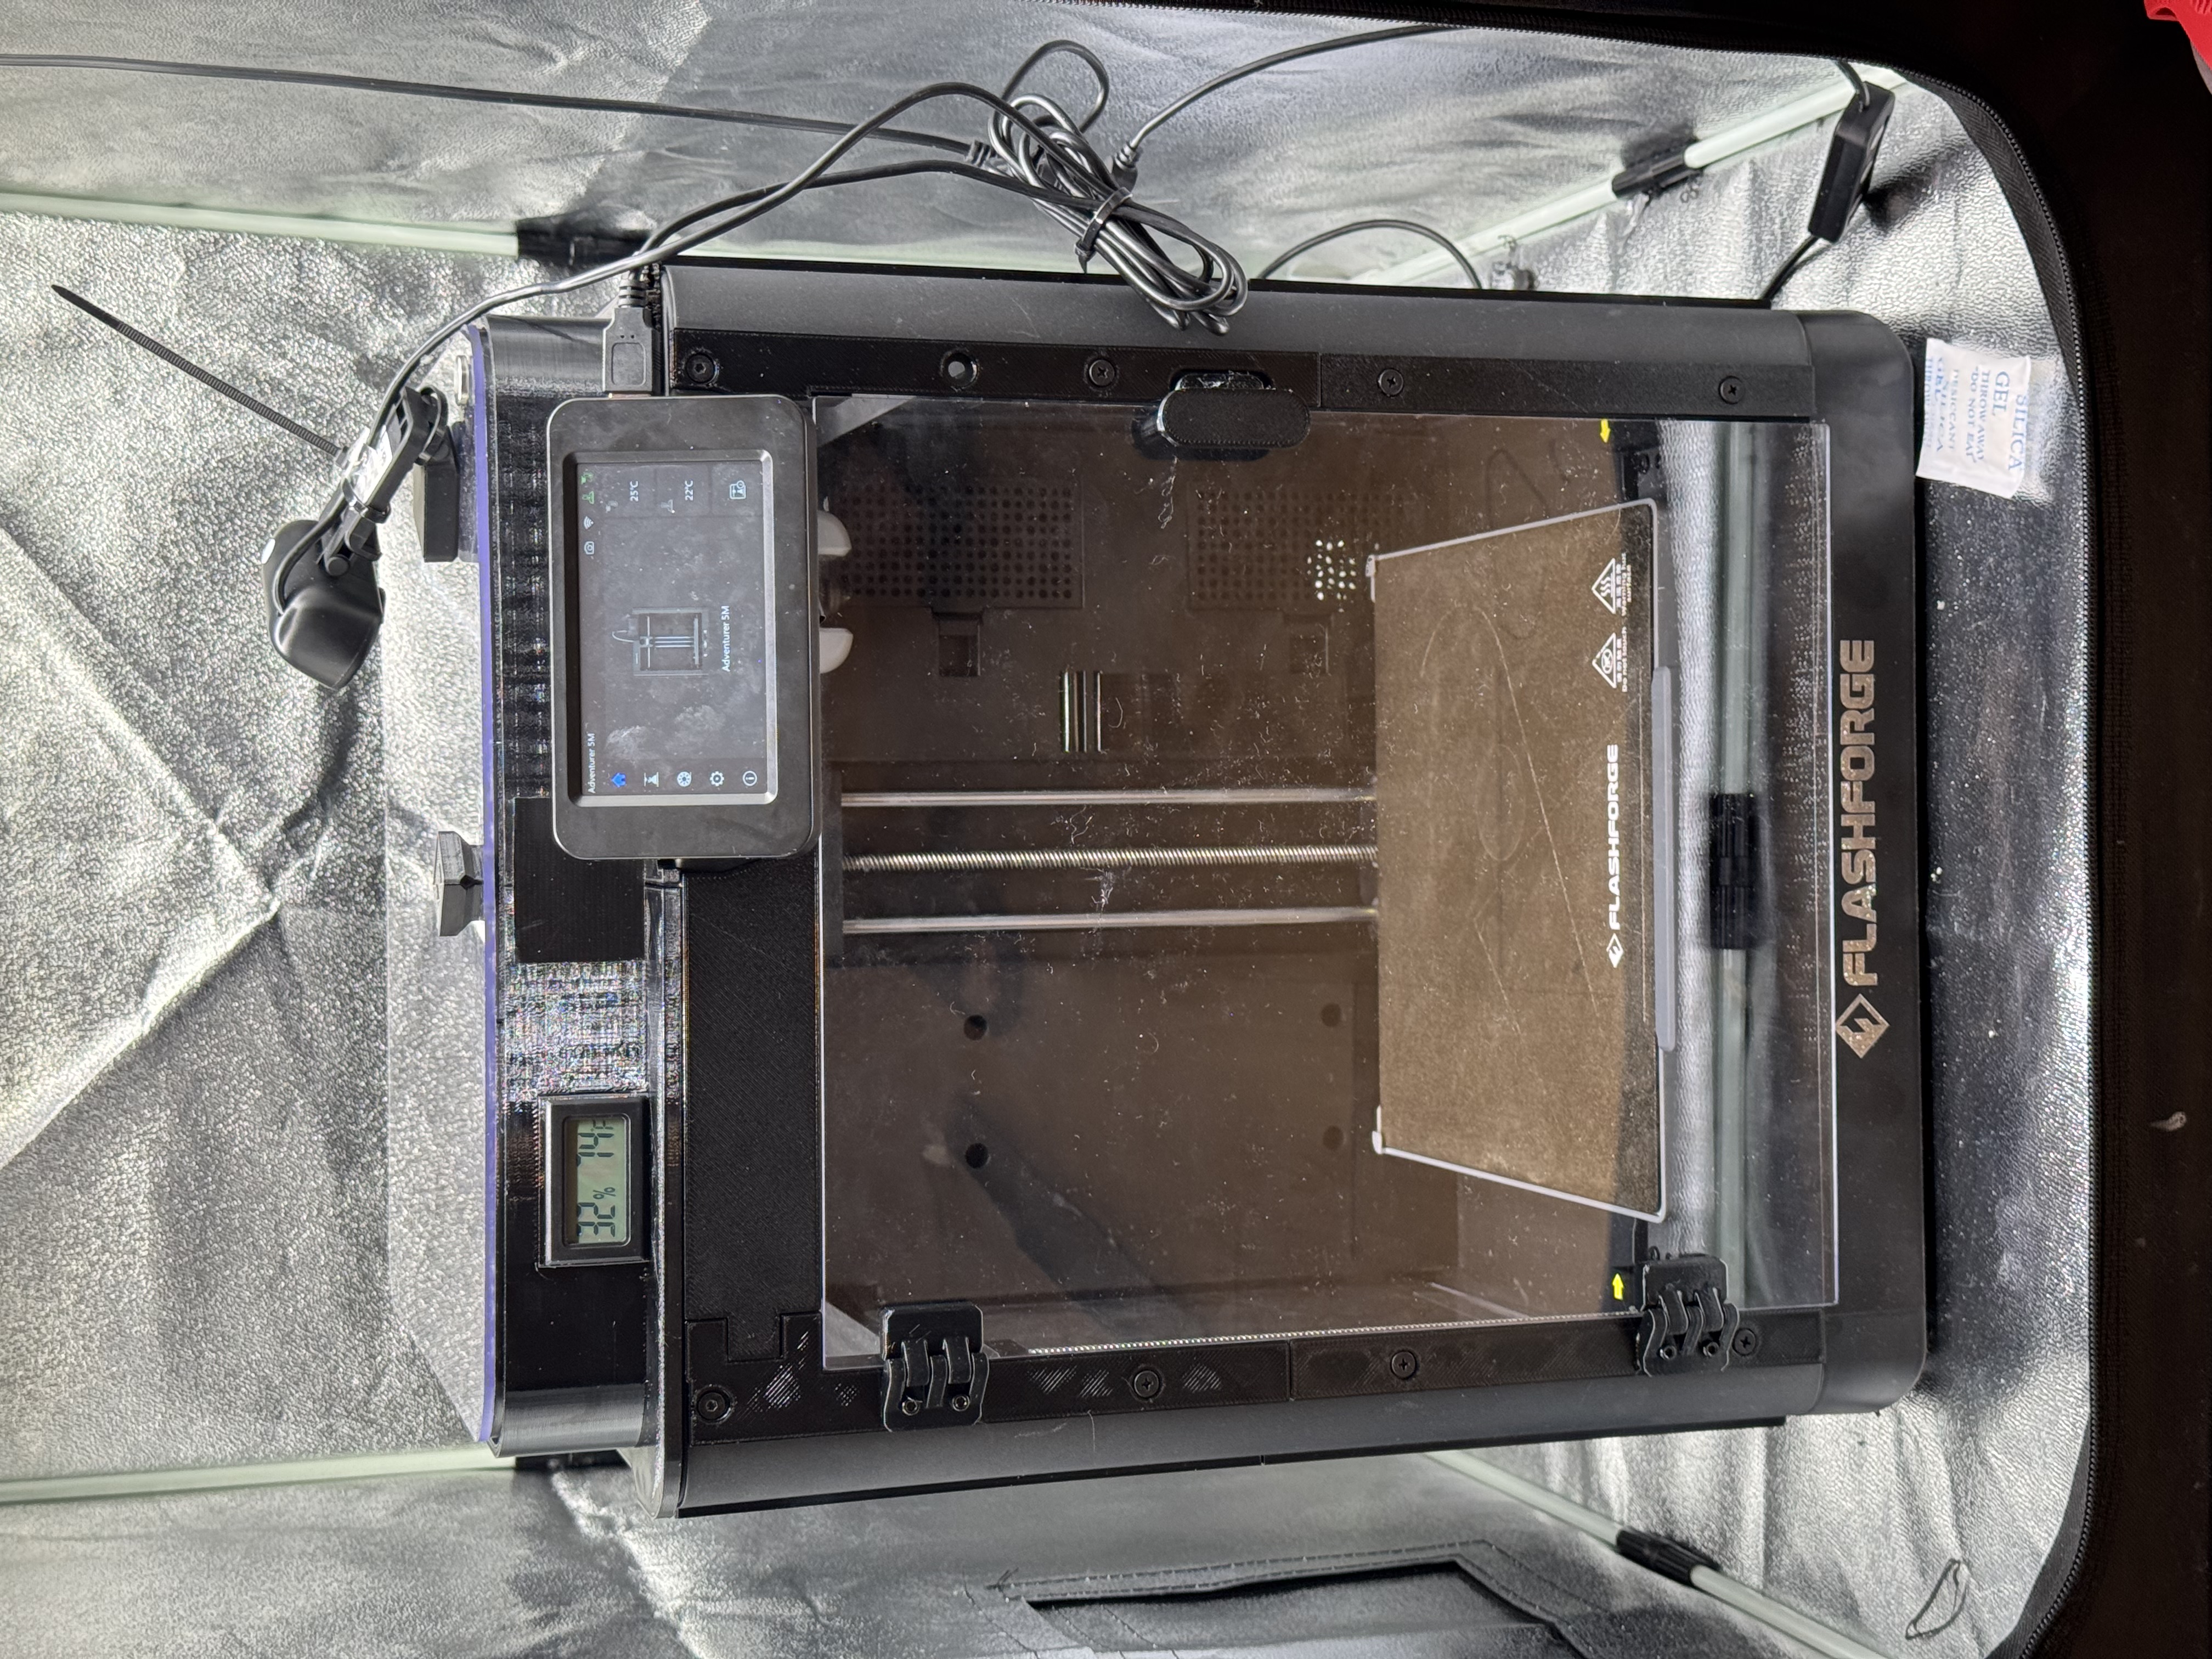
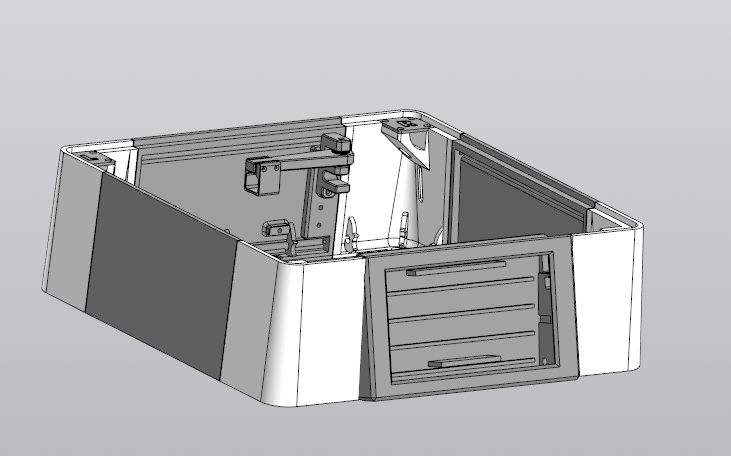
Flashforge AD5M top vent cover
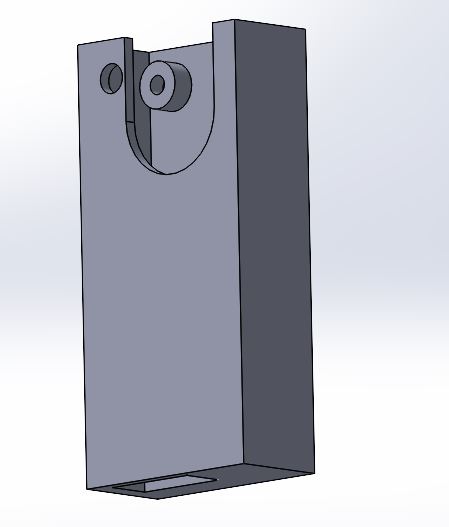
PETG, 3 walls, 100% infill, the part is originally upside down so flip it in the slicer to print correctly
Counting matching models…
PETG, 3 walls, 100% infill, the part is originally upside down so flip it in the slicer to print correctly
Printed with ASA and 0.4 nozzle with 0.2 Layer height.
How to use the 'All Files' choice "Download All Files" gets everything — including the .3mf file — named " ad5m-minimal-enclosure-by-design8studio-for-orcaslicer-230.3mf " — which is an OrcaSlicer project file , containing multiple print…
NOTE: This design is a tight fit on purpose - You may need to de-burr or sand down the inner edges of the circle to get the sensor to fit (purely because it needs to be a tight fit due to vibrations etc) A Vent cover for the AD5X/AD5M I…
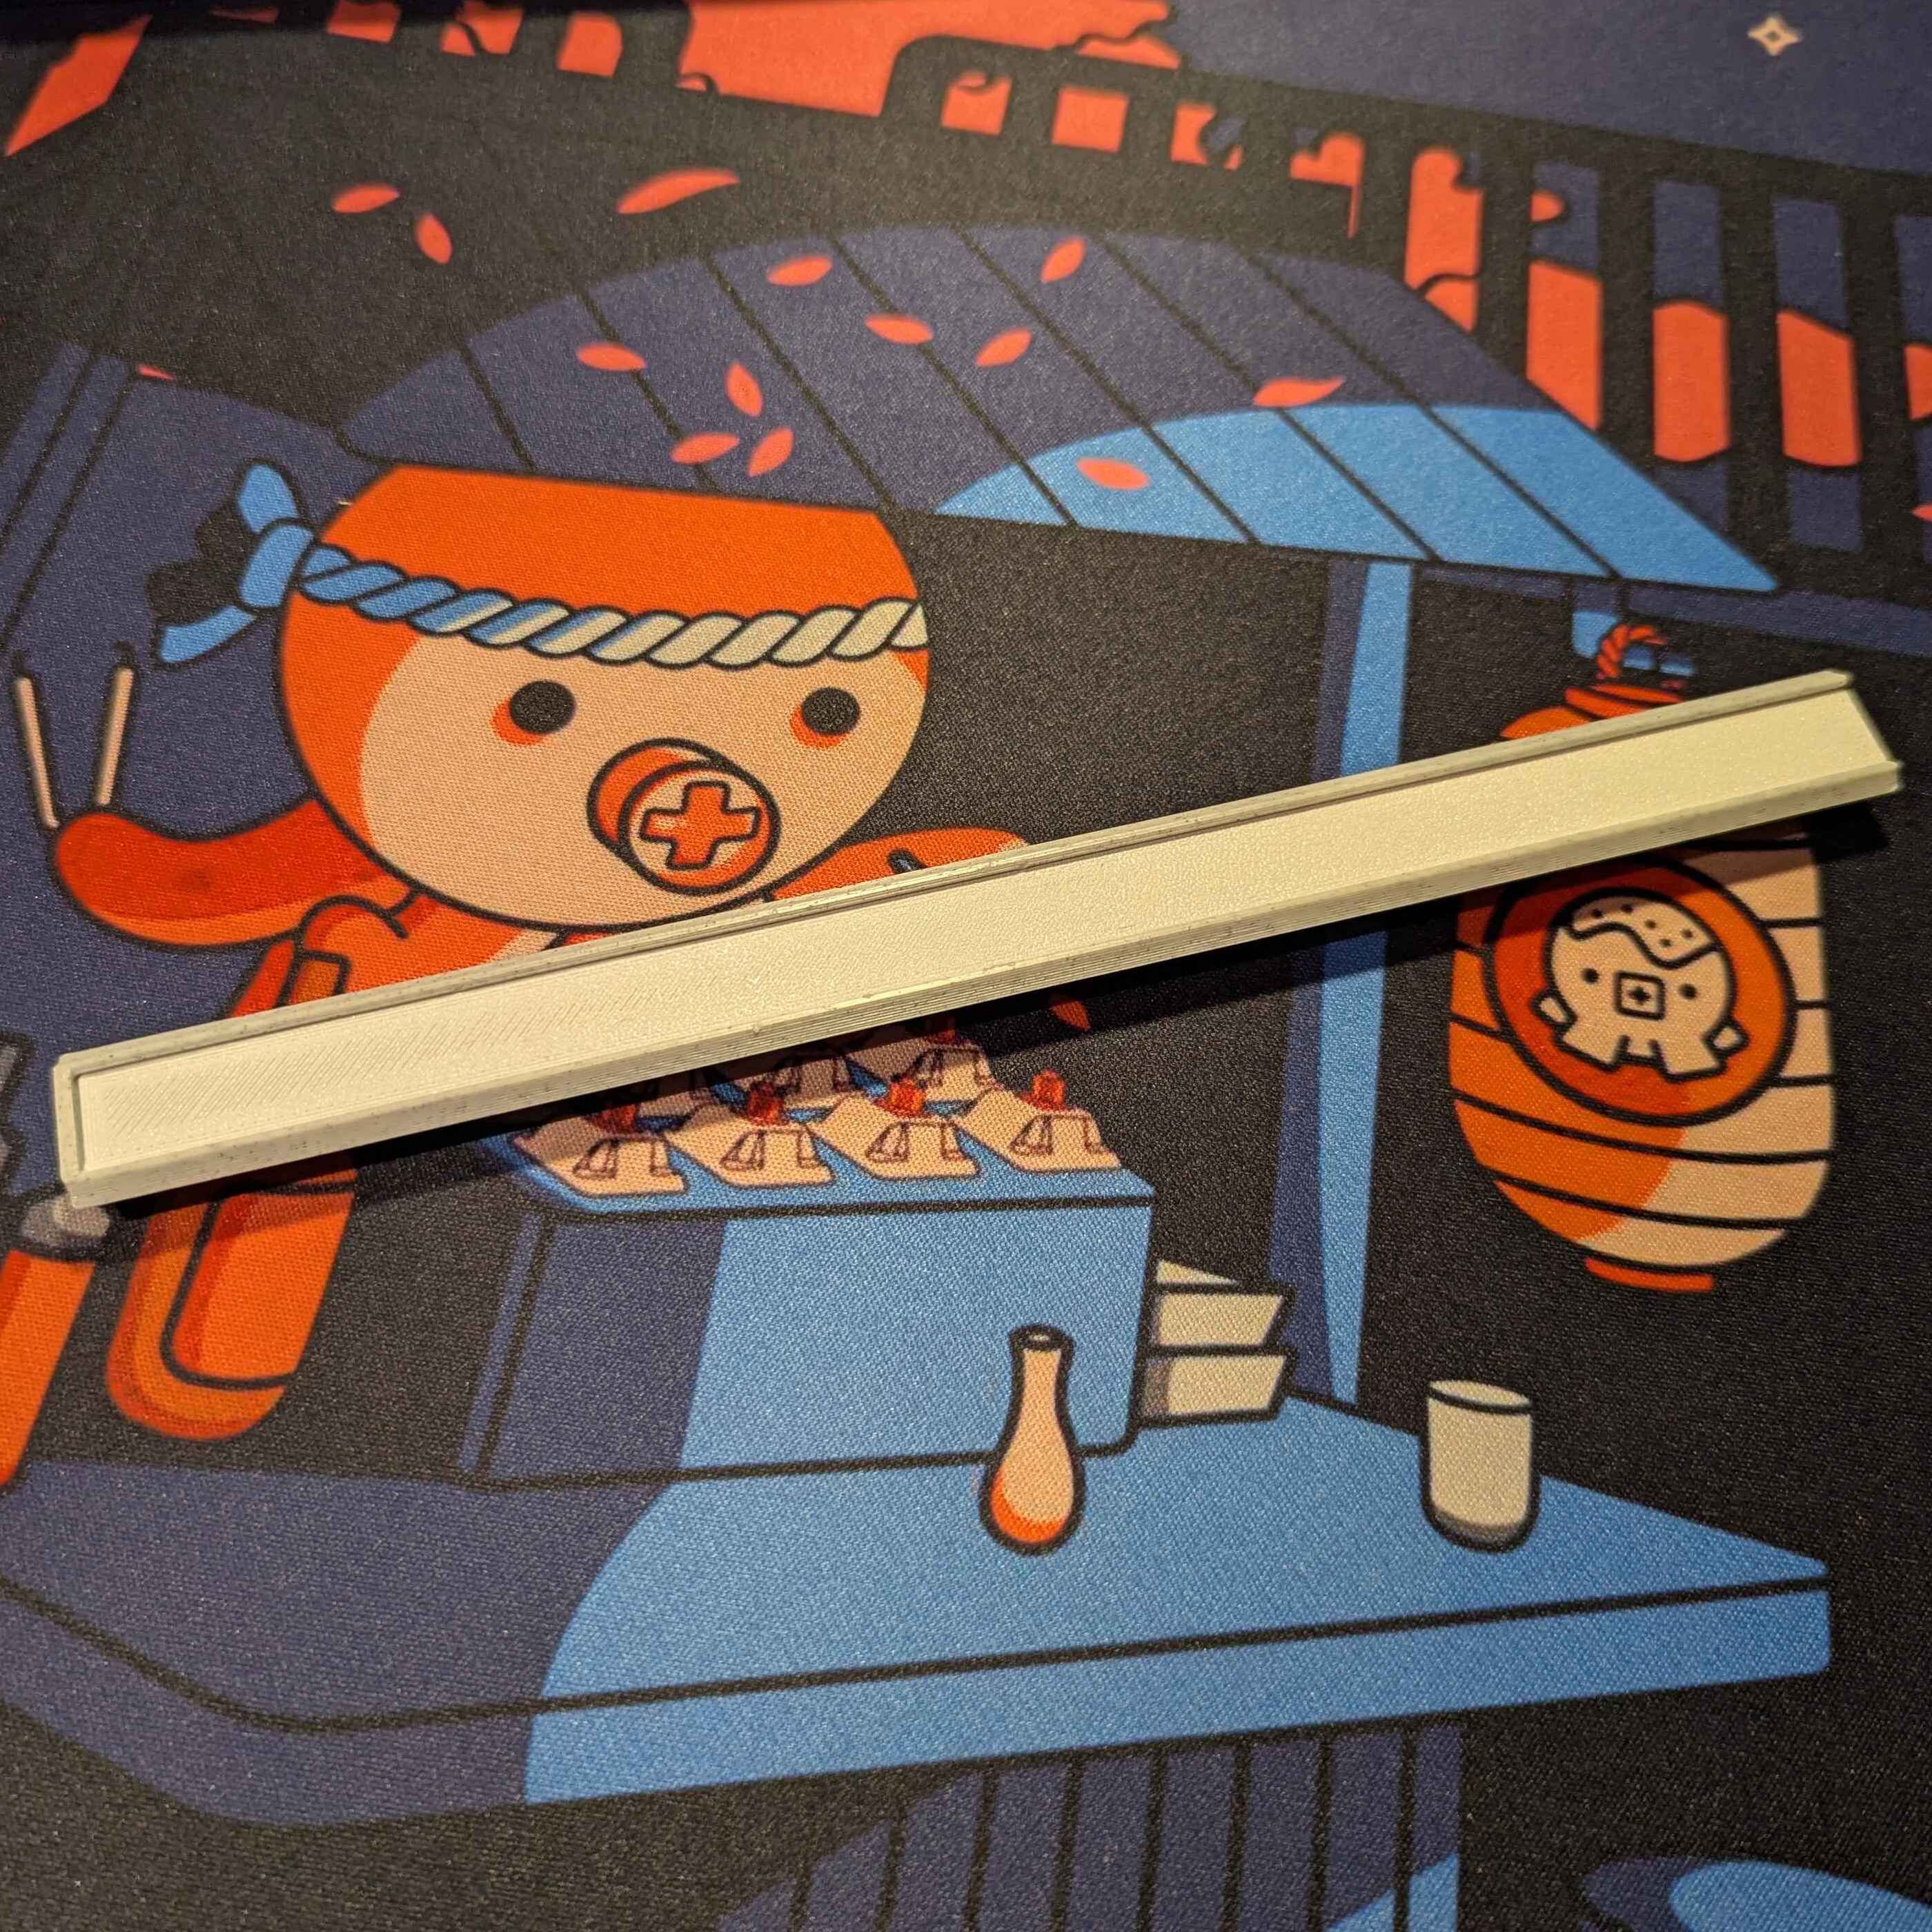
Noticed that whenever you print the enclosure your alway left with the bottom part below the door being black and not matching the rest….. So I gave quickly designed a bottom trim to go over it, I did recess some holes into it for magnets…
I have downloaded many models designed by others, and they have quite a few flaws—for example, requiring extra screws or having an inconvenient viewing angle. That’s why I designed this model. This is Thermohygrometer Casing 3D Model. No…
Cover and noise reducer for the rear of the AD5M bed. I saw there are covers from other makers for the side mounts, and a rear plate for the AD5X, but not the AD5M or 5M Pro. Printed in PETG. Pops into place. Assume it will work well as I…
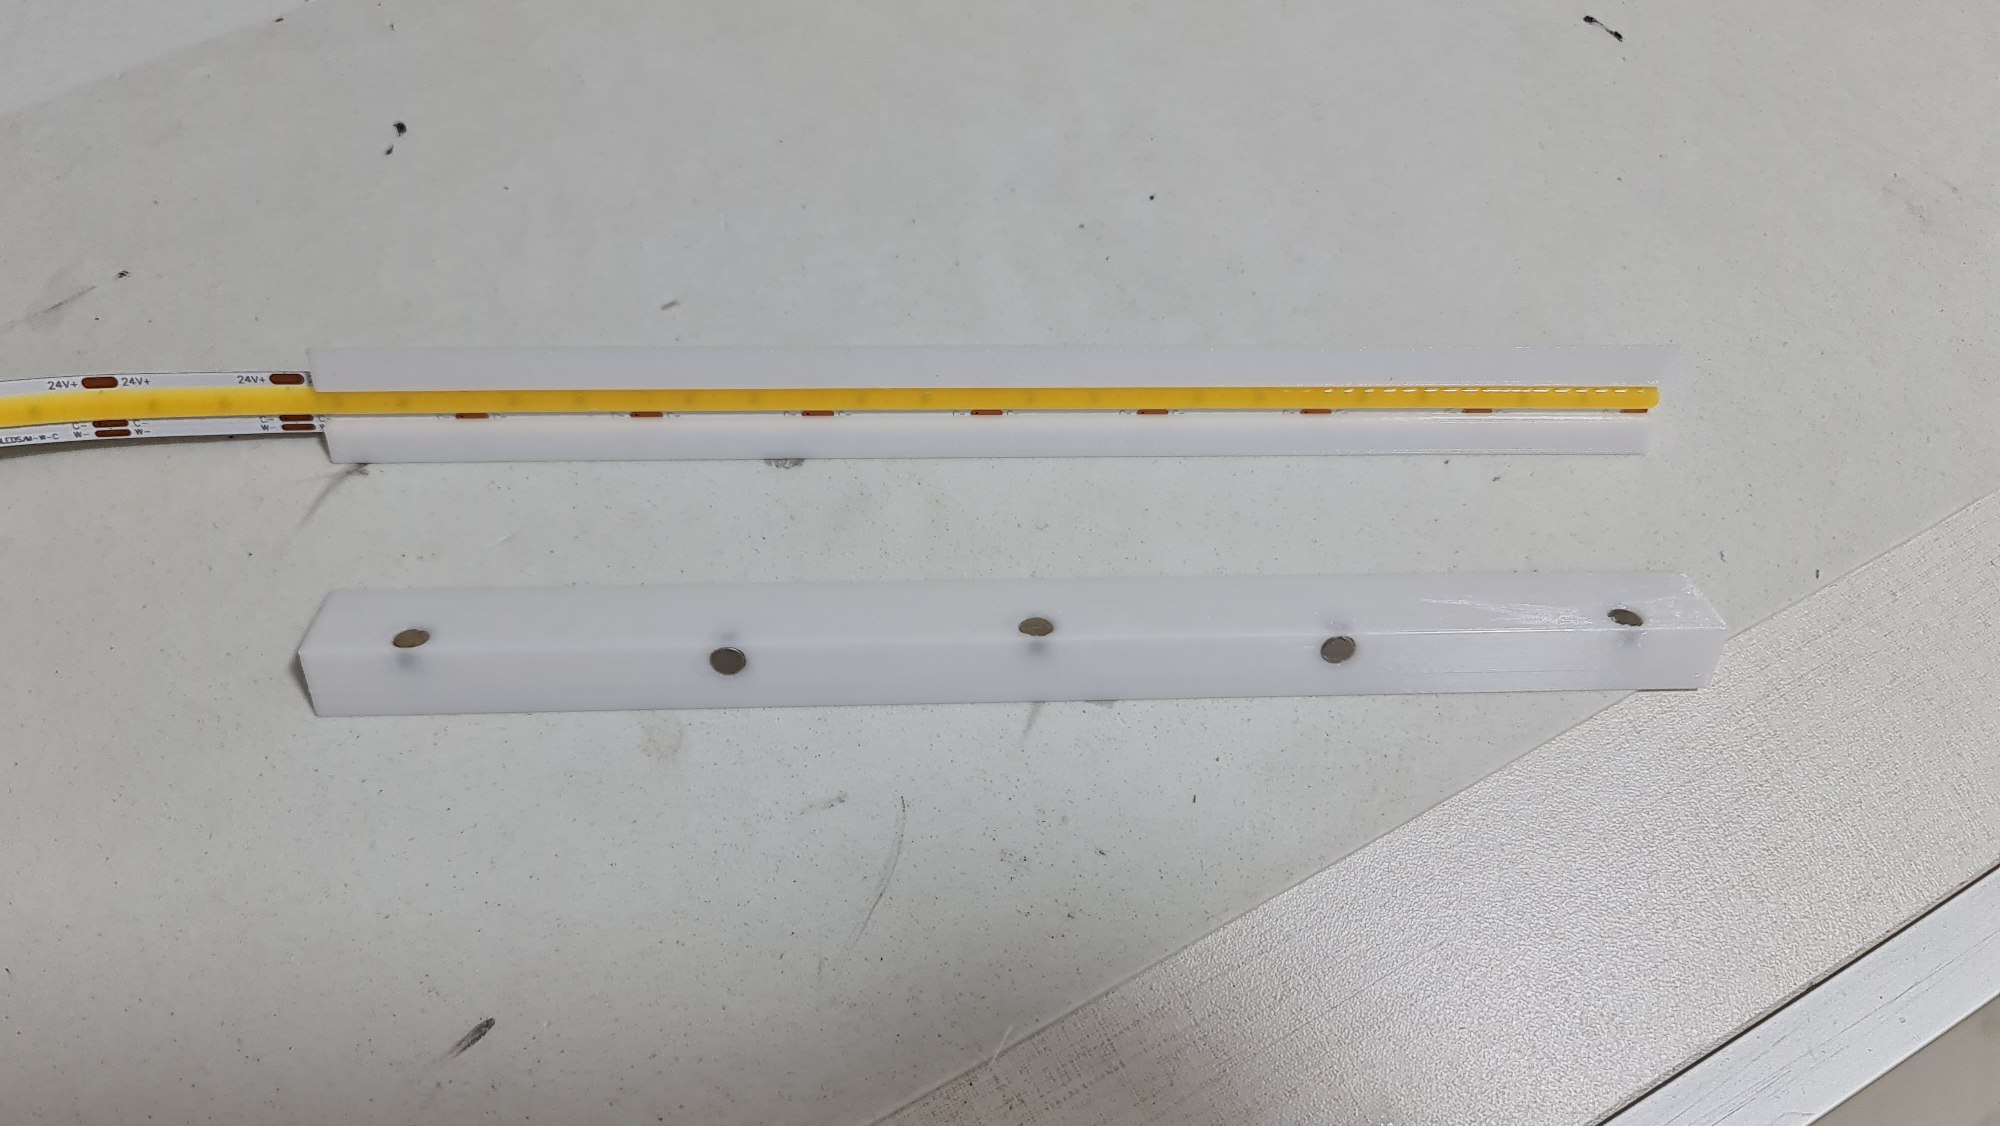
Holder for a cheap LED Strip on Amazon for Flashforge AD5X/AD5M. Link to the strip: https://www.amazon.com/dp/B0F5G5TFC2 The model remixed previous design with additional details: Add a hole at the end of the holder to clear the…
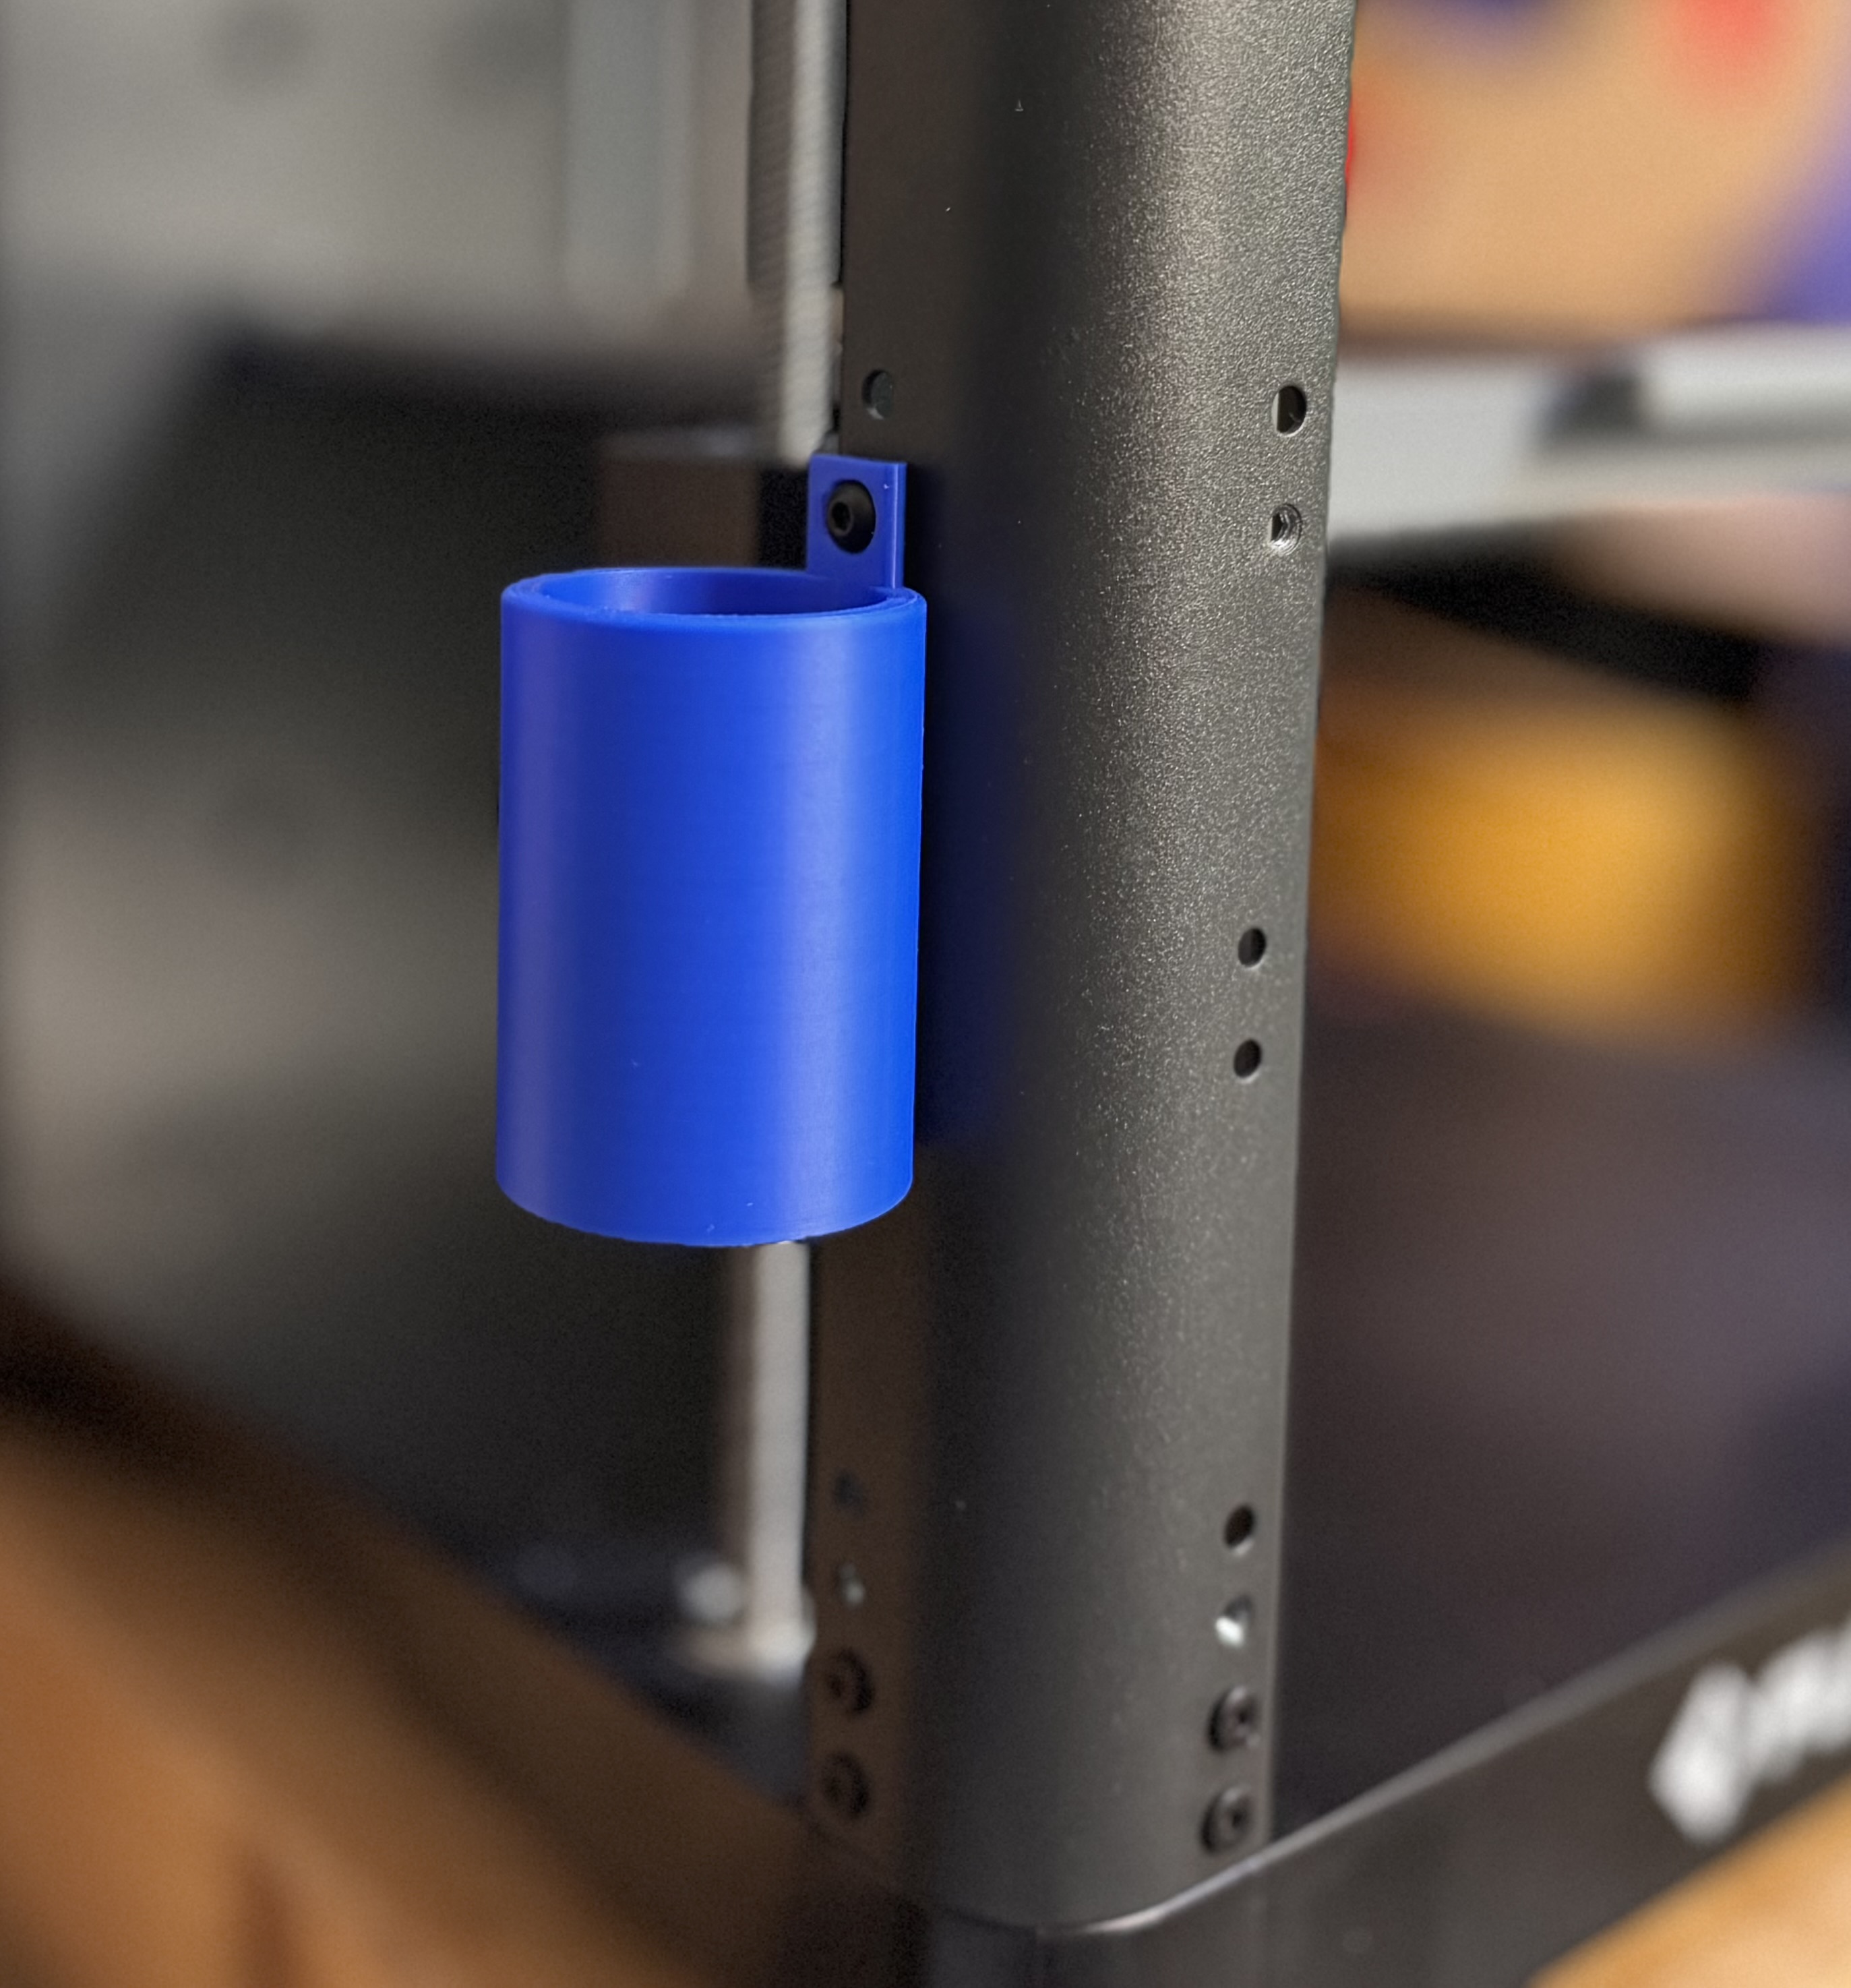
This pot screws to the side of your AD5M and provides somewhere safe and accessible for that glue pot to live. I think I may have made the walls thicker than they needed to be but it works well and I'm using it. I have a side mounted…
Thanks to Doug Joseph I put together a custom enclosure kit for my FlashForge AD5M. You can get the This LED bar real cheap, but it has weirdly big holes in it. Remove one of the connectors (doesn't matter which) from the LED bar and run…
These Mounting brackets currently fit on either side of the FlashForge 5MPro. They slide onto my Dry Box Base Bracket Stand I will try to design a Roller that doesn't require a drybox in the near future. There are 2 versions. Regular…
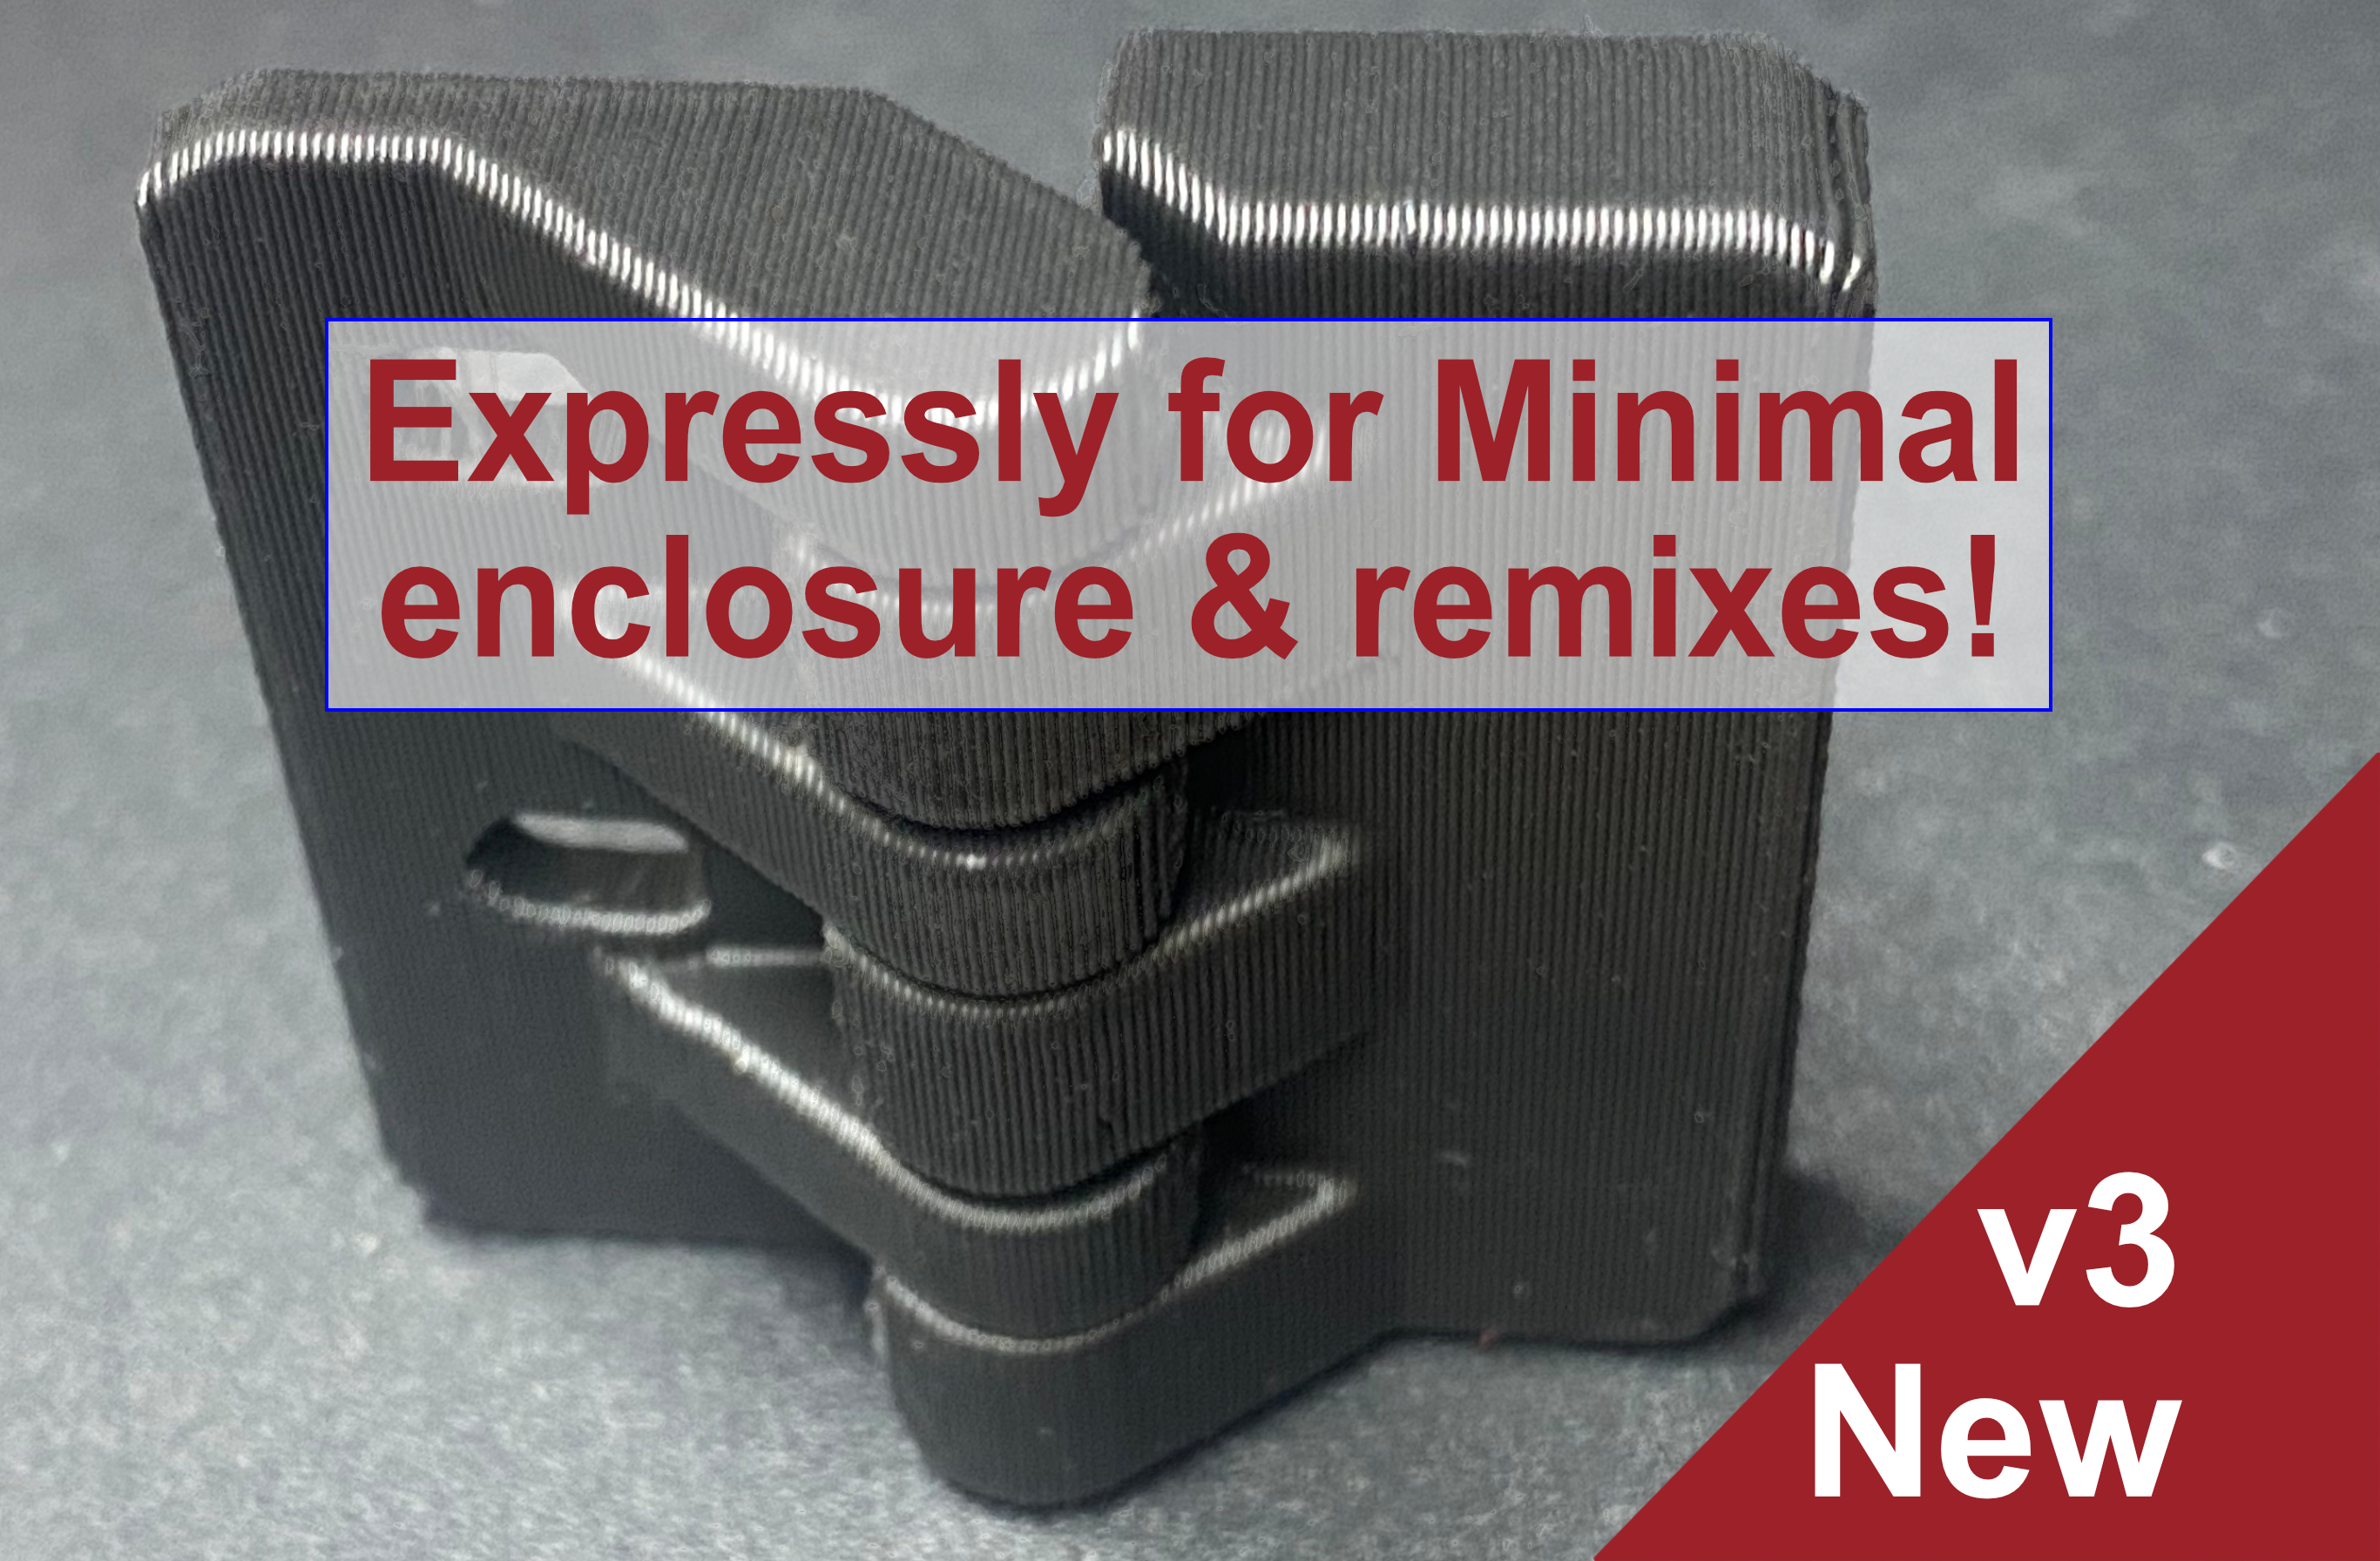
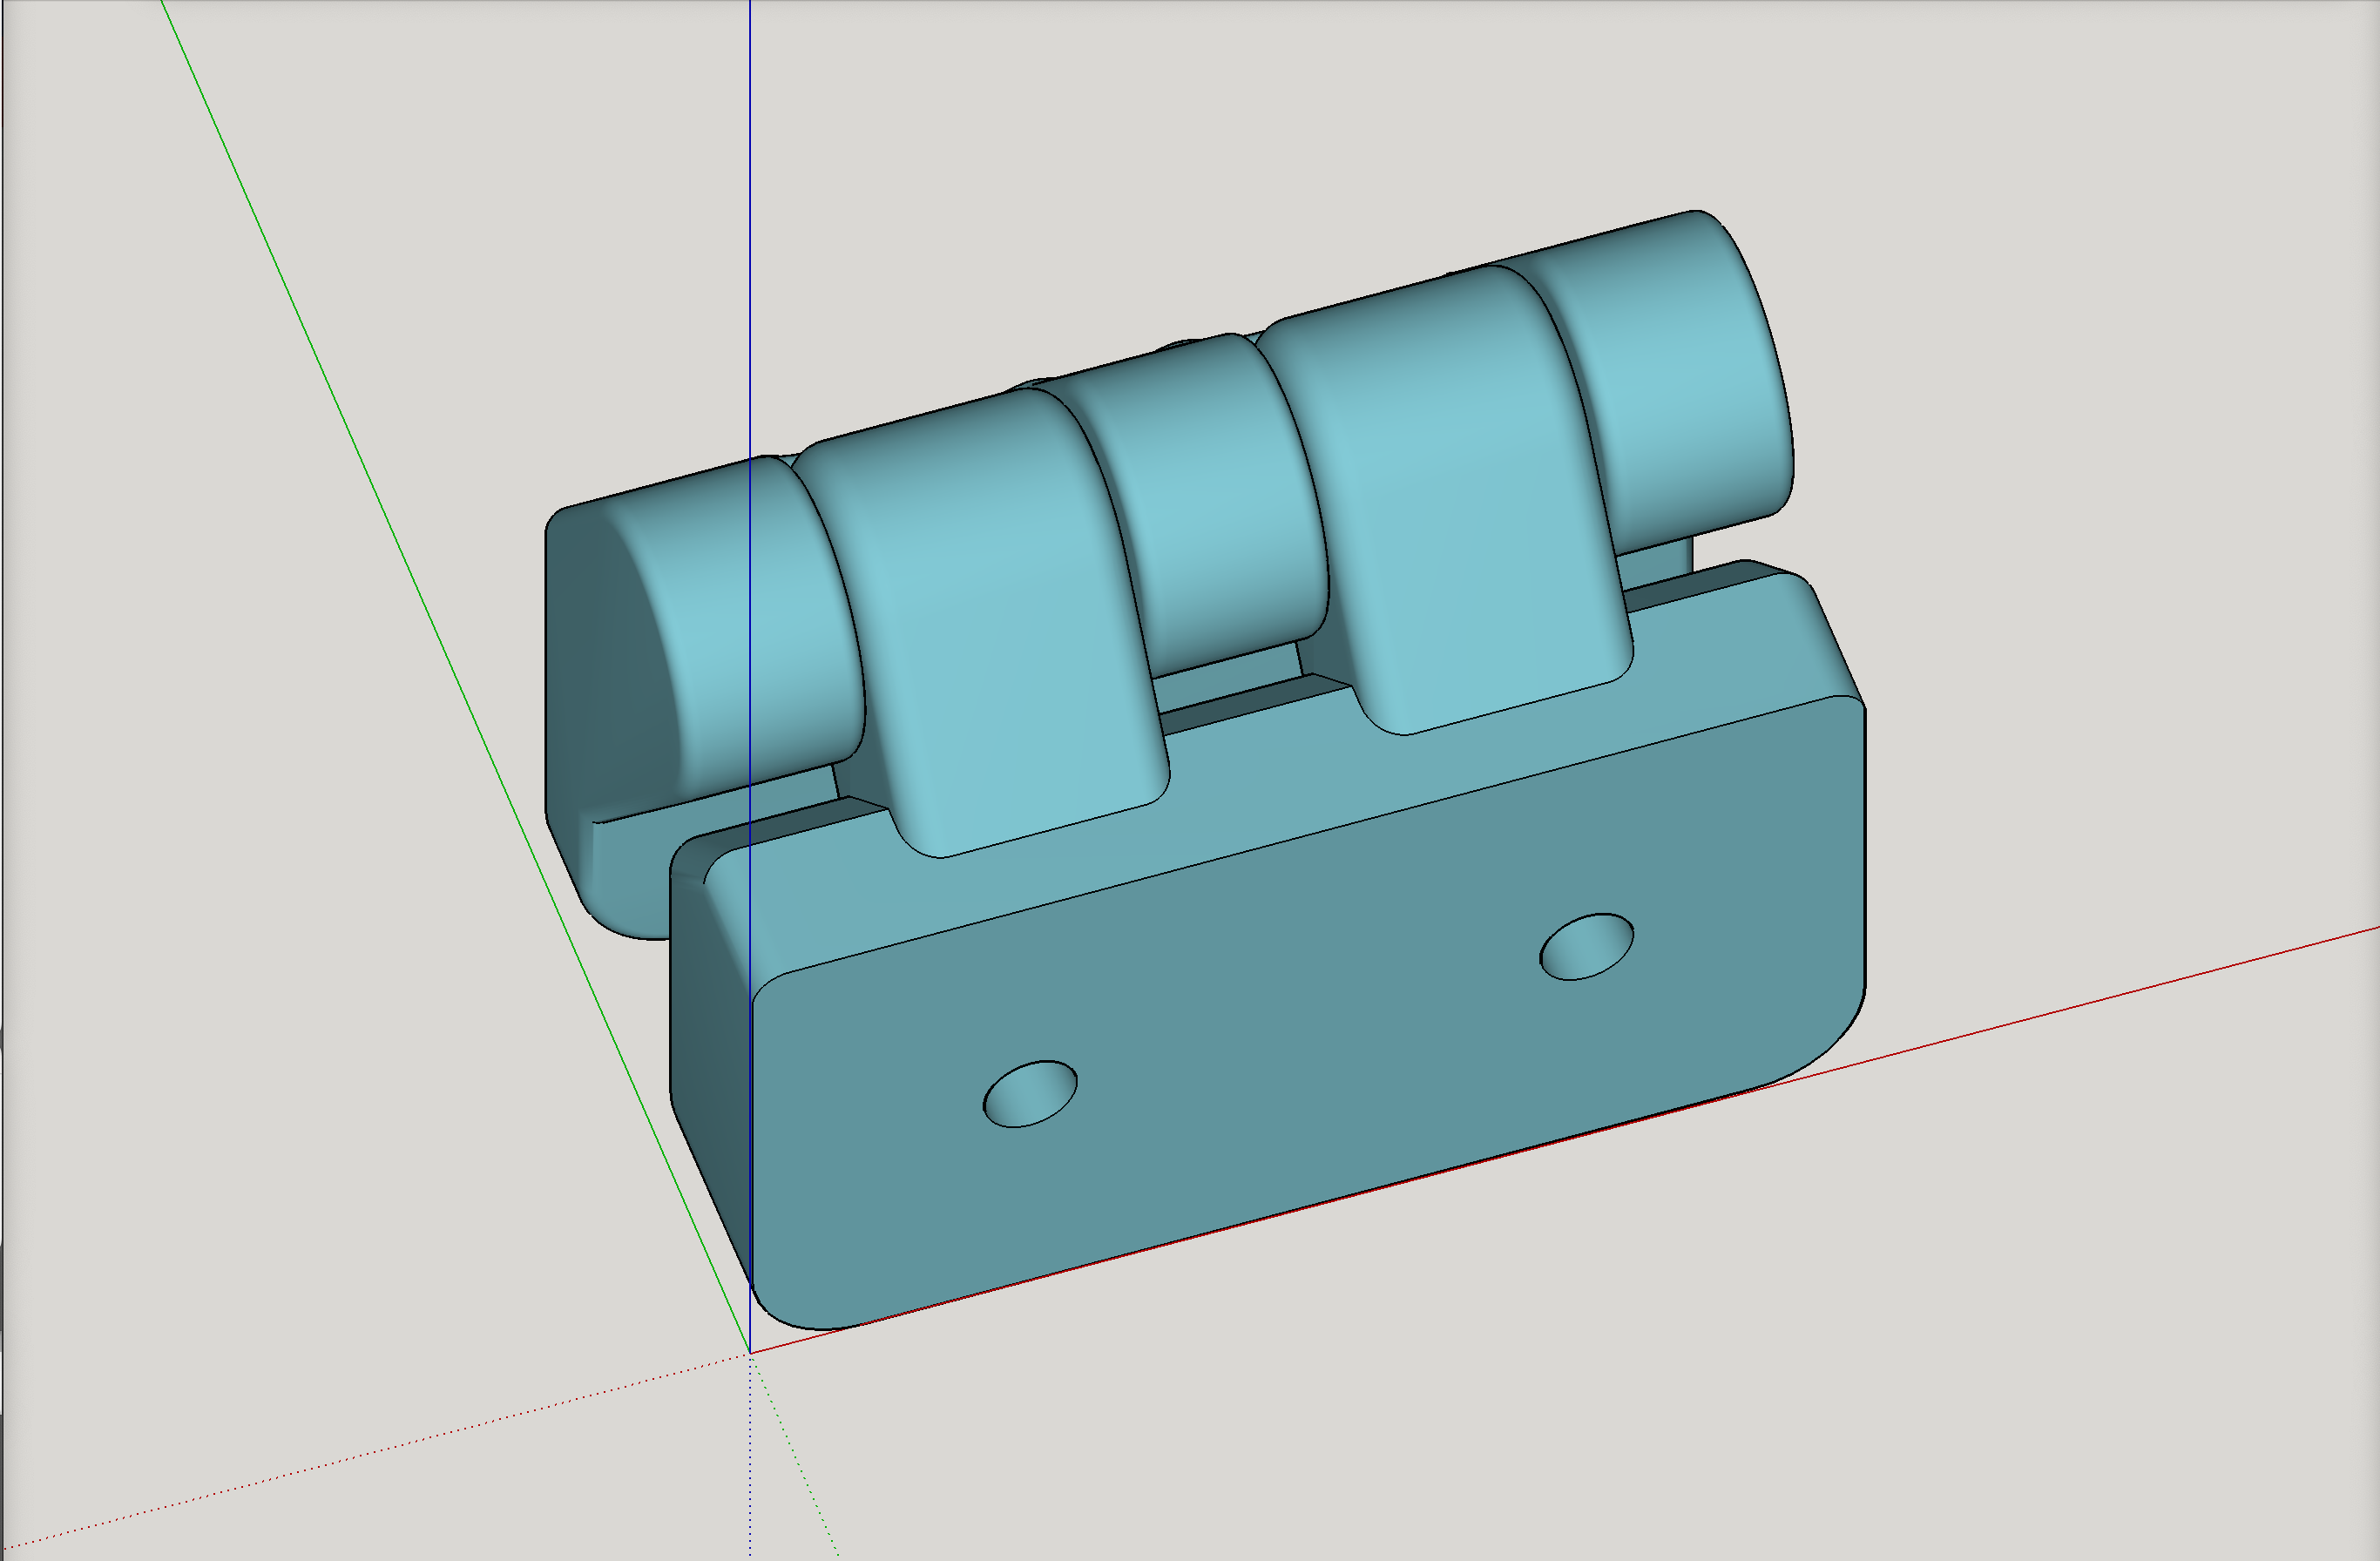
This v3 of the AD5M door hinge for DIY enclosure is expressly for the Minimal enclosure and its remixes. It repositions the plexiglass door downward by 5mm to accommodate getting the touchscreen back on the metal frame, as well as keeping…
I remixed the drag chain link to increase the diameter of the hole from 3.55mm to 4mm to give enough play in case of using printer which is not printing the hole accurately enough. I decided to do this because my printer was not…
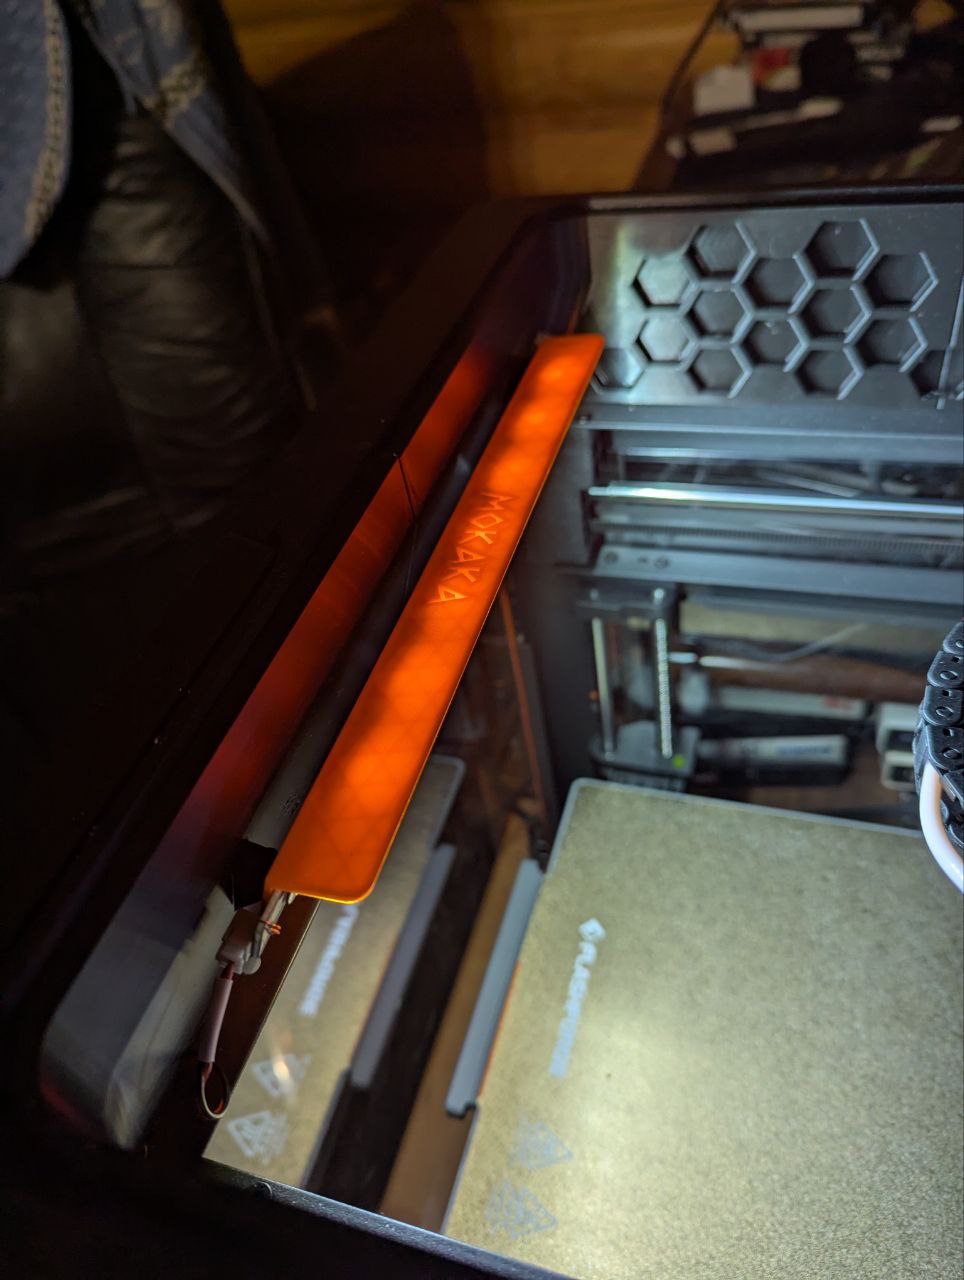
Removes the original embossed “FlashForge” text on the panel and gives the option to leave it completely blank OR providing an optional cut out for customizable and infinitely swappable nameplates. Nameplate cutout size is found below.…
This heating pad is designed to create an active thermal camera in the Flashforge Adventurer 5M printer. In addition, a module for filtering air through a carbon filter has been added to the heating pad. Print from ABS(ASA)-CF(GF), or…
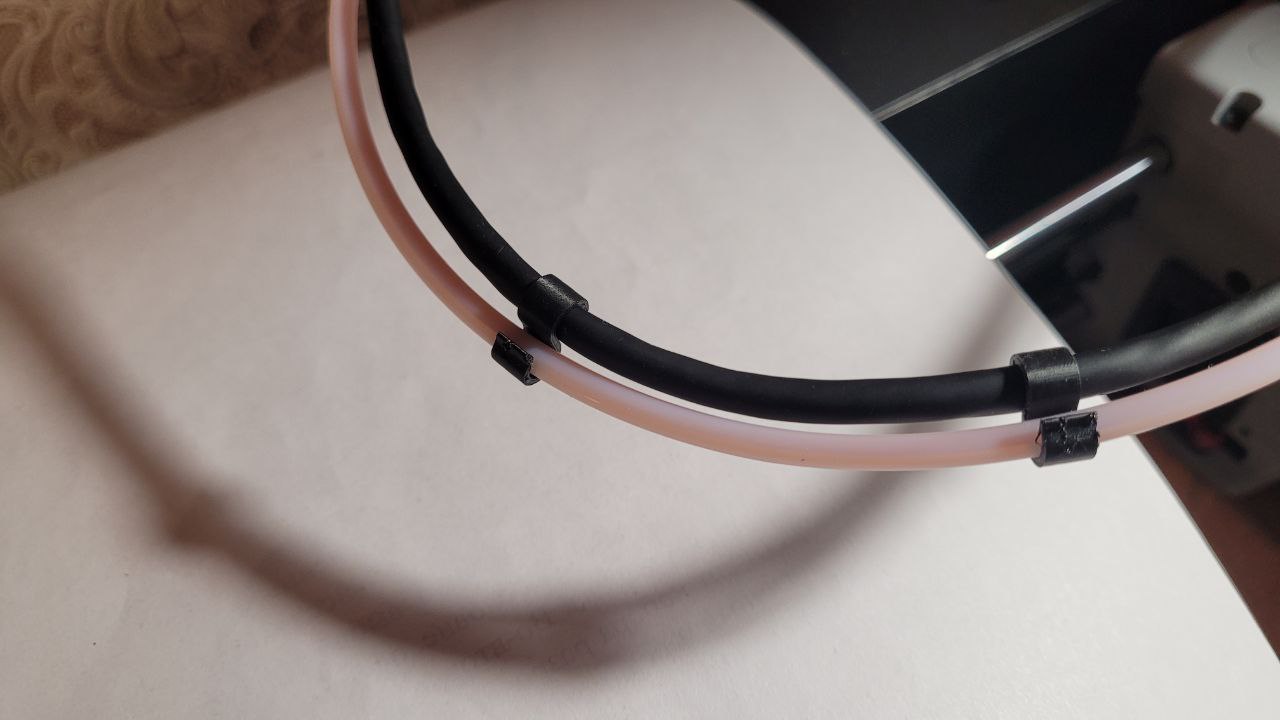
These clips were made to hole the cable for the sewing machine light listed below. I have no doubt in my mind that it will work for other LED light cables. https://a.co/d/9hR2y6W
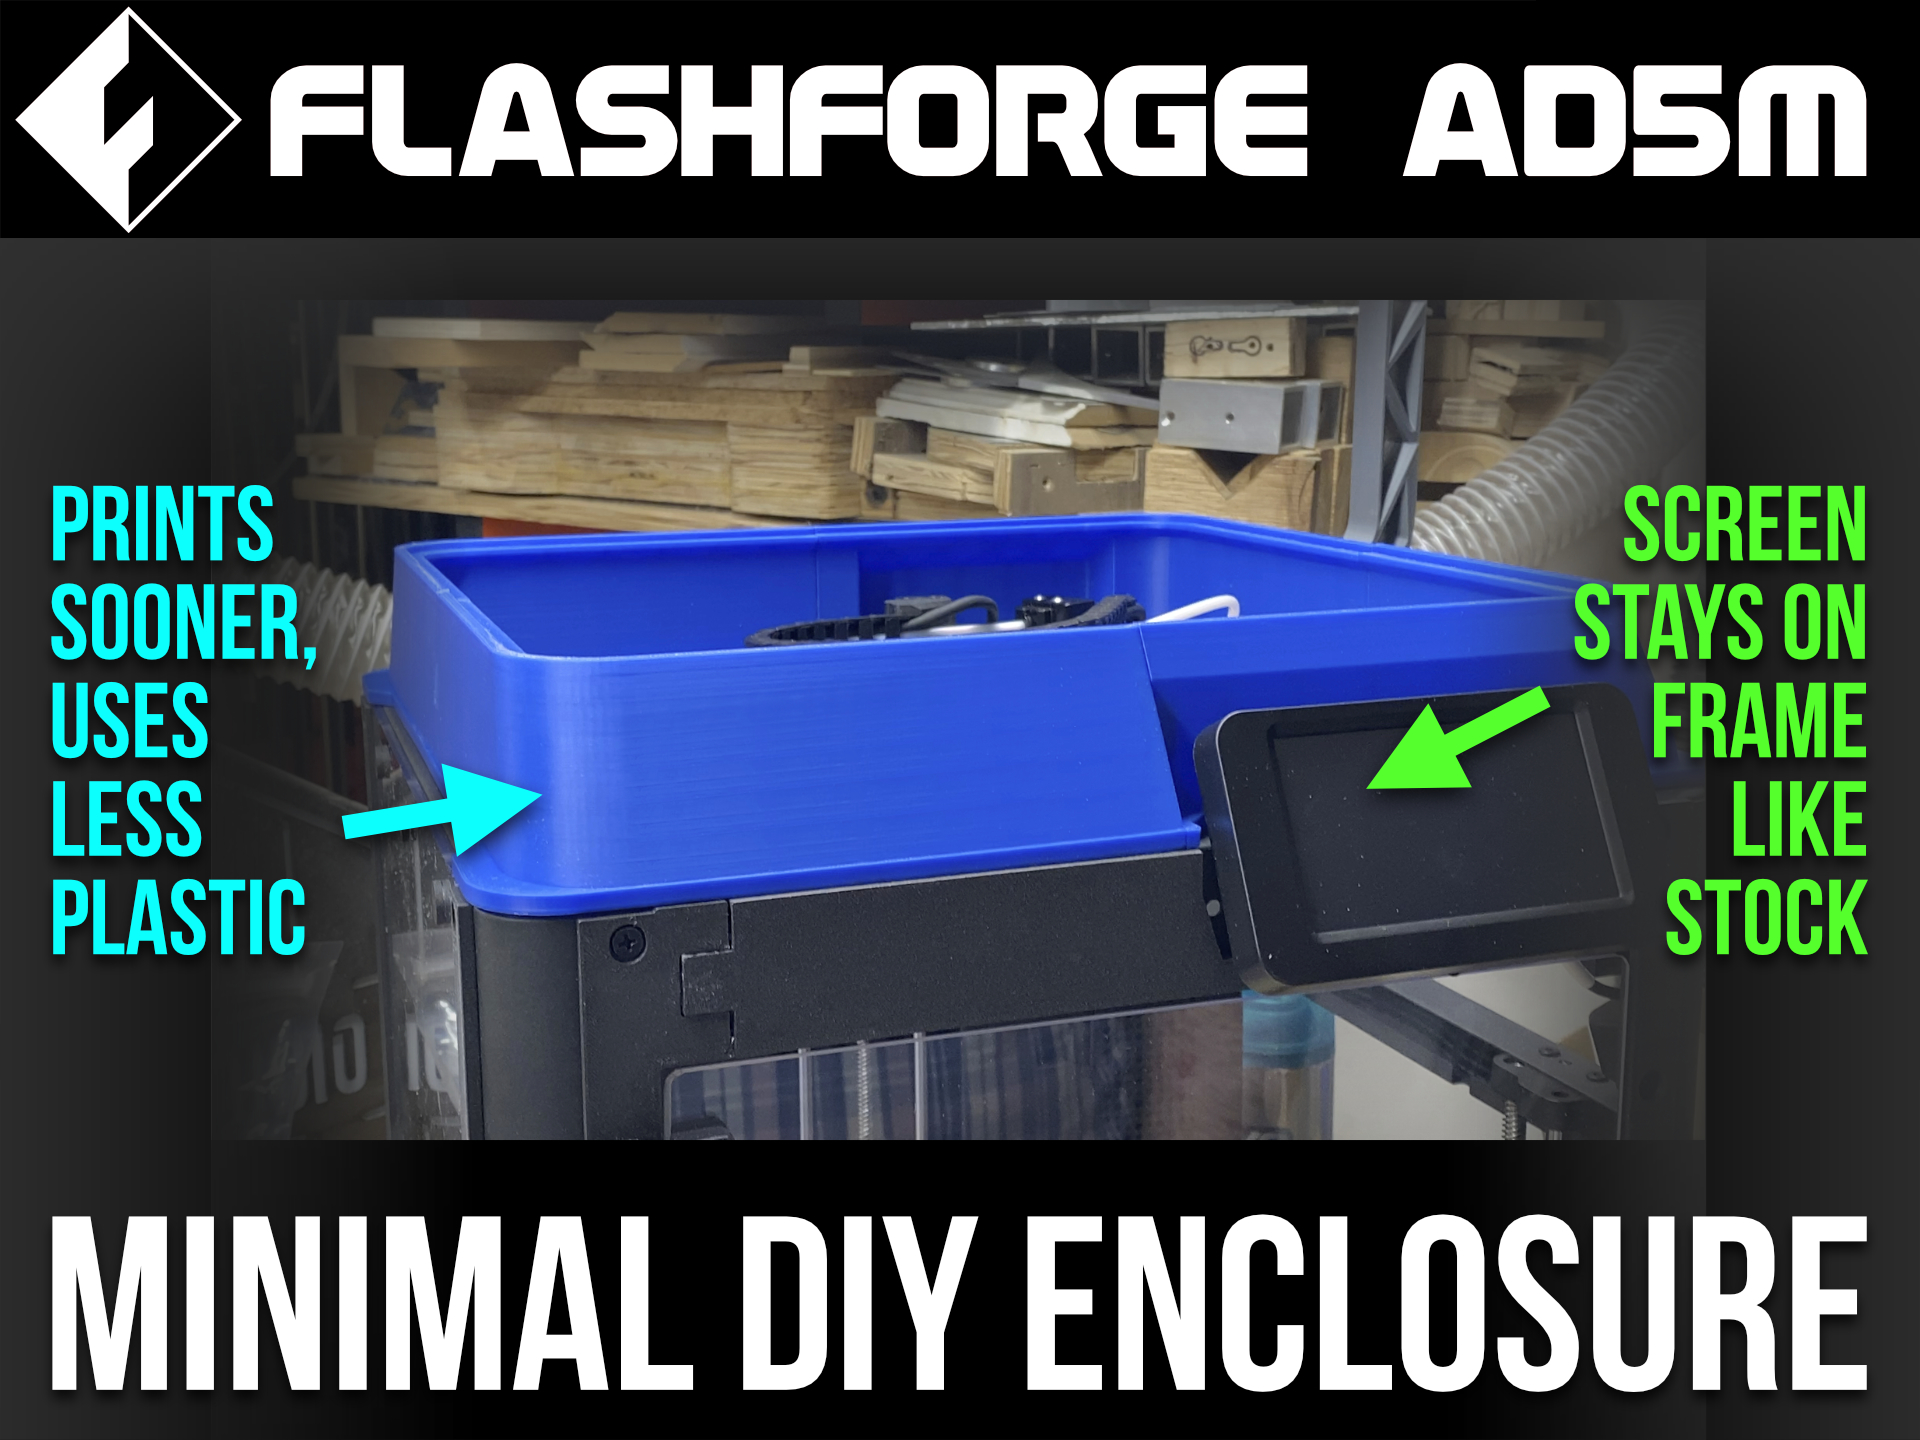
Minimal enclose top lid riser. I do not know if this works on the regular enclosure from Flashforge.. Only made for the front of the machine by the screen.
CC-BY 4.0, have fun, make good use of a small mod that really helps the AD5M be consistent. Inventor, DWG, and STL included for 12mm(v2) and 14mm(Conch) heatbrake sizes. Print the largest you will need, if unsure, print Conch. Honestly,…
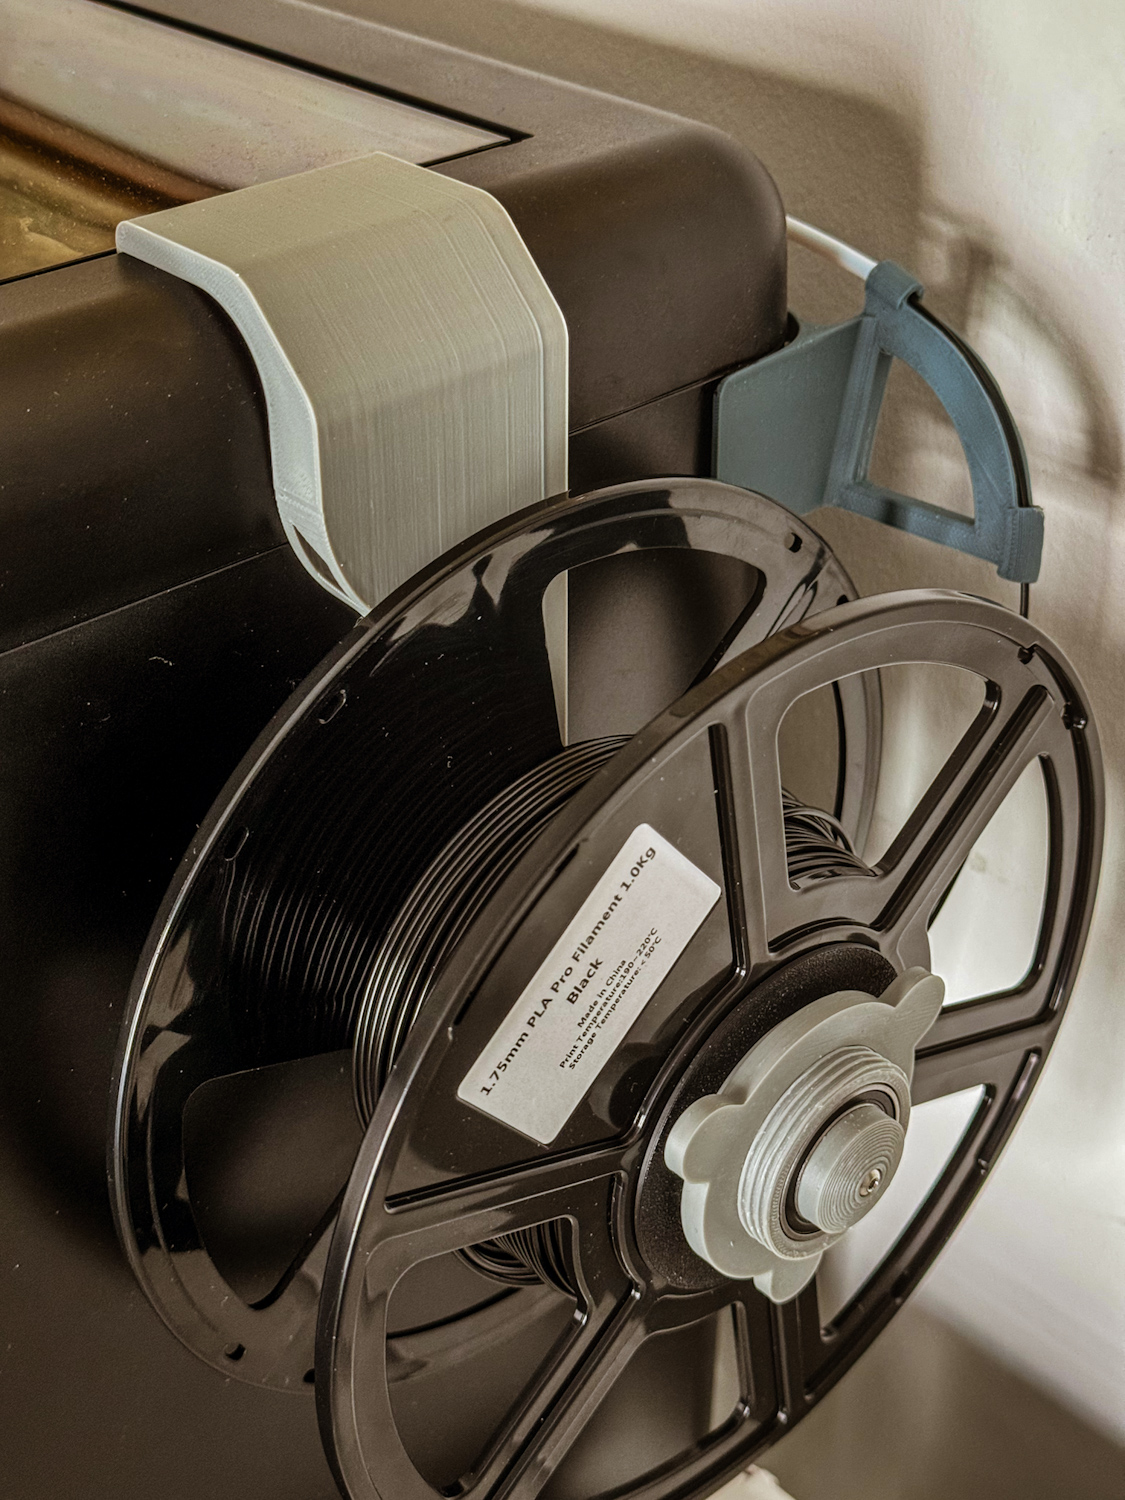
I had a roller spool holder on my old Ender 3 and want something similar for my AD5M. I had been using Doug Joseph's excellent side spool holder and decided to mash his design with HugoG's roller filament holder. This was created in…
An improved filament guide for the Flashforge Adventurer 5M Pro. The existing guide is rather minimalistic, so I designed a better feed for the filament. I attached the guide to the housing with double tape. Printed with PLA Support would…
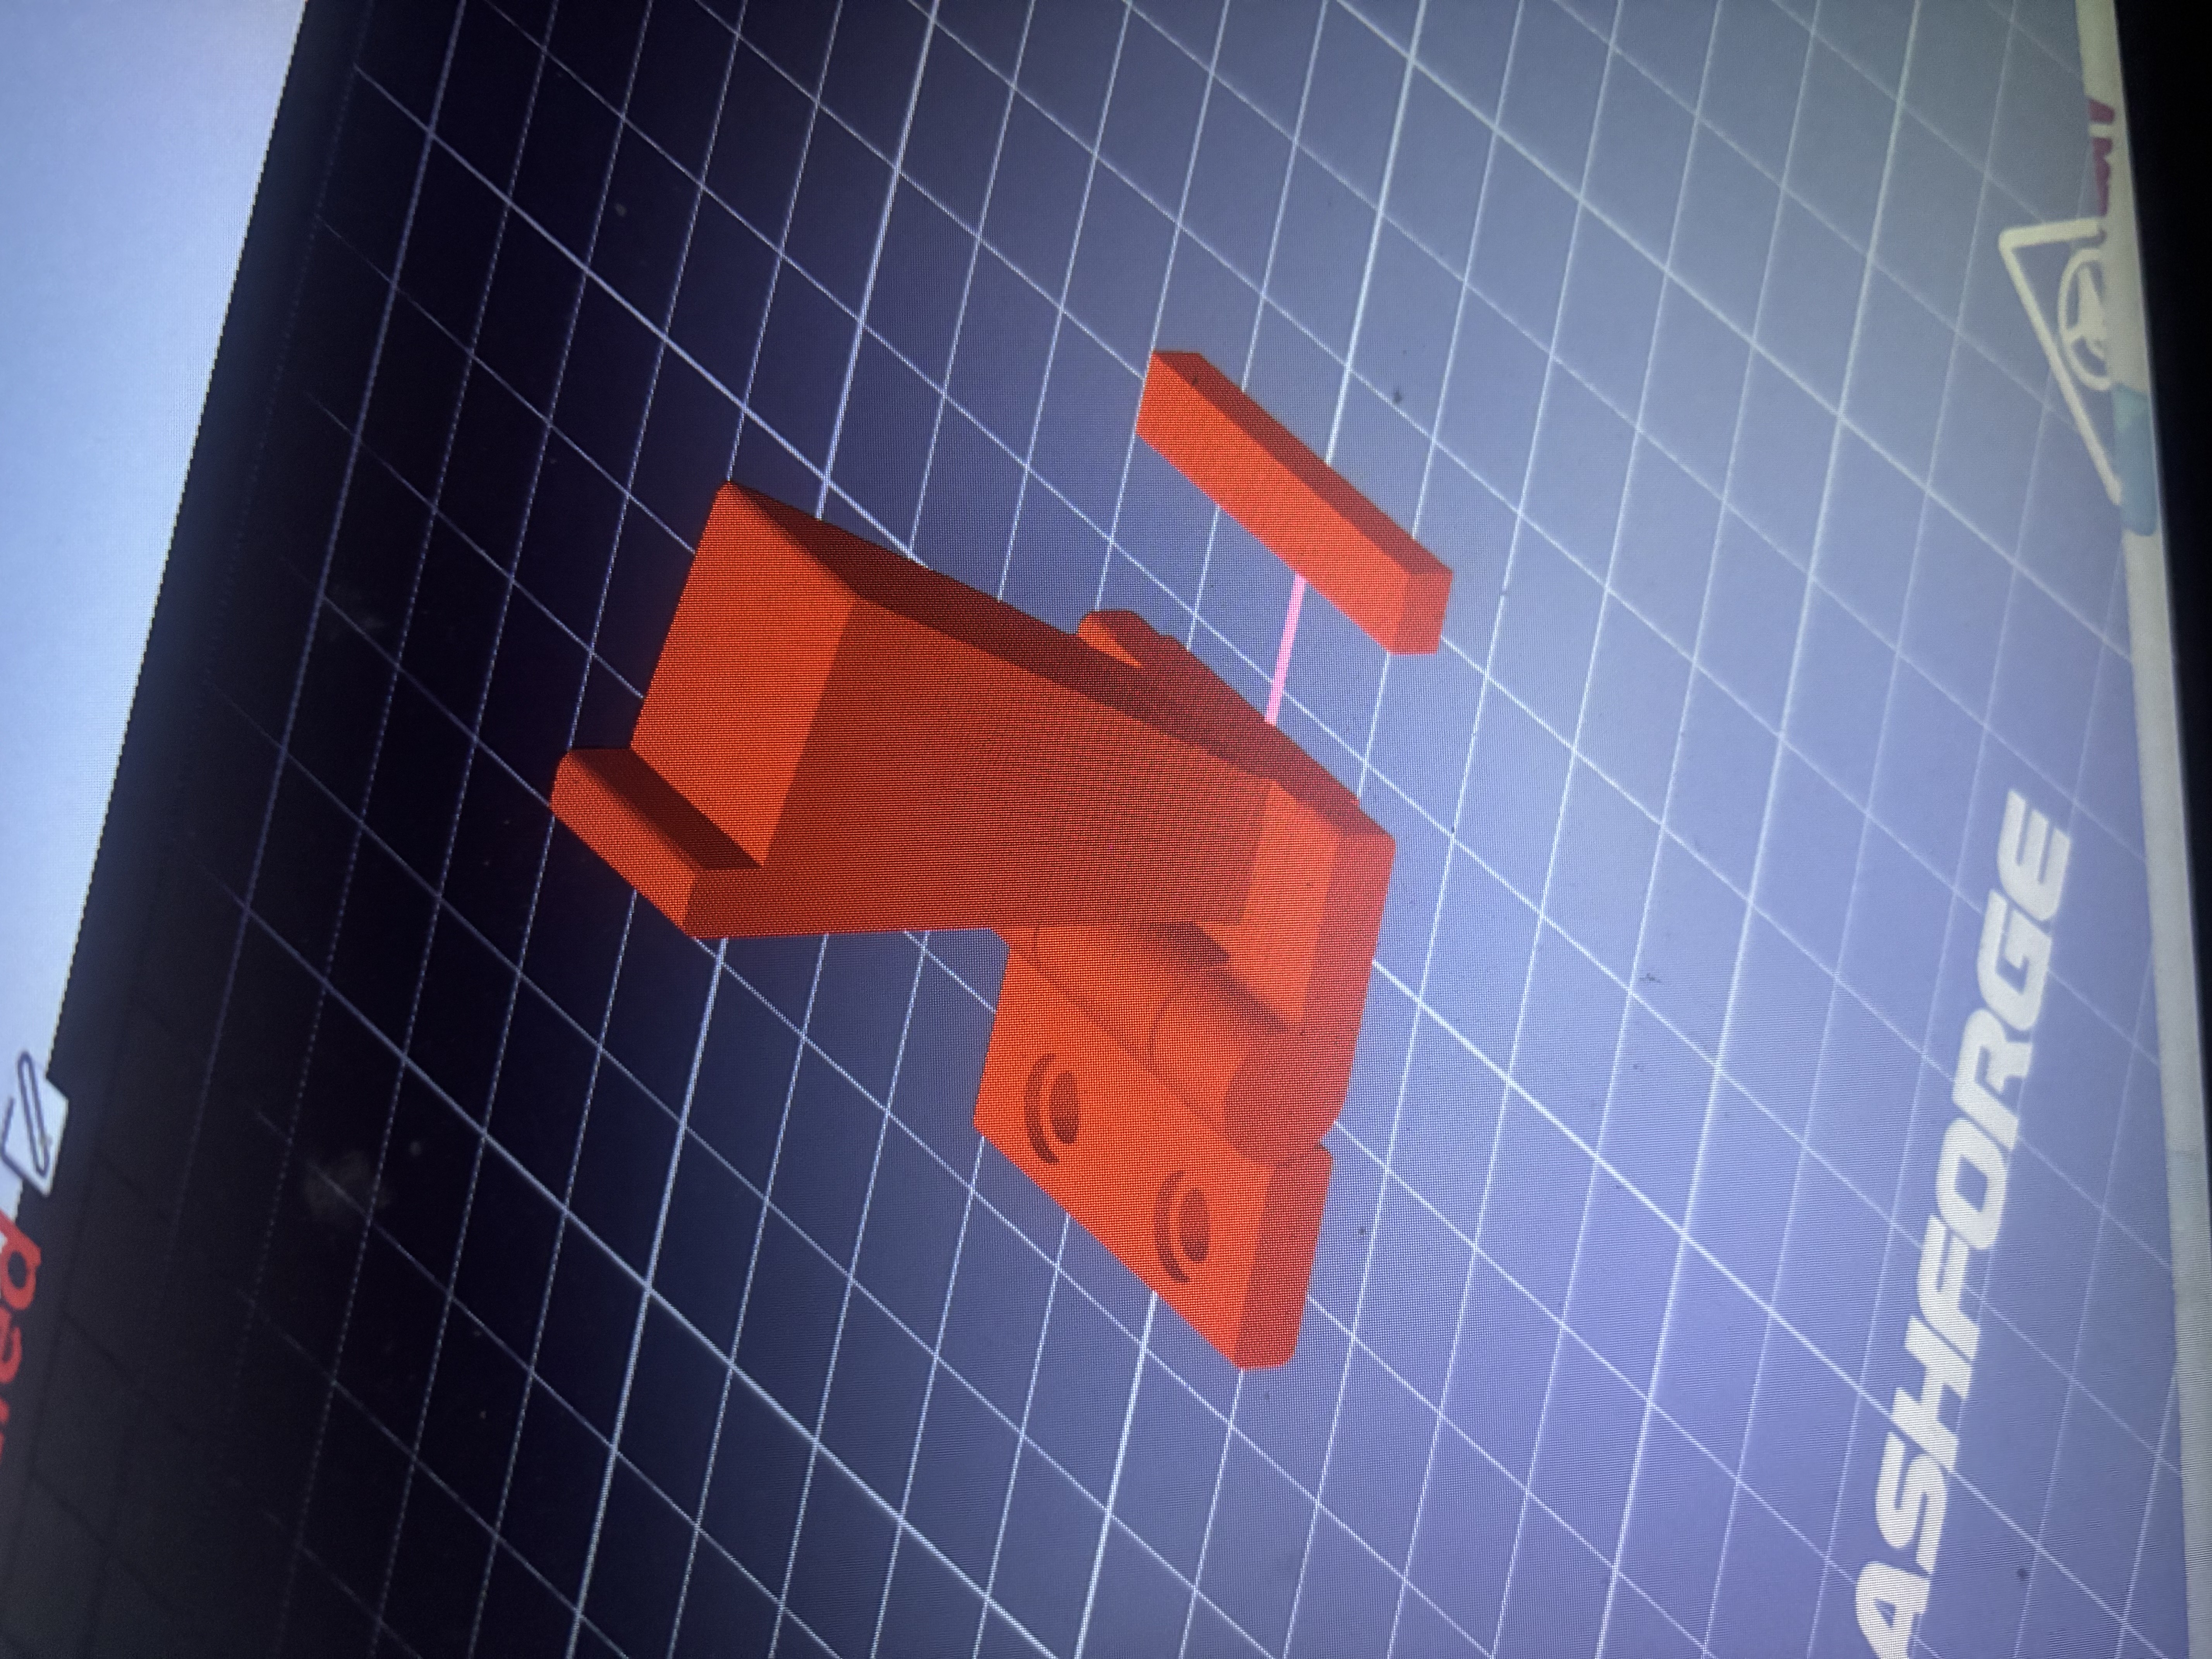
I got tired of always putting away the top lid on my FF AD5M so I found out a solution for this. These are simply customized hinges what you can attach to your lid with a two sided tape. It fits to the standard enclosure kit. After you've…
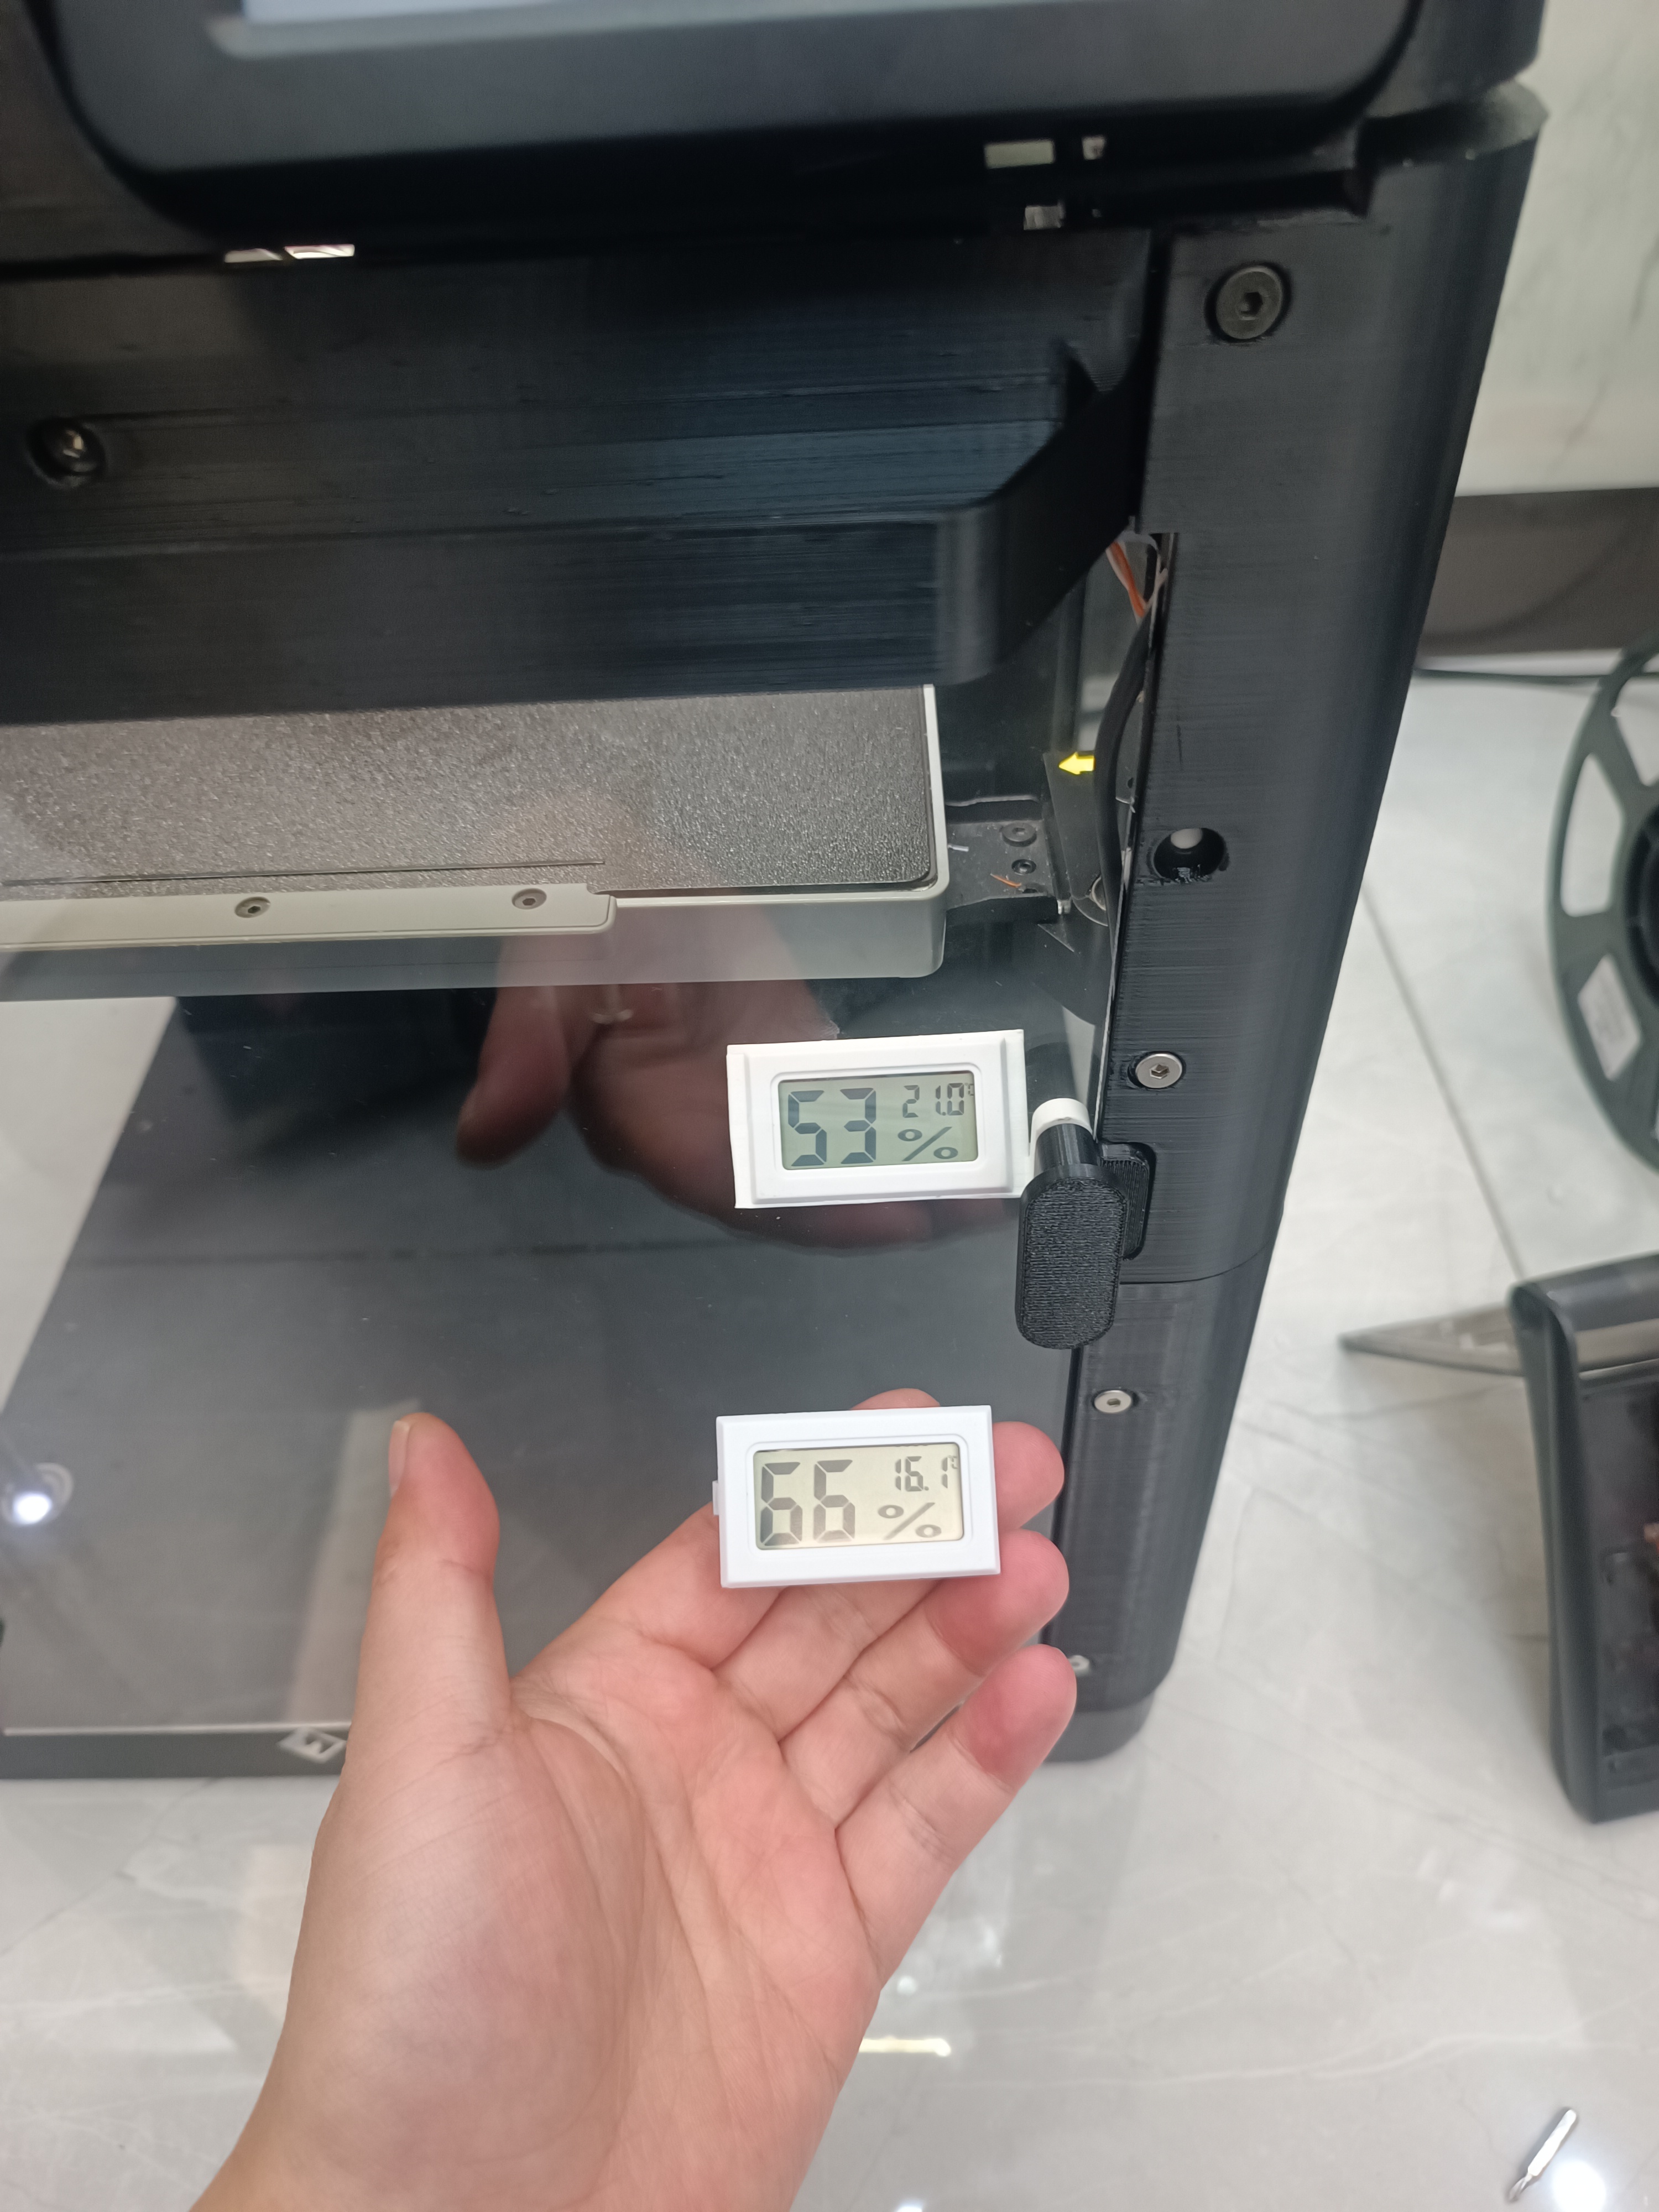
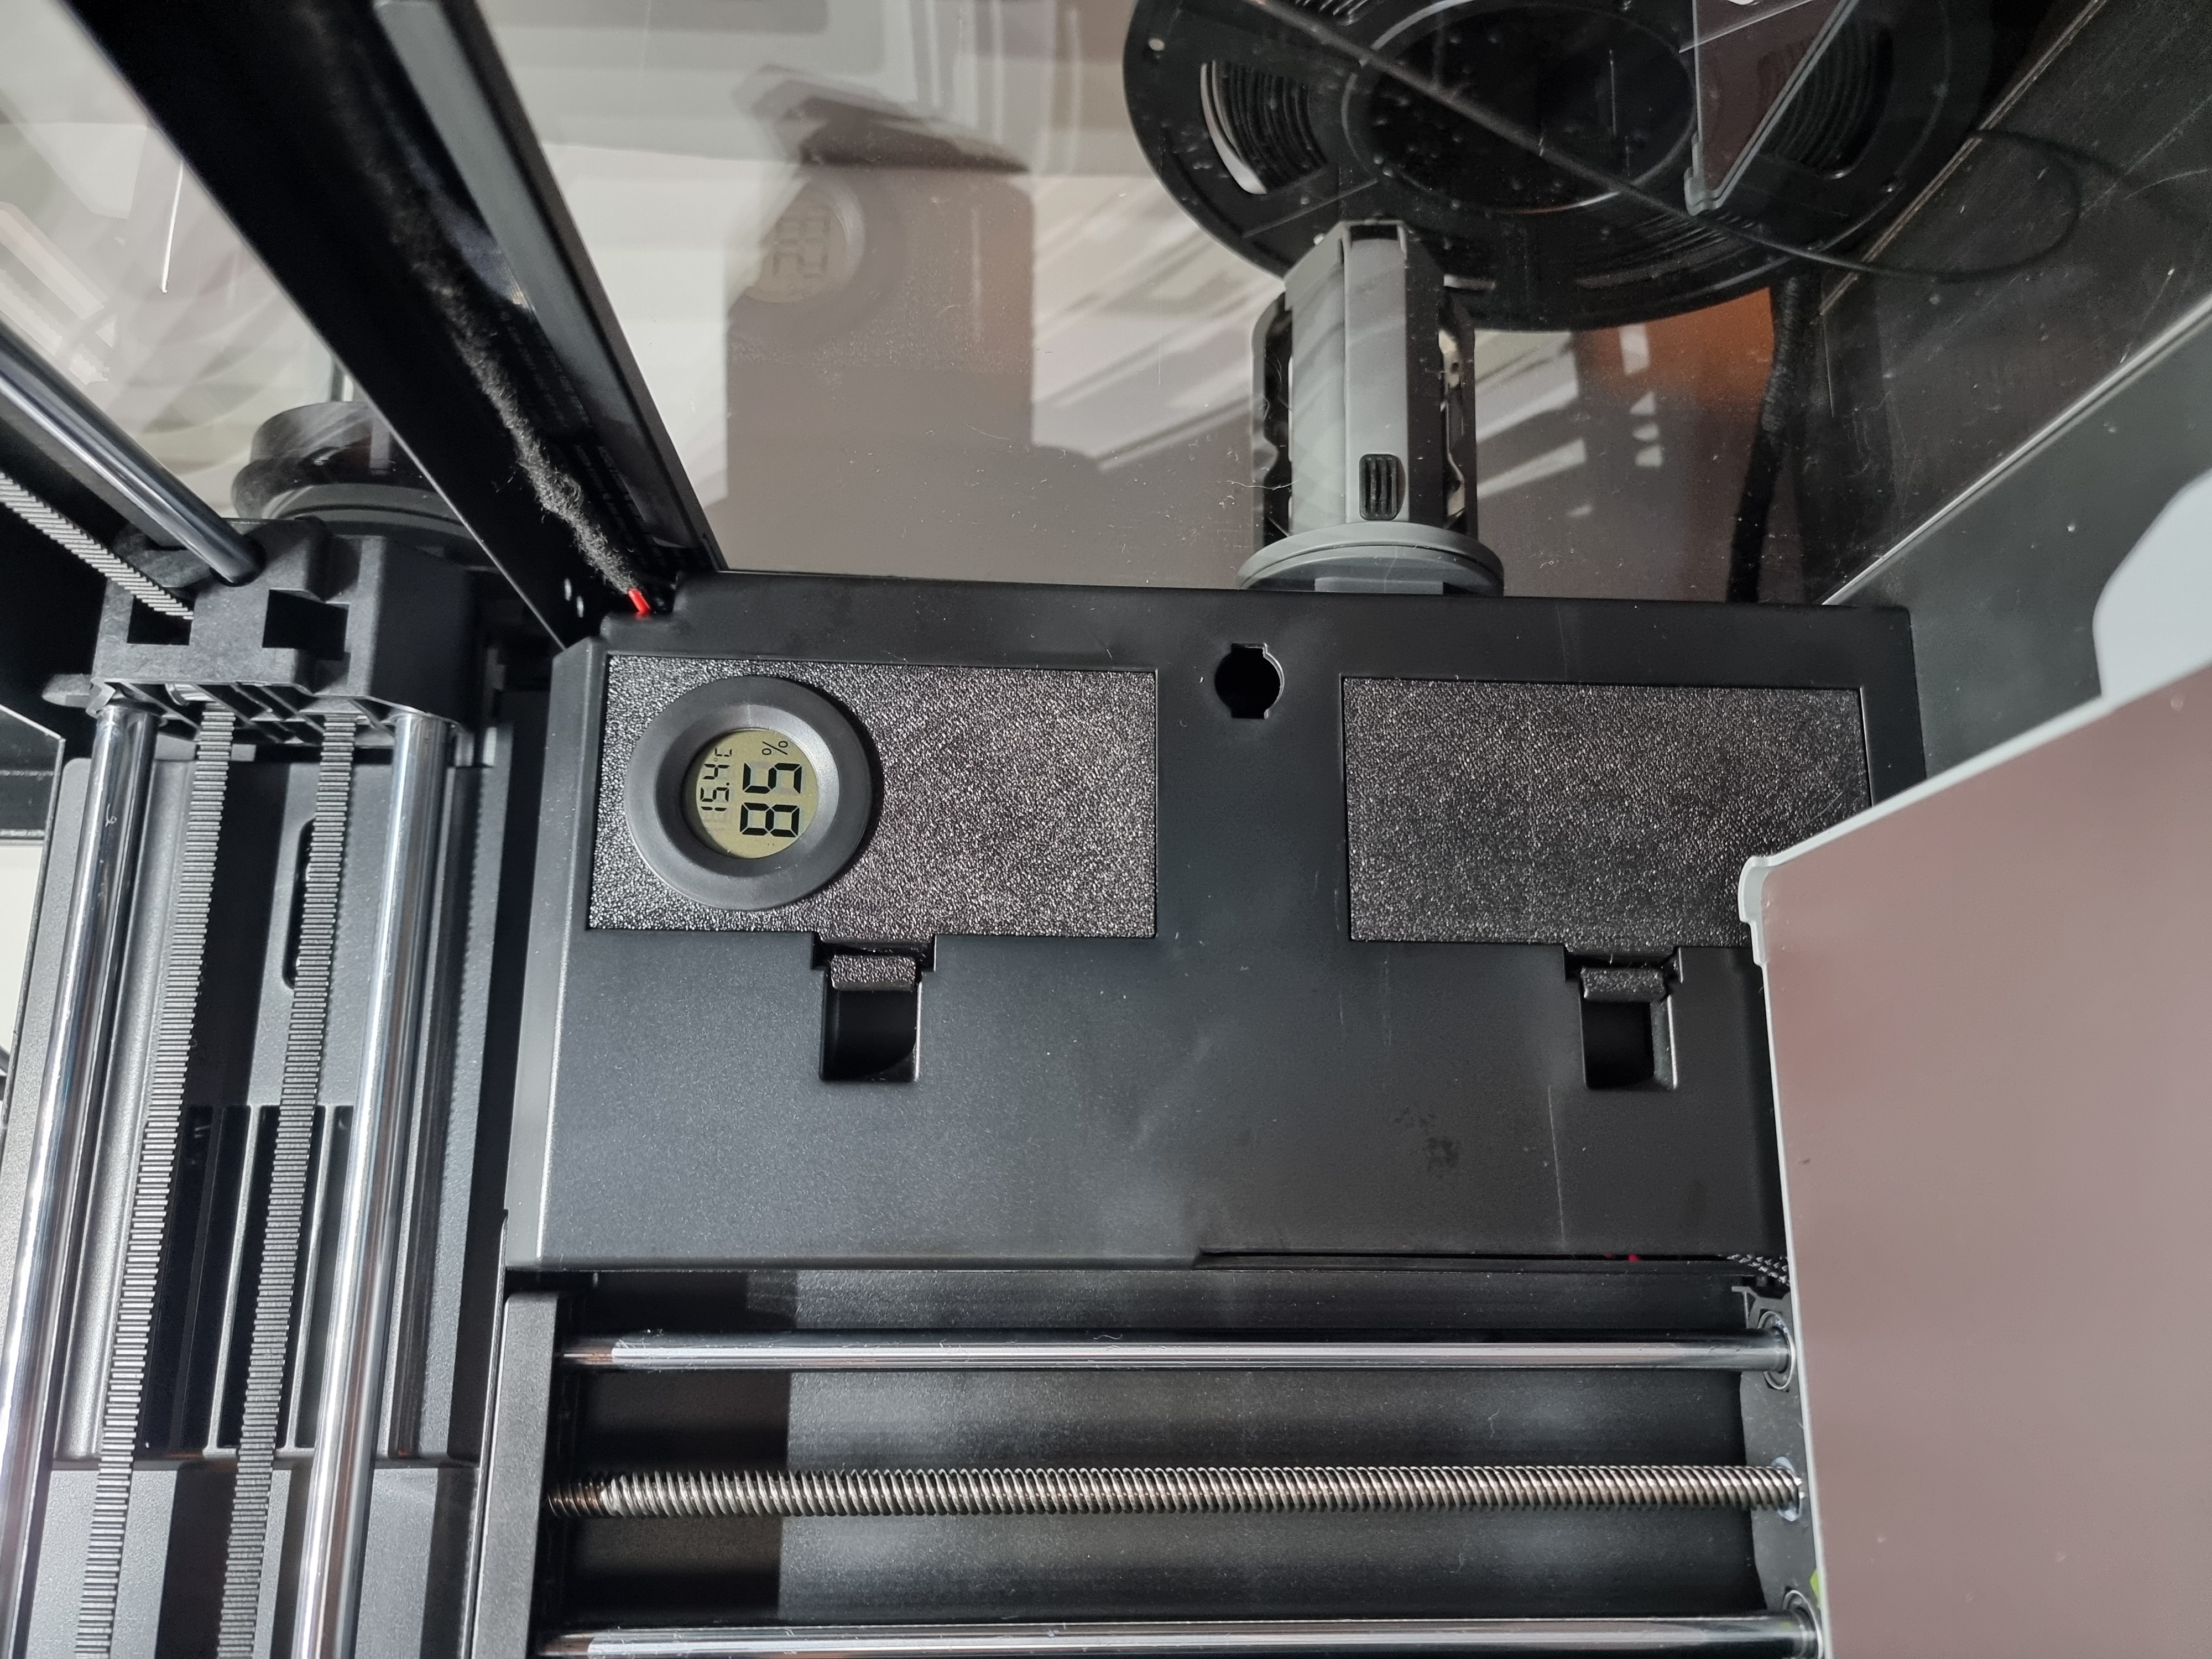
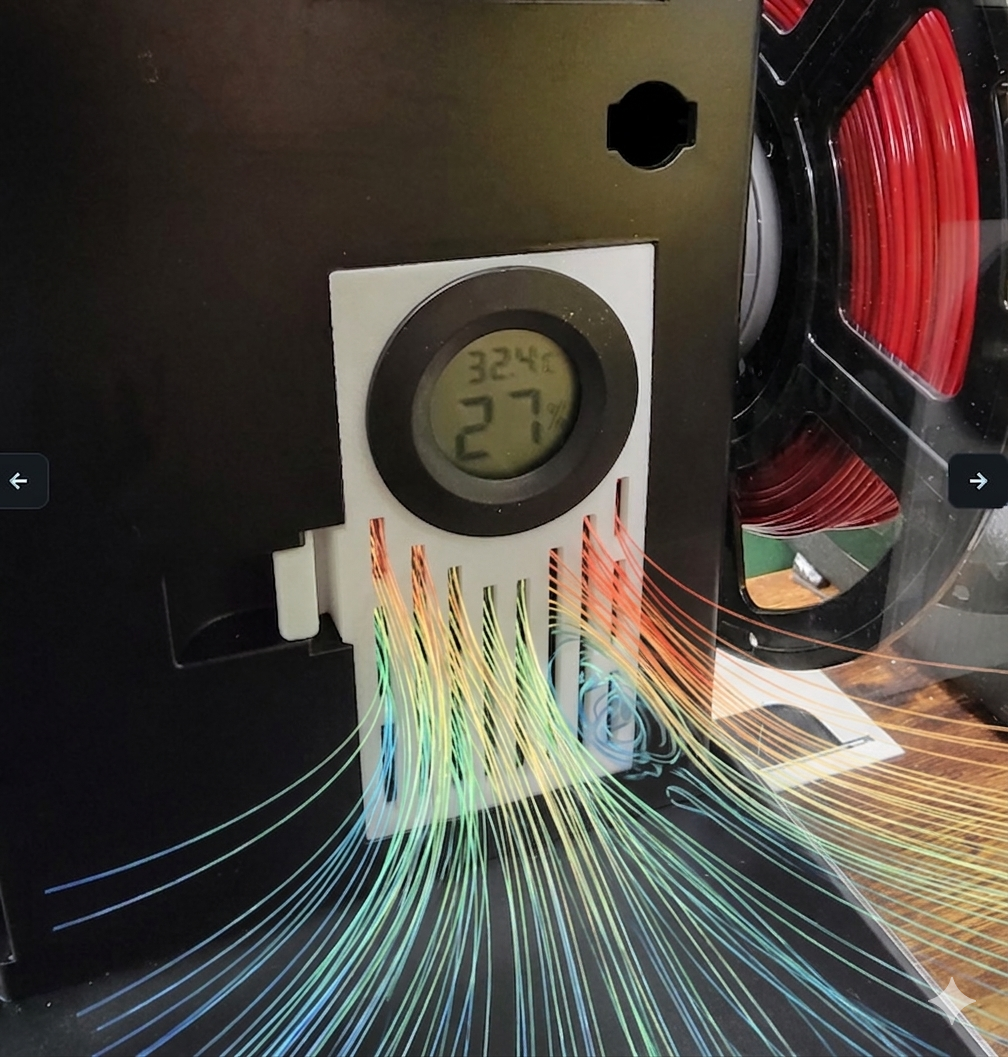
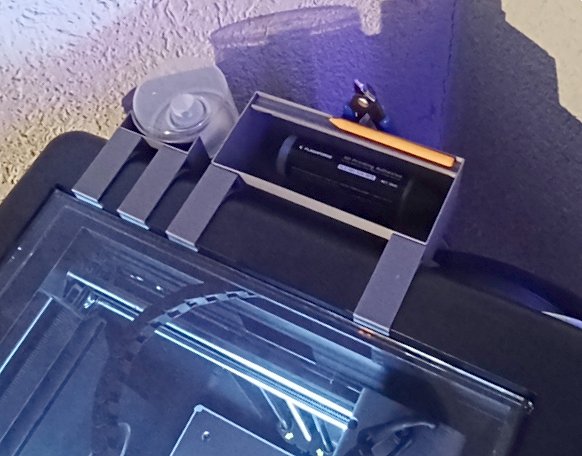
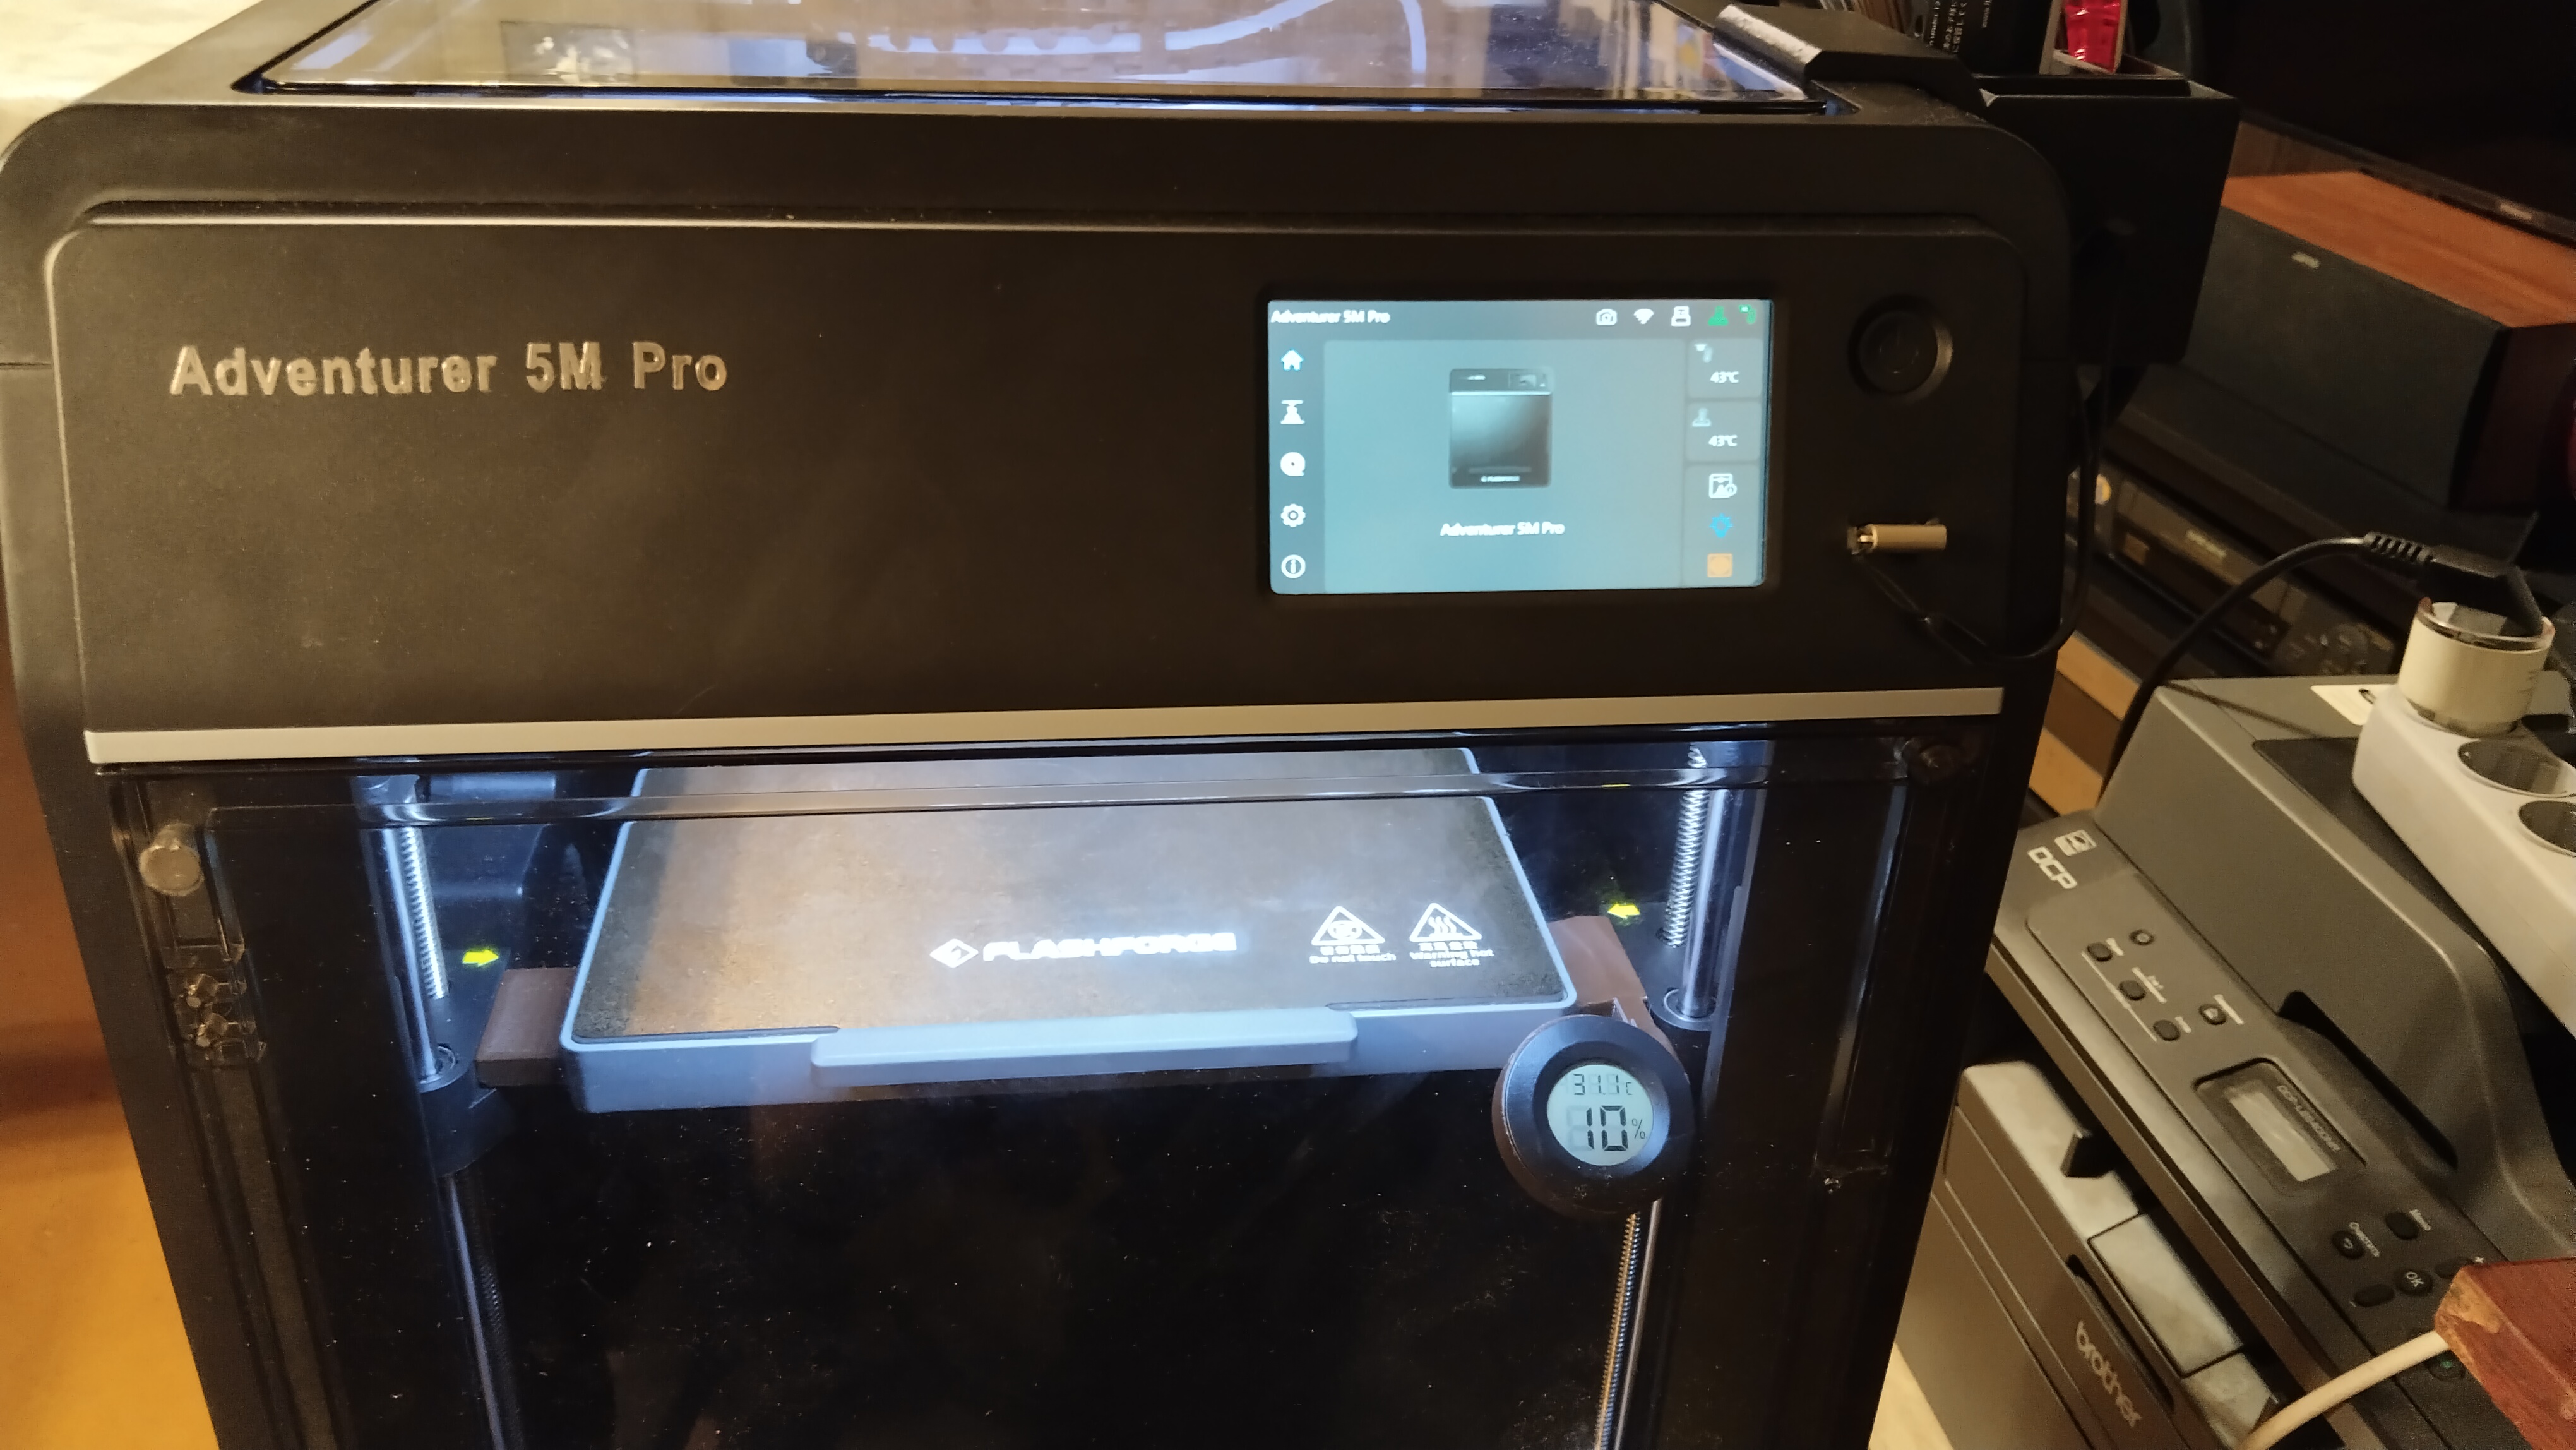
I wanted a solid piece to fill the empty vent covers to help keep heat & fumes in, but also wanted somewhere to place a temperature & moisture sensor, so I figured this will do the trick. I made the hole 41.5mm, which fits my AliExpress…
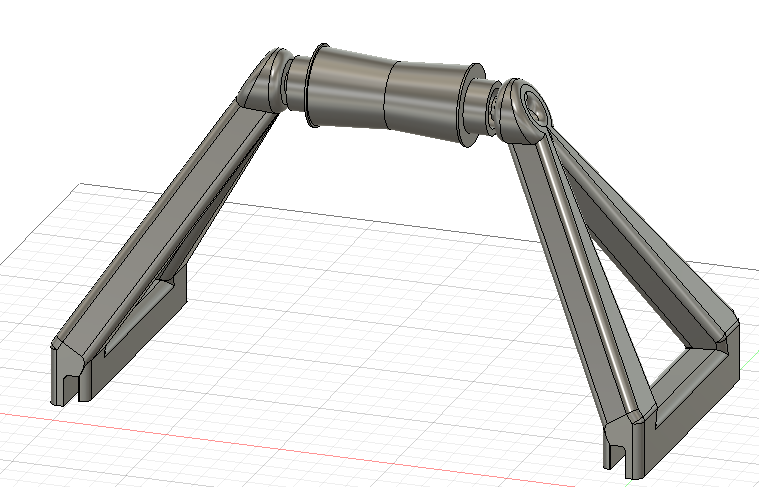
Print List: 2 Arms, 2 Pins, 2 bearings and 1 Roller. Bearings are 608 bearings, printed with .177 cal BBs. To print these, you have to pause the print to install the BBs, I found layer 24 works best with a .2mm layer height, but you may…
(English) My attempt to assemble a kind of analog of the BambuLab plotter mod, but for the FlashForge AD5m. I couldn't get it to draw anything, but if you succeed, I would be very happy to receive feedback with instructions. Required for…
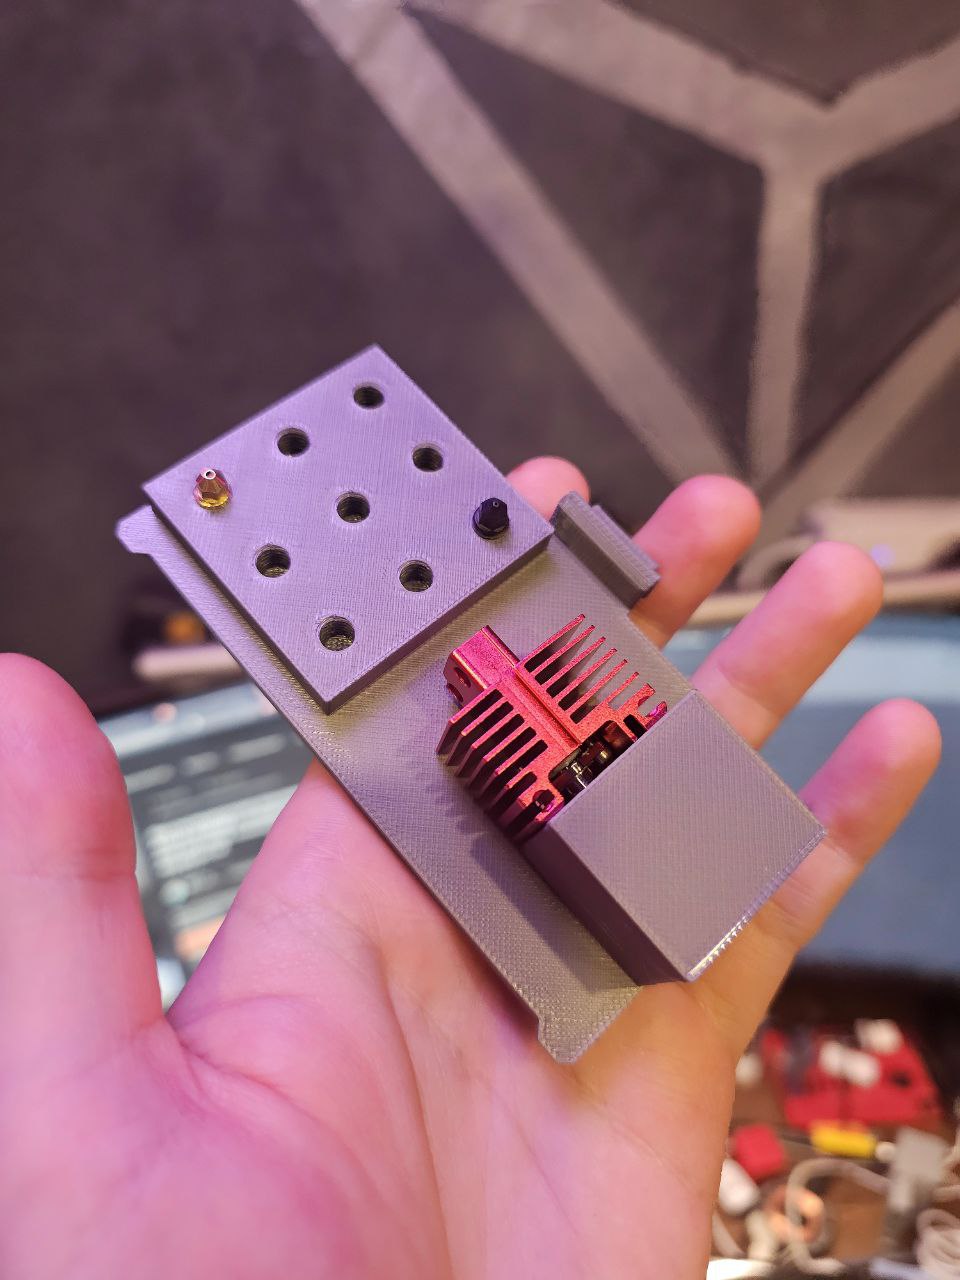
A mount has been made for Bambu TZ hotend and nozzle users <3
After frustratingly searching and failing to find a complete package for a drag chain, I have put one together! It requires no additional screws and only uses the ones on the AD5M. It uses parts from other creators, those of which are…
AD5X/AD5M Vent Cover With Cutout to suit 41mm Temp/Moisture Sensor off Aliexpress
I modified the spool holder from the AD5M Minimal DIY Enclosure by Doug Joseph (design8studio) to hold 2 spools. It will hold two 1kg spools. This is mostly helpful when doing quick filament changes so that you can have the next one ready…
NEW Makes it so part prints as one piece instead of two, no supports needed, and this eliminates a step of gluing two pieces together with CA glue. I'd have simply used the remix of my design by WingWong (@WingWong_521453) but his caused…
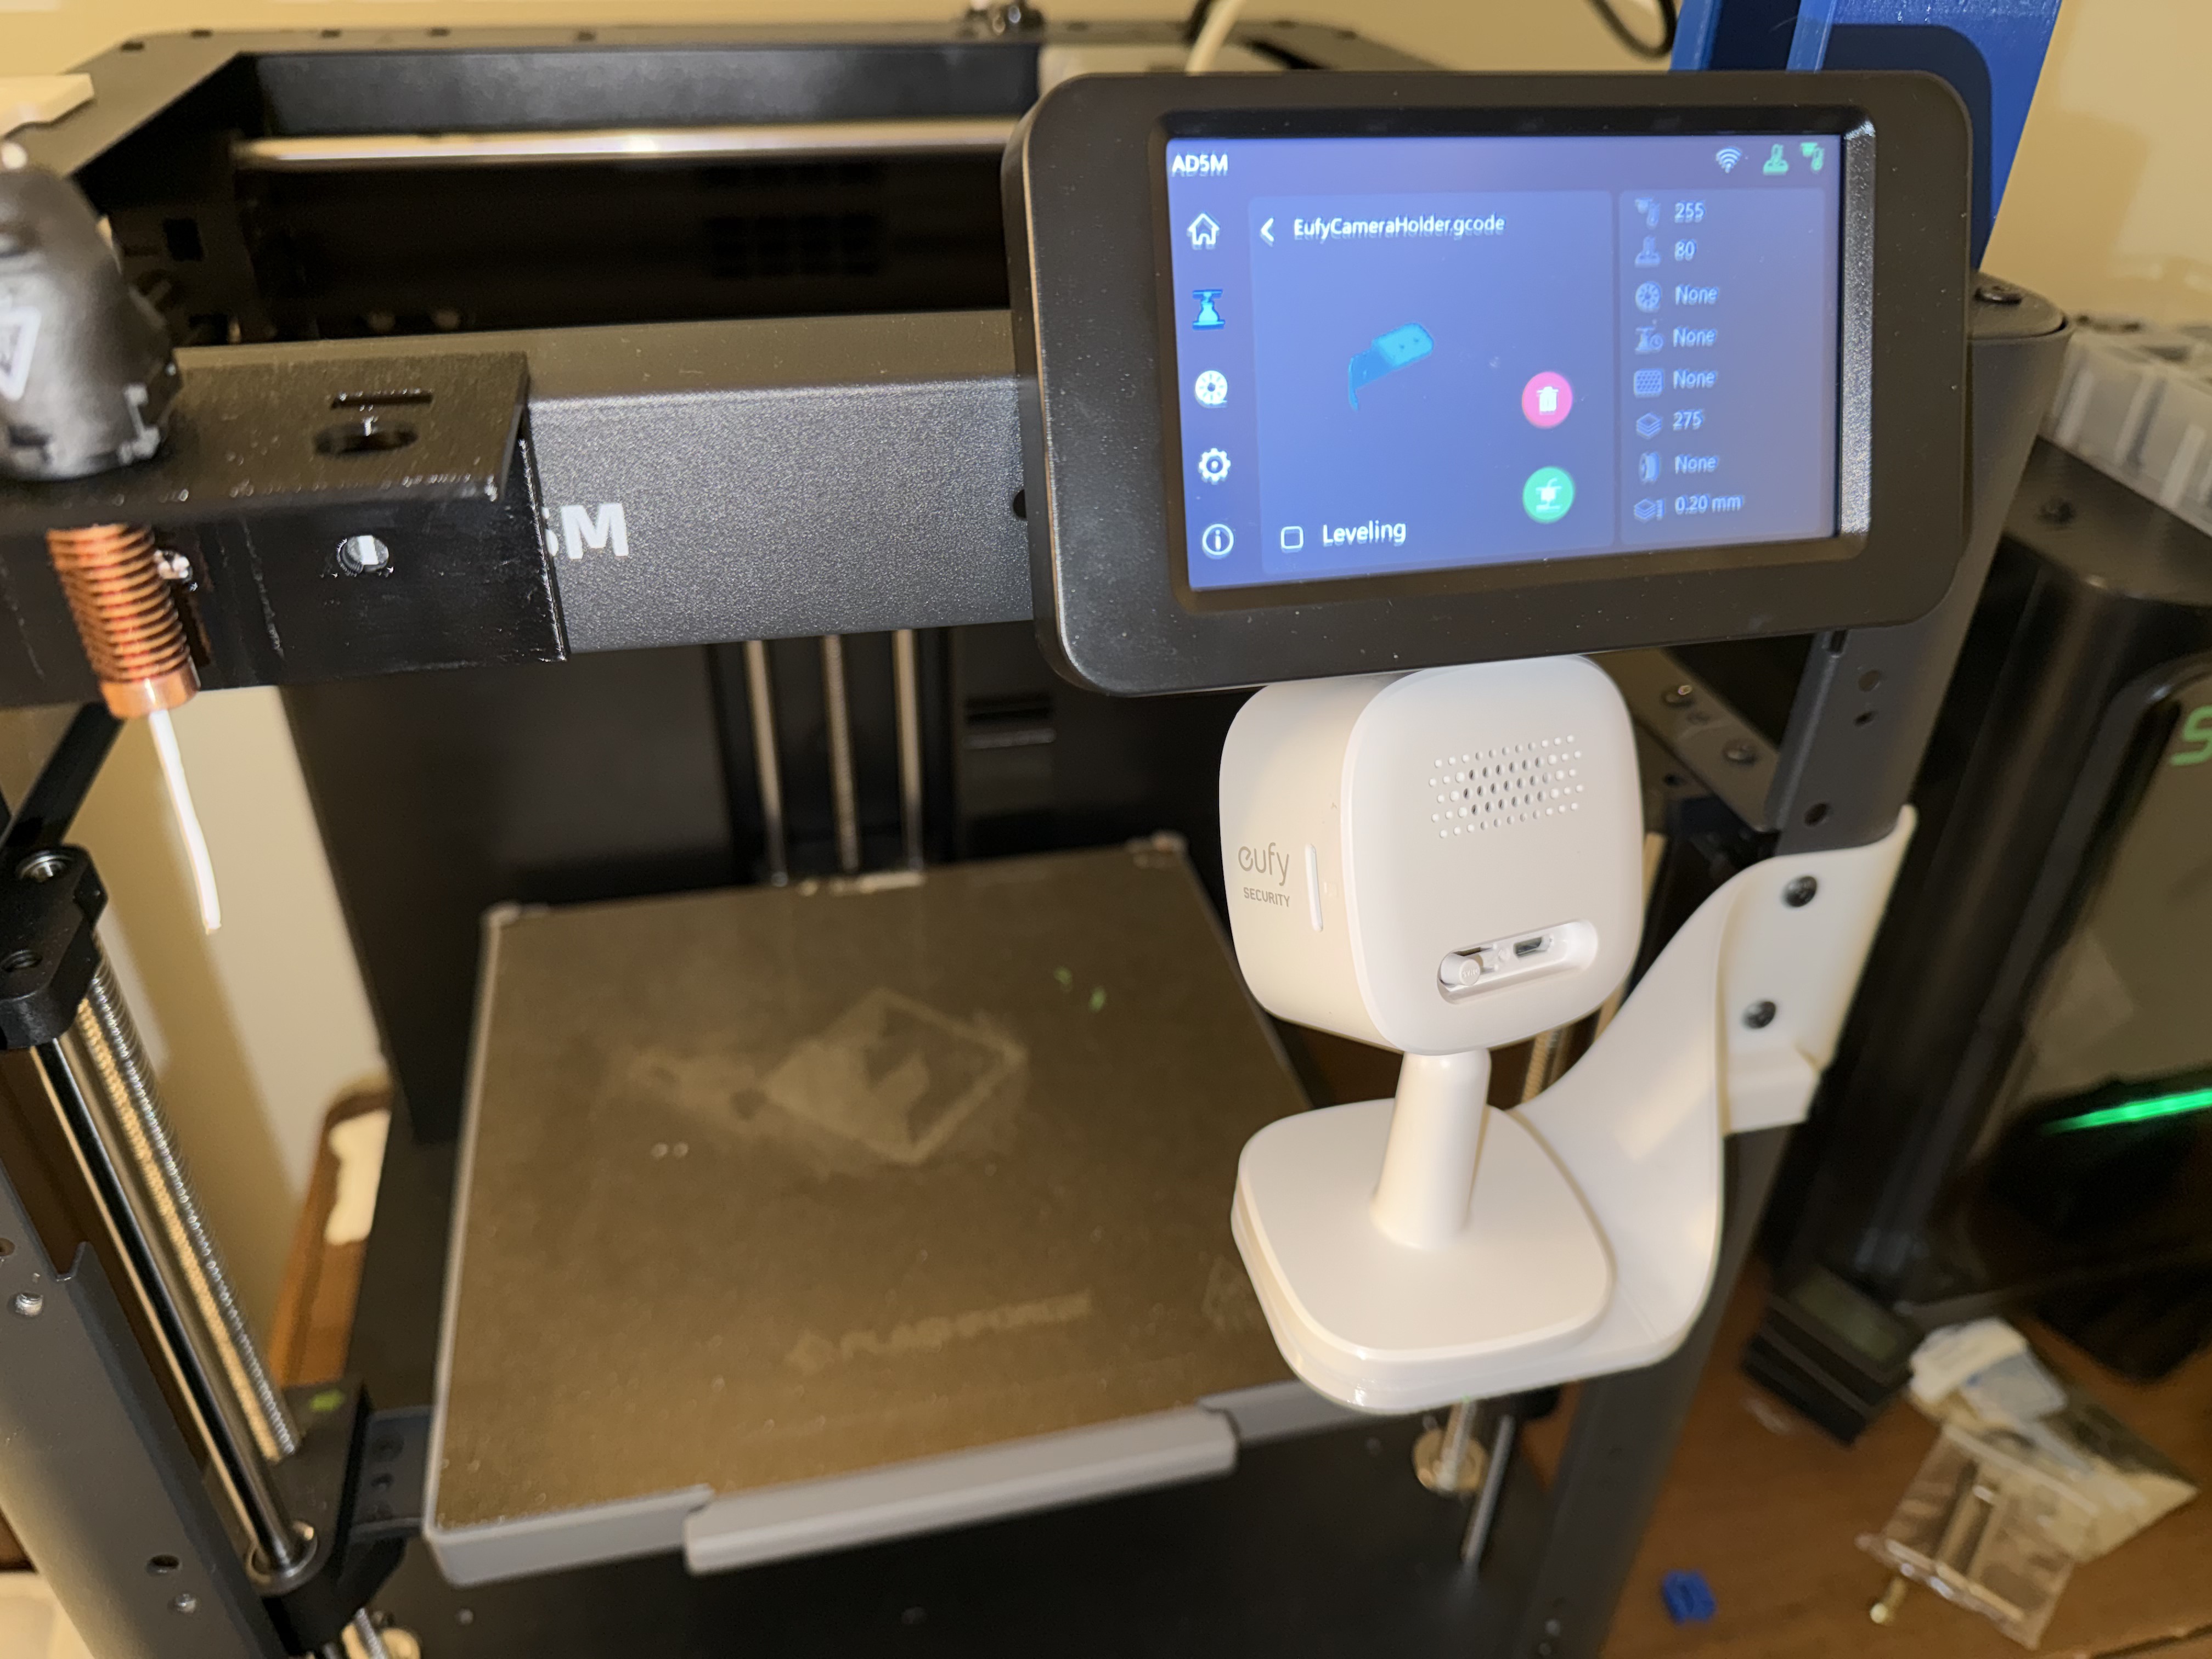
Eufy Indoor Cam Camera holder for Flashforge AD5M without an enclosure. Prints without supports
mounts the AD5M screen flat against the frame instead of at a angle
I could not find any nozzle cases that fit the Phaetus and off-branded nozzles so I remixed Doug Joseph's nozzle boxes to fit these different nozzles. Printer settings are the same as the original. 10% infill on lid 15% infill on base 2…
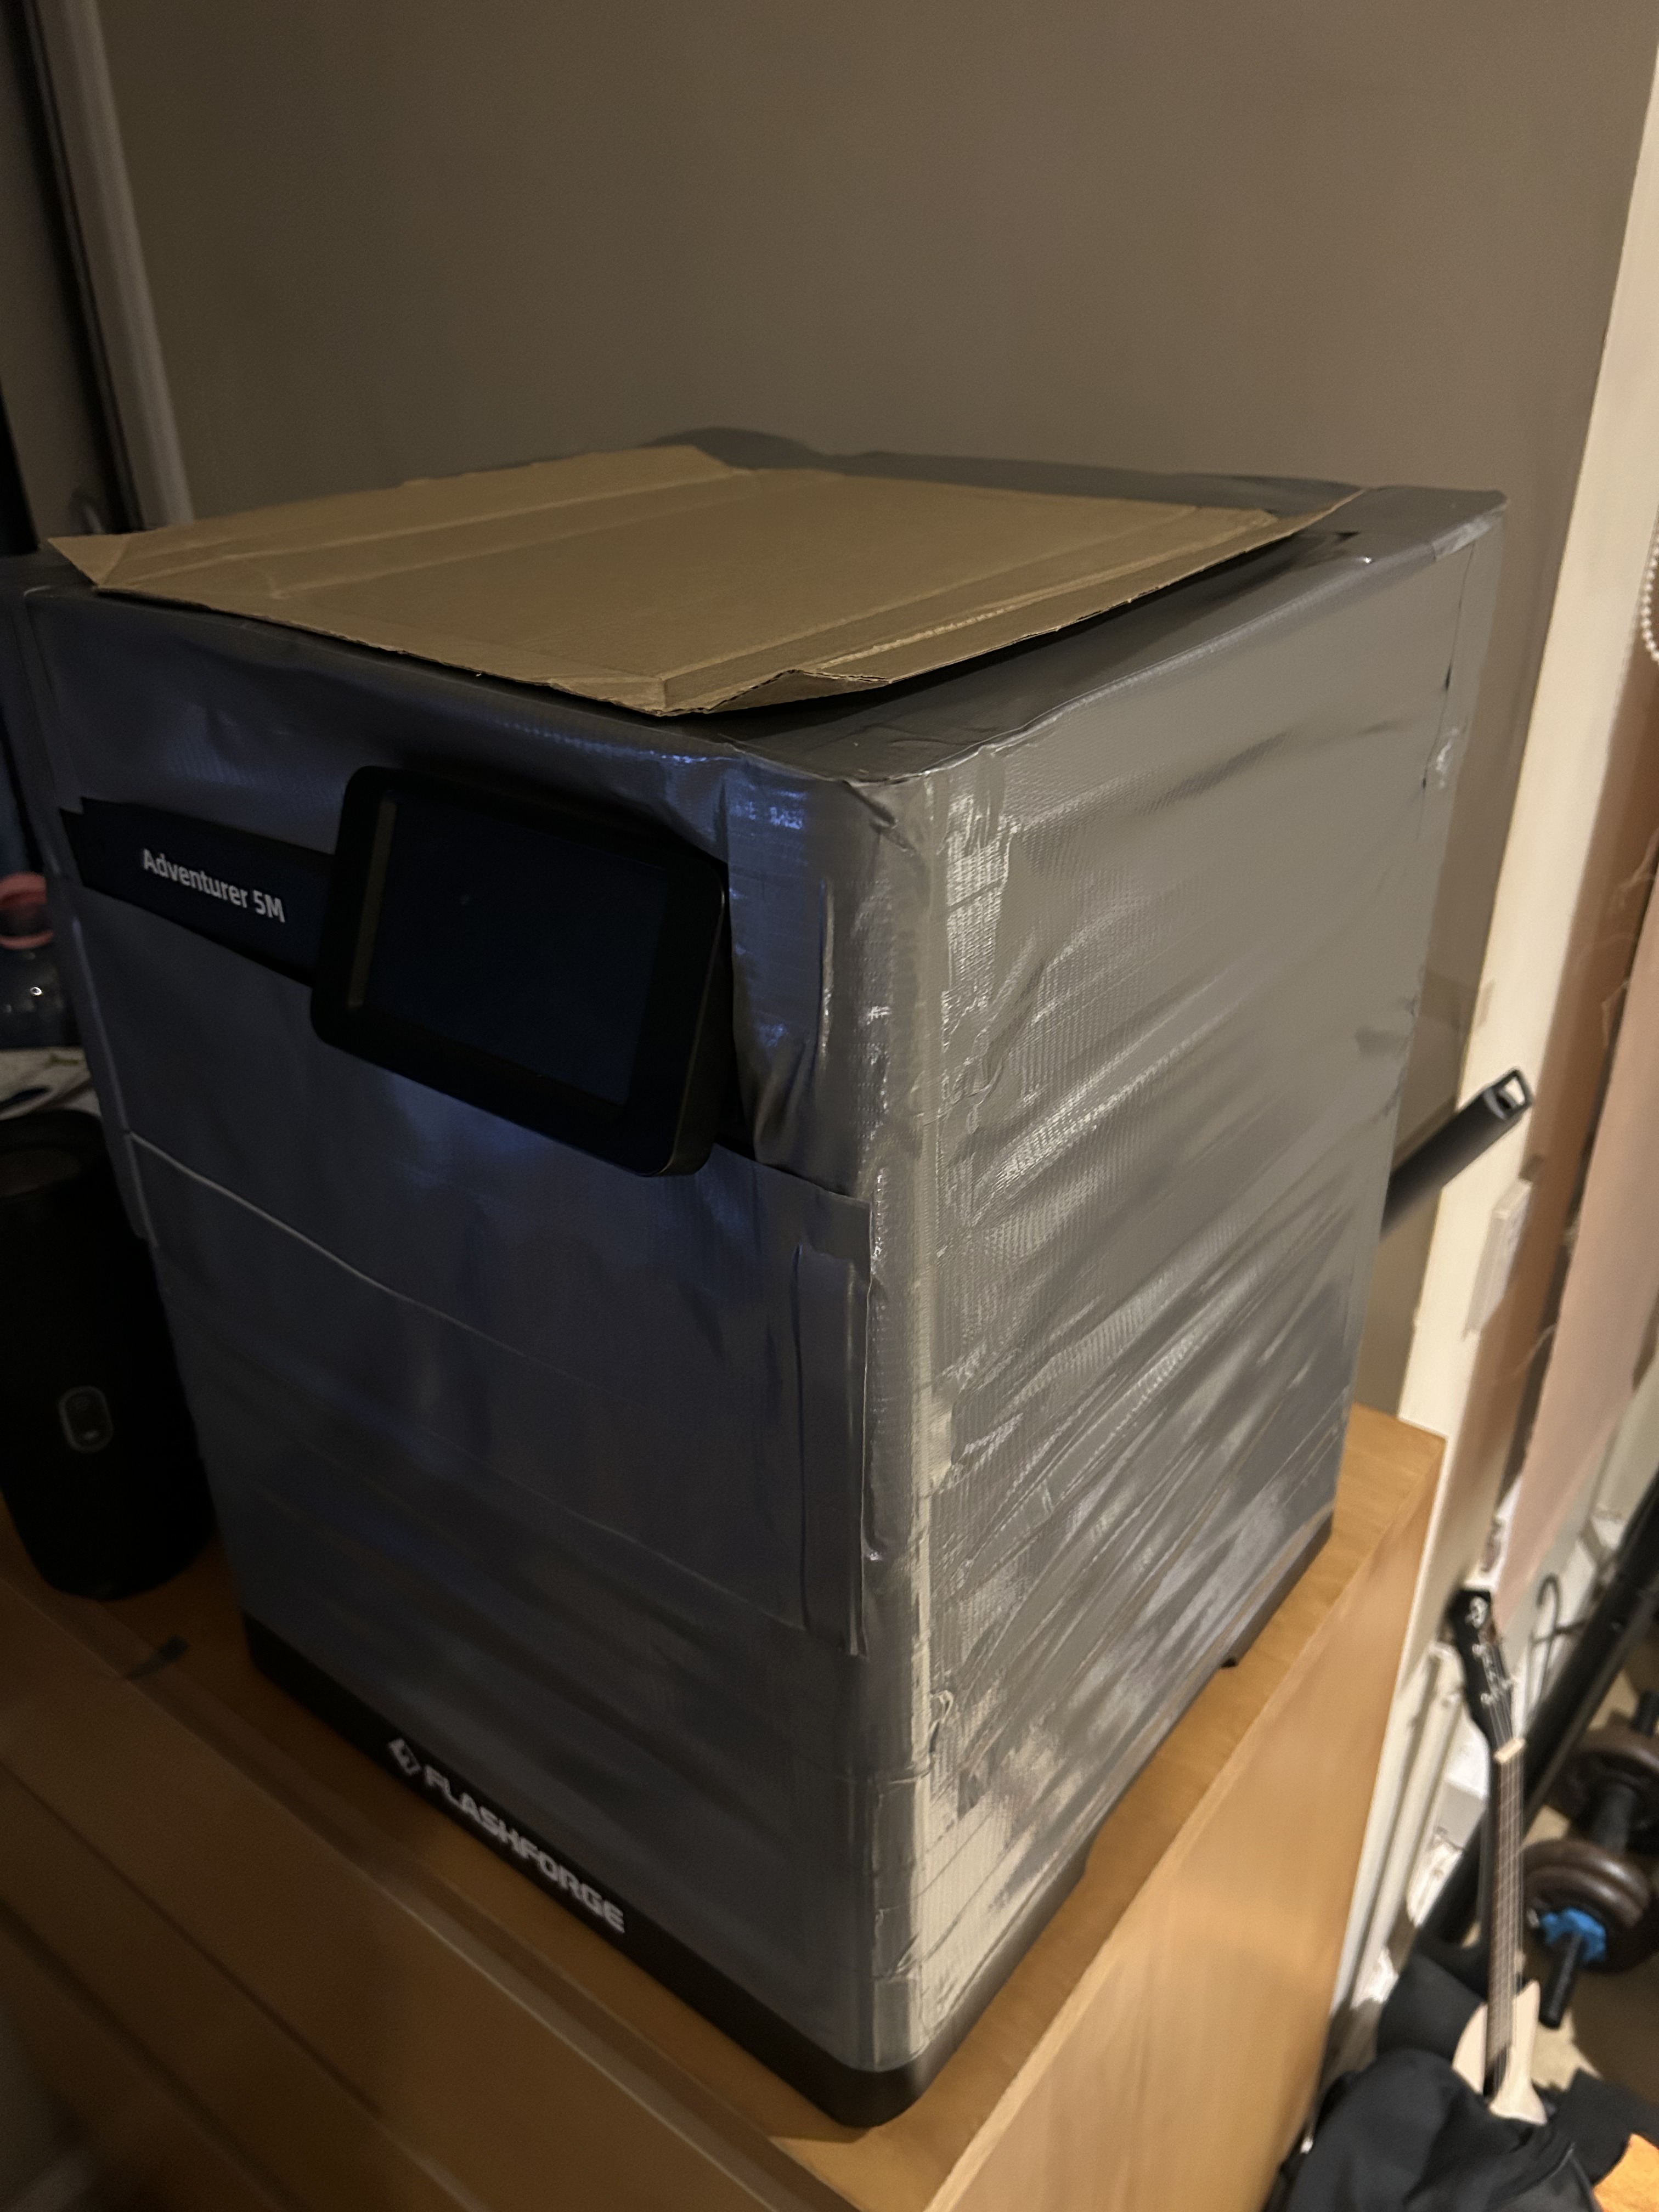
Using tape and the printed mounts you can create a full enclosure for your AD5M. Its not pretty but it works. The original upgrade kit is around £40 and requires you to print most of it yourself … Disclaimer : Keep all tape / external…
I don't charge for my functional models. Please consider purchasing some of my paid models as a way to support both my work, and this great website: https://www.printables.com/@ninjamida/store Check out my other AD5X replacement parts,…
Der Rollenhalter läuft mit zwei Kugellagern 20x32x7mm, die in die Spindel eingebaut werden. Die Spindel wird anschließend über die Achse geschoben und mit der Kappe und einer Schraube M3 gesichert. Die Filamentrolle wird zwischen den…
Vent cover for AD5M/AD5X with integrated slot for temperature/humidity sensors. Also available without the hole for the sensor. Link to the sensor I used: https://www.amazon.com/dp/B0DXCSXT9X?th=1
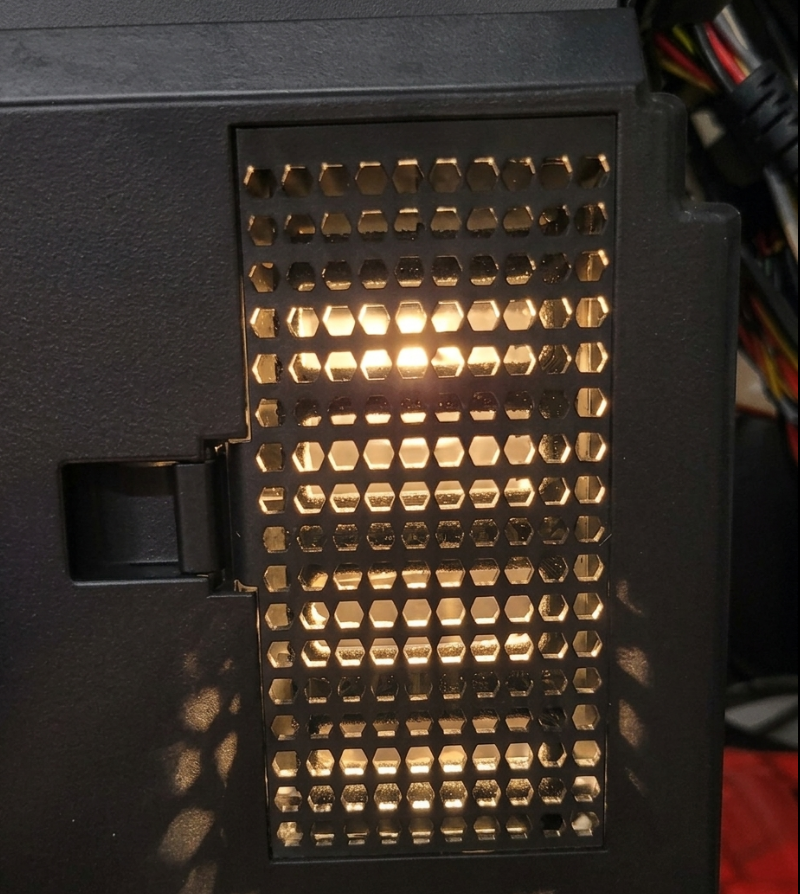
Honeycomb-style vent cover for AD5M / AD5X designed to improve airflow while maintaining structure. Also available with a hole for a hygrometer / temperature sensor.
ссылка на камеру где покупал: https://www.ozon.ru/product/1920x1080-usb-modul-kamery-dlya-3d-printerov-plata-kamery-2359974289/?tab=reviews
This is a remix of the tool holder and bracket
Vent cover for AD5M/AD5X with integrated slot for temperature/humidity sensors. Also available without the hole for the sensor. Link to the sensor I used: https://www.amazon.com/dp/B0DXCSXT9X?th=1
🧵 Side Spool Holder – Flashforge Adventurer 5M Este modelo é um suporte lateral para bobines de filamento desenvolvido para a Flashforge Adventurer 5M (AD5M) , permitindo posicionar a bobine de forma mais ergonómica e eficiente em relação…
UPDATE: have experimented with using the batt mmu as a make shift H2d style extruder switcher with the x2d nozzle lifter mechanism and covers. as im too busy with life and still learning the motion side of fusion, this remains unfinished,…
Rear parts of the top case with the possibility of installing hinges and a flat lid handle. Plus a drawing indicating the locations and dimensions of the holes for attaching the hinges to the lid. The hinges used are the same as those for…
These Mounting brackets currently fit on Rear of the FlashForge 5MPro. They slide onto my Dry Box Base Bracket Stand and Support my spool holder. There are 2 versions. Regular 5MPro 5MPro with the lid Riser installed. All of my projects:…
NEW The new remix prints as one piece, not two, with no supports needed, and this eliminates an intermediate step of gluing two parts together. Kudos and thanks to WingWong (@WingWong_521453) for the idea. I'd have just used his remix,…
These are printed accessories for adding LED light bars to the Flashforge Adventurer 5 (AD5M) printer. Printing info: Print as oriented No need of supports. The LED “mount” bars were printed on the AD5M. The longer parts have to be…
Аuthor modification Project ILYASmod for 3D printer FF AD5m Update: Enclosure set: 0.5ver. (including base set and mods) Assembly instructions and other information: https://t.me/ILYAS_mod_AD5m Project ILYASmod - Enclosure (basic…
Vented riser for Flashforge AD5M, modified from this design to not interfere with spool holder. I also added a magnetic connector: press-fit ½" neodymium magnets into the recesses (I bought them at Home Depot). If you don't want to use…
Фильтр для 3D принтера Flashforge AD5M печать выполнена PETG ,но лучше будет из ABS (заполнение корпуса и крышки Героид 18-23% ) 4 периметра , 4 слоя крышки, 4 слоя дно вентиляторы 5015 24v х 3 шт 4 винта М3 х 8 мм 4 втулки вплавляемых М3…
I have incorporated several ideas into a single model. Remix of the official enclosure risers. Remix of Riser D, took the remix of santa(lemuroff) and added HSW on his model. Check out my spool holder remix as well. I took the idea of…
Allows you to use a Filament-cutter with the Enclosure Upgrade Kit. Print at least with PETG. Supports needed.
Lid 45-angle holder attachment for my remix of the top cover for the ad5m printer enclosure. This holder can fit into the empty-inserts of the HSW system. Orientation file for orca included, If you make changes be sure to set the correct…
Modified hinge for the Flashforge Adventurer 5M Modified to accept a 5x25mm pin or bolt/screw.
Small pocket style handle for the front door of the Flashforge Adventurer enclosure.
I printed this with standard settings for PLA, glued the mounting blocks to the pivot pin. the middle section is like 4 parts including a spacer for the two “bars”, super simple to put together and operate. As of right now I have some…
Check out the original designers listings for extra information. Doug Joseph (design8studio) has a great explanation of the spool modifications and readjustments he made. This spool holder fits perfectly the remix of the flashforge ad5m…
Removed the fillets from the original enclosure risers for a slicker and aesthetically pleasing design. Also added top panel guides to the rear risers for sliding the top panel from the enclosure kit into for a better, snug fit.
Flashforge mod for ERCF v2 featuring an entry sensor Pneumatic valve connector ensures filament doesn't pop-out during filament changes Entry sensor gives Happy Hare an additional sensor to work with during filament changes. Installation…
Hinged lid stand for Flashforge Adventurer 5M (AD5M) 3d printer. Works with manufacturers' DIY enclosure - just unscrew screws and screw them back with this stand. When stand is not needed, it just laying flat on the back side of a lid.…
FF AD5M minimal enclousure; Compatible with OG enclosure kit, no modification required I also added thermal insulation on two side panels. Chamber temp reaches 100F when printing PETG @ 75C / 245C Printed parts using 0.6mm nozzle w PETG @…
By changing the printer configuration and printing engineering plastics on it, warming up the table to 129 degrees, the original plastic washers melted, so I made this model and printed it from high-temperature PA-GF30HT <3
Боковые стенки “колпака” взаимозаменяемые - делал это для удобства замены и модернизации - их легко можно снять и заменить, для их крепежа использовал саморезы 2.3х10мм (16шт) Крепление боковых стенок левой и правой на винты М4 х 10…
top mounted filament holder for flash forge AD5m PRO mounts to front right corner with lid down. Lay on side with flat bottom of roller use supports and paint in to the hexagons as well to the flat spot on the roller
Remix of drag chain by INQUE. For those who don't want to use spool holder.
Link to the chain To install it, you will need: 1) Screw M3x10 ISO7379 (10mm is the size of the smooth part! To this length, 6mm threaded parts are added, a total of 16mm!) Or screw the limiter onto a regular M3x16, the file is available…
Саморез 2.5х10 4 шт для крепление клипсы Винт М5х30 Гайка М5 Подшипник (фланец) F695ZZ - 2 шт Винт М3х10 2 шт для крепления к колпаку зашивки
Filter vent cover that snaps into the holes in the existing cover to seal hot air in the chamber. Without it the hot air just escapes through the electronics enclosure. I've seen others that replace the original cover completely but the…
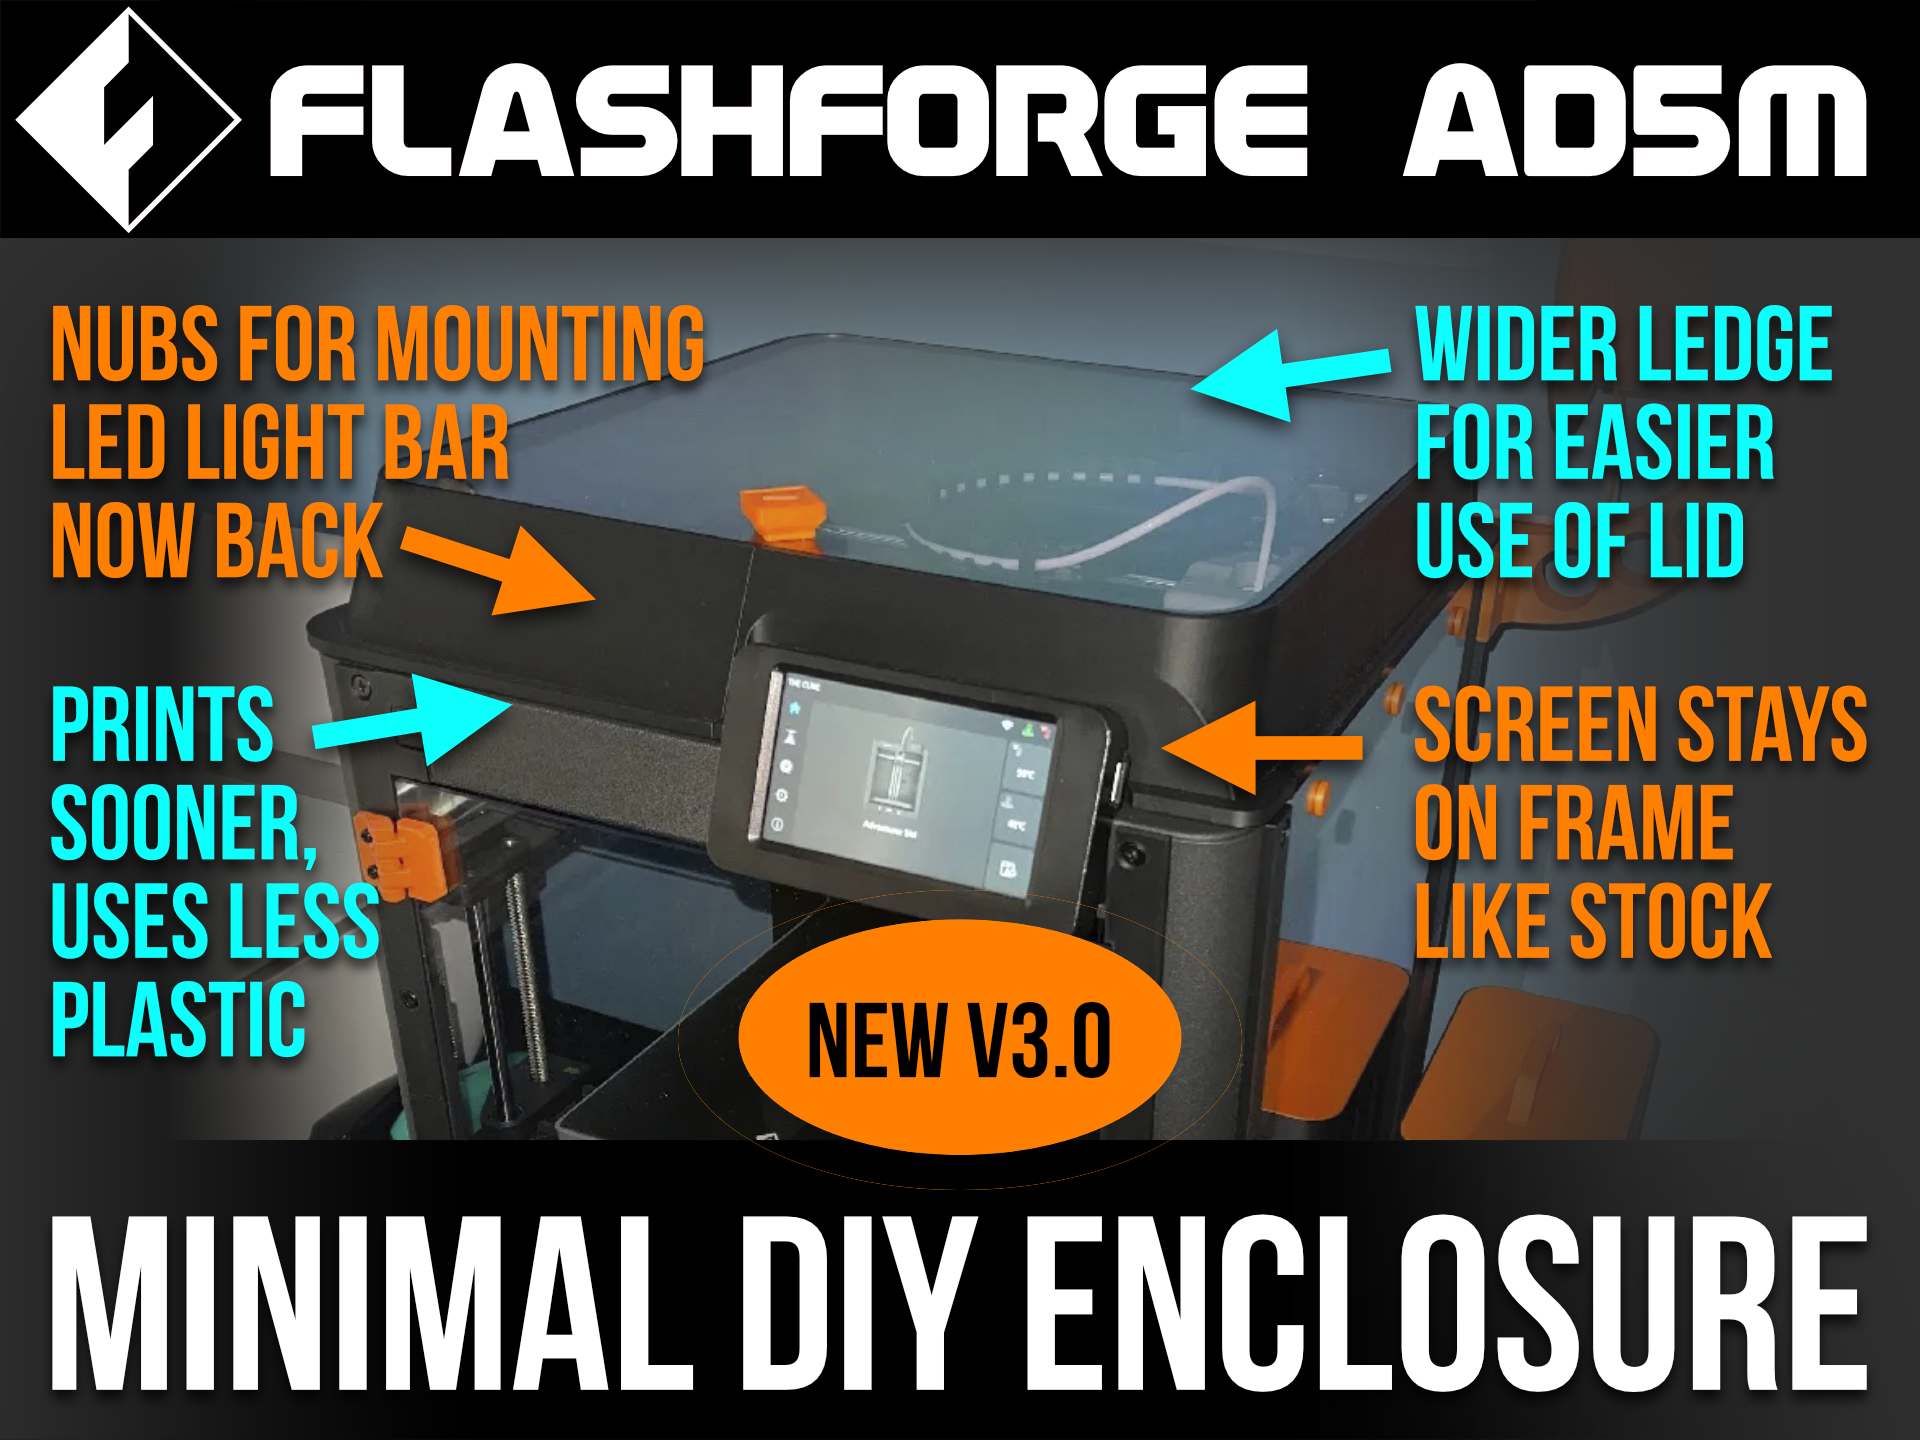
NEW VERSIONS v3 of the AD5M door hinge now available expressly for the Minimal enclosure and its remixes. It moves the plexiglass door downward by 5mm to accommodate getting the touchscreen back on the metal frame, as well as all the…
Flashforge AD5M Door Handle - remixed to print without supports needed Only change is to angle the existing overhang so the part can be printed without need of supports This is regarding the DIY enclosure upgrade . HEADSUP 1: I just…
PETG, 3 walls, 100% infill, the part is originally upside down so flip it in the slicer to print correctly
FAQ Q: I printed your enclosure and I can’t figure out how to install the filament sensor / spool holder. I’ve looked on YouTube for installation videos and still stuck. Any help would be greatly appreciated. A: Not long after the initial…
FAQ Q: I printed your enclosure and I can’t figure out how to install the filament sensor / spool holder. I’ve looked on YouTube for installation videos and still stuck. Any help would be greatly appreciated. A: Not long after the initial…
FAQ Q: I printed your enclosure and I can’t figure out how to install the filament sensor / spool holder. I’ve looked on YouTube for installation videos and still stuck. Any help would be greatly appreciated. A: Not long after the initial…
FAQ Q: I printed your enclosure and I can’t figure out how to install the filament sensor / spool holder. I’ve looked on YouTube for installation videos and still stuck. Any help would be greatly appreciated. A: Not long after the initial…
Heads-up News Heads-up #1: there’s a newer version of this here: https://www.printables.com/model/1247920-new-v30-of-top-riser-set-for-flashforge-adventurer Also, heads-up #2: There is a helpful new “guard plate” improvement remix…
Simple and easy to print model no supports needed and no modifications needed once finnished printing other than adding the 2 ptfe tubes. installation is easy just need a longer bolt to screw it it with (same as original). Hope this print…
This is one of three options I've made available for Bowden PTFE Coupler C-Clip for the Adventurer (AD5M) Runout Sensor. OPTION 1 of 3 — Clone of the stock factory clip PLA. Print as oriented. I used 0.2 mm layer height on 0.4 mm nozzle.…
Overview: This is suitable for those who purchased the original DIY enclosure kit from Flashforge and are looking for a more convenient and practical version of the printed parts. The PETG plastic weight is approximately 600 grams for the…
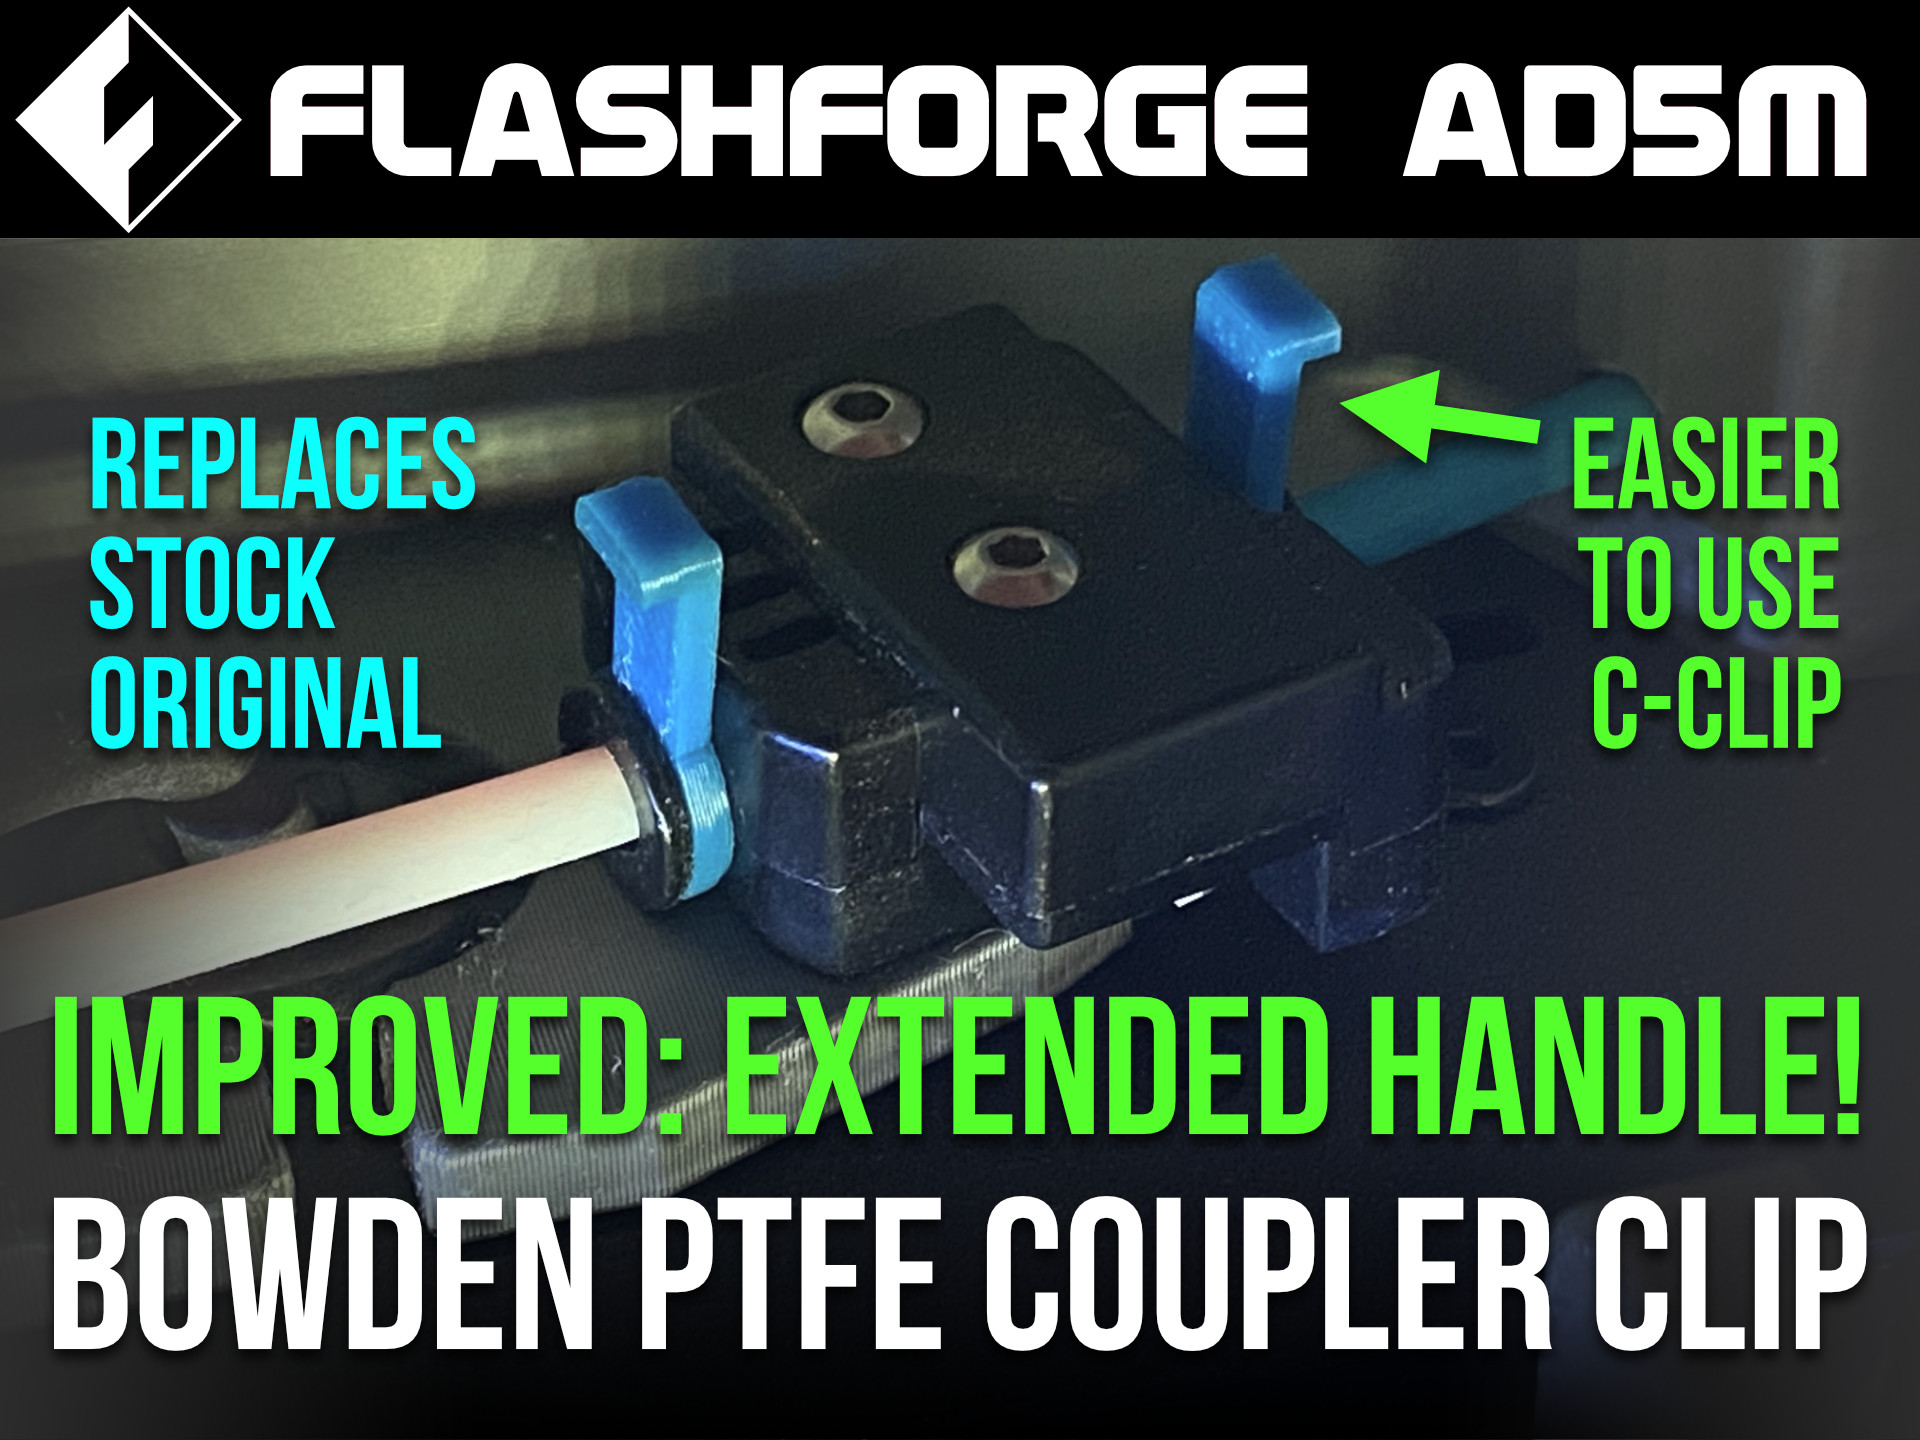
This is one of three options I've made available for Bowden PTFE Coupler C-Clip for the Adventurer (AD5M) Runout Sensor. OPTION 2 of 3 — EXTENDED HANDLE — Easier to use, both for removal and installation, because of having more to grab…
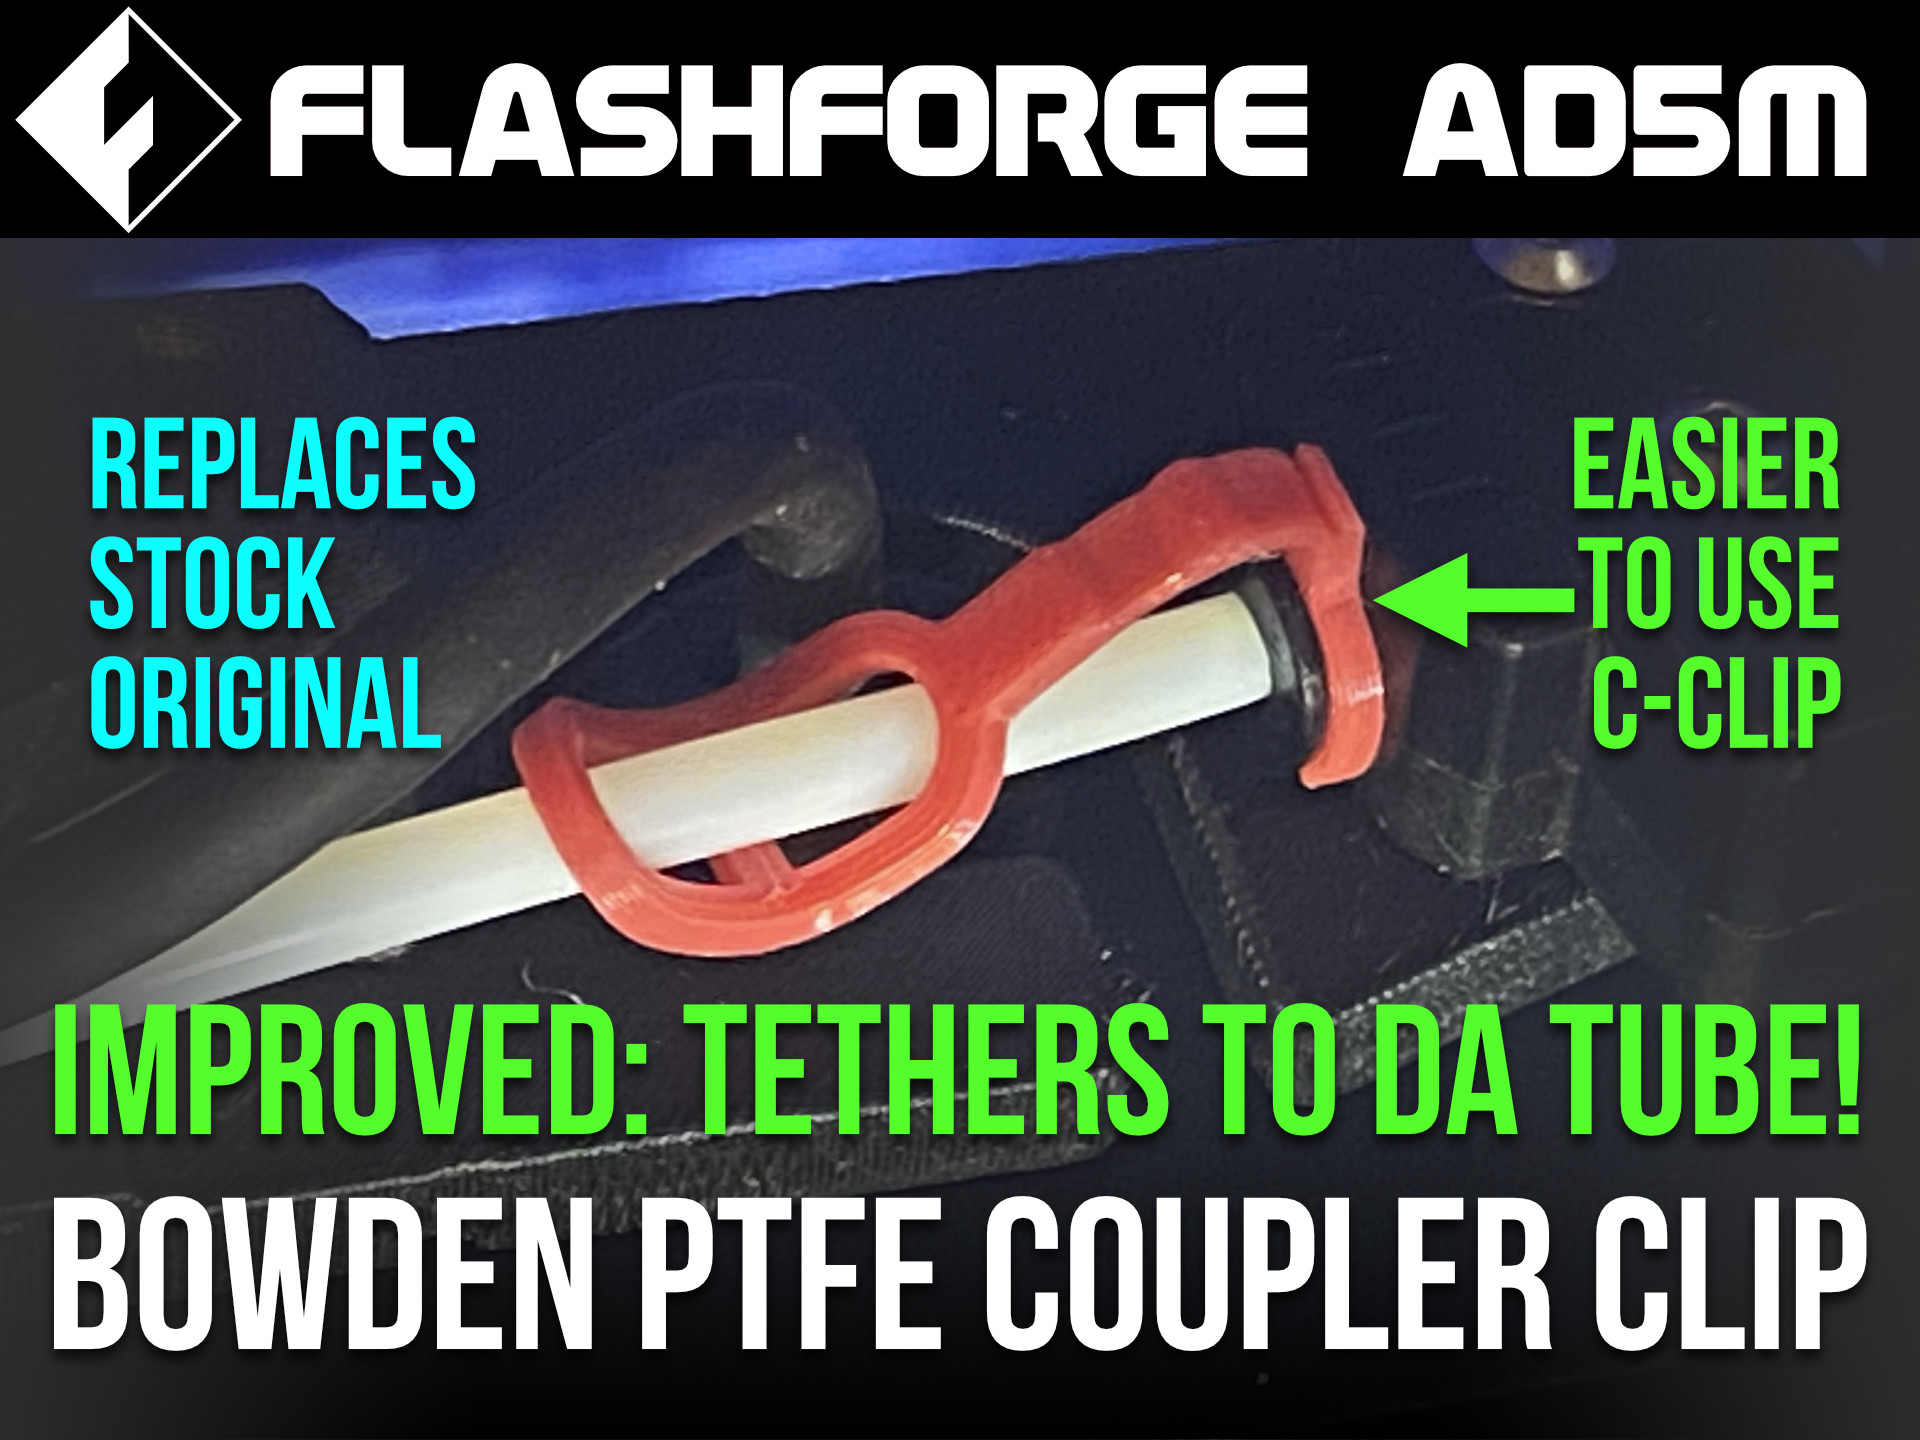
This is one of three options I've made available for Bowden PTFE Coupler C-Clip for the Adventurer (AD5M) Runout Sensor. Kudos & thanks to Vance Howard for the suggestion. OPTION 3 of 3 — TETHER to TUBE edition — Prints in TPU. Easier to…
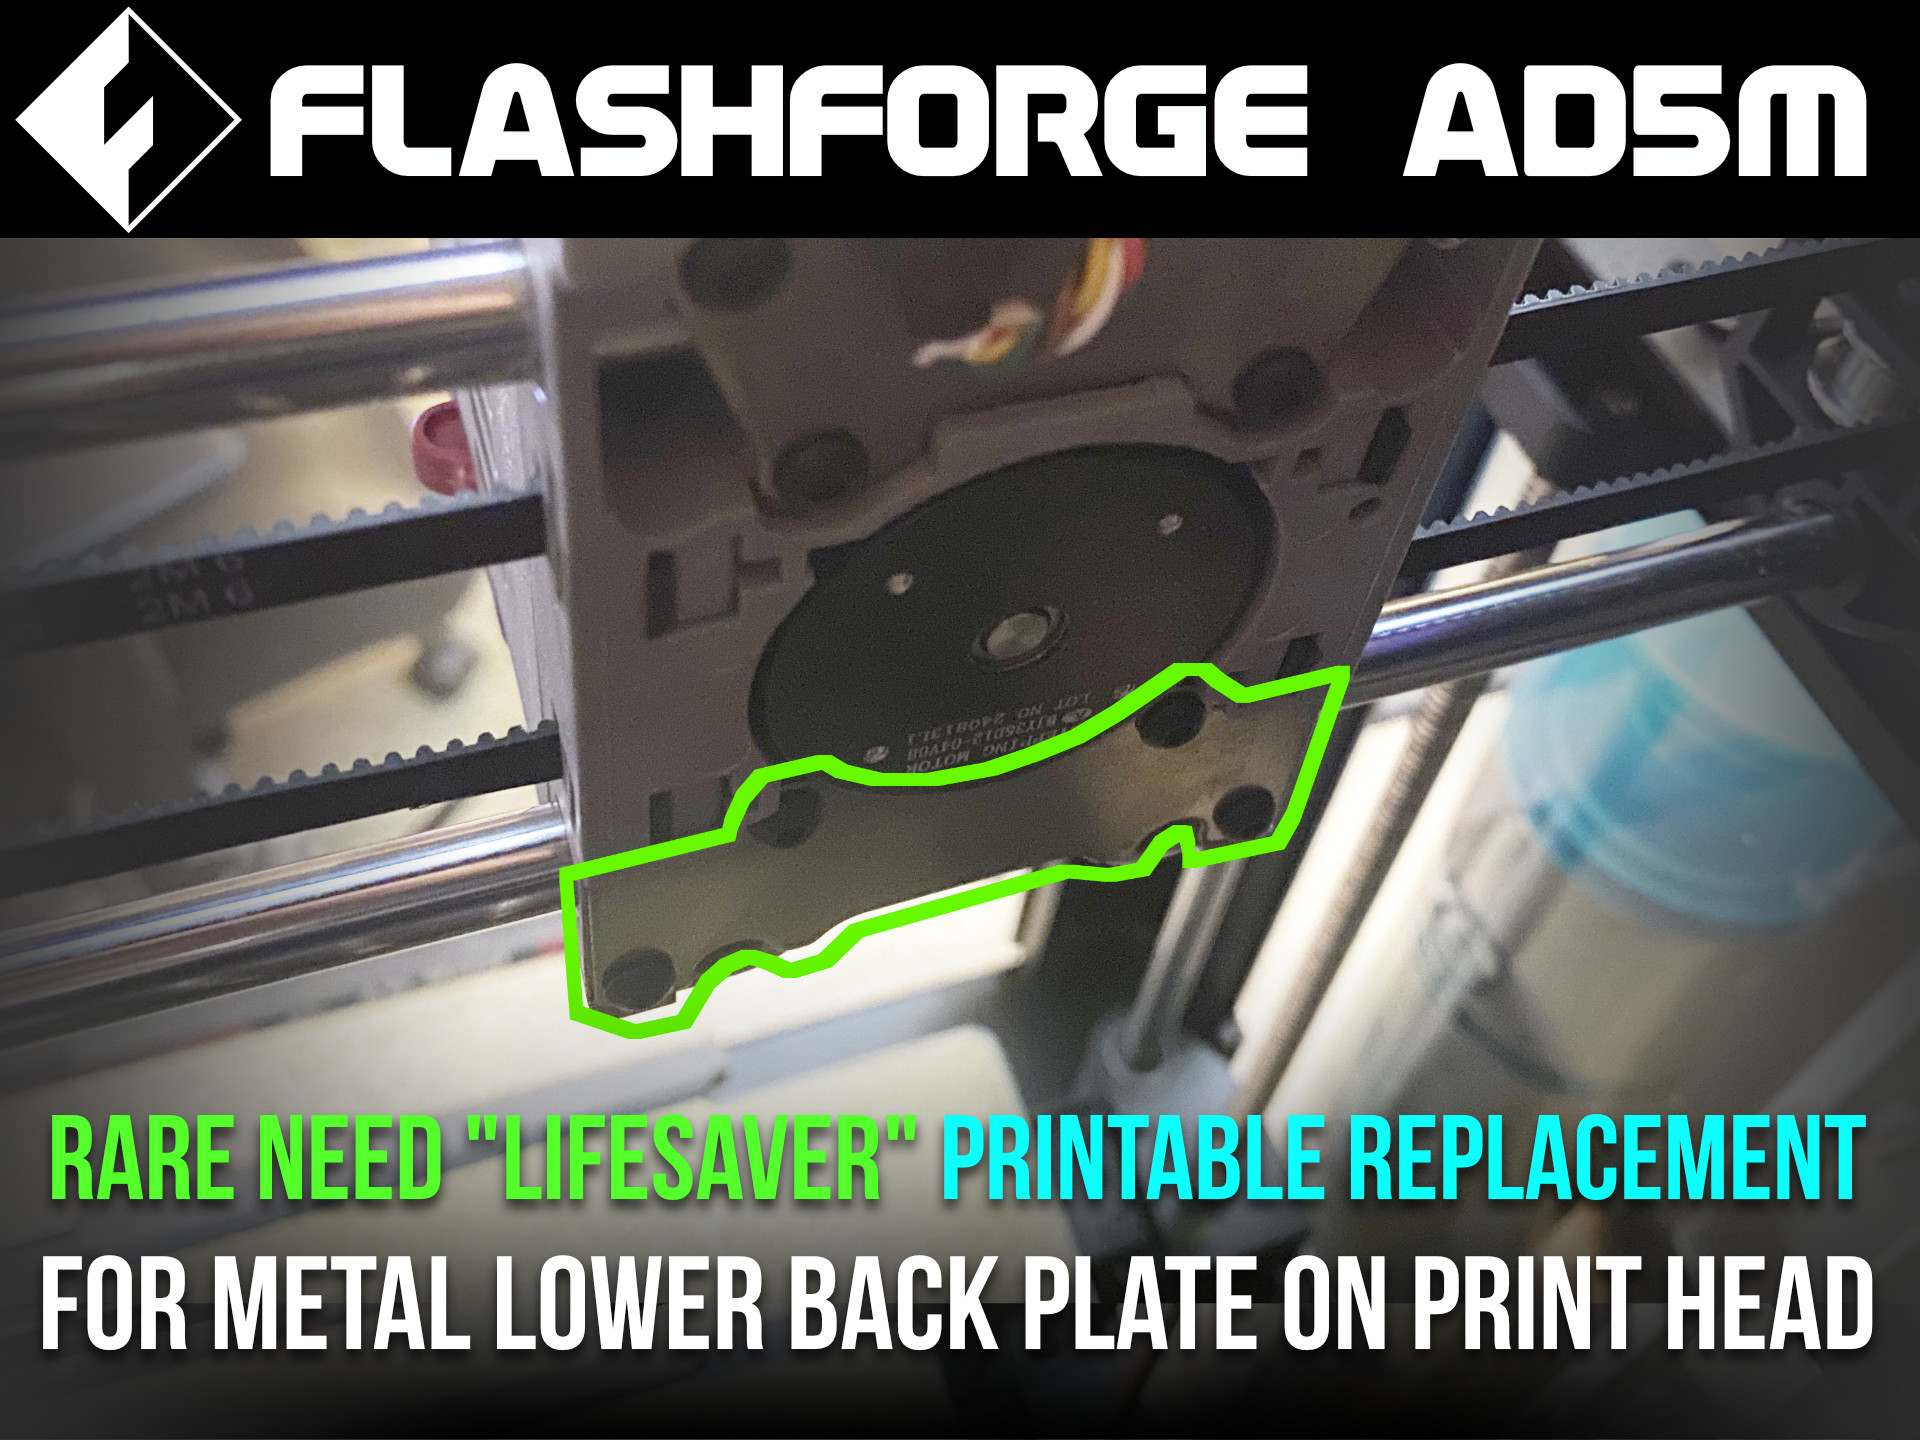
[1 of 2: UPPER PLATE] Flashforge AD5M, printable replacement of metal back plates for the print head NOTE: If anyone still has their metal plates, definitely don't replace metal with plastic. 🙂 This is for last resort effort for those who…
[2 of 2: LOWER PLATE] Flashforge AD5M, printable replacement of metal back plates for the print head NOTE: If anyone still has their metal plates, definitely don't replace metal with plastic. 🙂 This is for last resort effort for those who…
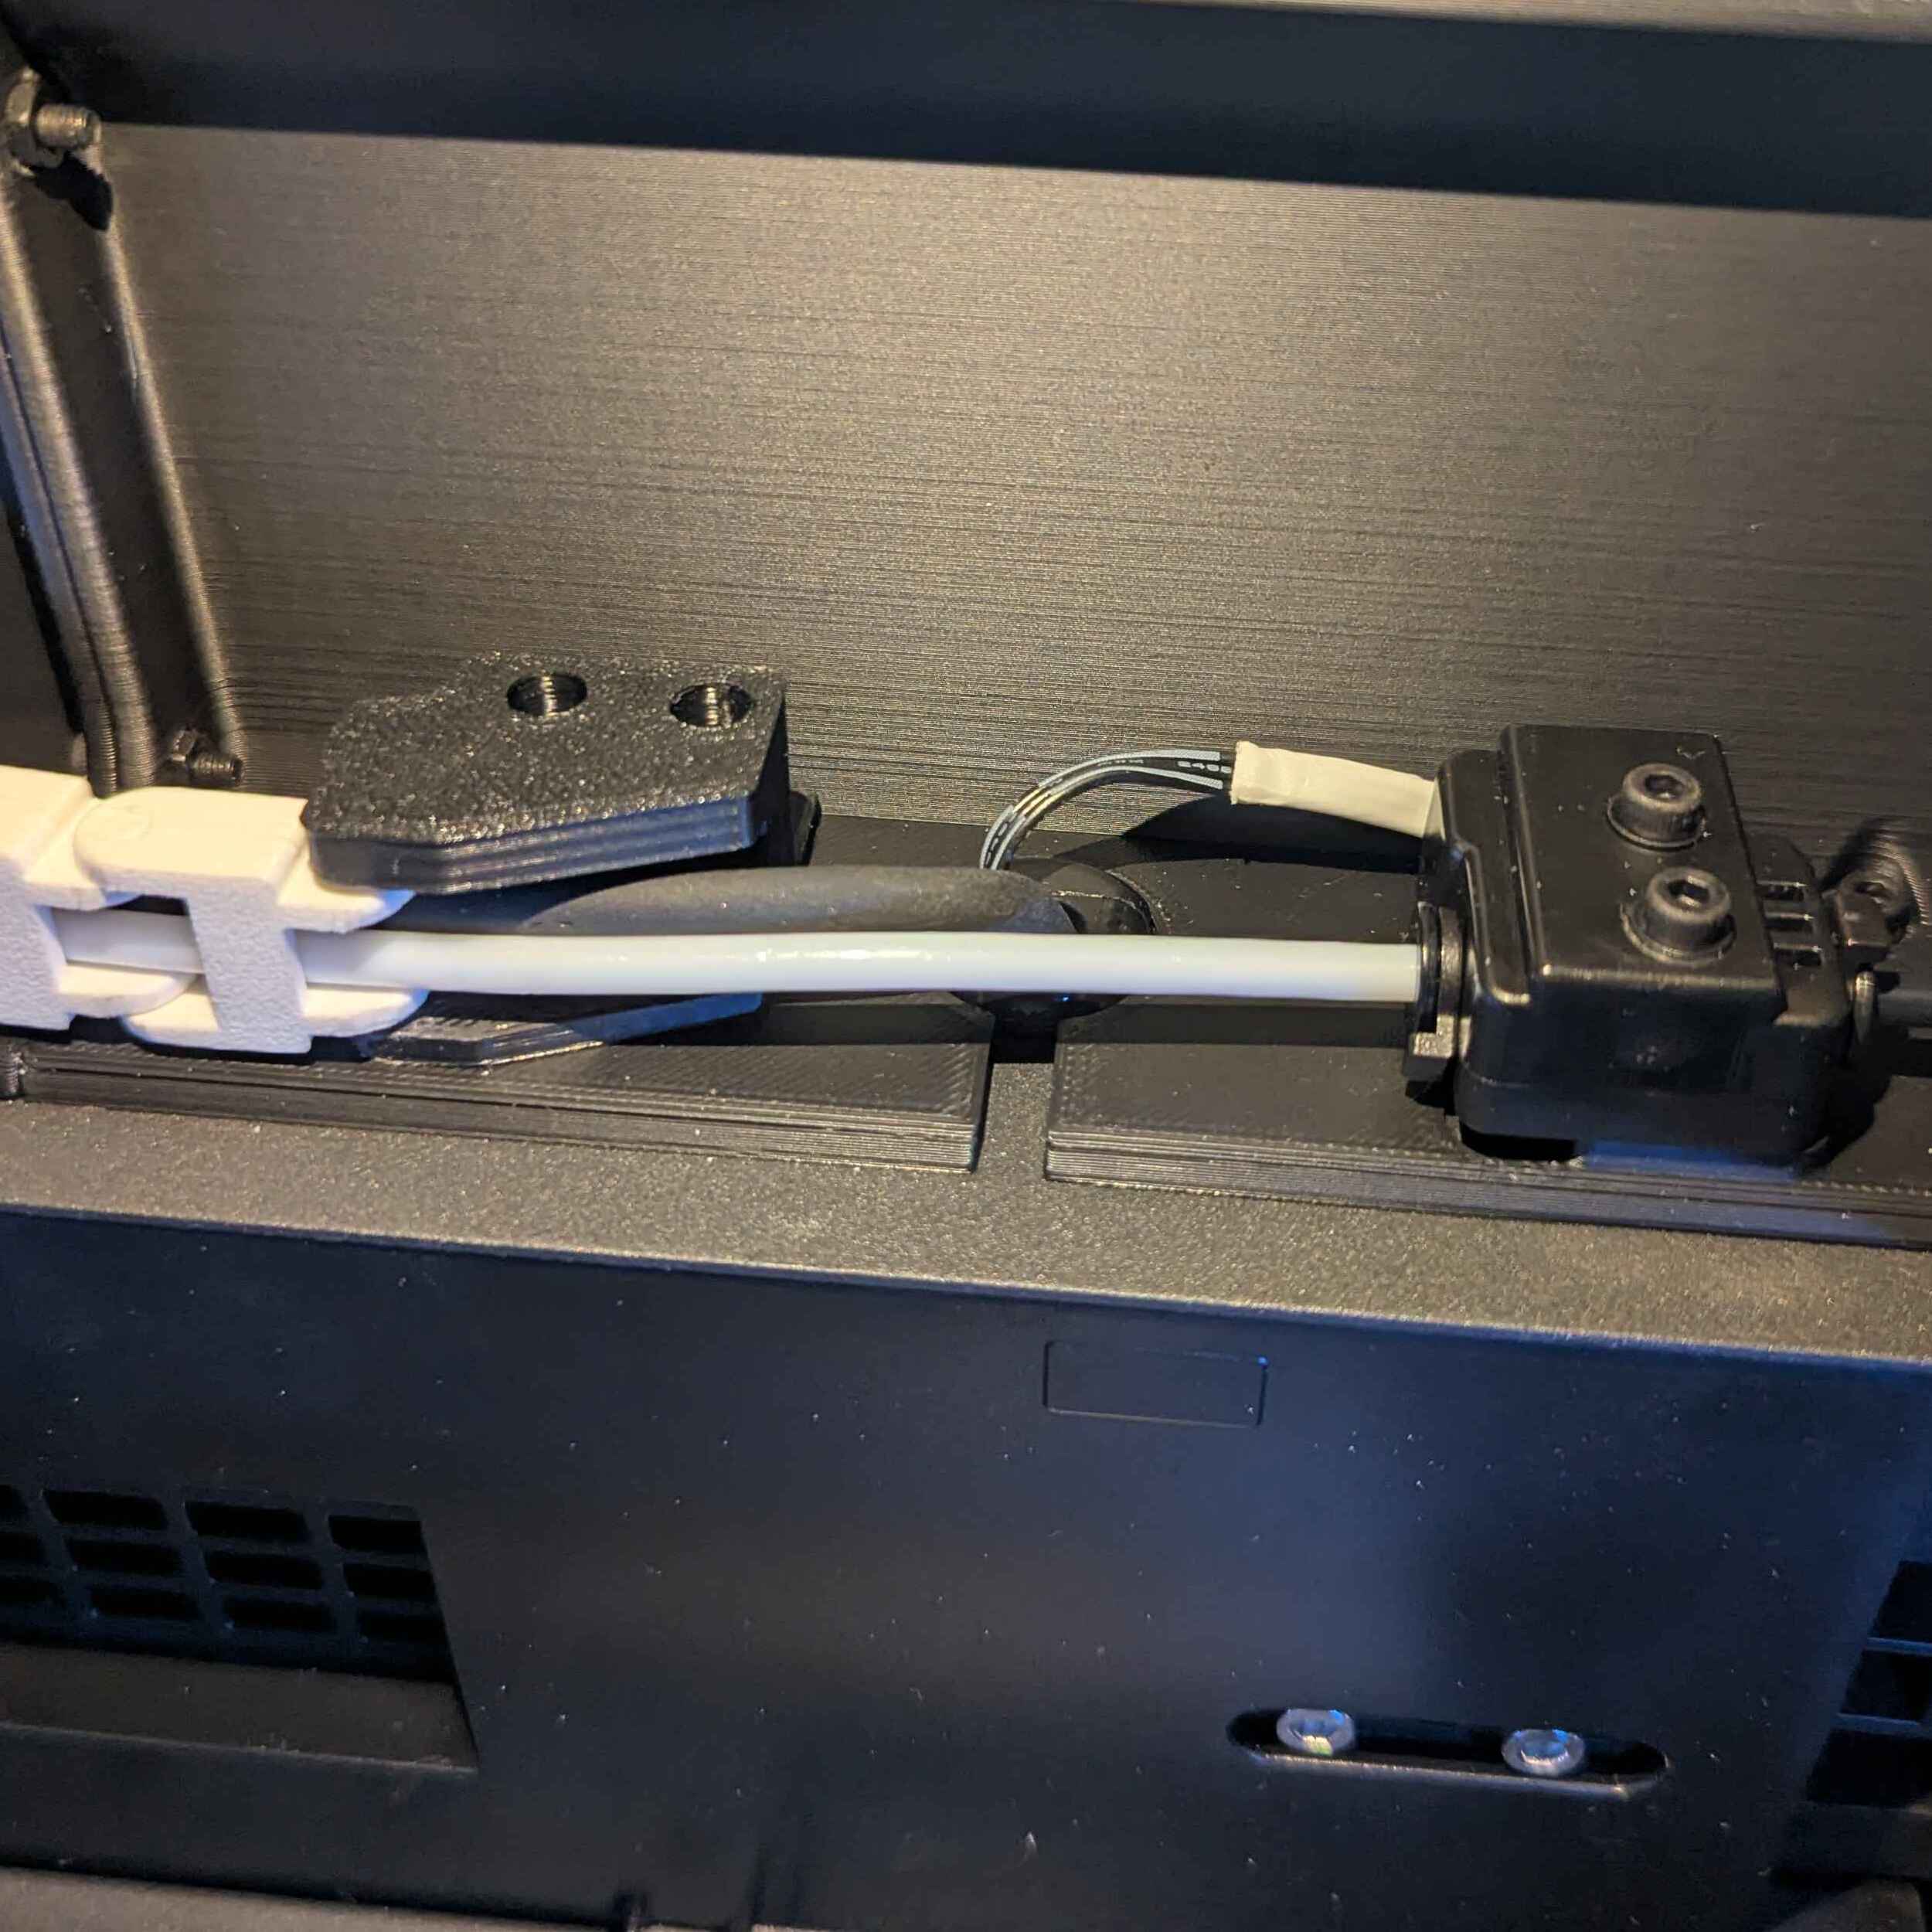
This AD5M Enclosure didn't come with a drag chain mount, so I made one using the "original" Flashforge model as a rough guide. It's simplified and prints in 3 pieces, with the cap being completely optional. Do print the “Drag-Chain…
This is pretty much the 3D build I used to complete my FlashForge DIY enclosure kit. I used Orca Slicer 2.2.0 for the slicing and muddled my way through the free consumer version of Autodesk Fusion for the design mods. For parts I created…
As I'm rethinking my printer setup, I wanted to cover up the ugly wires leading to the LCD and switches that I retrofitted to the case. Hides them pretty nicely. Fits on both sides of the case! For printing, just lay it on the bed…
Removed the cable channels on the side. Grab the rest of the models from the BentoBox post.
Cover for led strip Flasforge AD5M if you use strip 17mm for AD5MPRO LED strip cover when using the original Flasforge AD5M printer firmware Printed by PETG without supports Крышка для светодиодной полоски при использовании оригинальной…
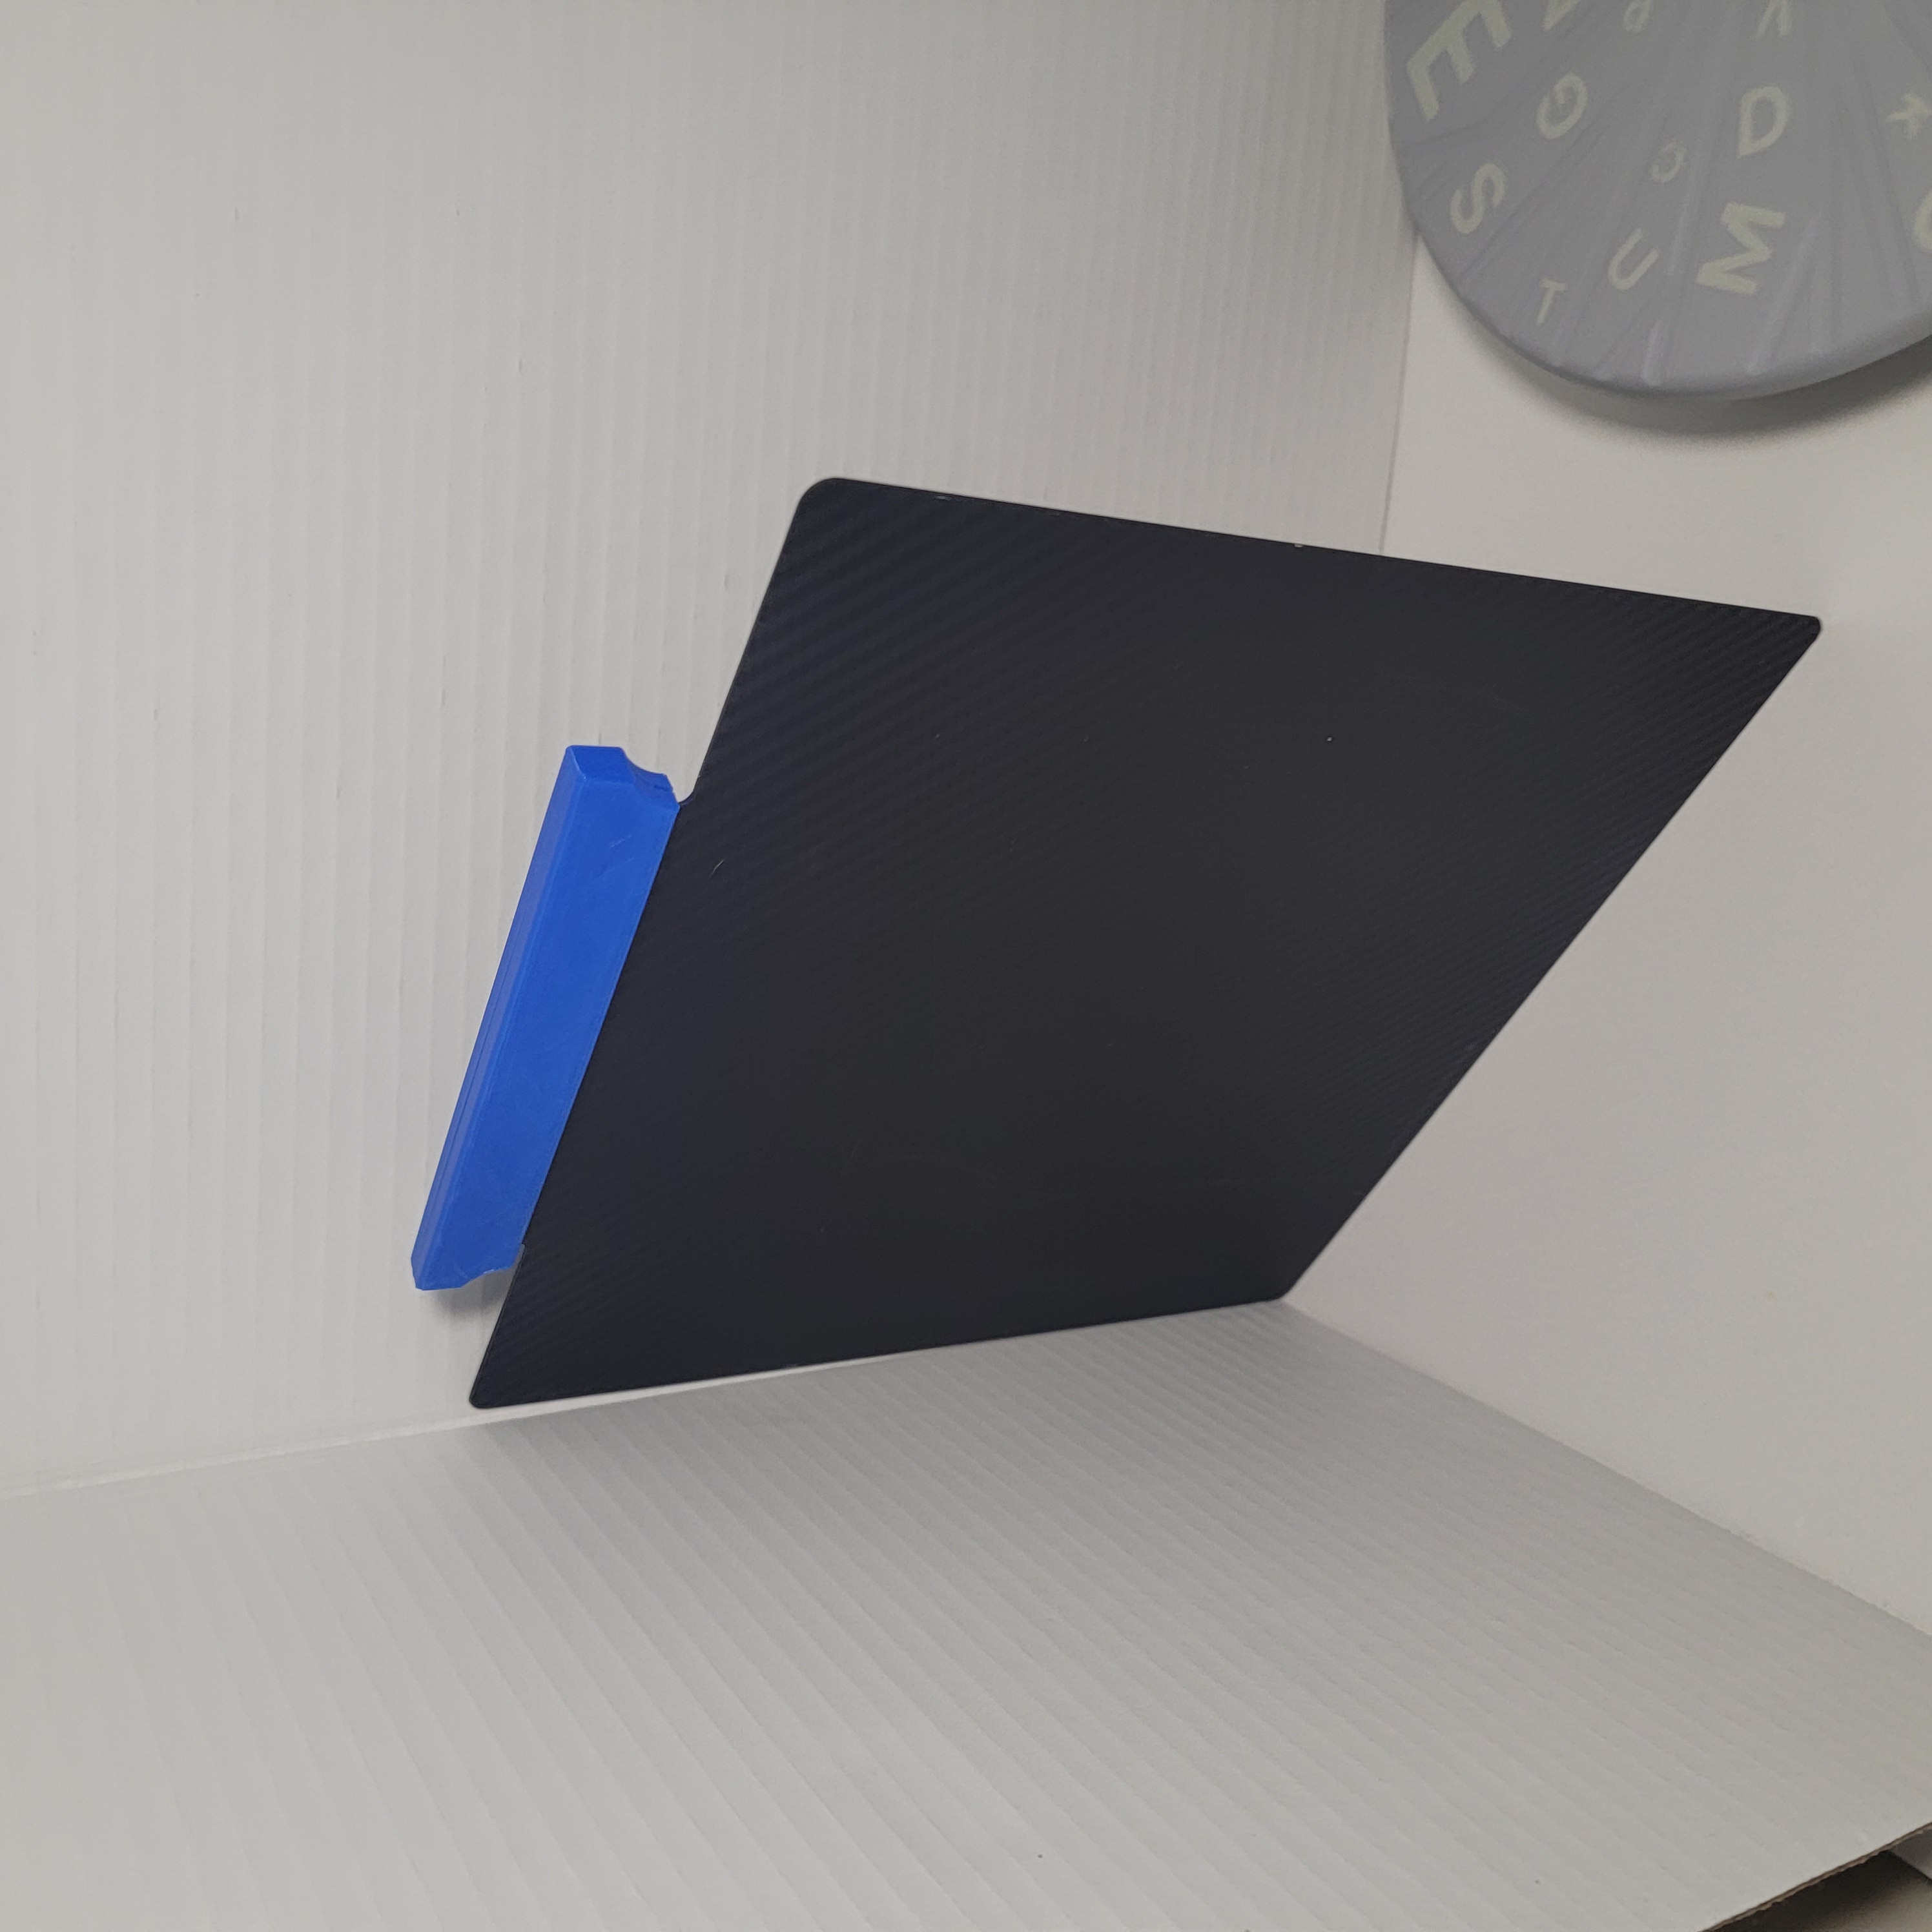
Easy build plate handle for aftermarket AD5M plates. I recommend printing in PETG or better. Presses together with pliers. Glue is optional. It is a snug fit. UPDATE 1/18/25 Slimmed down the profile some for v2.
Uses up to 12x 4x2 magnets - add as many or little as you like. I had issues with other light bars that eventually fell into the printer, so I made my own model adding more magnets to ensure they stand up to the test of time!
EDIT: the linked filter box doesn't exist anymore, and I don't have the files for it either. You may need to find something else to print! Use together with this filter box originally made for activated carbon. It allows you to neatly fit…
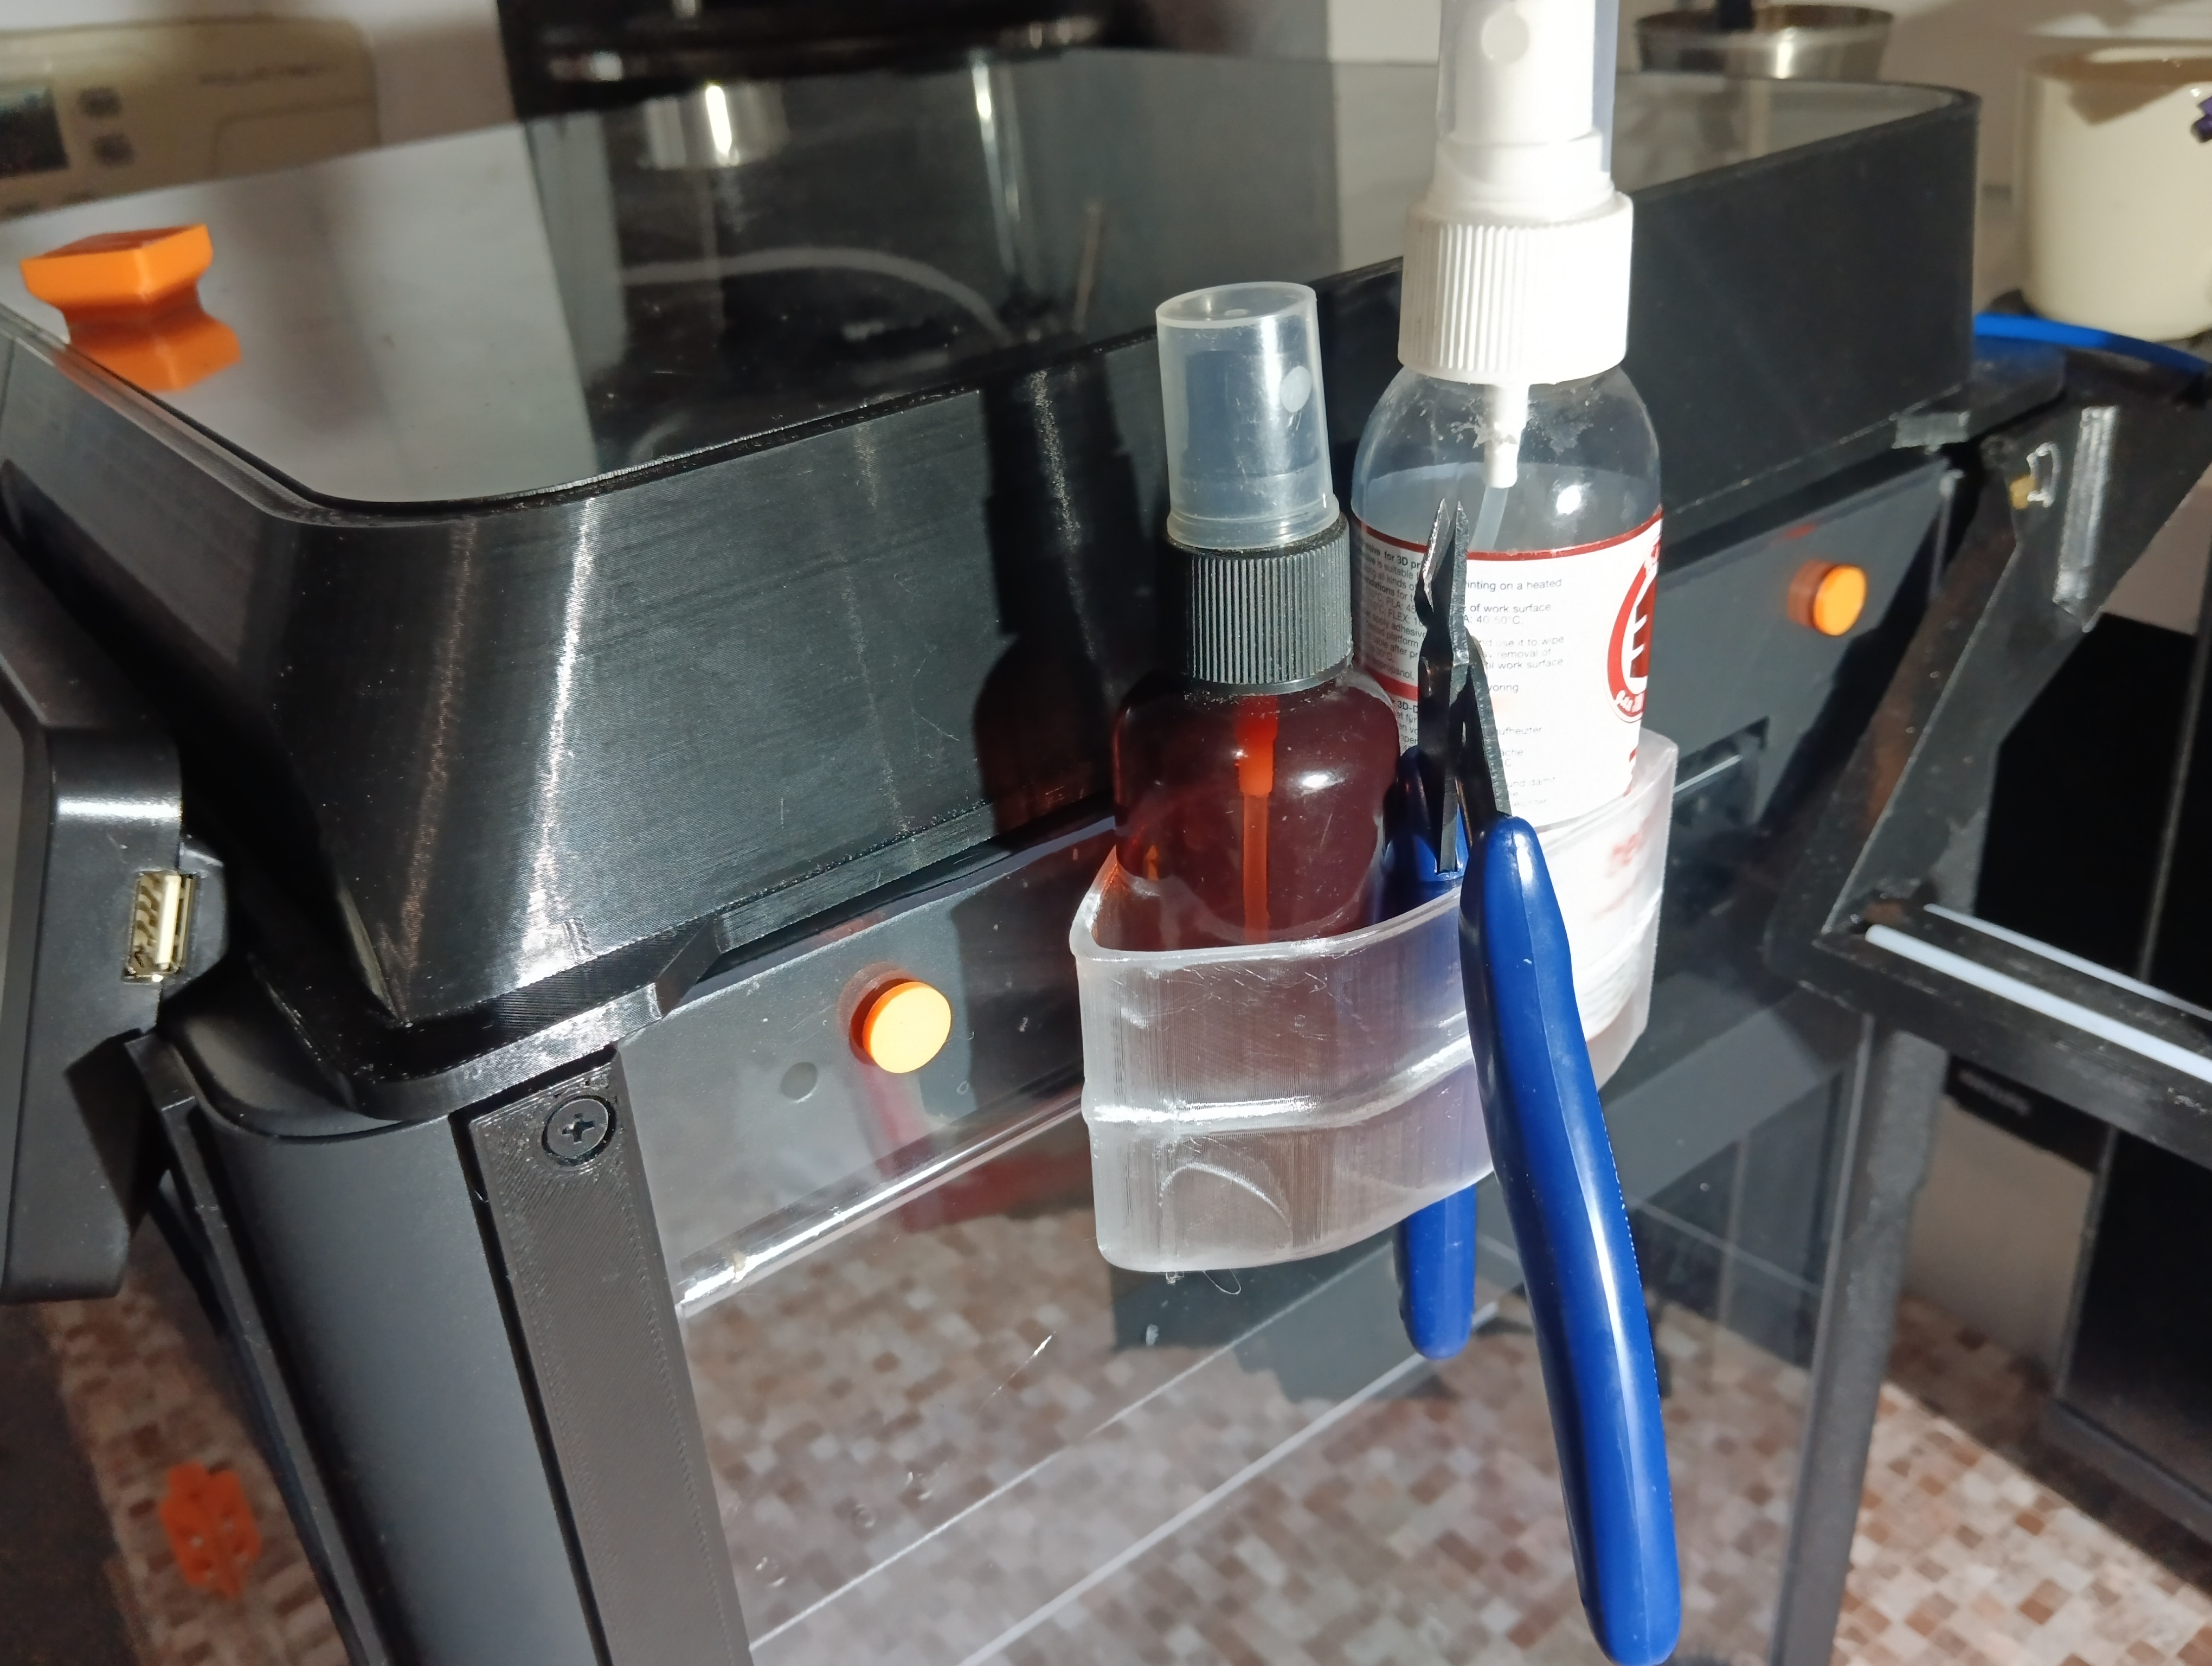
Ein offenes System samt Toolbox und Sprühdosenhalter für den Flashforge Adventurer 5M Pro. Es sind sowohl Halter (Haken) für die Seiten (kurze Version), wie auch für die Rückwand (lange Version) enthalten. Wie immer ist das Projekt offen…
Для сборки 16 вплавляемых втулок М3х4.2х6мм 16 винтов М3х10мм Задняя стенка экрана (печатная крышка) прибирается на саморезы 2мм х 10мм (8шт) у экрана 7 дюймов нужно отпилить крепления (уши) Добавил крепление БП RS-25-5 MEAN WELL Блок…
The cover of the author Airjohan71 Dus was used as a fastening. The cover has been slightly modified - a chamfer has been added to simplify installation. The hygrometer readings are best seen when viewed from above, sitting down if the…