
ESP8266 Smart Home WiFi Button | IoT Click
We calculate the final price from your selected file. You review and accept it before payment.
Saved on this device.

Low Power WiFi Button for Smart Home Automation
- Rating
- 0 / 5
- Likes
- 5
- Downloads
- 14
- Makes
- 0
- Views
- 216
- Reviews
- 0
Updated at source:
Model information
- Source
- Printables
- Category
- Portable Devices
- License
- Creative Commons — Attribution — Noncommercial — Share Alike
The IoT Click:

The IoT Click is a multifunctional WiFi button for home automation. Easily automate your smart lighting, sockets (e.g. WLED, Shelly, devices from home assistant, etc.) with just the push of a button.
Required Parts:
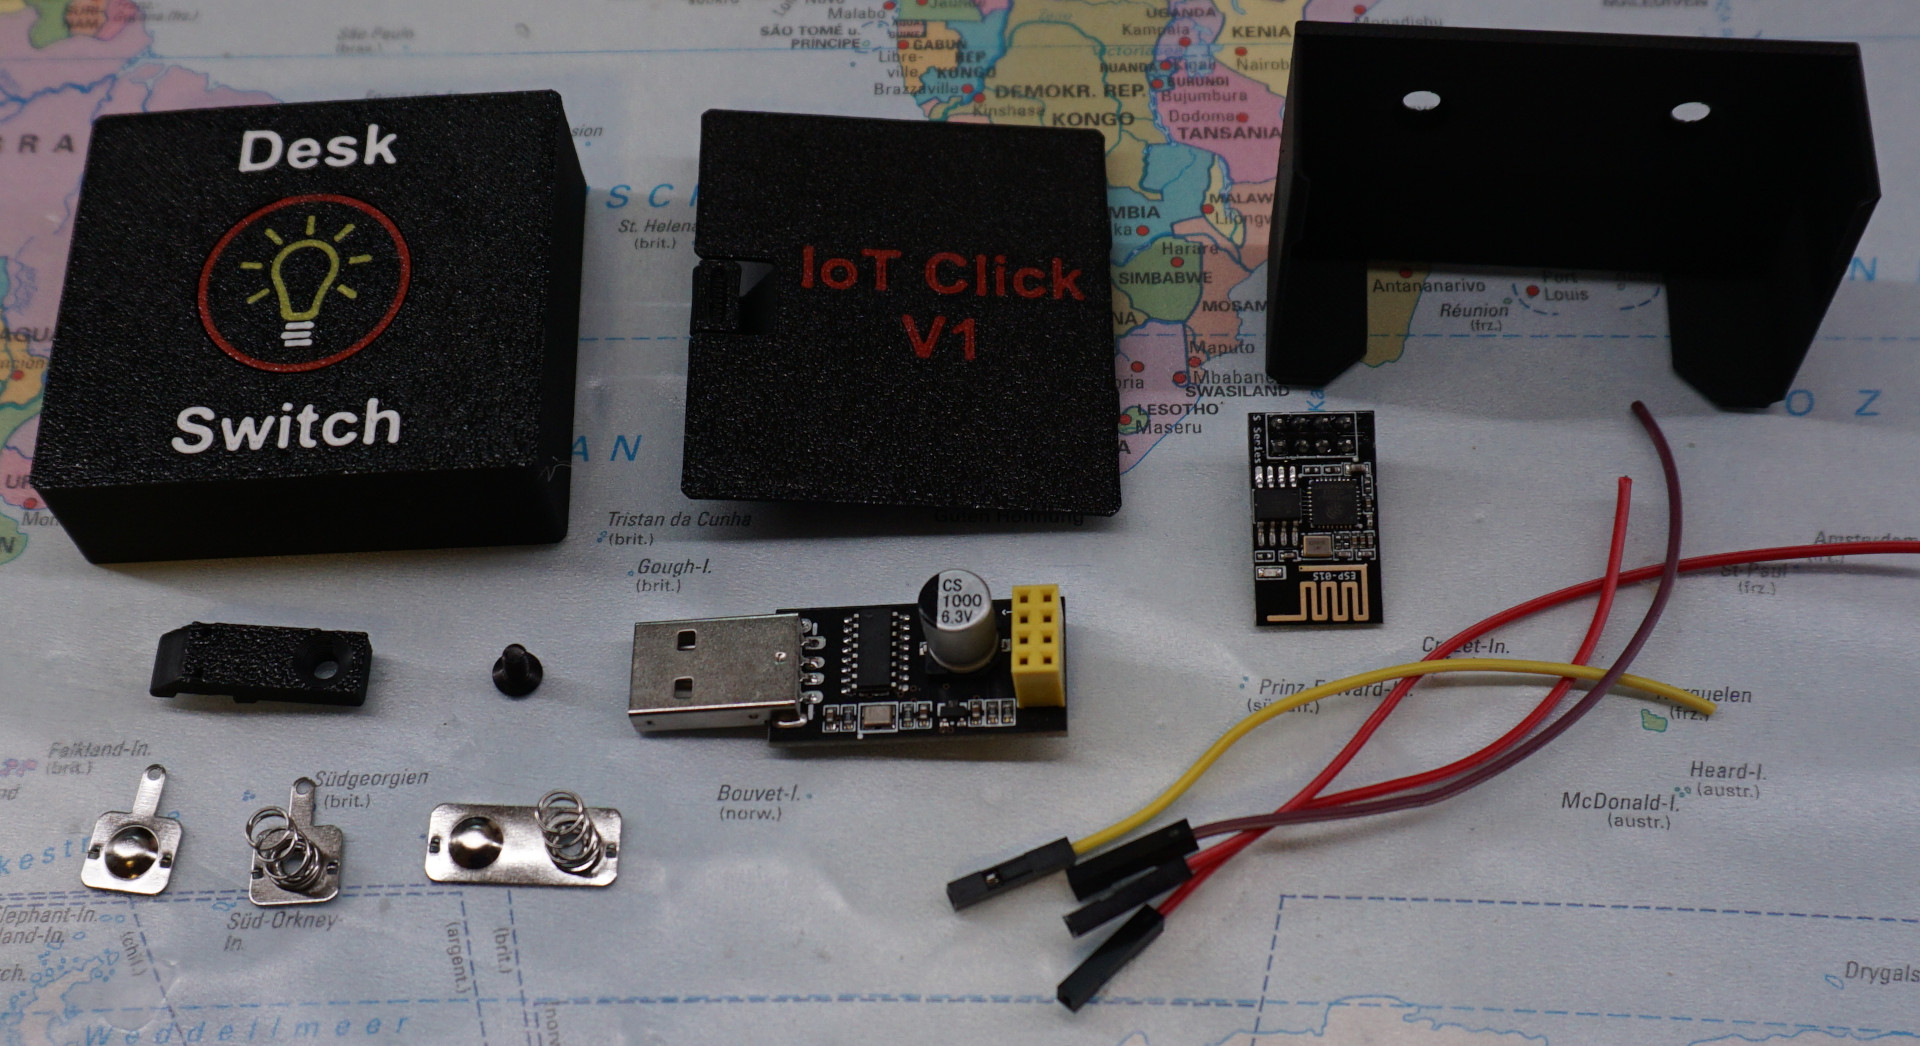
Name | AliExpress | Amazon (EU) | Amazon (US) |
ESP01s with USB Programmer | 2,19€ [Link](ESP-01S Set) | 6,99€ [Link] | 8,98$ [Link] |
Button 6x6x5mm 2 Pin | 1,09€ [Link](6x6 2Pins) | 4,79€ [Link] | 3,99$ [Link] |
AAA Contacts Single 10x9mm | 4,95€ [Link] | 8,99€ [Link] | 5,99$ [Link] |
AAA Contacts Double 21x9mm | 3,55€ [Link] | 7,99€ [Link] | 5,99$ [Link] |
Jumper Wire | |||
M3x6mm Counter Sink Screw | |||
Wiring schematic:

You have to bend the Pins of the AAA-Contacts and the button |
 |
Put the ESP01s to the side |  |
Insert the AAA-Contacts after soldering |  |
Programming the ESP01s:
Use Arduino IDE, select Generic ESP8266 Module and flash to the ESP01s.
Code:
#include <ESP8266WiFi.h>//CHANGE VARIABLES
const char* ssid = "Your SSID here";
const char* password = "Your PASSWORD here";
int startTime;
void setup() {
  //connect to WiFi
  WiFi.begin(ssid, password);
  WiFi.reconnect();
  //wait for connection to establish
  startTime = millis();
  while ((WiFi.status() != WL_CONNECTED) && (millis() - startTime <= 5000)) {
    delay(5);
  }
  if(WiFi.status() == WL_CONNECTED) {
    //ADD YOUR CODE HERE
    //do something
  } else {
    //error no WiFi Connection
  }
  ESP.deepSleep(0);
}
void loop() {
  //empty
}
Have fun building the project!
Stay creative!