
3D Scanning Turntable for Highly Adjustable Ball Vise System
We calculate the final price from your selected file. You review and accept it before payment.
Saved on this device.
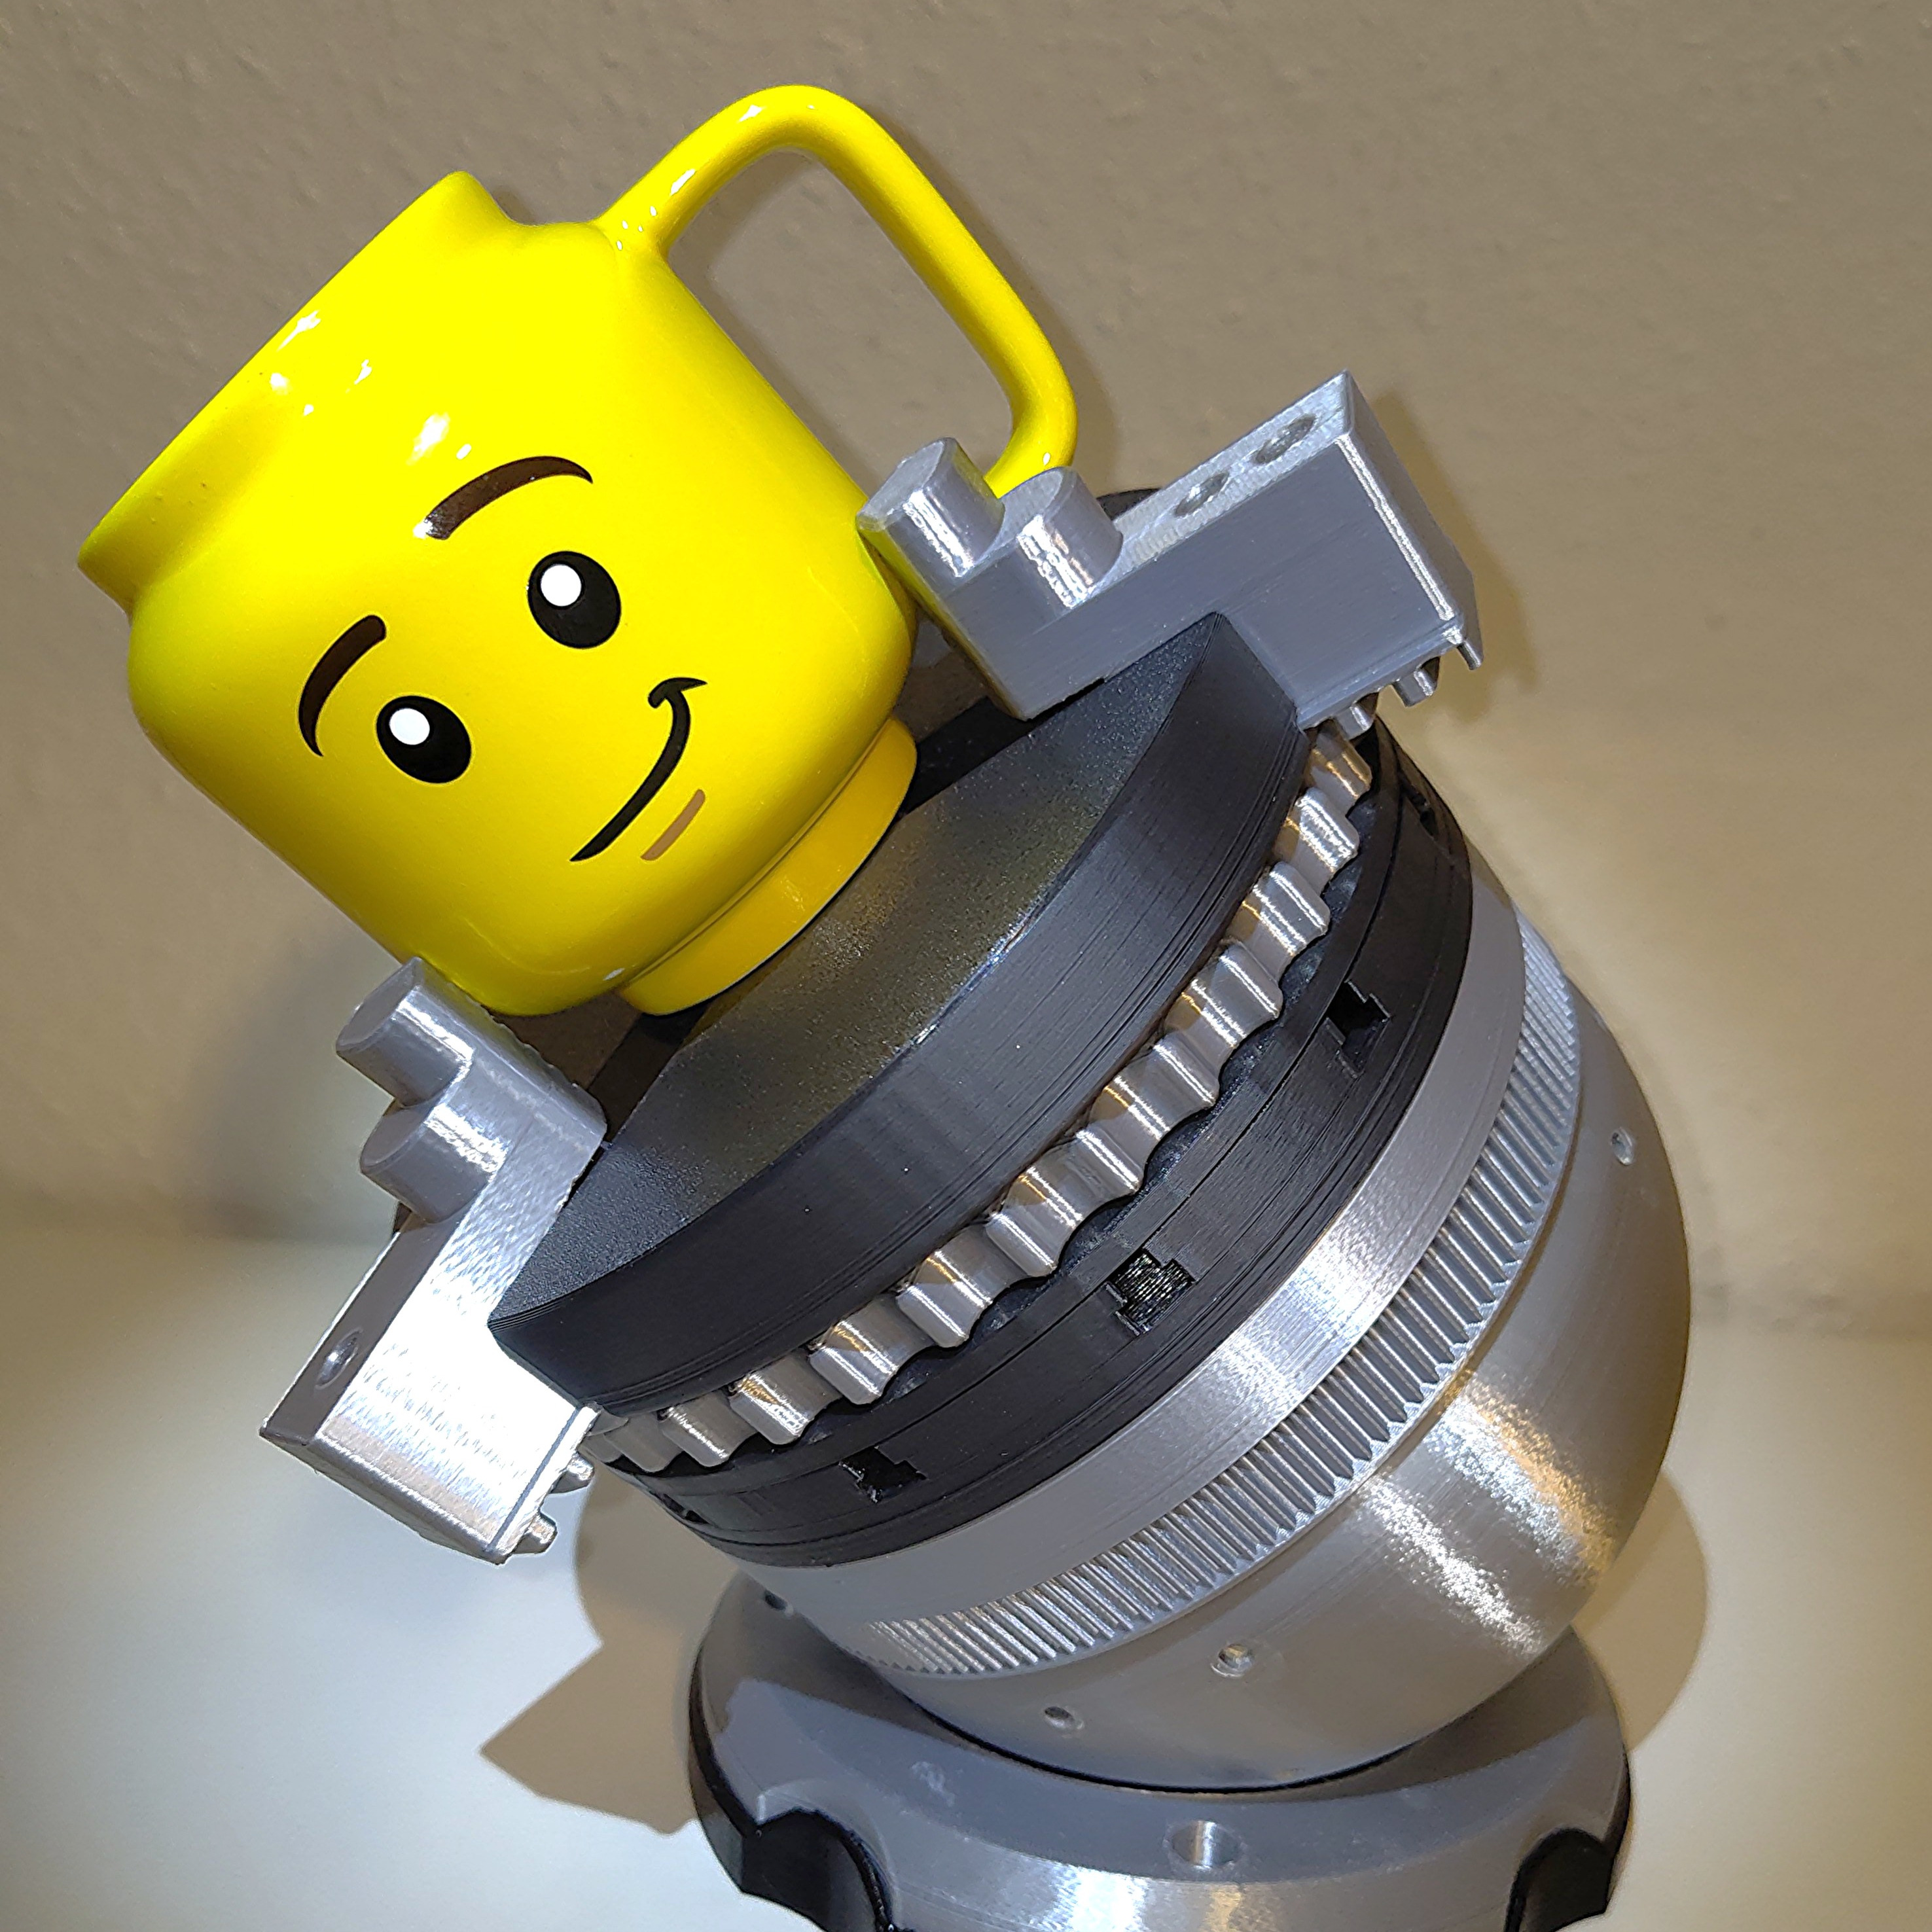
3D scanning turntable with a diameter of 44 cm for large objects, suitable for my Highly Adjustable Ball Vise System
- Rating
- 0 / 5
- Likes
- 7
- Downloads
- 25
- Makes
- 0
- Views
- 292
- Reviews
- 0
Updated at source:
Model information
- Source
- Printables
- Category
- Other Gadgets
- License
- Creative Commons — Attribution — Noncommercial
This 3D Scanning Turntable of 44 cm diameter is an extension for the use with my Highly Adjustable Ball Vise System which guarantees multi angel tilting and motor driven rotating.
The 3D Scanning Turntable has 120 round magnets, so magnetic objects will not slip while rotating the platform. Furthermore you can adjust additional magnetic scanning markers.
Many magnet sizes are supported:
5 mm diameter and 1 mm height
4 mm diameter and 2 mm height
6 mm diameter and 2 mm height
In the middle of the 3D Scanning Turntable there is a M8 nut for mounting objects or lifting them.
With the LegoMotorAdapter of my Highly Adjustable Ball Vise System you will get a motorized rotation of remote controlled speed.
Needed
Highly Adjustable Ball Vise System
1 x M8 nut in the middle of the platform
4 x M4 screw of 20 mm for mounting the platform to the Highly Adjustable Ball Vise System
120 magnets of one of the following sizes:
5 mm diameter and 1 mm height
or 4 mm diameter and 2 mm height
or 6 mm diameter and 2 mm height
120 markerpoints of 3 mm if your 3d-scanner doesn't detect the magnets as markers

Assembly guide
First you have to connect two parts by hammering the connectors from the downside so you get two halfs of the scanning turntable. Then you can connect the two halfs to the complete turntable.
Remember: before hammering the CrossConnector to the middle you have to add a M8-nut to the CrossConnector.

The easiest way to press the 120 magnet into the holes is to stack some magnets on a tongs and press them bit by bit from the stack. Then all magnets will have the same magnetic orientation which is usefully if you will use magnetic markers.

