P
Printablesmach
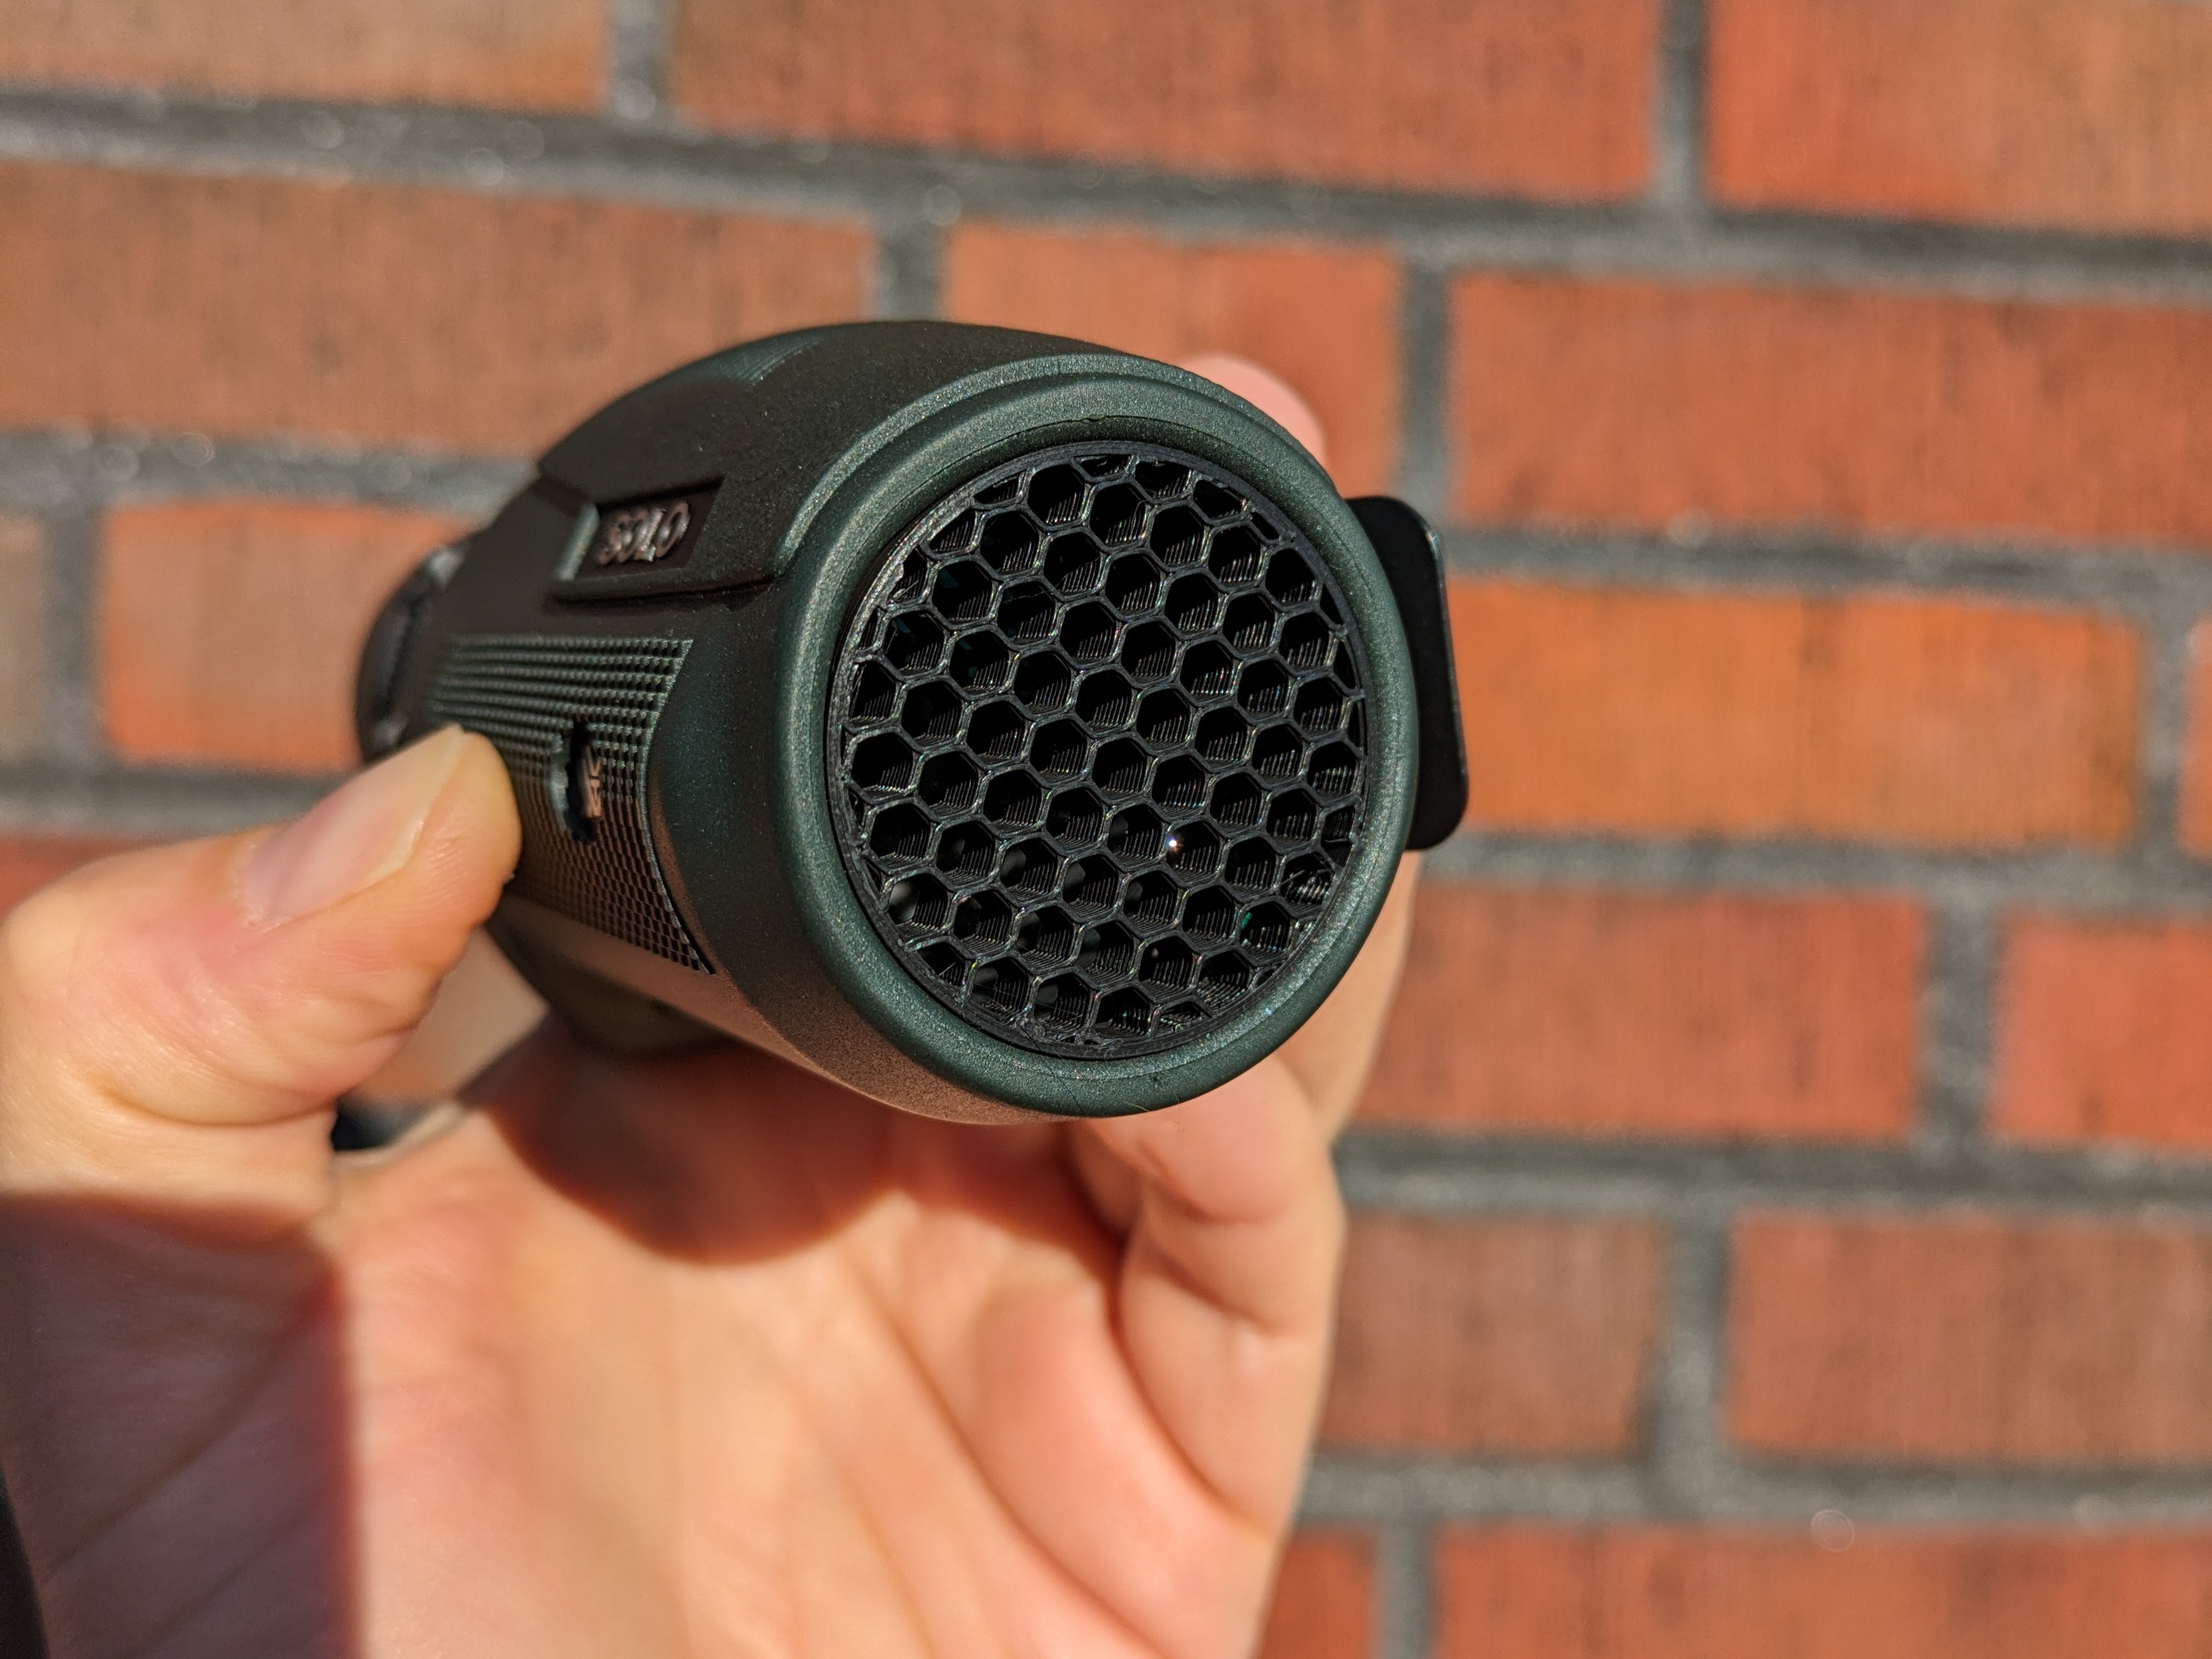
Vortex Solo 8x36 Reflection Guard
Simple Solar reflection guard for the Vortex Solo 8x36 monocular.
Wydruk około 0,18 €–0,22 € nettoWstępna wycena jednego wariantu
- Pobrania
- 108
- Polubienia
- 10
- Ocena
- 5
Liczymy pasujące modele…
Simple Solar reflection guard for the Vortex Solo 8x36 monocular.
Wydruk około 0,18 €–0,22 € nettoWstępna wycena jednego wariantu
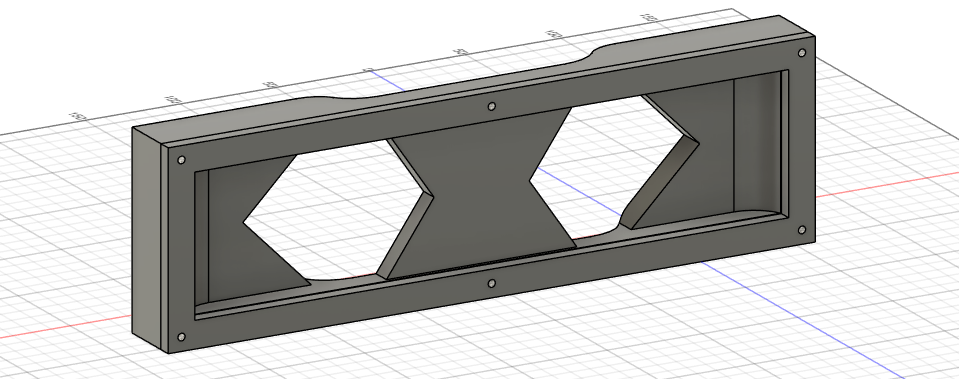
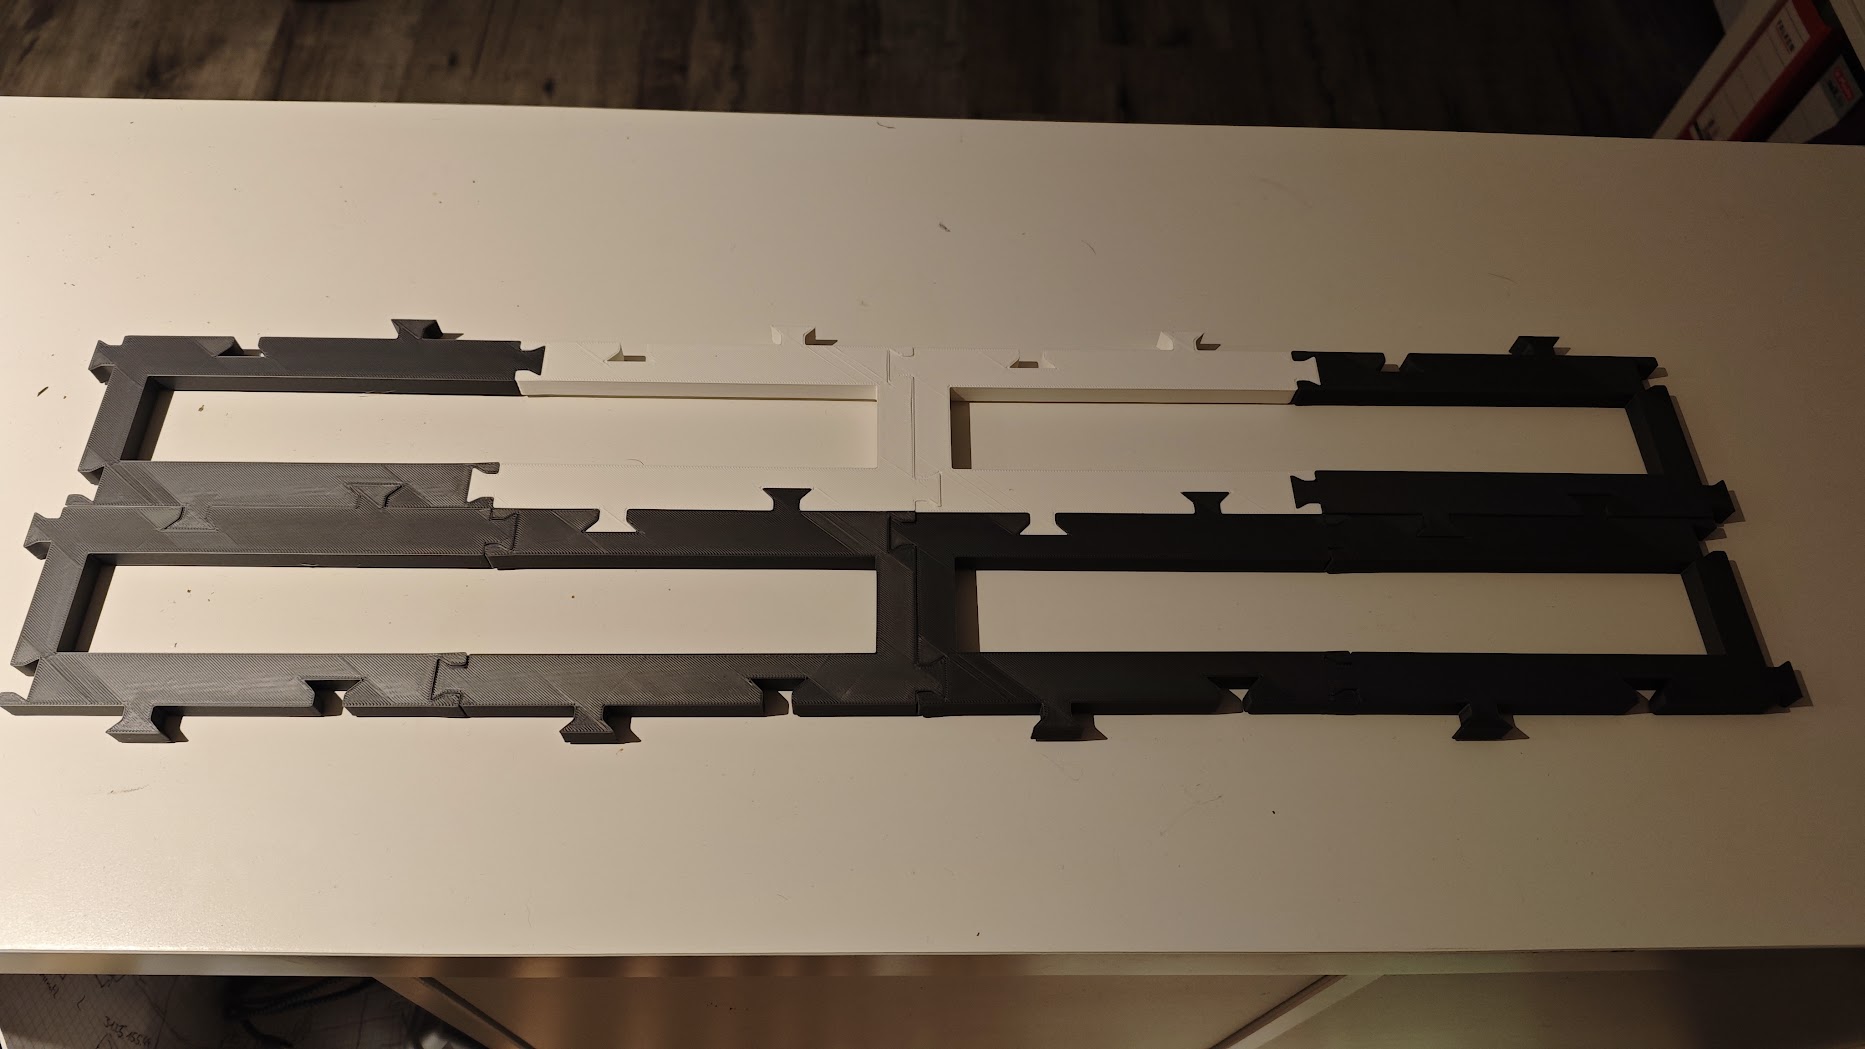
8x32 LED Matrix Frame No glue*, tape or screws needed Accessible USB port Wall- or desk-mounted Snap-fit sockets for ESP-WROOM-32, MAX4466 or MAX9814 microphone and DC Power Connector for easy installation Optional socket-less version * I…
This is a modified version of this Pixel It case . It was created with the excellent Pixel It project in mind. The case has mounting points and an access port for the D1 mini, a cable path to make free-standing use easier, and optional…
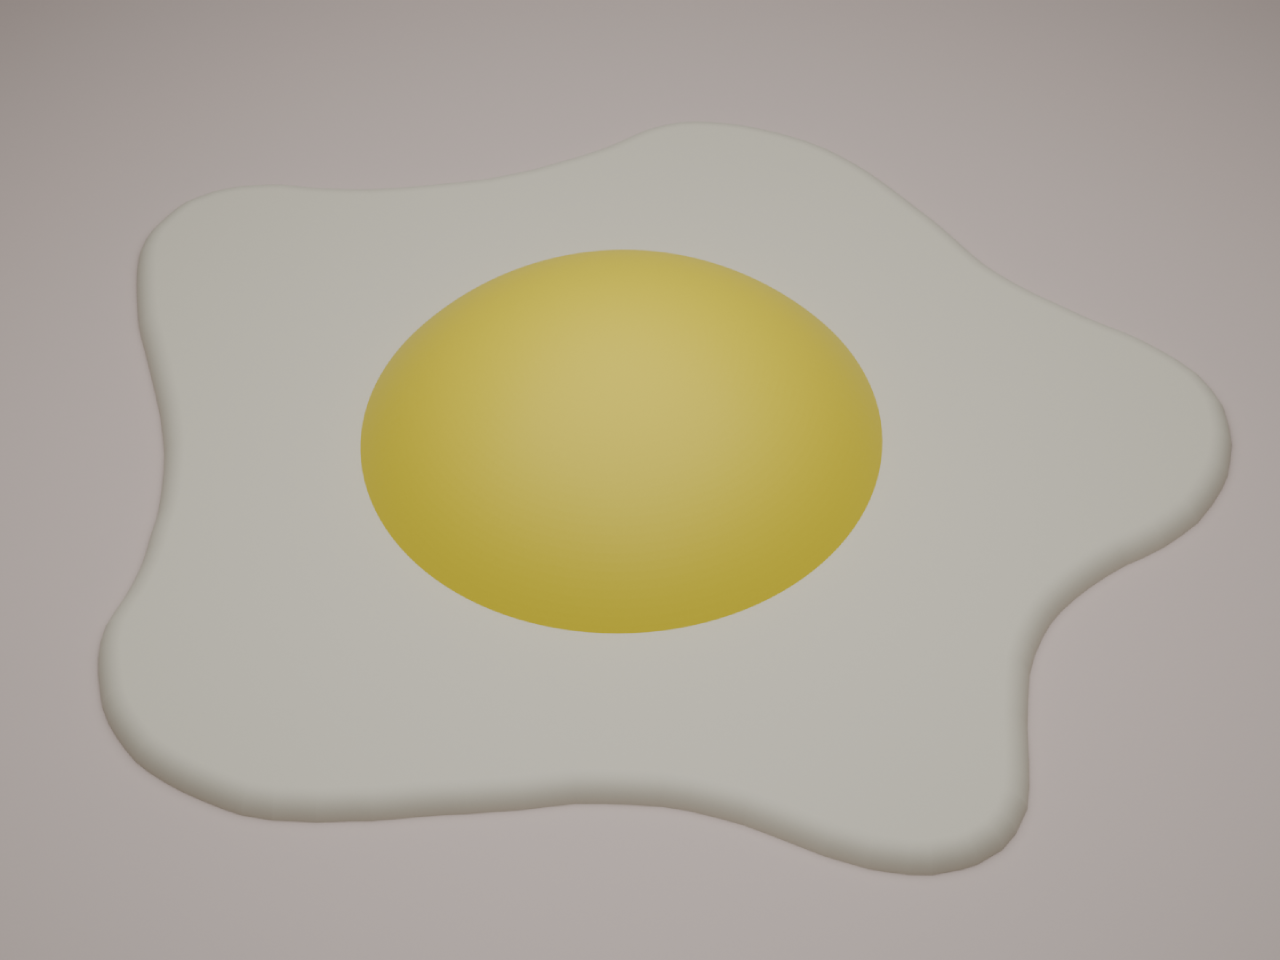
Fried Egg Fridge Magnet - (8x3mm magnet) This Fried Egg model has a magnet embedded within it. During slicing, add a pause to switch the filament to yellow at layer 9 (with 0.2mm layer height) if you don't have an MMU or AMS, and then…
This is a fidget slider that I have modified to fit 8x3 magnets
Printed with TPU filament, I used Easyprint. Temps as sugested by Easyprint. 190°C Nozzeltemp 40°C bed temp Layer height 0,15mm
Changed magnet size to 8x3 because that's what I had.
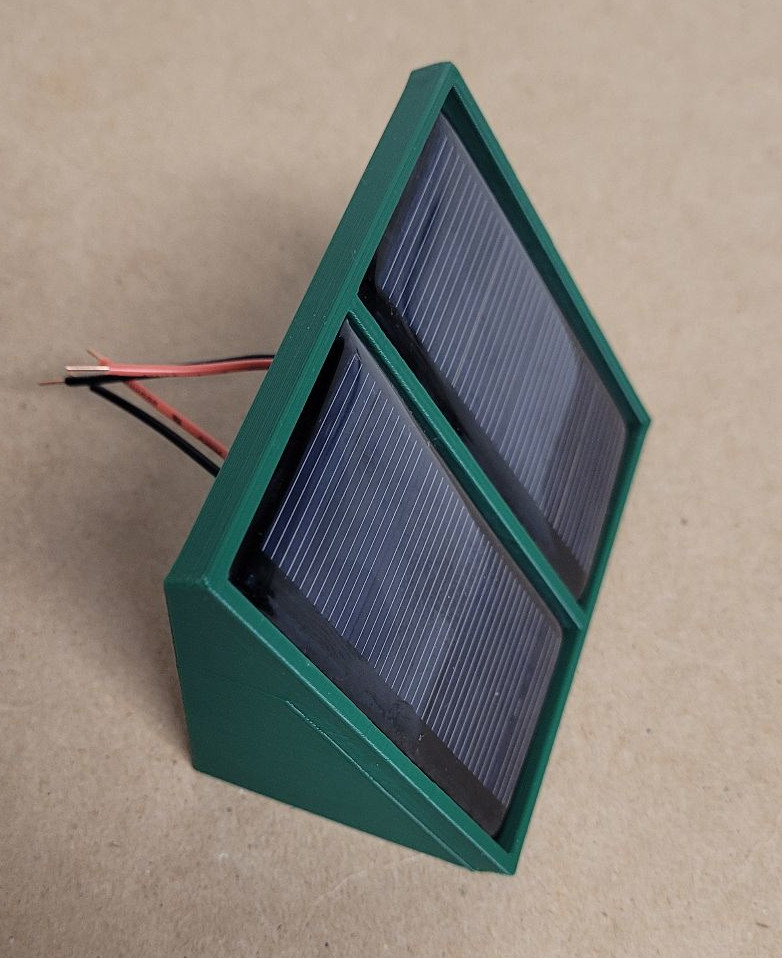
This is a mount for two 68mm x 37mm 60mA @ 5v solar cells that presents them at 55 degrees. For my use it is intended to be mounted to the front door of a Meshtastic node enclosure where the panels are in parallel, fed through the…
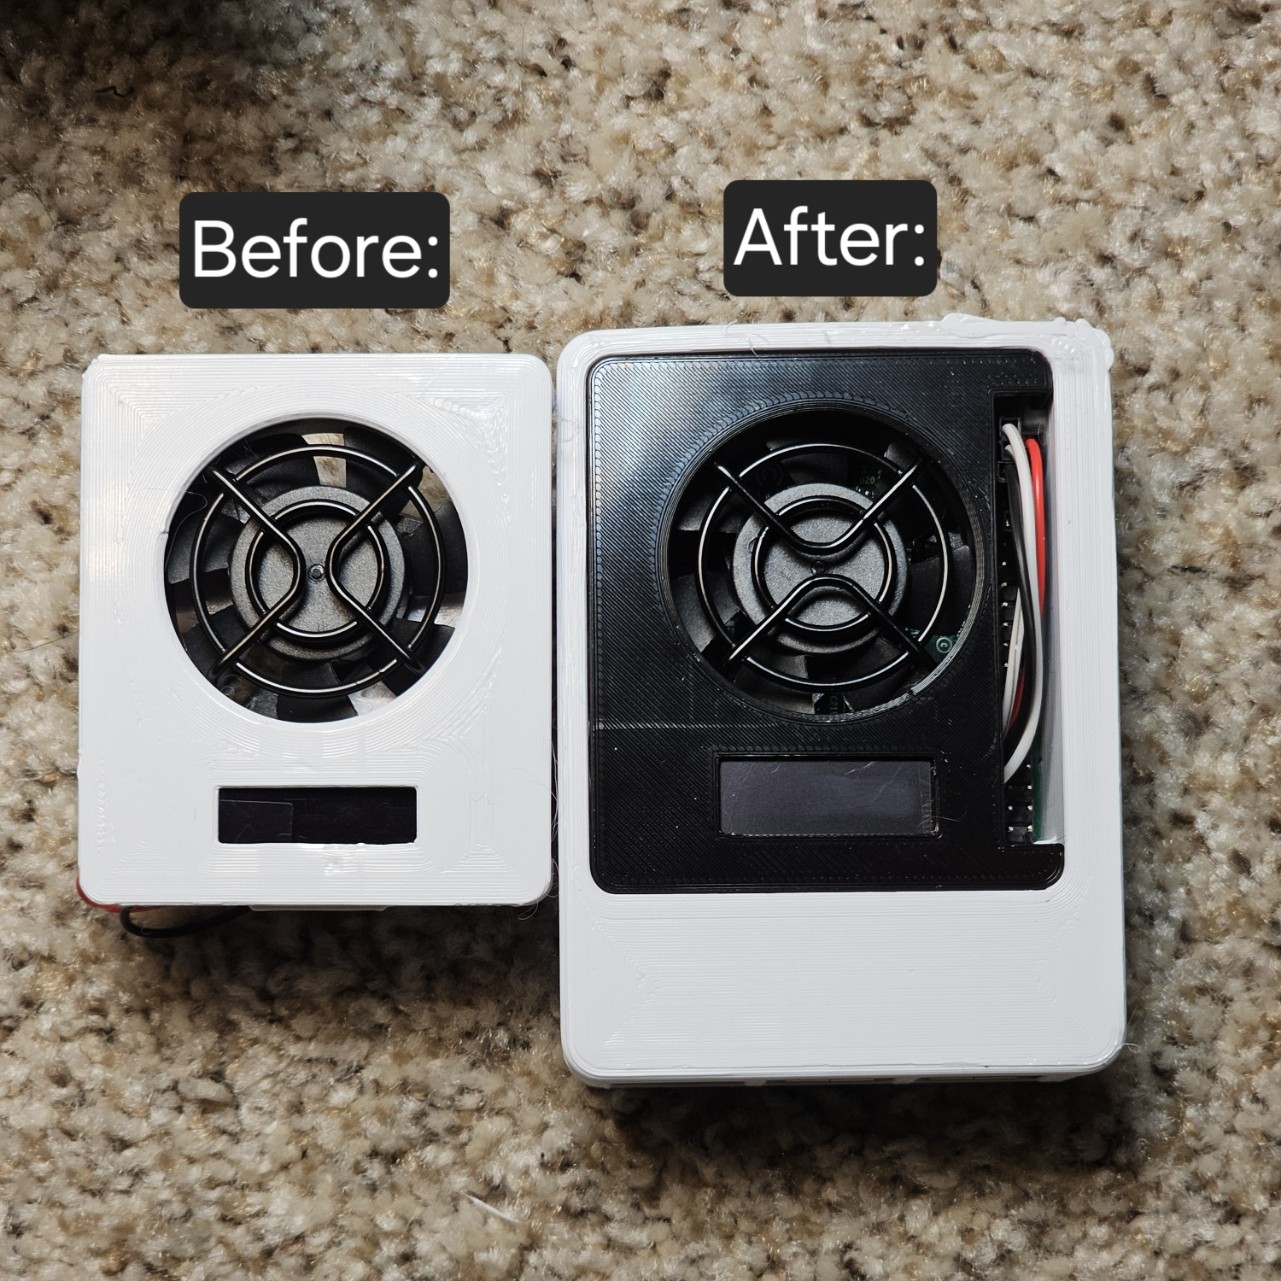
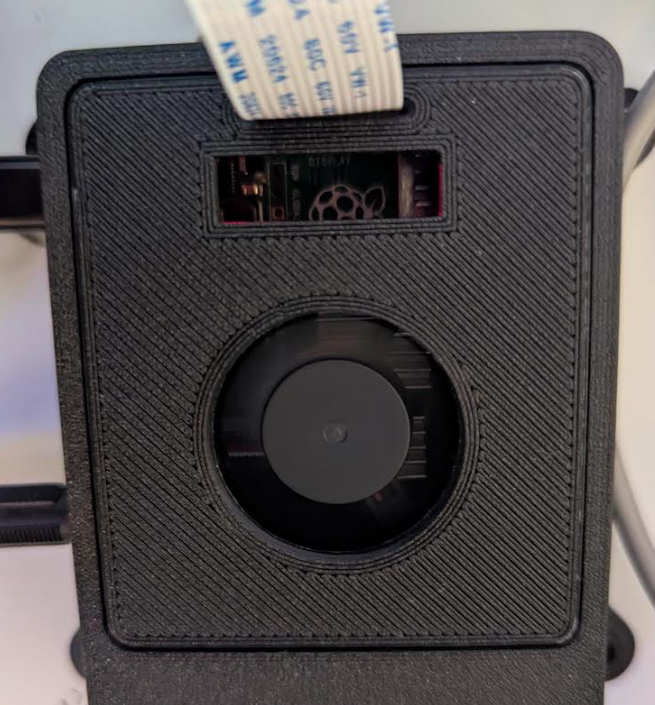
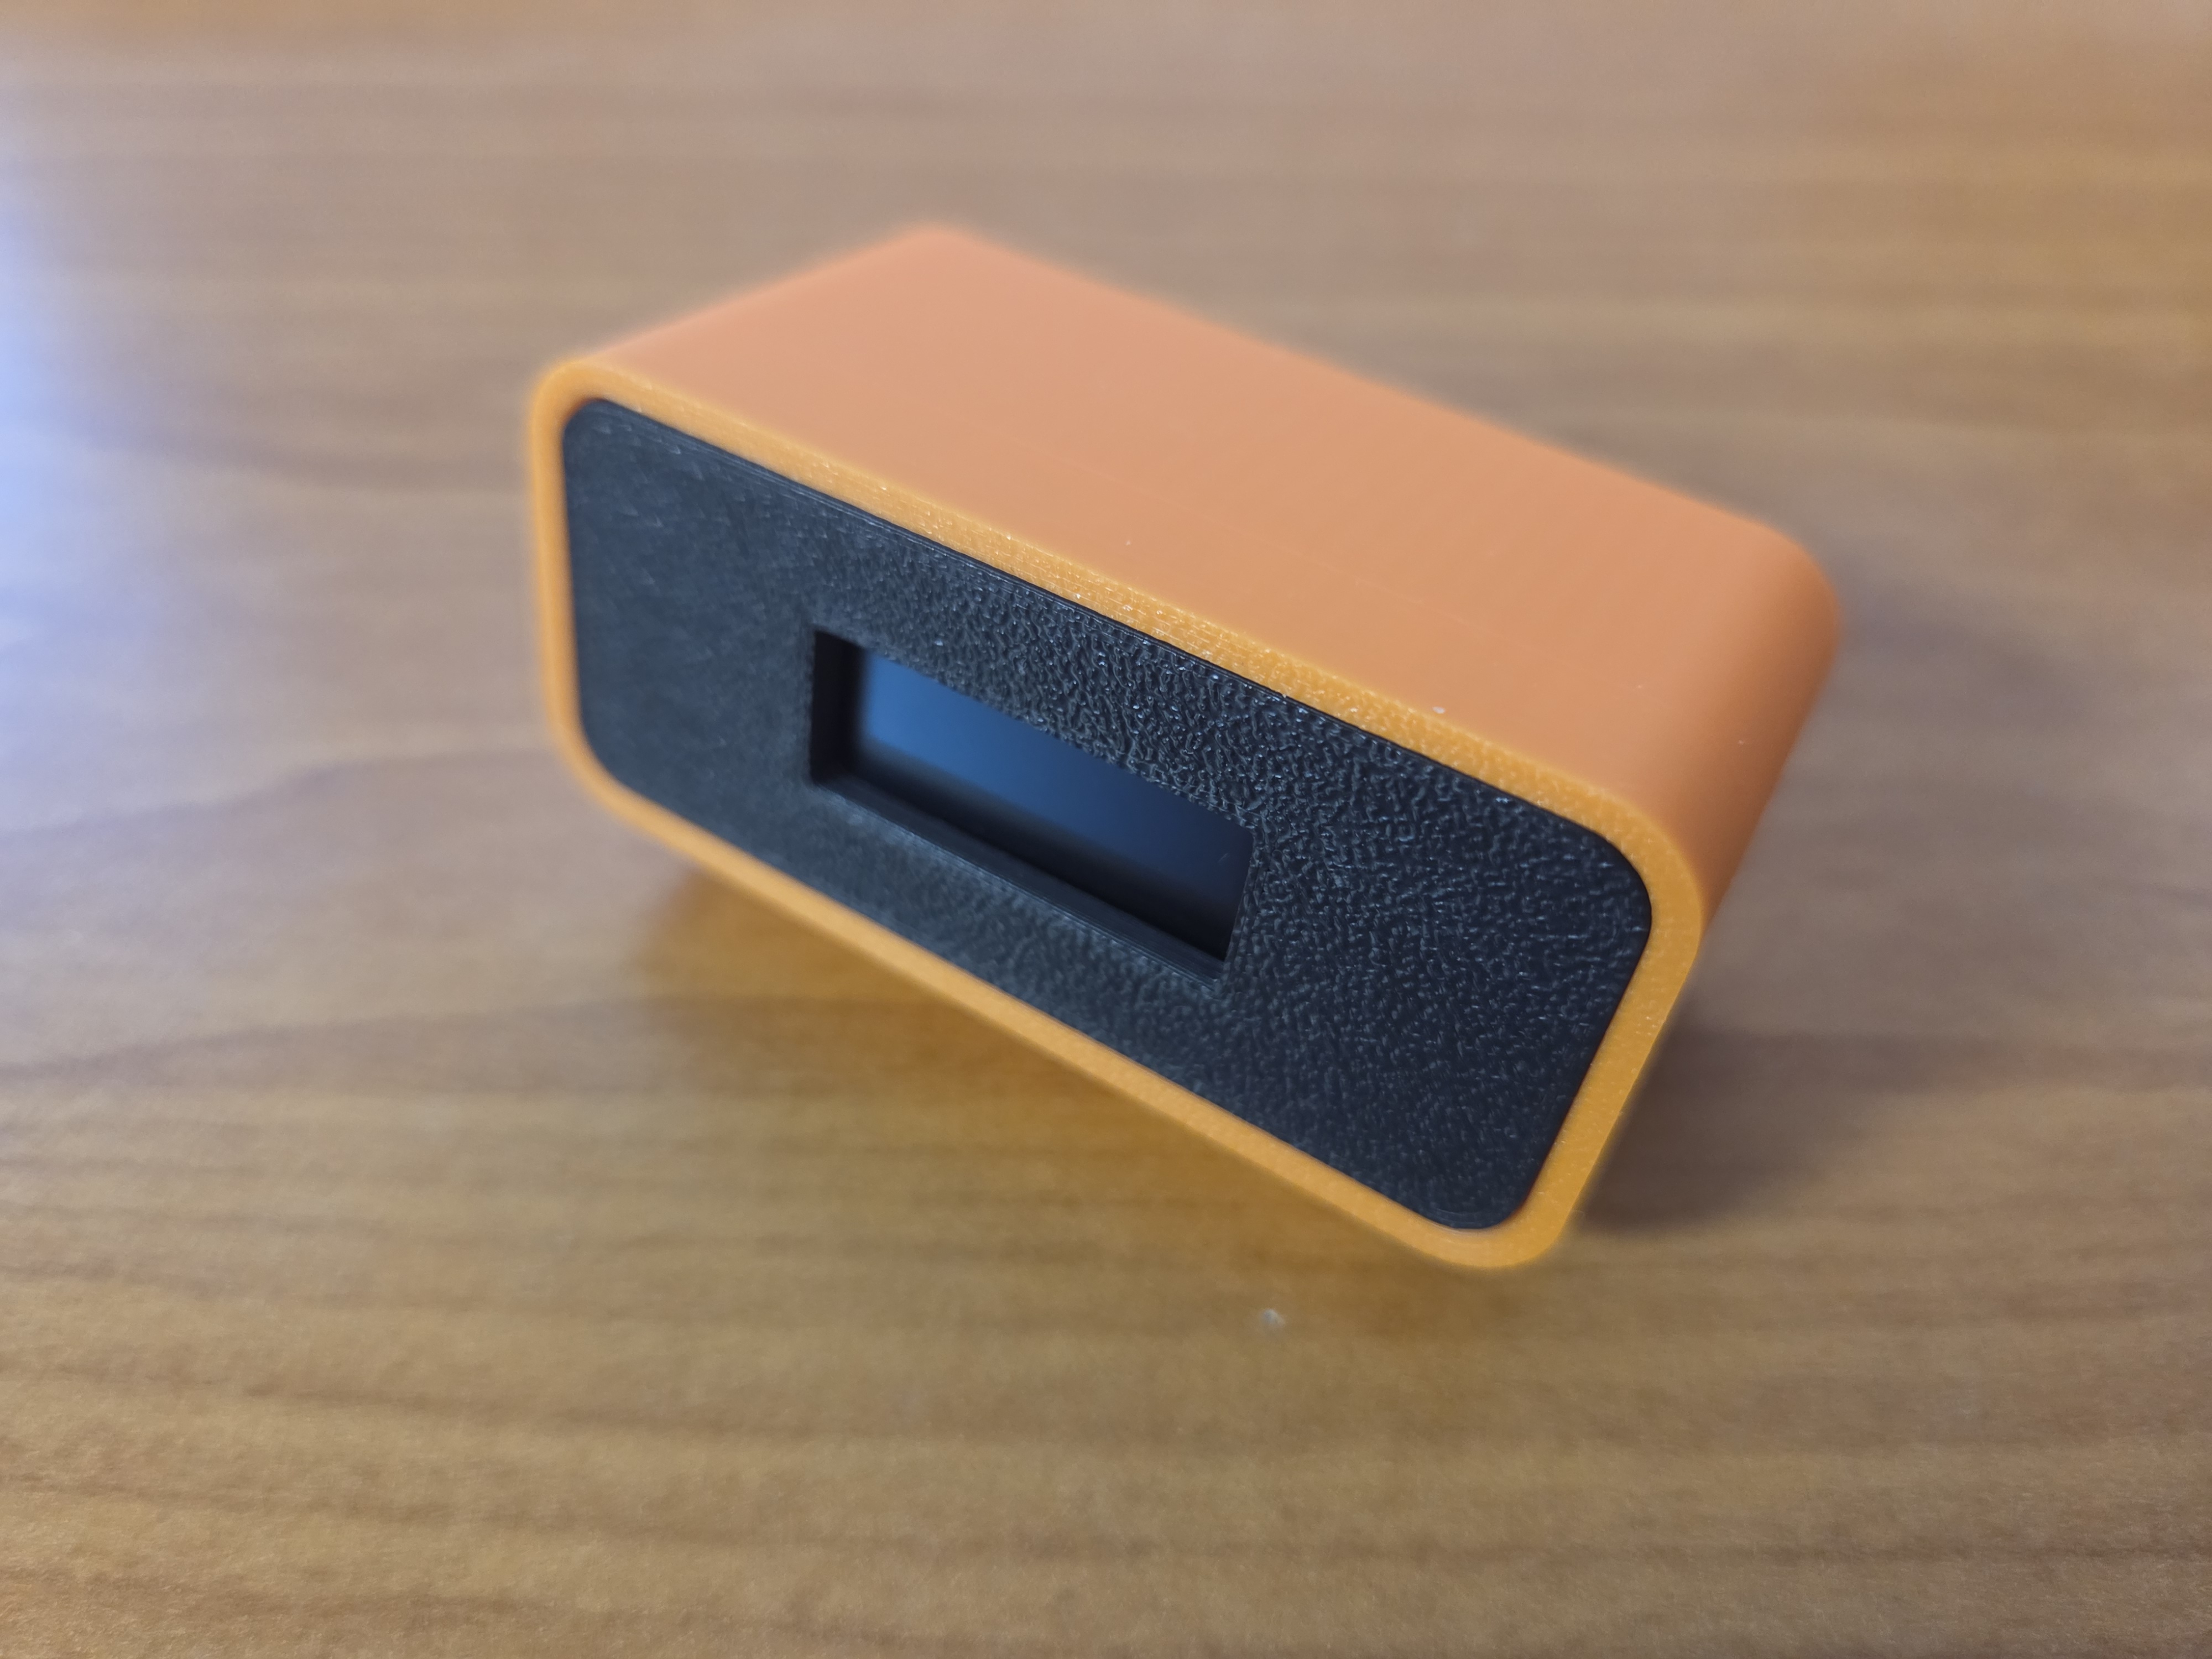
This is a direct edit of the “__raspi_module_1_01-SIF_OLED.stl” module from the Modular Snap Together Raspberry Pi Case , and the only things i changed is 1: I made the OLED cutout bigger to allow you to mount it forwards or backwards,…
added a negative volume cylinder and sphere (for the chamfer) to make the opening bigger for 8x3mm magnets.
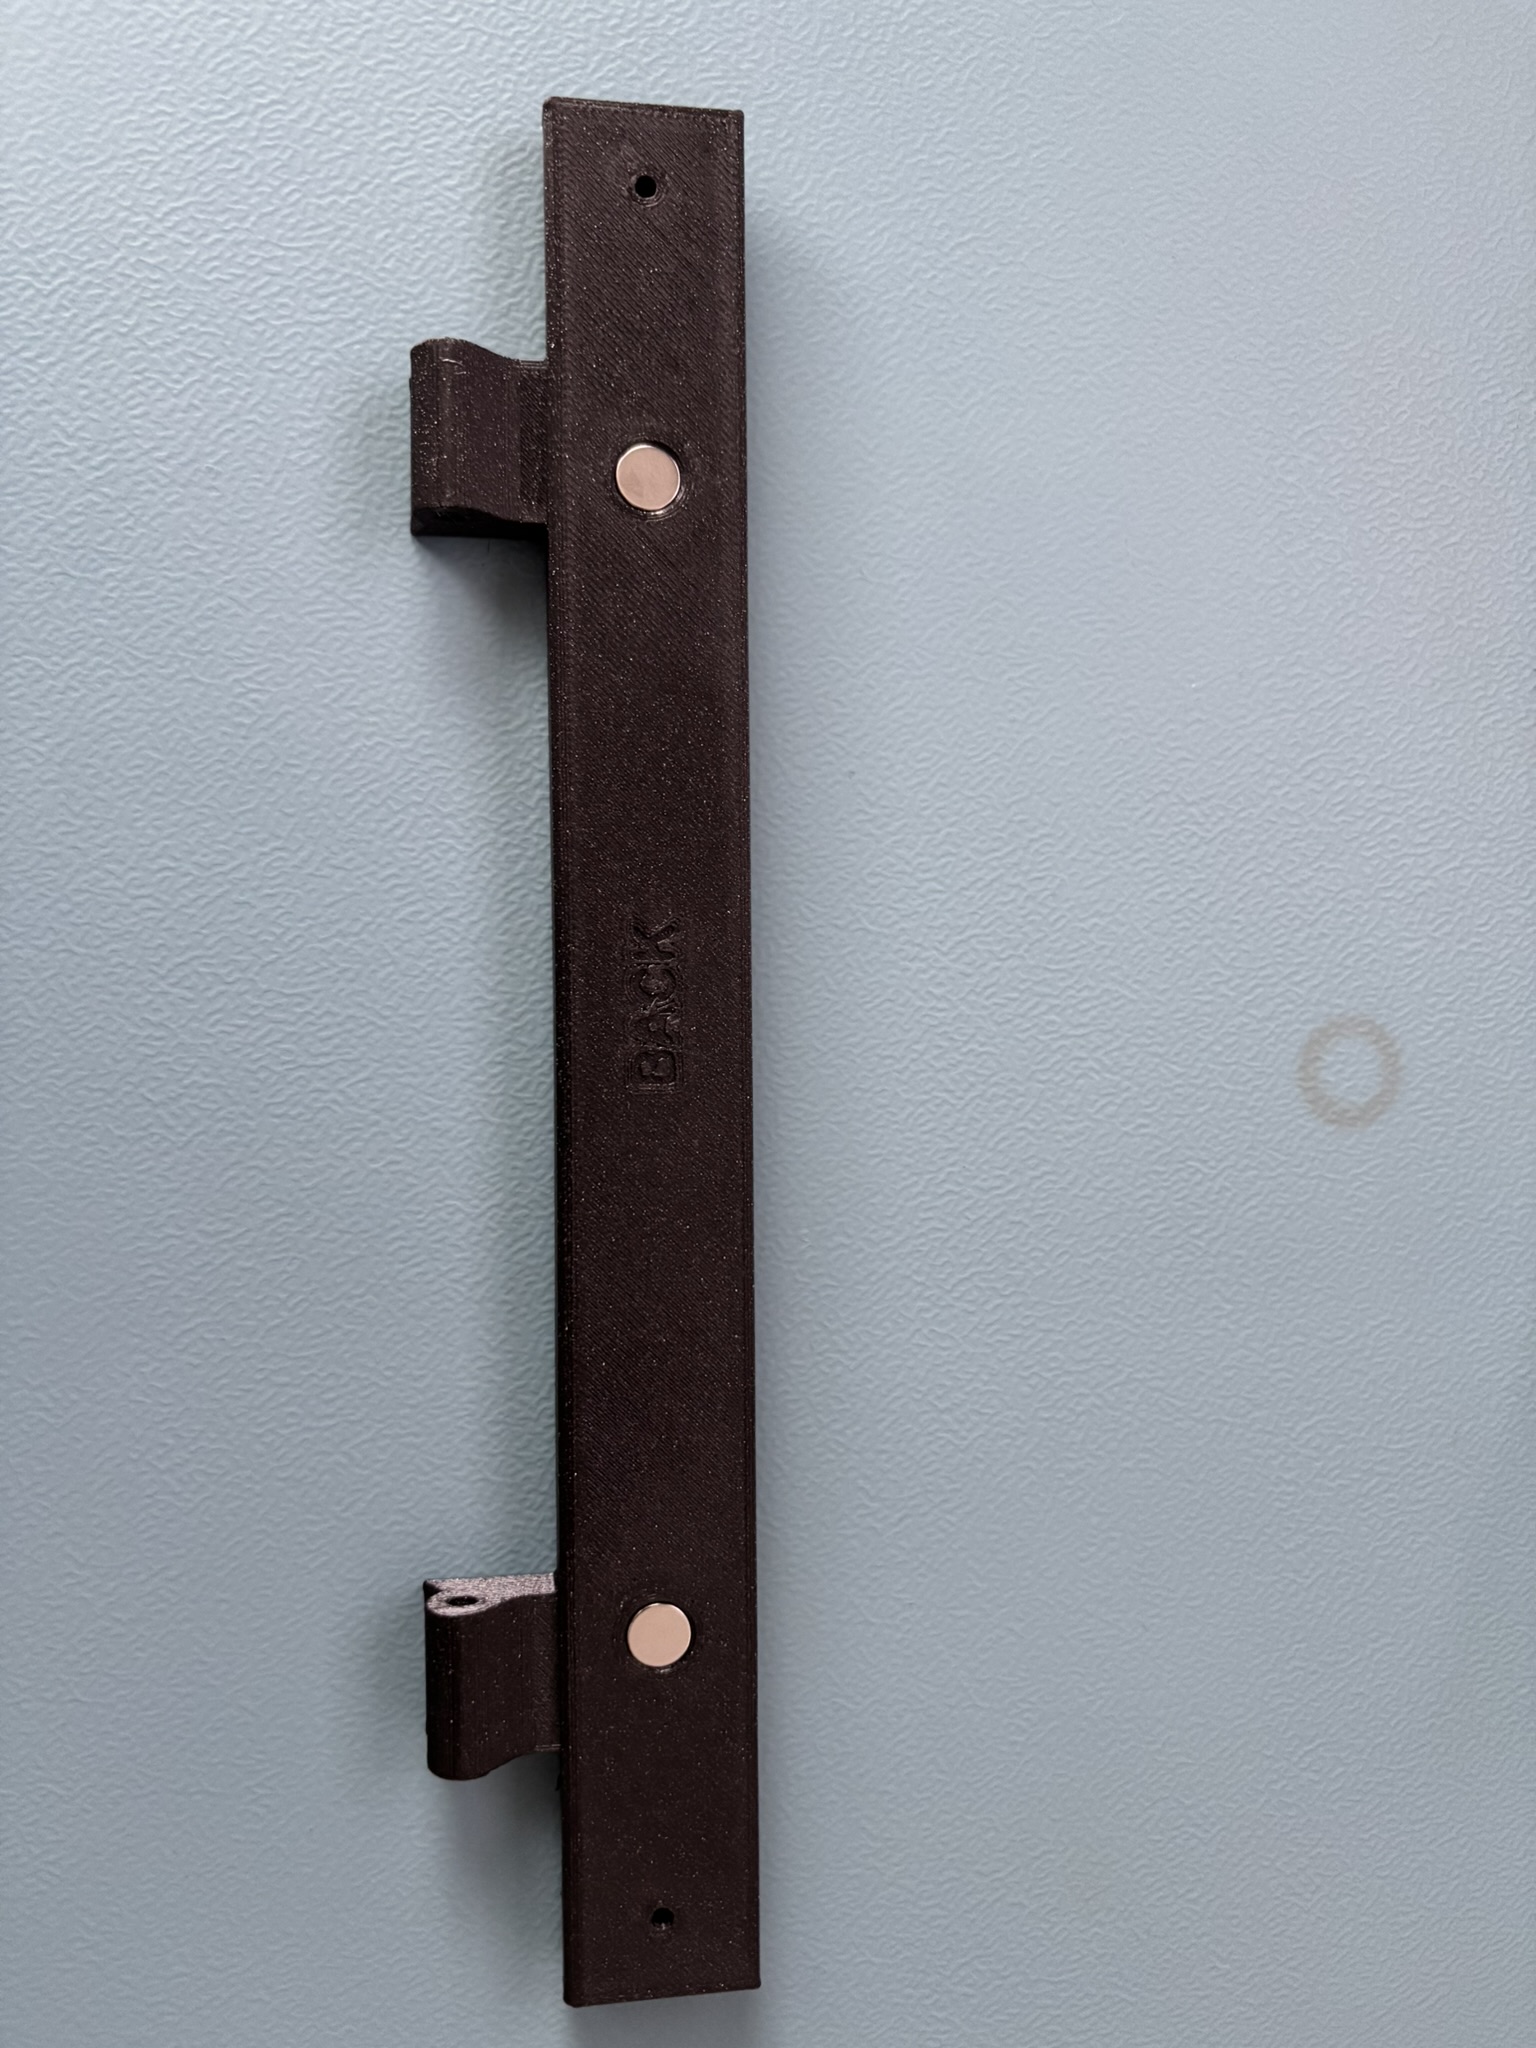
I really like the hinged version of Top Cover mode for CoreOne, but I only have 8x3mm magnets at home so I remixed the original back cover with 105°angle to hold them. Also i used stepped chamfers from main Top Cover model so it snaps…
I recently found out that my pc case was magnetic. So I took the chance to organize my desk with magnets. Here's the first model I actually made without any remixes. This only requires a 8x3 magnet
can be printed verticaly or horizontaly, model too big for most printers sadly
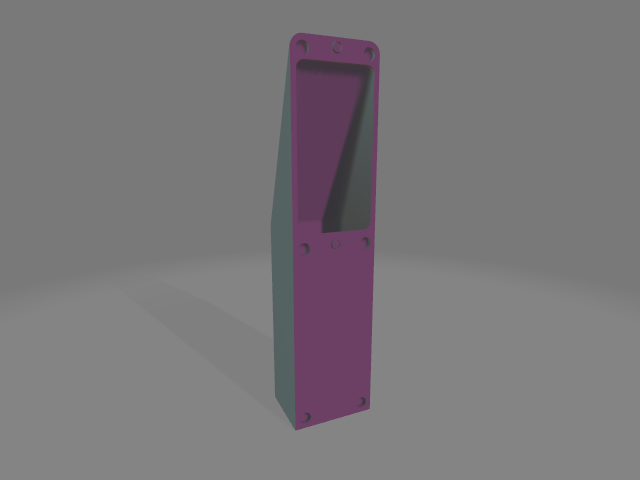
Added the slot for the top flex cable. Improved the walls for holding the LCD.
A slight remix of the original model, editing the power station holder and the sides pieces.
Print with tree supports from the build plate. If you want more colors, adjust the print order by objects. No need to glue anything or use screws. PLA, 0,2 layer recommended
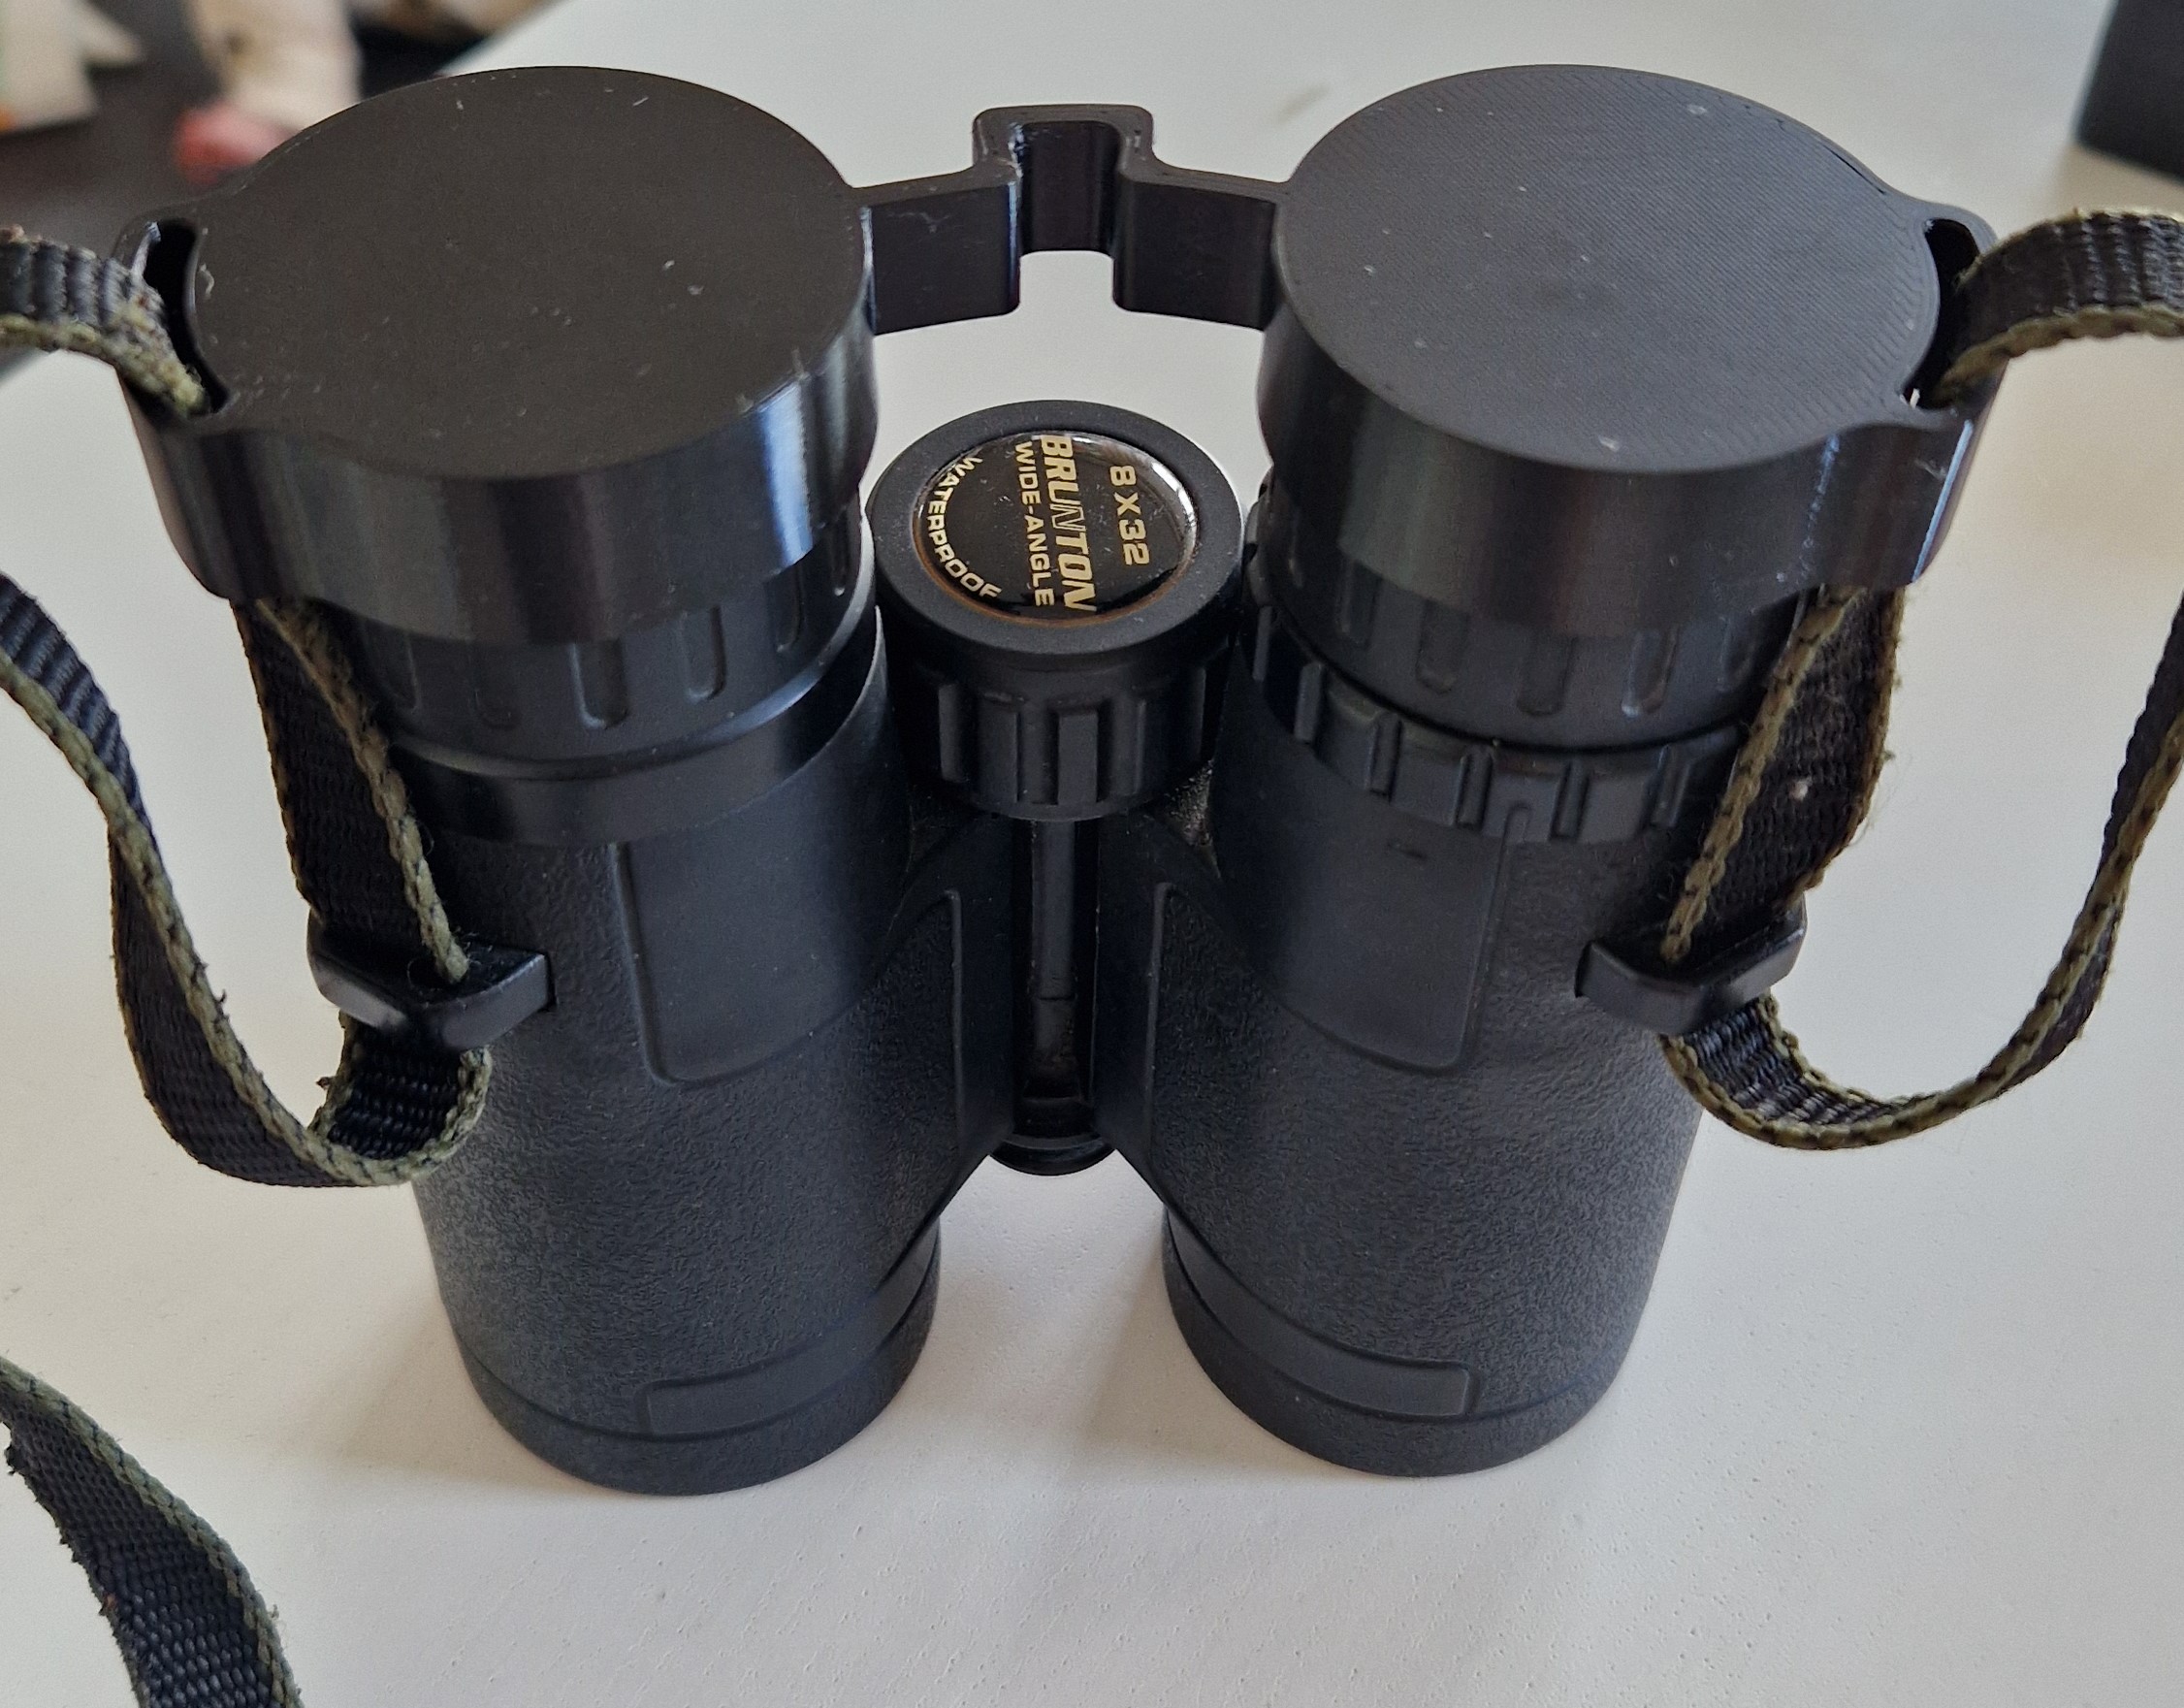
Eyecup Spacer for Swarovski Habicht 8x30 W (Binoculars) This spacer was specifically designed for the Swarovski Habicht 8x30 W binoculars. It is installed between the binocular body (eyepiece) and the rubber eyecup to noticeably increase…
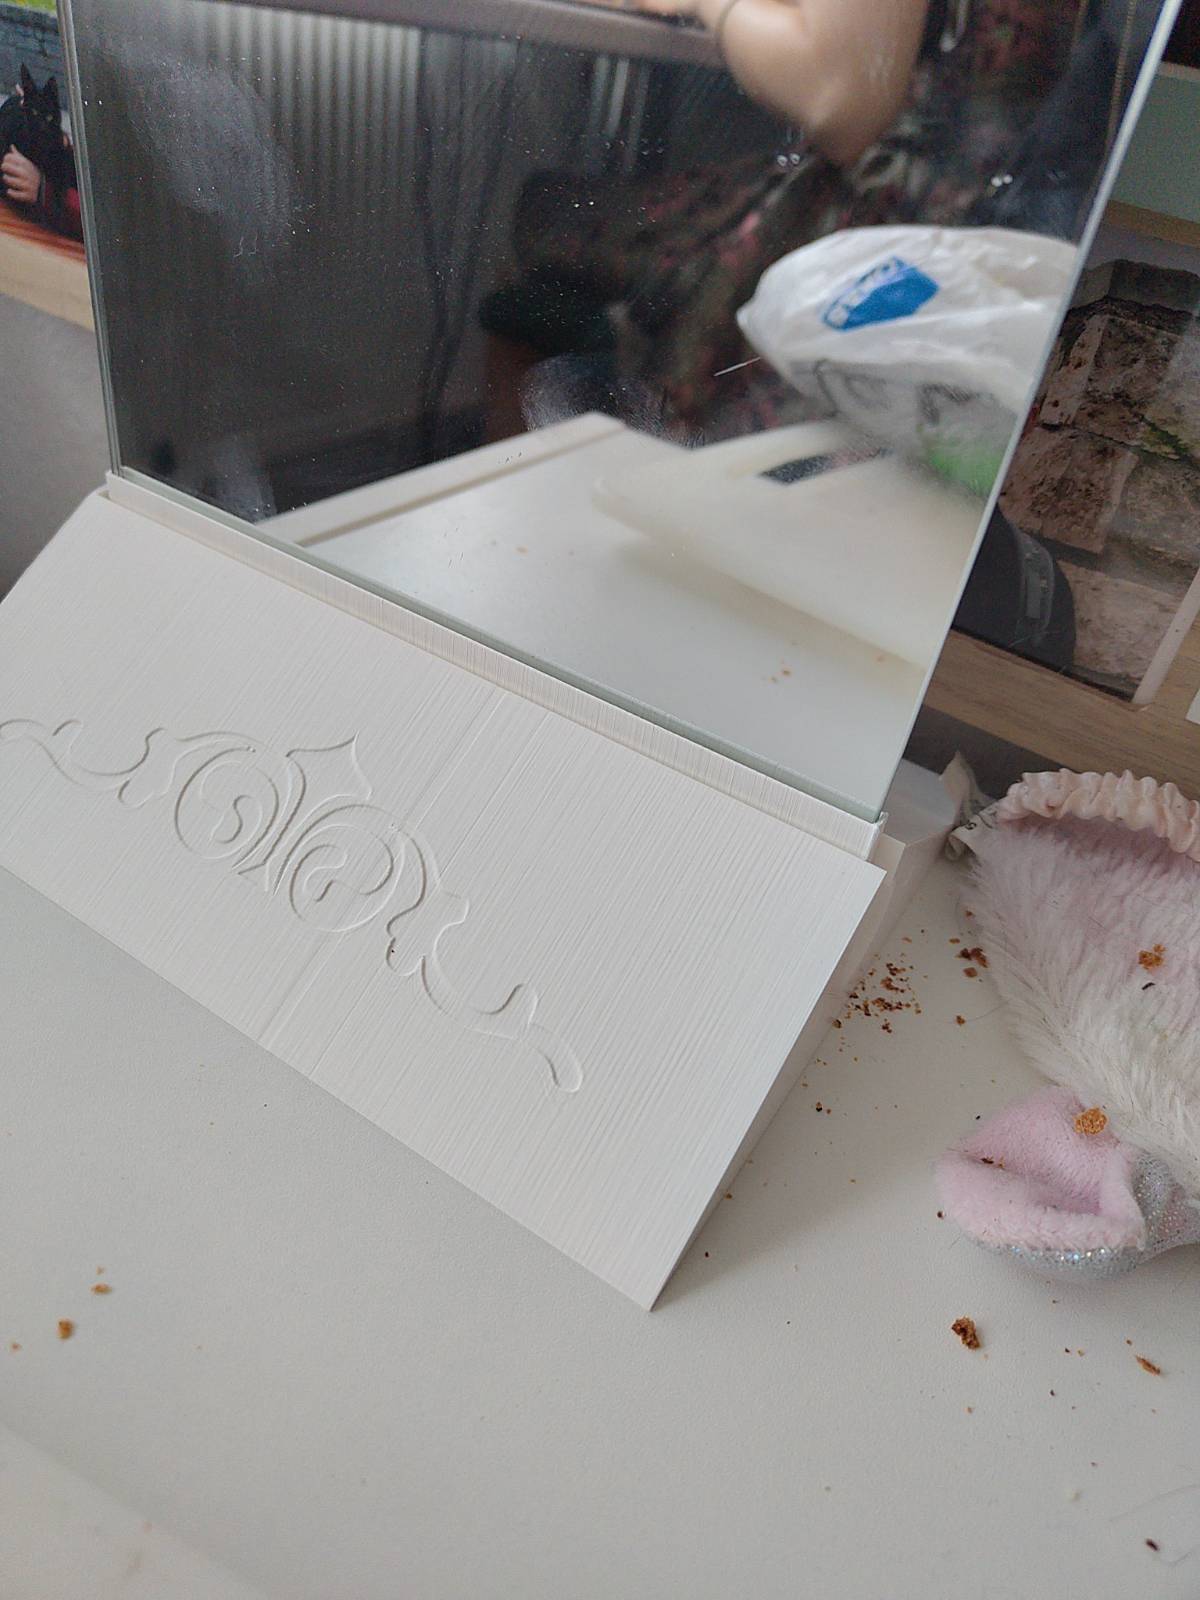
Hello I created this model for placing nicely mirror in my bedroom. It surely can benefit from tweaks and fixes but I was happy with the result. Triple check parameters since it takes long to print. I planed to use 4mm nuts and bolts but…
Simple Solar reflection guard for the Vortex Solo 8x36 monocular.
Wydruk około 0,18 €–0,22 € nettoWstępna wycena jednego wariantu
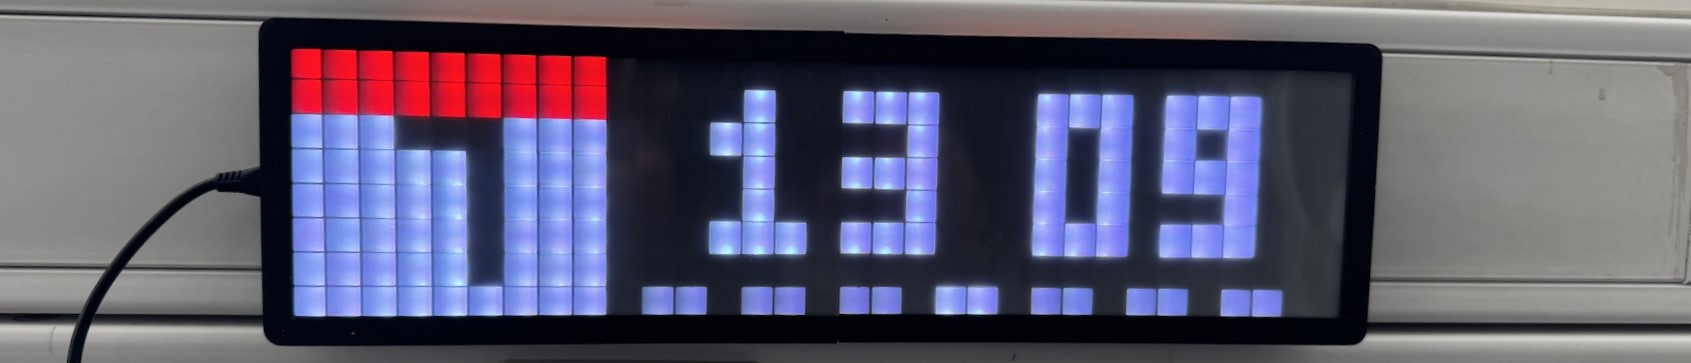
I used 2 pieces diffuser from old LCD monitor. Cut to 321x81mm. You will need diffuser frame (without screen) from original project. I made mounting bracket to fasten matrix led down and also used as mounting hole for back cover. Two…
This is a simple 18mm dia, 14mm bore and 3mm deep non drive side spacer for Tacx Neo 2 trainer to better suit 142mm through axle bikes. This will thread on to the standard non drive side adapter for the Neo and replaces the 6mm standard…
Printed with TPU filament, I used Easyprint. Temps as sugested by Easyprint. 190°C Nozzeltemp 40°C bed temp Layer height 0,15mm
Changed magnet size to 8x3 because that's what I had.
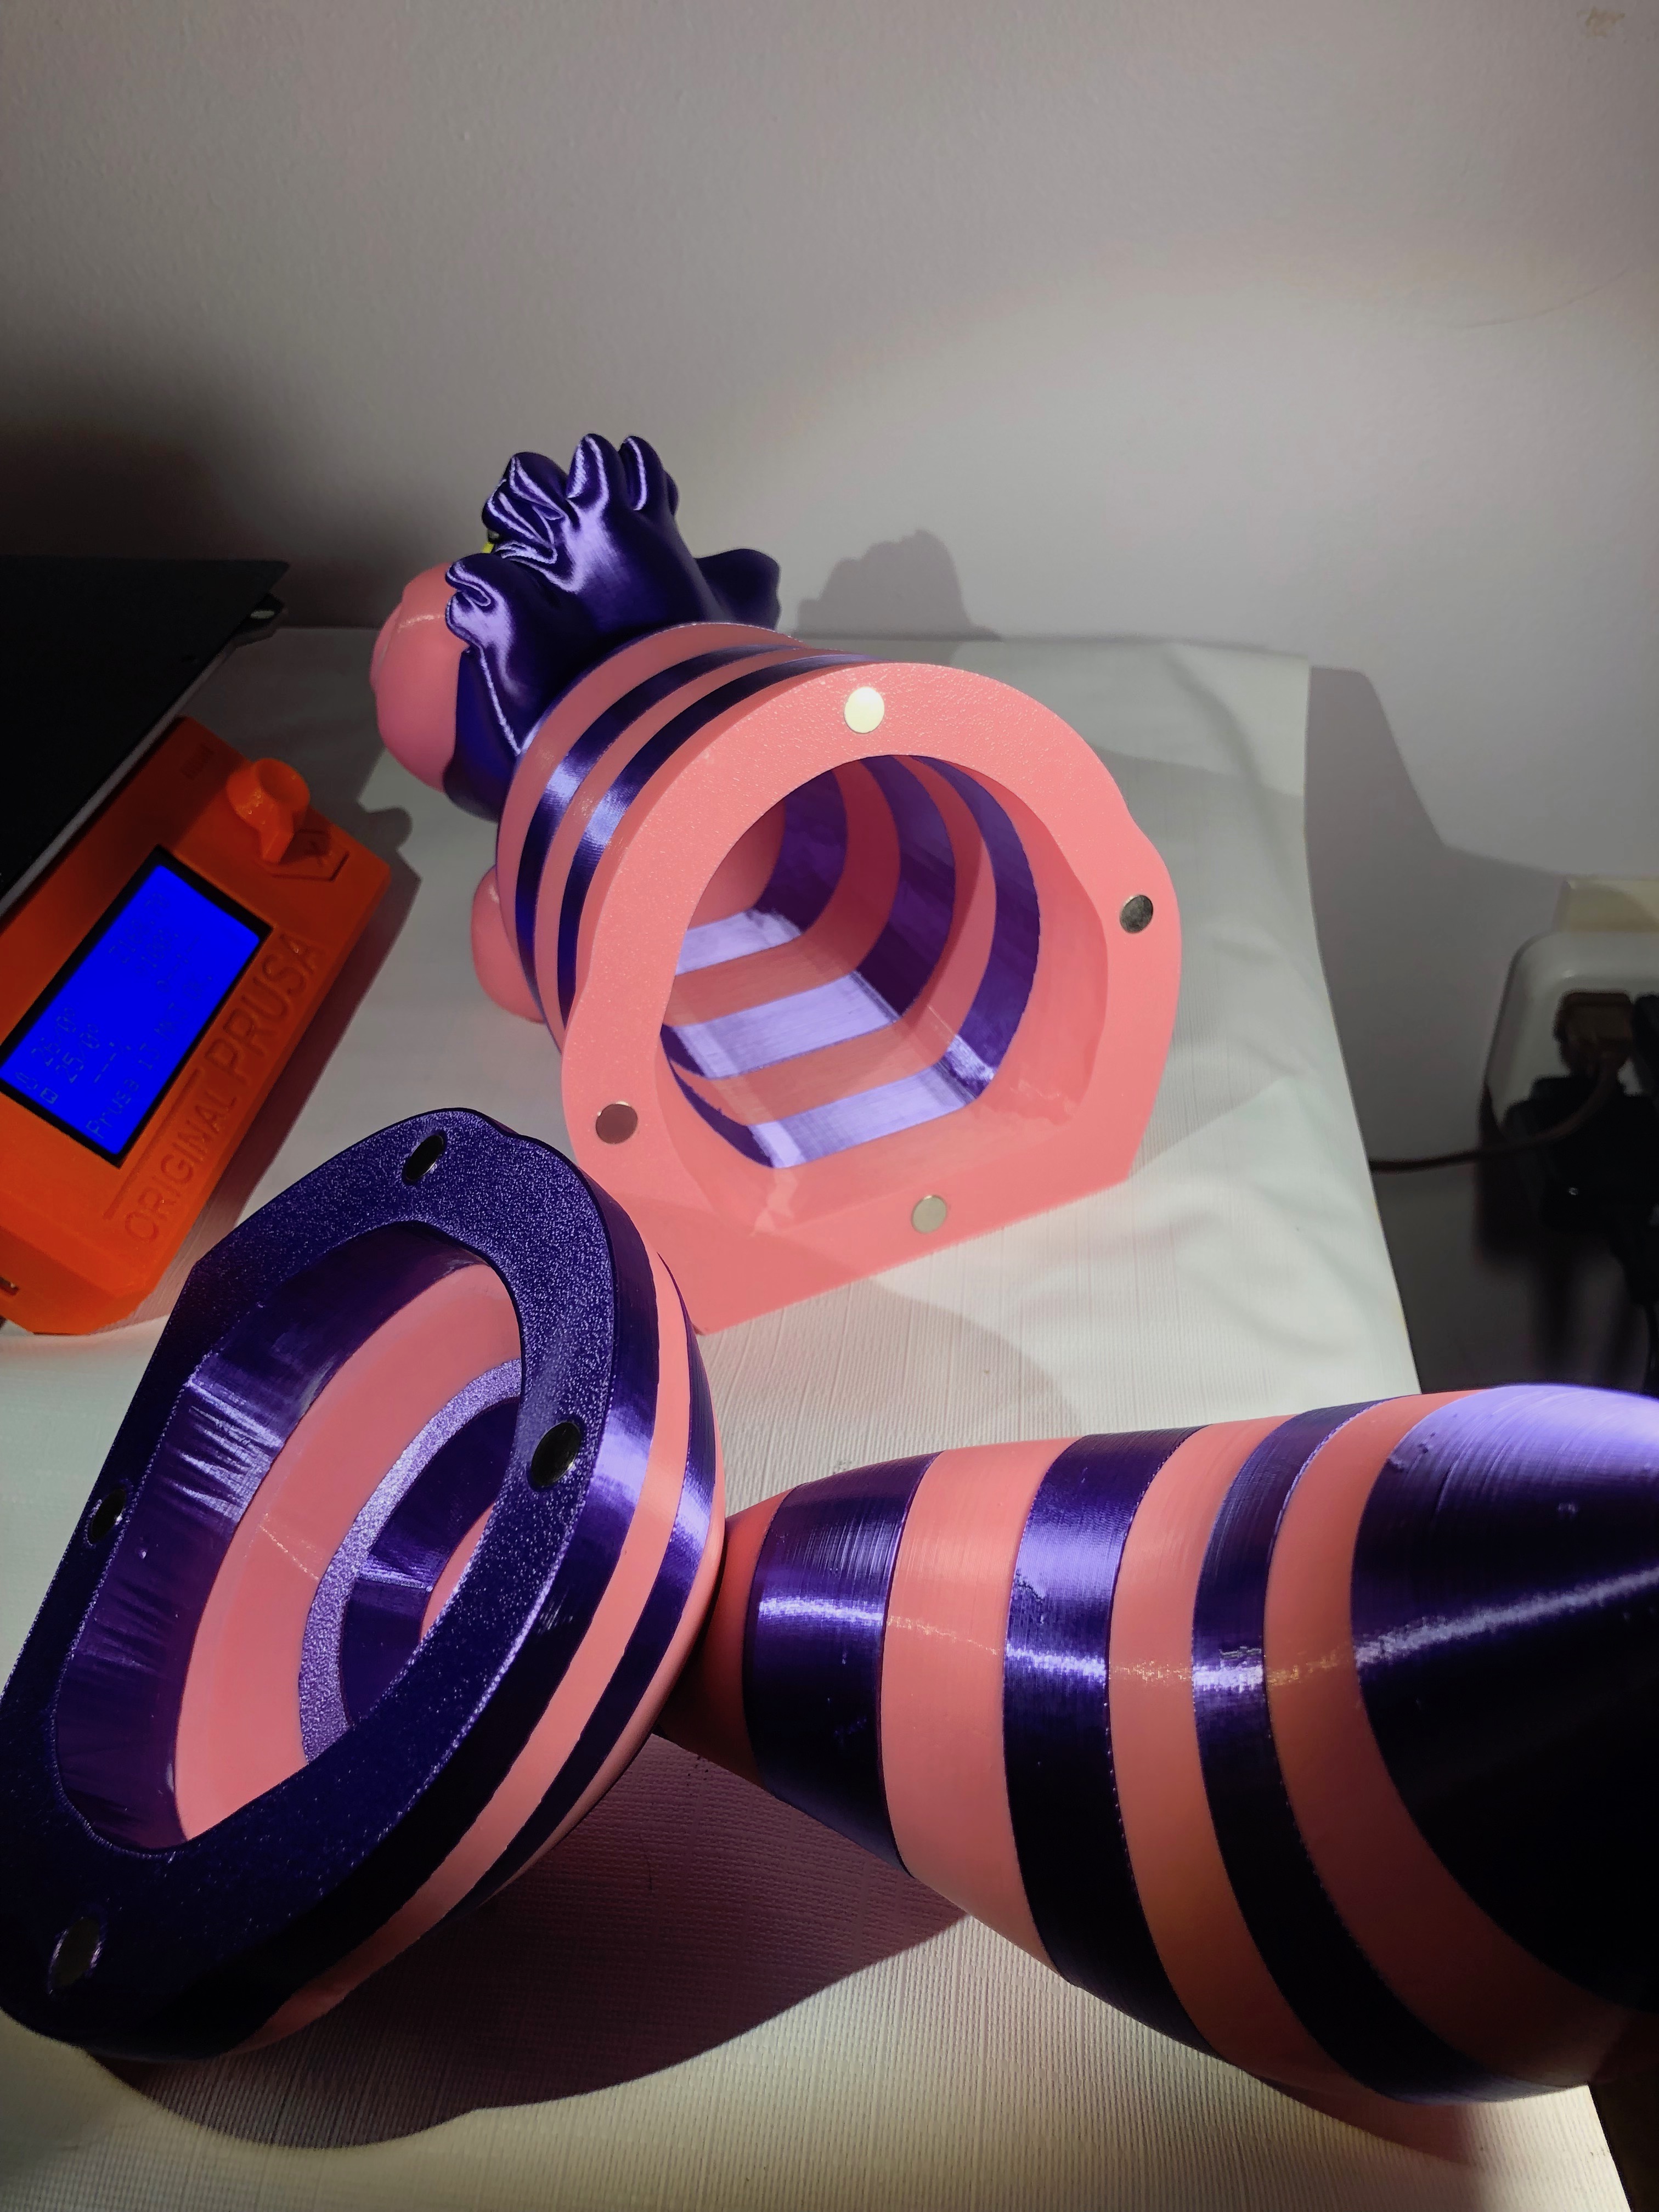
This is a very simple remix of two parts you can swap out for the full-sized assembly version of Reddadsteve’s Cheshire Cat, replacing the two parts that use the "body bump" files instead Basically, there are 4 hole cutouts in two…
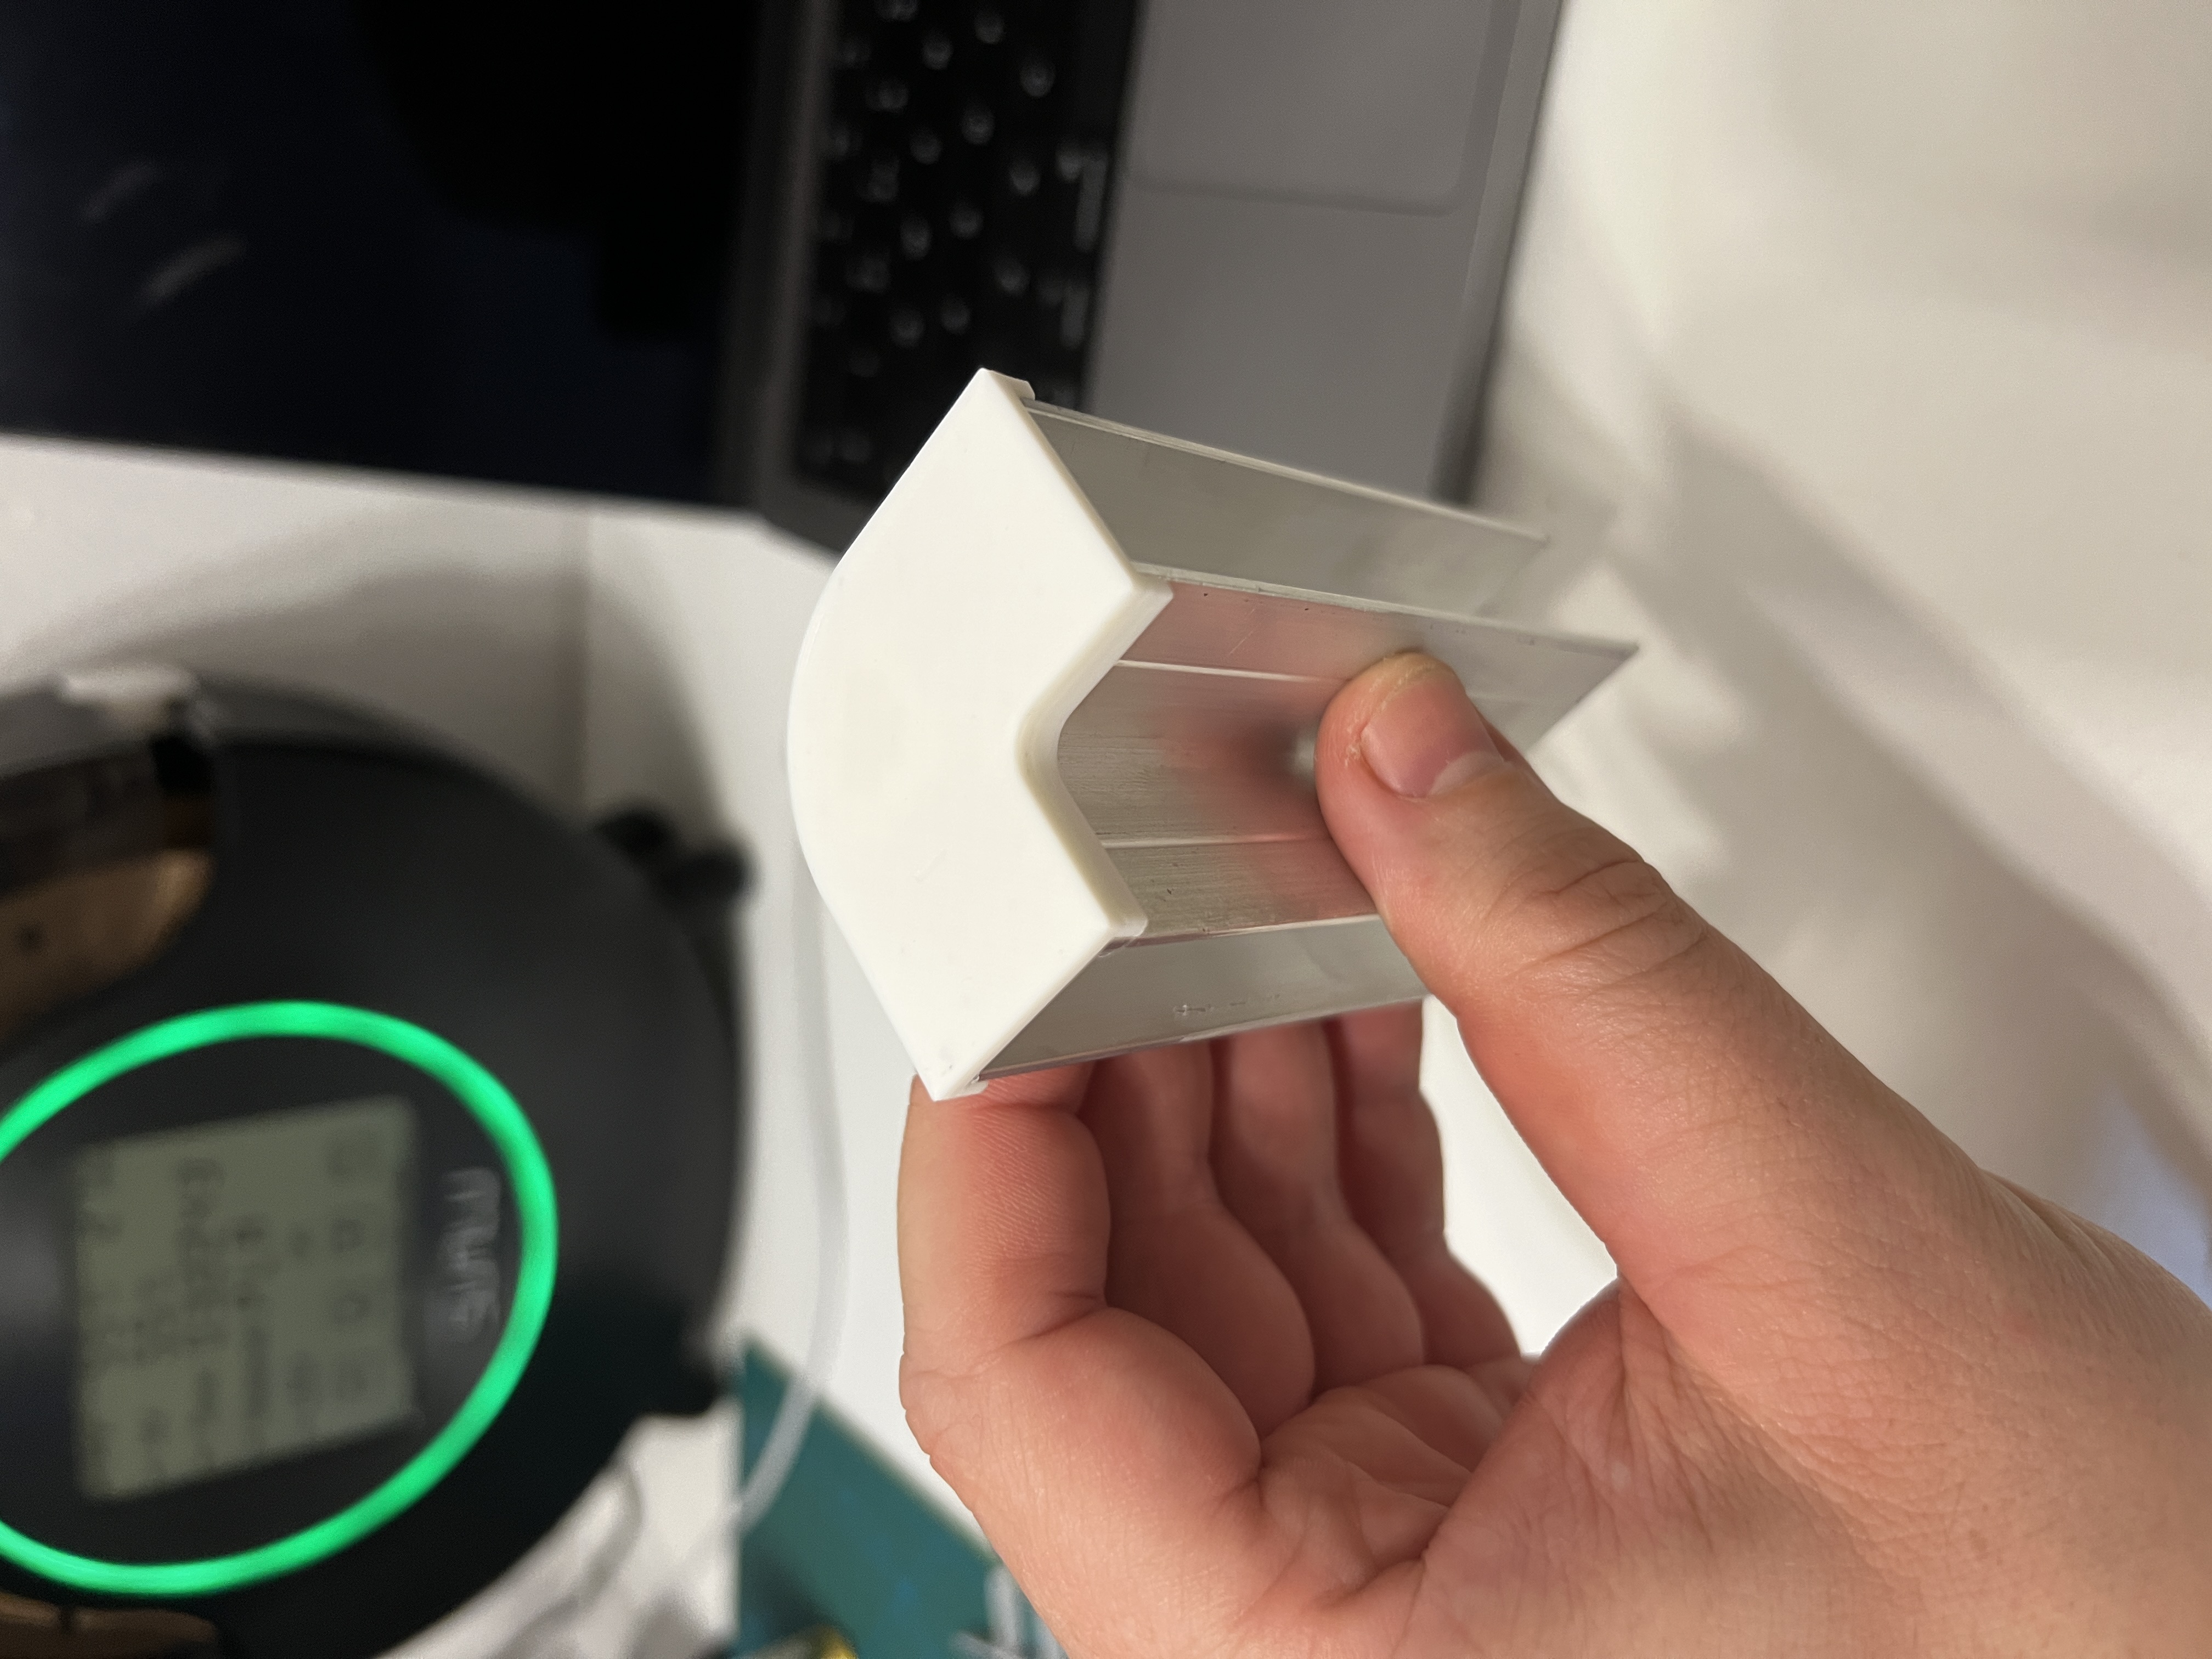
This post is basically for a cap to finish off some aluminium corner profiles I am using. There is a CAD file that replicates an Aluminium or aluminum Corner profile for a 38x38 dimension that fits 15.5mm MDF or Plywood. The profile is…
Remixed from Bambulab P1S Poop Chute to support for 8x3mm magnets
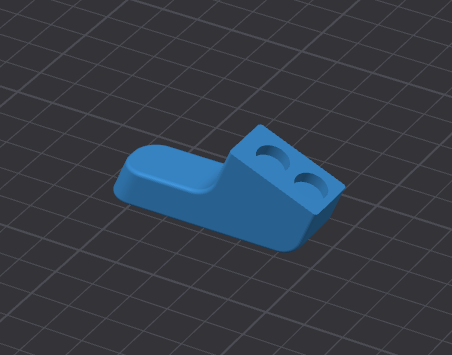
This is a mount for two 68mm x 37mm 60mA @ 5v solar cells that presents them at 55 degrees. For my use it is intended to be mounted to the front door of a Meshtastic node enclosure where the panels are in parallel, fed through the…
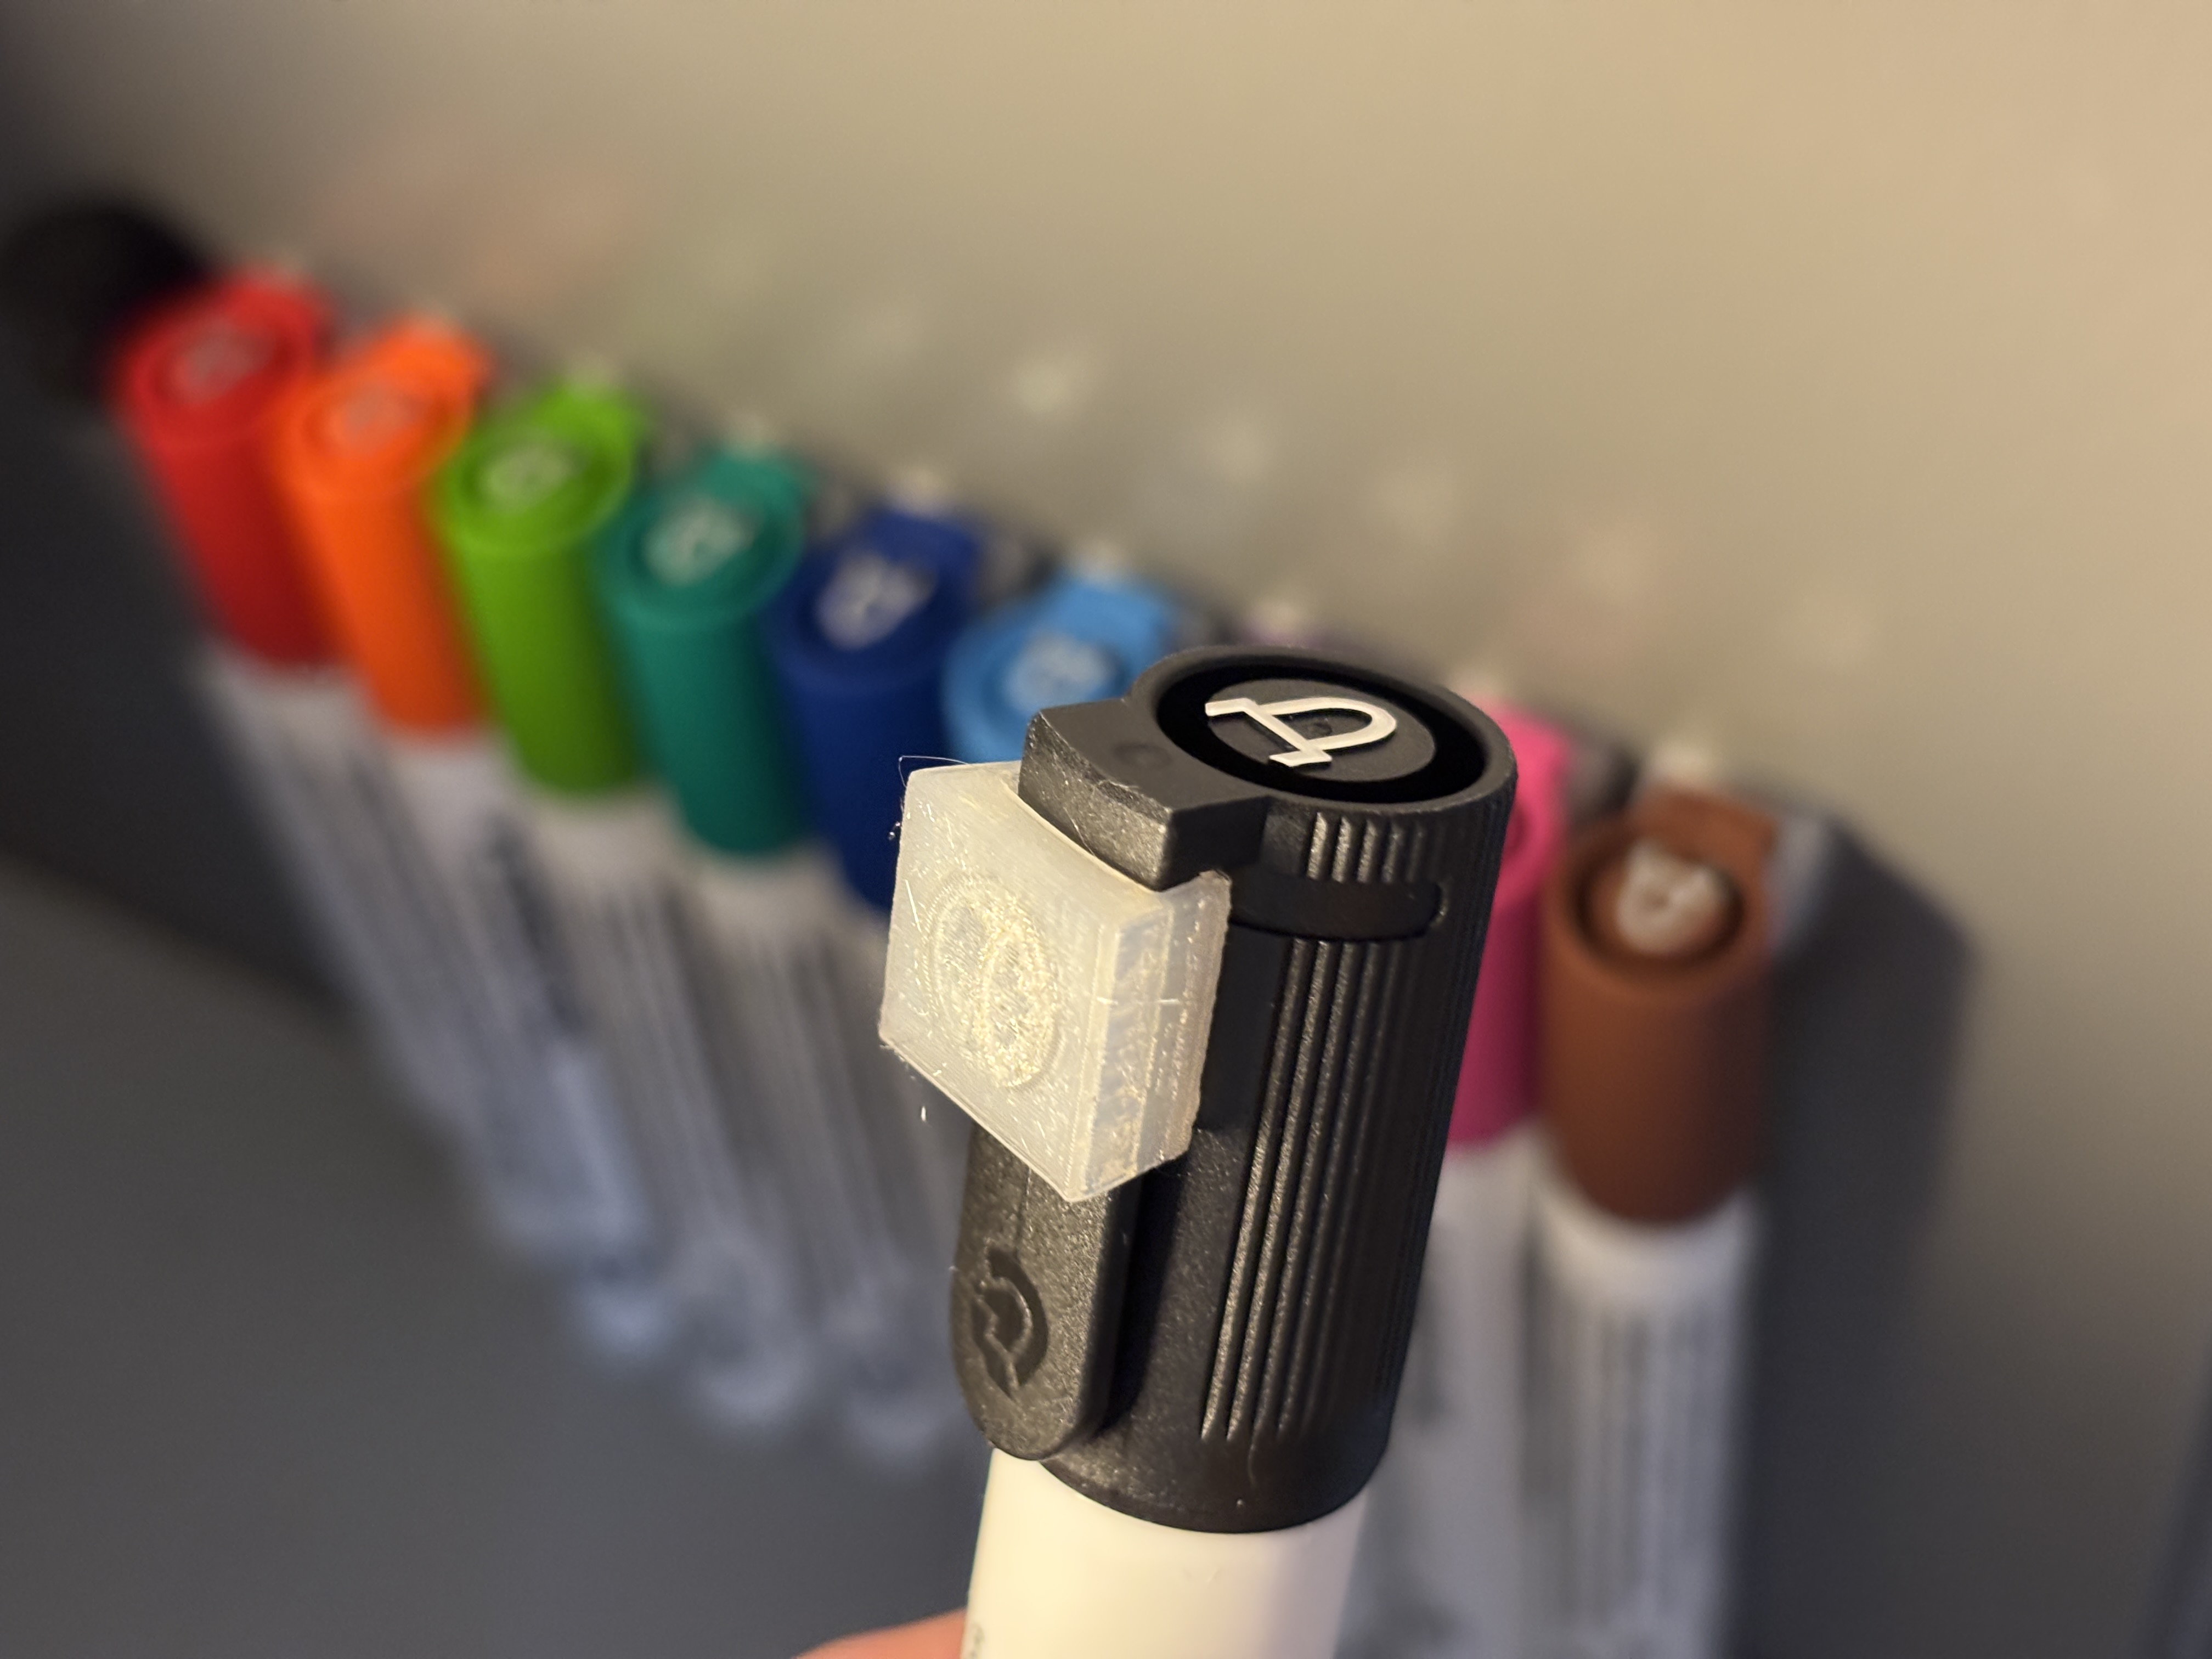
Remix from https://www.printables.com/model/431518-magnetic-holder-for-steadtler-whiteboard-markers to fit my 8x3mm magnets. Remixed in PrusaSlicer, original design by @Lennnard
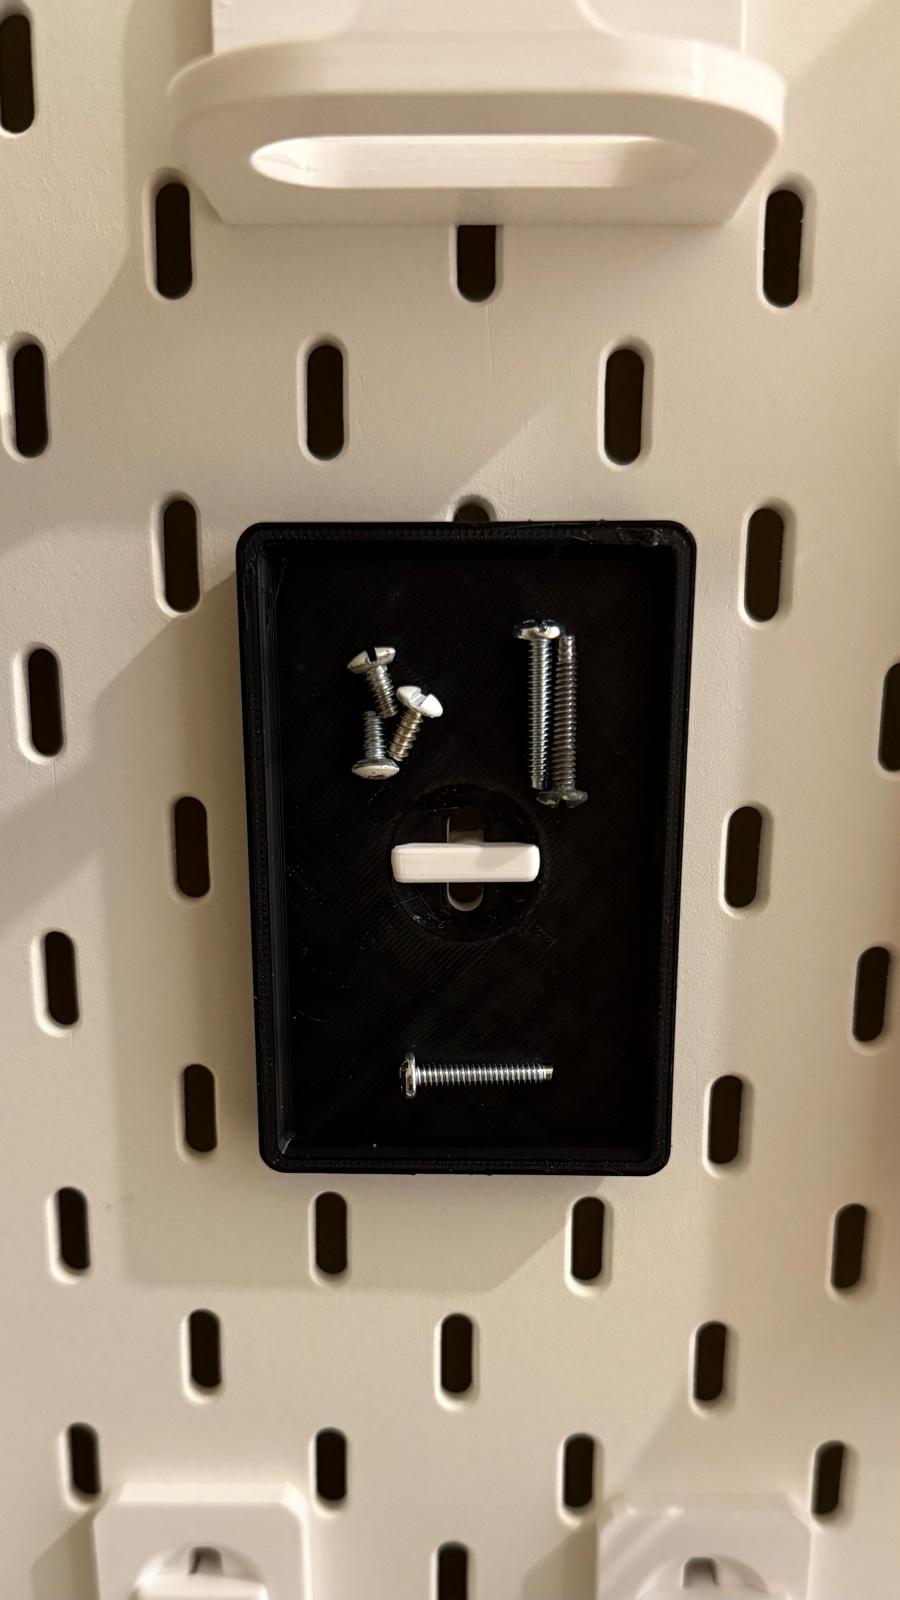
Small magnetic tray (60mm x 90mm) so that you don't lose your screws, and Skadis T-clip system to keep it out of the way when it's not being used. Uses 8 x 8mm diameter, 3mm thick magnets. FreeCAD model can be used to change magnet size.
increased hole size for 8x3mm magnets for the lid and enclosure.
Magnetic cable guide for 8x3mm disc magnets. Holds cables to metal surfaces, like fridges, file cabinets, desk legs, etc. Magnets: https://a.co/d/8BrzFfH Some superglue required.
A simple remix of the original chute cover for 8x3 magnets and better fit on my P1S.
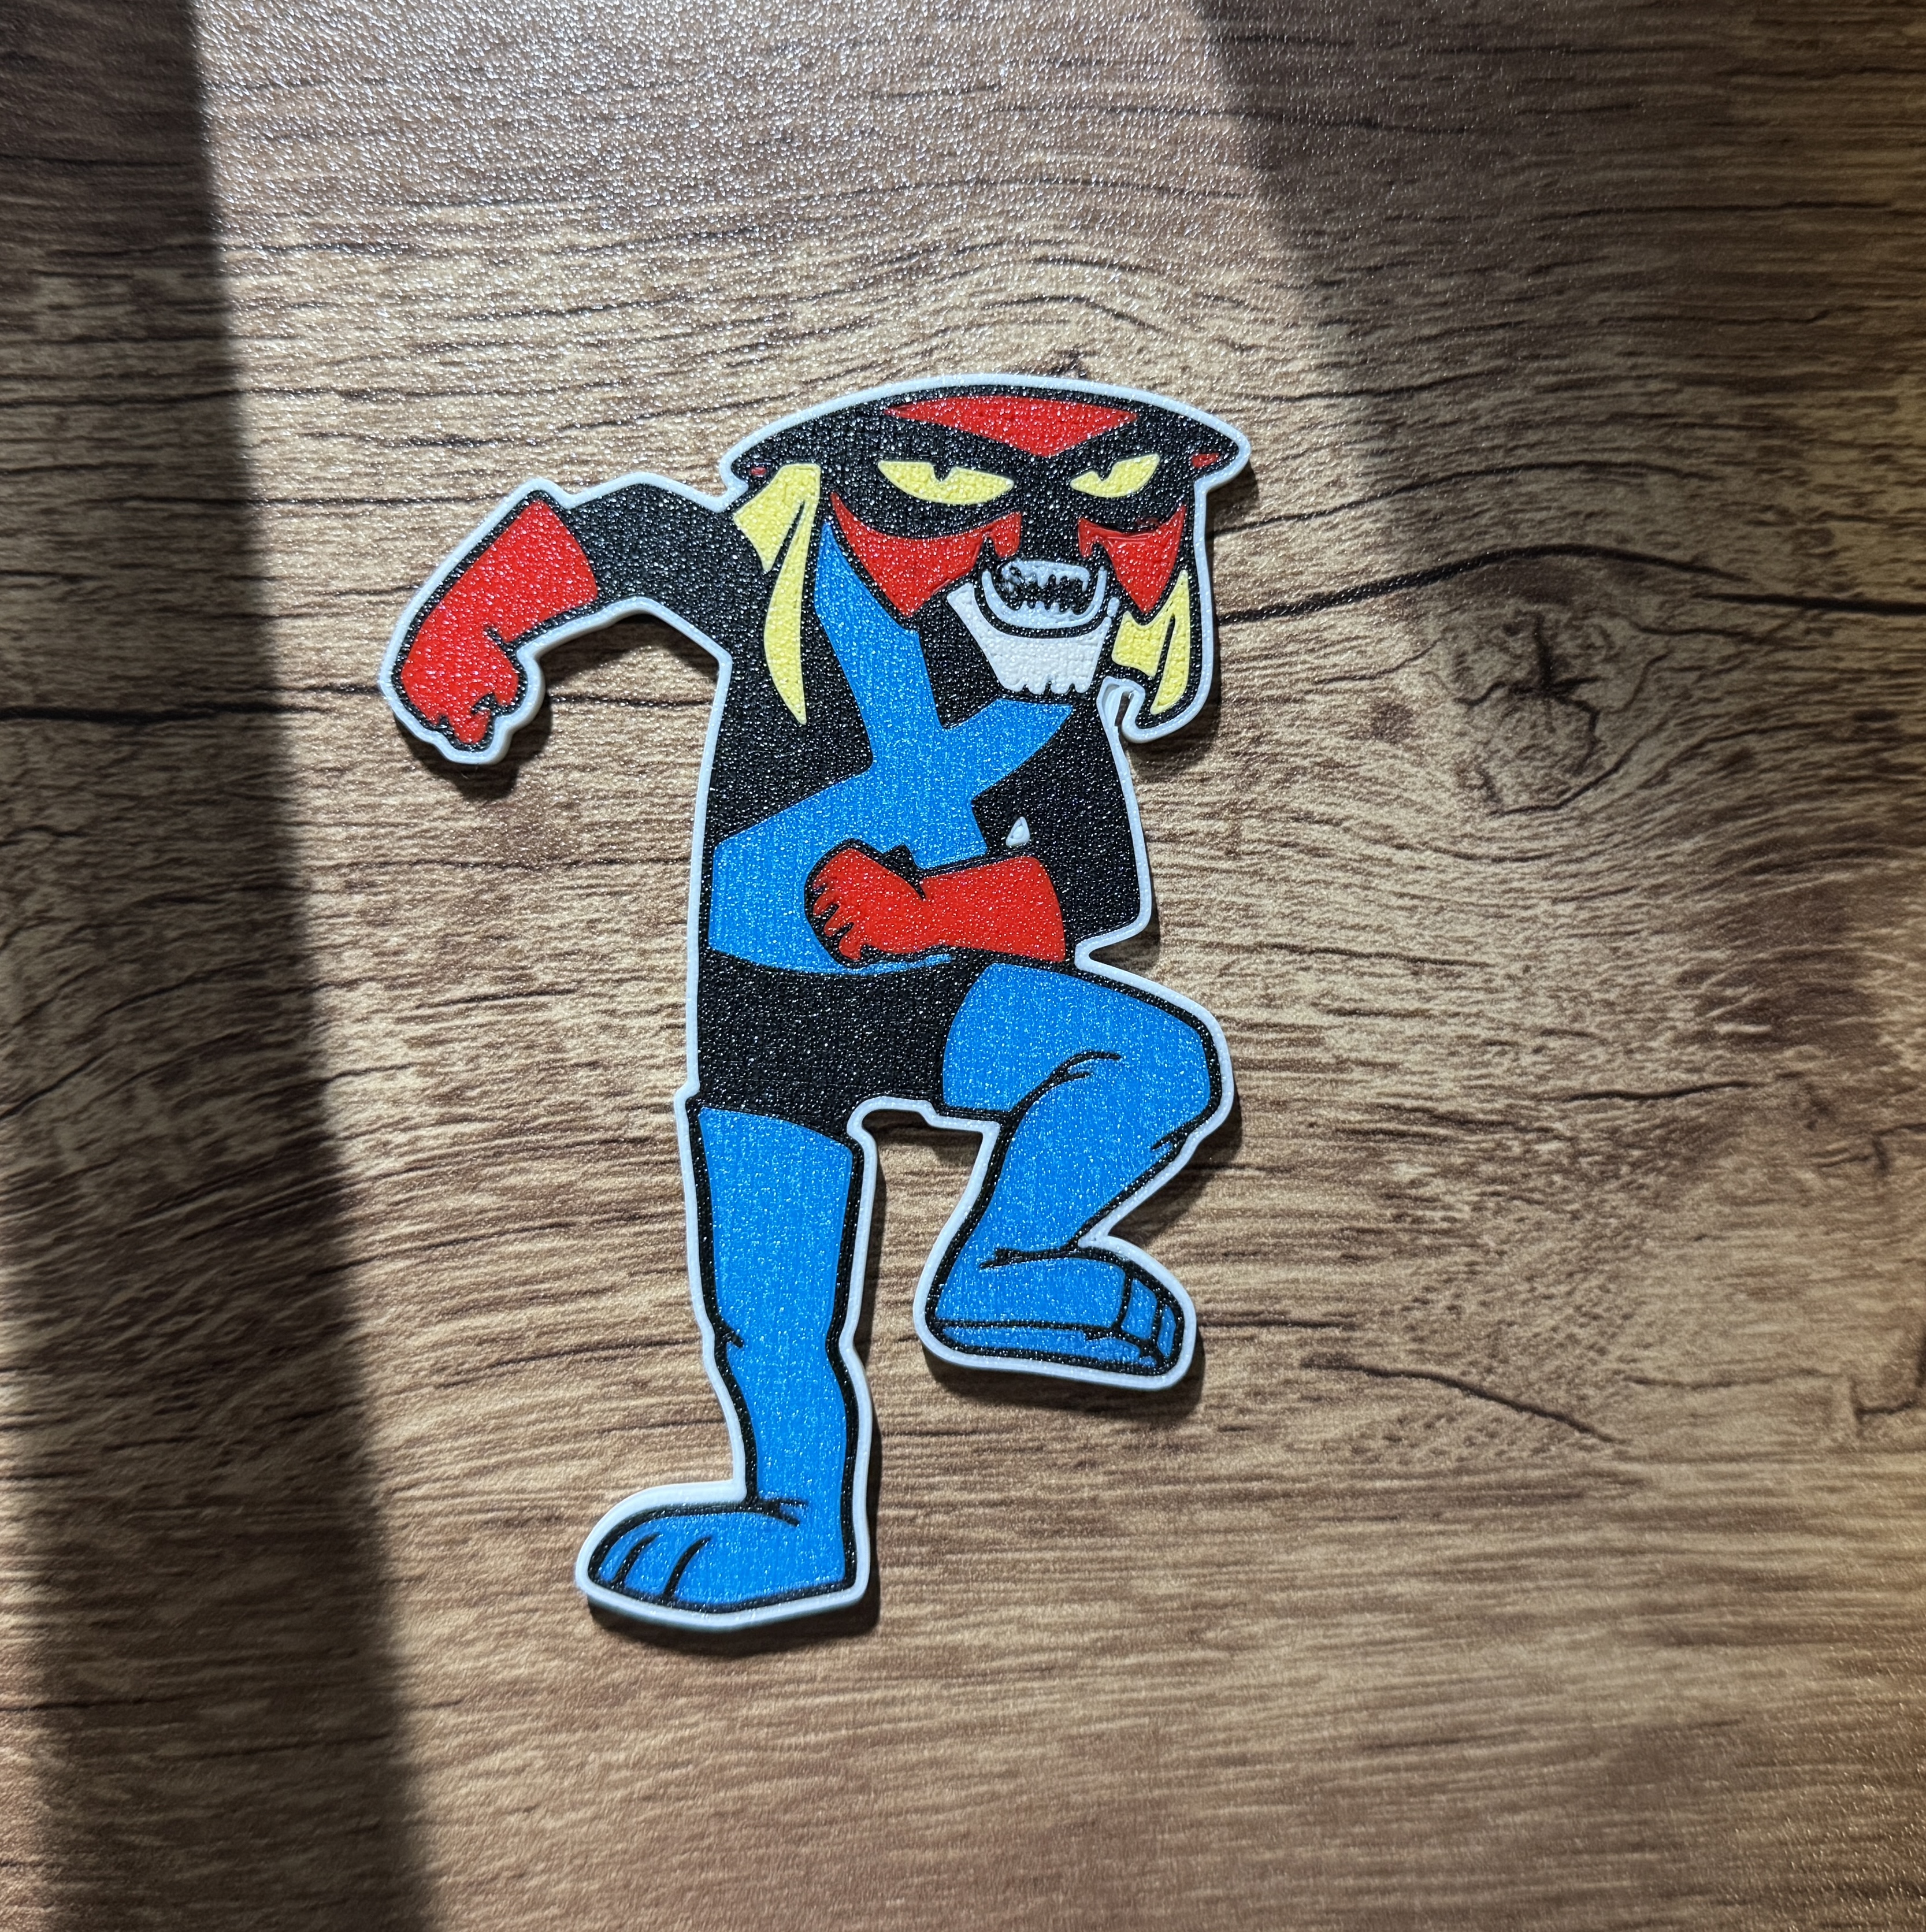
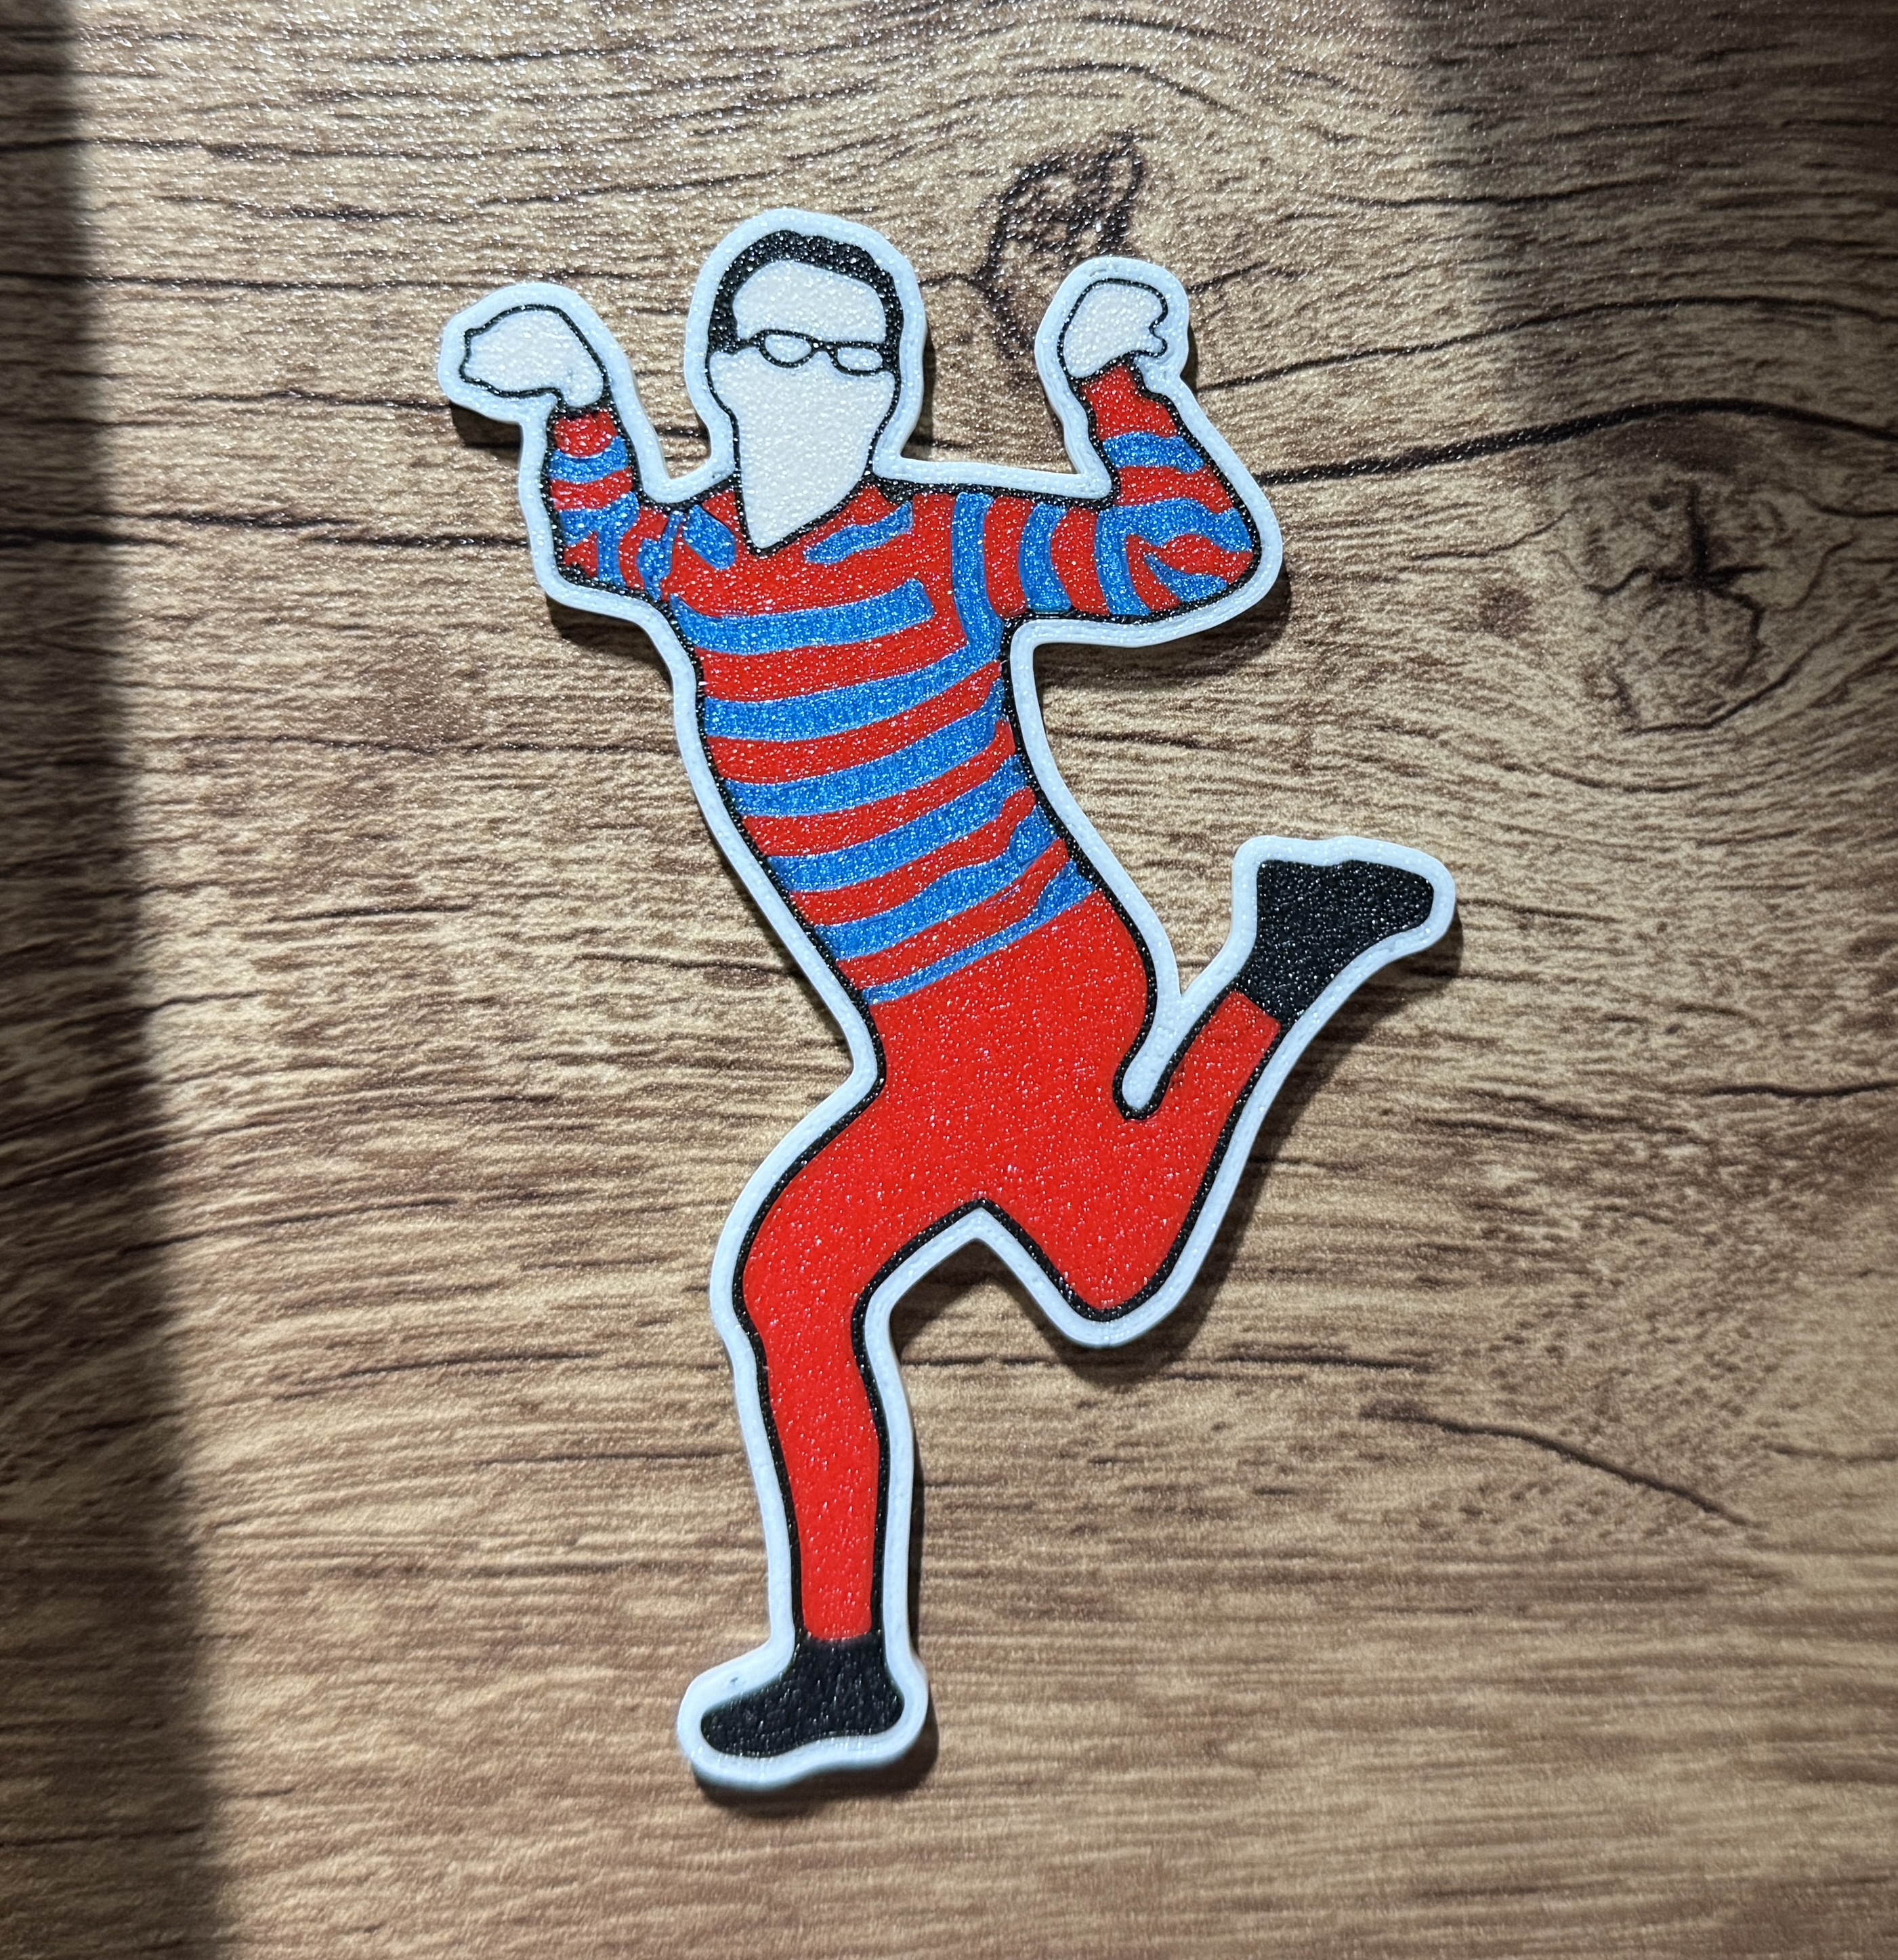
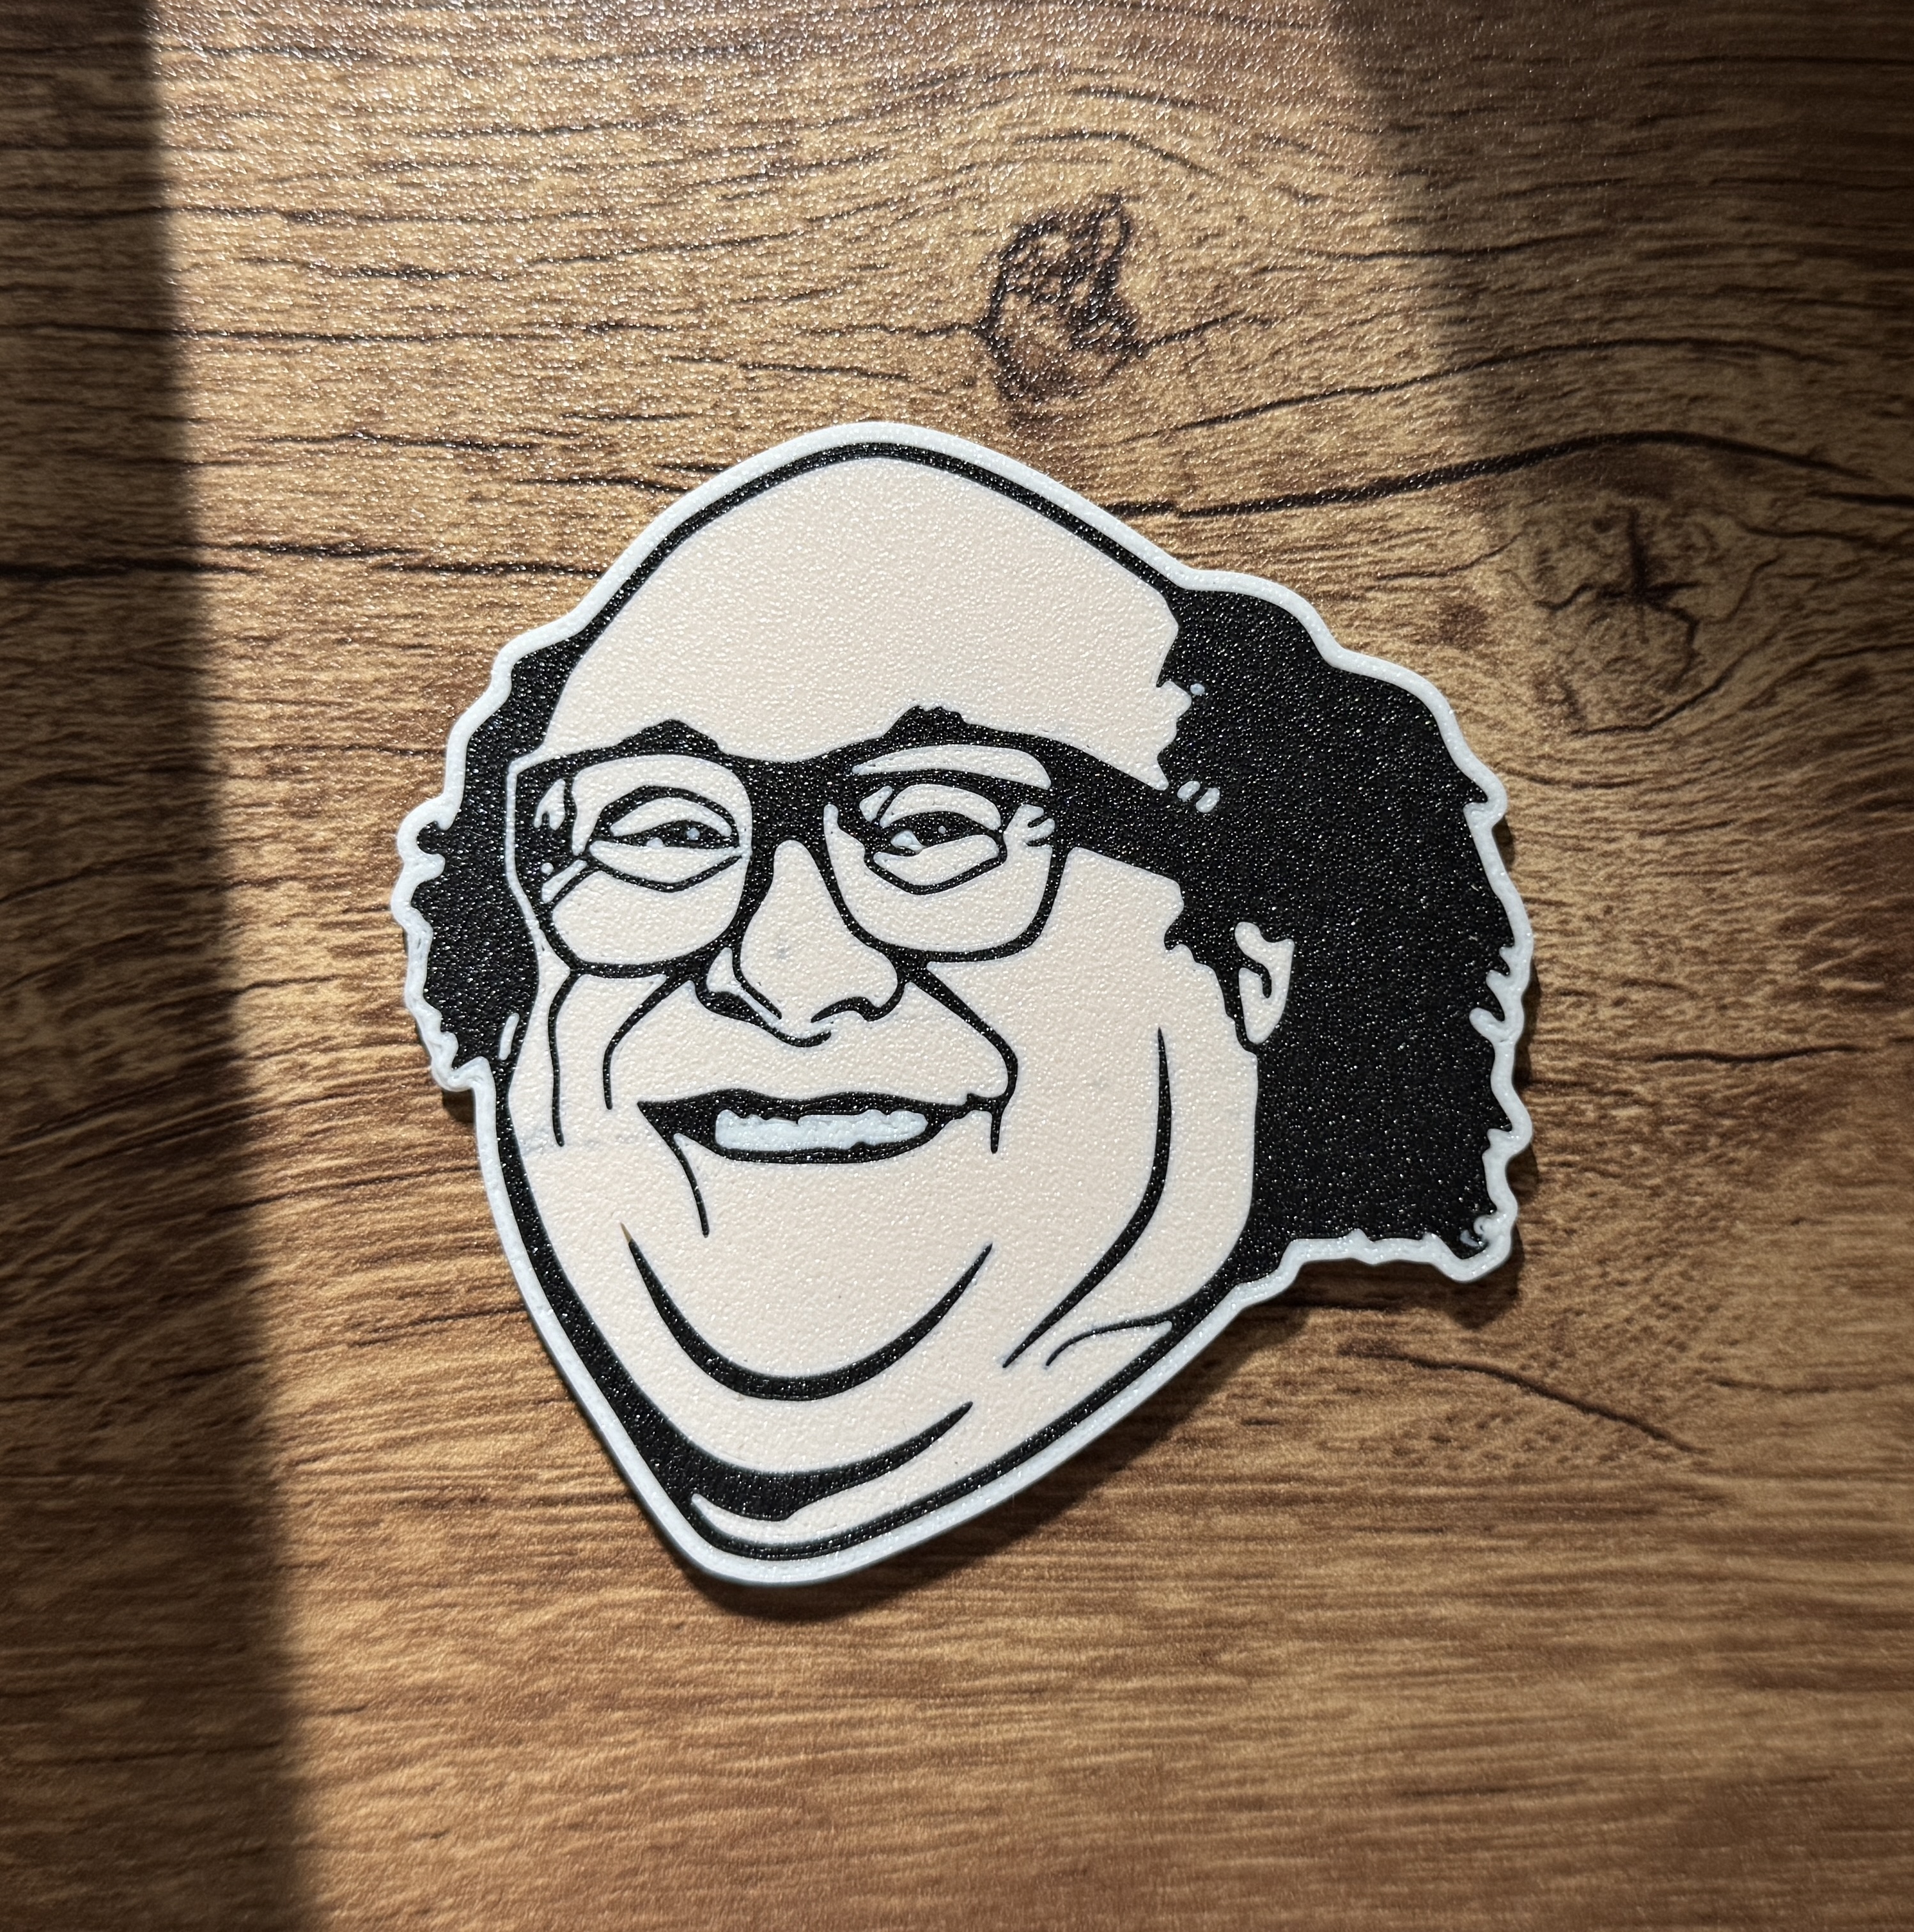
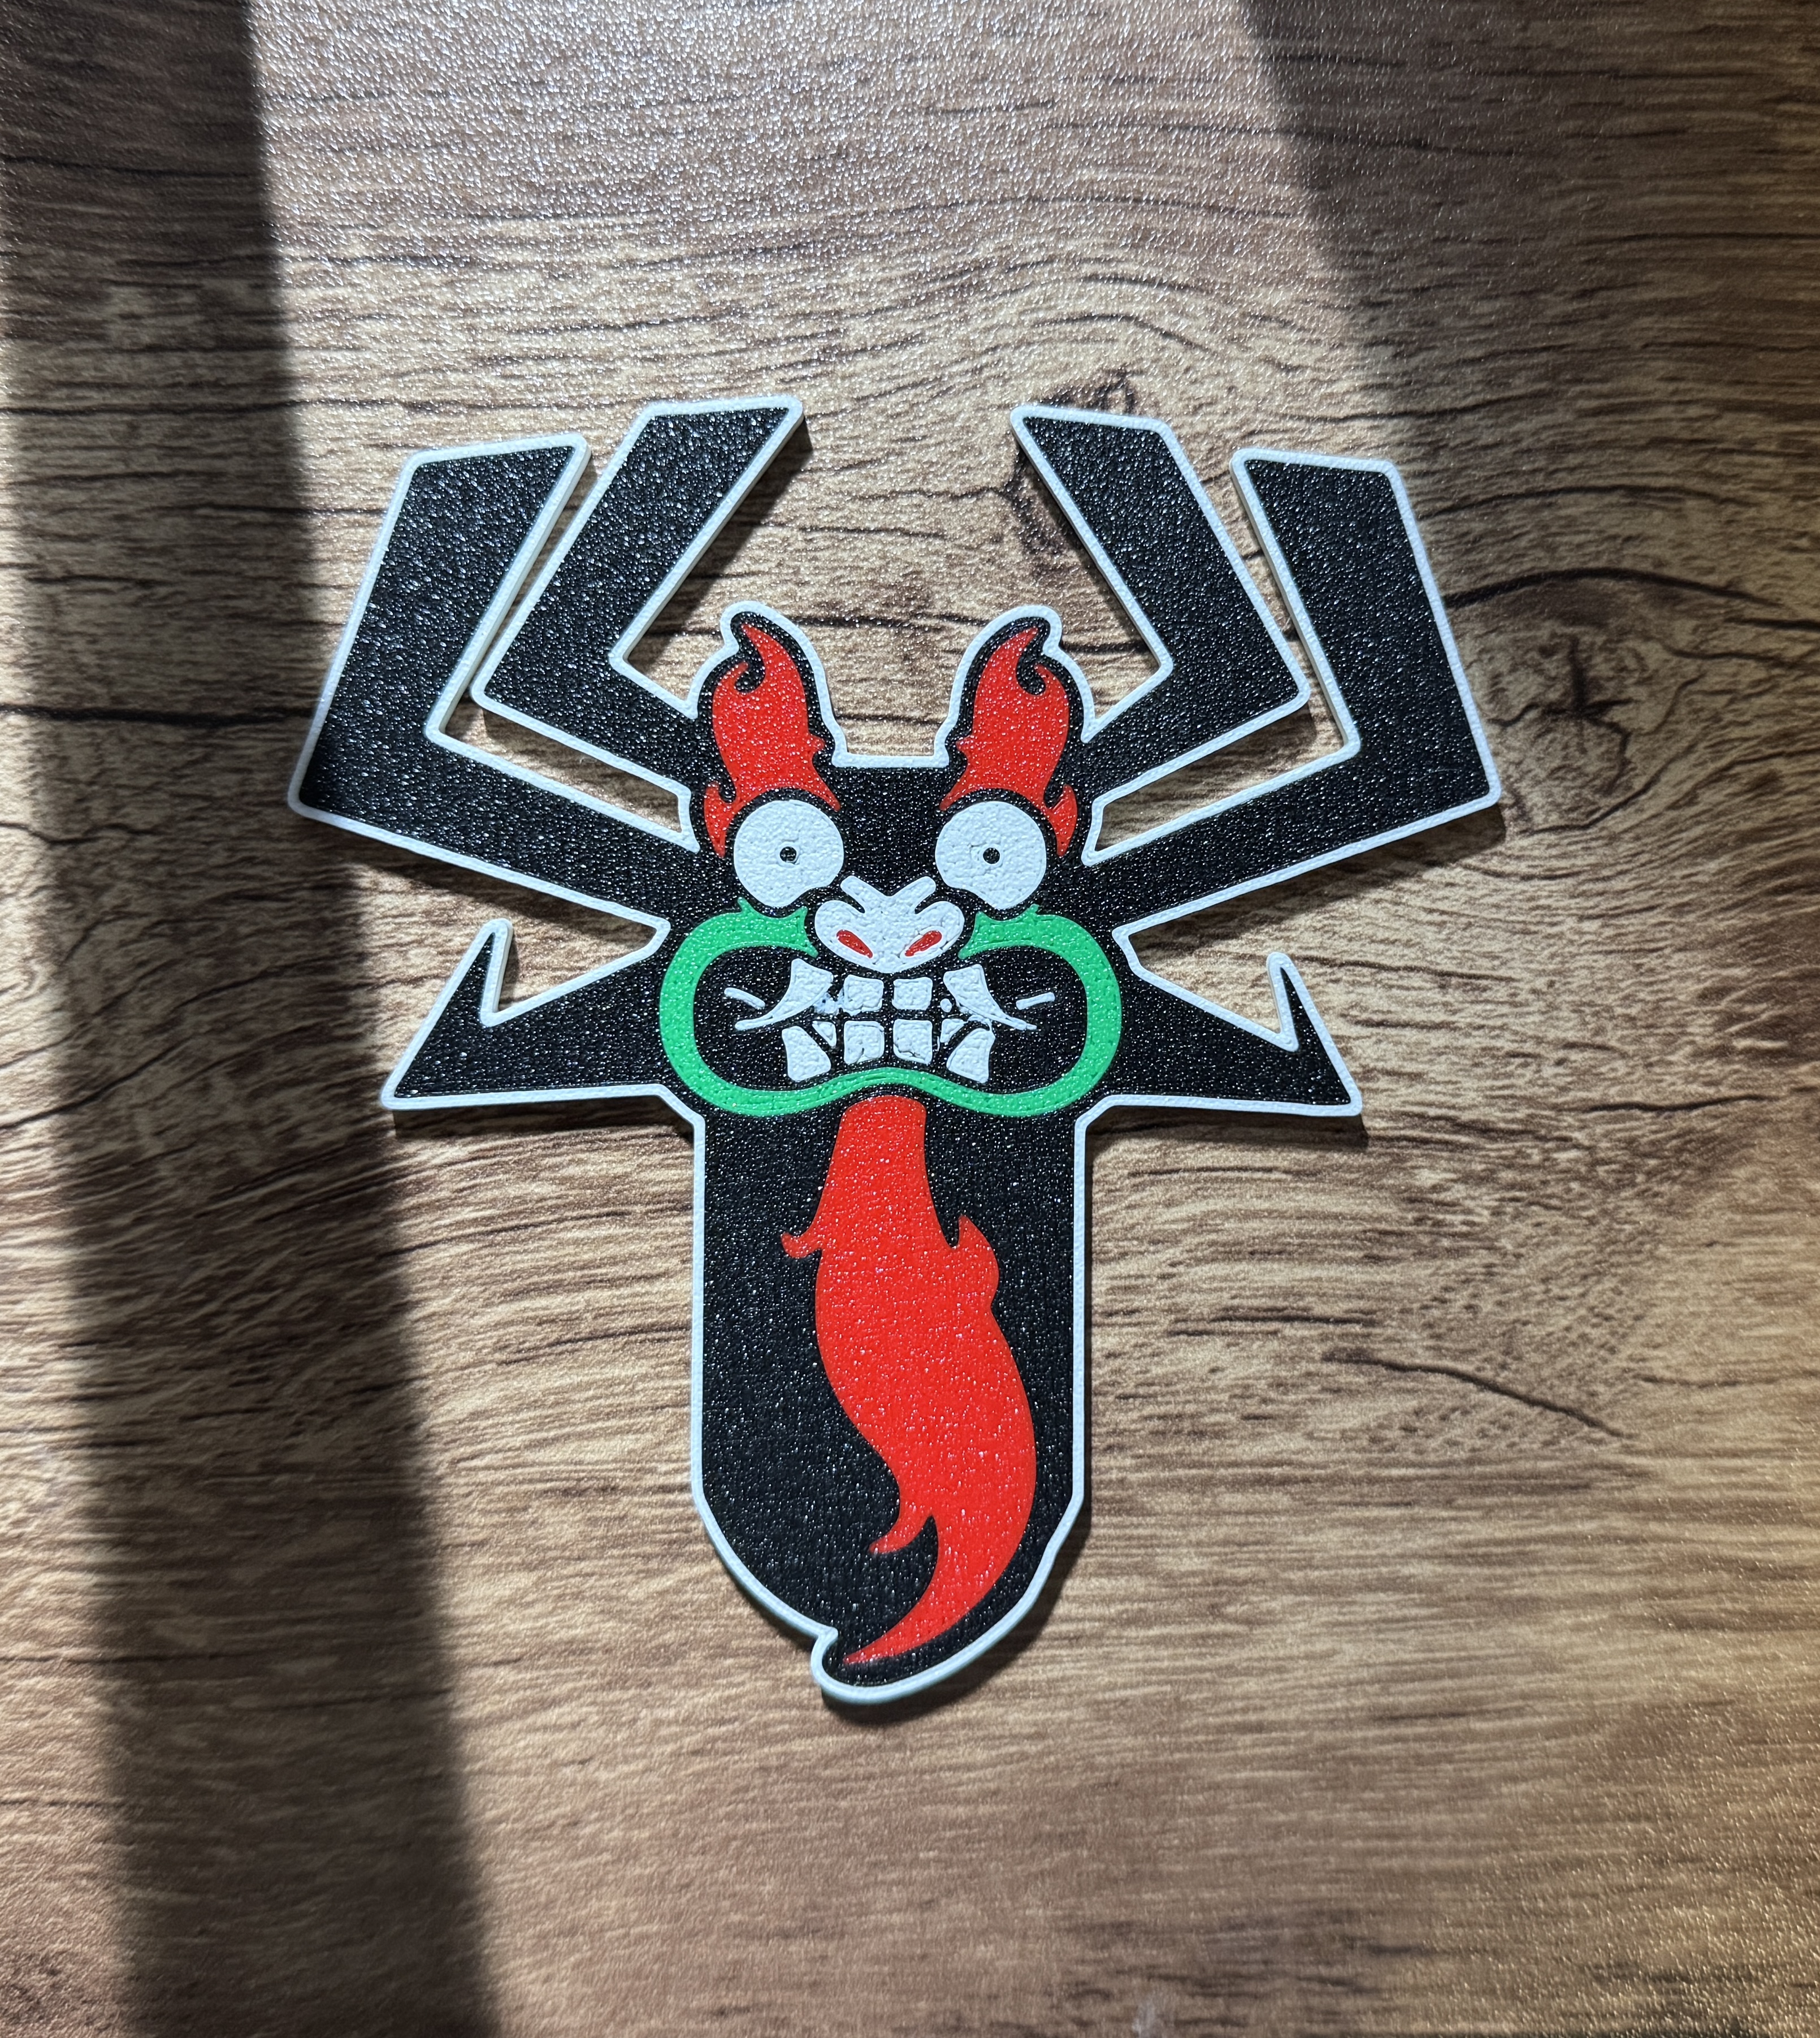
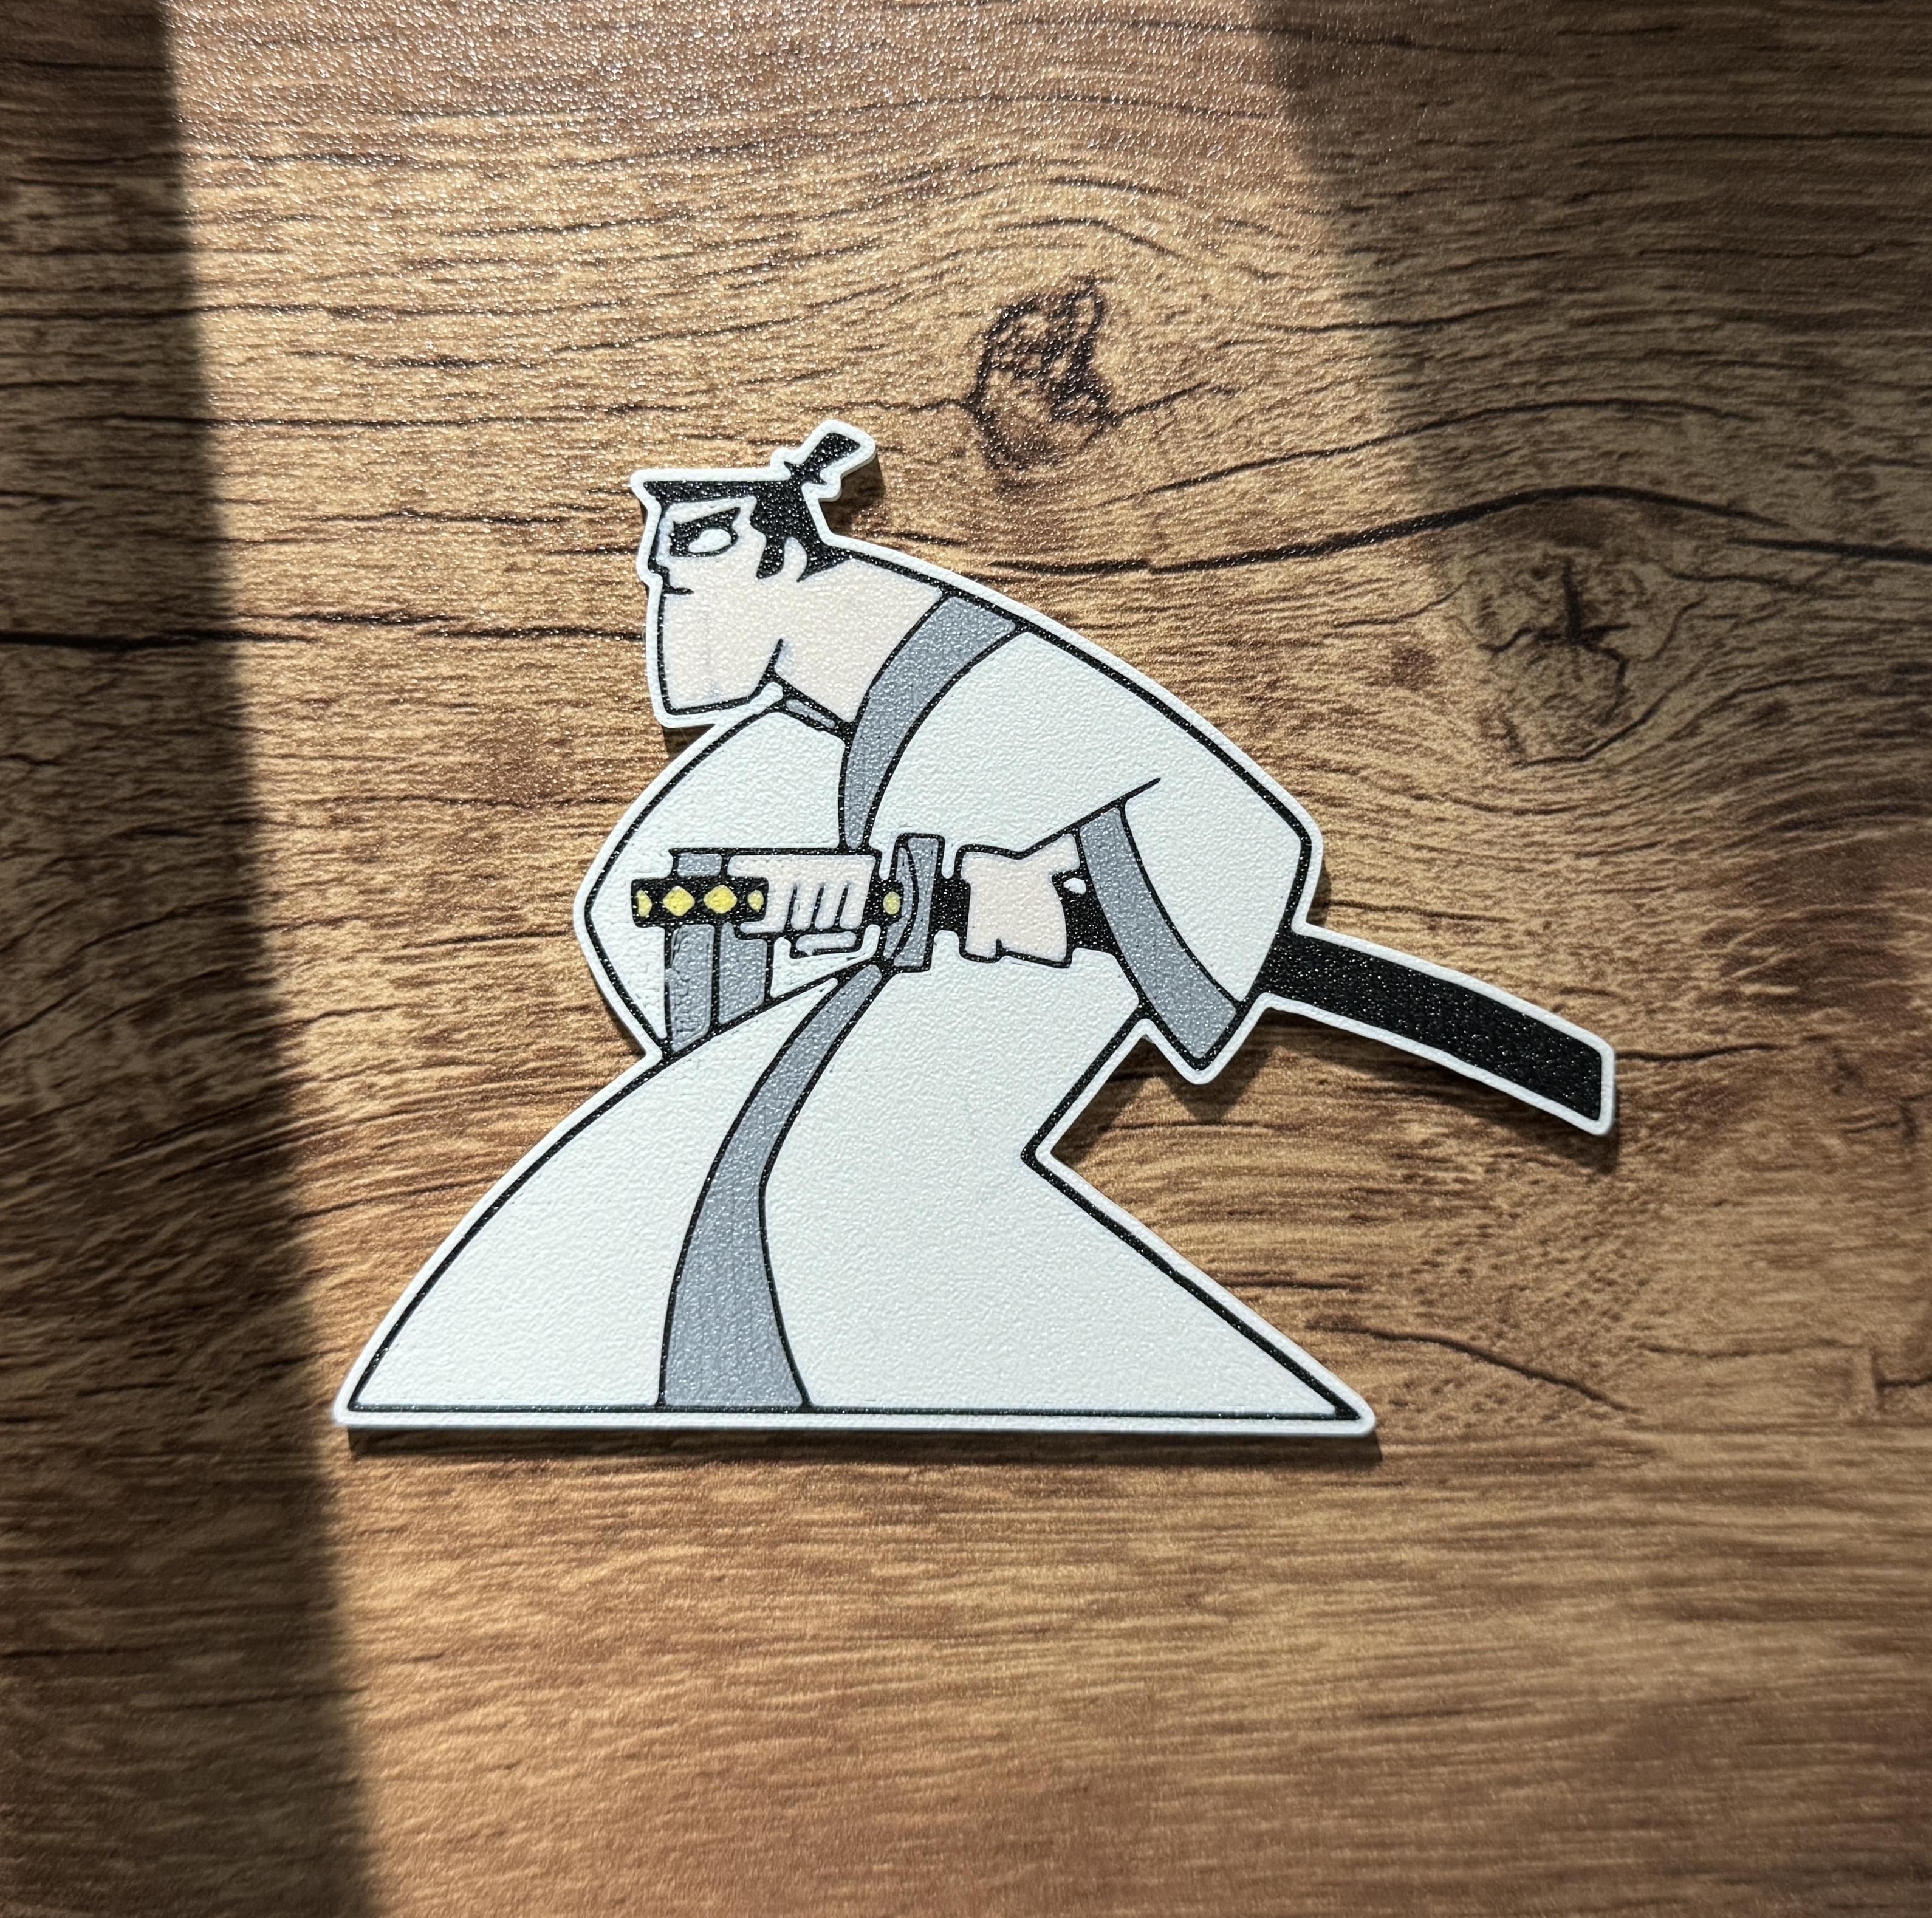
Pictured Examples printed on a BambuLab X1C (Textured PEI) Face-down Print Settings: Initial Layer Line Width: 0.4mm Wall Generator: Arachne Wall Loops: 1 Bottom Surface Pattern: Hilbert Curve Infill: 15% (Gyroid) Initial Layer Speed:…
Pictured Examples printed on a BambuLab X1C (Textured PEI) Face-down Print Settings: Initial Layer Line Width: 0.4mm Wall Generator: Arachne Wall Loops: 1 Bottom Surface Pattern: Hilbert Curve Infill: 15% (Gyroid) Initial Layer Speed:…
Pictured Example printed on a BambuLab X1C (Textured PEI) Face-down Print Settings: Initial Layer Line Width: 0.4mm Wall Generator: Arachne Wall Loops: 1 Bottom Surface Pattern: Hilbert Curve Infill: 15% (Gyroid) Initial Layer Speed:…
Pictured Examples printed on a BambuLab X1C (Textured PEI) Face-down Print Settings: Initial Layer Line Width: 0.4mm Wall Generator: Arachne Wall Loops: 1 Bottom Surface Pattern: Hilbert Curve Infill: 15% (Gyroid) Initial Layer Speed:…
Pictured Examples printed on a BambuLab X1C (Textured PEI) Face-down Print Settings: Initial Layer Line Width: 0.4mm Wall Generator: Arachne Wall Loops: 1 Bottom Surface Pattern: Hilbert Curve Infill: 15% (Gyroid) Initial Layer Speed:…
Pictured Examples printed on a BambuLab X1C (Textured PEI) Face-down Print Settings: Initial Layer Line Width: 0.4mm Wall Generator: Arachne Wall Loops: 1 Bottom Surface Pattern: Hilbert Curve Infill: 15% (Gyroid) Initial Layer Speed:…
Pictured Examples printed on a BambuLab X1C (Textured PEI) Face-down Print Settings: Initial Layer Line Width: 0.4mm Wall Generator: Arachne Wall Loops: 1 Bottom Surface Pattern: Hilbert Curve Infill: 15% (Gyroid) Initial Layer Speed:…
Pictured Examples printed on a BambuLab X1C (Textured PEI) Face-down Print Settings: Initial Layer Line Width: 0.4mm Wall Generator: Arachne Wall Loops: 1 Bottom Surface Pattern: Hilbert Curve Infill: 15% (Gyroid) Initial Layer Speed:…
Pictured Examples printed on a BambuLab X1C (Textured PEI) Face-down Print Settings: Initial Layer Line Width: 0.4mm Wall Generator: Arachne Wall Loops: 1 Bottom Surface Pattern: Hilbert Curve Infill: 15% (Gyroid) Initial Layer Speed:…
Pictured Examples printed on a BambuLab X1C (Textured PEI) Face-down Print Settings: Initial Layer Line Width: 0.4mm Wall Generator: Arachne Wall Loops: 1 Bottom Surface Pattern: Hilbert Curve Infill: 15% (Gyroid) Initial Layer Speed:…
Pictured Examples printed on a BambuLab X1C (Textured PEI) Face-down Print Settings: Initial Layer Line Width: 0.4mm Wall Generator: Arachne Wall Loops: 1 Bottom Surface Pattern: Hilbert Curve Infill: 15% (Gyroid) Initial Layer Speed:…
Pictured Examples printed on a BambuLab X1C (Textured PEI) Face-down Print Settings: Initial Layer Line Width: 0.4mm Wall Generator: Arachne Wall Loops: 1 Bottom Surface Pattern: Hilbert Curve Infill: 15% (Gyroid) Initial Layer Speed:…
Pictured Examples printed on a BambuLab X1C (Textured PEI) Face-down Print Settings: Initial Layer Line Width: 0.4mm Wall Generator: Arachne Wall Loops: 1 Bottom Surface Pattern: Hilbert Curve Infill: 15% (Gyroid) Initial Layer Speed:…
Pictured Examples printed on a BambuLab X1C (Textured PEI) Face-down Print Settings: Initial Layer Line Width: 0.4mm Wall Generator: Arachne Wall Loops: 1 Bottom Surface Pattern: Hilbert Curve Infill: 15% (Gyroid) Initial Layer Speed:…
Pictured Examples printed on a BambuLab X1C (Textured PEI) Face-down Print Settings: Initial Layer Line Width: 0.4mm Wall Generator: Arachne Wall Loops: 1 Bottom Surface Pattern: Hilbert Curve Infill: 15% (Gyroid) Initial Layer Speed:…
Pictured Examples printed on a BambuLab X1C (Textured PEI) Face-down Print Settings: Initial Layer Line Width: 0.4mm Wall Generator: Arachne Wall Loops: 1 Bottom Surface Pattern: Hilbert Curve Infill: 15% (Gyroid) Initial Layer Speed:…
Pictured Examples printed on a BambuLab X1C (Textured PEI) (ignore the defect. there were some weather-related moisture issues that caused some problems during the example print) Face-down Print Settings: Initial Layer Line Width: 0.4mm…
I have 8x3mm magnets instead of 6x3mm magnets which the original thing was designed for so I just enlarged the magnet hole in tinkercad. I used a hole diameter of 8.2mm in the design, and my 8x3mm magnet press fits in perfectly and holds…
Pictured Example printed on a BambuLab X1C (Textured PEI) Print Settings: Initial Layer Line Width: 0.4mm Wall Generator: Arachne Wall Loops: 1 Bottom Surface Pattern: Hilbert Curve Infill: 15% (Gyroid) Initial Layer Speed: 30mm/s…
Pictured Example printed on a BambuLab X1C (Textured PEI) Print Settings: Initial Layer Line Width: 0.4mm Wall Generator: Arachne Wall Loops: 1 Bottom Surface Pattern: Hilbert Curve Infill: 15% (Gyroid) Initial Layer Speed: 30mm/s…
Ein einfacher Halter zum zusammenstecken für LED Matrixmit einer 8x32 Abmaßung
Pictured Examples printed on a BambuLab X1C (Textured PEI) Face-down Print Settings: Initial Layer Line Width: 0.4mm Wall Generator: Arachne Wall Loops: 1 Bottom Surface Pattern: Hilbert Curve Infill: 15% (Gyroid) Initial Layer Speed:…
Pictured Examples printed on a BambuLab X1C (Textured PEI) Face-down Print Settings: Initial Layer Line Width: 0.4mm Wall Generator: Arachne Wall Loops: 1 Bottom Surface Pattern: Hilbert Curve Infill: 15% (Gyroid) Initial Layer Speed:…
Pictured Examples printed on a BambuLab X1C (Textured PEI) Face-down Print Settings: Initial Layer Line Width: 0.4mm Wall Generator: Arachne Wall Loops: 1 Bottom Surface Pattern: Hilbert Curve Infill: 15% (Gyroid) Initial Layer Speed:…
Pictured Examples printed on a BambuLab X1C (Textured PEI) Face-down Print Settings: Initial Layer Line Width: 0.4mm Wall Generator: Arachne Wall Loops: 1 Bottom Surface Pattern: Hilbert Curve Infill: 15% (Gyroid) Initial Layer Speed:…
Pictured Examples printed on a BambuLab X1C (Textured PEI) Face-down Print Settings: Initial Layer Line Width: 0.4mm Wall Generator: Arachne Wall Loops: 1 Bottom Surface Pattern: Hilbert Curve Infill: 15% (Gyroid) Initial Layer Speed:…
Pictured Examples printed on a BambuLab X1C (Textured PEI) Face-down Print Settings: Initial Layer Line Width: 0.4mm Wall Generator: Arachne Wall Loops: 1 Bottom Surface Pattern: Hilbert Curve Infill: 15% (Gyroid) Initial Layer Speed:…
Pictured Examples printed on a BambuLab X1C (Textured PEI) Face-down Print Settings: Initial Layer Line Width: 0.4mm Wall Generator: Arachne Wall Loops: 1 Bottom Surface Pattern: Hilbert Curve Infill: 15% (Gyroid) Initial Layer Speed:…
Pictured Examples printed on a BambuLab X1C (Textured PEI) Face-down Print Settings: Initial Layer Line Width: 0.4mm Wall Generator: Arachne Wall Loops: 1 Bottom Surface Pattern: Hilbert Curve Infill: 15% (Gyroid) Initial Layer Speed:…
Pictured Examples printed on a BambuLab X1C (Textured PEI) Face-down Print Settings: Initial Layer Line Width: 0.4mm Wall Generator: Arachne Wall Loops: 1 Bottom Surface Pattern: Hilbert Curve Infill: 15% (Gyroid) Initial Layer Speed:…
Pictured Examples printed on a BambuLab X1C (Textured PEI) Face-down Print Settings: Initial Layer Line Width: 0.4mm Wall Generator: Arachne Wall Loops: 1 Bottom Surface Pattern: Hilbert Curve Infill: 15% (Gyroid) Initial Layer Speed:…
Pictured Examples printed on a BambuLab X1C (Textured PEI). Had a little moisture issue with my filament--ignore the issue around the teeth ;) Face-down Print Settings: Initial Layer Line Width: 0.4mm Wall Generator: Arachne Wall Loops: 1…
Pictured Examples printed on a BambuLab X1C (Textured PEI) Face-down Print Settings: Initial Layer Line Width: 0.4mm Wall Generator: Arachne Wall Loops: 1 Bottom Surface Pattern: Hilbert Curve Infill: 15% (Gyroid) Initial Layer Speed:…
Pictured Examples printed on a BambuLab X1C (Textured PEI) Face-down Print Settings: Initial Layer Line Width: 0.4mm Wall Generator: Arachne Wall Loops: 1 Bottom Surface Pattern: Hilbert Curve Infill: 15% (Gyroid) Initial Layer Speed:…
This is a direct edit of the “__raspi_module_1_01-SIF_OLED.stl” module from the Modular Snap Together Raspberry Pi Case , and the only things i changed is 1: I made the OLED cutout bigger to allow you to mount it forwards or backwards,…
Pictured Examples printed on a BambuLab X1C (Textured PEI). Had a little moisture issue with my white filament, please ignore that ;) Face-down Print Settings: Initial Layer Line Width: 0.4mm Wall Generator: Arachne Wall Loops: 1 Bottom…
Pictured Examples printed on a BambuLab X1C (Textured PEI) Face-down Print Settings: Initial Layer Line Width: 0.4mm Wall Generator: Arachne Wall Loops: 1 Bottom Surface Pattern: Hilbert Curve Infill: 15% (Gyroid) Initial Layer Speed:…
Pictured Examples printed on a BambuLab X1C (Textured PEI) Face-down Print Settings: Initial Layer Line Width: 0.4mm Wall Generator: Arachne Wall Loops: 1 Bottom Surface Pattern: Hilbert Curve Infill: 15% (Gyroid) Initial Layer Speed:…
Pictured Examples printed on a BambuLab X1C (Textured PEI) Face-down Print Settings: Initial Layer Line Width: 0.4mm Wall Generator: Arachne Wall Loops: 1 Bottom Surface Pattern: Hilbert Curve Infill: 15% (Gyroid) Initial Layer Speed:…
Pictured Examples printed on a BambuLab X1C (Textured PEI) Face-down Print Settings: Initial Layer Line Width: 0.4mm Wall Generator: Arachne Wall Loops: 1 Bottom Surface Pattern: Hilbert Curve Infill: 15% (Gyroid) Initial Layer Speed:…
Pictured Examples printed on a BambuLab X1C (Textured PEI) Face-down Print Settings: Initial Layer Line Width: 0.4mm Wall Generator: Arachne Wall Loops: 1 Bottom Surface Pattern: Hilbert Curve Infill: 15% (Gyroid) Initial Layer Speed:…
Pictured Examples printed on a BambuLab X1C (Textured PEI) Face-down Print Settings: Initial Layer Line Width: 0.4mm Wall Generator: Arachne Wall Loops: 1 Bottom Surface Pattern: Hilbert Curve Infill: 15% (Gyroid) Initial Layer Speed:…
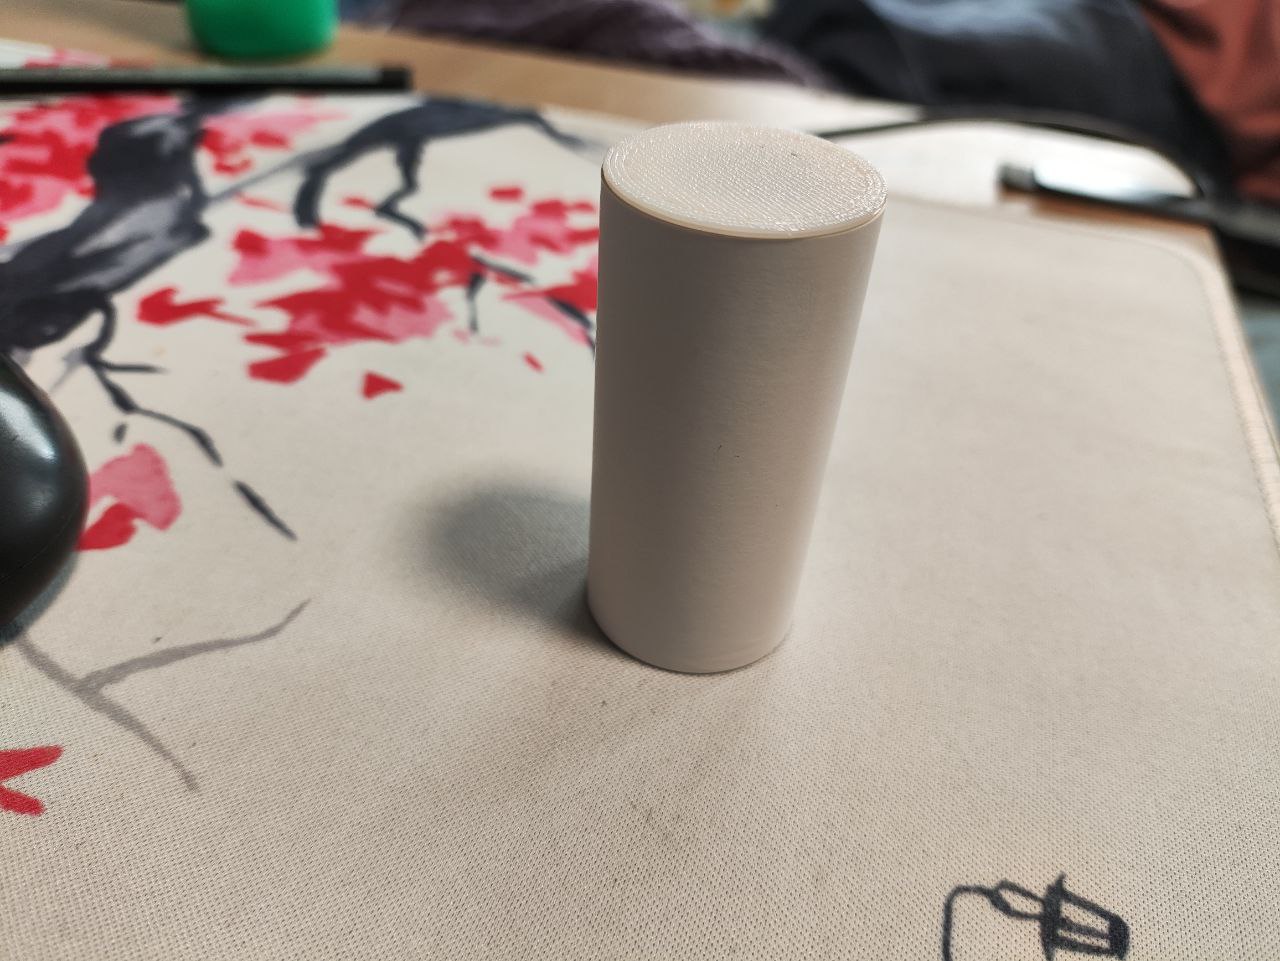
Handy for rerolling bigger themal paper from bigger, cheaper rolls onto the smaller roll format used by printers like the QR204 without creating messy rolls with inconsistent winding. For rerolling just use the alignment helper on one…
You need 8x3mm magnets instead of 8x4mm of original design, these magnets are most common on amazon
Pictured Examples printed on a BambuLab X1C (Textured PEI) Face-down Print Settings: Initial Layer Line Width: 0.4mm Wall Generator: Arachne Wall Loops: 1 Bottom Surface Pattern: Hilbert Curve Infill: 15% (Gyroid) Initial Layer Speed:…
Pictured Examples printed on a BambuLab X1C (Textured PEI) Face-down Print Settings: Initial Layer Line Width: 0.4mm Wall Generator: Arachne Wall Loops: 1 Bottom Surface Pattern: Hilbert Curve Infill: 15% (Gyroid) Initial Layer Speed:…
Pictured Examples printed on a BambuLab X1C (Textured PEI) Face-down Print Settings: Initial Layer Line Width: 0.4mm Wall Generator: Arachne Wall Loops: 1 Bottom Surface Pattern: Hilbert Curve Infill: 15% (Gyroid) Initial Layer Speed:…
Pictured Examples printed on a BambuLab X1C (Textured PEI) Face-down Print Settings: Initial Layer Line Width: 0.4mm Wall Generator: Arachne Wall Loops: 1 Bottom Surface Pattern: Hilbert Curve Infill: 15% (Gyroid) Initial Layer Speed:…
Pictured Examples printed on a BambuLab X1C (Textured PEI) Face-down Print Settings: Initial Layer Line Width: 0.4mm Wall Generator: Arachne Wall Loops: 1 Bottom Surface Pattern: Hilbert Curve Infill: 15% (Gyroid) Initial Layer Speed:…
Pictured Examples printed on a BambuLab X1C (Textured PEI) Face-down Print Settings: Initial Layer Line Width: 0.4mm Wall Generator: Arachne Wall Loops: 1 Bottom Surface Pattern: Hilbert Curve Infill: 15% (Gyroid) Initial Layer Speed:…
Pictured Examples printed on a BambuLab X1C (Textured PEI) Face-down Print Settings: Initial Layer Line Width: 0.4mm Wall Generator: Arachne Wall Loops: 1 Bottom Surface Pattern: Hilbert Curve Infill: 15% (Gyroid) Initial Layer Speed:…
Pictured Examples printed on a BambuLab X1C (Textured PEI) Face-down Print Settings: Initial Layer Line Width: 0.4mm Wall Generator: Arachne Wall Loops: 1 Bottom Surface Pattern: Hilbert Curve Infill: 15% (Gyroid) Initial Layer Speed:…
Pictured Examples printed on a BambuLab X1C (Textured PEI) Face-down Print Settings: Initial Layer Line Width: 0.4mm Wall Generator: Arachne Wall Loops: 1 Bottom Surface Pattern: Hilbert Curve Infill: 15% (Gyroid) Initial Layer Speed:…
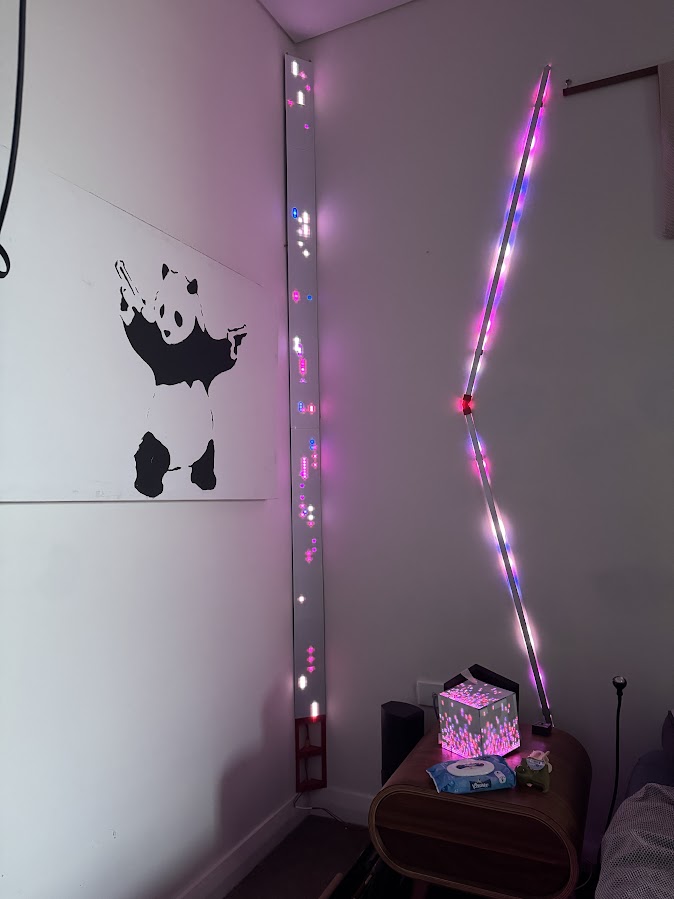
Matrix corner light. I used supports only for the build plate. Print the pegs as they are, counter intuitive, but it seems to work better then other orientations. That said, I'm not your dad, do what you want ;) Pegs will clip right in,…
allows you to install a 8x3 magnet into Honeycomb Storage Wall insert. Great for holding small files,screwdrivers,pry tools and any other small metal items you want to mount to the HSW.
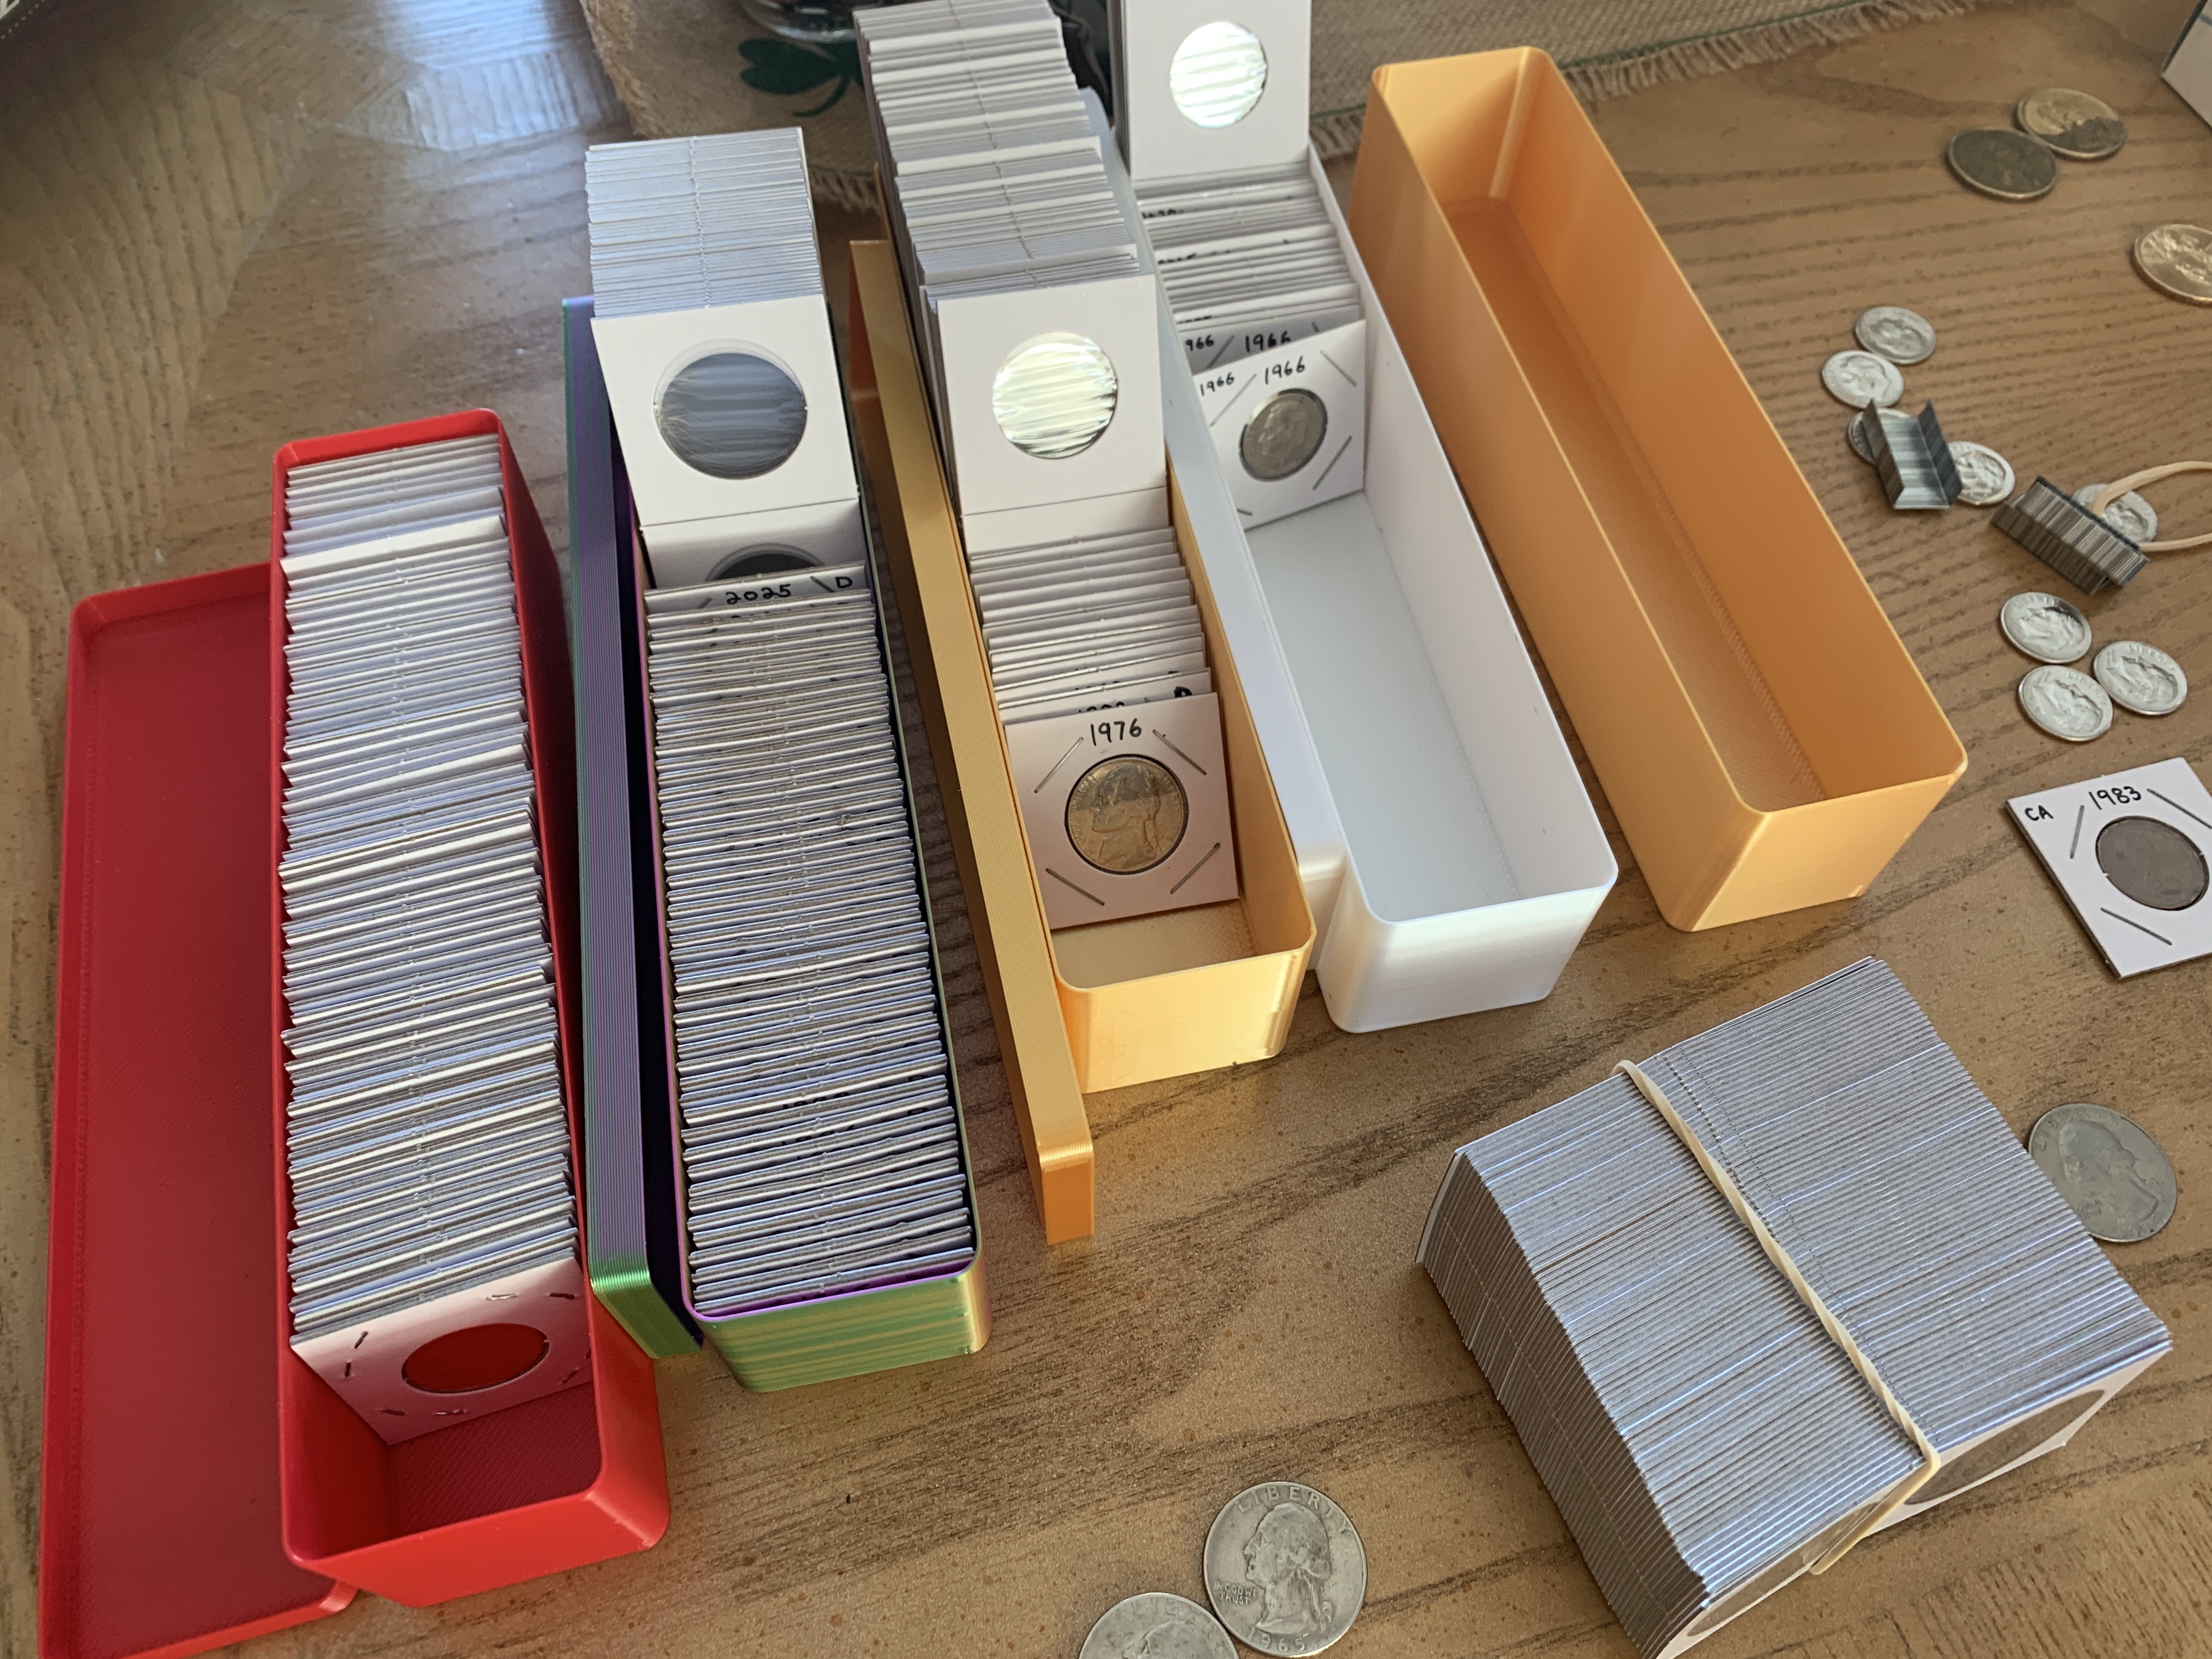
It's super simple. I originally designed a simple box with a lid for storing pencils, pens, and paintbrushes. https://www.printables.com/model/619803-simple-storage-box-with-lid-for-paintbrush-pen-pen I was looking for a small storage box…
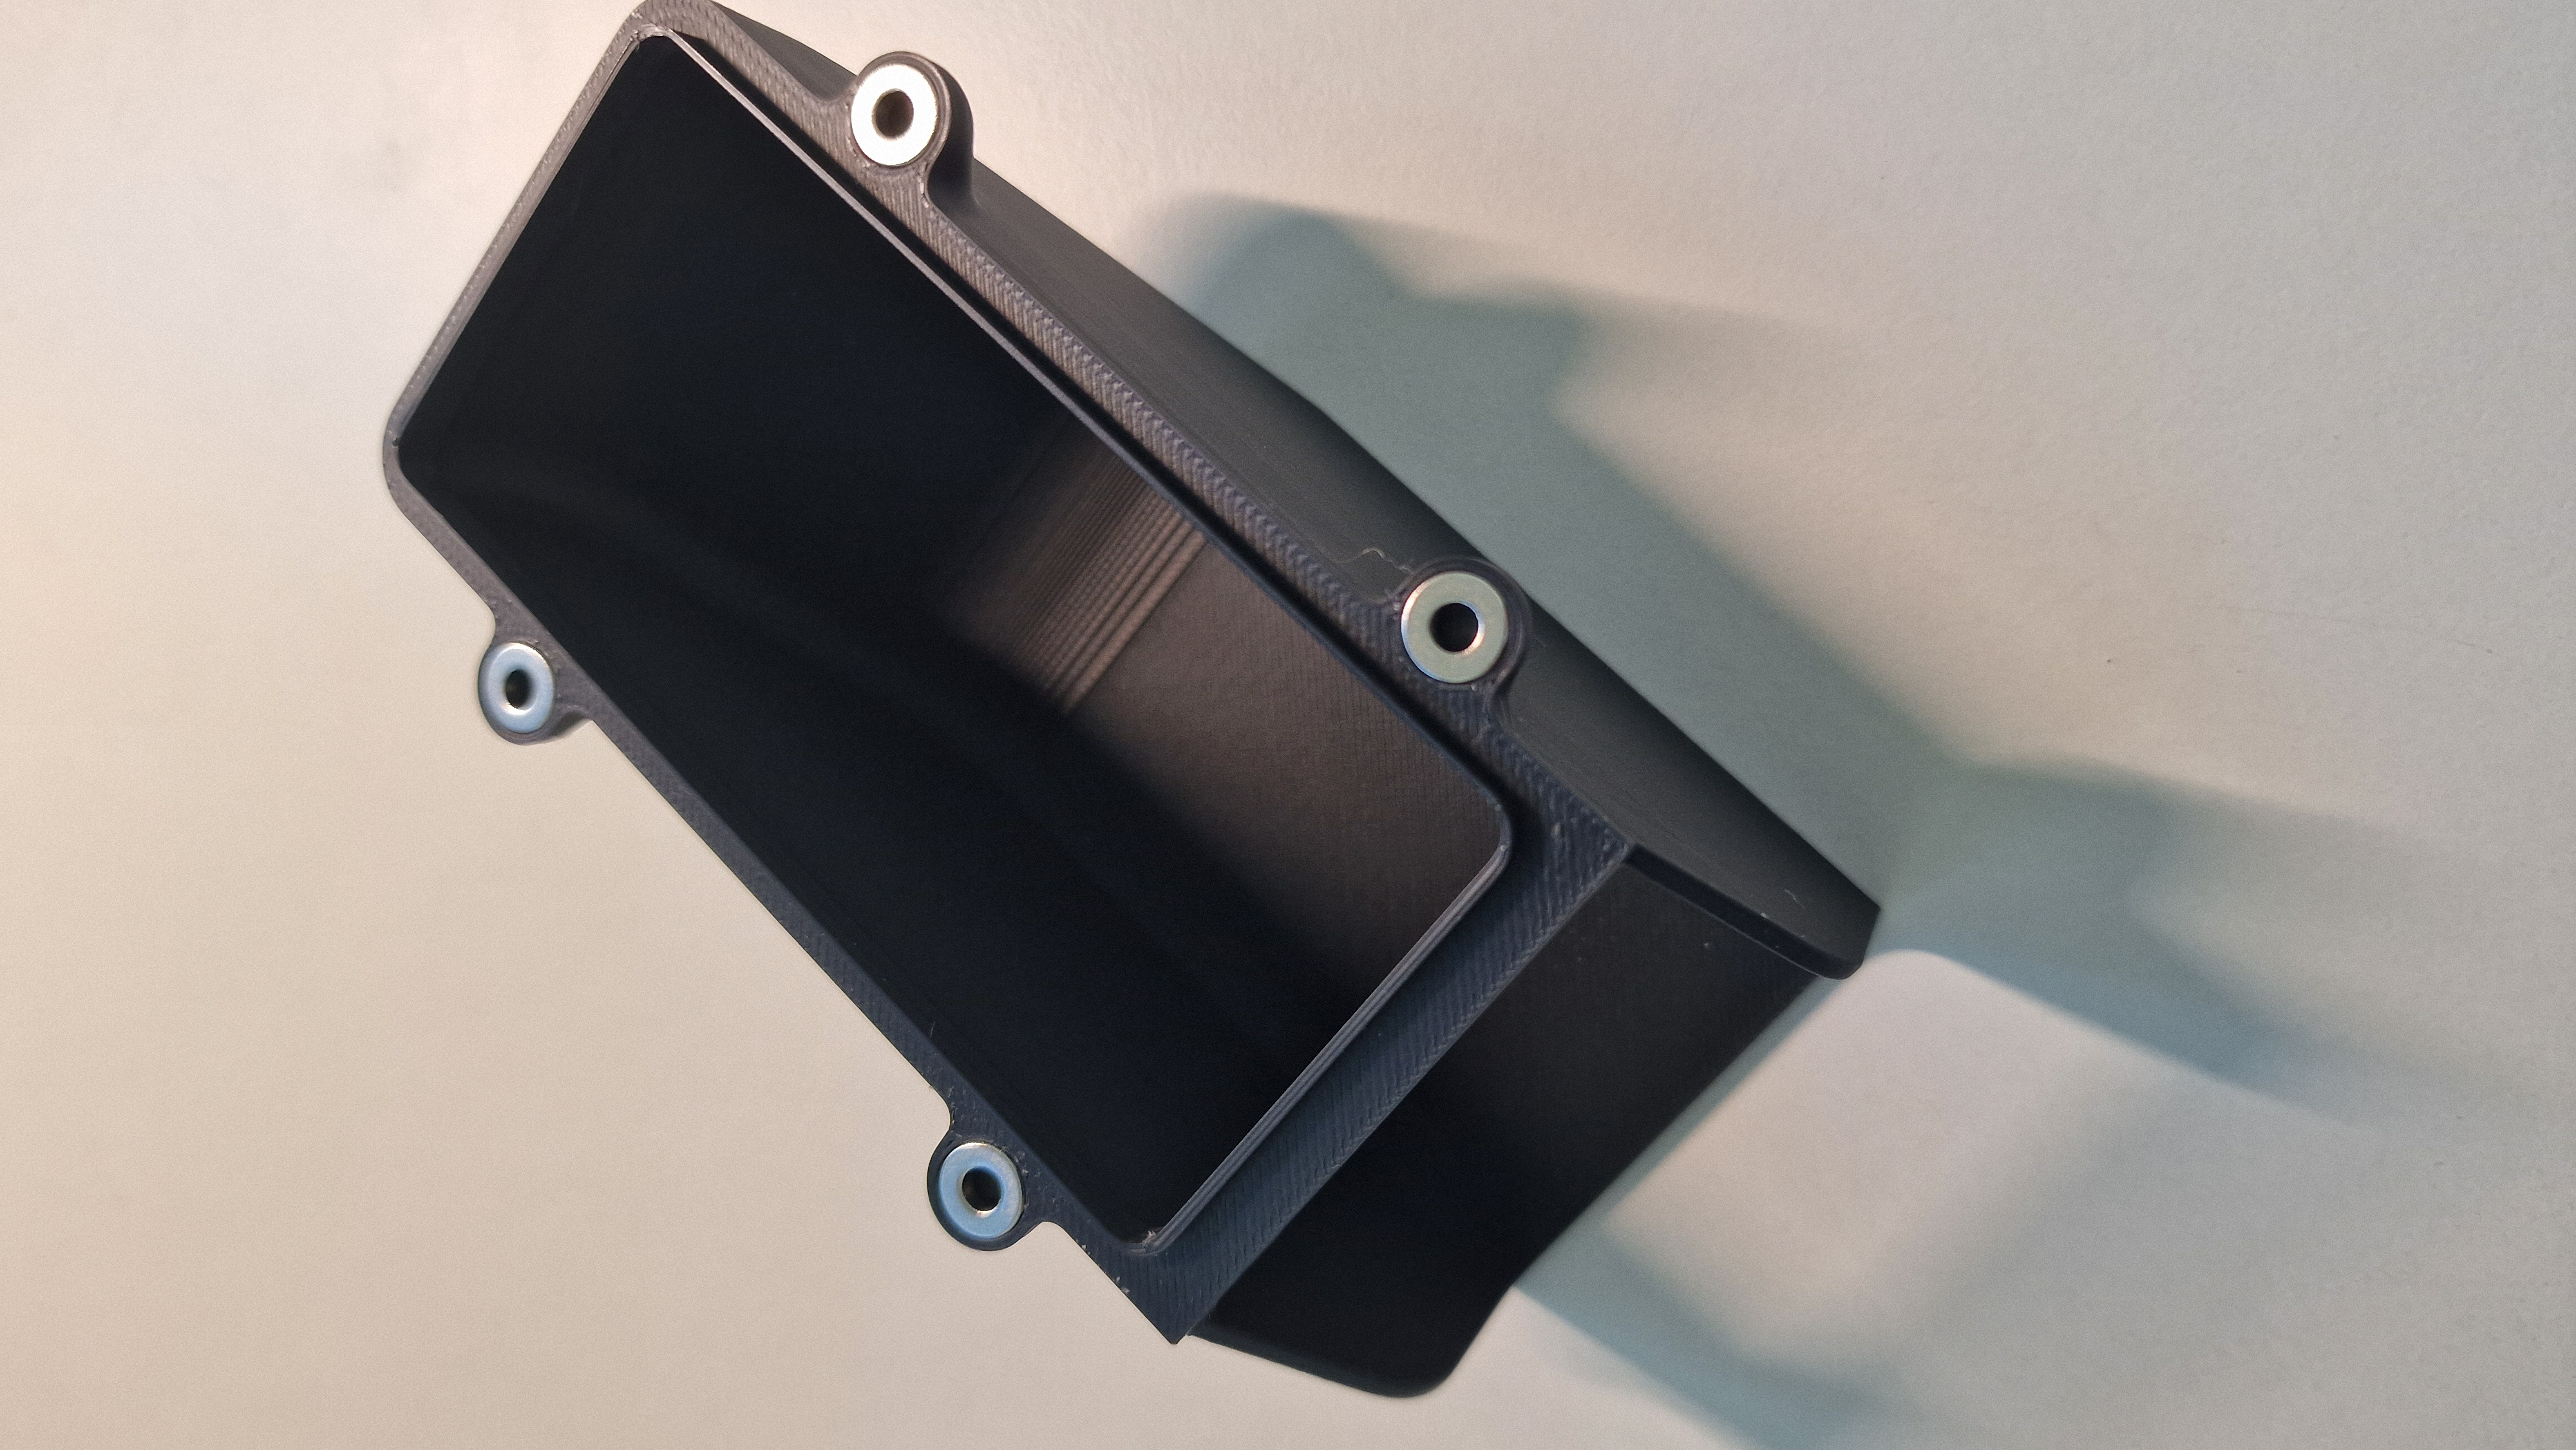
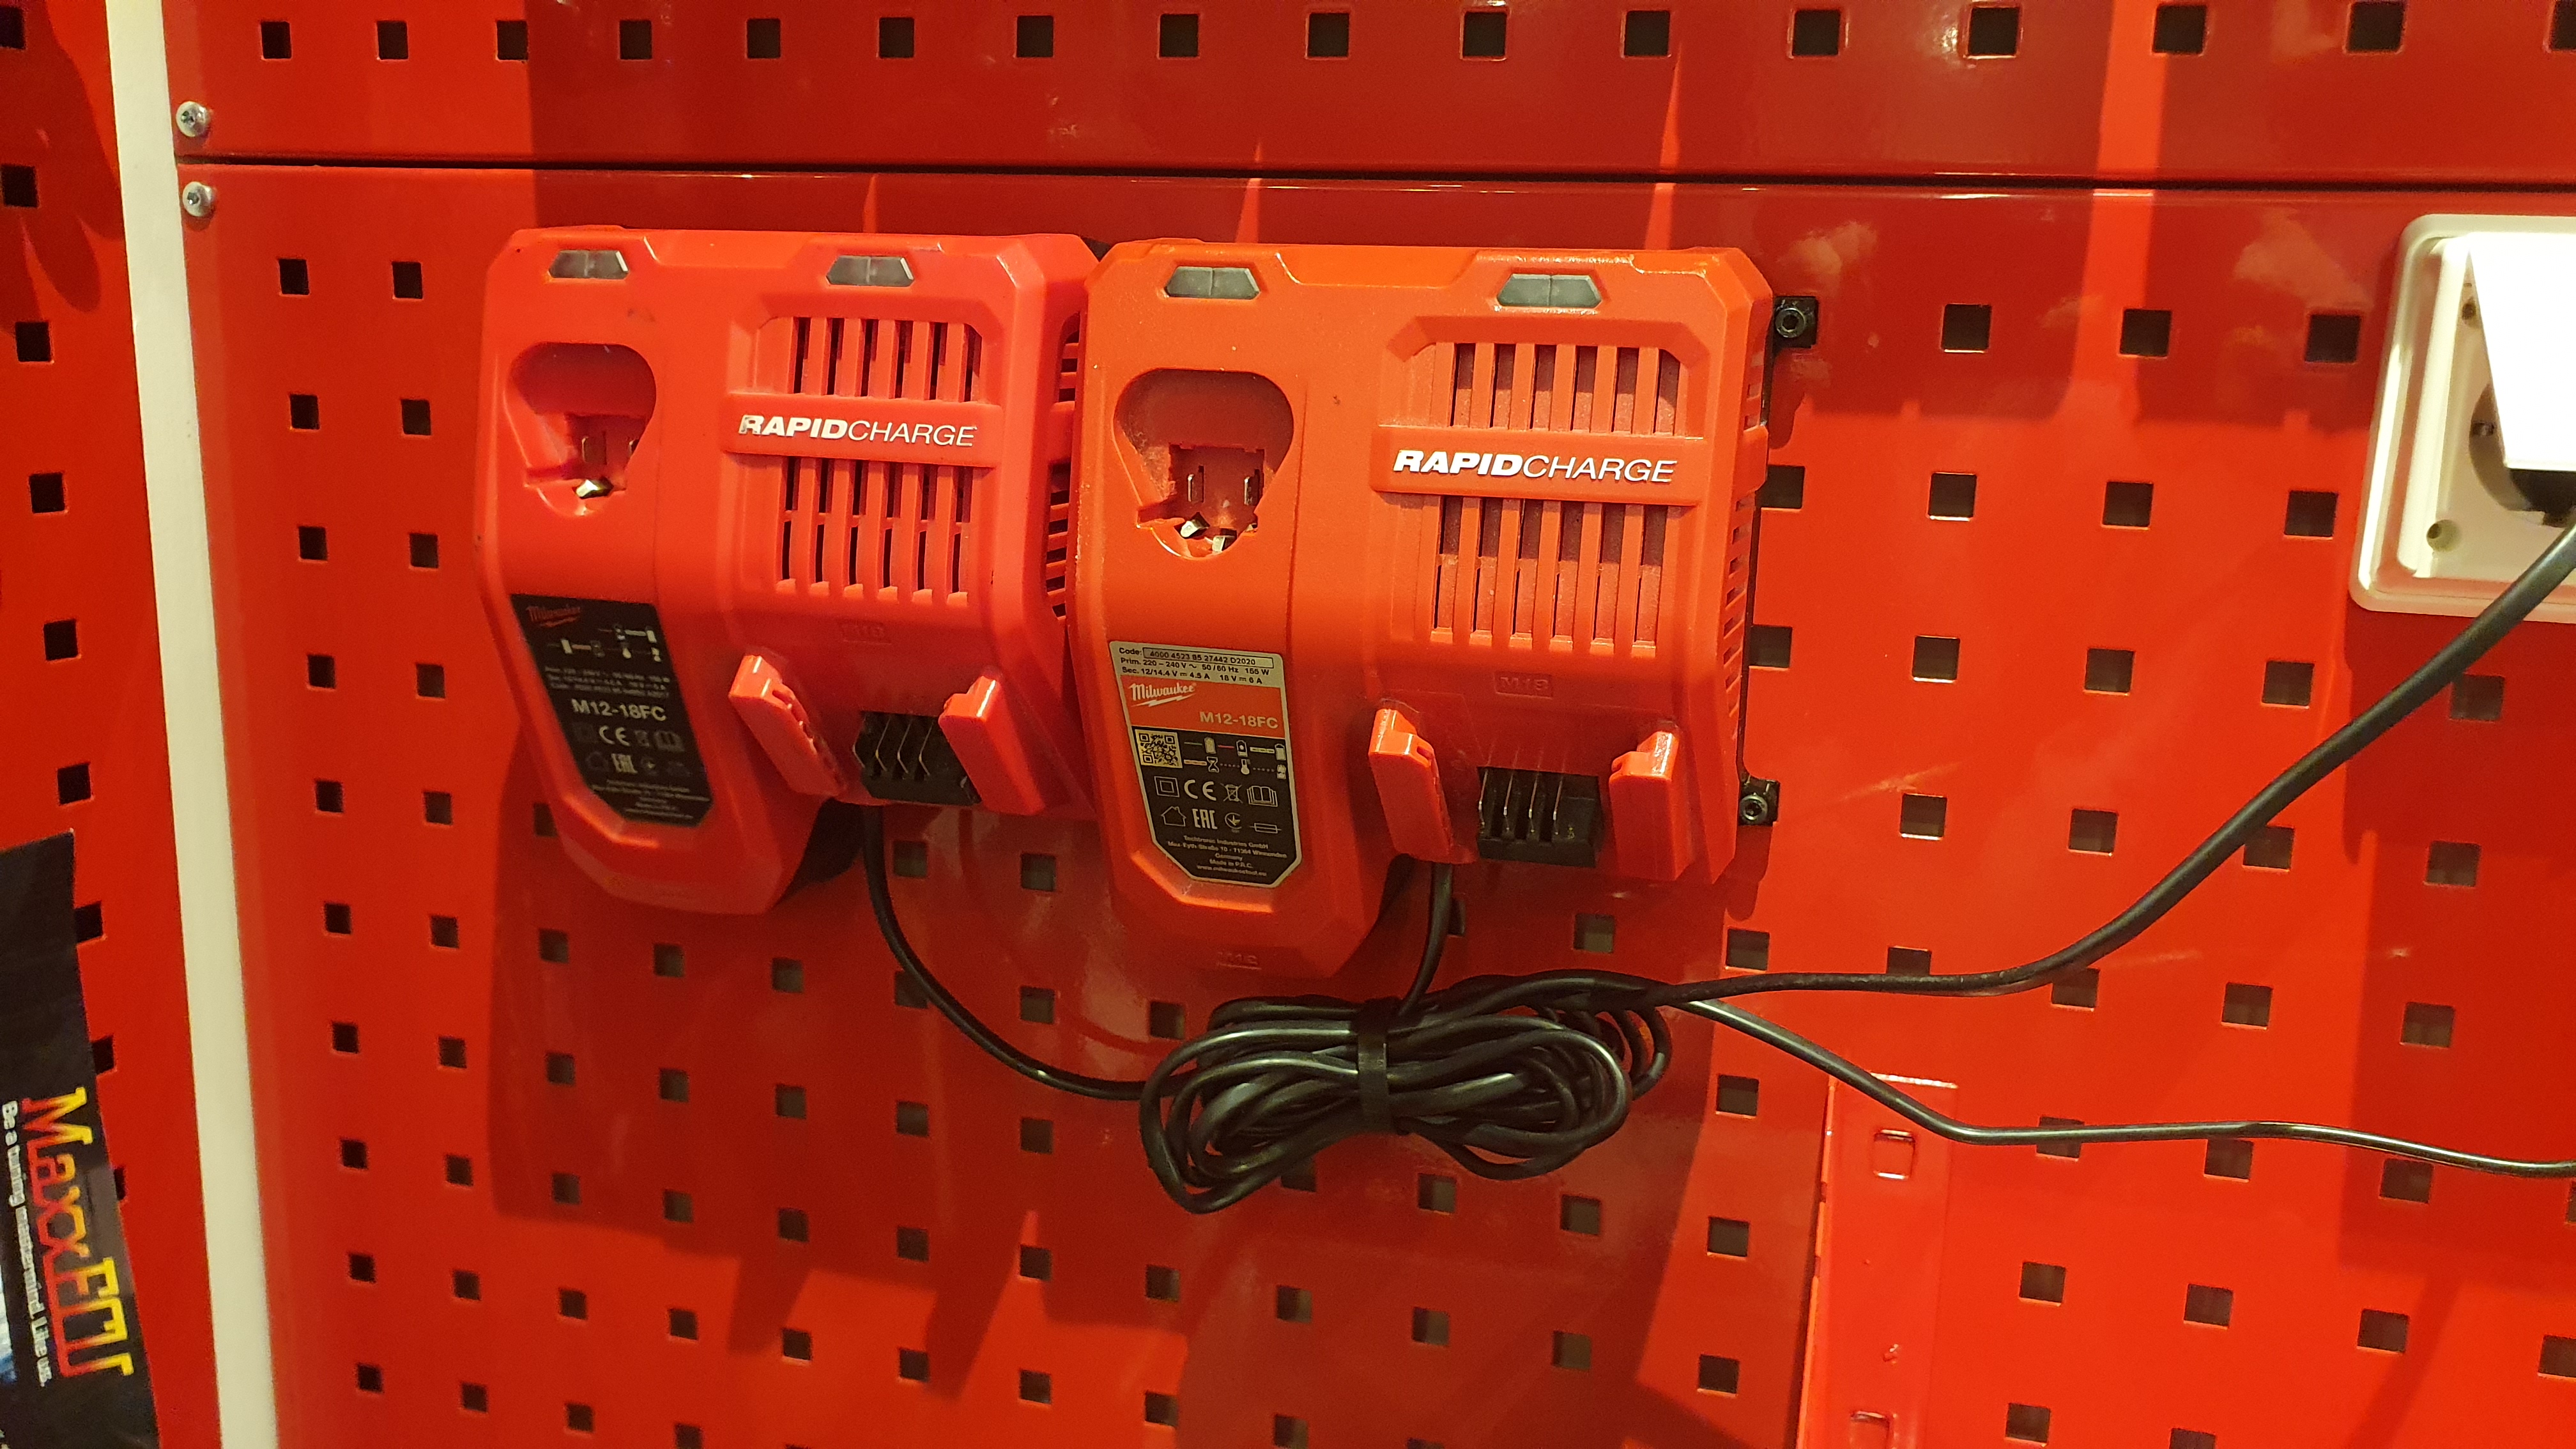
Since my tool/pegboard have 38x38mm grid pattern, I wanted to print a mounting bracket to fit my chargers there. I staggered the mounting tabs, so you can install the chargers as tight as possible side by side. Installation requires: 2pcs…
Pictured Examples printed on a BambuLab X1C (Textured PEI) Face-down Print Settings: Initial Layer Line Width: 0.4mm Wall Generator: Arachne Wall Loops: 1 Bottom Surface Pattern: Hilbert Curve Infill: 15% (Gyroid) Initial Layer Speed:…
Pictured Examples printed on a BambuLab X1C (Textured PEI) Face-down Print Settings: Initial Layer Line Width: 0.4mm Wall Generator: Arachne Wall Loops: 1 Bottom Surface Pattern: Hilbert Curve Infill: 15% (Gyroid) Initial Layer Speed:…
Pictured Examples printed on a BambuLab X1C (Textured PEI) Face-down Print Settings: Initial Layer Line Width: 0.4mm Wall Generator: Arachne Wall Loops: 1 Bottom Surface Pattern: Hilbert Curve Infill: 15% (Gyroid) Initial Layer Speed:…
Pictured Examples printed on a BambuLab X1C (Textured PEI) Face-down Print Settings: Initial Layer Line Width: 0.4mm Wall Generator: Arachne Wall Loops: 1 Bottom Surface Pattern: Hilbert Curve Infill: 15% (Gyroid) Initial Layer Speed:…
Pictured Examples printed on a BambuLab X1C (Textured PEI) Face-down Print Settings: Initial Layer Line Width: 0.4mm Wall Generator: Arachne Wall Loops: 1 Bottom Surface Pattern: Hilbert Curve Infill: 15% (Gyroid) Initial Layer Speed:…
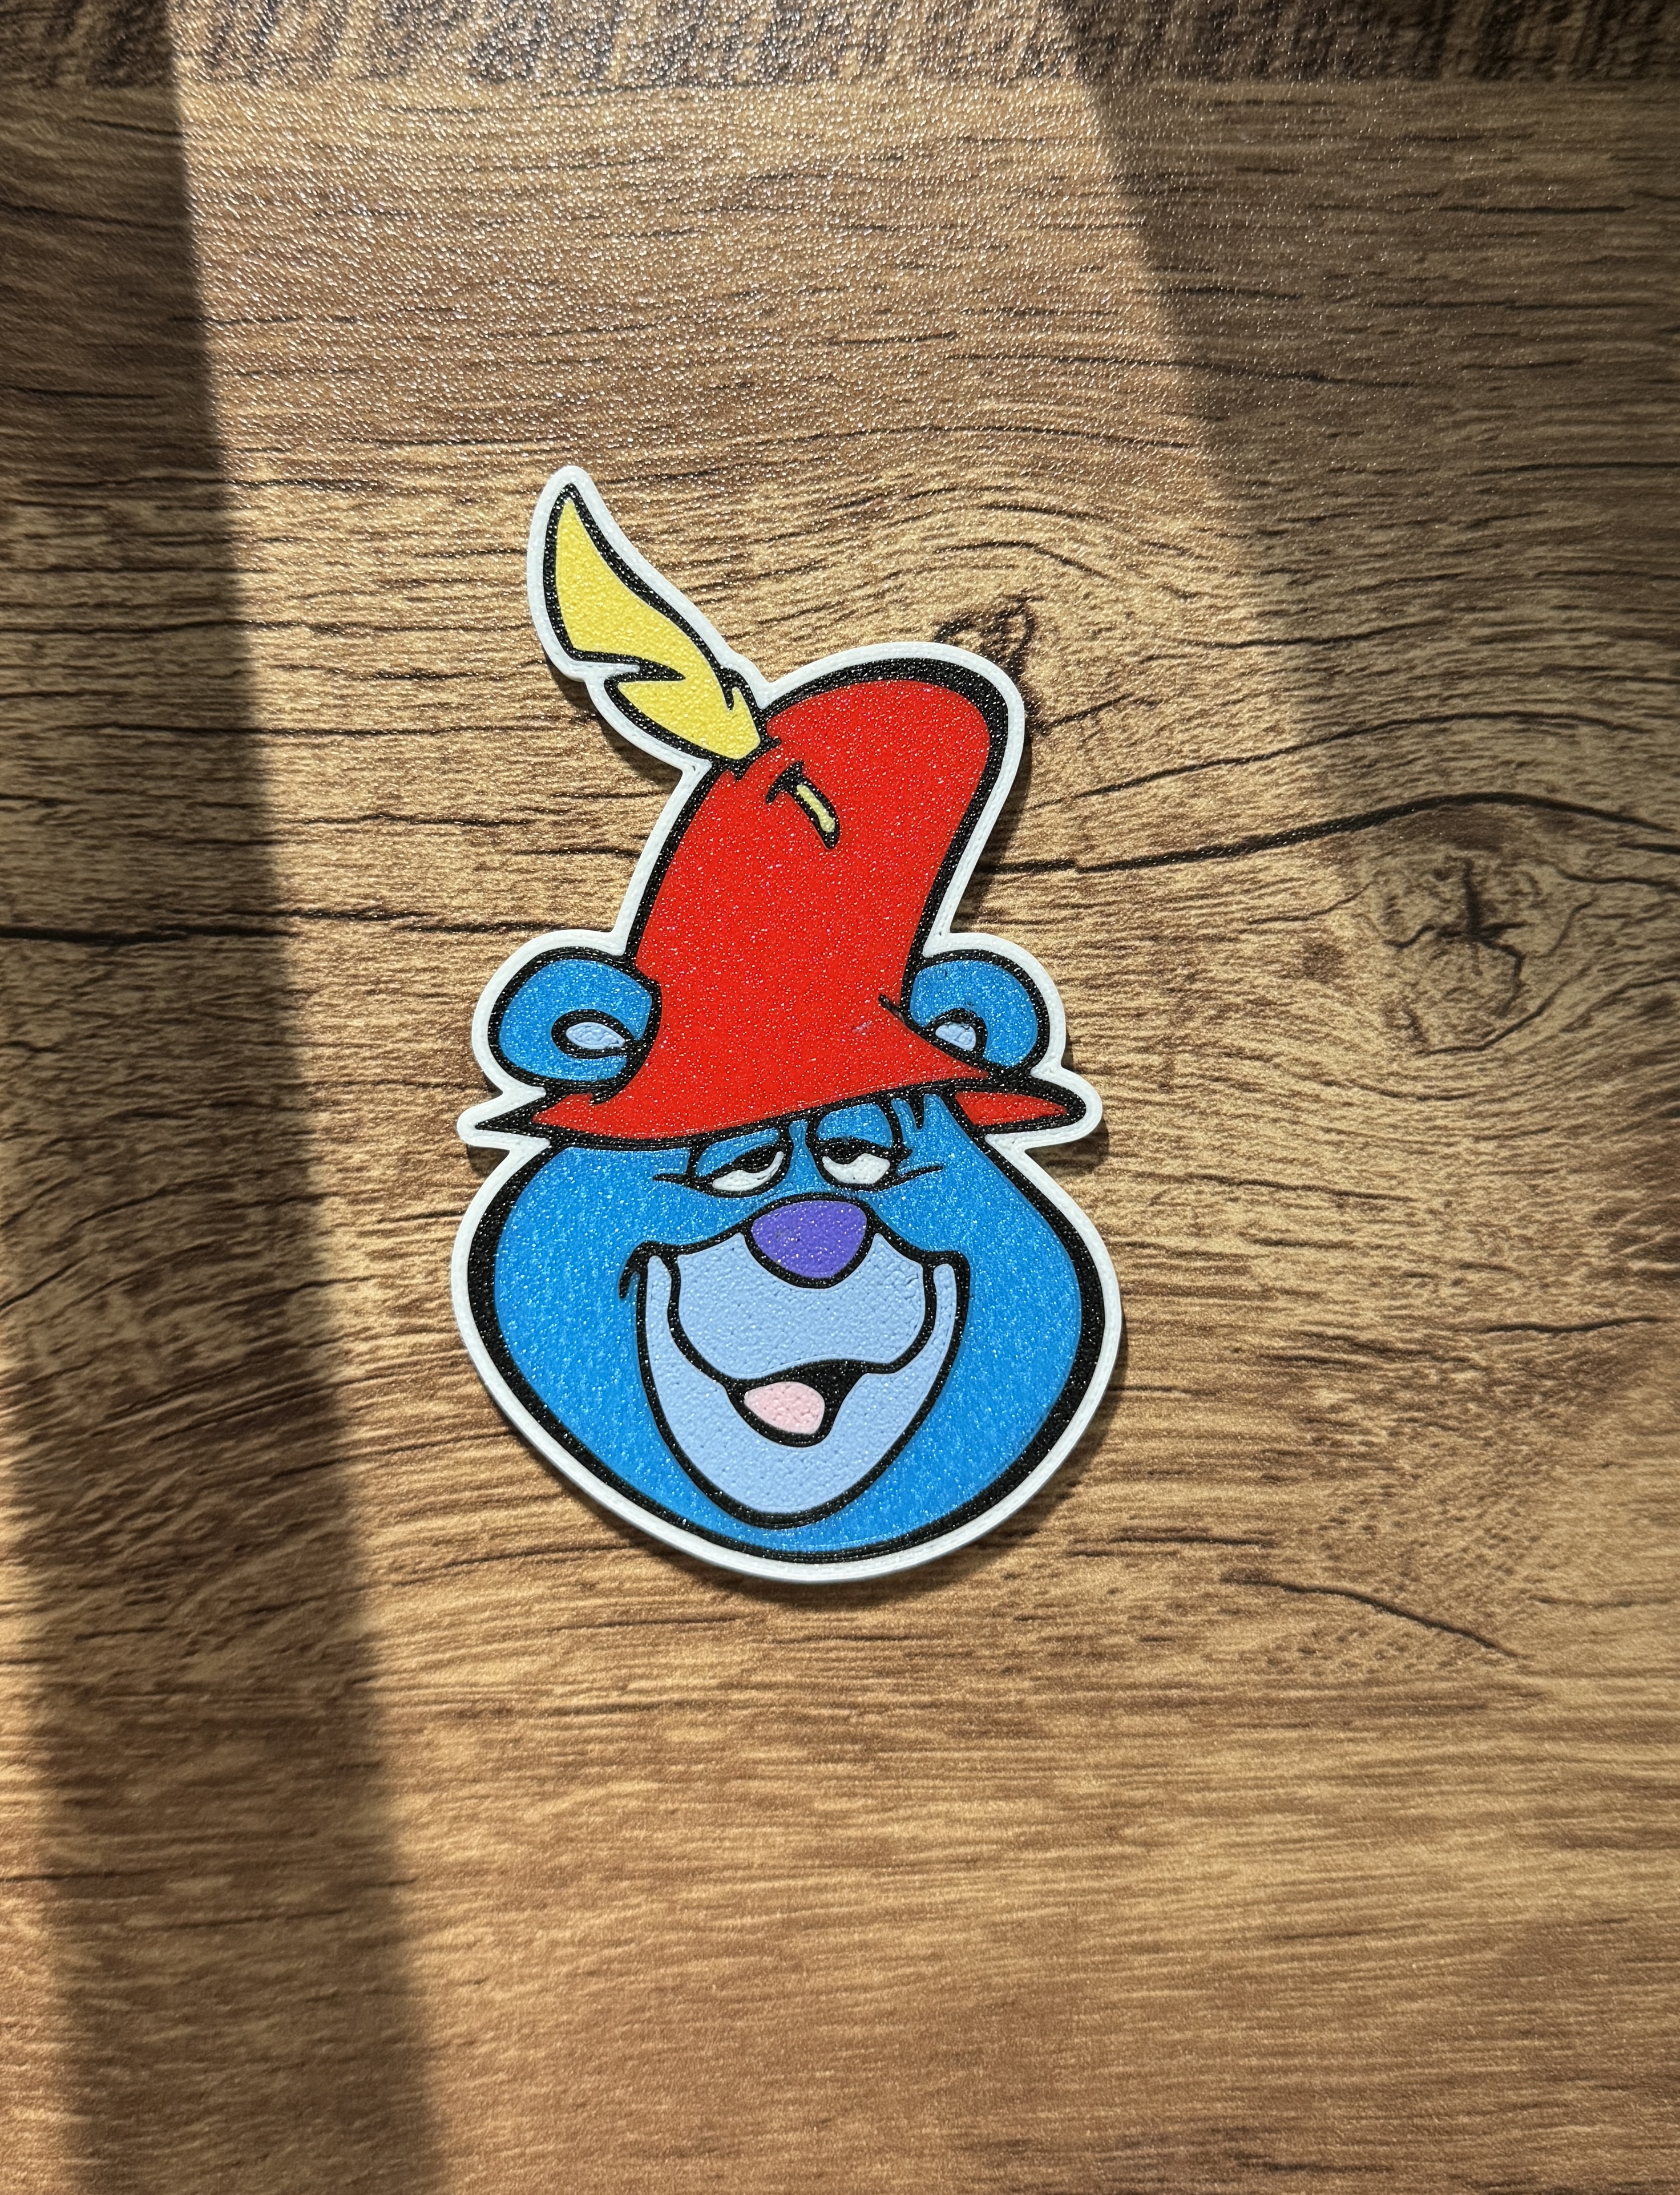
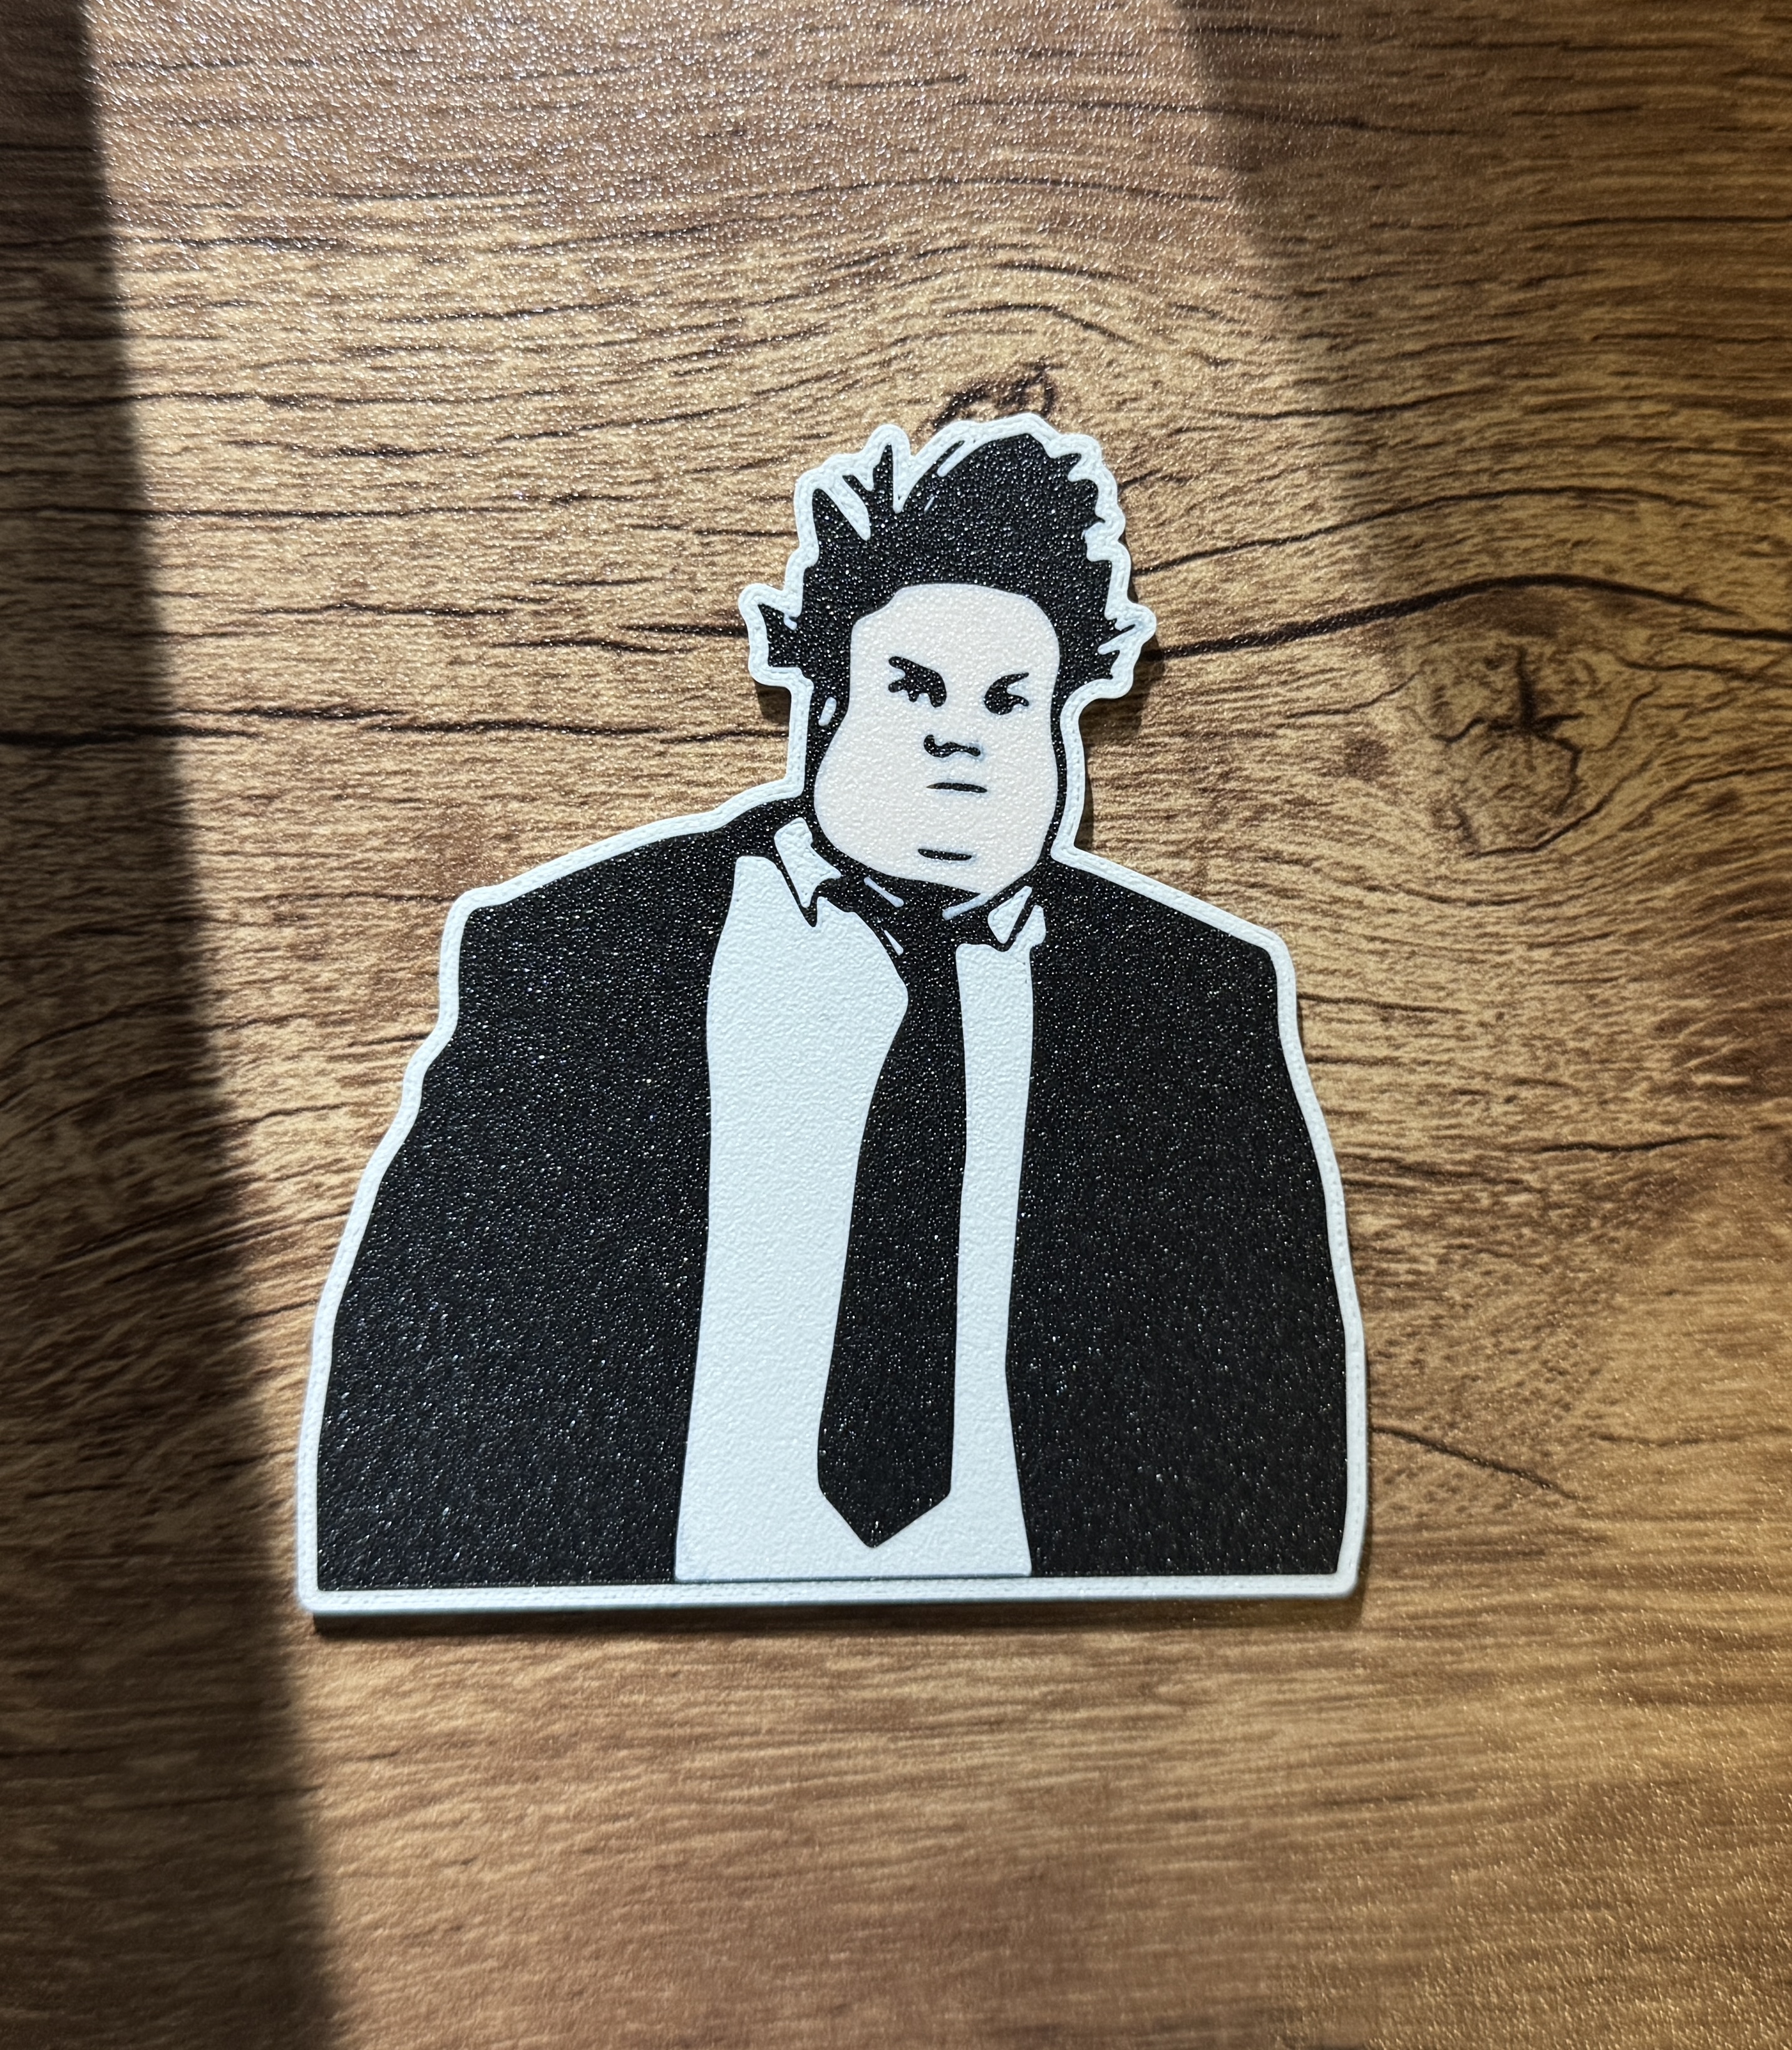
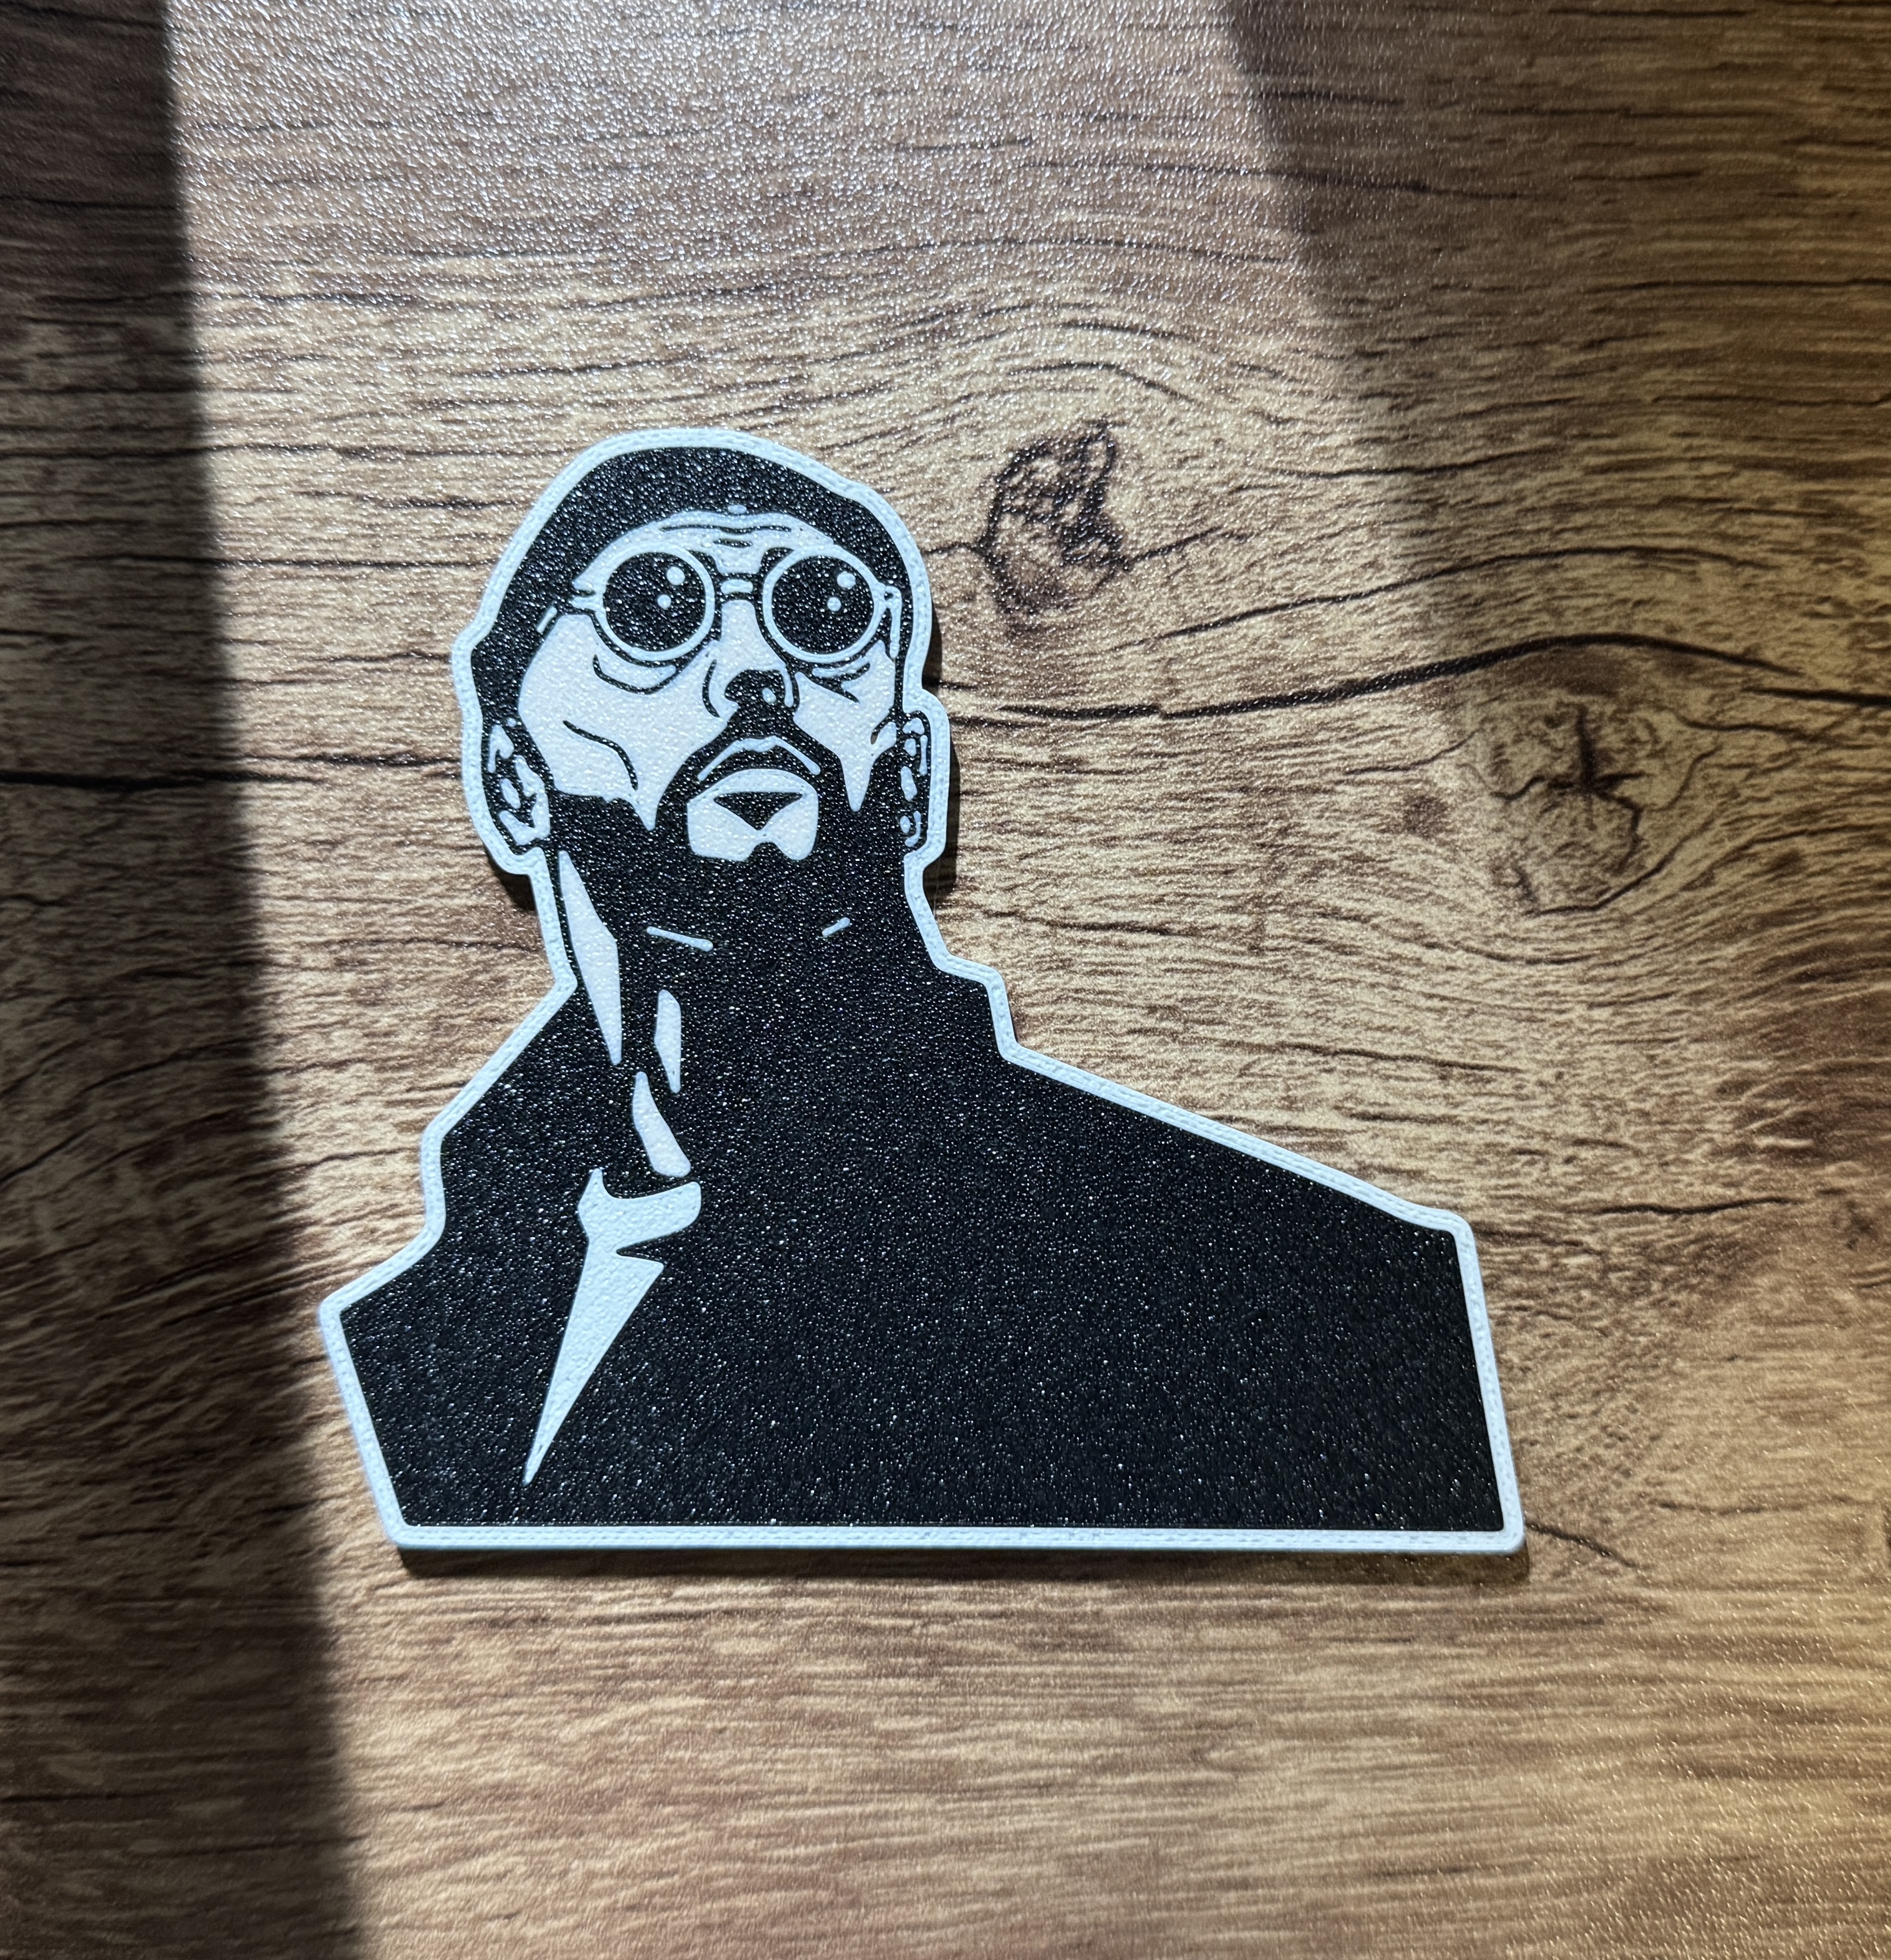
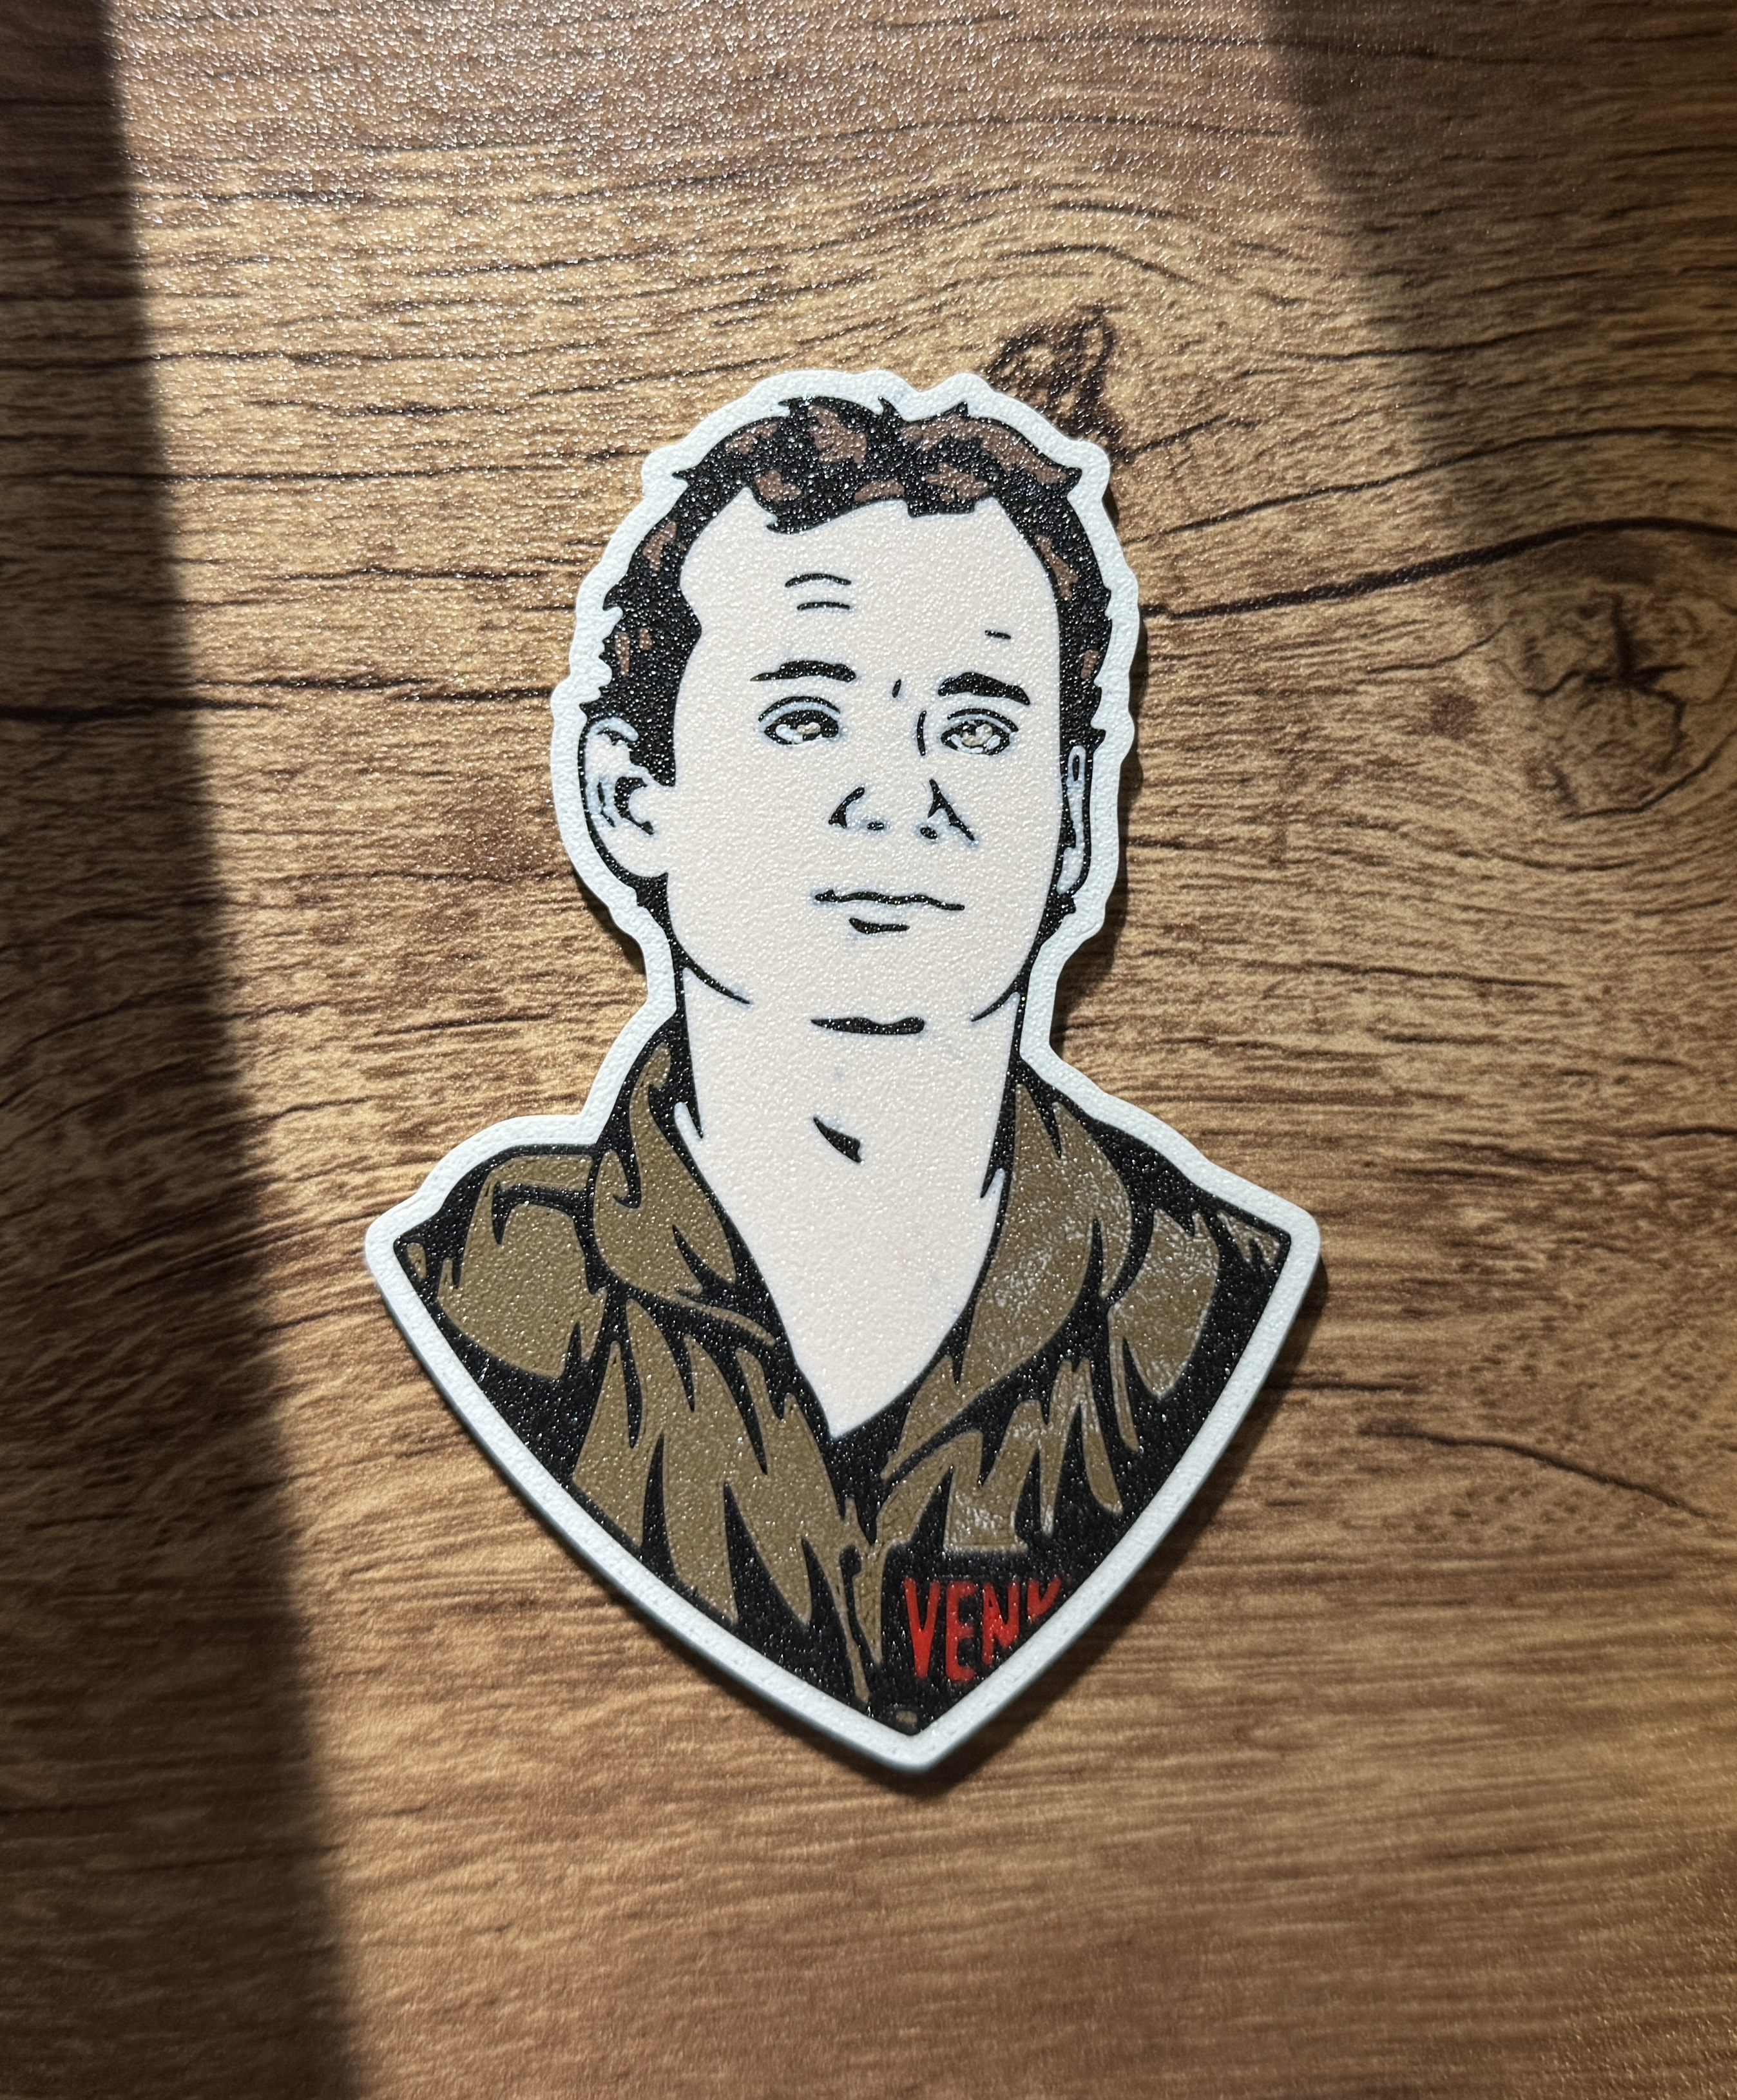
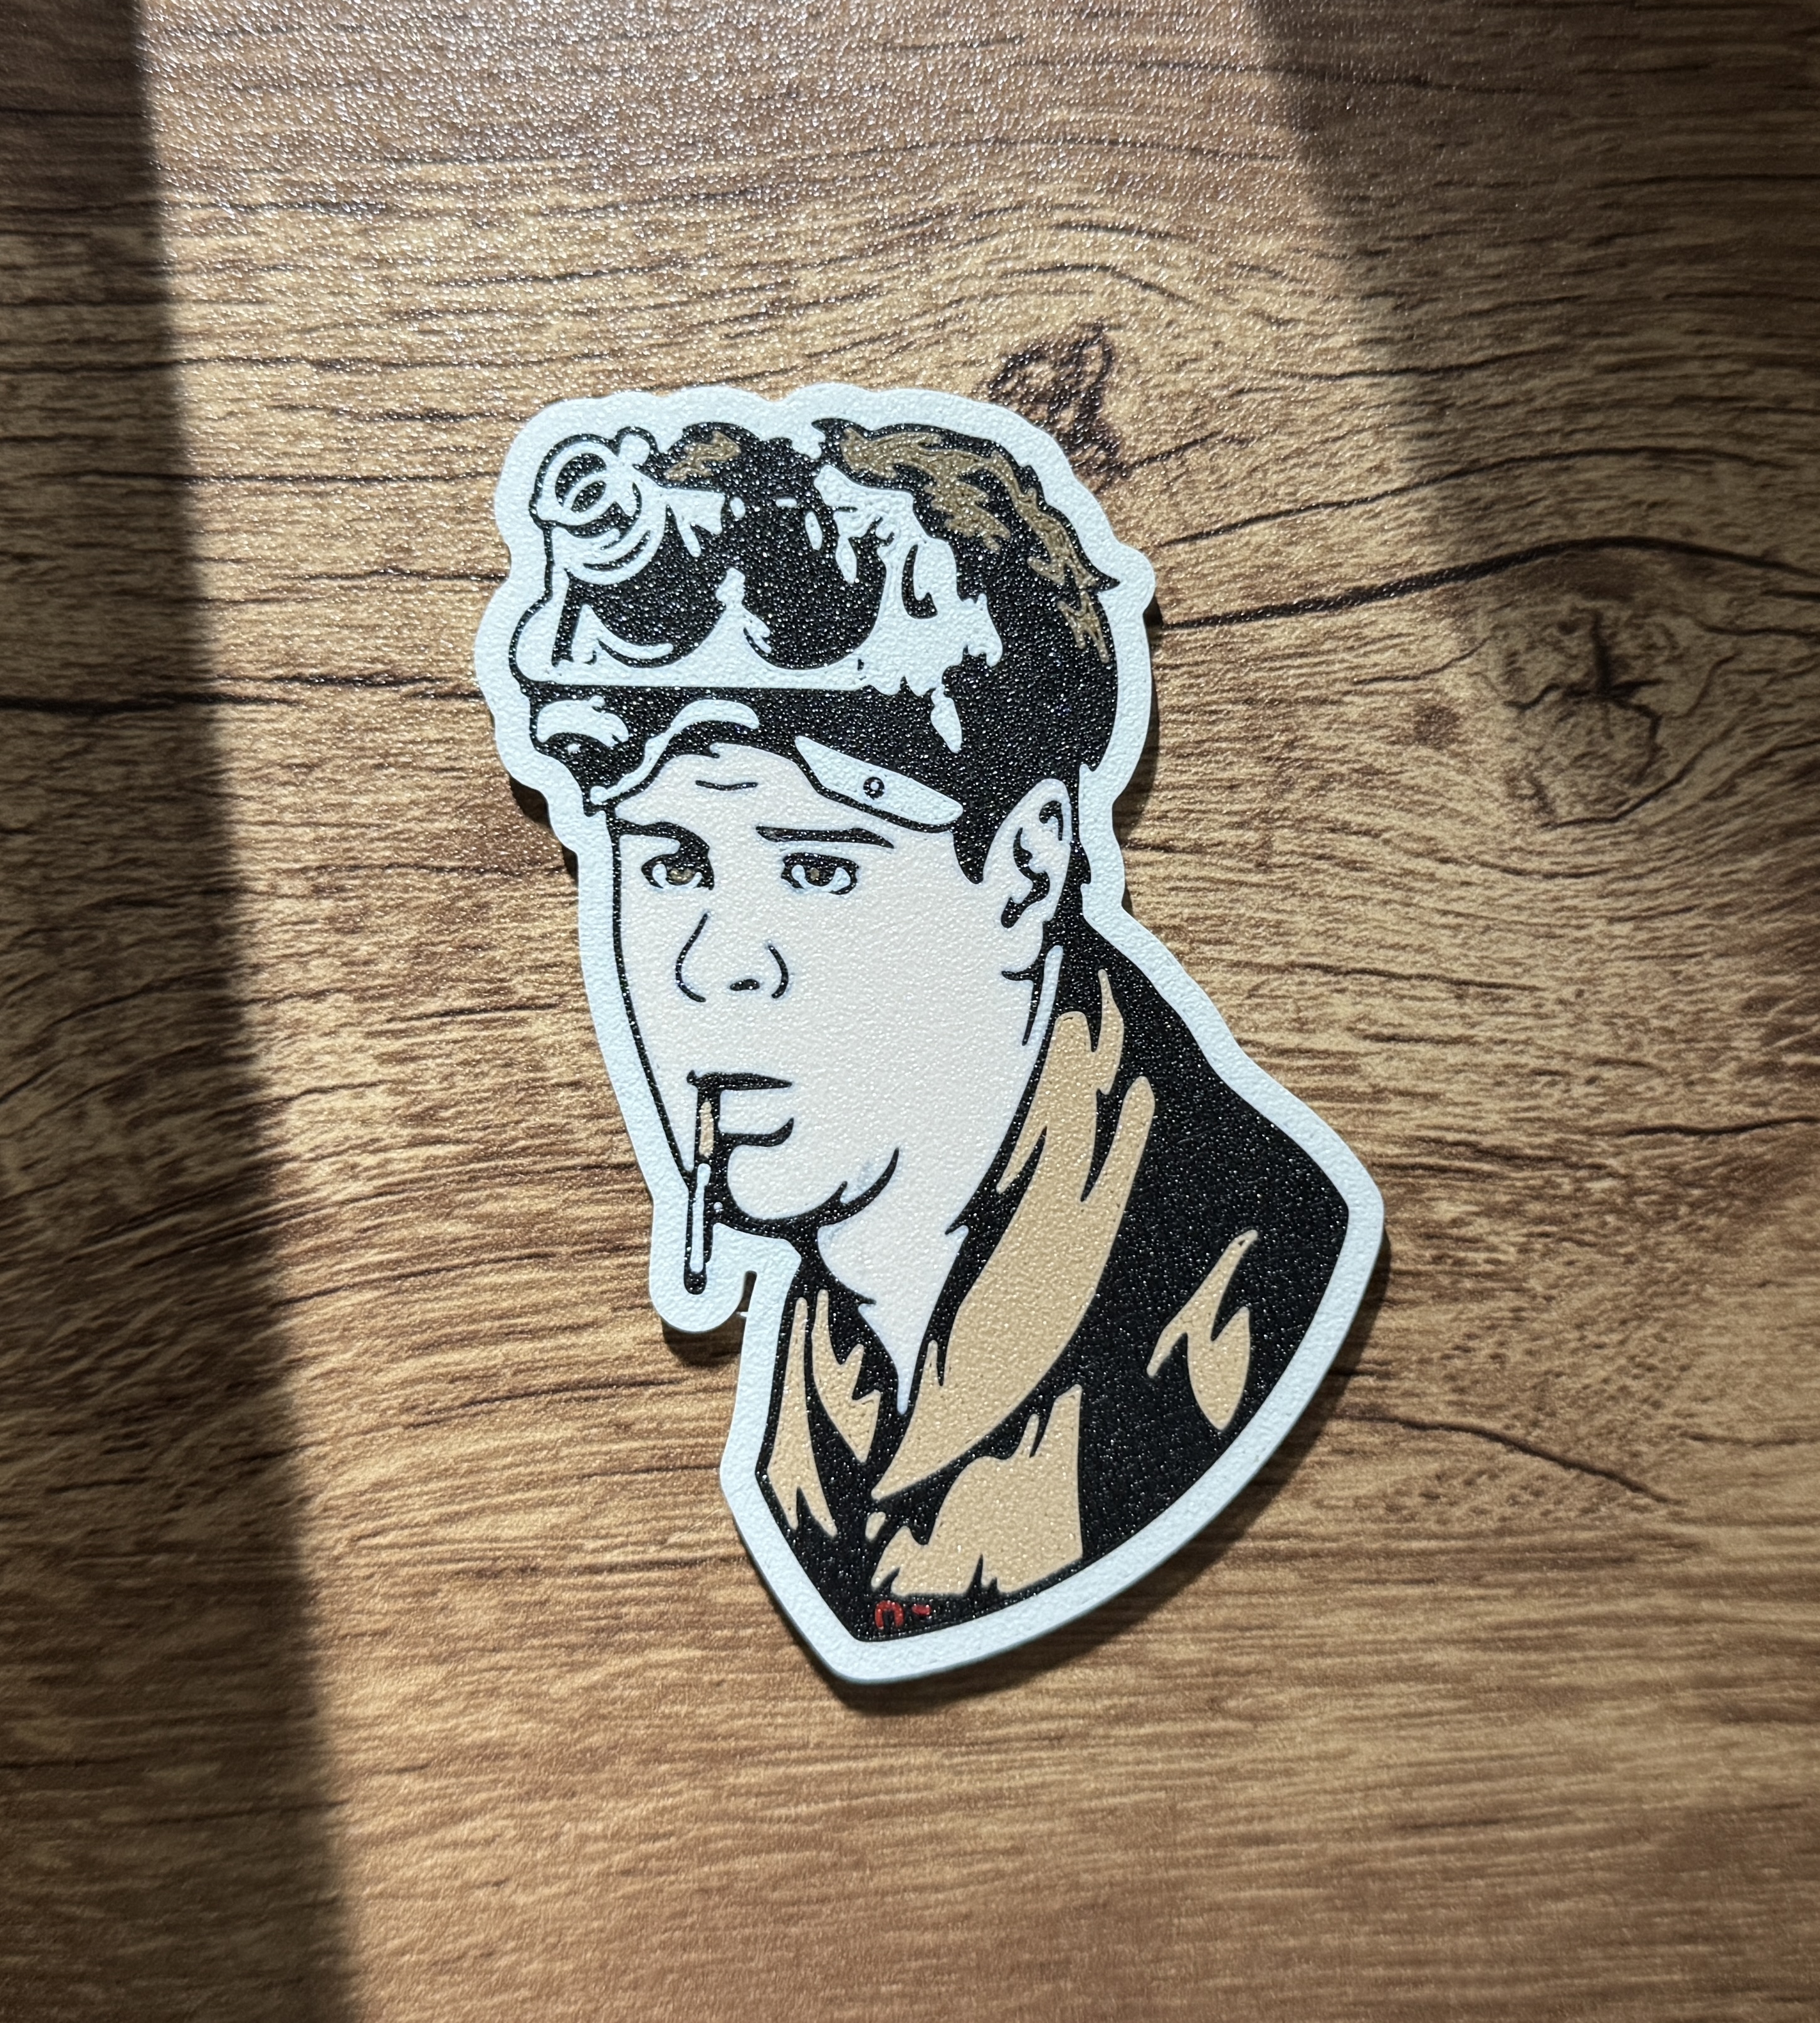
Based this one off of the meme, so I decided to keep it black and white in my example, but feel free to color it your own way :) Pictured Examples printed on a BambuLab X1C (Textured PEI) Face-down Print Settings: Initial Layer Line…
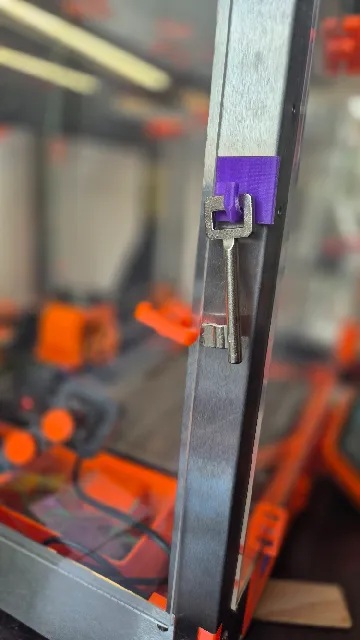
Easy to print, no supports needed. I used PETG and infill 15%. Perfect for hanging keys and such. The magnets (8x3mm) fit veeeeeery snuggly, so apply enough pressure and really cram them in there. Upside: no glue needed :)
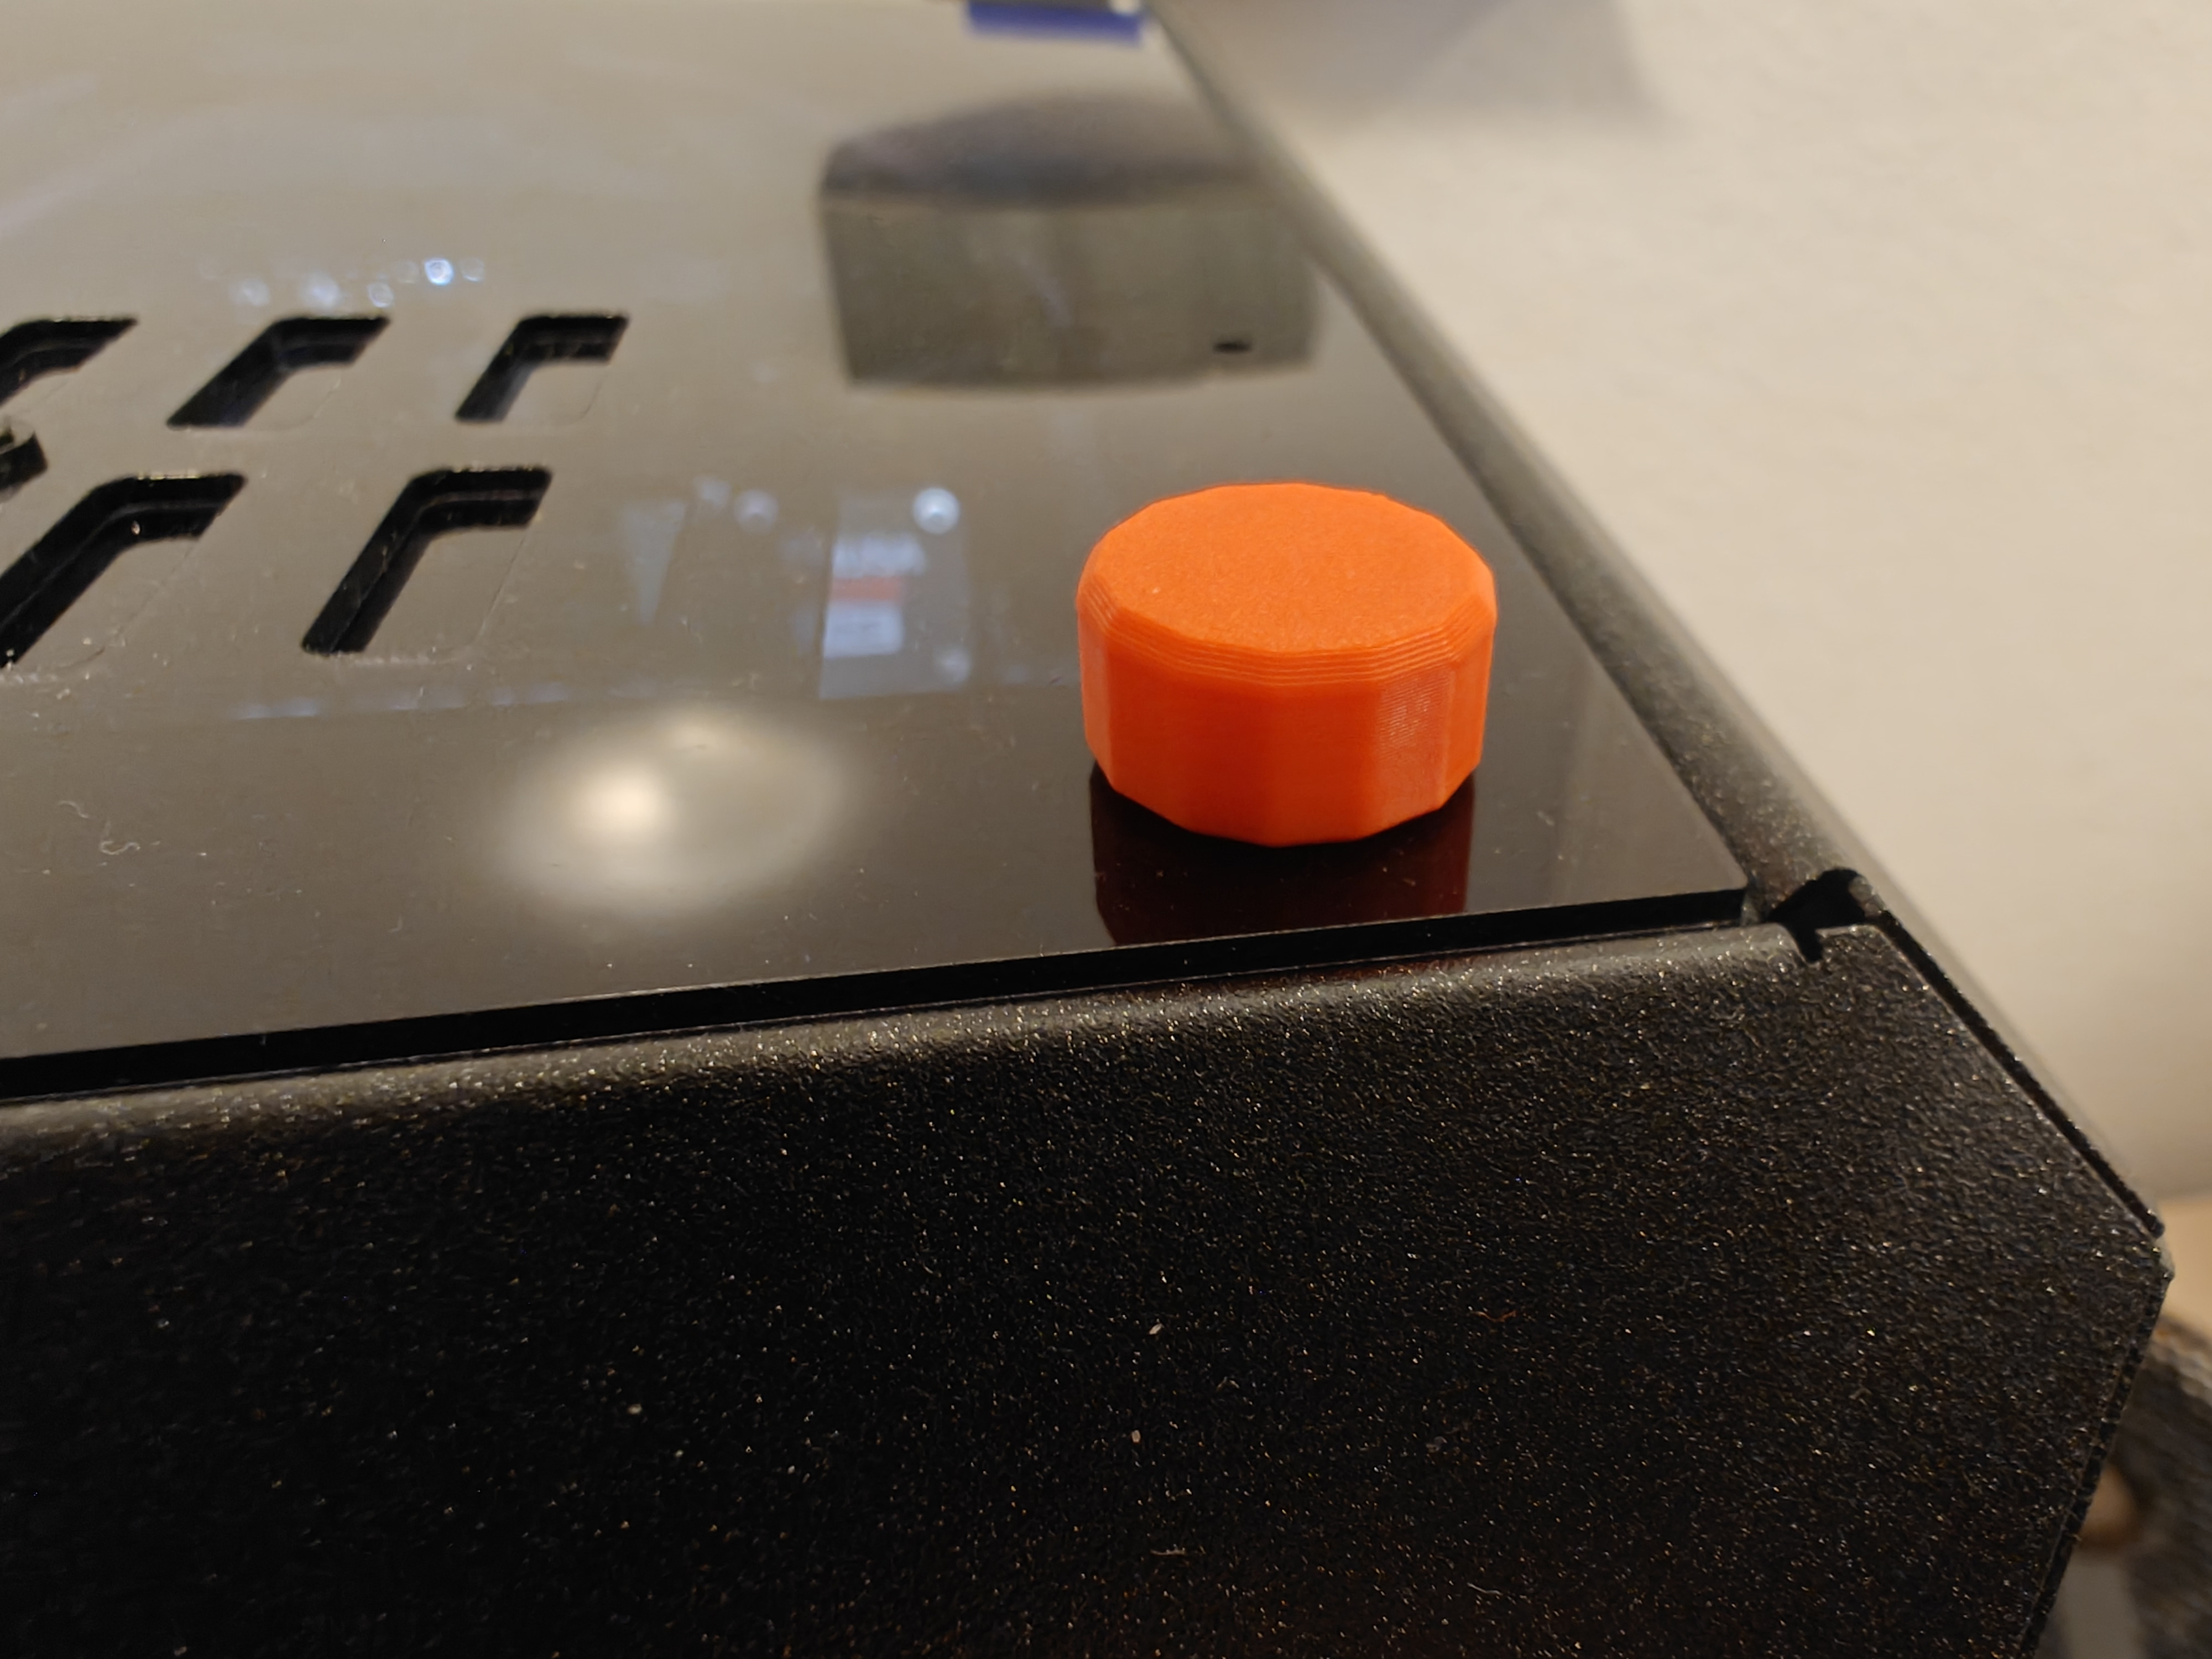
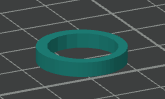
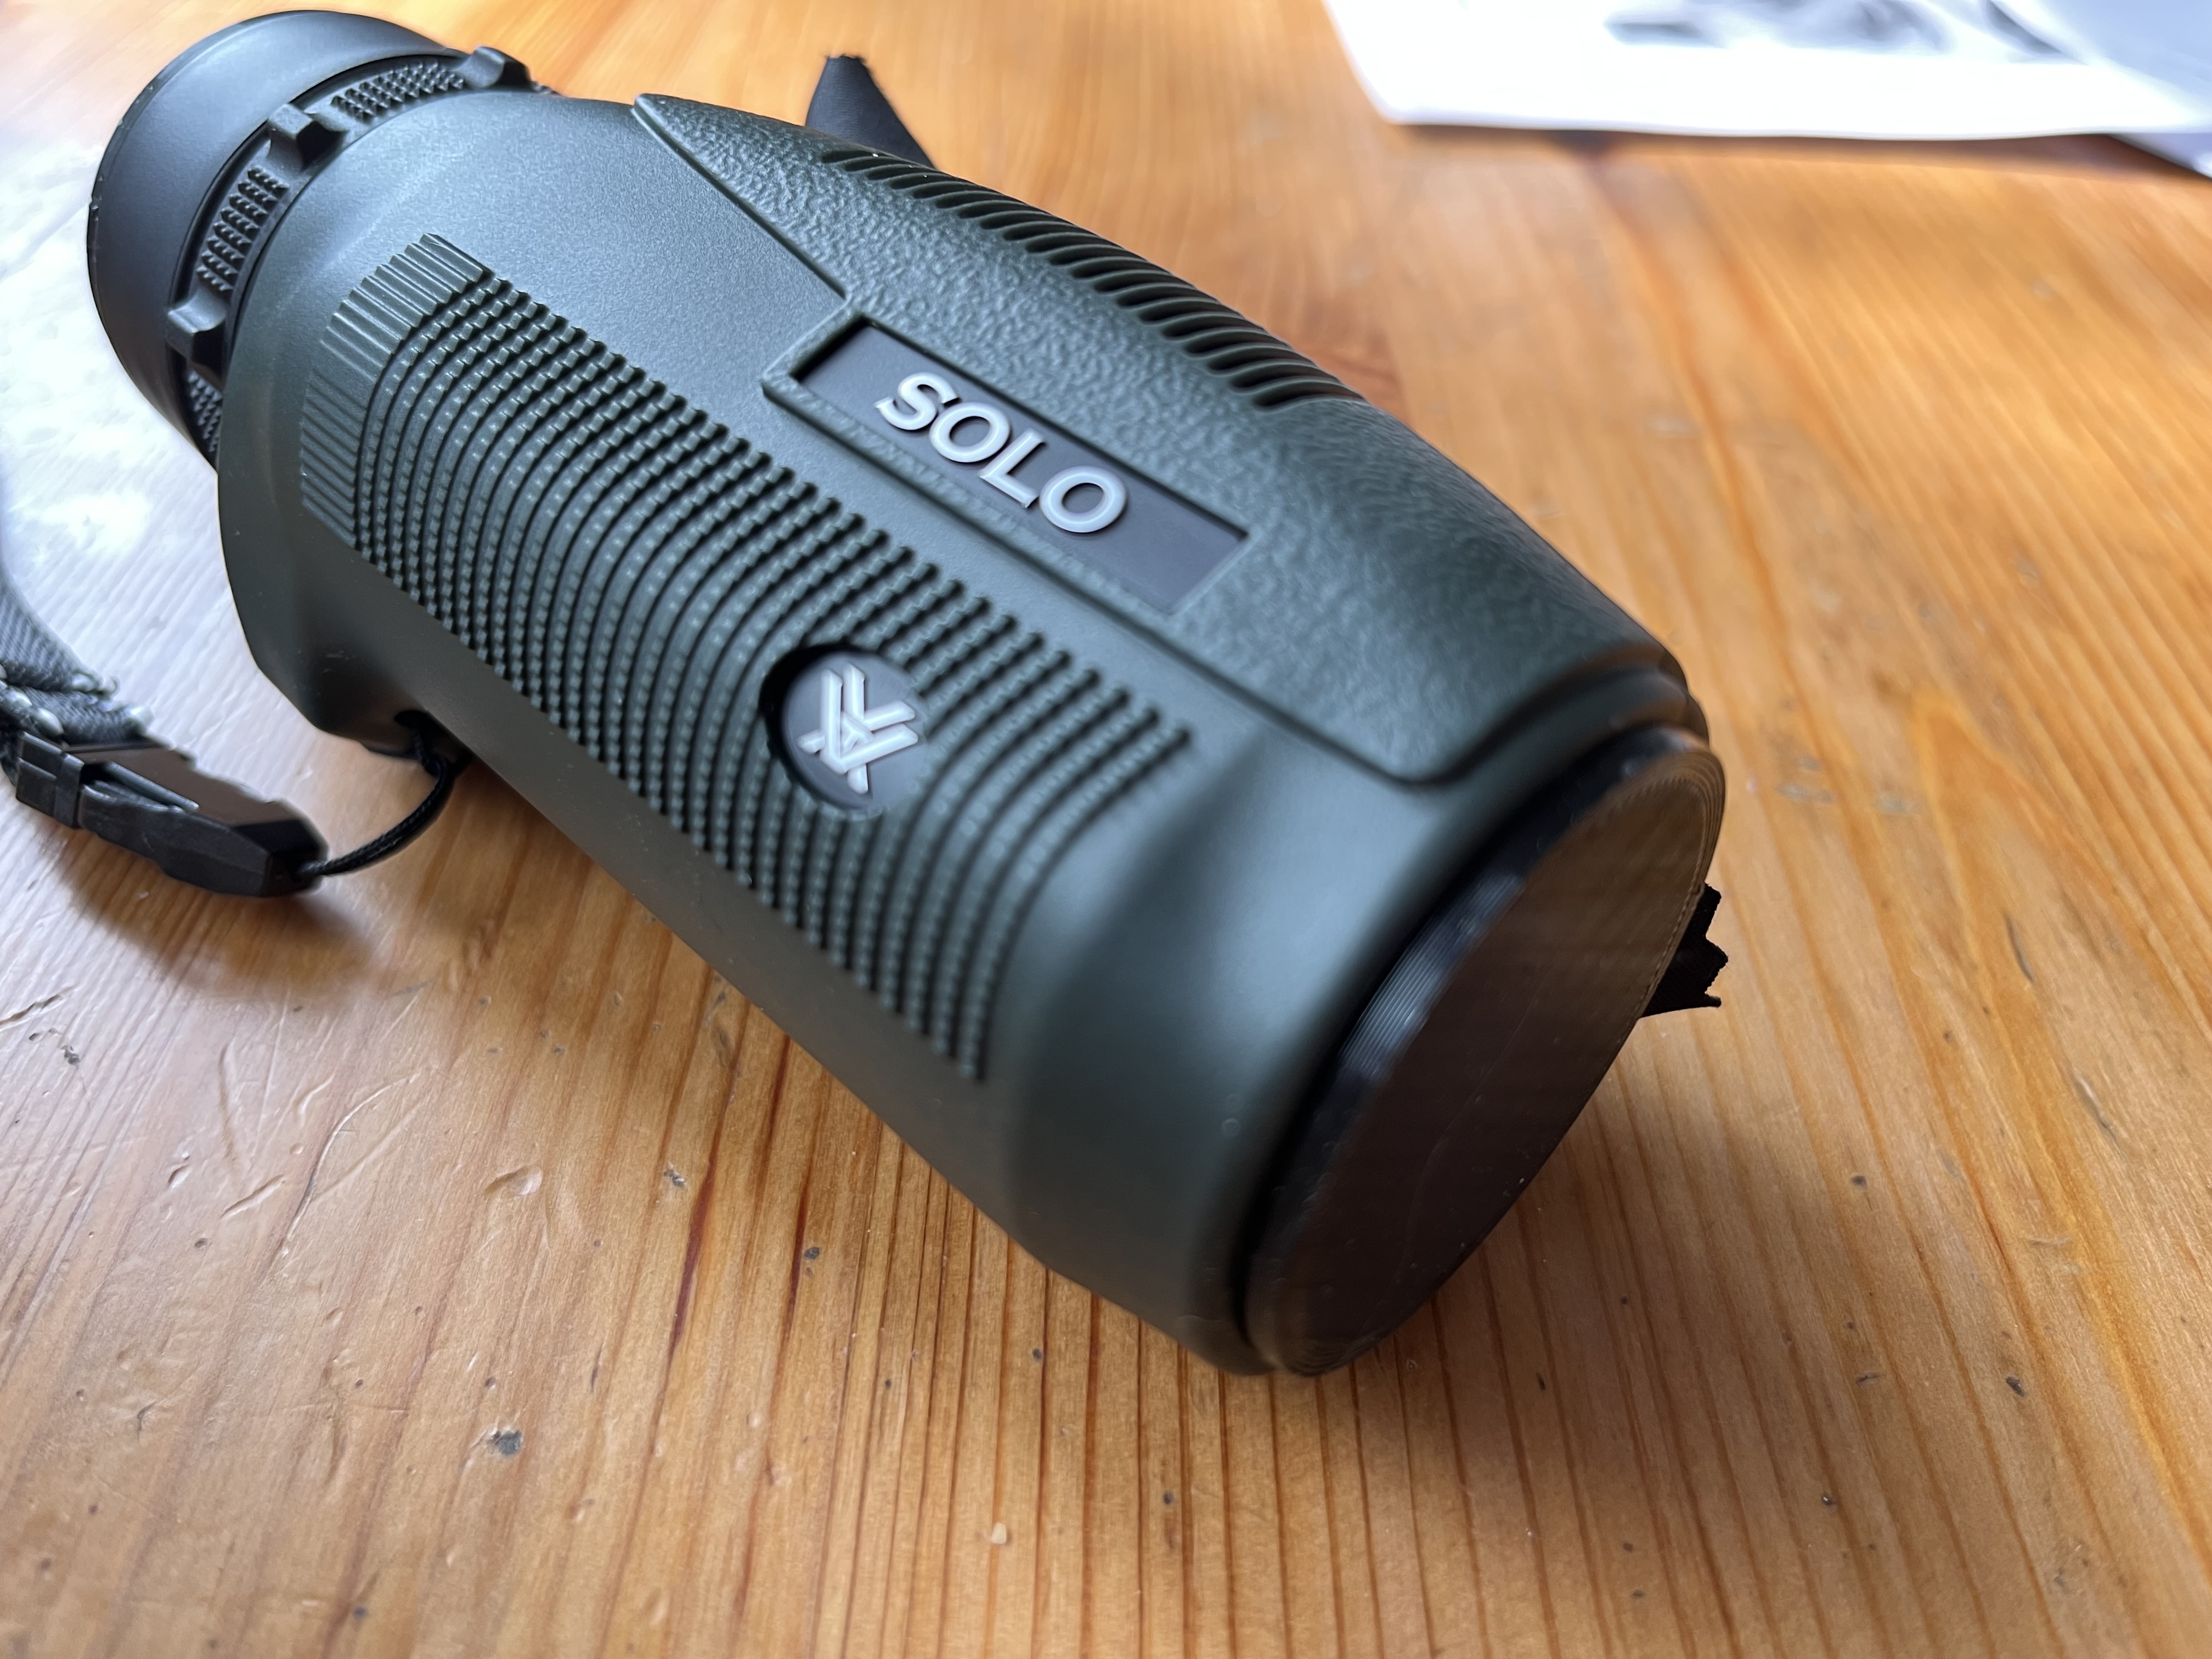
Lens caps for the Vortex Optics Solo Monocular 8x36. They just friction fit into place.
Quick Change Sample Spool Holder customised with magnet 8x3mm using scad code by Greg's Maker Corner Print 2 of these stick 4 8x3mm magnets (requires 8) into the holes. Please check out the original…